When you click on links to various merchants on this site and make a purchase, this can result in this site earning a commission. Affiliate programs and affiliations include, but are not limited to, the eBay Partner Network.
Hello everyone, fellow G35 owner here. Mine is an 04 6MT with the standard DE engine. My engine spun a bearing or maybe something worse (oil pan is full of metal) but main point is that the engine needs to be replaced. I bought a low mileage engine from a company in New York (JDM ENGINE WORLD) They said it was a standard DE.
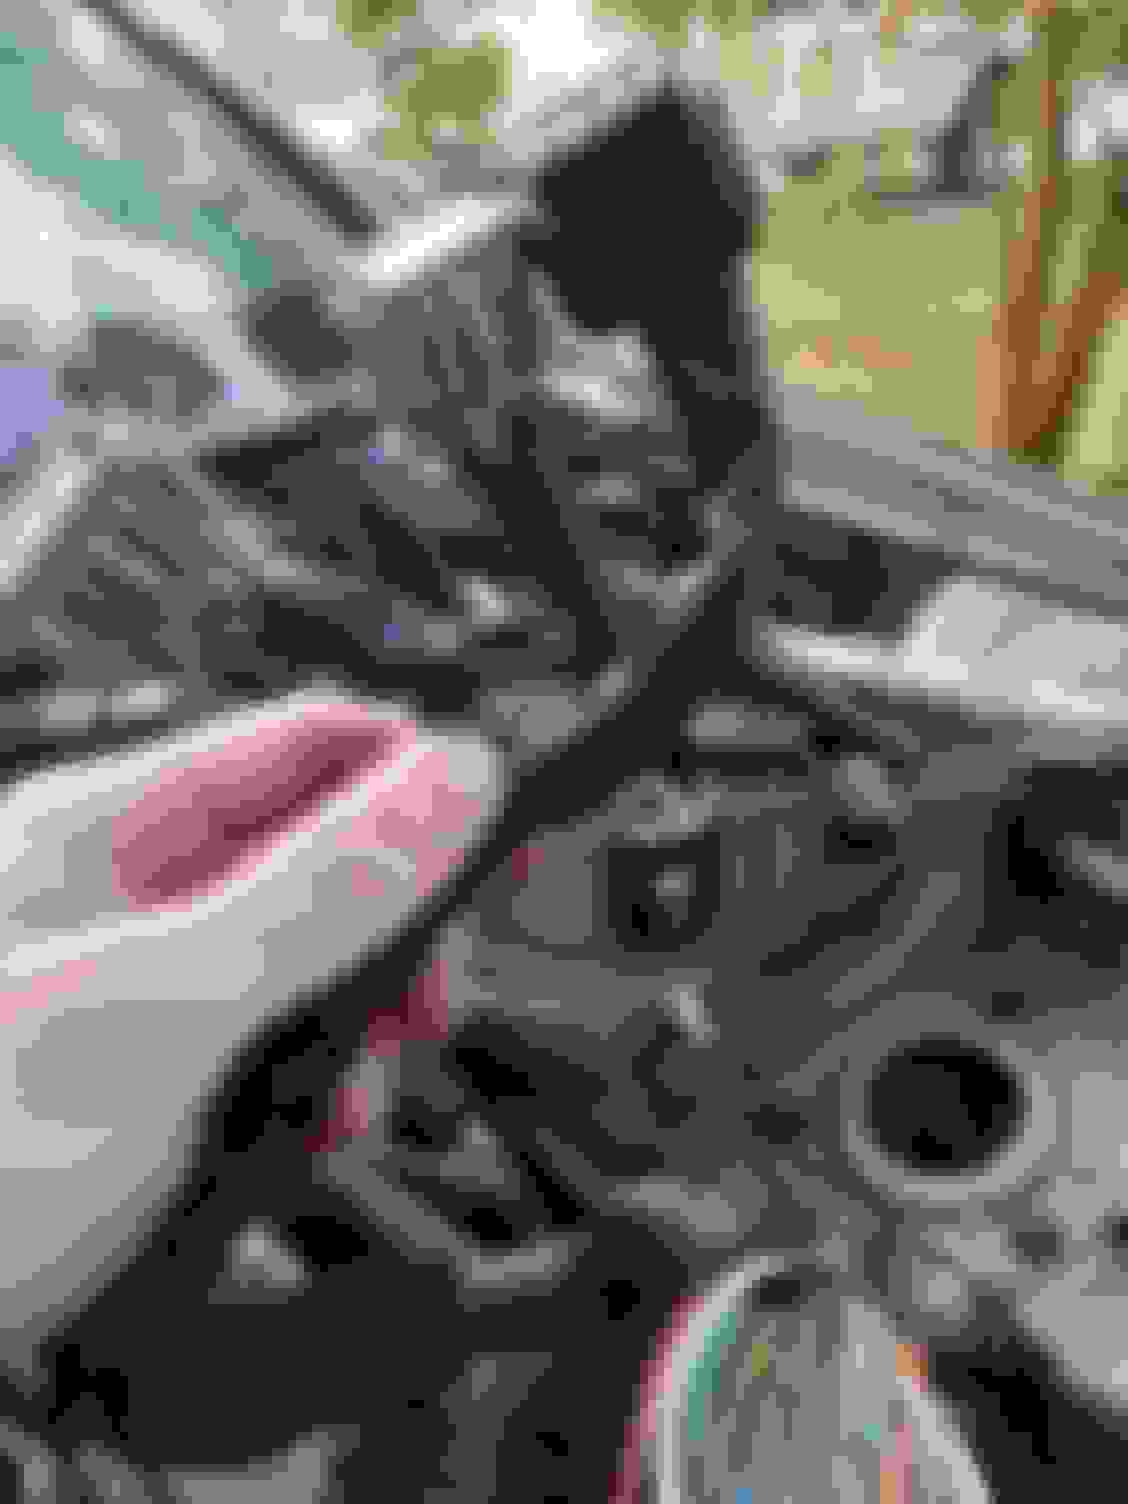
Here are a few pics of it. I found out today when I pulled my motor has a different harness.
Inside my battery compartment there are 3 connections for the engine harness, not 2 like the one on the engine I bought.
Question is, can I swap my harness over to this engine or is this a NO GO?
Any information/help/advice would be greatly appreciated, thanks guys.
The motor you bought is indeed the DE, so you should be all good to get it into your car.
You need to use the harness from your car. Remember, JDM cars are RHD, so the harness is probably different in multiple ways. Be careful/meticulous when transferring over the harness.
Also, I've head the JDM alternator is different from the USDM ones, might want to look into that.
Since you're an 04, some cars have the later style O2 sensors (wide band) and some have the earlier style (narrow band). You'll need to identify which ones you have on your car, and swap those if necessary.
Awesome, what a relief. I was worried I was going to have to sell this engine and get another one. I'm working on taking off my transmission right now. I have an aftermarket clutch and flywheel that I need to swap over to the new engine. I know I need to make sure the flywheel is aligned properly when I install it. Also those bolts typically get red loctite don't they?
The O2 sensors on my car look to be the same as the ones on the new engine but my engine has aftermarket headers that will be moved over to the new engine as well. But here is a few pics of the O2 sensors/
I have removed my harness off the old engine and will be making a few repairs to cut wires and replacing the old cracked plastic with black cloth fabric tape for automotive wire looms.
I managed to get one of my exhaust headers on the new engine, also I had to swap my motor mounts (Z1 solid aluminum) but I also had to swap the mounts for the motor mount. The ones on the new engine were a little different and lower in placement than mine.
I will be putting the HR thermostat in my new engine to get rid of the water lines for the oil sandwich plate. (This requires the HR oil filter stud as well).
I want to eliminate that coolant bypass across the front of the engine as well and the lines for the throttle body too, gonna call around town and see if I can find a welder that can make a few modifications to the stock coolant pipes.
I deleted the idler pulley and put the required spacer in for that as well today. Still need to swap my alternator (different style plug on mine compared to the Japanese one...?) and the crankshaft pulley needs to be swapped over as well.
Does anyone have recommendations on how to get the pulley off without turning the motor over? I was thinking about a ratchet strap maybe...
Will post pics in the AM of progress.
Last edited by jefferywdonald; Oct 22, 2020 at 04:08 PM.
Reason: More information
Looks like both your motors have the later style O2 sensors. Nice.
Definitely put red loctite on the flywheel bolts. Quite a bit of work to get to them....
Interesting that the motor mount brackets are different between USDM and JDM. Any reason to delete the water/oil cooler? external oil cooler?
I've seen guys use weighted sockets to help remove the crank pulley bolt w/ an impact gun. Maybe there is enough room to place a wrench/prybar in between the pulley & timing cover to keep it locked?
If your motor mounts were in a different location you may have ended up with a transverse VQ35DE from a Maxima/Altima (or whatever that was in the JDM). I would verify that you have the correct block before going any further. This also explains the different wiring harness.
EDIT: The only cars with a compatible motor are the G35, 350Z, M35 or their Japanese counterparts. There was also a transverse mounted VQ35DE used in the Maxima/Altima with motor mounts in a different location on the block.
https://www.my4dsc.com/fwd-vs-rwd-vq35de-differences/
I don't that's the issue (judging by the block differences) regarding the motor mount fitment. JDM engine could be from anything, the VQ35 is a 'corporate' engine per say.
I think the harness differences are (hopefully) narrowed down to just RHD vs LHD chassis.
Hydraulic jack seals blew out with this motor, ordering a new pump today
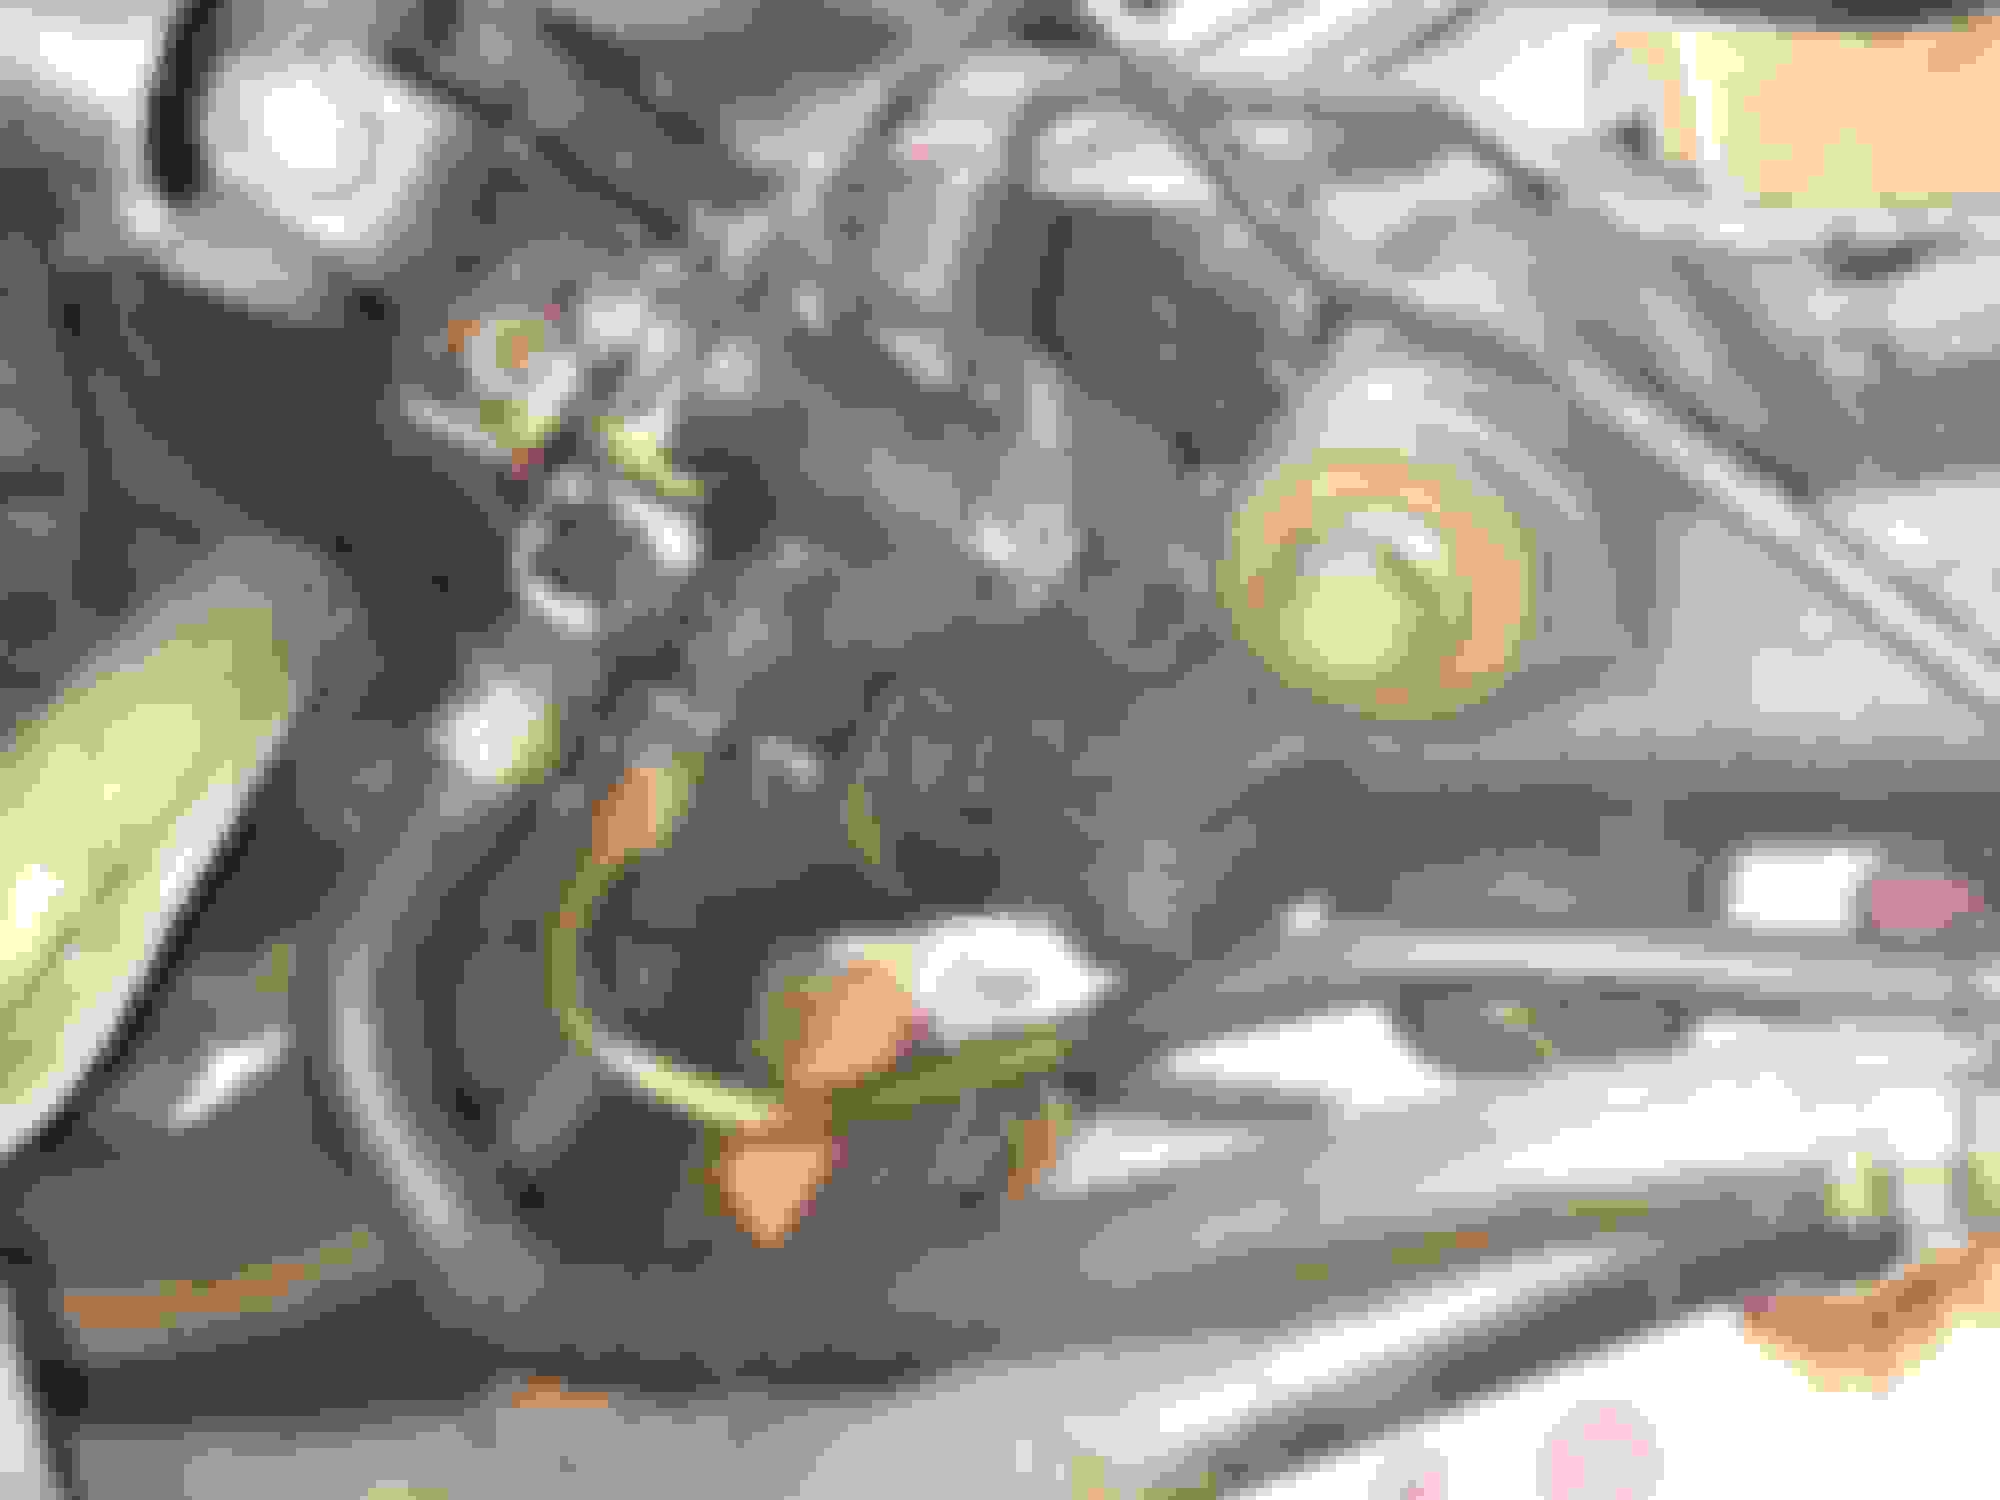
Here's a comparison of the two motor mounts. The japanese on the left and USDM on right. Notice the JPN sits lower, has a "rail" for the mounting hardware to slide and adjust and not just a single hole like the USD. Also the JPN mount has a part where the stock motor mount "hooks" into. But the hole spacing for the mount to the block is exactly the same.
Managed to crush a power steering line or two, but my rack has been leaking since I got the car two years ago. Now would be the best time to drop a new unit in...($400 on Z1, $160 on eBay... no decisions made on that yet)
Front of the new engine with the A/C removed, the idler pulley removed and the metal spacer installed that replaces the idler.
Still much to do...
UPDATE: headers on both sides, engine mounts on both sides
Now I have a question, I don't know if anyone could answer.
The old alternator and the new alternator have different plugs,
the new (3 wires green/black, white/red, yellow)
the old (2 wires green/black, white/red)
Do you think I could use the new alternator/plug by wiring the new plug onto my harness (green/black to green/black, white/red to white/red) and just eliminating the yellow wire?
I don't mind swapping my old ALT in and using the plug on my harness it's just the new ALT probably has a lot more life left in it. I don't know if eliminating that 3rd wire is going to cause problems or not. Maybe the yellow wire would connect to a different wire in my harness?
More updates
Here's a look at my transmission taken off the old engine
Here's a look at the Z1 clutch and flywheel
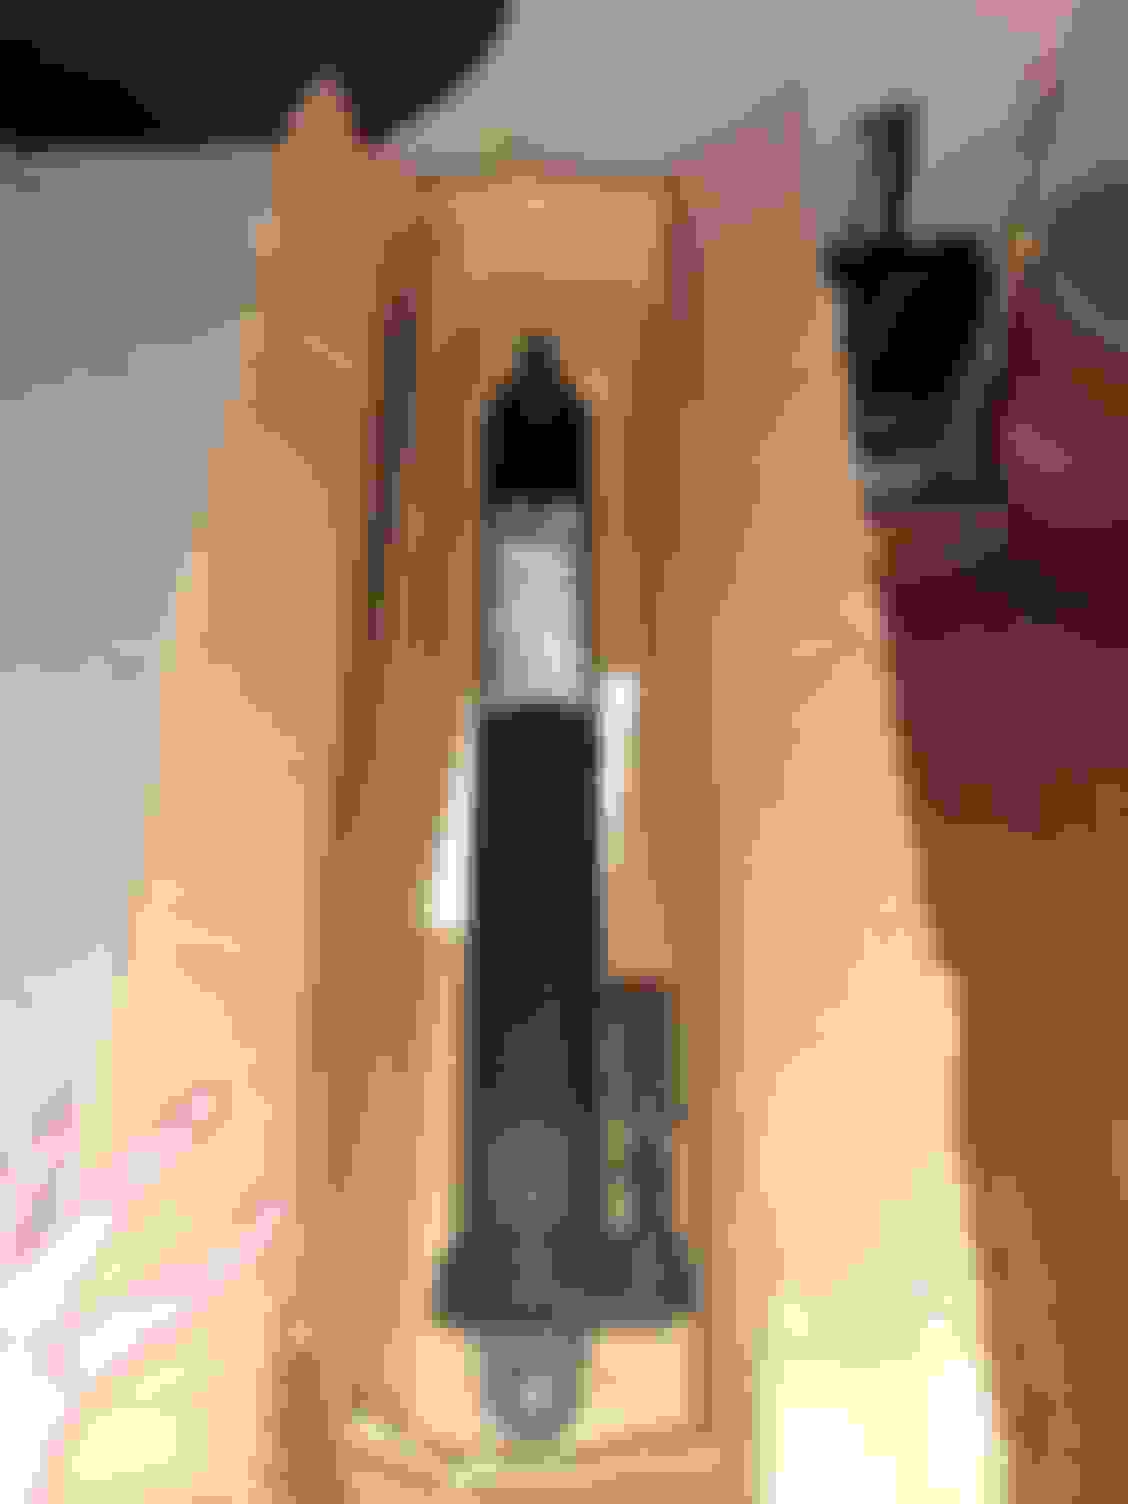
In order to get the flywheel off without the crank spinning I came up with this
I put the top 2 bolts for the transmission back into the block and then put a pipe clamp around the bolts
then another bigger pipe clamp through one of the holes in the flywheel and then through the pipe clamp I put around the bolts
I put a towel in between the clamps and flywheel so I wouldn't scratch anything
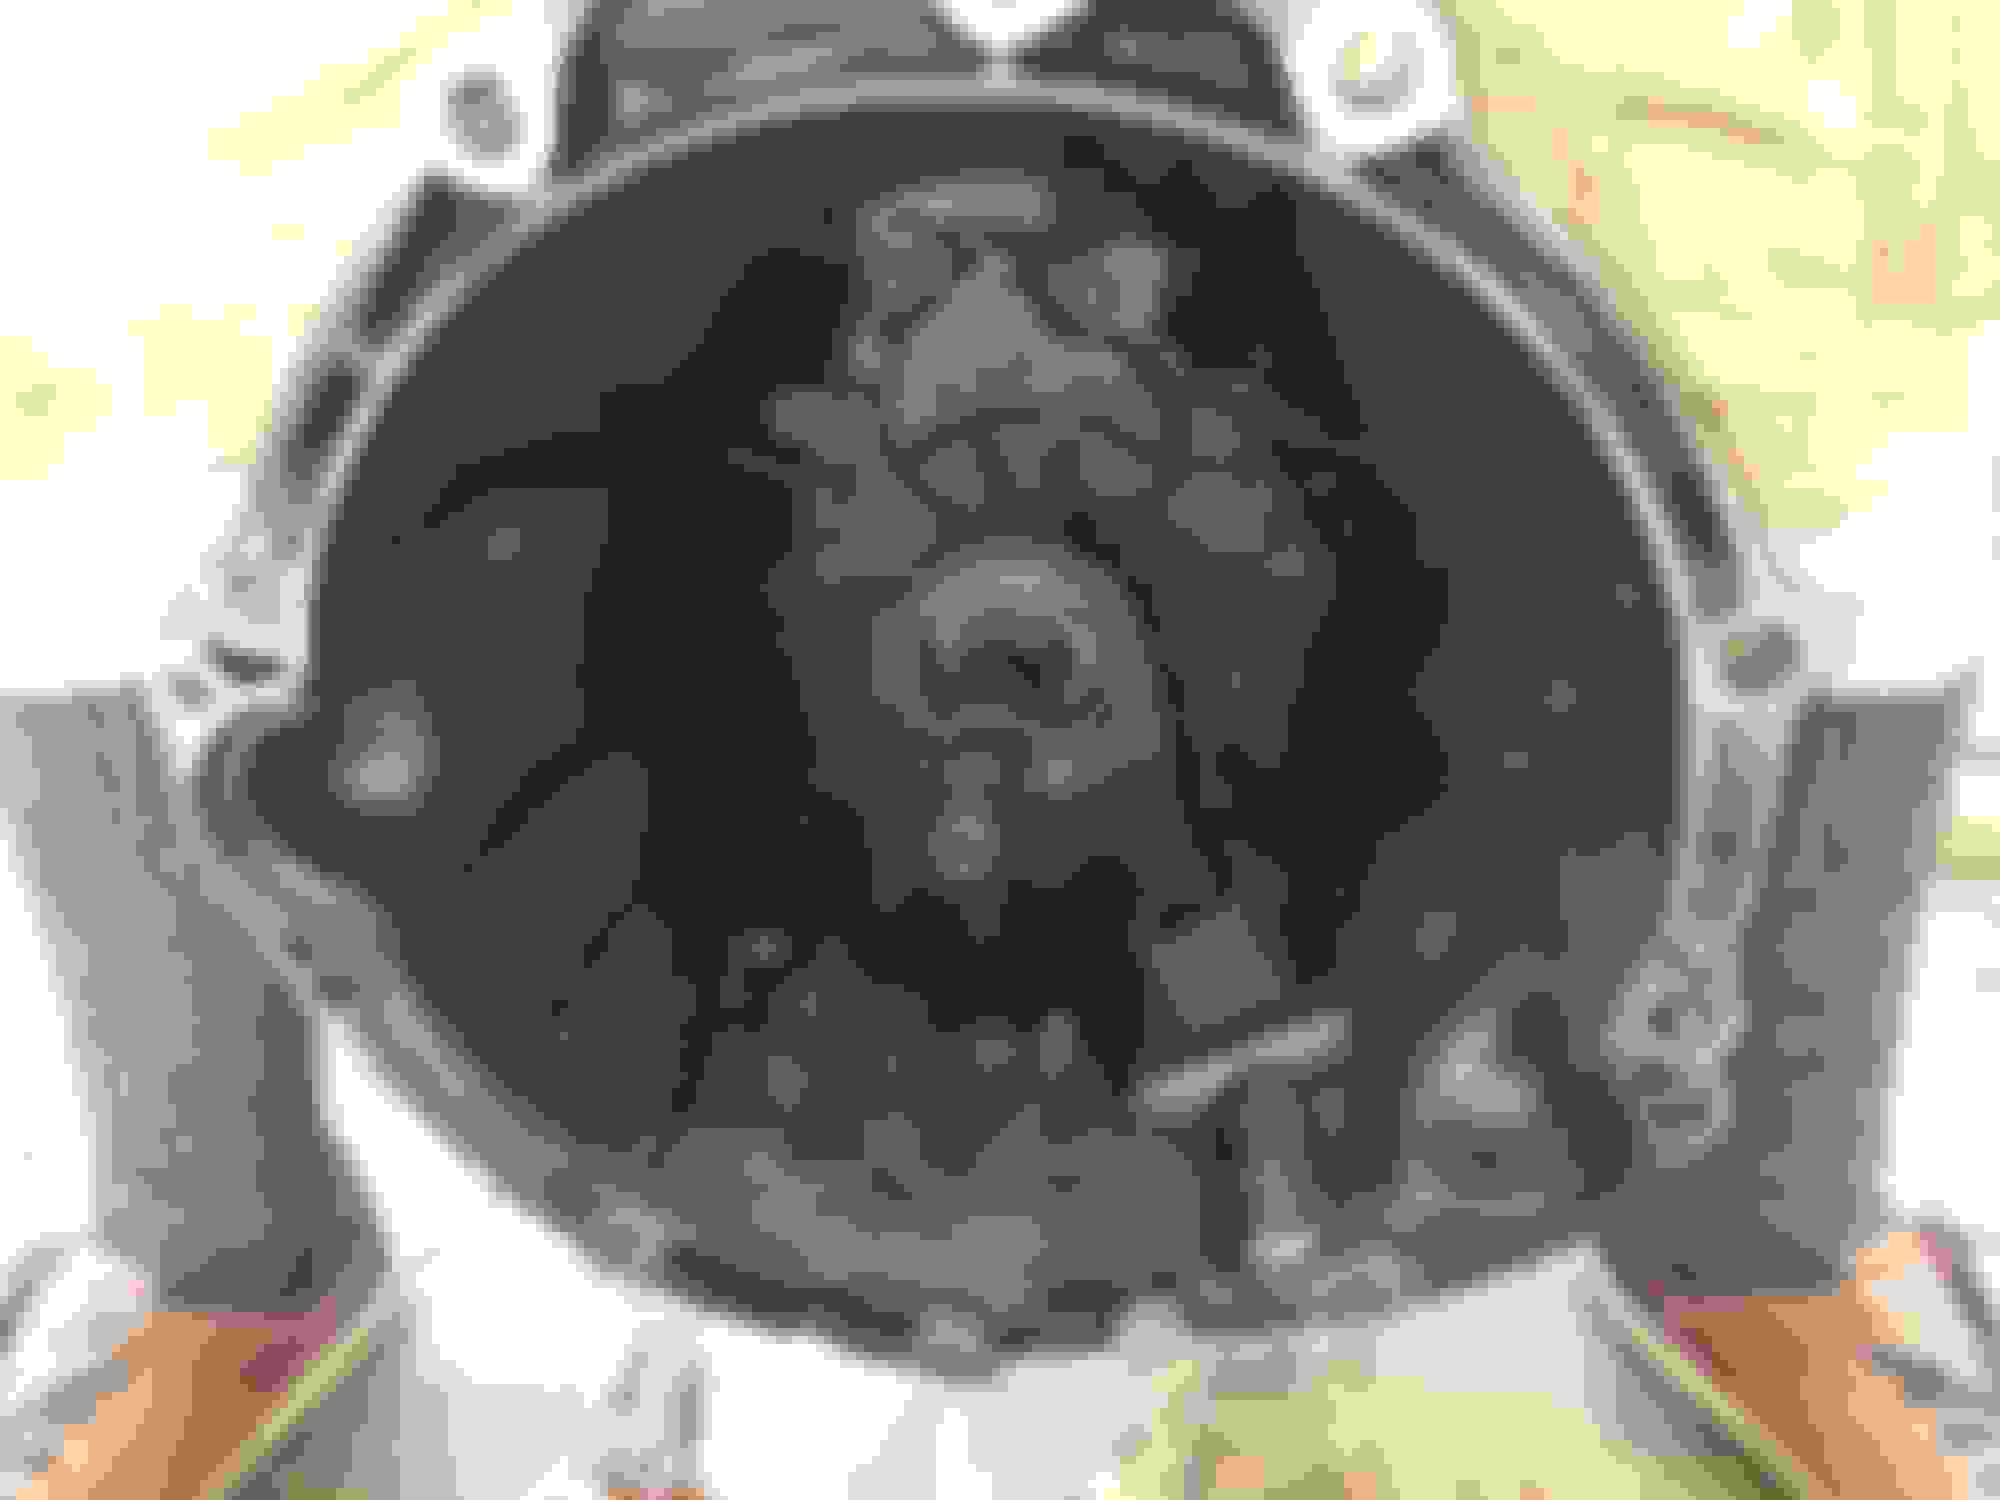
Take a look at the pilot bushing on my engine, It's all cracked and falling apart.
Should I get the OEM one from Z1 seeing as it's brass and probably stronger than the aftermarket ones?
Also the flywheel bolts on my engine are TORX 55 and the ones on the other engine are regular metric hex
Should I use my TORX bolts when I swap the flywheel over?
Last edited by jefferywdonald; Oct 23, 2020 at 05:04 PM.
Reason: More information
6MT flywheel uses the T55 TORX bolts, 5AT flexplate bolts are just hex bolts.
Personally I don't use any loctite on the flywheel/flexplate bolts. I can't remember if the FSM says yes or no about it but I'm pretty sure it doesn't have factory threadlocker on it.
That pilot bushing... holy crap that thing is smoked, they must have lost the input shaft bearing on the 5AT it was attached to. Just take the part number from the Z1 Motorsports website and buy one from your local Nissan. They're an off the shelf item.
Okay so small update, tomorrow I will be taking my two coolant hard pipes to a mechanic to hopefully get all the extra water nipples cut off and welded shut (no more oil warmer/cooler, throttle body warmer, coolant bypass) I will be drilling and tapping the rear coolant pipe with some AN plugs. I have the HR thermostat on the way as well as the HR oil filter stud. I started working on my wire harness, I removed most of the corrugated plastic channel and wrapped the wires in TESA tape. I think I'm going to have both the 2 wire AND 3 wire alternator plugs on my harness. I'm going to leave the new alternator on the engine and if for some reason it wont work I'll still have the original plug and can swap my alternator back in.
I still need to order the new pilot bearing for my clutch and probably some other minor things. I have work the next two days so don't plan on getting much done (maybe just the wire harness, been working on that when I get home from work for an hour or two) I've installed all the modifications myself (except for the flywheel/clutch) but pulling and swapping an engine this is a first for me. It's going better than I thought it would (knock on wood).
I'm also installing the Z1 solid rear differential bushings, that sub frame bushing is a bitch, I have Z1's tool and managed to get the "core" of the busing out pretty easily but the sleeve is much harder to get out. The car is up on jack stands and there isn't much space to get a pipe on the breaker bar for the huge 32mm nut I have to turn to push the sleeve through. Might need to jack the car up a bit more so I can get better leverage.
Just take a little hacksaw or a sawzall and cut a notch out of the race of hte existing bushing then hammer the edge of that notch up with a screwdriver and hammer to make it roll in on itself. It's an aluminum race so it bends SUPER easy.
EDIT: Just cut slowly because a sawzall will eat through that aluminum race from the old bushing SUPER fast and you don't want to make a giant notch in your subframe which is also aluminum.
I dropped off the coolant pipes at the mechanics today, he said they would be done in a few days.
When I get these back I want to paint them black, any recommendations for primer/paint.
I've used that high temp engine enamel on my plenum and it's held up over time, was thinking of using that again.
The new oil filter stud came in the mail today, still waiting on the new thermostat and hydraulic jack for the crane.
Tomorrow is my Friday, I'll have Wed/Thur/Fri to get what I can accomplished.
The mechanic I dropped the pipes off with said sometimes you can find pilot bearings that aren't just a brass cylinder, but actually bearings.
I took a look and found one on Z1's website, this should work right?
Figures, I get three days off work and it's supposed to rain literally all day every day. Yesterday I finished fixing up my harness, I decided to out both alternator plugs on my harness. I'm going to try the new one first and if it doesn't work I'll swap my old one in. I grabbed two plug fittings for my rear coolant pipe (1/8" - 27 thread) and then ran all over town to find the corresponding tap (tried Ace Hardware, Lowe's and Home Depot) ended up ordering the tap online. The new hydraulic pump for the engine crane came in today and I will be putting that together. I ordered both the needle bearing and the regular brass pilot bushing. I haven't decided on which one I will be using yet. A lot of people say the needle bearing doesn't provide much if any of a performance lift but can be catastrophic when they fail... The HR oil filter stud and thermostat came in, I will be putting those on once I get the new hydraulic lift together.
I think I'm going to work on the bushings in the differential today. Once I get a few things done I'll take a few pics.
I'm in the middle of getting these old bushings out and one side looks different from the other. The lip on the left side is much bigger than the right. That whole sleeve needs to come out right?
Last edited by jefferywdonald; Oct 29, 2020 at 04:22 PM.
Reason: More information
I took a large socket and a sledgehammer and drove those existing bushings out, just brace the sides of it with some 4x6 blocks of wood and yes you drive out the existing race. It took some really good swings to get those things out and in hindsight I should have just gotten the tranny lift out and used my 12 ton shop press.
As for the needle pilot bearing / pilot bushing USE THE BRASS BUSHING! Needle pilot bearings are race-car only and they get changed out VERY regularly because when they fail they WILL destroy the tranny input shaft. The useable lifespan on those things are only like 30k miles before you're supposed to replace them, typically on a racecar you're going through clutches every 15-20k anyways so you don't really have an issue with pilot bearing failure.
The brass bushing though is good for the life of the OEM clutch though, which is usually around 125k - 150k miles.
I just finished getting the old bushings out. I used a sawzaw with a metal blade and made two slits in the bushing so I could take a small chunk out of the bushing.
On the first bushing I didn't even make it to the second slit, the bushing just ripped out from the reciprocating saw.
Also I went a bit deep in some of the cuts, it's hard to tell if you're through the sleeve or not plus I didn't realize how soft that metal was. Anyways it's nothing drastic.
The Z1 bushings come in 2 pieces, one for the top and one for the bottom. The two pieces are different sizes but together they make up the length needed for the bushing. I have my Z1 bushings in the freezer right now... I heard that freezing them shrinks them just enough to make the install easier. Here is a before/after.
I can only imagine how responsive the rear end is going to compared to stock. still have to do my sub frame collars too...