
Dynotune Air/Fuel Ratio Lean Shut-Down Switch Review


Thread Starter
|
Registered User
Joined: Feb 2008
Posts: 22
Likes: 0
Dynotune Air/Fuel Ratio Lean Shut-Down Switch Review
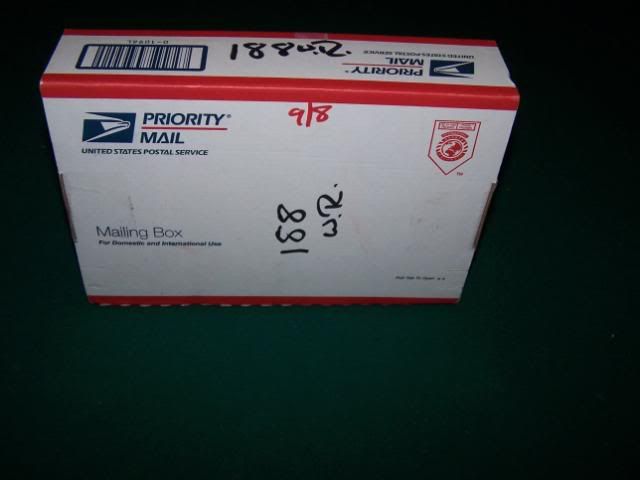
Today we are going to take a look at the Dynotune Nitrous Air/Fuel Ratio Lean Shut-Down Switch. I ordered the unit on a Friday and it arrived on a Monday. It was shipped 2 day delivery. From the looks of it, it also had signature conformation and tracking. So rest assured, your package is well taken care of by USPS and will arrive in a timely manner.
Reading through the nitrous forums on my350z, I haven�t noticed too many people running this unit. On g35driver, the nitrous activity is even less. So this will be a learning experience for me and for all. In fact, the only information about this unit I have found is here:
http://my350z.com/forum/nitrous-oxid...ow-switch.html
Here is a little information off of Dynotune�s website:
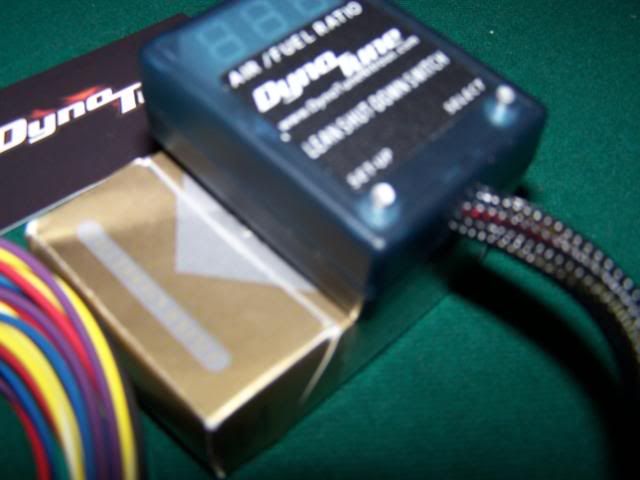
This tiny stand alone device(you need nothing else to make it work other than your factory o2 sensor or wideband controller) is a Microprocessor controlled Air/Fuel ratio Lean shut-down switch that will shut off the nitrous system if it goes lean during a Nitrous run and best of all, It works with your existing OEM oxygen sensor! (0-1v oxygen sensors)(or 0-5v wideband controllers).
Checkout all these features:
--Microprocessor controlled
--Built in Air/ fuel ratio display(narrow and wideband)
--Built in TPS (WOT) Switch
--Peak and Min A/F memory during the run
--Multiple outputs 12V and Ground
--Multiple Trigger inputs 12V and ground
--Programmable trip points
--Adjustable delay to let lean spikes settle
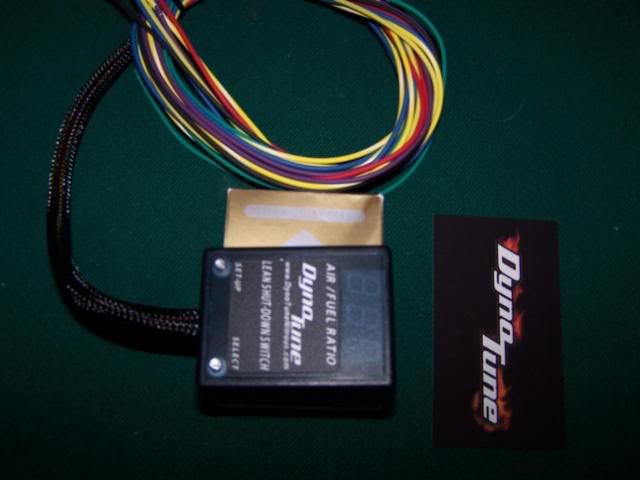
--6 Foot wire harness Light Weight
--12 Volt Operation
--Fast response
--Super Low Current
--Draw Micro Package Mounts Anywhere 1.8" Wide x 2.4" Tall x .9" Deep
There are some very important things to consider when buying this unit. As stated on their website:
It's the purchasers job to ensure their factory oxygen sensor is a 0-1V style, standard o2 sensor. This will not work with factory wideband sensors found in some new cars.
Some might not know, but the 03-04.5 350z/g35 still use a narrowband, so those output a 0-1v style, so they are compatible with this unit. 350z/g35s that are model 04.5 and up use a factory style wideband. From researching, the output is 0-2v style. So I am unsure if it will be compatible with this unit. I am still researching and talking with members who have far more knowledge than I do. If anyone has input on this, that would be great. Here are some of the threads that I have found my information from:
http://my350z.com/forum/engine-drive...2-sensors.html
http://my350z.com/forum/intake-exhau...-question.html
http://my350z.com/forum/tuning/22131...deband-o2.html
http://my350z.com/forum/forced-induc...deband-o2.html
The main feature we will be talking about is the A/F lean shutdown. This unit also has the ability to also be a Wide Open Electronic TPS (Throttle Position Switch). Since most of the people who buy this probably bought this for safety, you are already probably running the 2 stage tps with window switch. So we will only talk about the A/F lean shutdown feature unless anyone really has anything to ask about it.
So let us continue. The unit came in a standard USPS shipping box, nothing out of the ordinary.


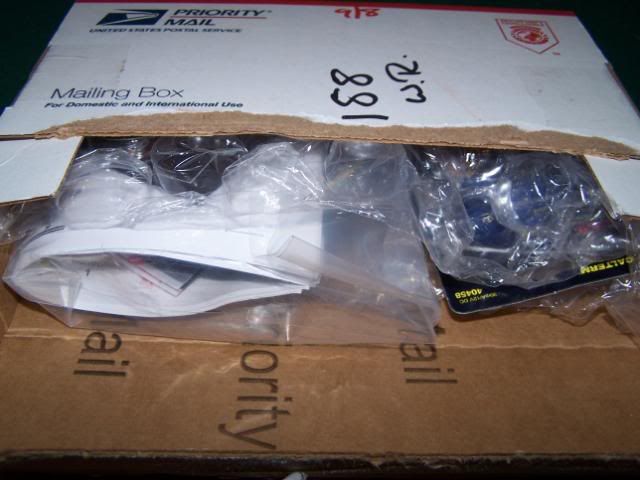
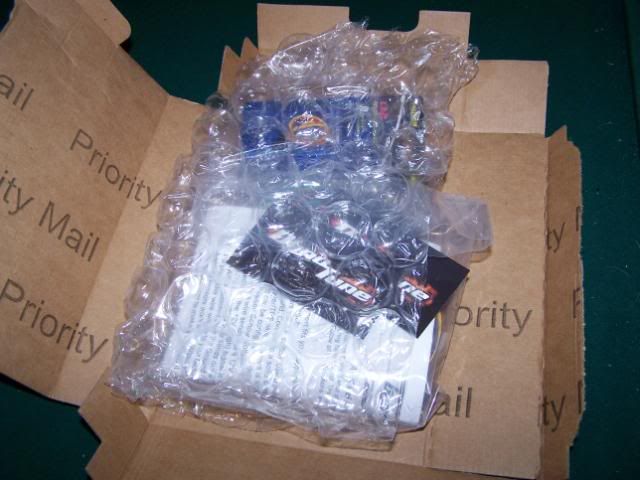
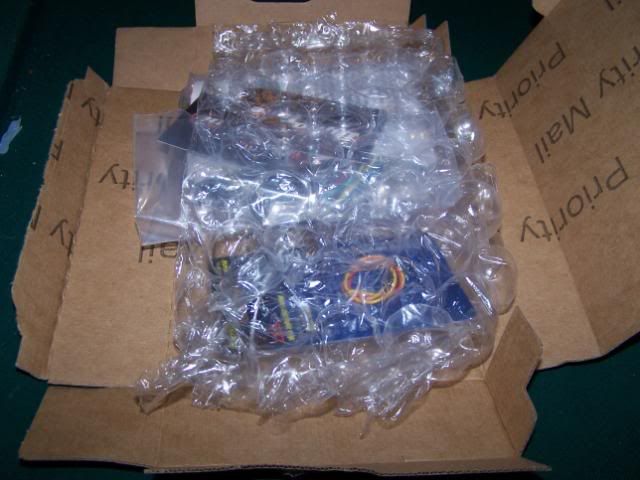
The unit is packaged well. Lots of bubble wrap, no worries about it being crushed or broken during transportation.

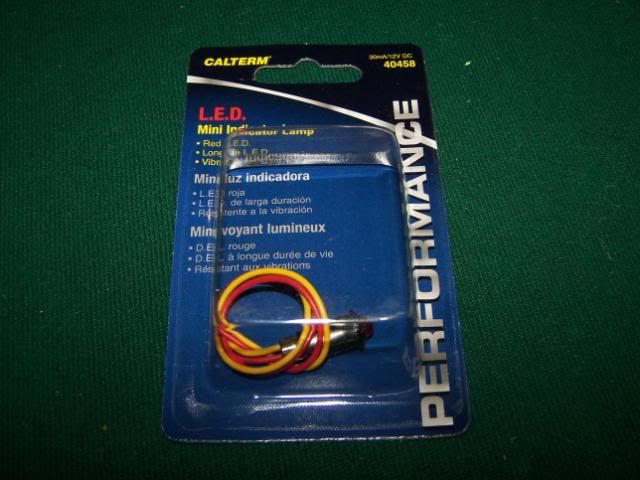
You have the option to add an additional warning LED from Dynotune. What this does is that if a lean condition occurs, the LED turns on to inform you that the switch has activated and shutdown your relay controlling your solenoids to avoid a catastrophic lean condition. The LED is adequate during daytime if it is right in front of you. You would drill a 5/16th hole and just plug the LED in and wire it up. I would probably add another LED and put it right in front of me so I would have an additional light just in case I don�t see the one LED or if it just happen to be really bright that day.
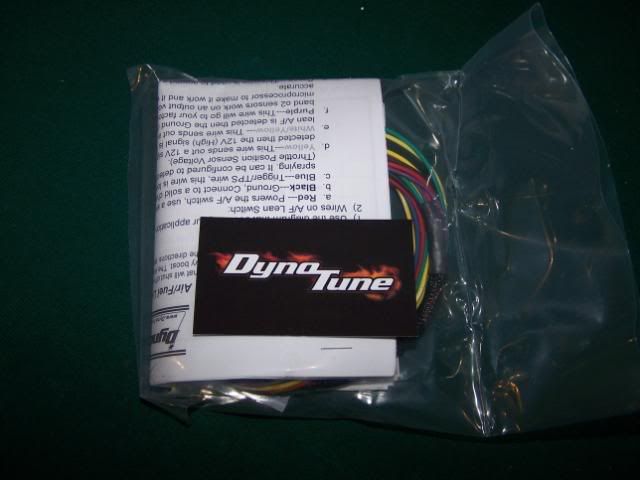
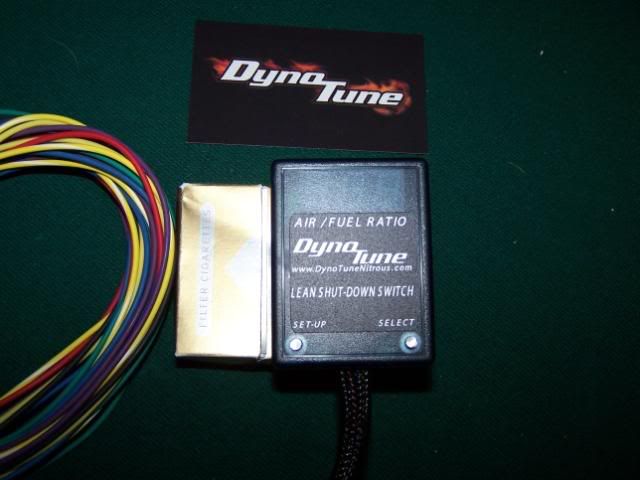
Now onto the packing of the unit. The package is sealed just like all other Dynotune products.
The switch is made of hard plastic to ensure that it can withstand rough handling. This unit seems to be meant to be kept inside the cabin to be monitored. I have seen other people put their 2 stage window switch in the engine bay, but the 2 stage seems to be made of much sturdier material, metal material, while this is made of hard plastic.
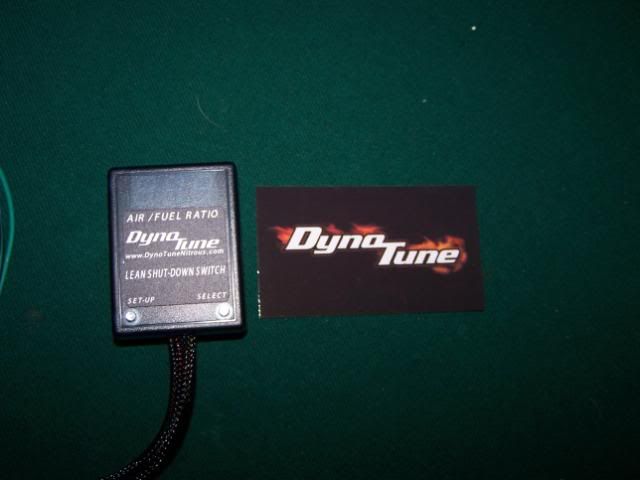
The switch is about the width and depth of a cigarette box.
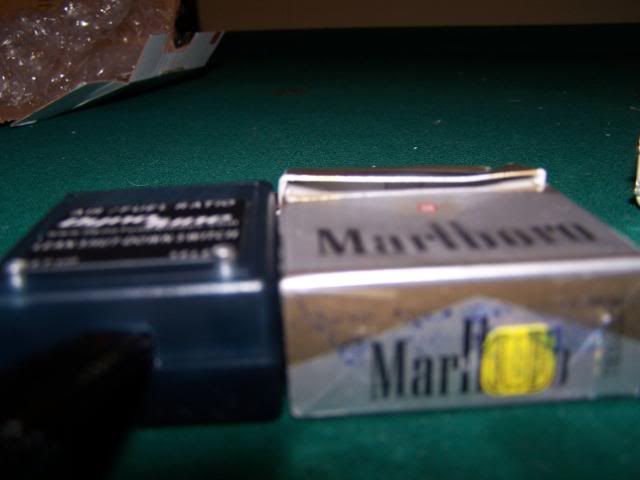

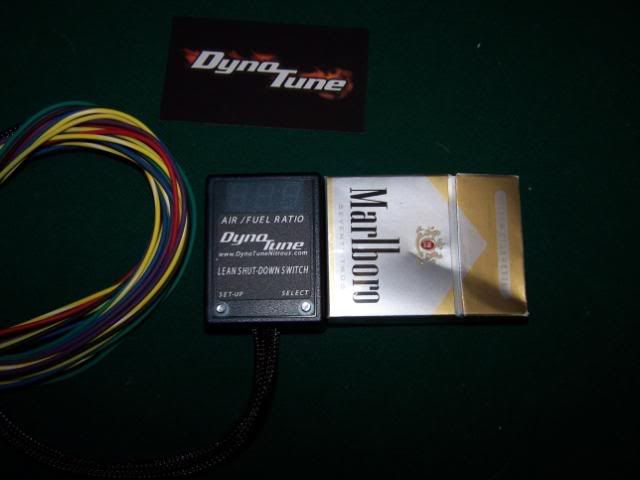
It�s about the same height as a cigarette box.
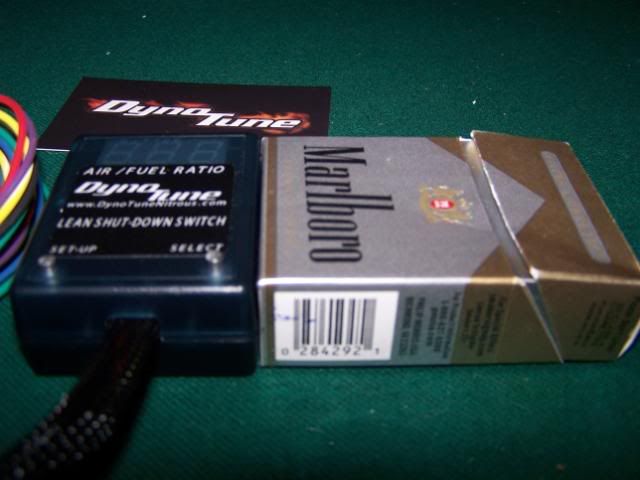

If you cut the top off of the top of the cigarette box, you will have a pretty accurate size of the unit.
This comes with 2 Velcro tape so the unit can be removed and attached to your desired location.
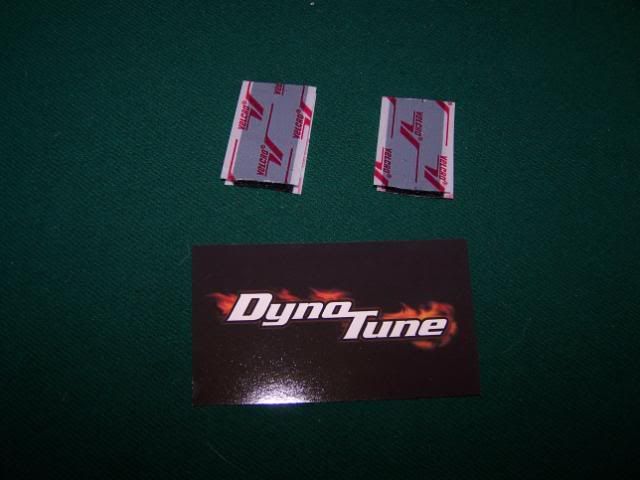
It also comes with printed instructions.
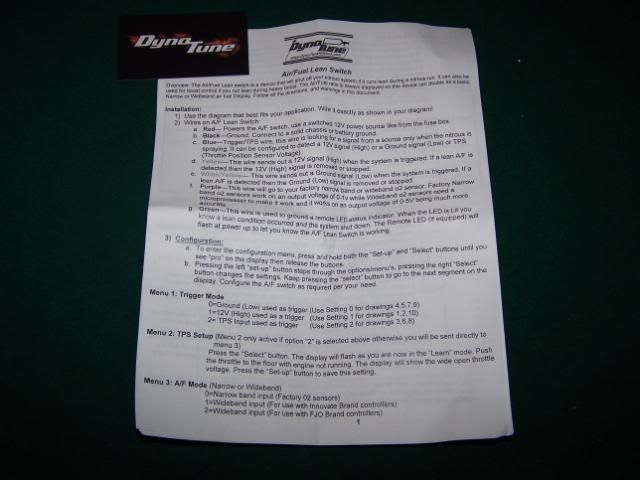
If you happen to lose your instructions, you can get them here on Dynotunes website:
http://www.dynotunenitrous.com/store...structions.asp
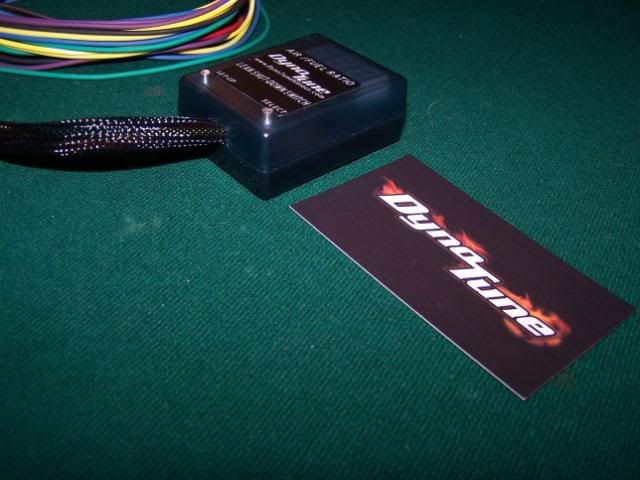
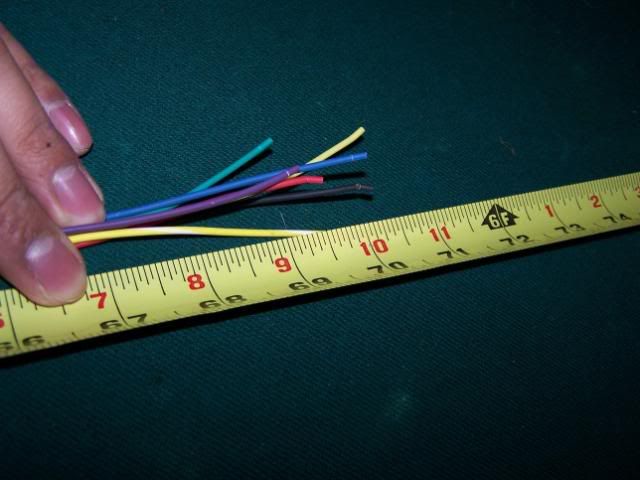
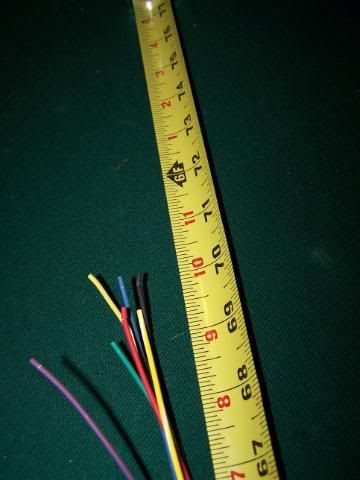
The cable is about a total of 6 foot long
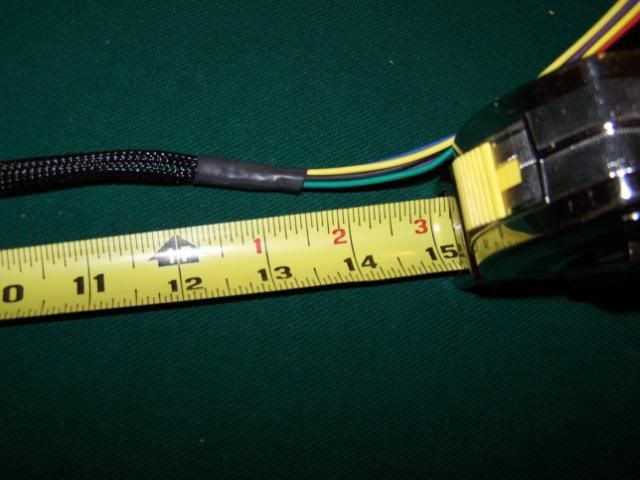
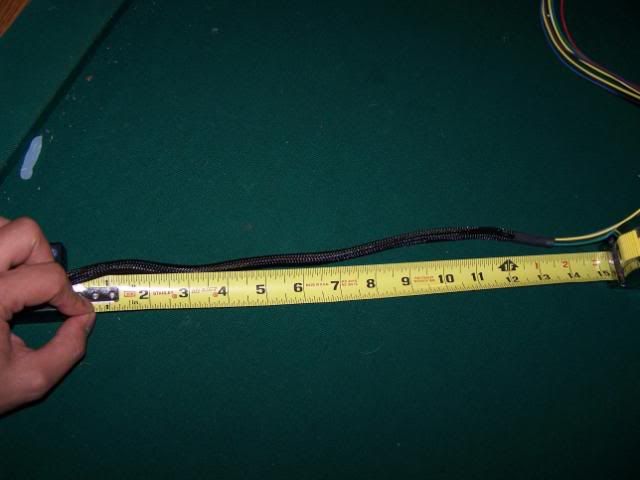
Part of the wires is also spiral loomed so that it will look good if you happen to have to move the unit and wires is exposed. It�s about 13 and half inches long.
Actual installation will be continued. If anyone has any comments or questions, please post it. I am hoping to get this to work, I think this unit can be a great safety device for anyone using nitrous.
Reading through the nitrous forums on my350z, I haven�t noticed too many people running this unit. On g35driver, the nitrous activity is even less. So this will be a learning experience for me and for all. In fact, the only information about this unit I have found is here:
http://my350z.com/forum/nitrous-oxid...ow-switch.html
Here is a little information off of Dynotune�s website:
This tiny stand alone device(you need nothing else to make it work other than your factory o2 sensor or wideband controller) is a Microprocessor controlled Air/Fuel ratio Lean shut-down switch that will shut off the nitrous system if it goes lean during a Nitrous run and best of all, It works with your existing OEM oxygen sensor! (0-1v oxygen sensors)(or 0-5v wideband controllers).
Checkout all these features:
--Microprocessor controlled
--Built in Air/ fuel ratio display(narrow and wideband)
--Built in TPS (WOT) Switch
--Peak and Min A/F memory during the run
--Multiple outputs 12V and Ground
--Multiple Trigger inputs 12V and ground
--Programmable trip points
--Adjustable delay to let lean spikes settle
--6 Foot wire harness Light Weight
--12 Volt Operation
--Fast response
--Super Low Current
--Draw Micro Package Mounts Anywhere 1.8" Wide x 2.4" Tall x .9" Deep
There are some very important things to consider when buying this unit. As stated on their website:
It's the purchasers job to ensure their factory oxygen sensor is a 0-1V style, standard o2 sensor. This will not work with factory wideband sensors found in some new cars.
Some might not know, but the 03-04.5 350z/g35 still use a narrowband, so those output a 0-1v style, so they are compatible with this unit. 350z/g35s that are model 04.5 and up use a factory style wideband. From researching, the output is 0-2v style. So I am unsure if it will be compatible with this unit. I am still researching and talking with members who have far more knowledge than I do. If anyone has input on this, that would be great. Here are some of the threads that I have found my information from:
http://my350z.com/forum/engine-drive...2-sensors.html
http://my350z.com/forum/intake-exhau...-question.html
http://my350z.com/forum/tuning/22131...deband-o2.html
http://my350z.com/forum/forced-induc...deband-o2.html
The main feature we will be talking about is the A/F lean shutdown. This unit also has the ability to also be a Wide Open Electronic TPS (Throttle Position Switch). Since most of the people who buy this probably bought this for safety, you are already probably running the 2 stage tps with window switch. So we will only talk about the A/F lean shutdown feature unless anyone really has anything to ask about it.
So let us continue. The unit came in a standard USPS shipping box, nothing out of the ordinary.
The unit is packaged well. Lots of bubble wrap, no worries about it being crushed or broken during transportation.
You have the option to add an additional warning LED from Dynotune. What this does is that if a lean condition occurs, the LED turns on to inform you that the switch has activated and shutdown your relay controlling your solenoids to avoid a catastrophic lean condition. The LED is adequate during daytime if it is right in front of you. You would drill a 5/16th hole and just plug the LED in and wire it up. I would probably add another LED and put it right in front of me so I would have an additional light just in case I don�t see the one LED or if it just happen to be really bright that day.
Now onto the packing of the unit. The package is sealed just like all other Dynotune products.
The switch is made of hard plastic to ensure that it can withstand rough handling. This unit seems to be meant to be kept inside the cabin to be monitored. I have seen other people put their 2 stage window switch in the engine bay, but the 2 stage seems to be made of much sturdier material, metal material, while this is made of hard plastic.
The switch is about the width and depth of a cigarette box.
It�s about the same height as a cigarette box.
If you cut the top off of the top of the cigarette box, you will have a pretty accurate size of the unit.
This comes with 2 Velcro tape so the unit can be removed and attached to your desired location.
It also comes with printed instructions.
If you happen to lose your instructions, you can get them here on Dynotunes website:
http://www.dynotunenitrous.com/store...structions.asp
The cable is about a total of 6 foot long
Part of the wires is also spiral loomed so that it will look good if you happen to have to move the unit and wires is exposed. It�s about 13 and half inches long.
Actual installation will be continued. If anyone has any comments or questions, please post it. I am hoping to get this to work, I think this unit can be a great safety device for anyone using nitrous.
Thread Starter
|
Registered User
Joined: Feb 2008
Posts: 22
Likes: 0
So let’s get a basic start with the installation. As with any electronic item, you need power and ground. We will install as if you have the 2 stage window switch, since that is what the majority of the people here will have. I know a lot of guys here will run a zex kit also, and if anyone has questions about that, we can cross that bridge when we get there.
The red wire coming off the unit is power and the black is ground.
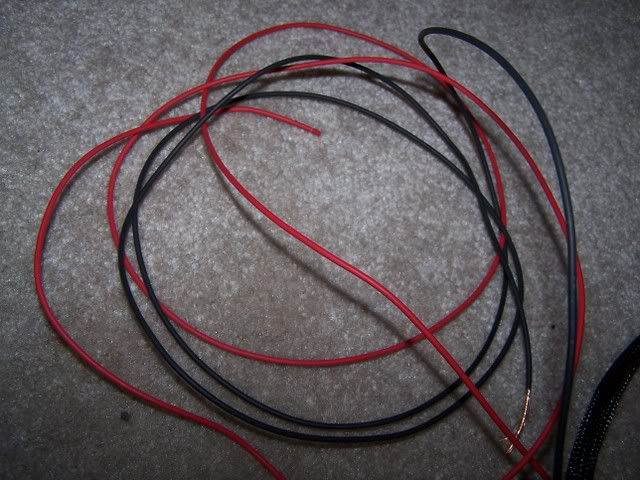
I tapped into the cigarette lighter with a wire and then tapped into the wire. You can get power from it in many different ways. You can solder, which is the best way possible, or you can use taps. These are the two best methods, you can probably tie the wires together and tape it, but that’s never a good option. The two types of taps are inline taps that is semi permanent or quick disconnect.
Semi permanent
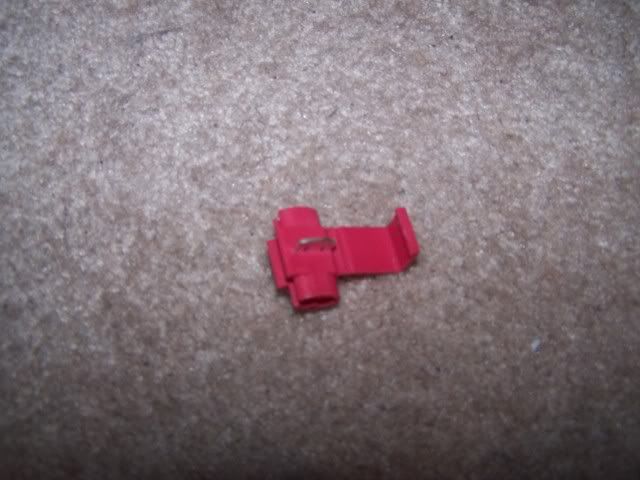
Quick Disconnect
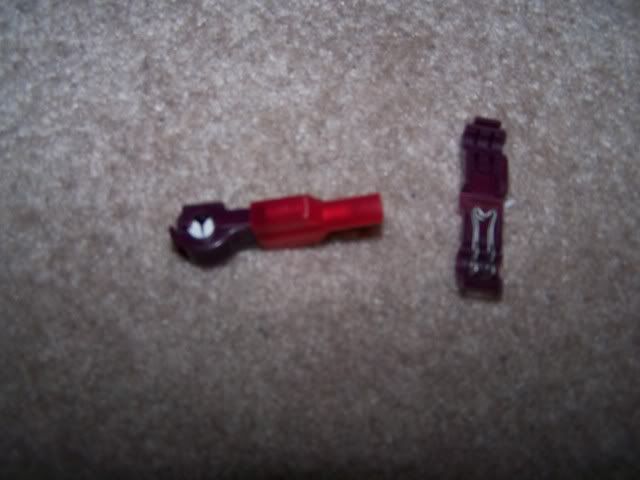
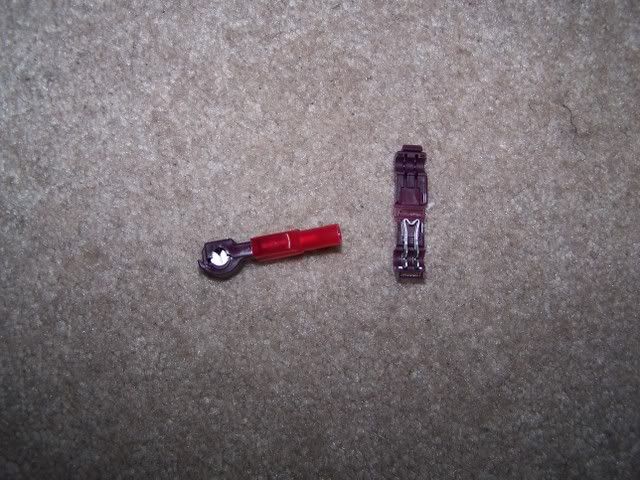
Both of them

You can tap into any 12v keyed accessory such as the radio or fuse block also.
As for the ground, I will ground at the shifter base, where I ground all of my wires. I have read this area is very sensitive to grounding, but it has worked fine for me. If you are **** about it, you can always do a continuity check; it should read close to 0v I believe. If that is incorrect, please correct me, I do not want to put out false information.
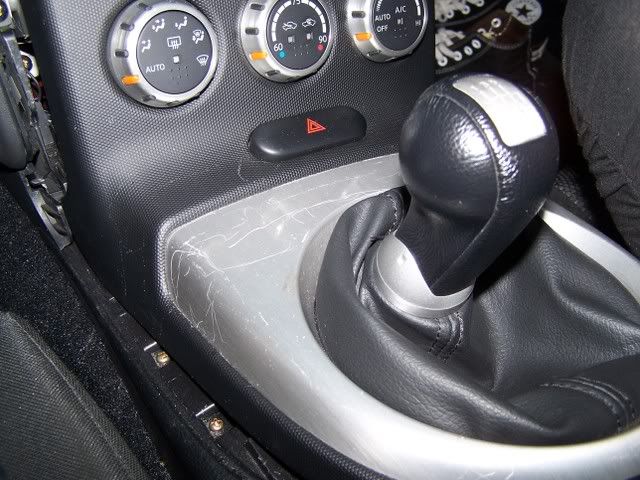
I know my shifter cover is jacked up, my dog messed it up, I’ll replace it, at least that’s what I tell myself.

This is where I ground all my wires.
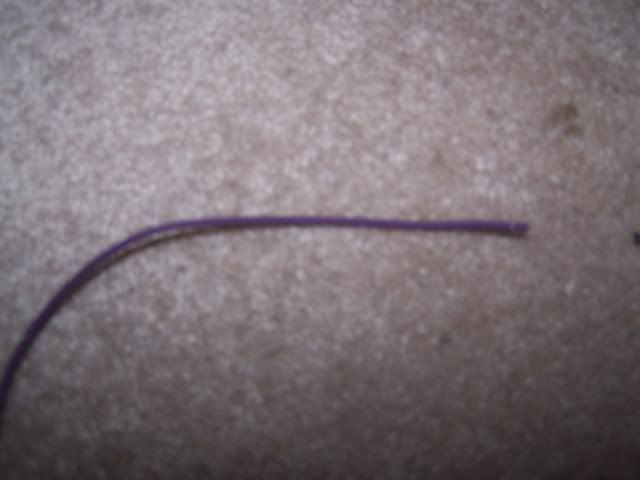

The purple wire will connect to either your factory narrowband or aftermarket wideband
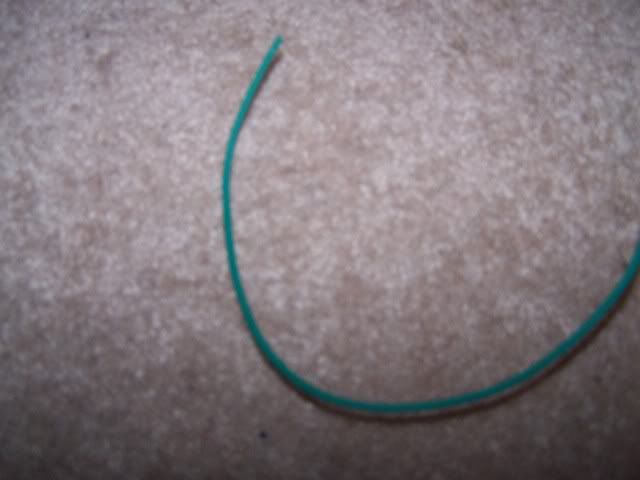
This green wire will ground the warning LED. The power can be tapped from the red wire off of the switch if you extend it or any other 12v.
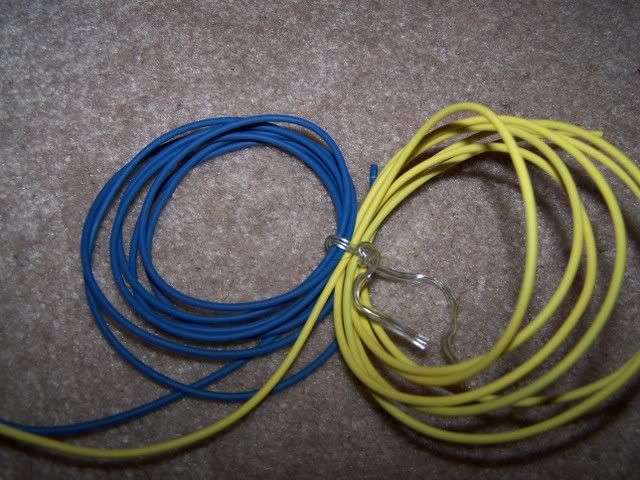
These are the two wires that will connect to the relay. One is blue and the other is a yellow wire. Be careful, there is a yellow wire with white stripe, make sure you can tell the difference of which one you are using. The blue wire will tap off of the yellow wire of the two stage window switch; verify that it is pin 85 off of the relay. The yellow wire will replace the white wire off of your 2 stage window switch that was going to the relay, so you can hook the yellow wire directly into the relay, ensure that you are hooking it up to pin 86.
This is where I will be mounting the unit, since I can un mount it and mount it to the vent for easy view via cell phone holder. The reason I choose this spot is it is discrete yet still easily accessible.
More pictures will be added to supplement the other pictures when I have a chance.
The red wire coming off the unit is power and the black is ground.
I tapped into the cigarette lighter with a wire and then tapped into the wire. You can get power from it in many different ways. You can solder, which is the best way possible, or you can use taps. These are the two best methods, you can probably tie the wires together and tape it, but that’s never a good option. The two types of taps are inline taps that is semi permanent or quick disconnect.
Semi permanent
Quick Disconnect
Both of them
You can tap into any 12v keyed accessory such as the radio or fuse block also.
As for the ground, I will ground at the shifter base, where I ground all of my wires. I have read this area is very sensitive to grounding, but it has worked fine for me. If you are **** about it, you can always do a continuity check; it should read close to 0v I believe. If that is incorrect, please correct me, I do not want to put out false information.
I know my shifter cover is jacked up, my dog messed it up, I’ll replace it, at least that’s what I tell myself.
This is where I ground all my wires.
The purple wire will connect to either your factory narrowband or aftermarket wideband
This green wire will ground the warning LED. The power can be tapped from the red wire off of the switch if you extend it or any other 12v.
These are the two wires that will connect to the relay. One is blue and the other is a yellow wire. Be careful, there is a yellow wire with white stripe, make sure you can tell the difference of which one you are using. The blue wire will tap off of the yellow wire of the two stage window switch; verify that it is pin 85 off of the relay. The yellow wire will replace the white wire off of your 2 stage window switch that was going to the relay, so you can hook the yellow wire directly into the relay, ensure that you are hooking it up to pin 86.
This is where I will be mounting the unit, since I can un mount it and mount it to the vent for easy view via cell phone holder. The reason I choose this spot is it is discrete yet still easily accessible.
More pictures will be added to supplement the other pictures when I have a chance.


Registered User
Joined: Jun 2008
Posts: 35
Likes: 0
would love to see an update im looking to use nitrous but only maybe a 50 to 75 shot maybe not even that with some colder plugs but i dont wanna go all out with a utec n stuff... any more info u can give me what kit would u recommend an stuff

Thread
Thread Starter
Forum
Replies
Last Post
master111
G35 Coupe V35 2003 - 07
2
Sep 25, 2015 08:32 PM