Forced Induction Discussion of turbos , superchargers , and nitrous upgrades on the G35

2005 6MT Vortech SC Build Begins

Thread Tools
 
Search this Thread
 
Rate Thread
 
  #31  
Old 08-14-2012, 01:17 PM
chink-ah-saur's Avatar
Registered User
iTrader: (13)
Join Date: Jul 2010
Location: AsiaSF,ca
Posts: 2,942
Received 297 Likes on 242 Posts
it should look something like this, I have a 5at tho so its a little less room
Name:  IMAG1409-1.jpg
Views: 48
Size:  114.2 KB
 
  #32  
Old 08-14-2012, 01:59 PM
Sparda1123's Avatar
Registered User
Join Date: Dec 2010
Location: Orlando,FL
Posts: 1,426
Received 27 Likes on 24 Posts
Not to thread jack but does anyone know where/if the V2 is still available i remember i was looking at a tuner kit for $3750 but i havent been able to find another tuner kit. Personally id rather have the oil drain so i dont have to deal with changing the SC oil seperatly
 
  #33  
Old 08-14-2012, 03:45 PM
unvmyg's Avatar
Registered User
iTrader: (29)
Join Date: Dec 2007
Location: San Mateo County
Posts: 740
Received 25 Likes on 24 Posts
Originally Posted by Sparda1123
Not to thread jack but does anyone know where/if the V2 is still available i remember i was looking at a tuner kit for $3750 but i havent been able to find another tuner kit. Personally id rather have the oil drain so i dont have to deal with changing the SC oil seperatly
Yes it should still be available. You might need to contact a vortech dealer for best pricing.
 
  #34  
Old 08-14-2012, 04:00 PM
Texasscout's Avatar
Registered User
iTrader: (11)
Join Date: Feb 2005
Location: South Texas
Posts: 35,605
Received 2,116 Likes on 1,768 Posts
...
 
  #35  
Old 08-14-2012, 07:52 PM
dvandriesen's Avatar
Registered User
Thread Starter
iTrader: (2)
Join Date: Feb 2012
Location: Allentown PA
Posts: 221
Likes: 0
Received 6 Likes on 6 Posts
Will have to have a look at that thanks for the pic will see what is different with mine. Not SC related but started painting the headlights while the front bumper was ripped off. Didnt turn out too bad.
Name:  fr_721_size1024.jpg
Views: 69
Size:  143.0 KB
Name:  fr_722_size880.jpg
Views: 80
Size:  137.4 KB
Name:  fr_723_size880.jpg
Views: 77
Size:  124.7 KB
Name:  fr_726_size880.jpg
Views: 52
Size:  146.7 KB
Name:  fr_728_size880.jpg
Views: 45
Size:  131.9 KB
 
  #36  
Old 08-14-2012, 08:14 PM
dvandriesen's Avatar
Registered User
Thread Starter
iTrader: (2)
Join Date: Feb 2012
Location: Allentown PA
Posts: 221
Likes: 0
Received 6 Likes on 6 Posts
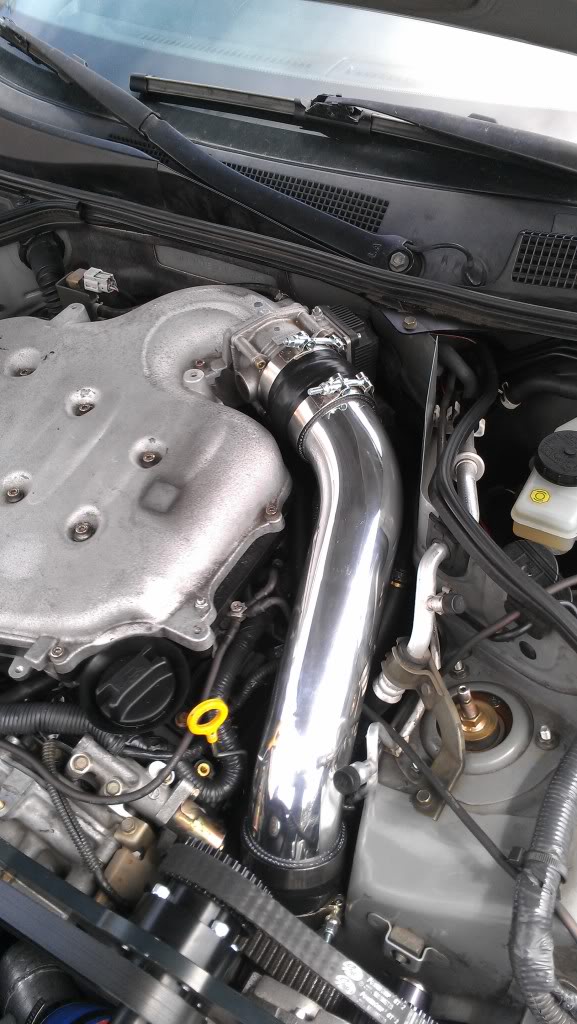
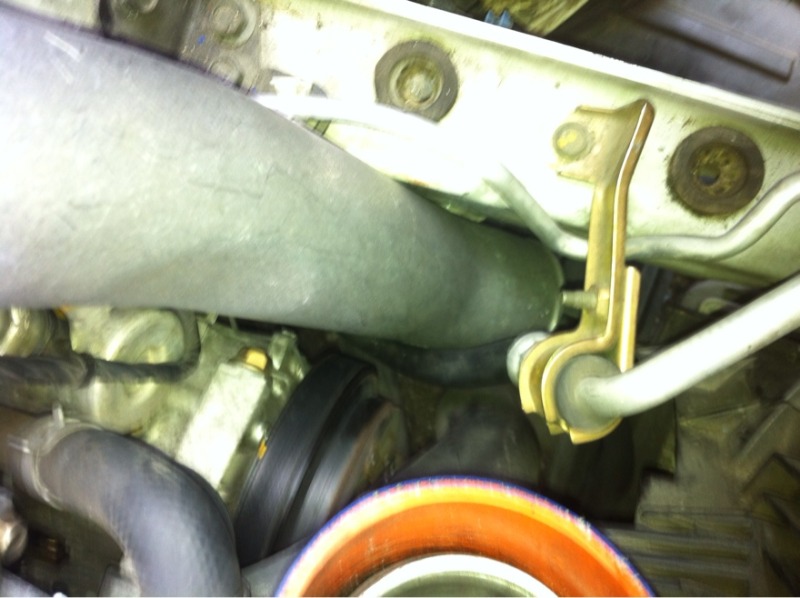
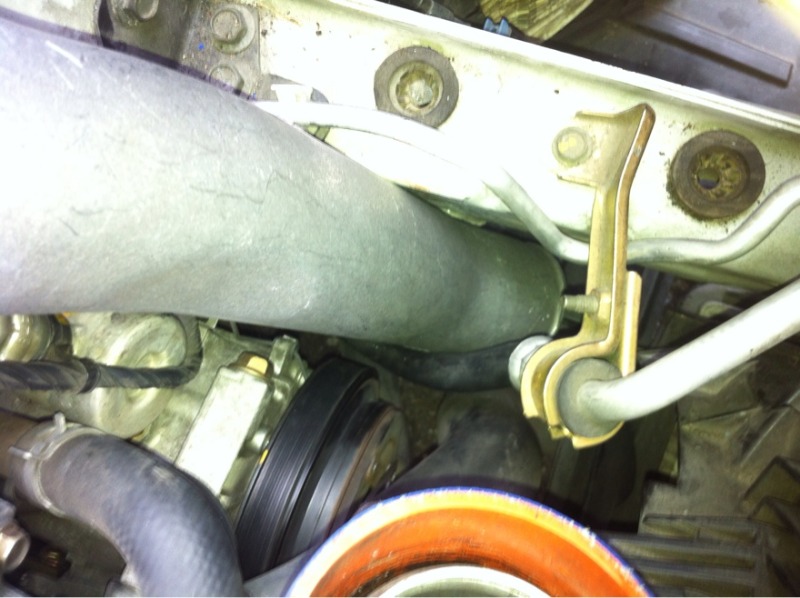
Im confused here is where im sitting now more close up im wondering if the cast iron is upside down? Not sure what im missing.
Name:  fr_731_size880.jpg
Views: 48
Size:  107.8 KB
Name:  fr_733_size880.jpg
Views: 48
Size:  105.3 KB

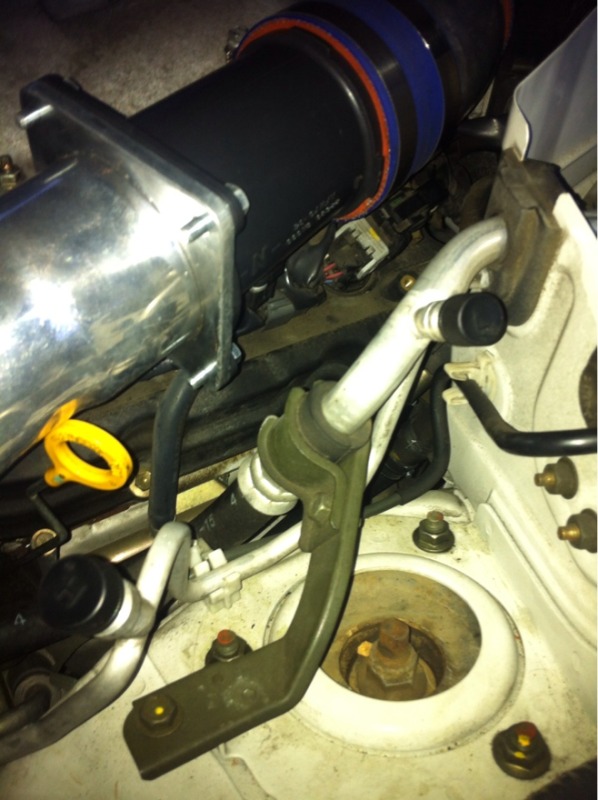
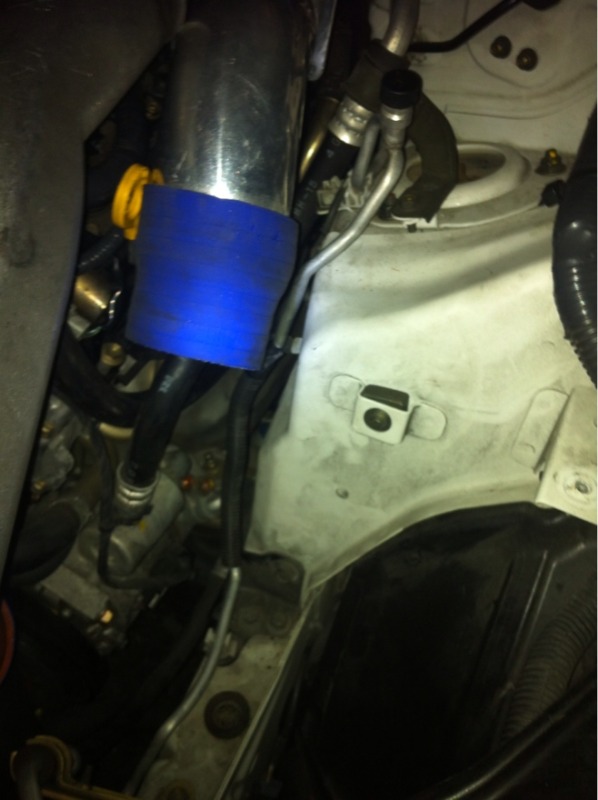
Few new shots of where im at moved the lines behind like yours. The gap between the fexible AC line is it supposed to be this tight?
Name:  fr_734_size880.jpg
Views: 52
Size:  93.5 KB
Name:  fr_735_size880.jpg
Views: 69
Size:  81.3 KB
Name:  fr_736_size880.jpg
Views: 45
Size:  100.8 KB
Name:  fr_737_size880.jpg
Views: 46
Size:  74.7 KB
 

Last edited by dvandriesen; 08-14-2012 at 08:50 PM.
  #37  
Old 08-14-2012, 08:57 PM
chink-ah-saur's Avatar
Registered User
iTrader: (13)
Join Date: Jul 2010
Location: AsiaSF,ca
Posts: 2,942
Received 297 Likes on 242 Posts
One thing I will say move the ac line back lol
Ill pm you
 
  #38  
Old 08-15-2012, 06:26 PM
dvandriesen's Avatar
Registered User
Thread Starter
iTrader: (2)
Join Date: Feb 2012
Location: Allentown PA
Posts: 221
Likes: 0
Received 6 Likes on 6 Posts
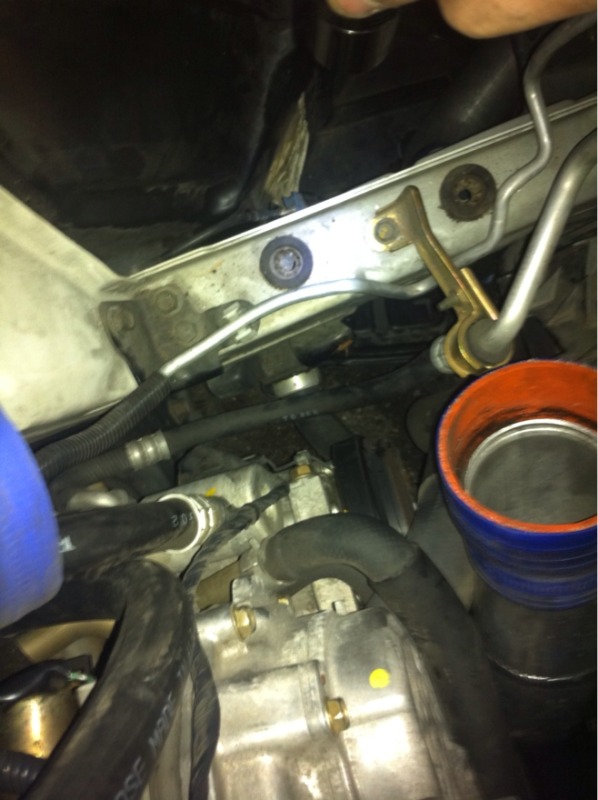
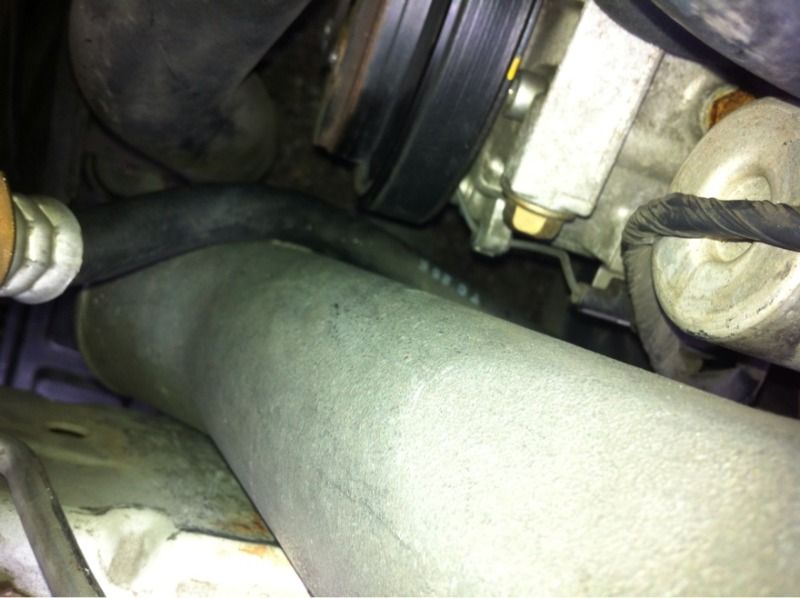
Well im still stuck here and not quite sure everything was actually tightened up good before now i cant figure out how to get this thing the way everyone says any insight would be great heres a few pics.
Name:  fr_741_size880.jpg
Views: 48
Size:  100.8 KB

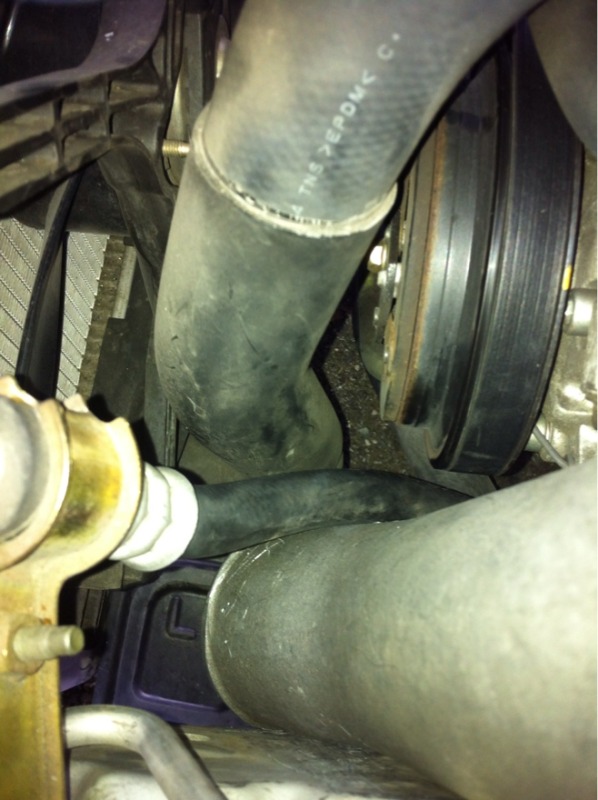
This gets in the way like crazy as well since the coupler wants to rest right here.
Name:  fr_742_size880.jpg
Views: 49
Size:  84.7 KB

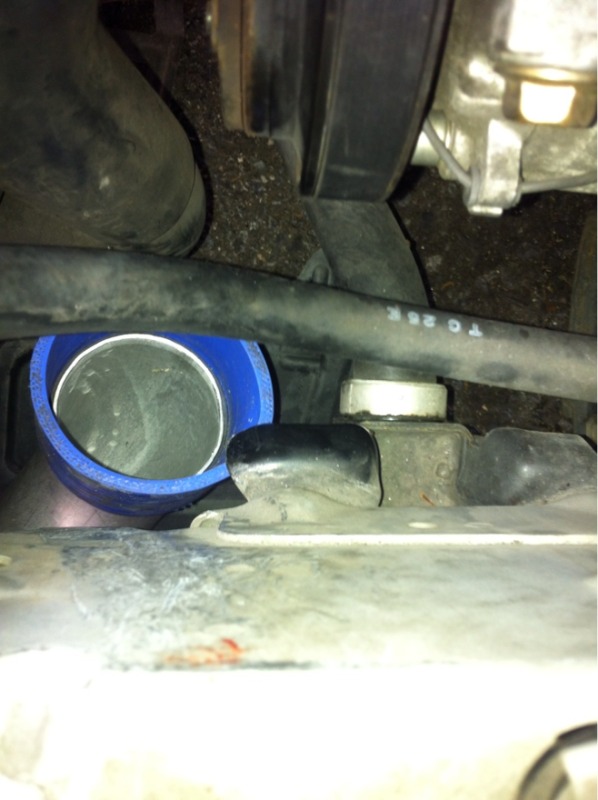
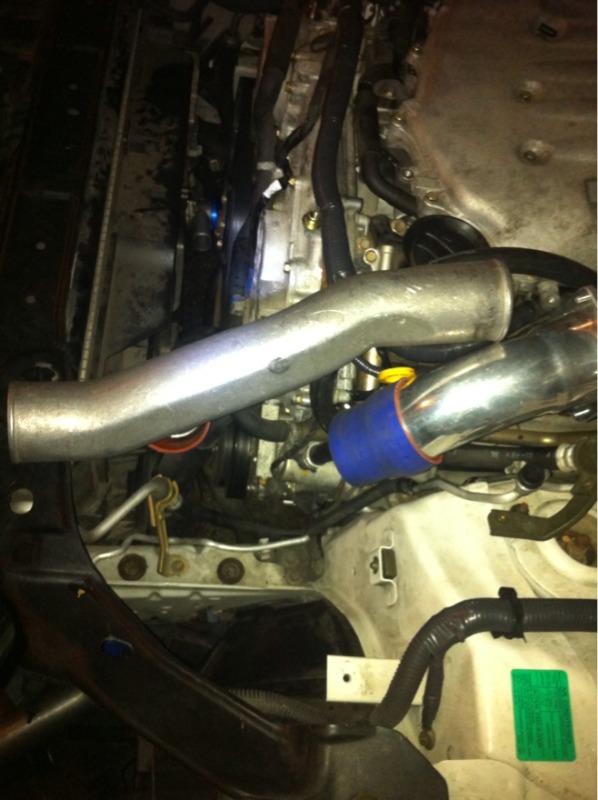
Bottom View looking up at it car where charge pipe actually sits now.
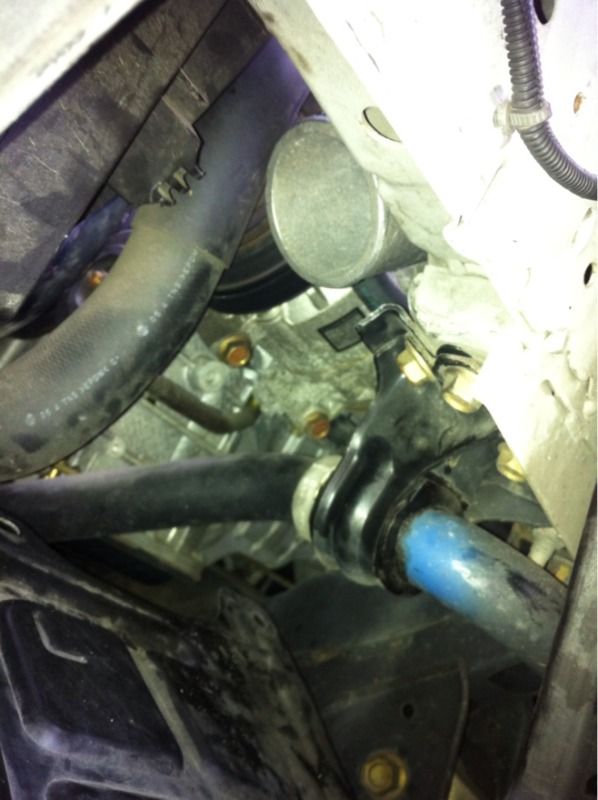
Front looking down
Name:  fr_745_size880.jpg
Views: 47
Size:  94.4 KB
Name:  fr_746_size880.jpg
Views: 54
Size:  106.5 KB
Top Down
 
  #39  
Old 08-16-2012, 06:35 PM
dvandriesen's Avatar
Registered User
Thread Starter
iTrader: (2)
Join Date: Feb 2012
Location: Allentown PA
Posts: 221
Likes: 0
Received 6 Likes on 6 Posts
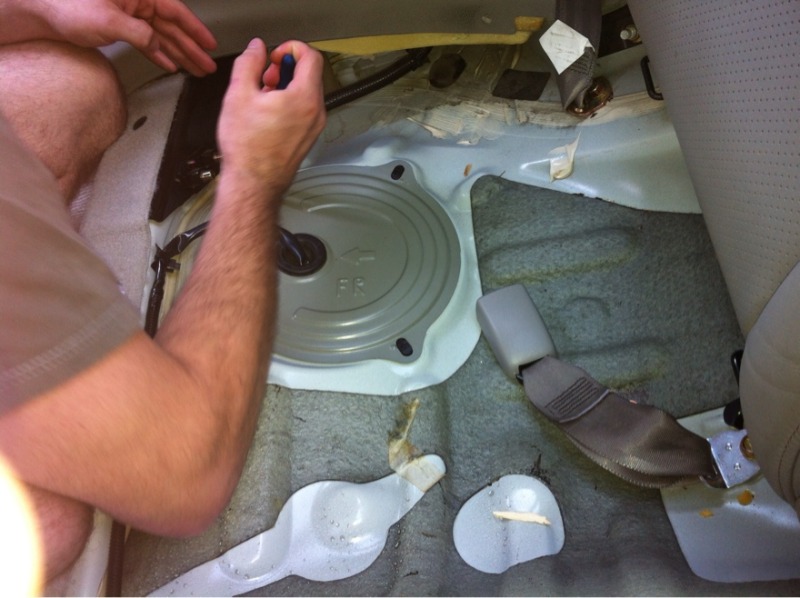
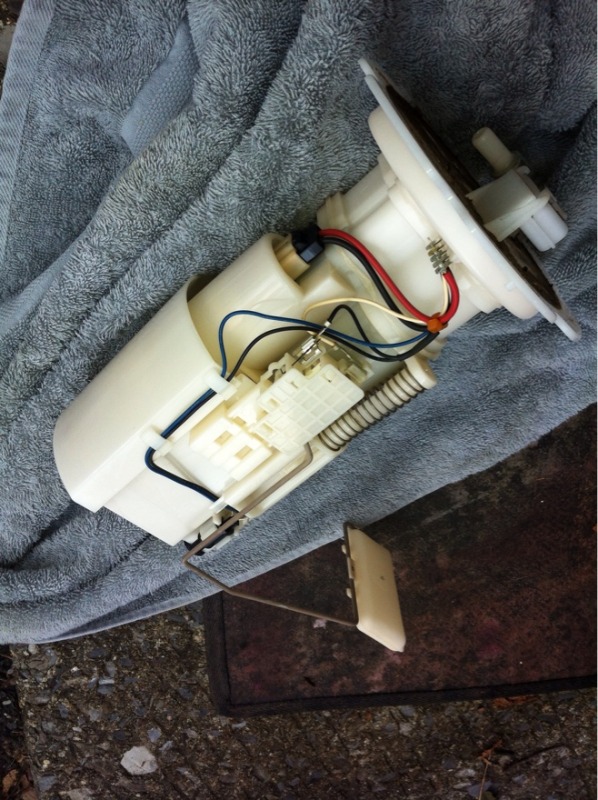
Put the fuel pump in today wasn't hard at all. Almost seemed too easy really. Walbro nubs were already filed for me and I didnt have to file anything on the top part.
Name:  fr_748_size880.jpg
Views: 65
Size:  104.6 KB
Name:  fr_749_size880.jpg
Views: 50
Size:  165.7 KB

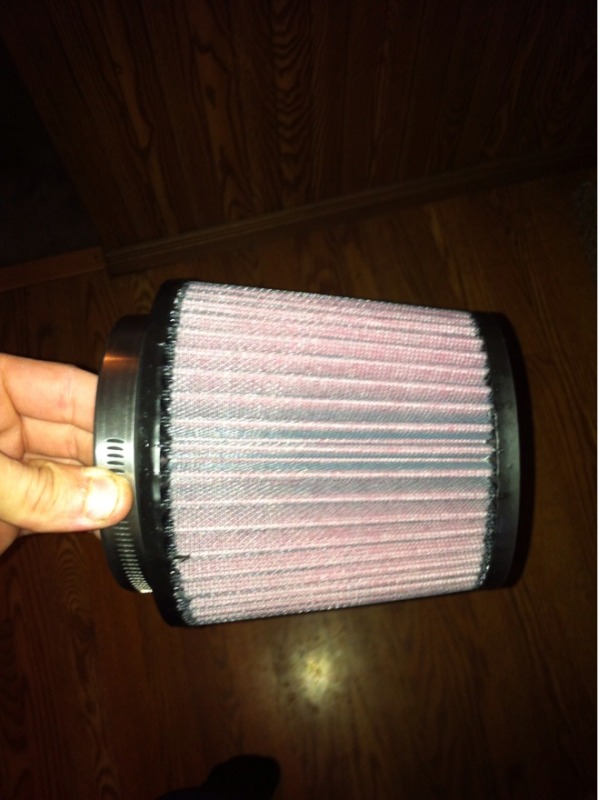
Waiting on a few new couplers and the rest of the CAI for the vortech and im set. K&N filter arrived today for the CAI.
Name:  fr_750_size880.jpg
Views: 46
Size:  87.7 KB
Waiting on 90 Degree 3.5" to 4" coupler and the 45 degree aluminum pipe to get to the wheel well should be here soon.
 
  #40  
Old 08-21-2012, 09:19 AM
HotRodG35's Avatar
Registered User
iTrader: (12)
Join Date: Mar 2010
Location: Seneca, SC
Posts: 670
Received 105 Likes on 74 Posts
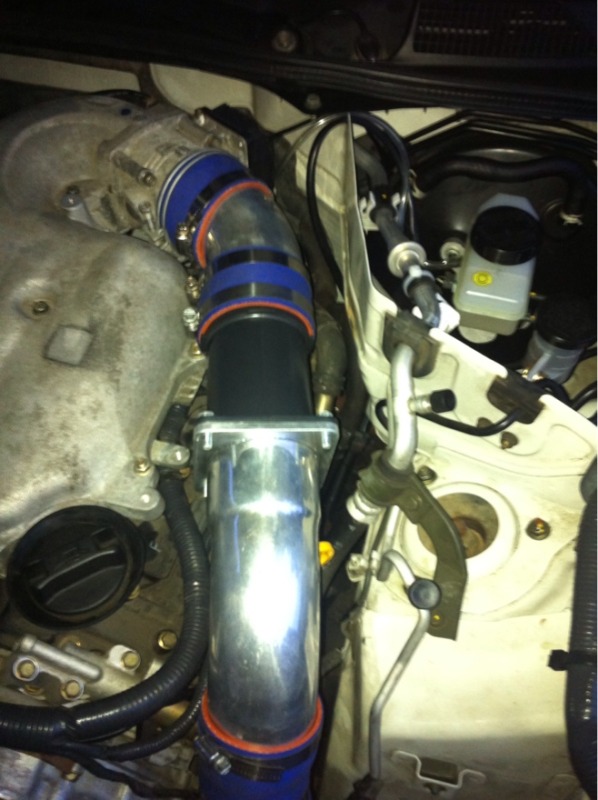
The intermediate cast aluminum pipe looks like its installed backwards. Flat side should face towards engine and the part # casted in pipe should be on top. Conventional wisdom would put flat side towards frame.

Yes that is my engine in the Avatar, It follows along the same details as does the chassis. Will post my build thread soon, battling some health issues and hoping to finish current build this fall.
 
  #41  
Old 08-21-2012, 12:35 PM
dvandriesen's Avatar
Registered User
Thread Starter
iTrader: (2)
Join Date: Feb 2012
Location: Allentown PA
Posts: 221
Likes: 0
Received 6 Likes on 6 Posts
Yeah you are correct the pipe wrong way the instructions very unclear there should b good once get it in tonight. Thanks I wish saw sooner. Now I just need to mount it up. Hope u feel better
 
  #42  
Old 08-21-2012, 03:07 PM
colombiano_G35's Avatar
Registered User
iTrader: (2)
Join Date: Apr 2012
Location: Central Valley CA
Posts: 122
Likes: 0
Received 6 Likes on 6 Posts
awesome build. subscribed for updates
 
  #43  
Old 08-21-2012, 03:43 PM
Frankieg35's Avatar
Registered User
iTrader: (41)
Join Date: Oct 2006
Location: South Jersey
Posts: 17,256
Received 856 Likes on 744 Posts
Very nice build.. There is no room at all for the supercharger or piping.. U gotta get creative.. lol
 
  #44  
Old 08-21-2012, 07:09 PM
dvandriesen's Avatar
Registered User
Thread Starter
iTrader: (2)
Join Date: Feb 2012
Location: Allentown PA
Posts: 221
Likes: 0
Received 6 Likes on 6 Posts
Yeah I am noticing that hardest part of install is the cast iron pipe. Word of advice dont get ahead of self. Once the mounting bracket is mounted there is no space between that and pulley. Almost got it hotrod is right with how it goes
 
  #45  
Old 08-21-2012, 08:19 PM
dvandriesen's Avatar
Registered User
Thread Starter
iTrader: (2)
Join Date: Feb 2012
Location: Allentown PA
Posts: 221
Likes: 0
Received 6 Likes on 6 Posts
Im missing the m12 x 110mm bolt on my kit so need to get my hands on that hopefully can find it ASAP.


You have already rated this thread Rating: Thread Rating: 0 votes,  average.

Quick Reply: 2005 6MT Vortech SC Build Begins


All times are GMT -4. The time now is 11:15 PM.