
Help! Headlight restoration gone wrong!
#16
 03-14-2012, 03:44 PM

#17
03-14-2012, 08:37 PM


#19
03-14-2012, 10:02 PM

Meguiar's PlastX won't come close to removing 2000 grit sanding marks... especially by HAND.
Some sort of machine will need to be used.
OP, you will also need to protect the headlight with some sort of sealer after you polish them. You need to protect the plastic from UV rays or they'll haze up again in no time. Plastic headlights come with a UV coating from the factory. As the car ages, this coating weakens and the elements start to affect the plastic.
One more piece of advice. I don't know if you tried any steps before sanding but this will be for future reference. Always start with one of the least aggressive methods first working your way up IF needed to remove the imperfections. Your headlights were not in bad shape at all and could have been cleared up with a bit of polish and then sealed.
No big deal, you live and you learn.
New headlights are good for a while but they'll do the same thing. I had my headlights replaced under warranty due to the divider between the fog light and HID light having a crack. This was about four years ago and my headlights started hazing again recently. Four years might sound like a while but my car is garaged 22.5 hours out of the day. Two out of the four years the car was garaged and driven only a very few miles on the weekends, if that.
#20
03-14-2012, 10:35 PM

Meh. Results are negligible. The lights look the same (as in the before picture they're not a mess anymore haha) but really just a waste of $20 otherwise.
Polished them out and they look a little better with lights on. But if I could do it again I'd just save the $20.
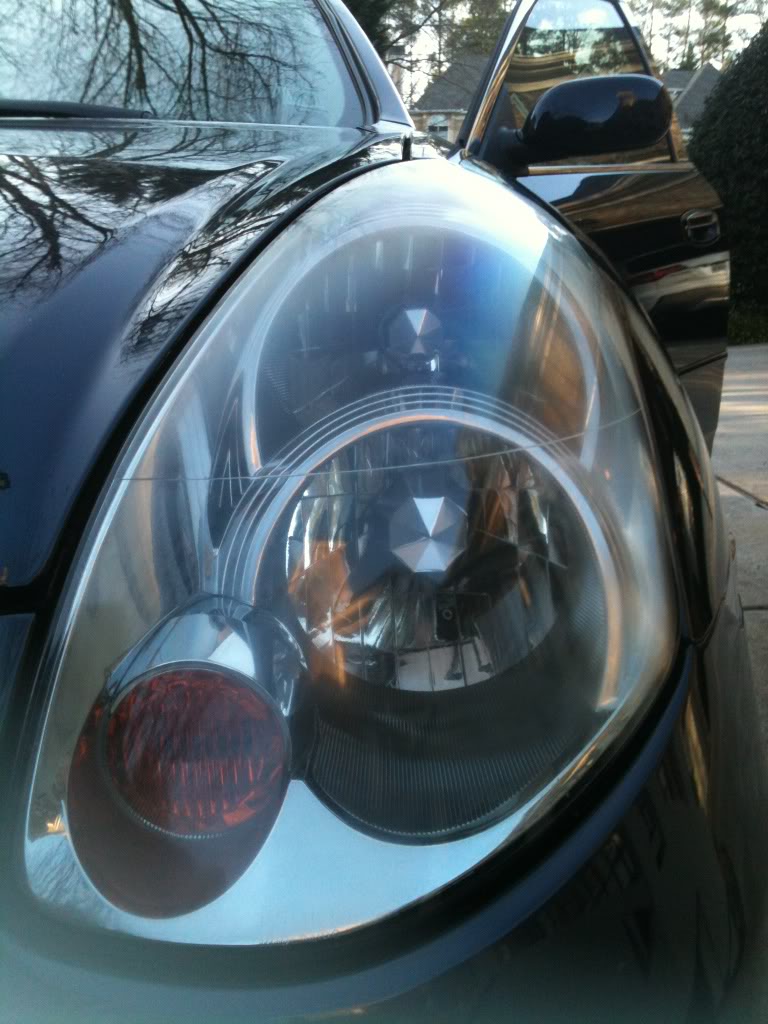
After the polish (nearly identical to the before pic)

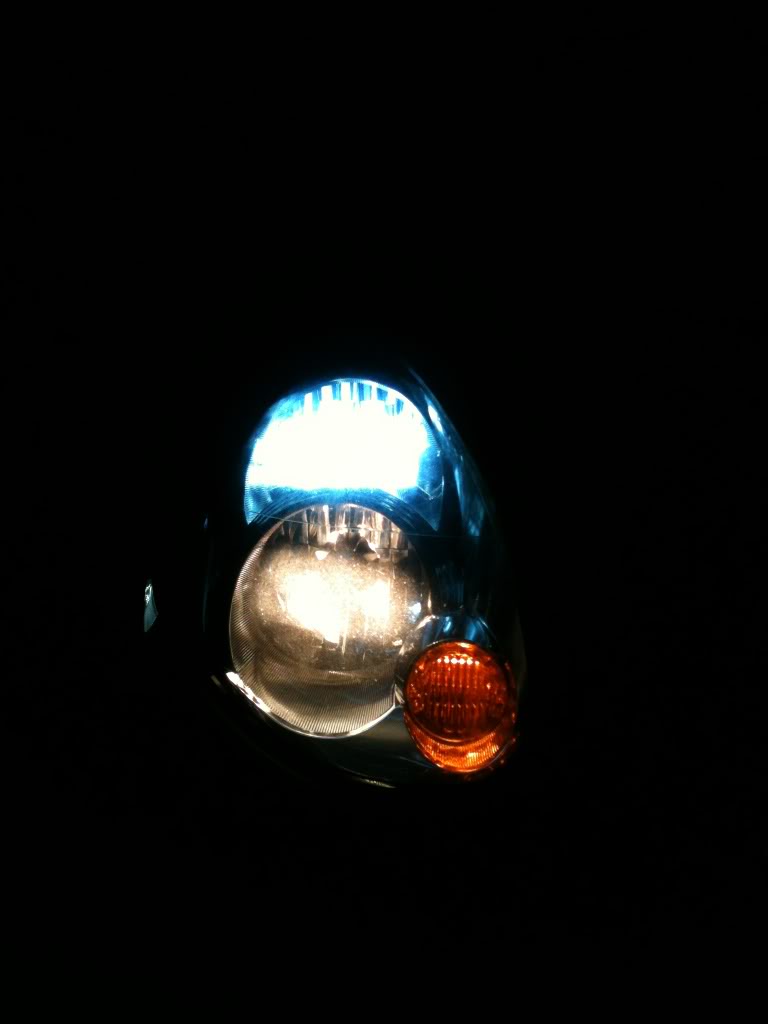
With lights on:
Passenger side (original)
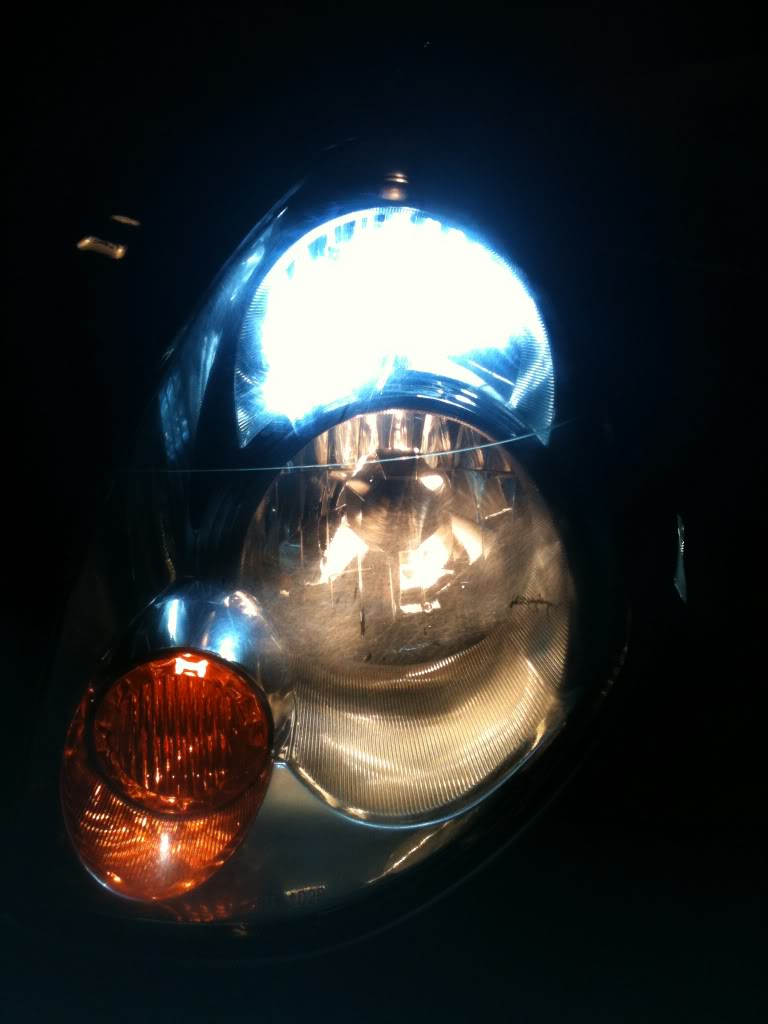
Drivers side (after)
A little of the haze was removed. But like I said before, I don't think wetsanding is worth it if you already have nice headlights. Lesson learned.
Polished them out and they look a little better with lights on. But if I could do it again I'd just save the $20.
After the polish (nearly identical to the before pic)
With lights on:
Passenger side (original)
Drivers side (after)
A little of the haze was removed. But like I said before, I don't think wetsanding is worth it if you already have nice headlights. Lesson learned.
#21
03-15-2012, 07:42 AM
Look at your last pic (driver side after; lightson). Notice the "haze" you see is sanding marks left in the plastic. You didn't polish them enough or didn't use a compound step before the polish. They are still incomplete.
You don't see the same imperfections of the headlight in the before, light on shot.
What process did you use to polish and what did you use?
You don't see the same imperfections of the headlight in the before, light on shot.
What process did you use to polish and what did you use?
#22
03-15-2012, 09:39 AM
Look at your last pic (driver side after; lightson). Notice the "haze" you see is sanding marks left in the plastic. You didn't polish them enough or didn't use a compound step before the polish. They are still incomplete.
You don't see the same imperfections of the headlight in the before, light on shot.
What process did you use to polish and what did you use?
You don't see the same imperfections of the headlight in the before, light on shot.
What process did you use to polish and what did you use?
#23
03-15-2012, 06:15 PM


#25
03-16-2012, 12:59 AM

What is the max speed on your drill? The first time I used a kit, it looked a little worse than before. Then I noticed that the instructions say to use a drill with at least 1200 max rpm. (I could be remembering that number wrong). Borrowed a more powerful drill from a friend and they came out much better. It seems that the fad for cordless drills has also led to an influx of drills with low rpms in order to save battery life etc. etc.
#27
03-17-2012, 01:13 AM
I'd never sand a headlight lens, it's pointless, a light buffing is all they need, and buffin won't cause permanent damage like sanding does. I don't care how fine the grit is, or how much you buff after, once you sand them, it'll always show with the lights on.
IMHO< never sand your healights, the only time you need to is if they have deep scratches in them and you insiston trying to take out one or two deep scratches by causing a few million small ones (sanding).
Just my $.02 on this.
IMHO< never sand your healights, the only time you need to is if they have deep scratches in them and you insiston trying to take out one or two deep scratches by causing a few million small ones (sanding).
Just my $.02 on this.
#28
03-17-2012, 03:40 AM

I'd never sand a headlight lens, it's pointless, a light buffing is all they need, and buffin won't cause permanent damage like sanding does. I don't care how fine the grit is, or how much you buff after, once you sand them, it'll always show with the lights on.
IMHO< never sand your healights, the only time you need to is if they have deep scratches in them and you insiston trying to take out one or two deep scratches by causing a few million small ones (sanding).
Just my $.02 on this.
IMHO< never sand your healights, the only time you need to is if they have deep scratches in them and you insiston trying to take out one or two deep scratches by causing a few million small ones (sanding).
Just my $.02 on this.
#29
03-17-2012, 10:03 AM
I'm sure it's possible, but I've never seen it. And why sand it when you can just use a buffer and do a much better job that doesn't scratch the lens?
A professional doesn't use sandpaper, they use a buffer.Then as someone mentioned above, if it's too far gone, a light sanding is the last resort, but they start with higher grit (3000) or so first then re-buff.
A professional doesn't use sandpaper, they use a buffer.Then as someone mentioned above, if it's too far gone, a light sanding is the last resort, but they start with higher grit (3000) or so first then re-buff.
#30
03-17-2012, 02:00 PM

I tried that once with the sandpaper and it truned out the same way. In my experience and what worked for me is to buff by hand, no sandpaper. Use a headlight restoration compound and megiars scratch remover, to do your headlights. I first clean the headlight and dry them, using the headlight restoration compound with a application pad I buff by hand and wipe clear or buff with a buffer about three times. After that I use the miguiars buffing by hand and buffing out about three times. After that they're pretty clear. I also apply a headlight gel type substance that keeps the headlight from turning back. Just works for me. I don't like using drill and sanders they can mess a lot of stuff up.