When you click on links to various merchants on this site and make a purchase, this can result in this site earning a commission. Affiliate programs and affiliations include, but are not limited to, the eBay Partner Network.
Very helpful thread. I had the same issue, but spending $65-$75 (Amazon) on a new bracket was not an option, out of principle! It's a tiny plastic part...not worth it.
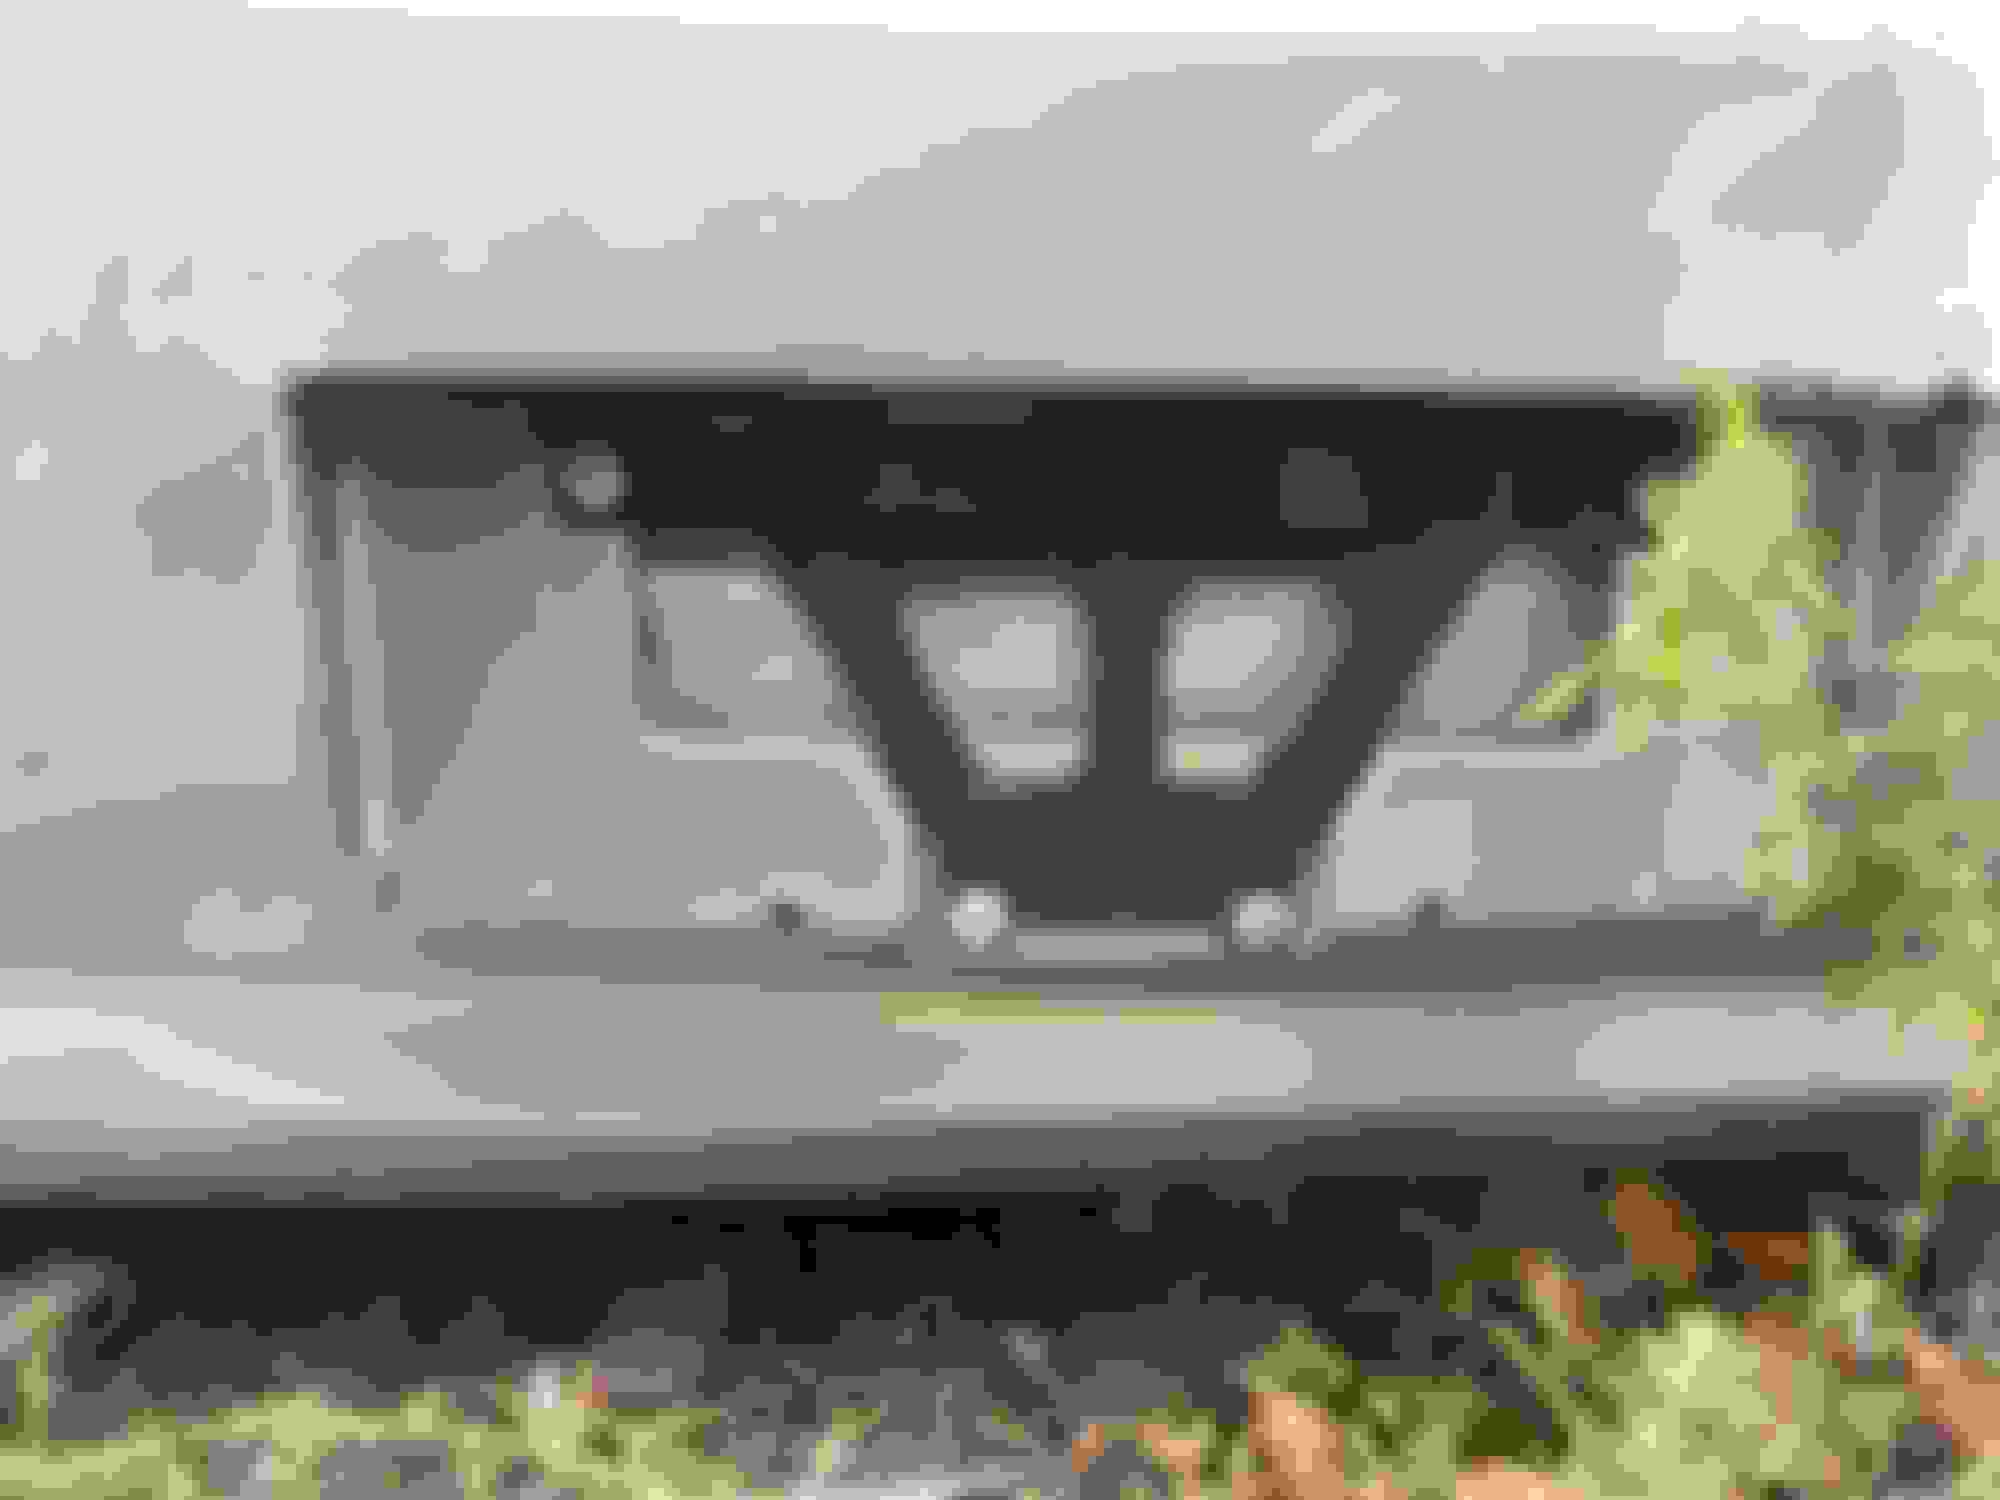
So I fashioned a new bracket out of a scrap piece of quarter-round trim that I had laying around. Pics attached (don't ask why it's stained purple; I'm a dad, and kids = stains...which is why I had scrap quarter-round!).
I just zip-tied each lamp 2x to the new "bracket" and then inserted the "bracket" up into place and rested it on the old rusted-out/original mounts. I considered also zip-tying the "bracket" to the old mounts, but we'll see how it holds for now, just resting there. I don't expect it to shift/fall; and besides, the license plate itself prevents a lot of movement from the lamps and "bracket" anyways!
Just an idea. Use whatever you've got laying around really. Hope this helps!
The lamps, zip-tied to the scrap piece of quarter-round trim. This was then rotated to point the lamps downwards and then it was tucked into where the lamps rest, to illuminate the license plate. Final result, with the license plate reattached. Not perfect, but a good/cheap hack!
Somewhat related to this... my bracket is rusted, but for some reason the harness is disconnected the goes to the license plate lights. Anyone know the best way to reconnect? Does the rear bumper have to come off?
It's easier with it off. You might not be able to un plug that light harness without removing the bumper. Worth a try at first
The last person who removed the bumper did not reconnect the harness. I was able to fish out the harness from underneath, loosen the bracket and reconnect with the bumper still on.
This might be a stupid question but how would u take out the bracket? I went to the junk yard today and glad I found one, but it seems like its riveted in there. Do I have to drill it out?
Yep, or if you can get behind it and use a pair of side cutters to cut off the flared inside part of the rivet.
I usually just do it from the front like in your picture, use a pair of side cutters and try to pinch BEHIND the face of the rivet to put pressure on it while you take a drill on high speed and lightly eat away the rivet (it's aluminum so no need for a lot of pressure). The side cutters wedged behind it are to keep them from spinning which may or may not be a problem, depends on how tight the rivet is.
EDIT: If you can't get your side cutters behind the rivet take a small flat blade screwdriver and hammer it behind the rivet to flare up the edge a bit.
that happened to mine too. Mine actually was worst than that. it wouldnt even hold my light anymore. i just bought a new one. www.infinitipartsonline.com
i get all my oem parts from there.
Are there any videos or tips on how to replace it? I have a 2005 g35 sedan and cannot find any videos for replacing the bracket, only the lights.