When you click on links to various merchants on this site and make a purchase, this can result in this site earning a commission. Affiliate programs and affiliations include, but are not limited to, the eBay Partner Network.
Going with new valve covers, spark plugs (someone put autolites in....oh, the horror!!) I called NWP and ordered the lower intake phenolic spacers (they fit), just getting a head start
Next up was refreshing the front end with a fresh coat of paint and clear for the new season:
Tackled a friends Jimmy while we were at it:
After paint:
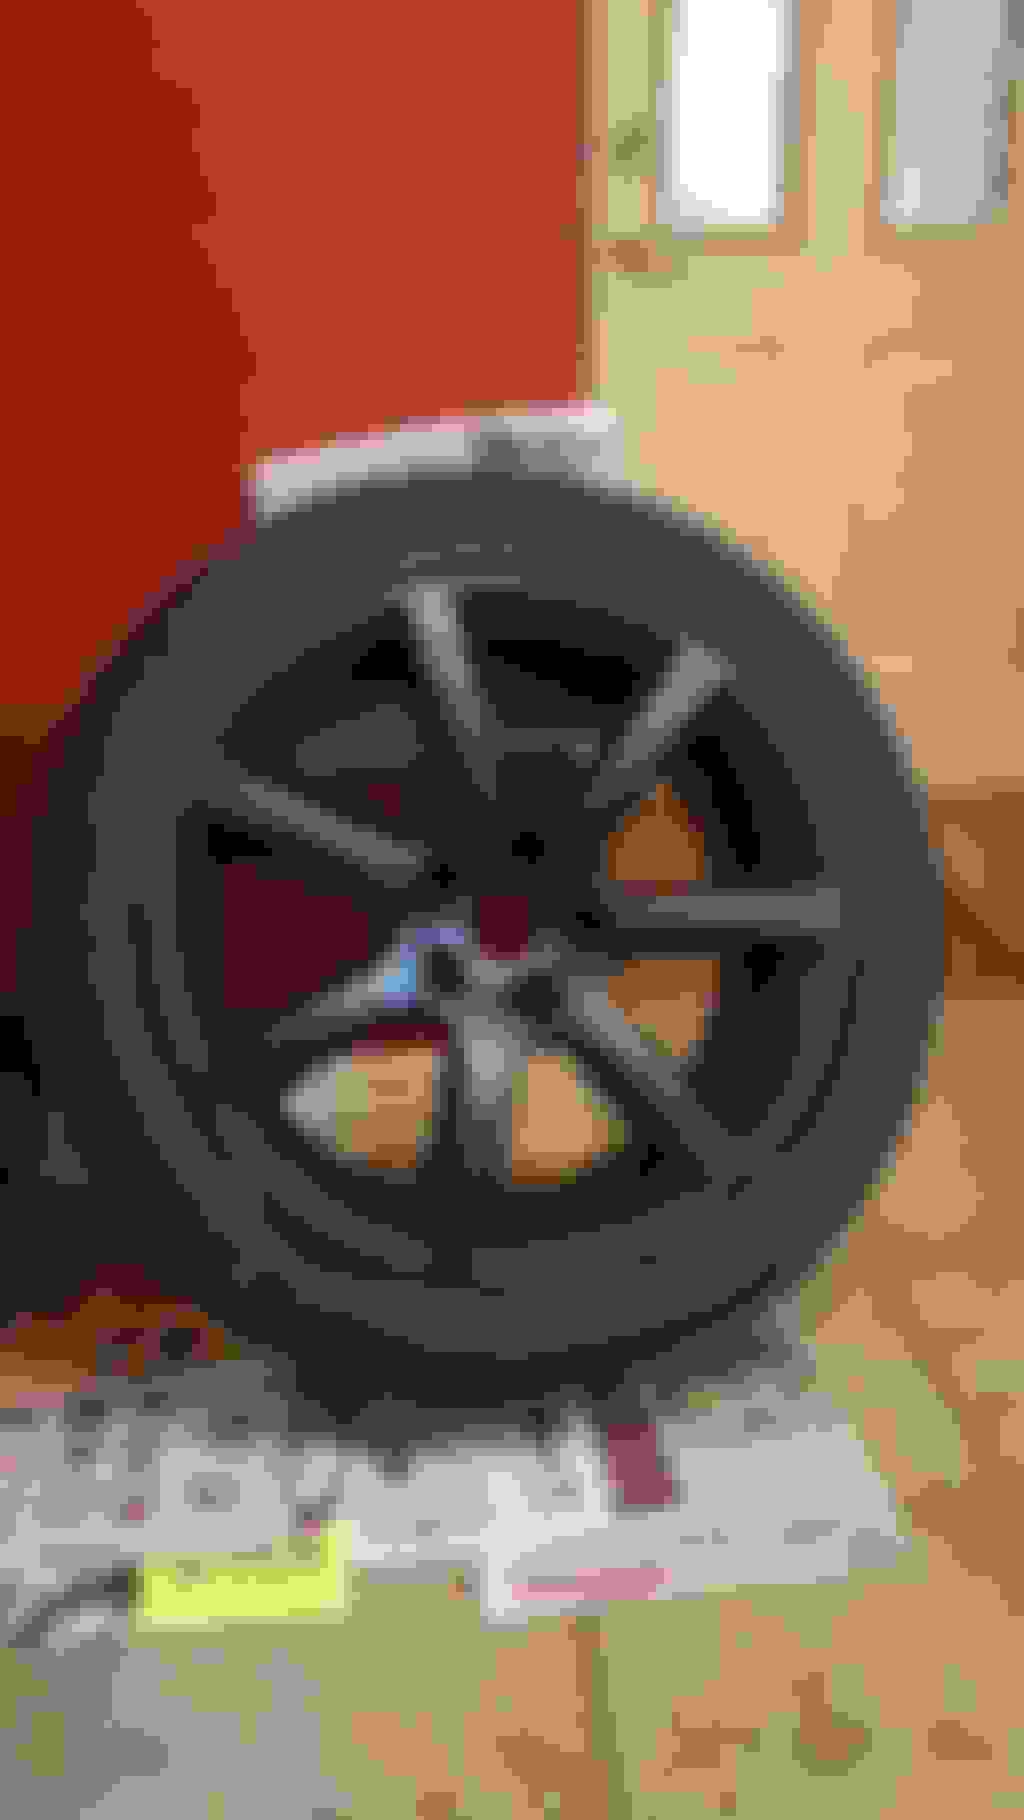
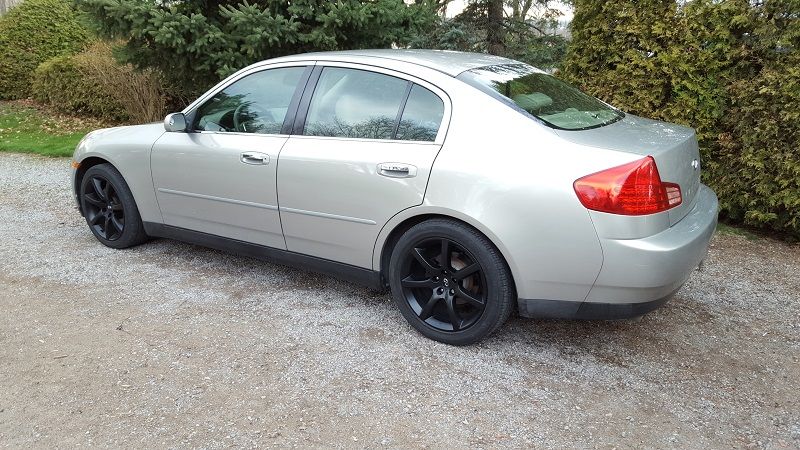
And today I finished my second last wheel restoration and paint. They are a set of 18's staggered off the coupe, soon to be going on my sedan. They had a case of severe curb rash, so many hours of bondo, and sanding, the final product wasn't half bad given what I had to start with.
Next up is some fender rolling, and 350Z suspension swap!
Next up was refreshing the front end with a fresh coat of paint and clear for the new season: Tackled a friends Jimmy while we were at it:
After paint:
And today I finished my second last wheel restoration and paint. They are a set of 18's staggered off the coupe, soon to be going on my sedan. They had a case of severe curb rash, so many hours of bondo, and sanding, the final product wasn't half bad given what I had to start with.
Next up is some fender rolling, and 350Z suspension swap!
If your headlights are very yellowed, start by wet sanding them down with 1000 grit wet sanding paper working in a horizontal and then vertical pattern. Keep doing this until the color of the water turns from yellow to white. This means that the damaged clear-coat has been removed and your down to a clean lens.
Step 2:
Wetsand again in the same pattern with 2000 grit to remove the deeper 1000 grit sand paper scratches. And then wash everything off and dry the headlights thouroughly.
Step 3:
Using a headlight restoration wheel (You can get them in the kit pictured below, which I highly recommend)
Use the included compounding fluid (or buy any aggressive compound (6-7) and wet the pad with a few drops of fluid of it. Go over the entire headlight several times until it looks like most of the wet-sanding marks have been removed.
Once your happy with it, use the polish to do the finishing work. Another 5-6 drops and polish until your happy with the final result.
Since there most likely won't be any clear coat left on the lens to protect it (depends how much sanding you did and how damaged the lens is) I recommend use a high quality wax paste to help protect it from yellowing again.
Good luck! It makes a world of a difference, especially on these cars.
The only thing I would add is do your best to professionally have them cleared with a commercial clear coat. They'll never yellow again.
Installed 12v hardwired dual USB connector in place of lighter...
Yay, we have power!
Works great, no complaints. I had to trim the bracket underneath the ash tray door so the wiring would have room to move, and file the hole slightly to make this fit in place of the lighter.
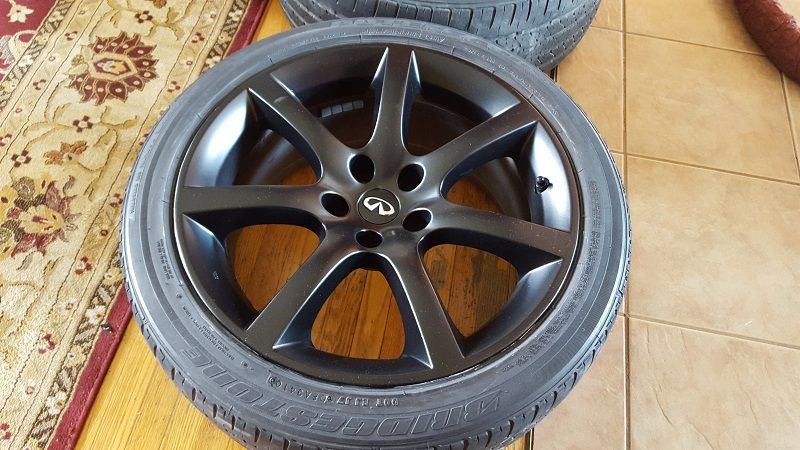
Finally finished the refinishing of my wheels today and mounted them.
This is what I had to start with. 2005 Coupe staggered setup. Paid next to nothing for the wheels and tires, and I was overdue for a good DIY attempt.
I did all matte black and matte clear-coat originally but the finish wasn't what I desired. It was too matte and just didn't suit the car. Matte wheels tend to have a finish that lacks the "quality look" in my opinion.
SO, I switched to Satin, using the same matte clear-coat and the finish was exactly what I wanted.
There's dust on the wheels. They aren't paint defects
I need some opinions. New EBC drilled and slotted rotors are on the way, along with some stainless braided brake lines. I'm leaning towards doing a quality paint job on the calipers. I'm thinking I want to do red to add some color to the car because it lacks "pop?" Not sure, maybe gunmetal or black? I'm trying to avoid the "riced" look at all costs.