Anyone do the STi-R lens swap?
#1
 06-14-2012, 04:27 PM


Anyone do the STi-R lens swap?
Been searching throughout the forums and the original DIY thread for the lens swap is gone 
just wanted to know if this is a simple snap-off, snap on install or are adapters, spacers & adjustments req'd that will complicate the install. I'm painting my lights soon and would like to get these lenses, but I've just got a small time window to do this so it's got to be simple & quick. Thanks for any help you can provide I called TRS and the rep I spoke to wasn't sure how simple the install would be but it does come w/ a spacer, he mentioned I may need some cardboard to snug the lens to the housing, didn't really inspire confidence, lol.
just wanted to know if this is a simple snap-off, snap on install or are adapters, spacers & adjustments req'd that will complicate the install. I'm painting my lights soon and would like to get these lenses, but I've just got a small time window to do this so it's got to be simple & quick. Thanks for any help you can provide
I called TRS and the rep I spoke to wasn't sure how simple the install would be but it does come w/ a spacer, he mentioned I may need some cardboard to snug the lens to the housing, didn't really inspire confidence, lol.
#2
06-16-2012, 12:49 PM

I just did the swap on my 07 and the only problem I ran into is that the screws holding the shroud in place were apparently tightened by satan himself. I believe it was the ones on the inner side of the housing that were the worst because of the inconvenient location. As long as you have a reasonable arsenal of extenders and small/thin screwdrivers or socket wrenches then you will be ok. Just need to be patient and find the right angle of attack.
If you are already opening the housing to paint then definitely spend the extra $50 for the STi-R swap
****CAUTION****
If/when you sre struggling with the screws, be mindful not to bend the shroud and lens mount brackets as you probably wont notice you did it until the housing is reassembled.... I speak from experience. My pass side light is aimed a bit downward and thats the side I had the most trouble removing. Its not so bad that I am ready to take the light apart again to fix just that, but enough that I notice as would anyone else who has an eye for that type of thing.
The following users liked this post:
blnewt (06-16-2012)
#3
06-16-2012, 01:56 PM
I just did the swap on my 07 and the only problem I ran into is that the screws holding the shroud in place were apparently tightened by satan himself. I believe it was the ones on the inner side of the housing that were the worst because of the inconvenient location. As long as you have a reasonable arsenal of extenders and small/thin screwdrivers or socket wrenches then you will be ok. Just need to be patient and find the right angle of attack.
If you are already opening the housing to paint then definitely spend the extra $50 for the STi-R swap
****CAUTION****
If/when you sre struggling with the screws, be mindful not to bend the shroud and lens mount brackets as you probably wont notice you did it until the housing is reassembled.... I speak from experience. My pass side light is aimed a bit downward and thats the side I had the most trouble removing. Its not so bad that I am ready to take the light apart again to fix just that, but enough that I notice as would anyone else who has an eye for that type of thing.
If you are already opening the housing to paint then definitely spend the extra $50 for the STi-R swap
****CAUTION****
If/when you sre struggling with the screws, be mindful not to bend the shroud and lens mount brackets as you probably wont notice you did it until the housing is reassembled.... I speak from experience. My pass side light is aimed a bit downward and thats the side I had the most trouble removing. Its not so bad that I am ready to take the light apart again to fix just that, but enough that I notice as would anyone else who has an eye for that type of thing.
#4
06-16-2012, 03:59 PM

Solo nailed it on the head, those screws are crazy tight. Some have been able to get it out using an extremely long screwdriver. Make sure it has a good handle to give you better torque. I, unfortunately, just couldn't budge it, and wasn't about ready to cut the screw apart.
Needless to say, i skipped the process, put things back together after the repaint and sold the lens.
Anyhow, here are a couple photos. The first one shows you how i got to one screw that removes the shroud (you can access the other side with a long screwdriver.) The second photo shows the two welded screws.


And oh, i knew this would come in someday, Wayback and saving files FTW!
http://gshack.org/misc/349085-diy-st...lens-swap.html
Needless to say, i skipped the process, put things back together after the repaint and sold the lens.
Anyhow, here are a couple photos. The first one shows you how i got to one screw that removes the shroud (you can access the other side with a long screwdriver.) The second photo shows the two welded screws.
And oh, i knew this would come in someday, Wayback and saving files FTW!
http://gshack.org/misc/349085-diy-st...lens-swap.html
The following users liked this post:
blnewt (06-16-2012)
#5
06-16-2012, 06:38 PM
Damn Mike, that's awesome that you were able to dig up those bones from the graveyard, I've been looking all over the web for any info on this swap and this thread was vaporized. Very informative and I'm thinking I'll give it a shot but I've got a few questions.
Is there a way to mark your projectors so you can get them aligned correctly after installing the sti-r lenses? It sounds like it's not too hard to get them out of adjustment when trying to get the damn lens retainer screws loose.
If not, can I install the lights without the outside light covers, check the light alignment, adjust as necessary, then do the final seal of the housing?
I have the fixed projectors, (no motorized turning lenses) would this simplify the DIY compared to what you went through?
For the extra work, in your opinion is this a worthwhile upgrade, assuming I can get those screws loose?
thanks again for getting this info to me, it's much, much appreciated
#6
06-16-2012, 08:26 PM
I think the process is still worth doing, and were it not for those two screws, the hardest part of the process is (imho) removing the headlights from the car
Minor mounting adjustments can be made when re-installing the headlight assembly back on the car, this has an effect on your alignment so your concern above (again, imho) isn't that big of a deal. Just re-align the lights per the FSM and you're golden. Before disassembly, I took the easy route and pointed the beams on the wall, marked the wall, then made sure the beams were still on those same markers when everything was put back together.
Not having the AFS will make this much easier on you, and as you've seen in the DIY above, makes it a bit easier to remove the whole housing out to give you more leverage to remove the shroud and/or the lens holders.
#7
06-17-2012, 09:21 AM
Trending Topics
#8
06-17-2012, 12:01 PM
Mike that thin ratchet that you had is exactly what I had to buy to get that last screw off. blnewt I HIGHLY suggest you invest in one before you start the project. I had access to my sisters car while mine was torn apart so I was able to run to the hardware store twice to find something to attack that screw
The ring spacers they provided, I used and are beyond easy to install. Like Mike said, removing the headlights from the car should be the hardest thing but its the damn screw on the projector. Had I planned for the alignment, Im sure it would have been pretty easy to prevent my current issue. All in all, still way worth it IMO. The difference between the stock is obvious when you see it. I cant wait til I throw a fresh set of bulbs in there
The ring spacers they provided, I used and are beyond easy to install. Like Mike said, removing the headlights from the car should be the hardest thing but its the damn screw on the projector. Had I planned for the alignment, Im sure it would have been pretty easy to prevent my current issue. All in all, still way worth it IMO. The difference between the stock is obvious when you see it. I cant wait til I throw a fresh set of bulbs in there
The following users liked this post:
blnewt (06-17-2012)
#9
06-17-2012, 12:35 PM
#10
06-22-2012, 07:52 PM

#11
06-23-2012, 08:23 PM
The lens removal is pretty easy. You just have to take your time. The removal of the headlight from the car is the harder part... or at least more of a pain IMO. You can get the DIY here
Where are you getting the spare lenses from for cheap? I would love to replace my hazy lenses but havent found any that were at a price I liked
Where are you getting the spare lenses from for cheap? I would love to replace my hazy lenses but havent found any that were at a price I liked
#13
06-26-2012, 08:58 AM
#14
06-26-2012, 11:58 AM
Solo, did you clip the secondary shield like VstyLe09's DIY thread that Mike linked?
I tried PM'ing him and no reply, just wondering what the advantage to doing this would be. I'd rather just leave it as is if there's no real gain, but simple enough if there's truly a noticeable difference. Thanks man!
I tried PM'ing him and no reply, just wondering what the advantage to doing this would be. I'd rather just leave it as is if there's no real gain, but simple enough if there's truly a noticeable difference. Thanks man!
#15
07-02-2012, 06:17 PM
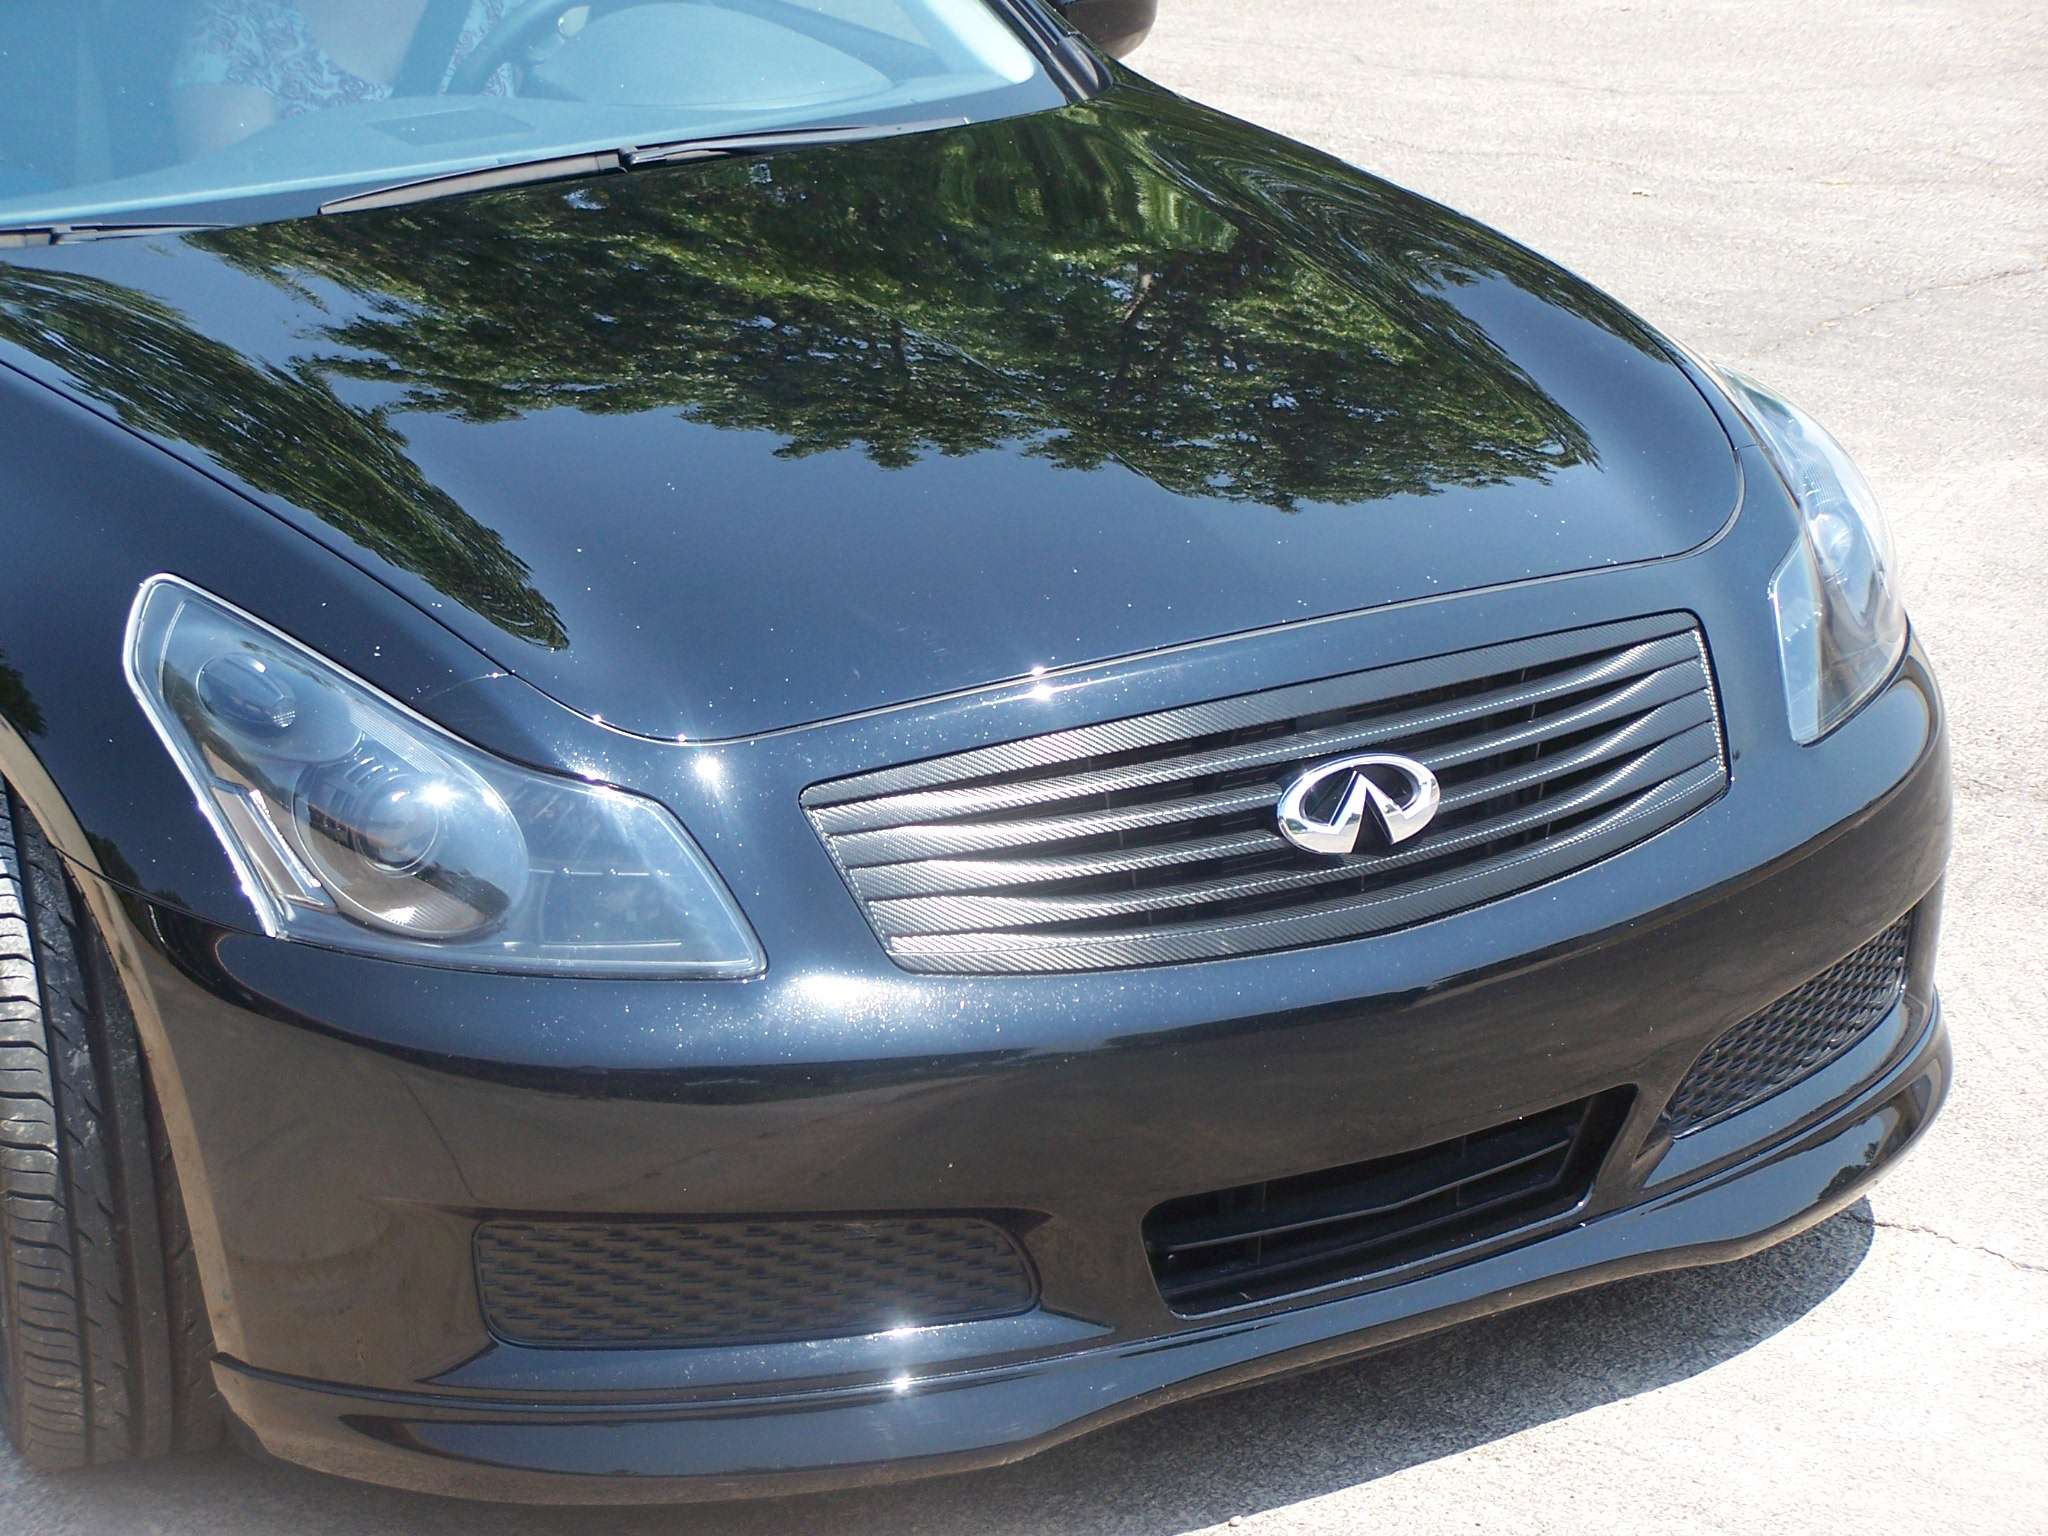
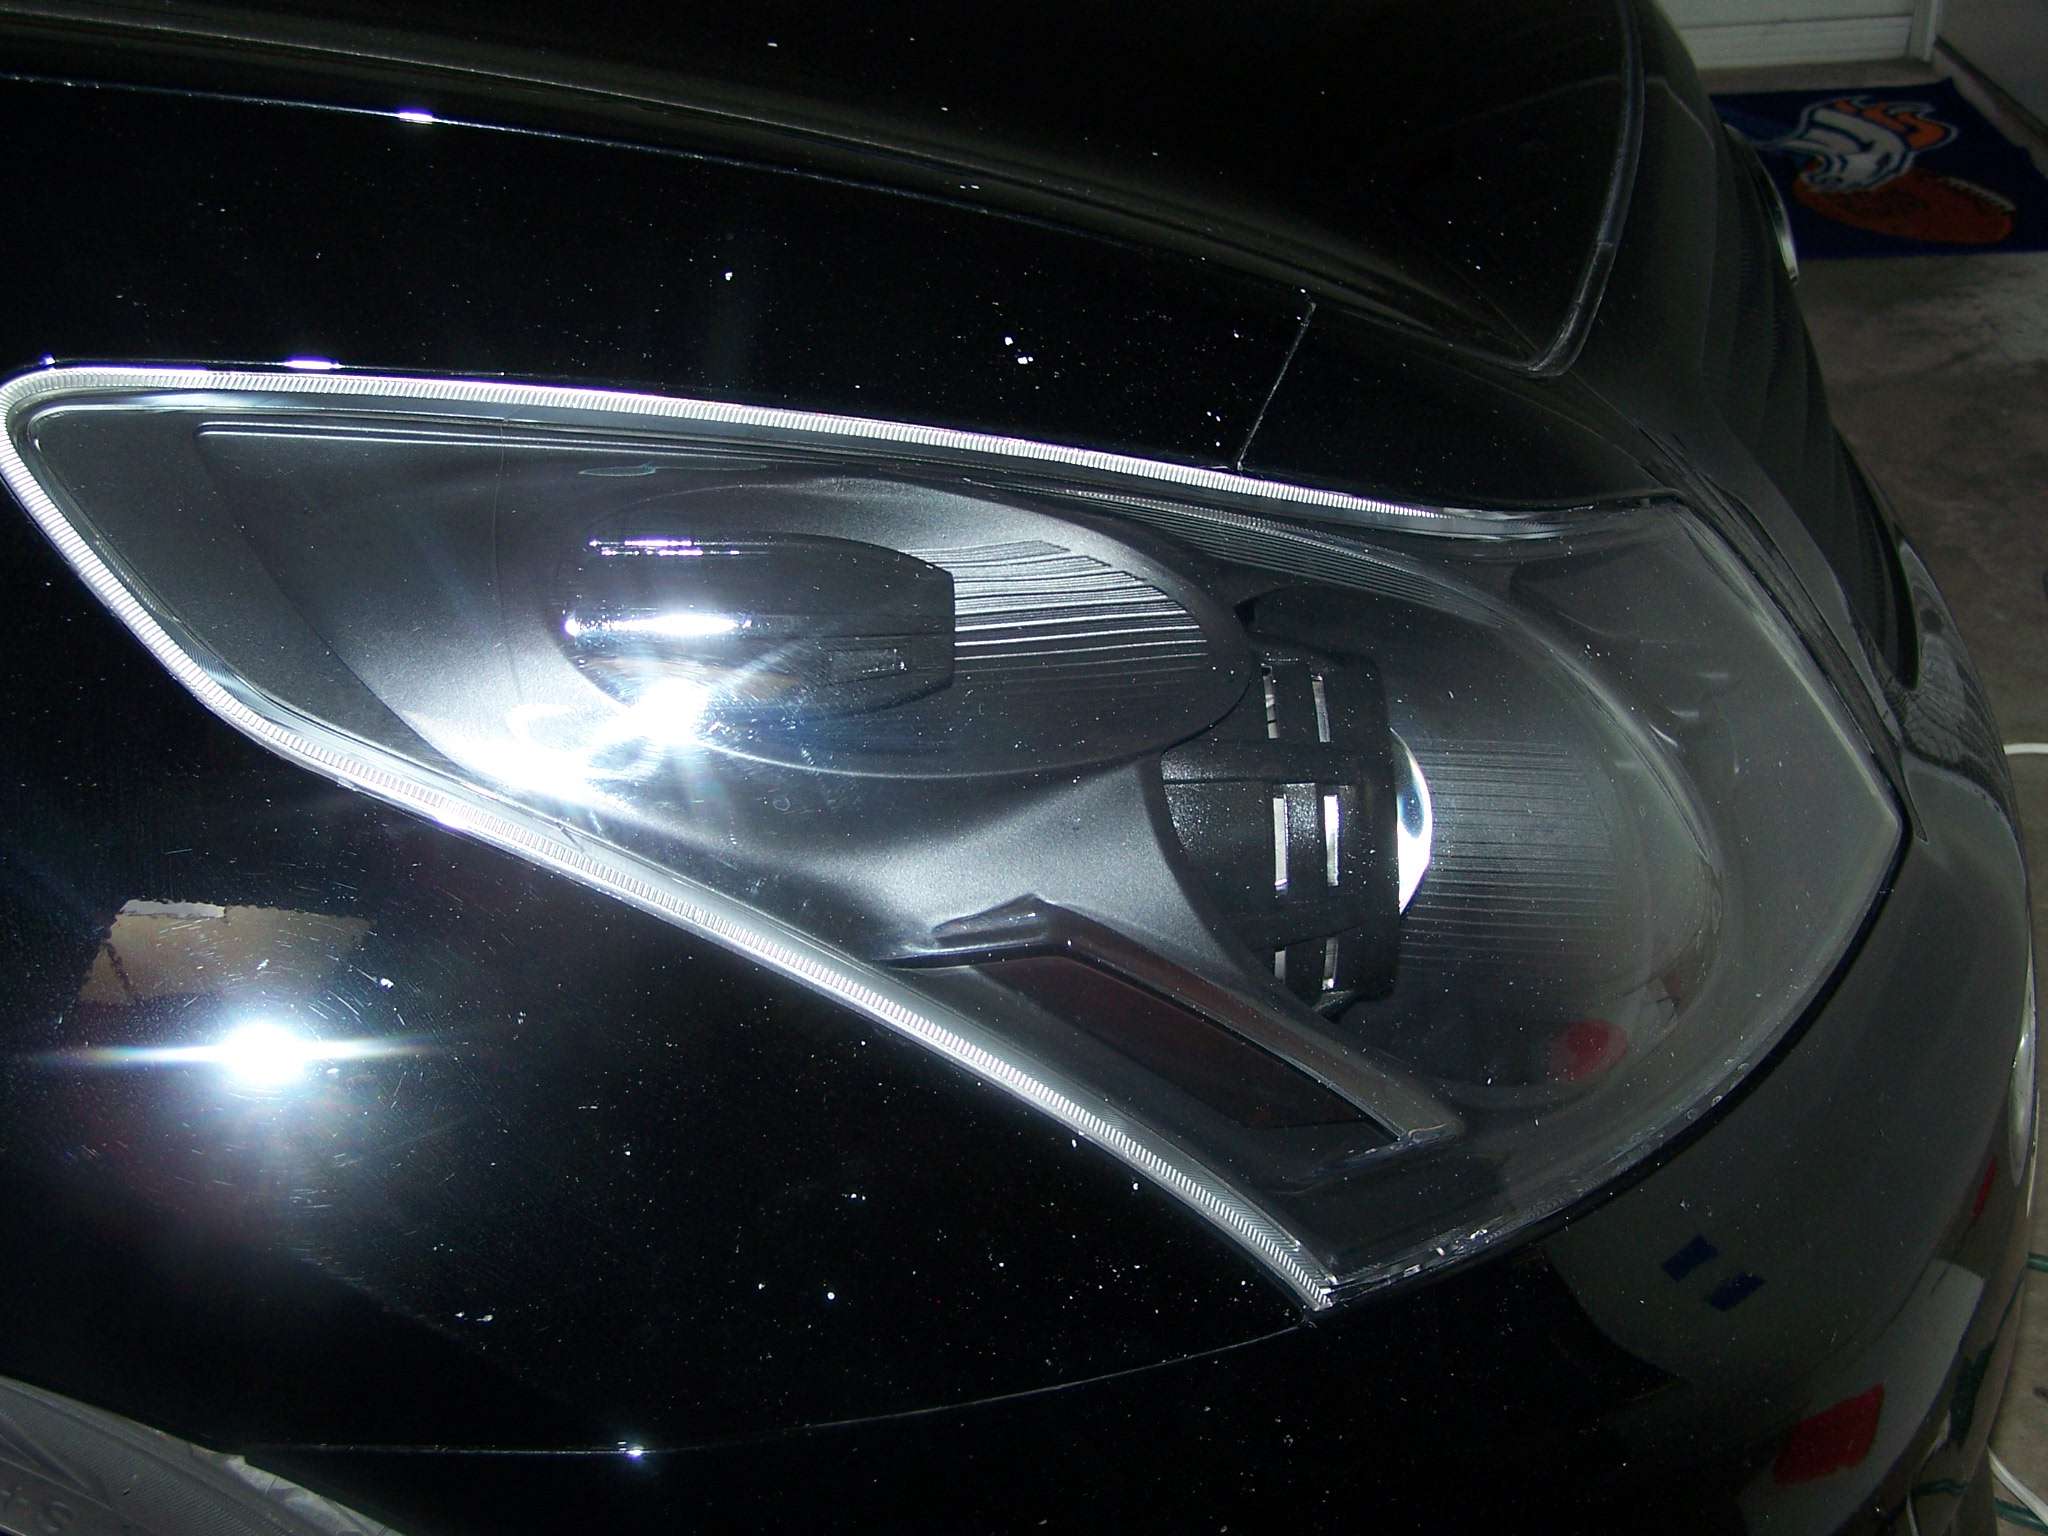
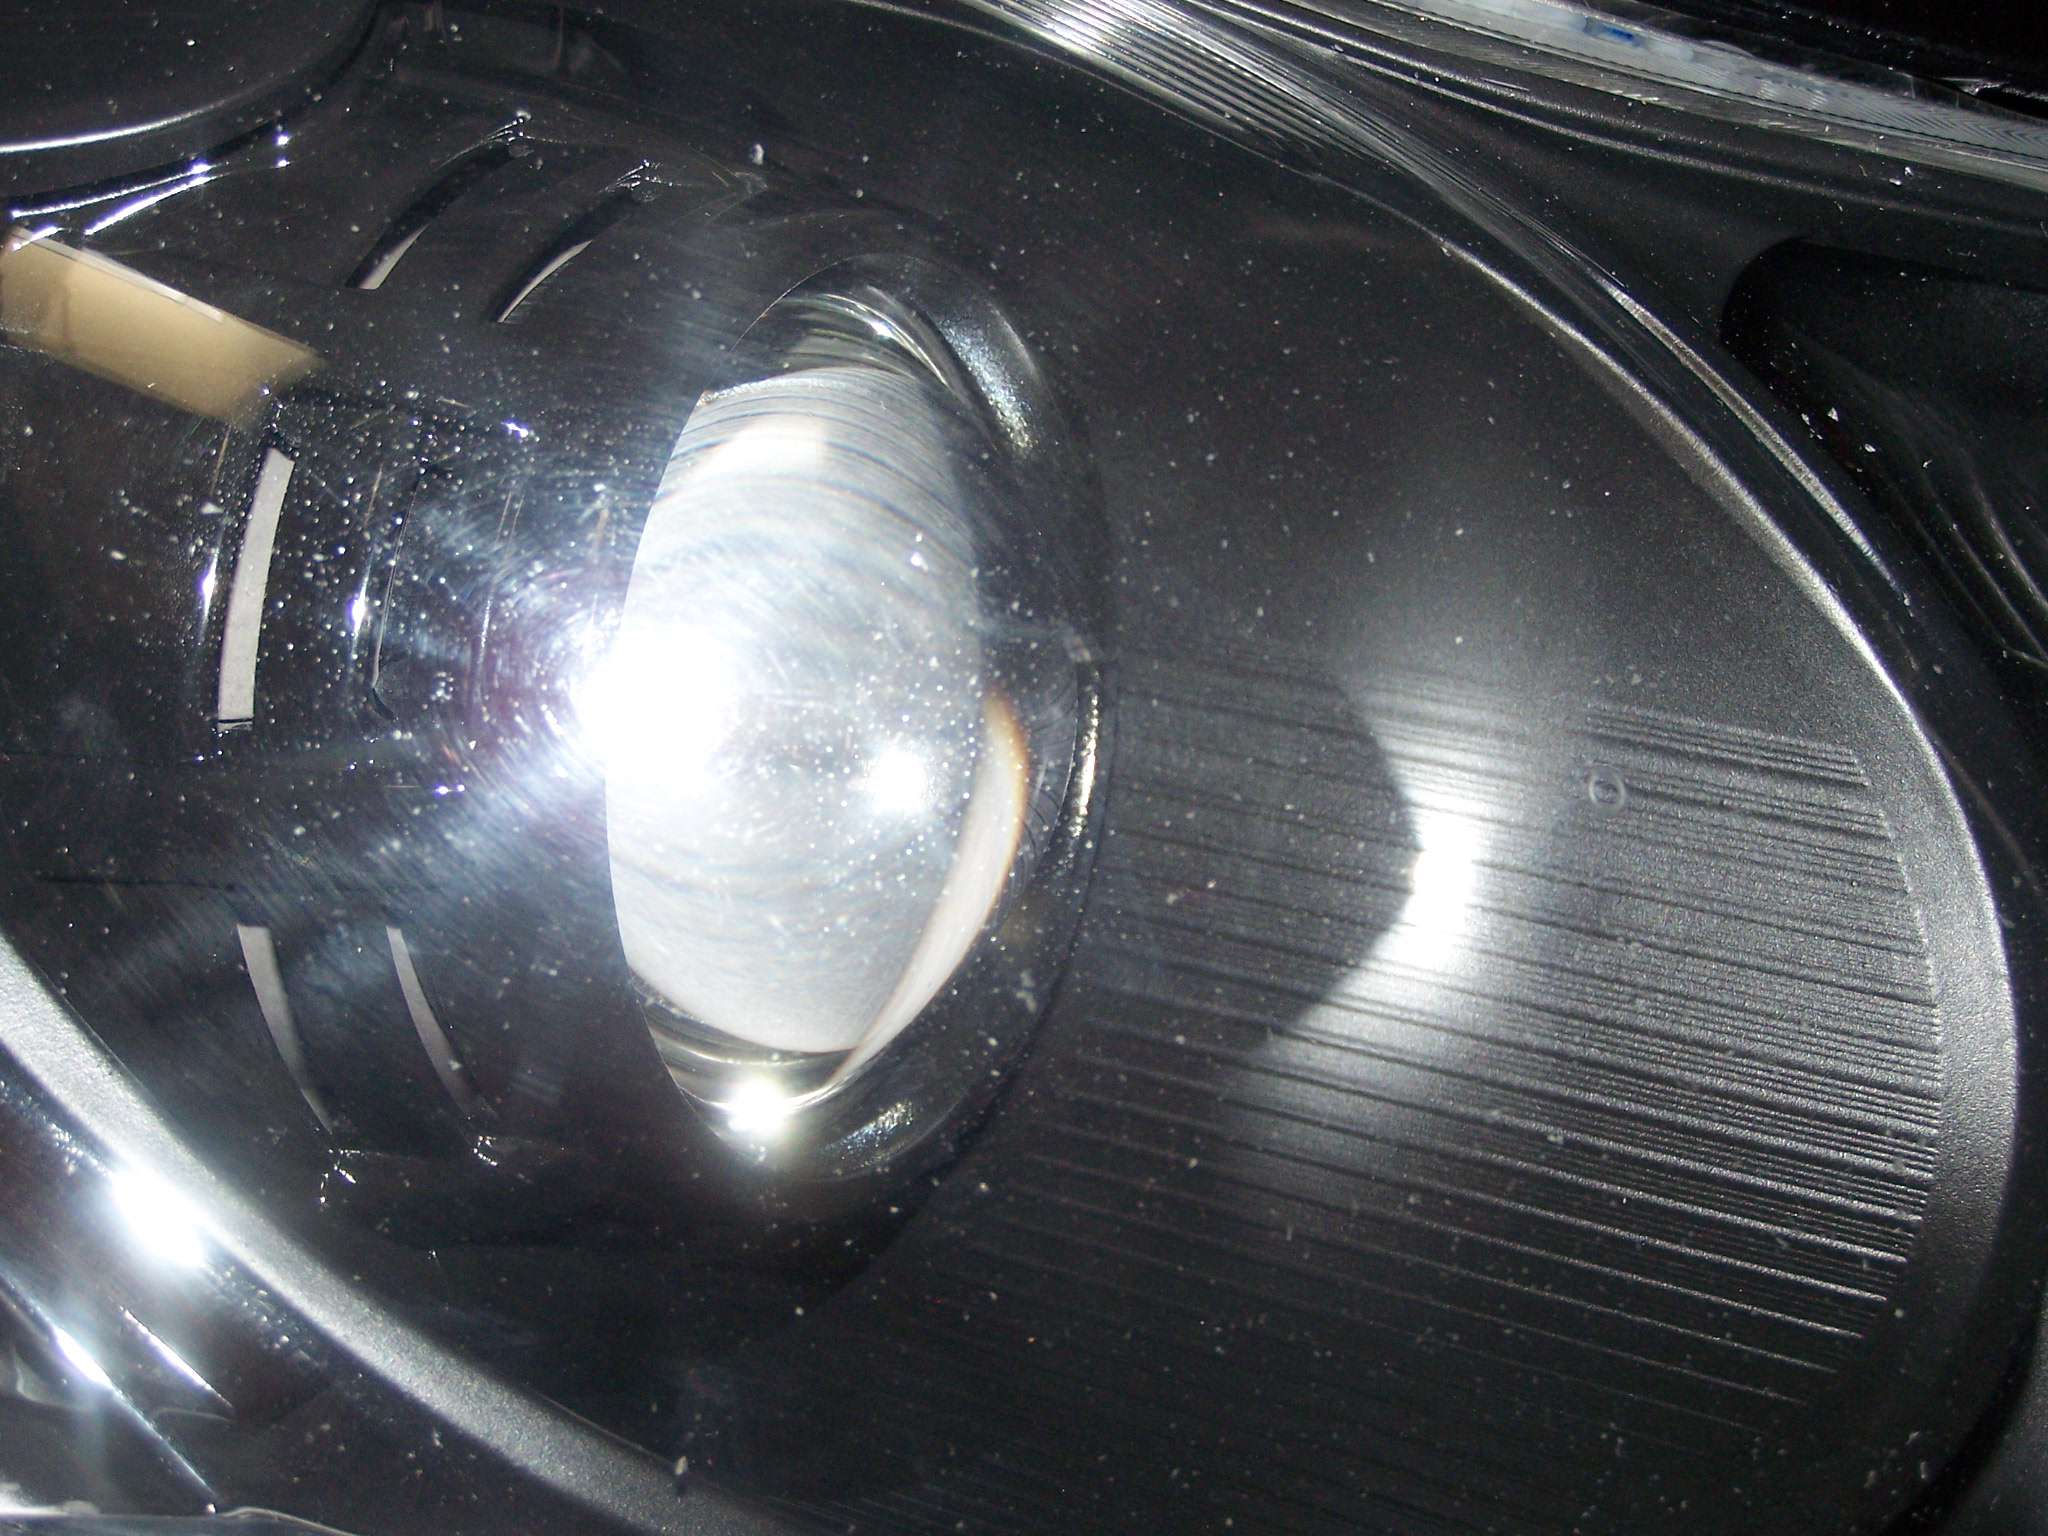
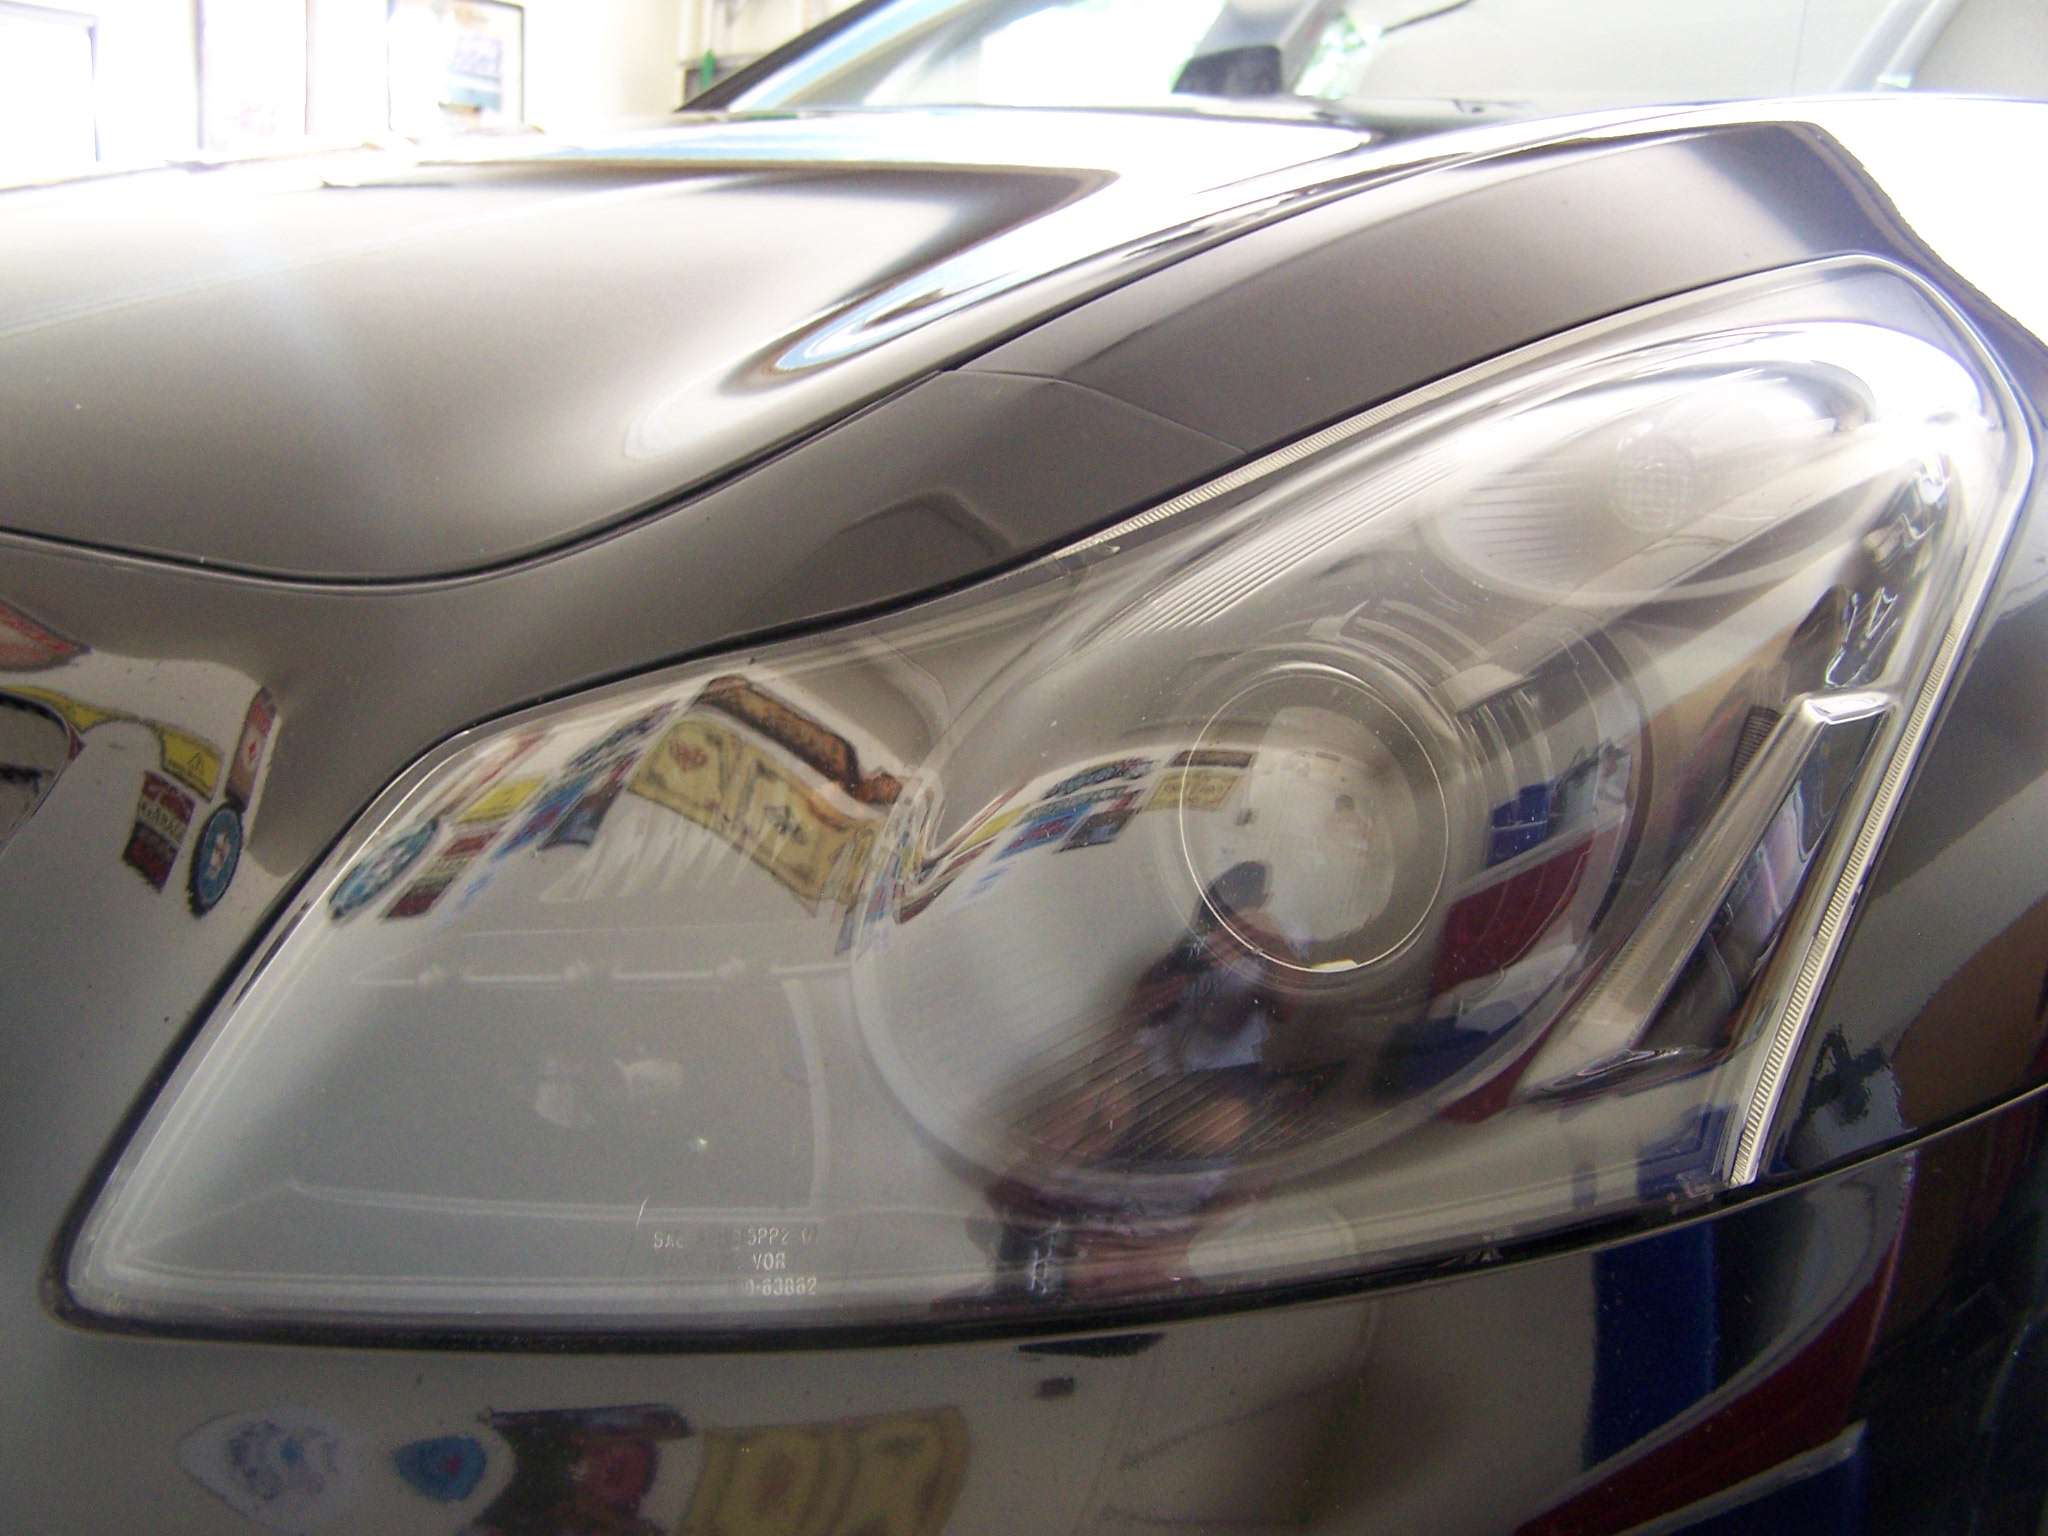
Thanks Mike & Solo, got the lights painted & the lenses swapped out. The lens swap was probably the only easy thing in this DIY, lol. I just put the HID housing in my workmate vise and put most of my weight down on those phillips screws, I didn't have to use a ratchet box end, my phillips screwdriver had a straight shot to both screws holding the lens cover. If you guys hadn't given my the heads-up I would of only put an average amount of twist on the screw and would have ended up losing the edge on the screw head and been "screwed".
Really liking the new lens output, clean and bright w/ a hint of blue in the halo.
Here's a few pics~

Really liking the new lens output, clean and bright w/ a hint of blue in the halo.
Here's a few pics~