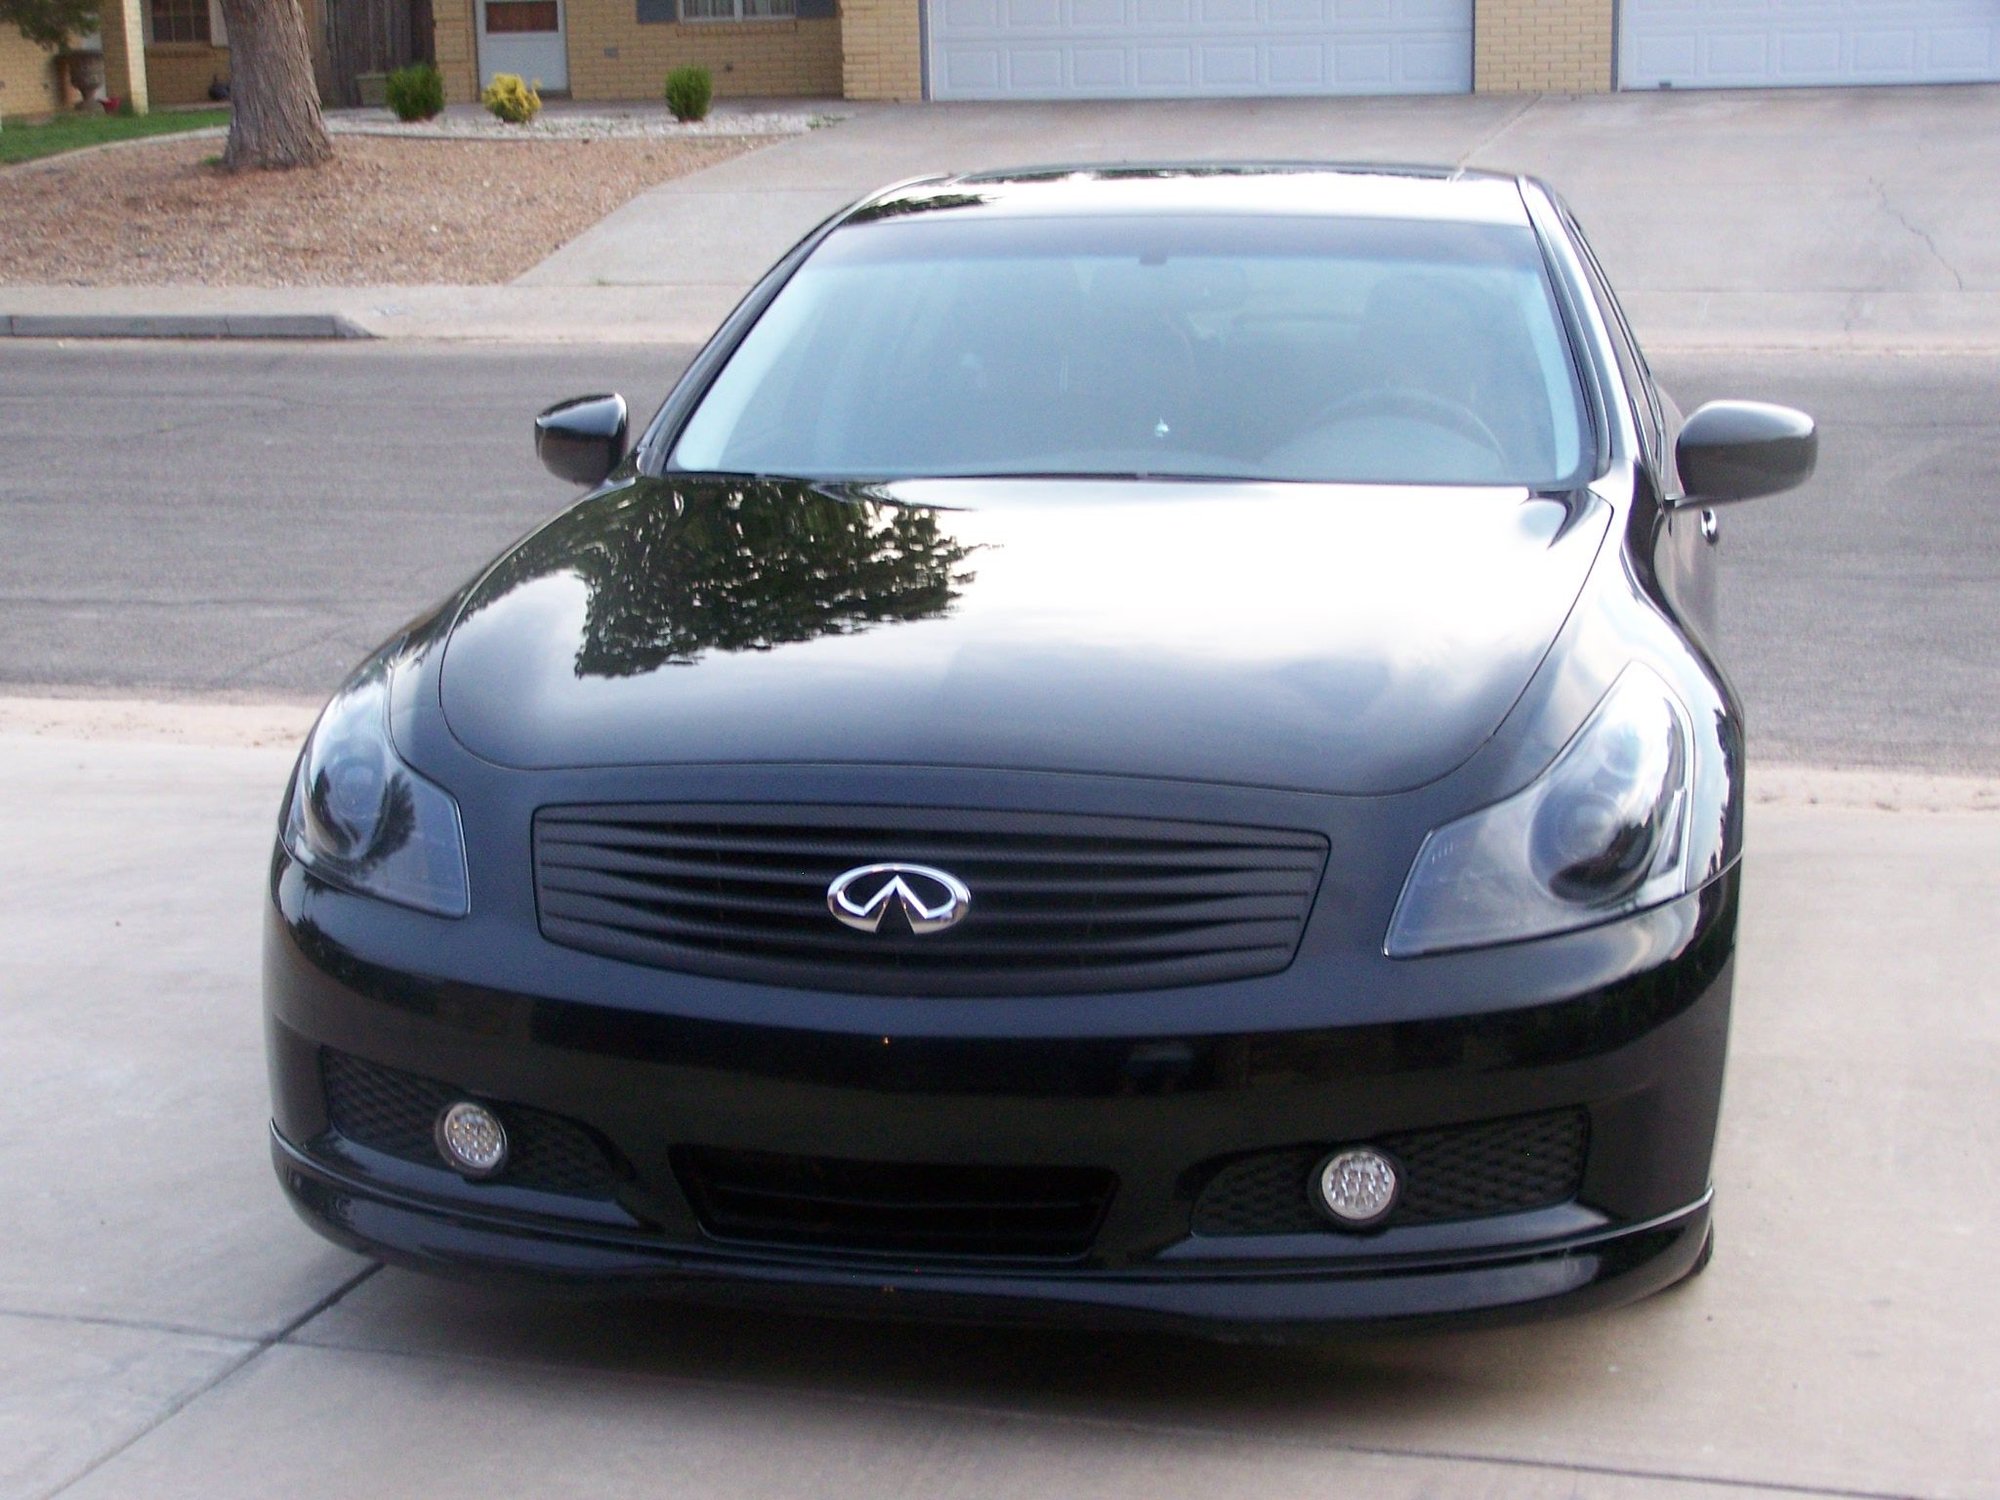
G35 Sedan V36 2007- 08 Discussion about the 2nd Generation G35 Sedan 2007 - 08

custom lighting v36

Thread Tools
 
Search this Thread
 
Rate Thread
 
  #16  
Old 06-16-2015, 10:18 AM
enginelover's Avatar
Registered User
Thread Starter
iTrader: (1)
Join Date: Nov 2014
Location: MidWest
Posts: 86
Likes: 0
Received 1 Like on 1 Post
Originally Posted by WhosUrBuddiee
I dont get what you are tryign to do. Why didnt you just mount the fog in the bumper? You cut out a random square hole and hot glued in a piece of clear plexy for a round fog? Plus you made them completely nonadjustable.


I've seen that thread before which gave me the idea. However I wanted a yellow fog that used HID and had the option of a high beam. This can only be done usin a retrofitters projector. After weeks of research I chose The Retrofit Source because they alittery have every thing and they expailn everything. Anyway exposing the optically clear glass lens was not something I wanted to do. Stones dirt etc can really ruin the effort I put in. Hence the polycarbonate Windows. Just see the rest of the build out.And thanks for the original idea Also adjustability can be gone with shims betweeen the bracket and bumper beam.
 
  #17  
Old 06-16-2015, 10:21 AM
enginelover's Avatar
Registered User
Thread Starter
iTrader: (1)
Join Date: Nov 2014
Location: MidWest
Posts: 86
Likes: 0
Received 1 Like on 1 Post
I can adjust them using shims between the brackets and th front beam. once its set, its set though.
 
  #18  
Old 06-16-2015, 10:25 AM
enginelover's Avatar
Registered User
Thread Starter
iTrader: (1)
Join Date: Nov 2014
Location: MidWest
Posts: 86
Likes: 0
Received 1 Like on 1 Post
Mounted the projector
 
  #19  
Old 06-16-2015, 10:26 AM
enginelover's Avatar
Registered User
Thread Starter
iTrader: (1)
Join Date: Nov 2014
Location: MidWest
Posts: 86
Likes: 0
Received 1 Like on 1 Post
Then Srewed the lens back On.
 
  #20  
Old 06-16-2015, 10:29 AM
enginelover's Avatar
Registered User
Thread Starter
iTrader: (1)
Join Date: Nov 2014
Location: MidWest
Posts: 86
Likes: 0
Received 1 Like on 1 Post
shrouds have halos inserted in them. They are Morimoto XSB Halo. these are switchback function. as you will see in the final.


front


rear
 
  #21  
Old 06-16-2015, 10:32 AM
enginelover's Avatar
Registered User
Thread Starter
iTrader: (1)
Join Date: Nov 2014
Location: MidWest
Posts: 86
Likes: 0
Received 1 Like on 1 Post
oh no! they dont clear the brackets! Solution?


  #22  
Old 06-16-2015, 10:33 AM
enginelover's Avatar
Registered User
Thread Starter
iTrader: (1)
Join Date: Nov 2014
Location: MidWest
Posts: 86
Likes: 0
Received 1 Like on 1 Post
mounted

 
  #23  
Old 06-16-2015, 10:35 AM
enginelover's Avatar
Registered User
Thread Starter
iTrader: (1)
Join Date: Nov 2014
Location: MidWest
Posts: 86
Likes: 0
Received 1 Like on 1 Post
Okay next section. Headlights. Ill have to get these uploaded now too. I should have them posted by tomorrow, latest.
 
  #24  
Old 06-16-2015, 10:47 AM
WhosUrBuddiee's Avatar
Registered User
iTrader: (4)
Join Date: Oct 2005
Location: Neverland
Posts: 14,494
Received 995 Likes on 727 Posts
Originally Posted by enginelover
I've seen that thread before which gave me the idea. However I wanted a yellow fog that used HID and had the option of a high beam. This can only be done usin a retrofitters projector. After weeks of research I chose The Retrofit Source because they alittery have every thing and they expailn everything. Anyway exposing the optically clear glass lens was not something I wanted to do. Stones dirt etc can really ruin the effort I put in. Hence the polycarbonate Windows. Just see the rest of the build out.And thanks for the original idea Also adjustability can be gone with shims betweeen the bracket and bumper beam.
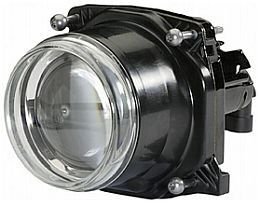
You know, you could just get XPEL or Lamin-X or other thick protection film. You also could have just bought a sealed projector instead like a Hella. They are about same price as morimotos, bi-xenon as well, higher quality, and have protection.


  #25  
Old 06-16-2015, 11:48 AM
ciraleon's Avatar
Registered User
Join Date: Nov 2009
Location: Sacramento
Posts: 78
Received 3 Likes on 3 Posts
Looks good!
 
  #26  
Old 06-16-2015, 06:50 PM
enginelover's Avatar
Registered User
Thread Starter
iTrader: (1)
Join Date: Nov 2014
Location: MidWest
Posts: 86
Likes: 0
Received 1 Like on 1 Post
Thought of that. Film not thick enough. I live in NW Ohio. Roads can get pretty crappy especially when winter hits. plus there are stone and gravel trucks driving around as well as farm equipment since it aint nothing but fields out here. Understand that I literally spent months planning the design in my head for system I'd be happy with. Mounting seems over the top but it was actually simple using L brackets and self tapping screws. Did I mention these projectors have a high beam function and a bowl pattern design for primary lighting? Much better light coverage than any "fog" light. I'd know since I been doing this for about 8-9 years on various Hondas. THANKS to The Retrofit Source for all there help.
 
  #27  
Old 06-16-2015, 06:58 PM
enginelover's Avatar
Registered User
Thread Starter
iTrader: (1)
Join Date: Nov 2014
Location: MidWest
Posts: 86
Likes: 0
Received 1 Like on 1 Post
Back to headlight build. First I baked the headlights apart. The Retrofit Source recommend 265 degrees for 7 min to soften the butyl rubber glue. That indeed worked. Separated it with a flathead screwdriver and worked it apart around the tabs. everything was malleable at this point so it wasn't too difficult. 3 screws held the trim to the outside cover. Size 2 philips. Then I used adhesion promoter then black medium heat paint on the trim after removing the parking shroud and reflector.
 
  #28  
Old 06-16-2015, 07:02 PM
enginelover's Avatar
Registered User
Thread Starter
iTrader: (1)
Join Date: Nov 2014
Location: MidWest
Posts: 86
Likes: 0
Received 1 Like on 1 Post
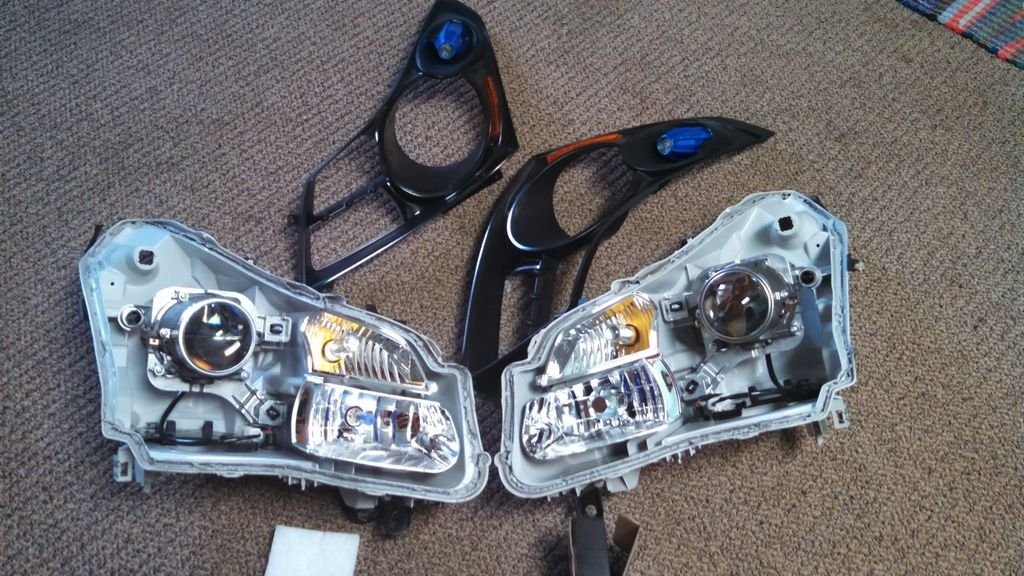
Here is the opened headlight housing


And painted trim. adhesion promoter then blue chrome cast on the shroud

 
  #29  
Old 06-16-2015, 07:05 PM
enginelover's Avatar
Registered User
Thread Starter
iTrader: (1)
Join Date: Nov 2014
Location: MidWest
Posts: 86
Likes: 0
Received 1 Like on 1 Post
Here they are together


Notice the oem projectors, the lens has been changed to optically clear ones from The Retrofit Source.


Oem Etched lenses
 
  #30  
Old 06-16-2015, 07:17 PM
enginelover's Avatar
Registered User
Thread Starter
iTrader: (1)
Join Date: Nov 2014
Location: MidWest
Posts: 86
Likes: 0
Received 1 Like on 1 Post


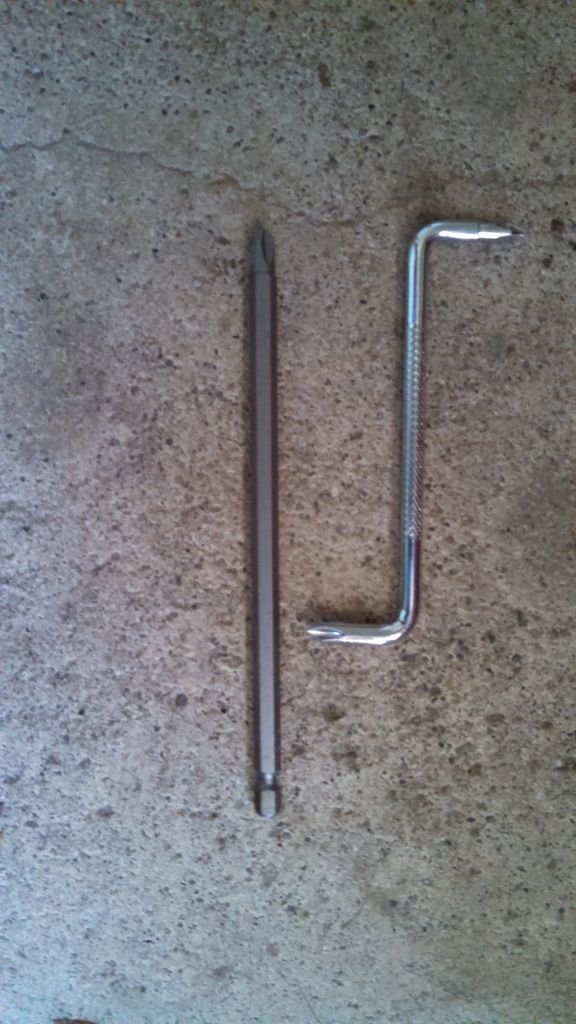
It required two special drivers. Left a 6 inch bit extension used in conjunction with a bit driver, and the other side needed a right angle driver. Very arduous.


Screws are on back side
 

Last edited by enginelover; 06-16-2015 at 07:24 PM.


You have already rated this thread Rating: Thread Rating: 1 votes, 2.00 average.

Quick Reply: custom lighting v36


All times are GMT -4. The time now is 03:15 AM.