
DIY: MotorDyne Coolant Control Valve


DIY: MotorDyne Coolant Control Valve
So I picked up the MotorDyne 5/16� Iso Thermal plenum spacer kit about a month ago. As most of you already know, the Iso Thermal option includes a valve which allows you to stop the flow of hot coolant to your throttle body. The spacer install took my brother and me longer than expected so we opted not to install the coolant control valve (CCV) in order to make our tee time. 
I got some spare time this weekend to put on the CCV and figured why not also do a DIY write up. There are a ton of threads on the spacer install but none specifically for the CCV. I do want to mention that MotorDyne provides a great step-by-step instruction manual with the kit. In my opinion they short changed the CCV portion�two pics and two paragraphs. It's pretty self-explanatory but this is simply for additional guidance!
Tools required:
-10mm socket and wrench OR 10mm nut driver
-Needle nose pliers
-Heavy duty scissors
-Thread sealant (Teflon putty, thread tape, etc�)
-Flat head screw driver
-Phillips head screw driver
-Vice grip if available OR crescent wrench
-Pen/marker
CCV assembly:
-This honestly might take you longer than the install. Start by applying your thread sealant of choice to the 2 gold threaded fittings. Personally I used some thread tape I got from Wal-mart for like $2. Thread the gold pieces on each end of the silver valve body. You won�t be able to thread them too far by hand. This is where you get creative�I used a crescent wrench on the silver valve while I tightened each gold piece with a deep socket wrench (forgot what size�7mm?). This is where a vice grip or help from a buddy would be handy. Don�t be too concerned if you can�t thread it all the way.
Procedure:
1)Disconnect the negative battery terminal.
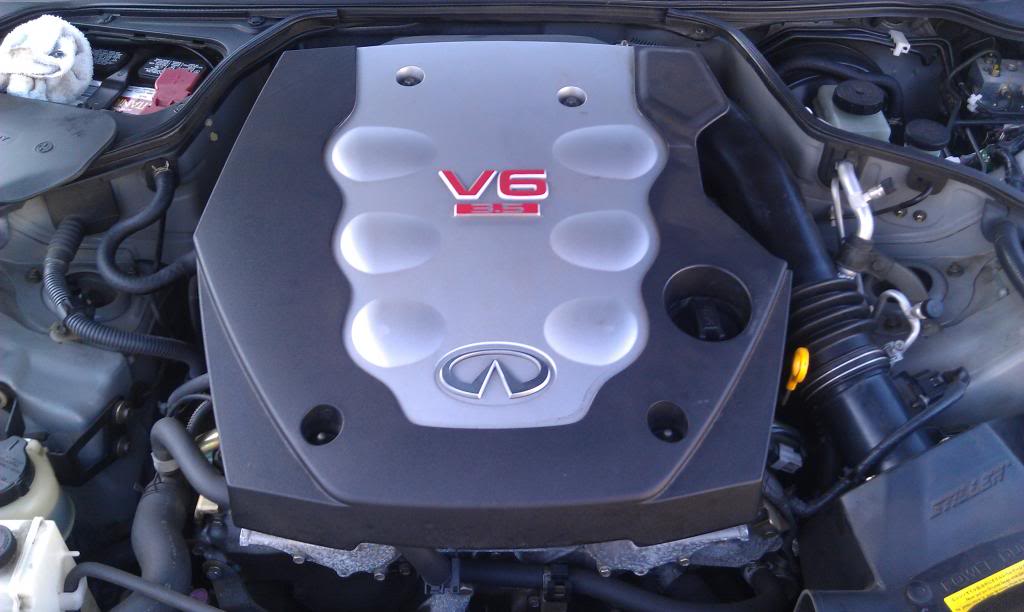
2)Remove the engine cover and set aside.
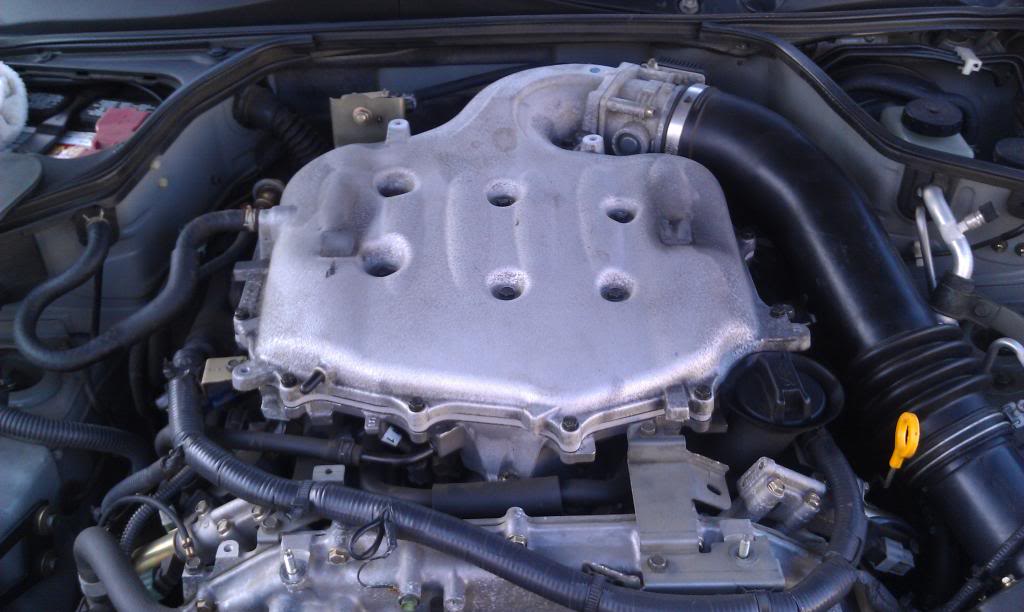
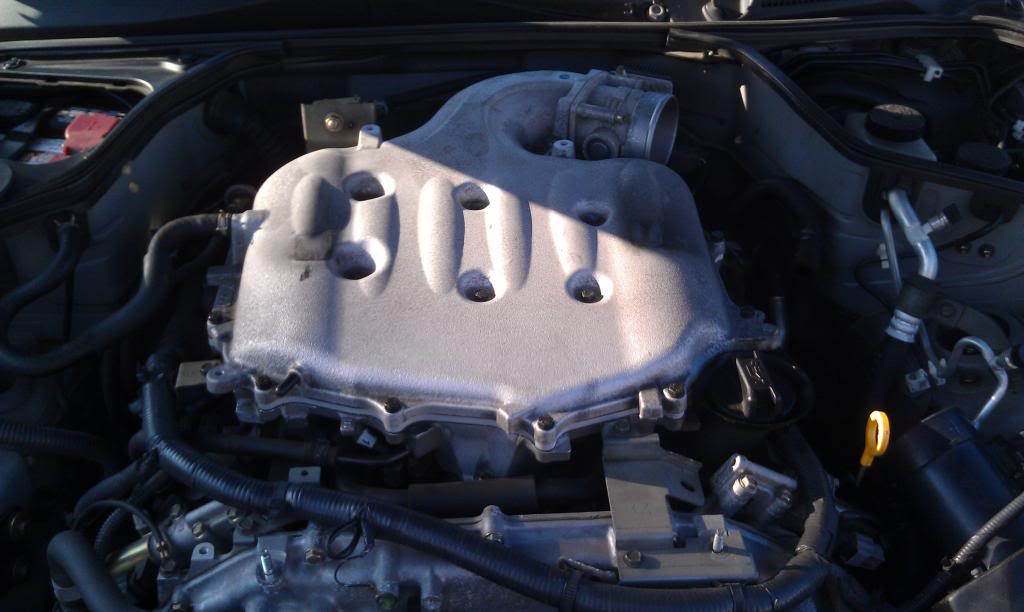
3)Remove air intake and set aside.
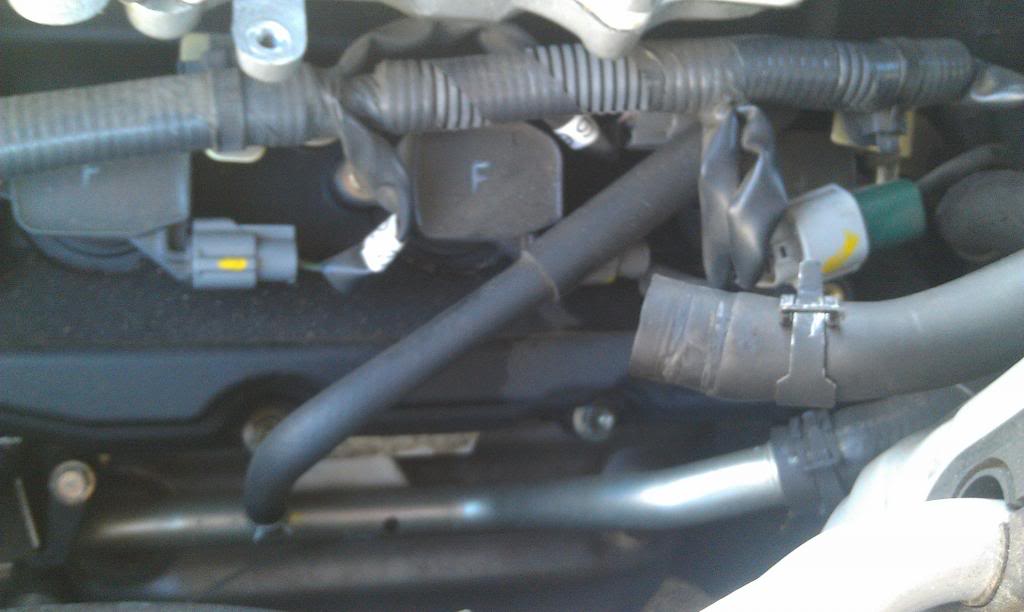
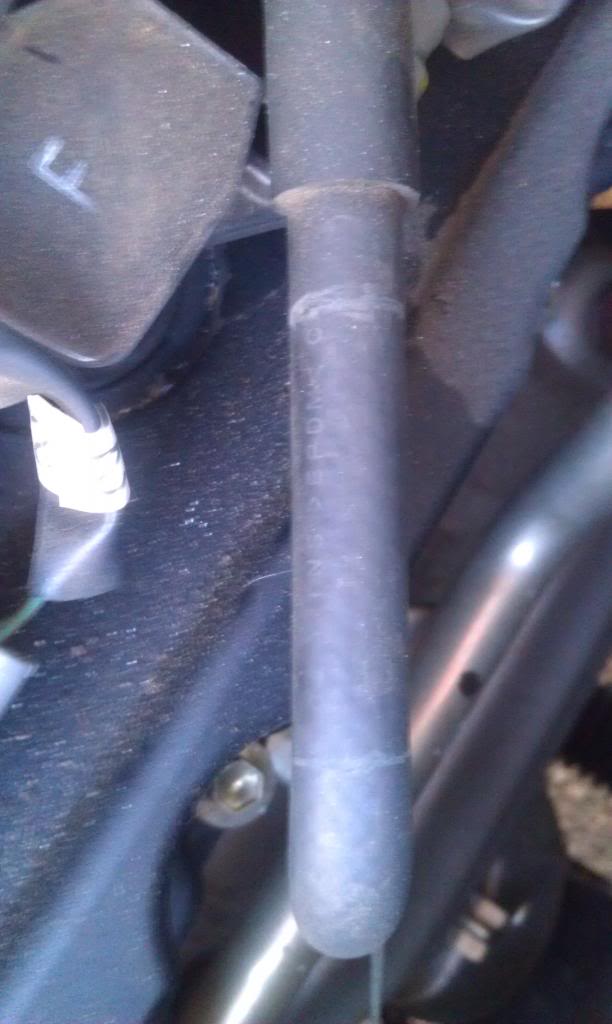
4)Identify the coolant hose in the picture below.
5)Hold the assembled CCV up to hose and use pen/marker to make cut marks.
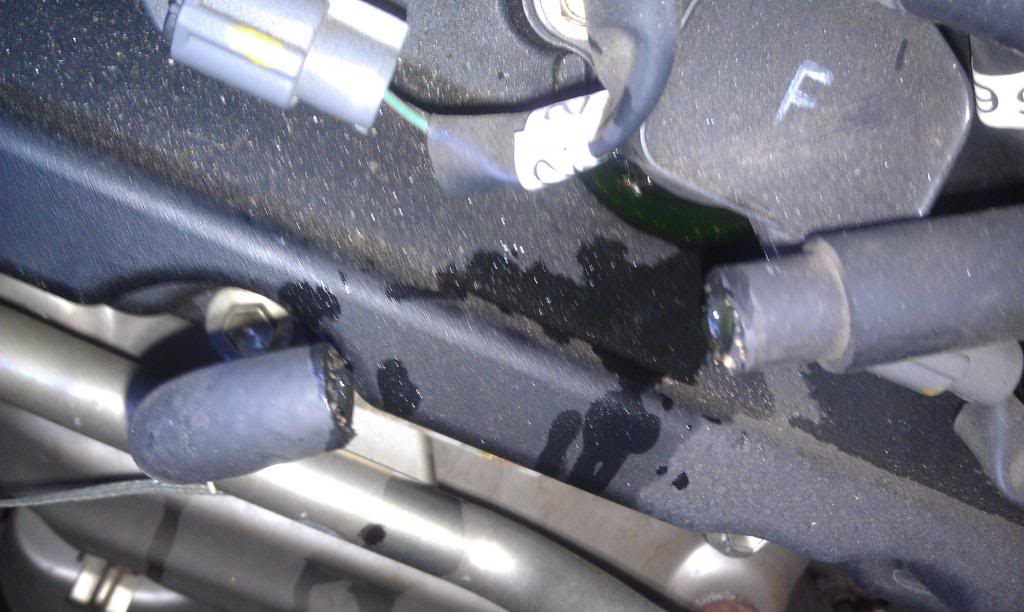
6)Cut marked segment of hose (~1.5�) using heavy duty scissors.
7)Use paper towels to clean up any coolant that flows out.
8)Using pliers squeeze and slide the provided hose clamps onto each part of the cut hose.
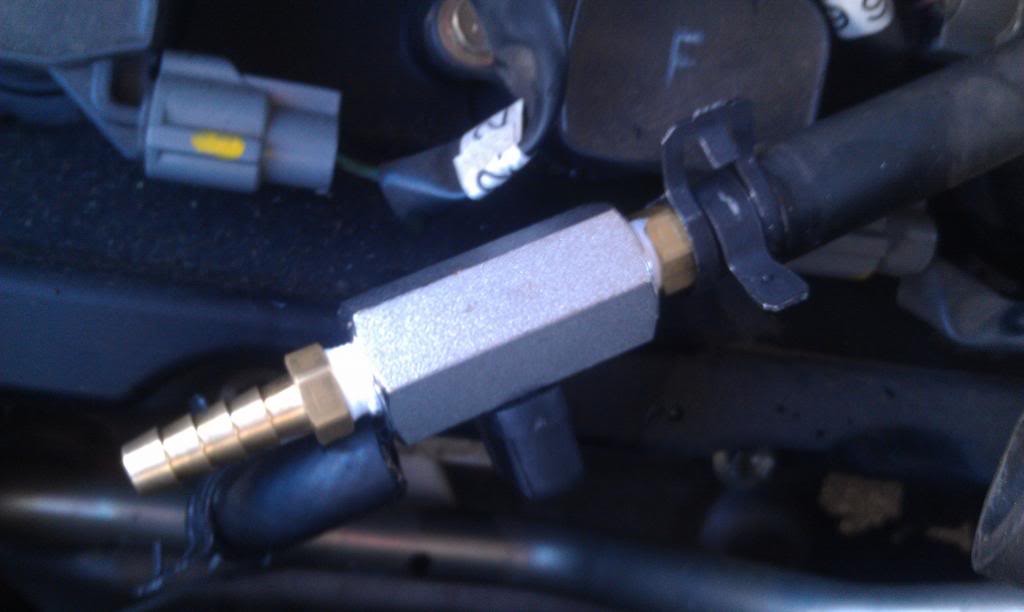
9)Insert one end of assembled CCV into hose as far as you can until flush.
10)Use pliers to squeeze and slide hose clamp over end.
11)Repeat previous two steps for other end.
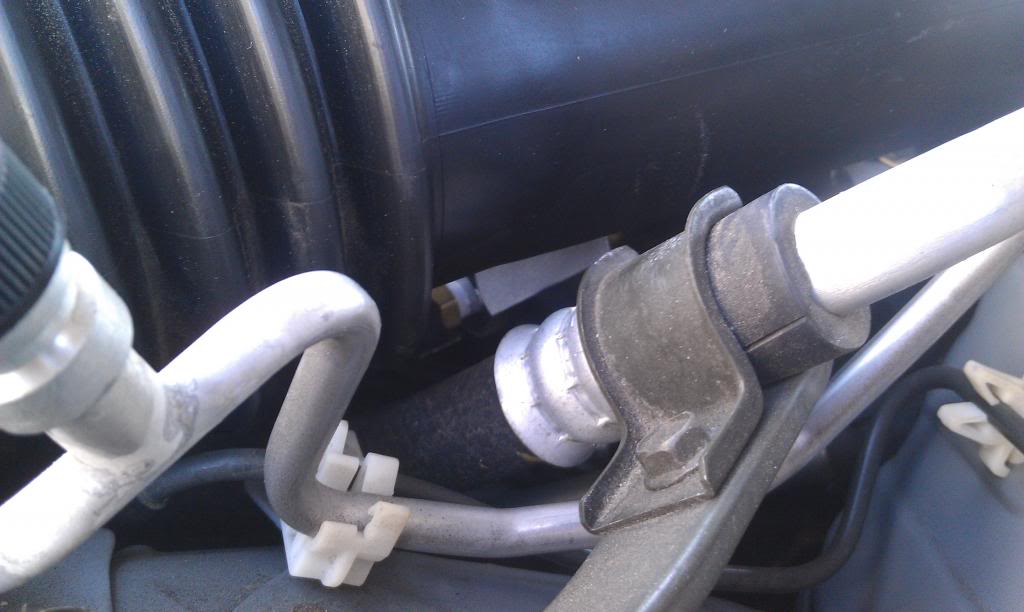
12)Make sure CCV is positioned so that valve is facing upwards for easier access.
Perpendicular = valve closed
Parallel = valve opened
13)Install air intake.
14)Install engine cover.
15)Reconnect negative battery terminal.

Overall this is a very easy procedure which should take you no more than 30 minutes. Have a friend help if you can�it will be much easier to assemble the CCV as well as get the hose clamps in place.
Here�s a link for a helpful video (although half of it is the guys trying the assemble the CCV�).
http://infinitihelp.com/diy/gcoupe/p...ss_install.php
Best of luck and let me know if you have any questions!
I got some spare time this weekend to put on the CCV and figured why not also do a DIY write up. There are a ton of threads on the spacer install but none specifically for the CCV. I do want to mention that MotorDyne provides a great step-by-step instruction manual with the kit. In my opinion they short changed the CCV portion�two pics and two paragraphs. It's pretty self-explanatory but this is simply for additional guidance!
Tools required:
-10mm socket and wrench OR 10mm nut driver
-Needle nose pliers
-Heavy duty scissors
-Thread sealant (Teflon putty, thread tape, etc�)
-Flat head screw driver
-Phillips head screw driver
-Vice grip if available OR crescent wrench
-Pen/marker
CCV assembly:
-This honestly might take you longer than the install. Start by applying your thread sealant of choice to the 2 gold threaded fittings. Personally I used some thread tape I got from Wal-mart for like $2. Thread the gold pieces on each end of the silver valve body. You won�t be able to thread them too far by hand. This is where you get creative�I used a crescent wrench on the silver valve while I tightened each gold piece with a deep socket wrench (forgot what size�7mm?). This is where a vice grip or help from a buddy would be handy. Don�t be too concerned if you can�t thread it all the way.
Procedure:
1)Disconnect the negative battery terminal.
2)Remove the engine cover and set aside.
3)Remove air intake and set aside.
4)Identify the coolant hose in the picture below.
5)Hold the assembled CCV up to hose and use pen/marker to make cut marks.
6)Cut marked segment of hose (~1.5�) using heavy duty scissors.
7)Use paper towels to clean up any coolant that flows out.
8)Using pliers squeeze and slide the provided hose clamps onto each part of the cut hose.
9)Insert one end of assembled CCV into hose as far as you can until flush.
10)Use pliers to squeeze and slide hose clamp over end.
11)Repeat previous two steps for other end.
12)Make sure CCV is positioned so that valve is facing upwards for easier access.
Perpendicular = valve closed
Parallel = valve opened
13)Install air intake.
14)Install engine cover.
15)Reconnect negative battery terminal.


Overall this is a very easy procedure which should take you no more than 30 minutes. Have a friend help if you can�it will be much easier to assemble the CCV as well as get the hose clamps in place.
Here�s a link for a helpful video (although half of it is the guys trying the assemble the CCV�).
http://infinitihelp.com/diy/gcoupe/p...ss_install.php
Best of luck and let me know if you have any questions!


Joined: Mar 2009
Posts: 18,299
Likes: 1,488
From: By the sea, Tx
G35 sedan w/ too much money in mods

The aramid gasket keeps the upper plenum cooler and the ccv keeps the throttle body cooler in the summer and warmer in the winter by opening or closing it.

Thread
Thread Starter
Forum
Replies
Last Post
Greg Huston
General Tech Questions
6
Sep 25, 2016 11:36 PM
Albanian122
G35 Coupe V35 2003 - 07
5
Aug 27, 2015 11:02 PM