
Nismo Aero Kit Install Questions


Nismo Aero Kit Install Questions
I've been considering the aero kit for a while but I am on the fence because of price. I'm thinking I can save money by doing a self install for the front and sides. The rear skirt sounds a little bit daunting but I might tackle that as well. Does anyone have instructions that came with their kit and by any chance could you scan them and email them to me so I can see just how much work is involved. I did some searchin the tech forum but no one gave step by step or photos. I am aware that the front bumper requires some cutting of the foam inserts or something. But I wondering if I have all the right tools. I'm also aware I need a rivet gun to reattach some brackets. More information would be helpful so if anyone can provide details about the process I would really appreciate it.

I can't really help you on the kit, but how do you intend on painting it? Did it come painted already? If your going to a body shop to paint it.. i doubt they'll charge THAT much more for fitment.. what's the material for your aero kit?

its pretty easy man, just make sure u have alot of medium size 3m double sided tape to make the rear lip piece flush with bumper =0) i believed i used 3-4 layers to get a nice clean fit
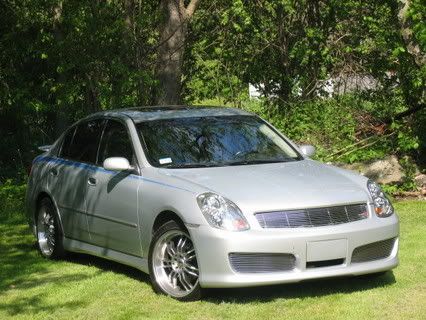
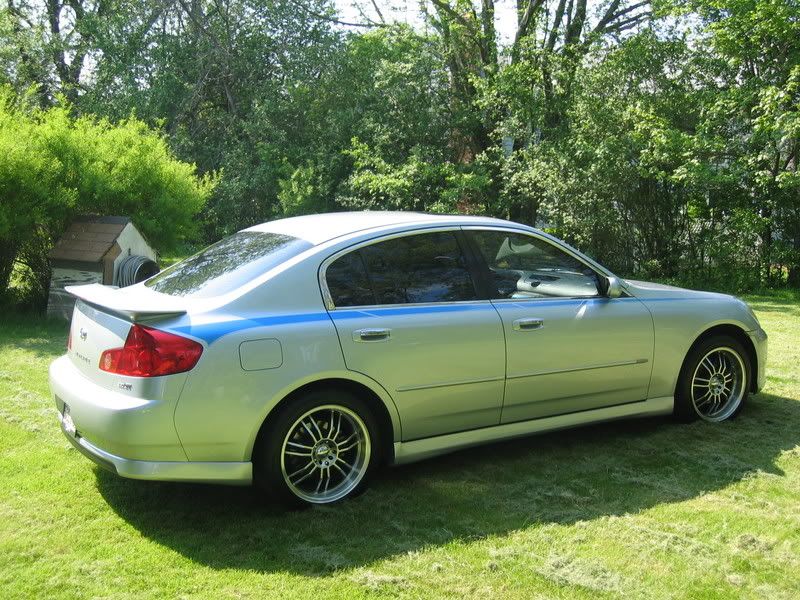
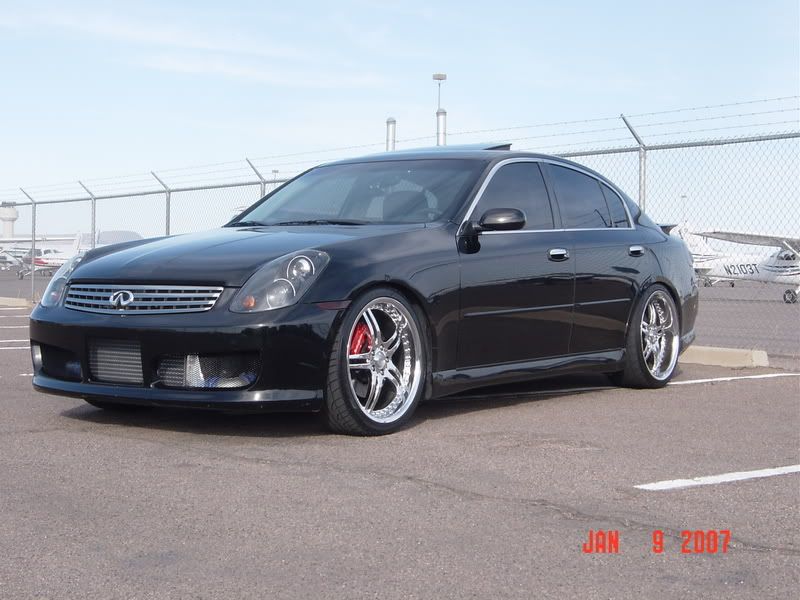
here are some pix of my sedan when i had it, was custom painted
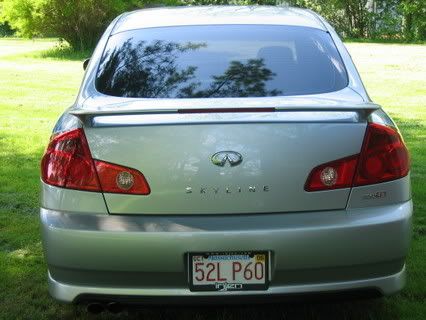
now see this bottom piece, this is what i was talking abt, i had to use abt 3-4 layers of mediums 3m double sided tape to get a nice flush fit
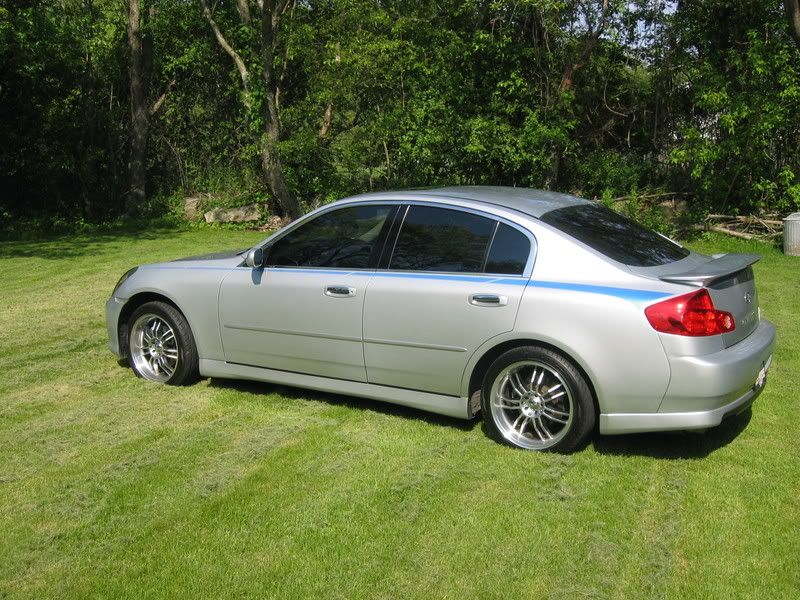
this wasnt a hard kit to install, front fits directly on, sides i just added screw at each end inside the wheel well's and the great thing abt nismo kits is they use all factory mounting points even clips =0) which is huge
i feel the back add on was the hardest piece to get right
Joe
here are some pix of my sedan when i had it, was custom painted
now see this bottom piece, this is what i was talking abt, i had to use abt 3-4 layers of mediums 3m double sided tape to get a nice flush fit
this wasnt a hard kit to install, front fits directly on, sides i just added screw at each end inside the wheel well's and the great thing abt nismo kits is they use all factory mounting points even clips =0) which is huge
i feel the back add on was the hardest piece to get right
Joe

I put all of mine on and it was not hard. The rear does involve a lot of hole cutting so you might not want to go there. The sides are easy. The font requires you to rivet the sidemarker holders in place, drill out and remove two brackets on the bumper and trim down the foam supports.
I don't have the instructions, I threw them out. Sorry.


I don't have the instructions, I threw them out. Sorry.
Last edited by ttrank; May 4, 2007 at 12:24 PM.

DaveB posted a DIY for the front kit install...you're in luck! 
DIY is here: https://g35driver.com/forums/body-interior-exterior-lighting-diy/151289-diy-03-04-nismo-front-bumper-install.html
His ?'s prior to install: https://g35driver.com/forums/interior-exterior/151045-any-pointers-nismo-aero-bumper-install.html
DIY is here: https://g35driver.com/forums/body-interior-exterior-lighting-diy/151289-diy-03-04-nismo-front-bumper-install.html
His ?'s prior to install: https://g35driver.com/forums/interior-exterior/151045-any-pointers-nismo-aero-bumper-install.html
Originally Posted by ttrank
Just fly me up to Vancouver and I will help you with the install. 

I love it up there!
I love it up there!
me too and we willl make it a party
Trending Topics

")


Thanks for all your responses. I think I have a good idea of what's involved. The most pesky part seems to transfering all those little clips and aligning the whole bumper up for installation. I'm not the most handy DIYer but I think I can handle that. I know some people actually got a rivet gun and riveted the corner marker frames to the new bumper. I wonder if that would be better than screw and bolt method shown in the link to the step by step.
What about the cutting of the foam? What tools did you guys use? Exacto knife? Hack saw? Reciprocating saw? I worried I'm gonna use a tool that's gonna rip the foam up in to shreds.
Originally Posted by ttrank
This thread got moved so you might want to update the 1st post to say sedan so no one thinks it is for the coupe.