When you click on links to various merchants on this site and make a purchase, this can result in this site earning a commission. Affiliate programs and affiliations include, but are not limited to, the eBay Partner Network.
3k foglight/hi beam hid conversion install into my 2005 g35 coupe pics included
My fellow g35 drivers I wanted to post my install of my 3k yellow hid dual foglight and hi beam kit.
This is for the 2003-2005 coupes out there as the 2006 you start to deal with projectors and different bulbs.
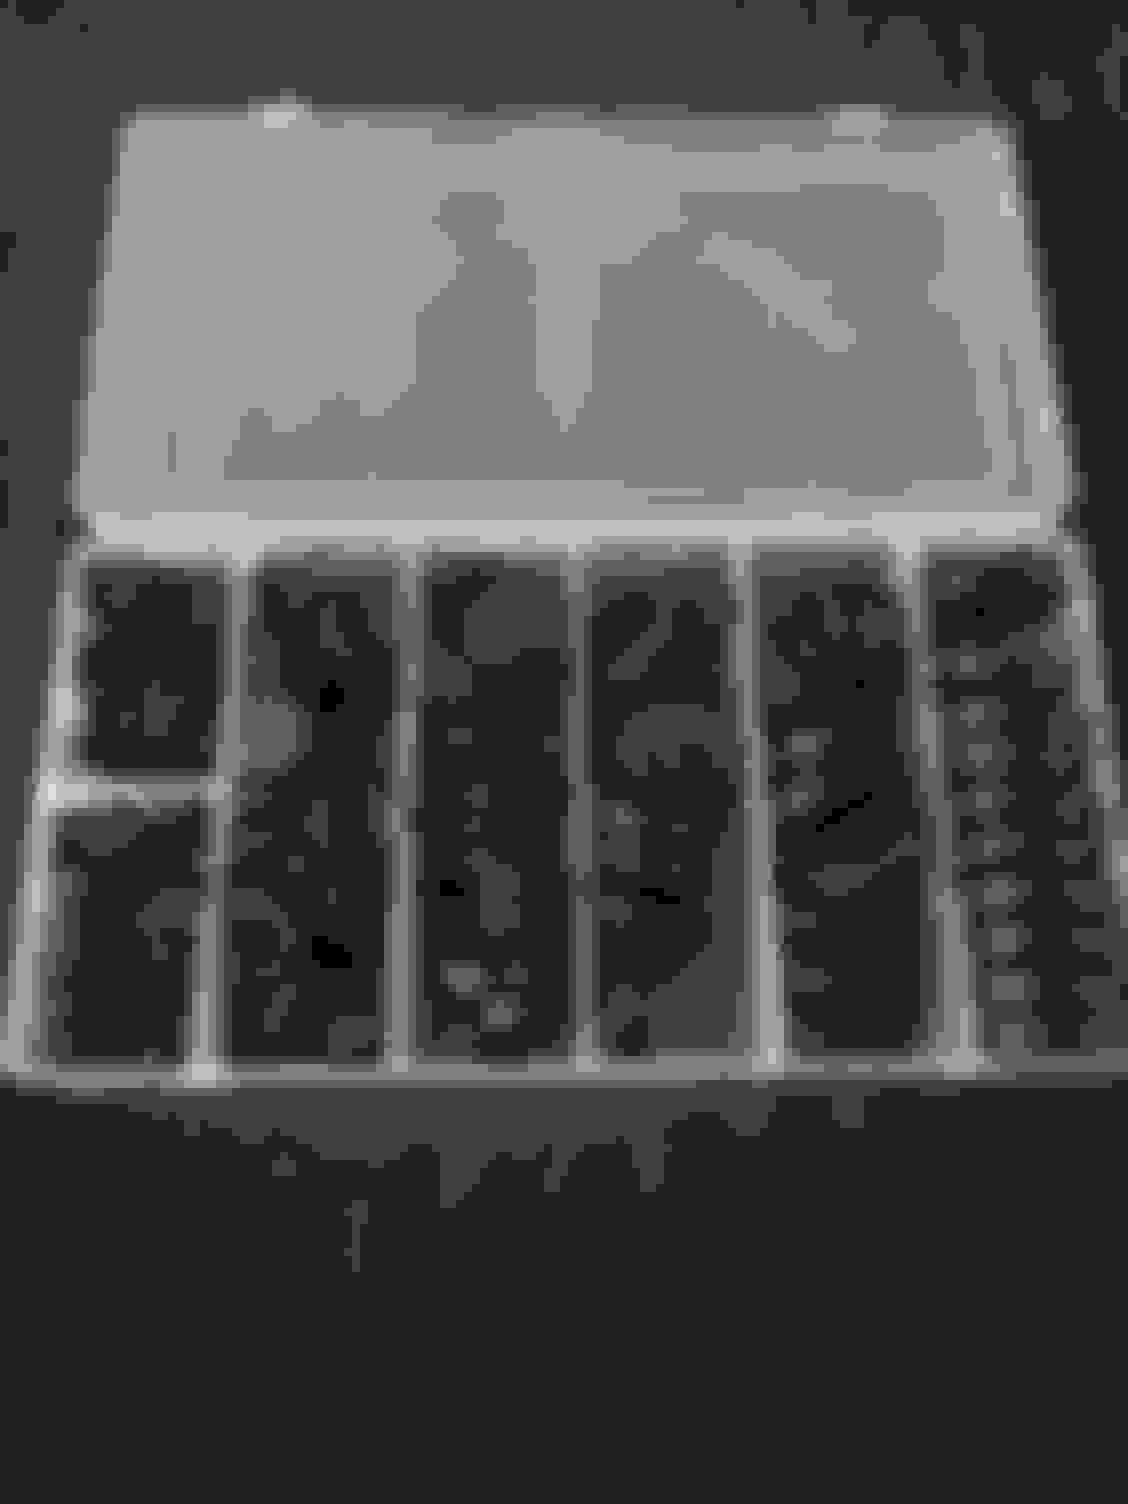
This is the kit I got off eBay, it�s a xentec dual low/hi beam kit. The kits runs at 35 watts so it doesn�t draw a lot of power like the 55 watt ones. Real small The whole kit
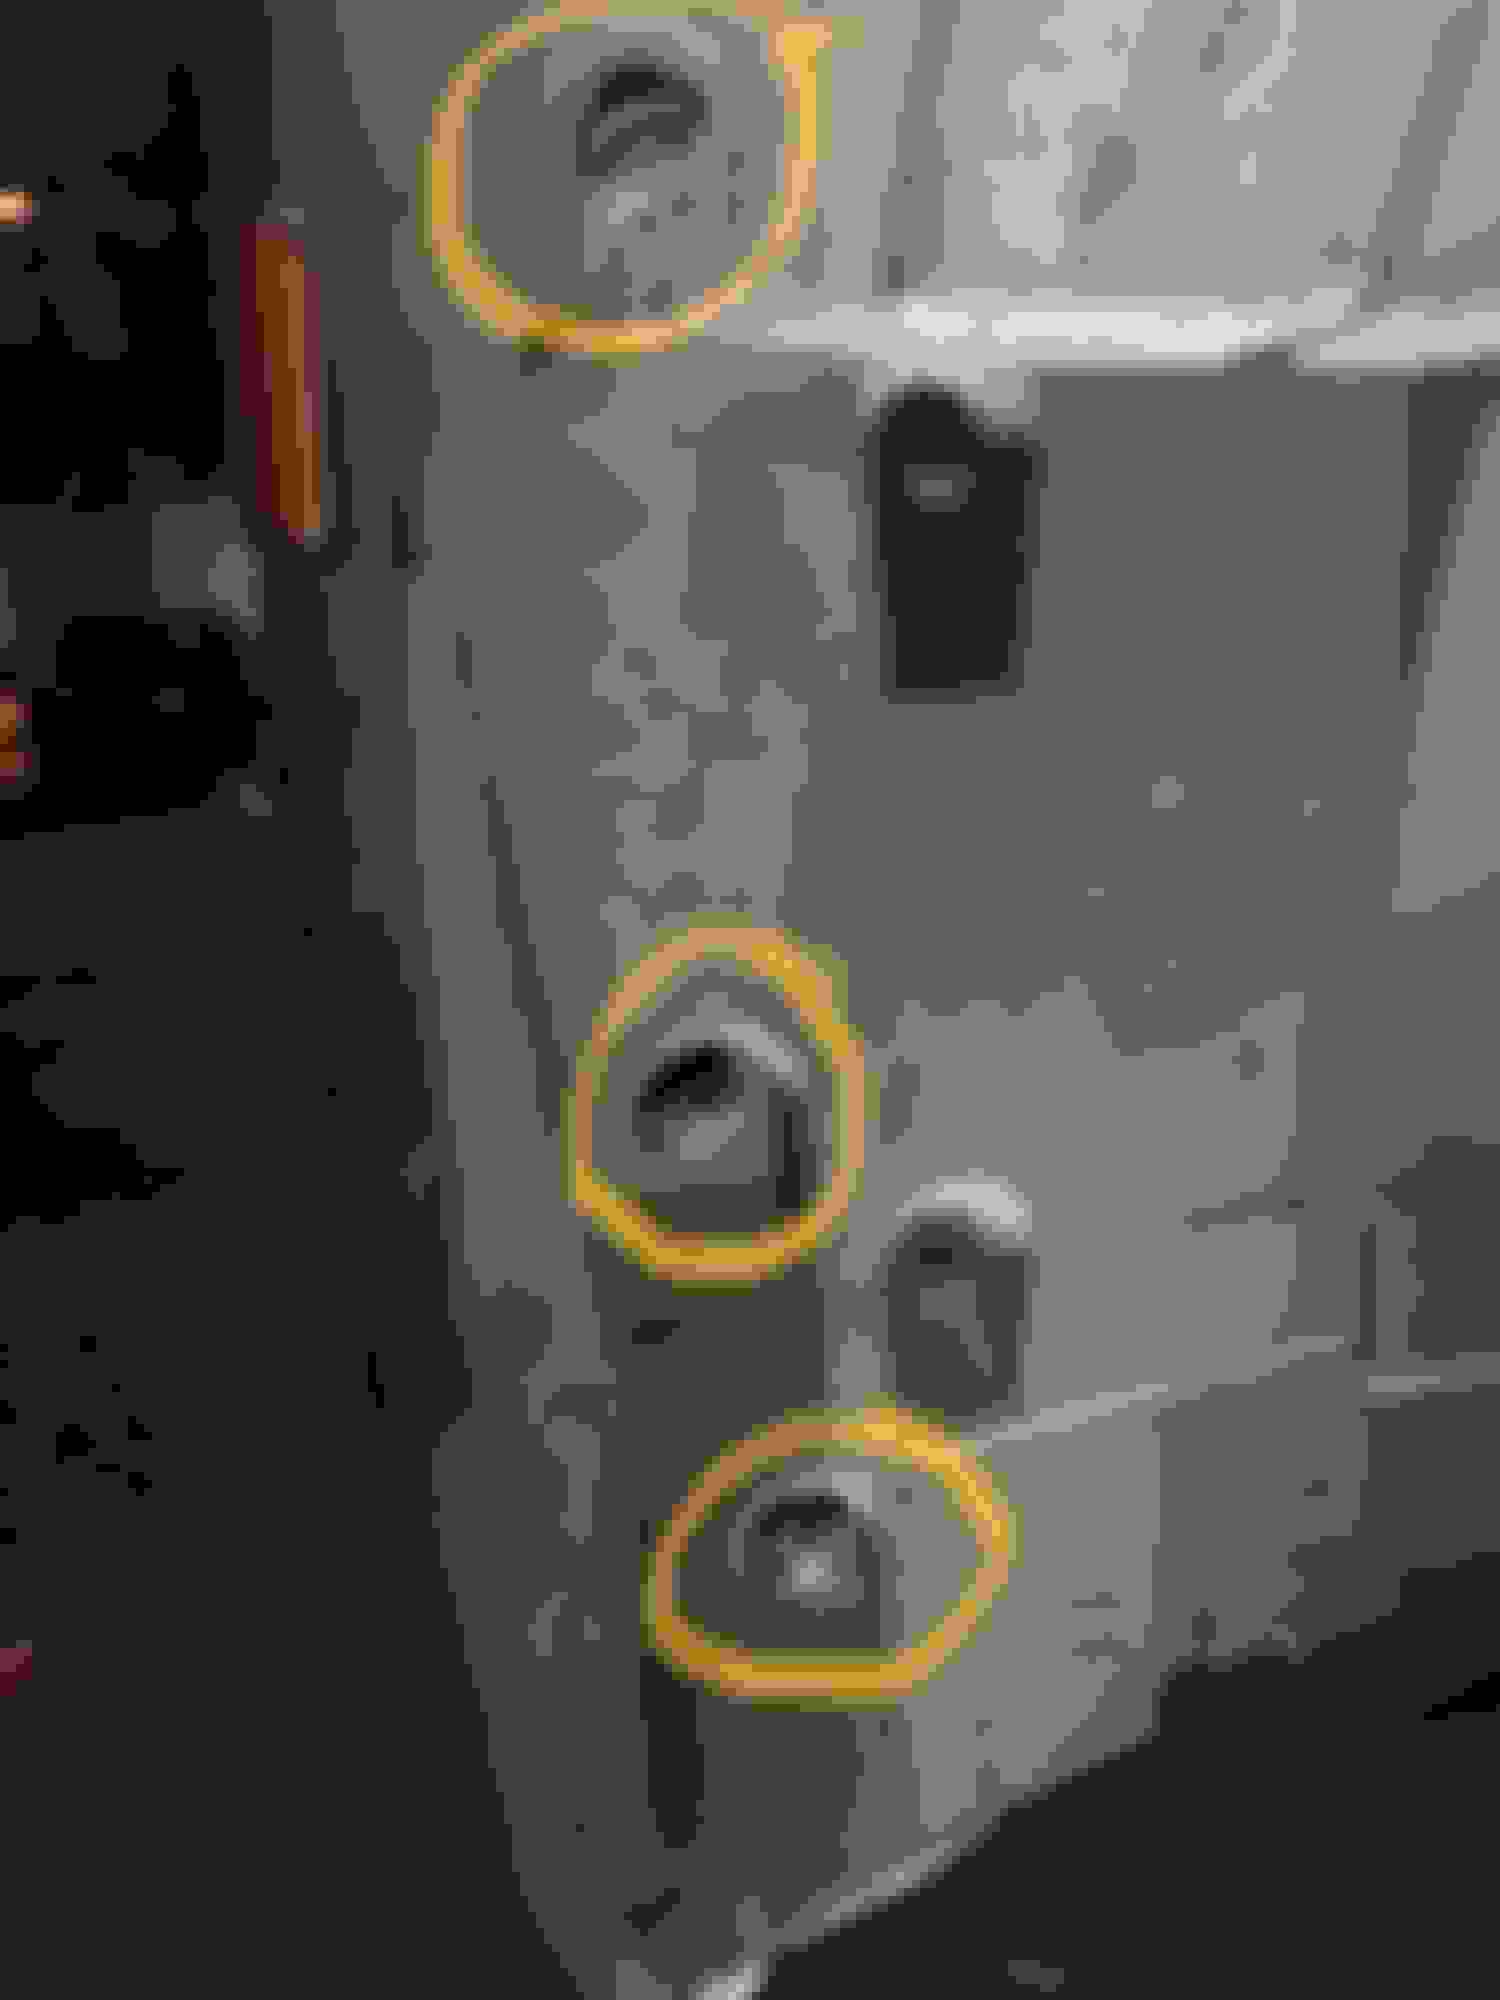
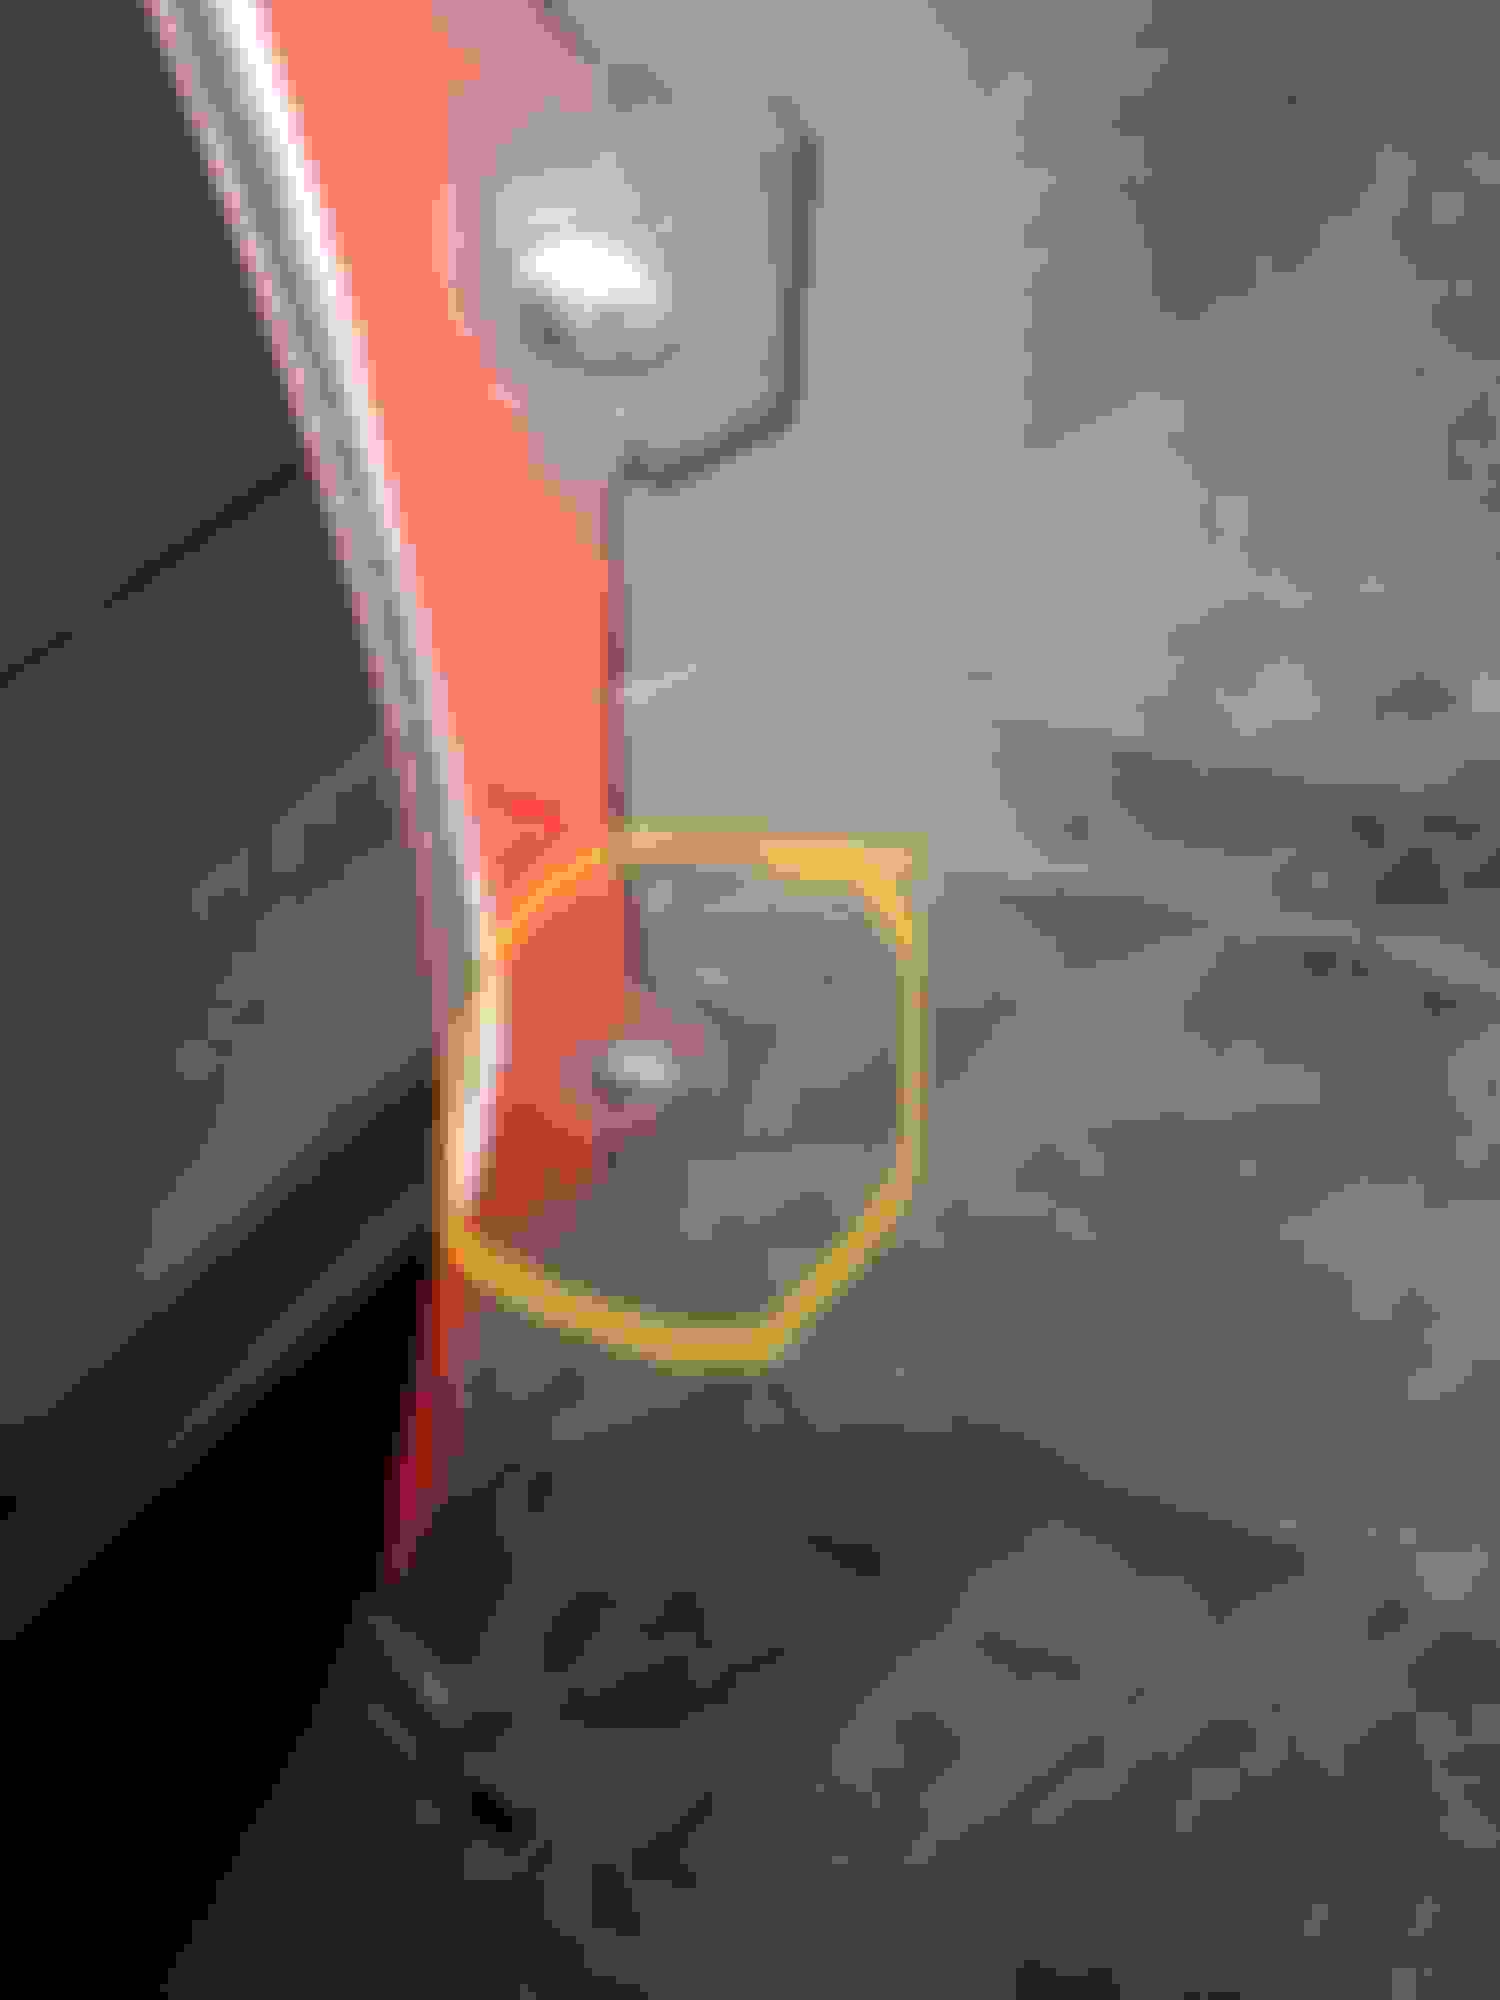
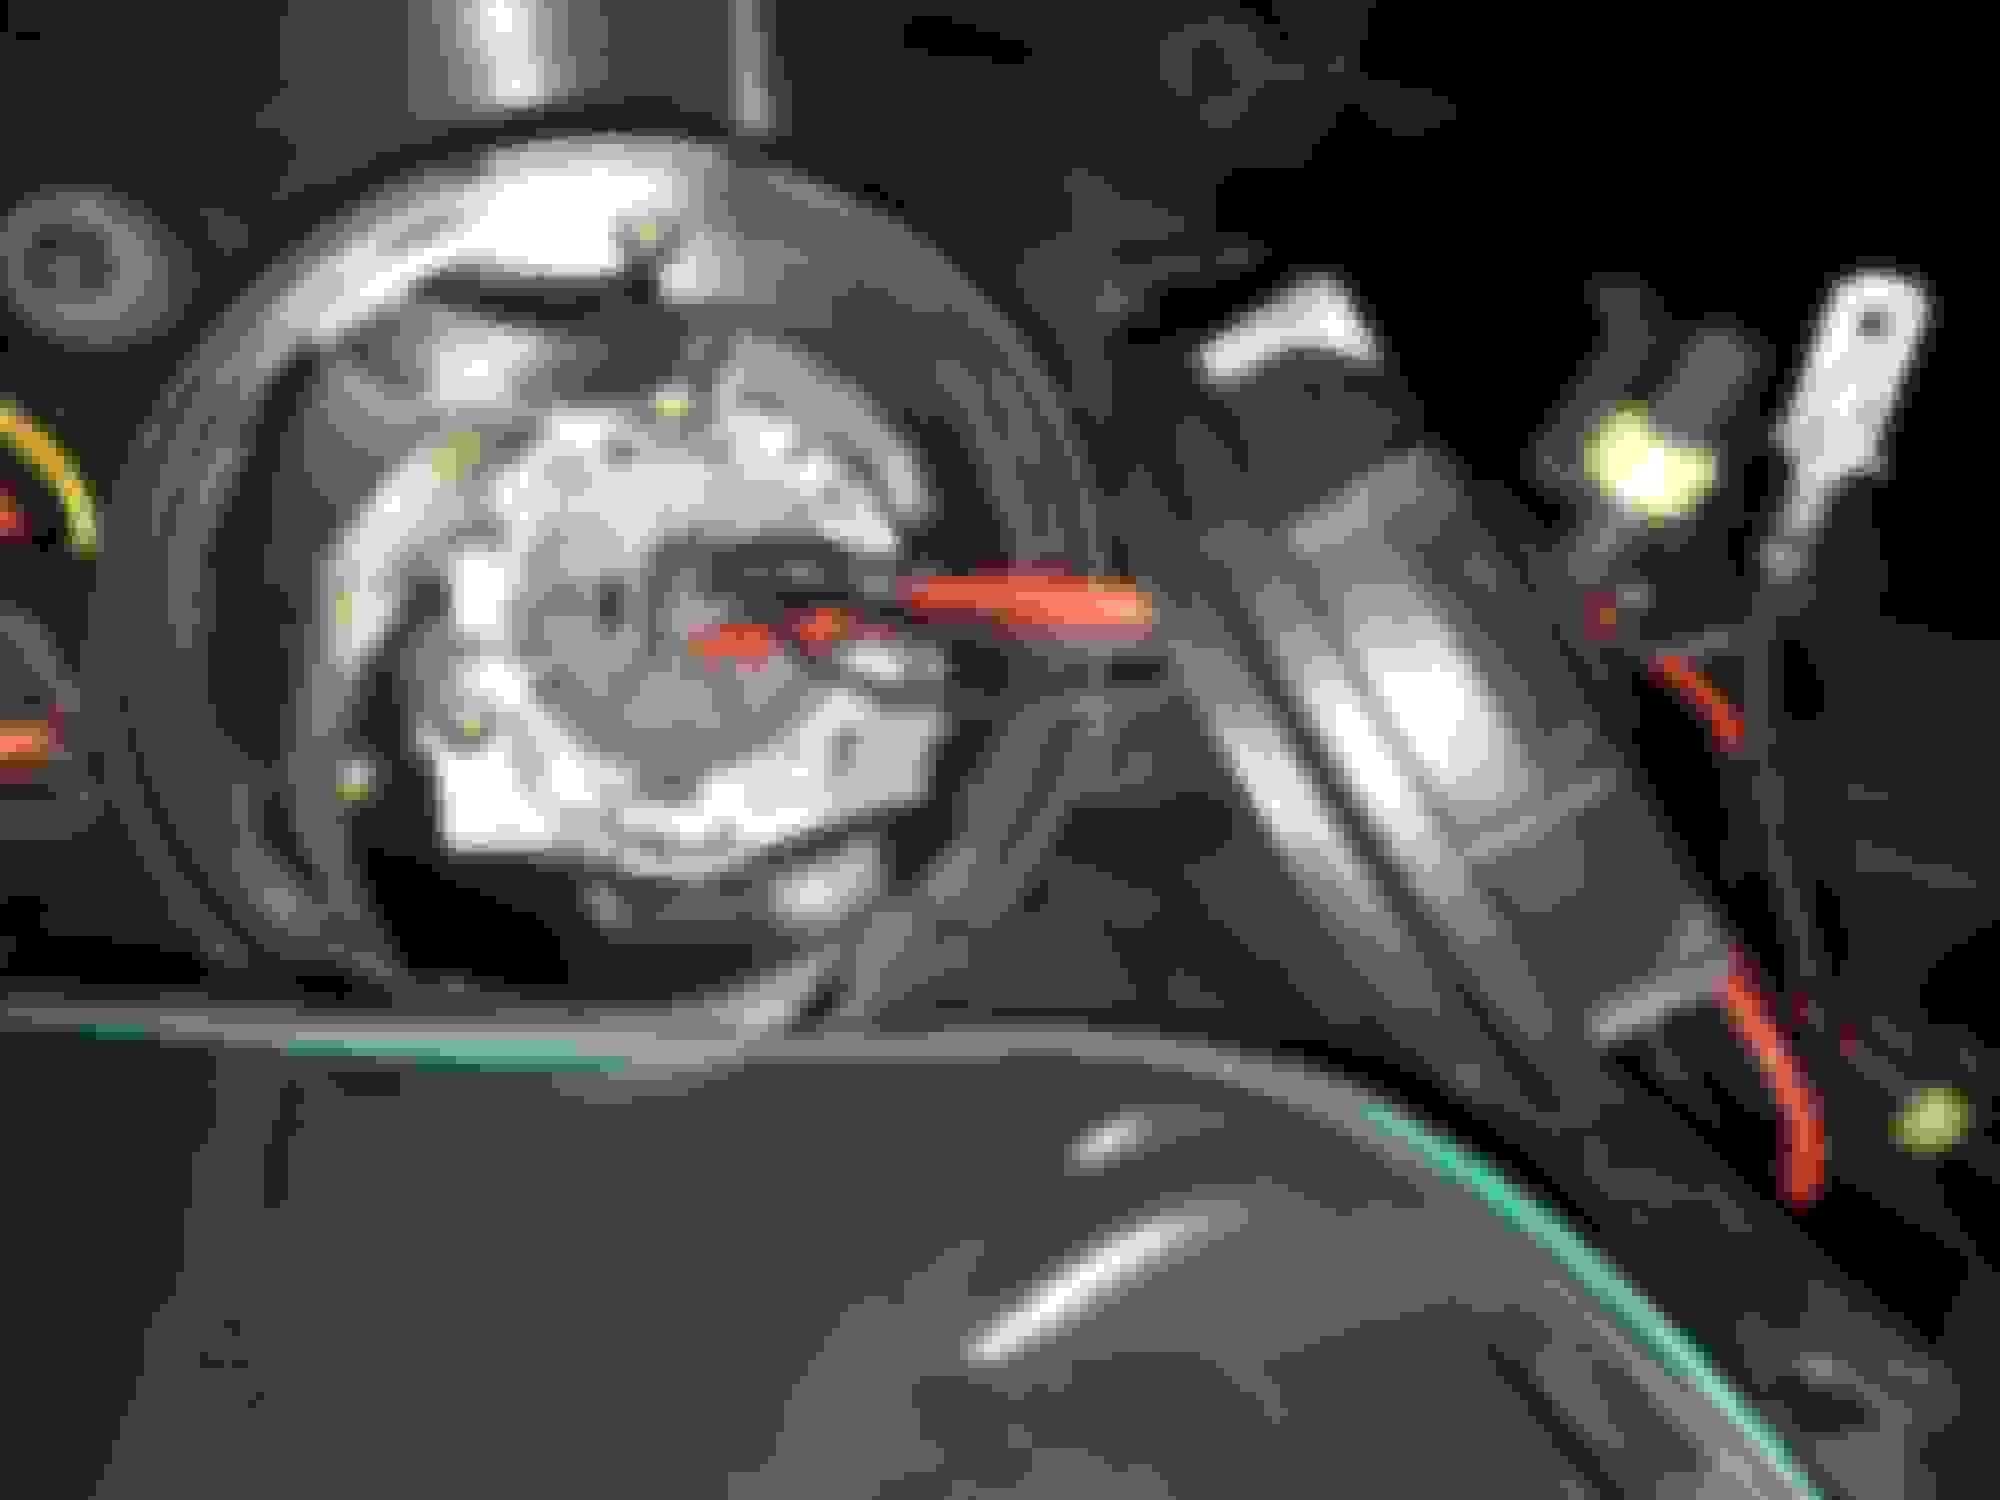
Then you come across these plugs I have circled about 5-6 of them just remove them so you can pull fender lining down to access the back of the headlight so you can pull the plug to make easier to remove the headlights from the car.
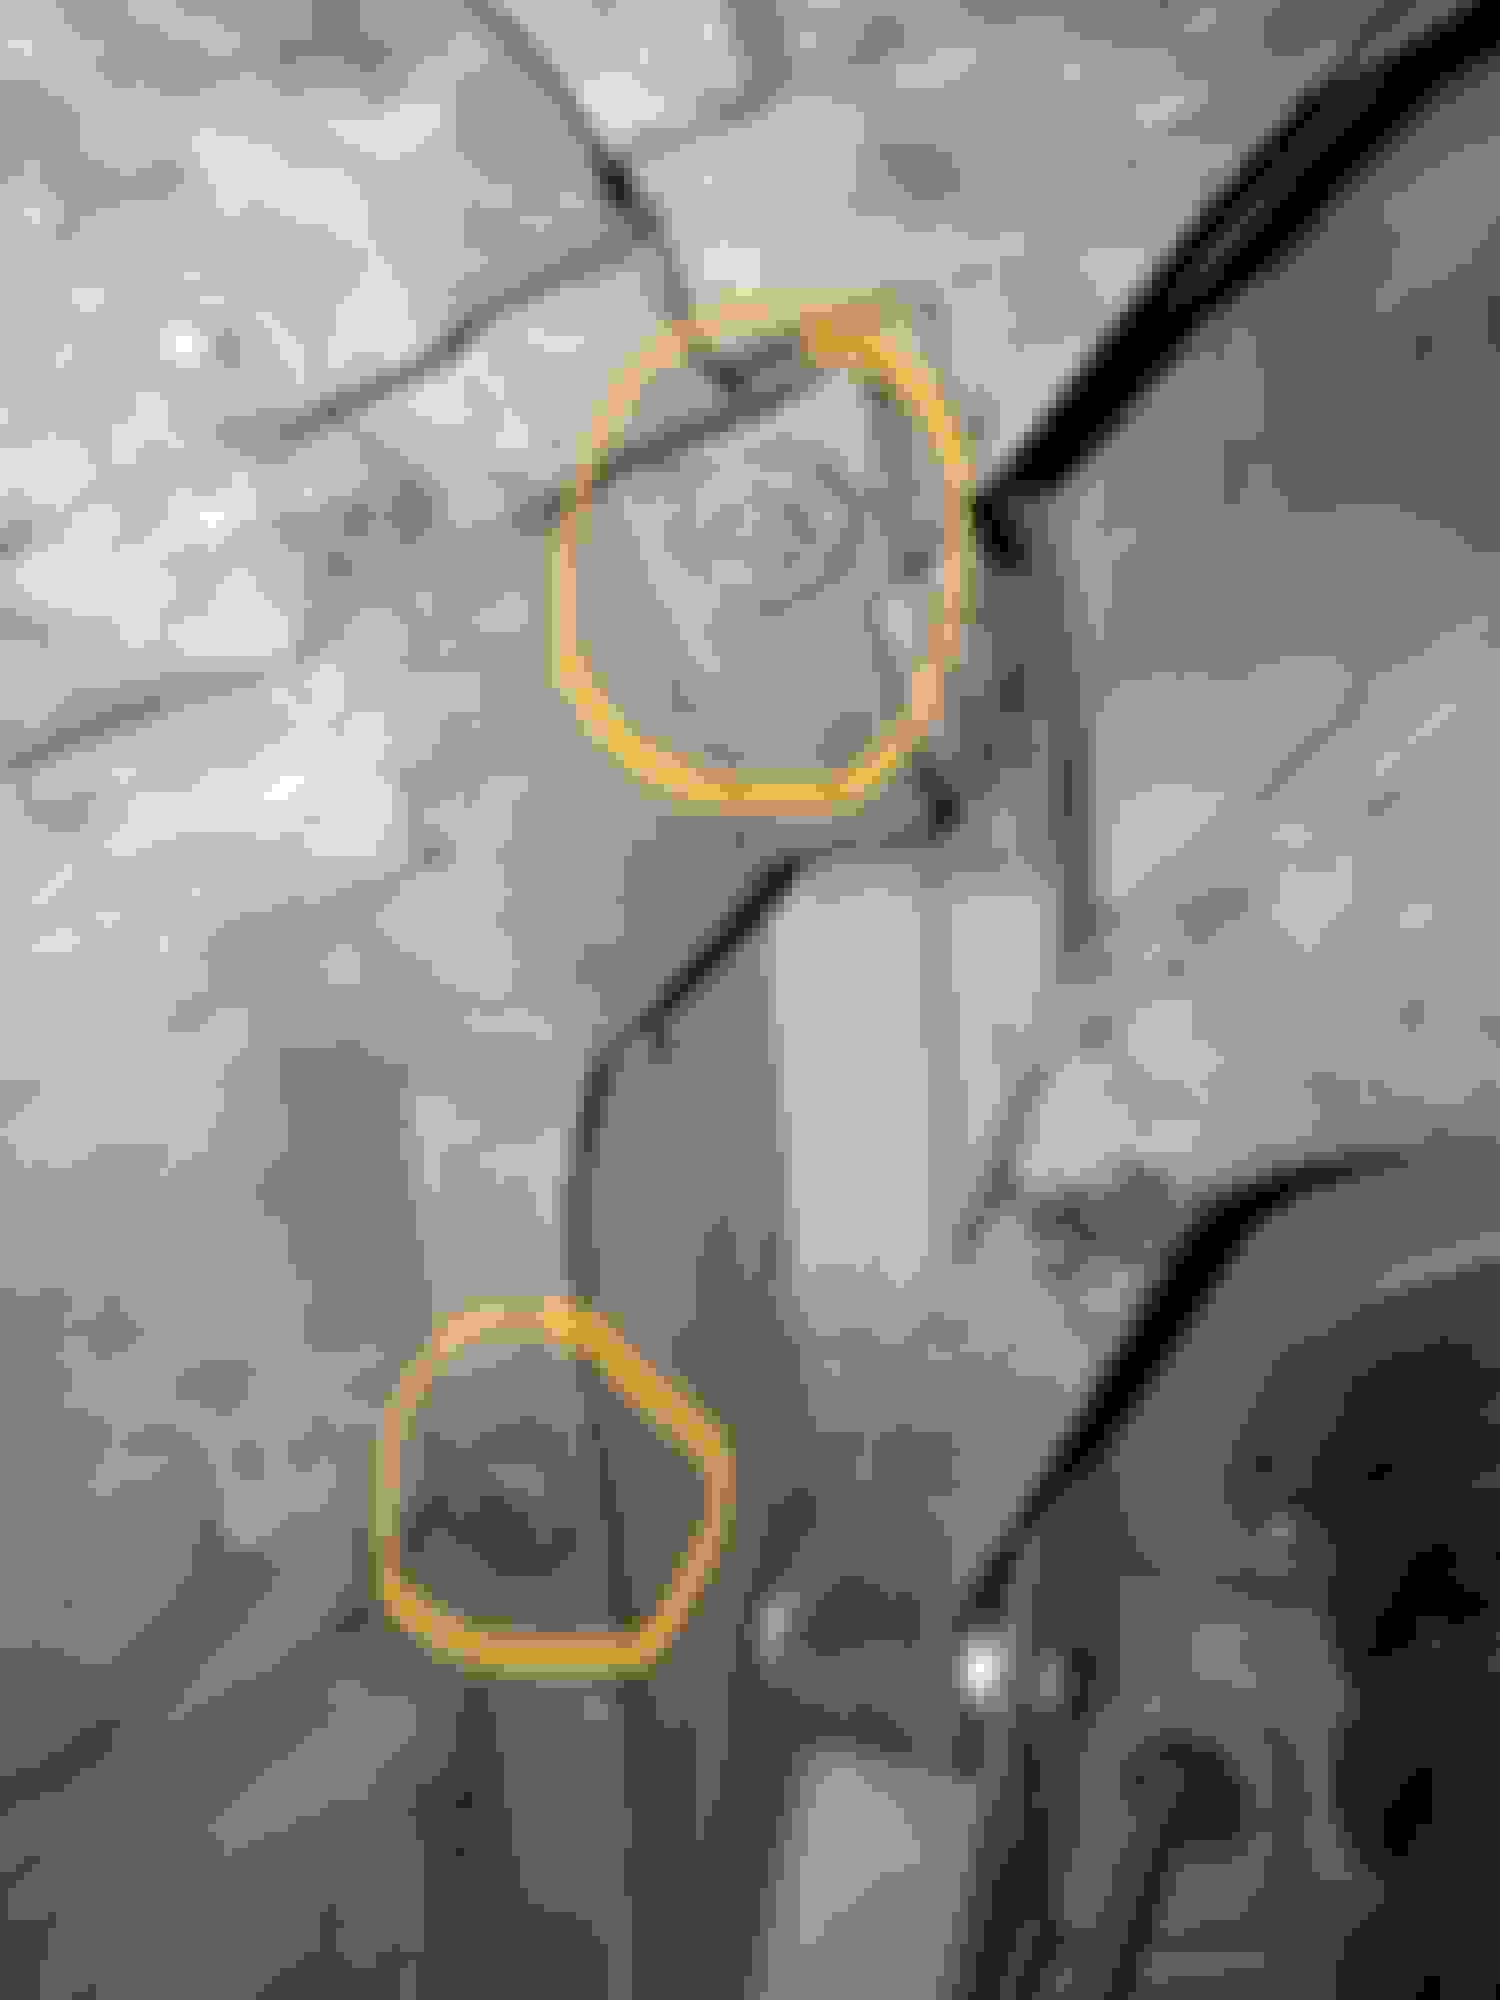
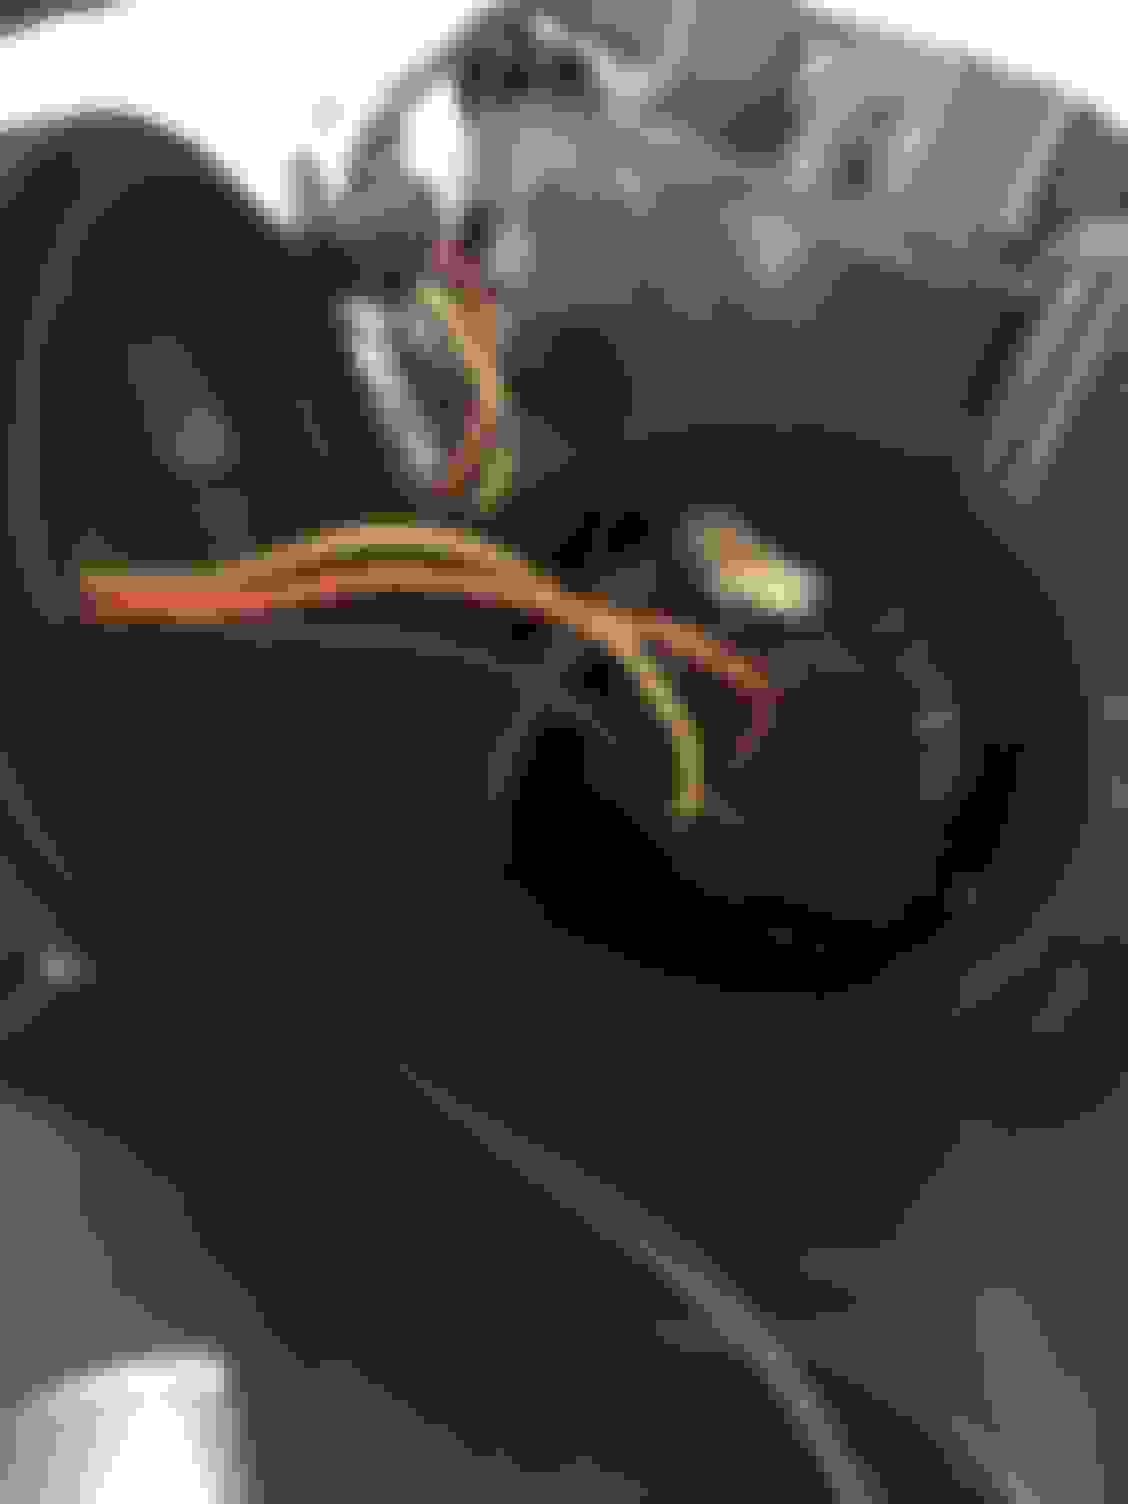
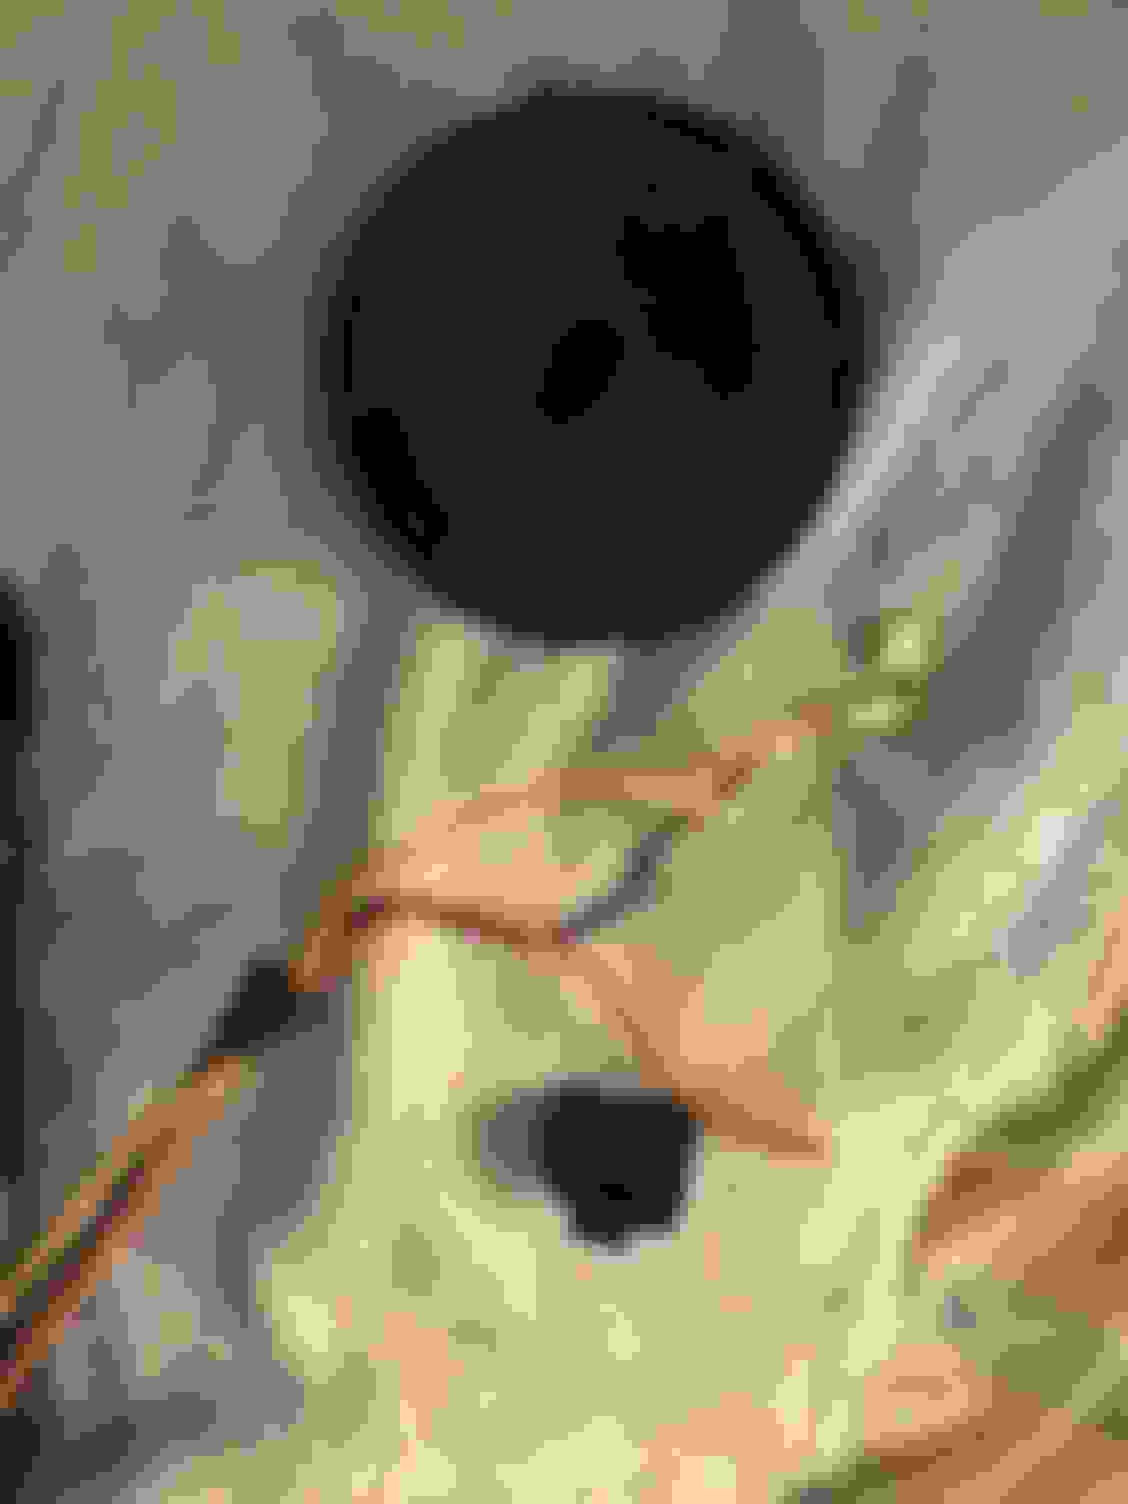
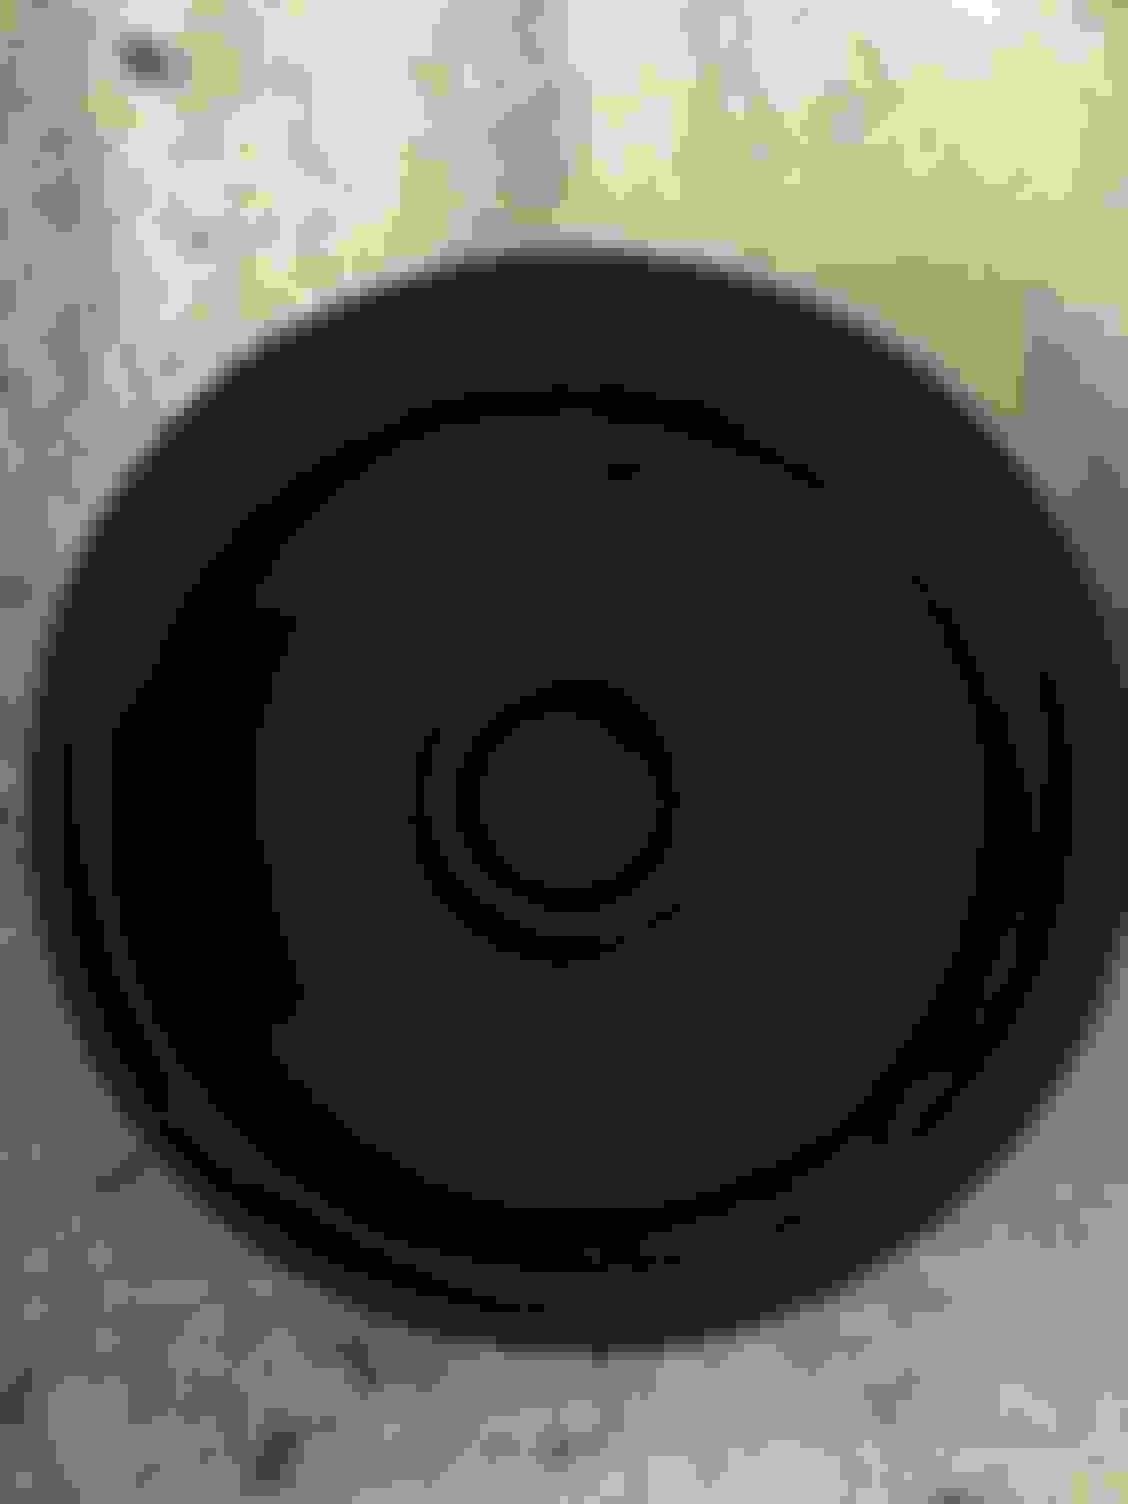
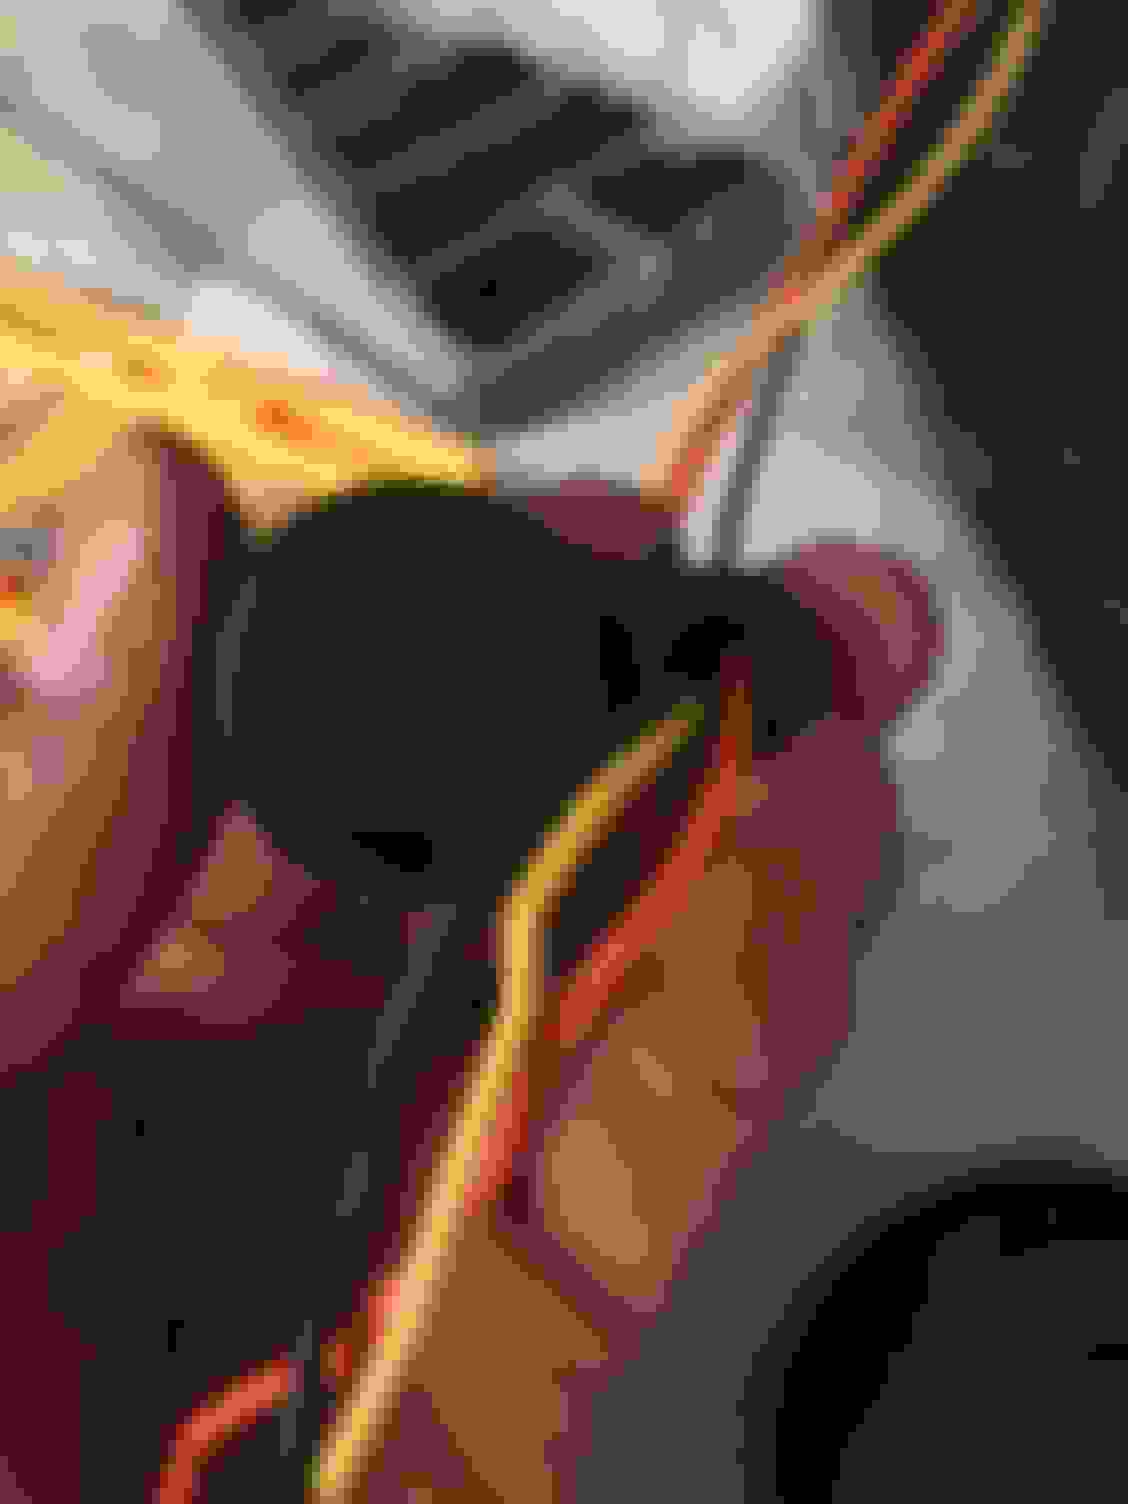
These are at the top. Here is one by the brake lines unscrew this one screw don�t worry about the other and at that point you should be able to fold the lining down enough to access the back of the headlights The circled cap is the lower cap which has the fog/high beam inside. Once you open it you need to pull the 3 prong plug This is the plug after you have unplugged it and what I did is I pulled those wires out of the plug so I can pull them through the cap as you will see on down. This is it from the other side Now this is those wires in the plug from the headlights that plugged into the halogen bulb that controlled the fog lights and hi beam. You have to de-pin them from the plug
So as I pulled this wires from the plug and then pulled the wires through the oem cover for the fog lights I bought these blank rubber grommets without holes. I�m going to use one bigger one to then run the hid wires through it so it looks and is ran like it should be instead of sticking the whole kit in the housing. As you can see the one I�m going to use is about a inch in diameter. And it�s slot in between is about 2-3mm
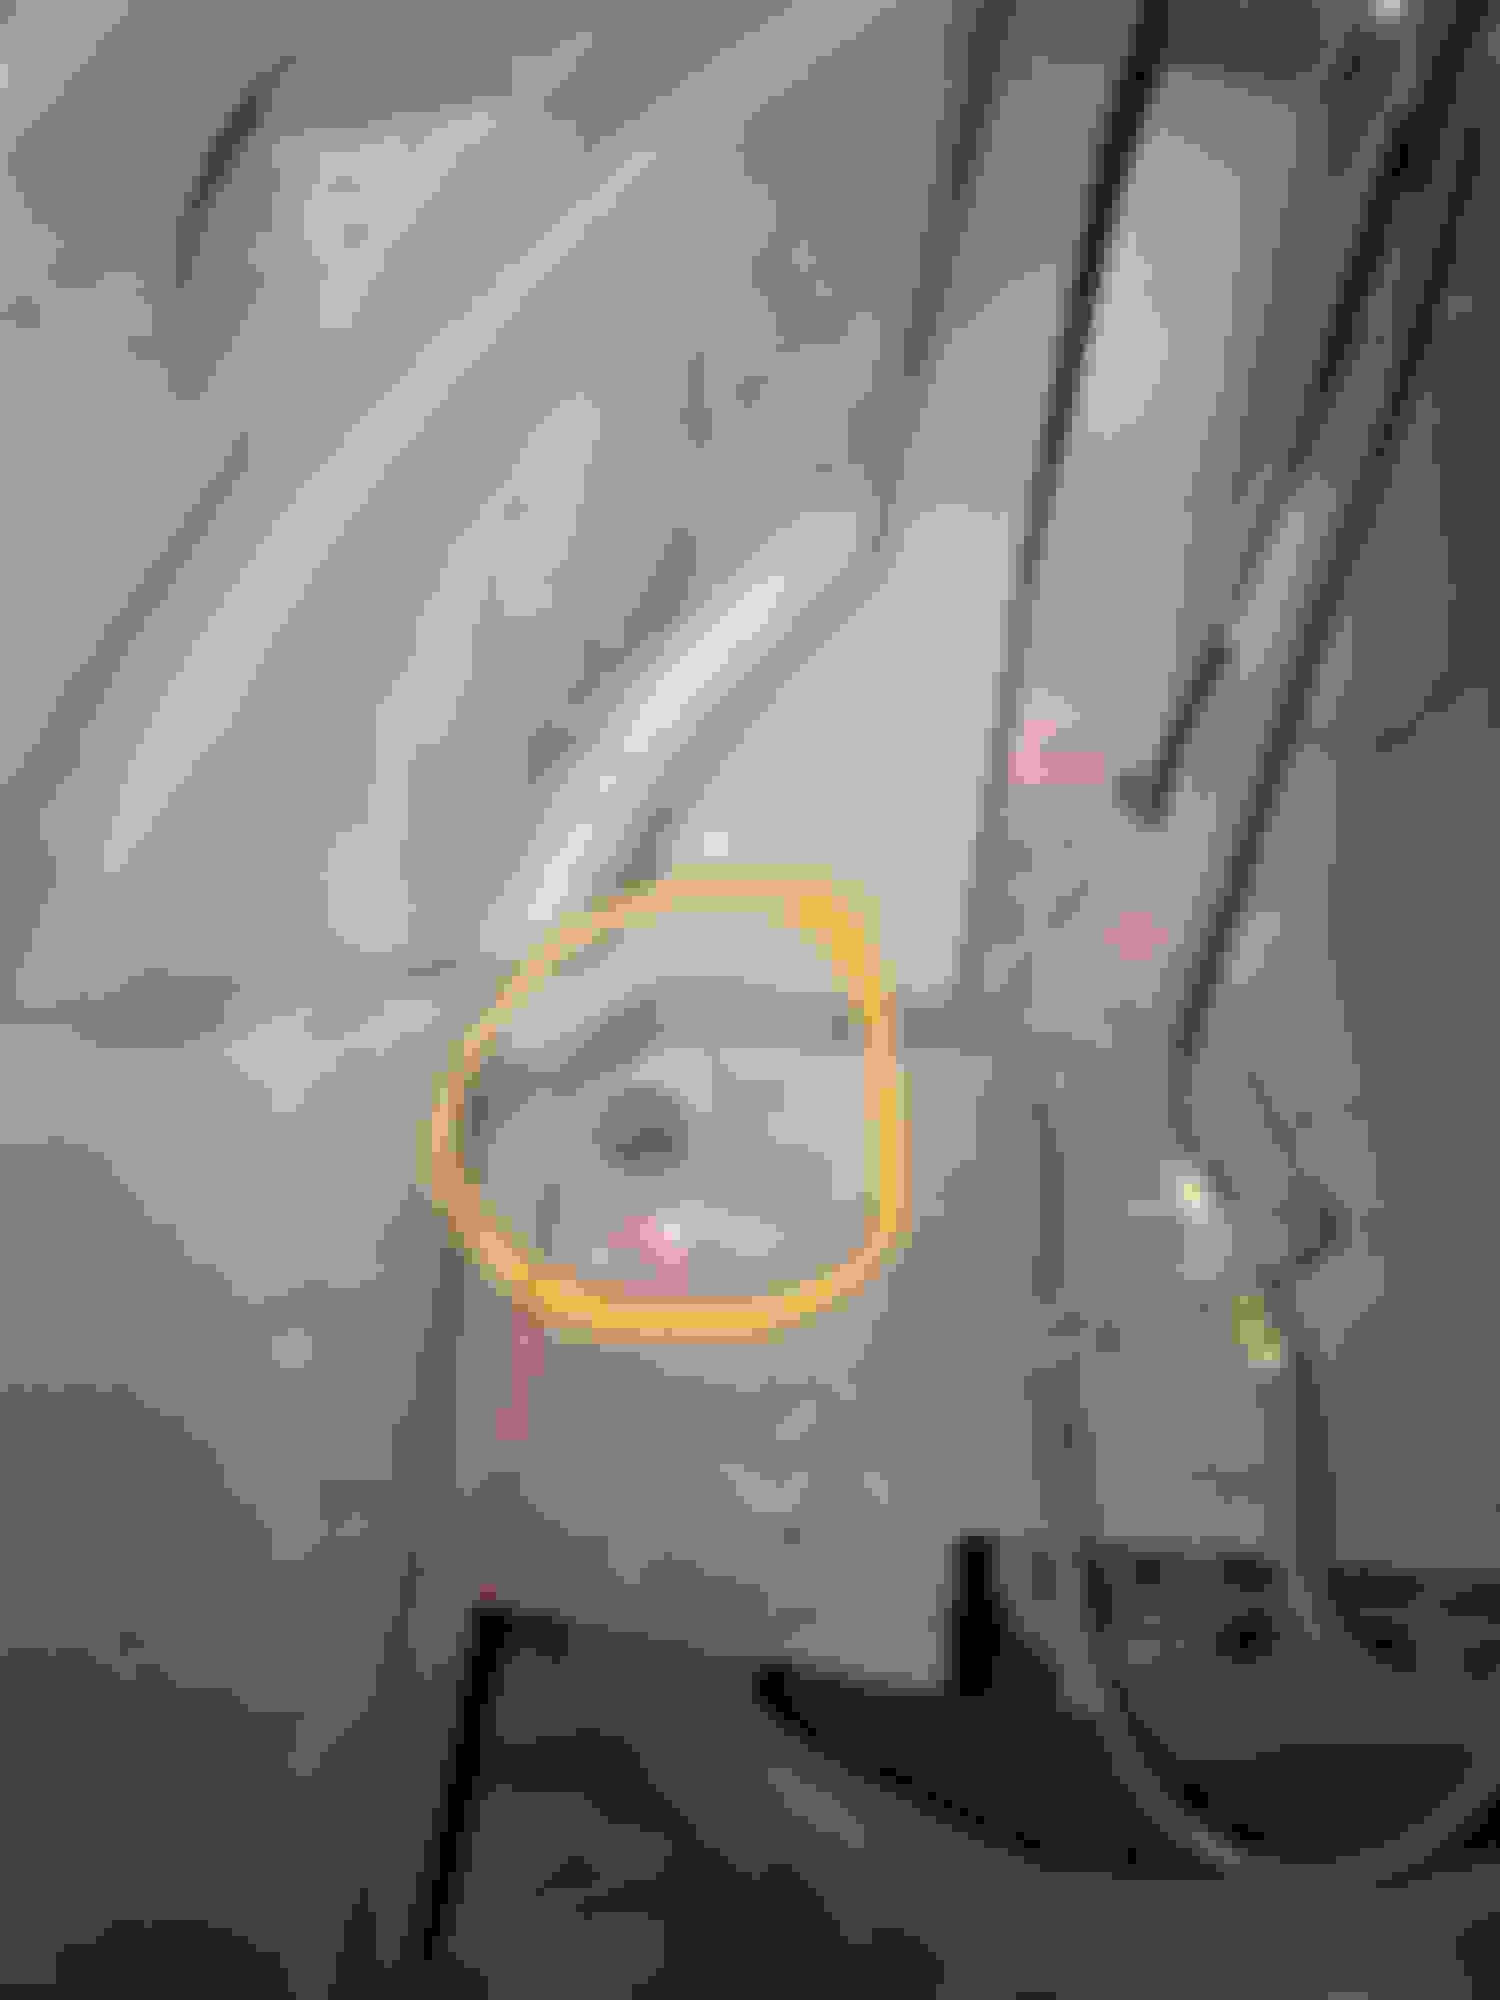
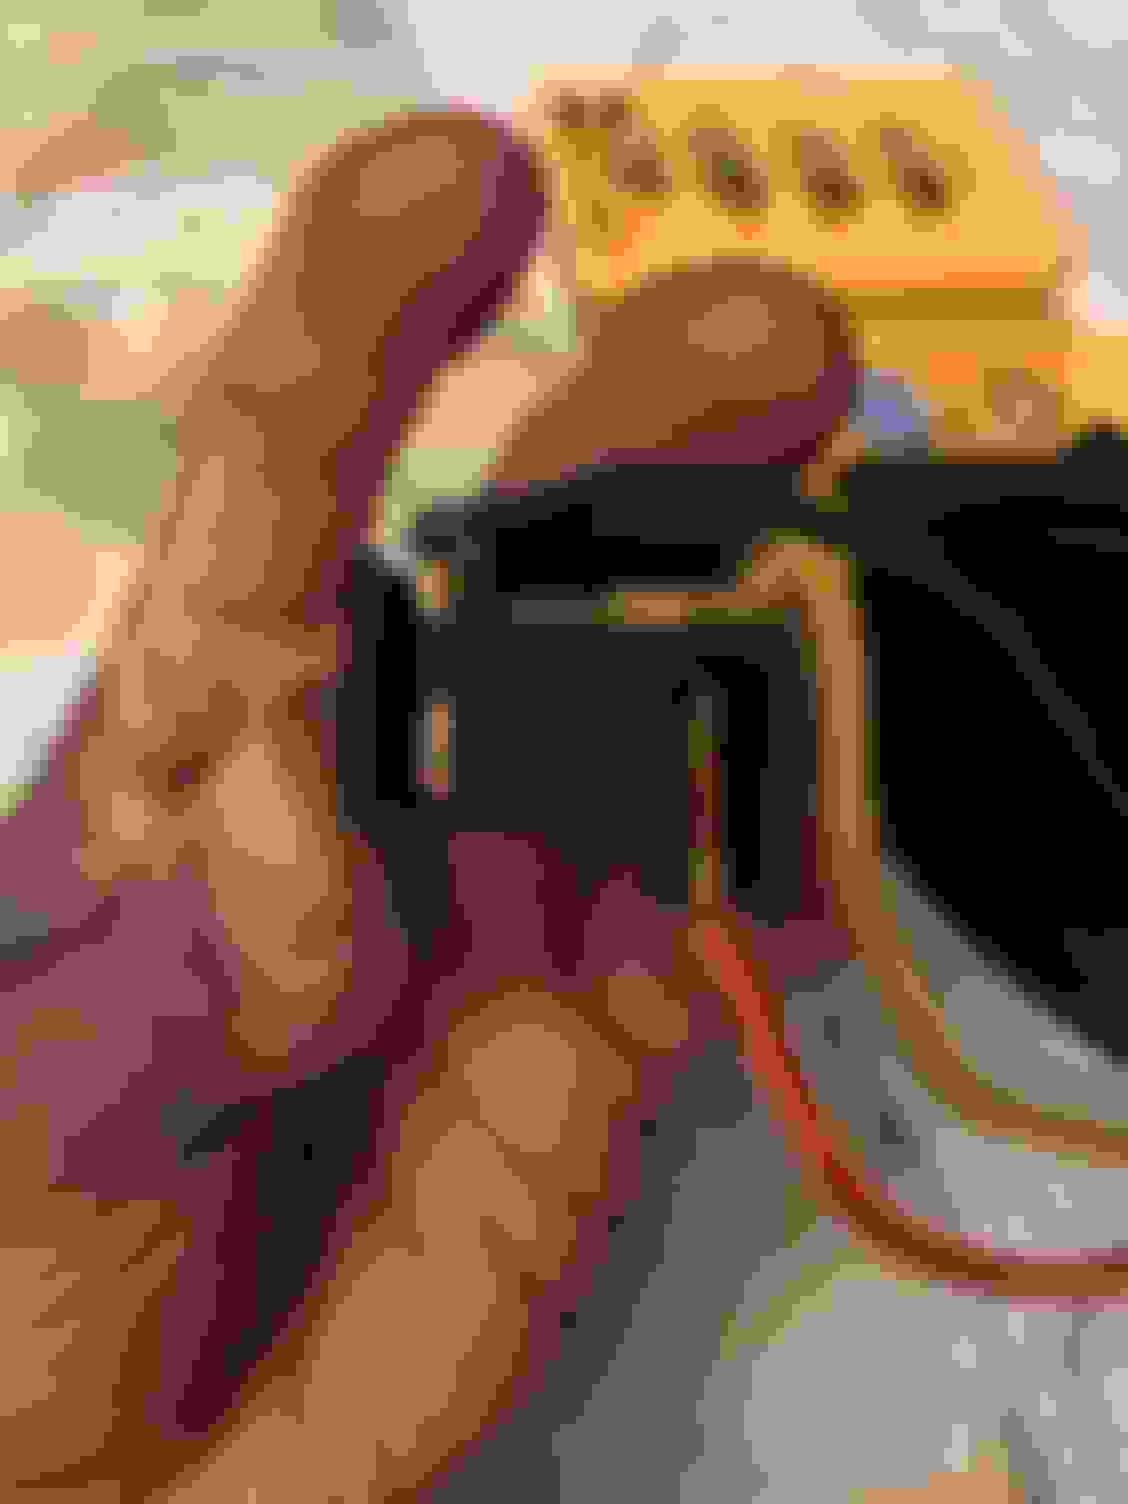
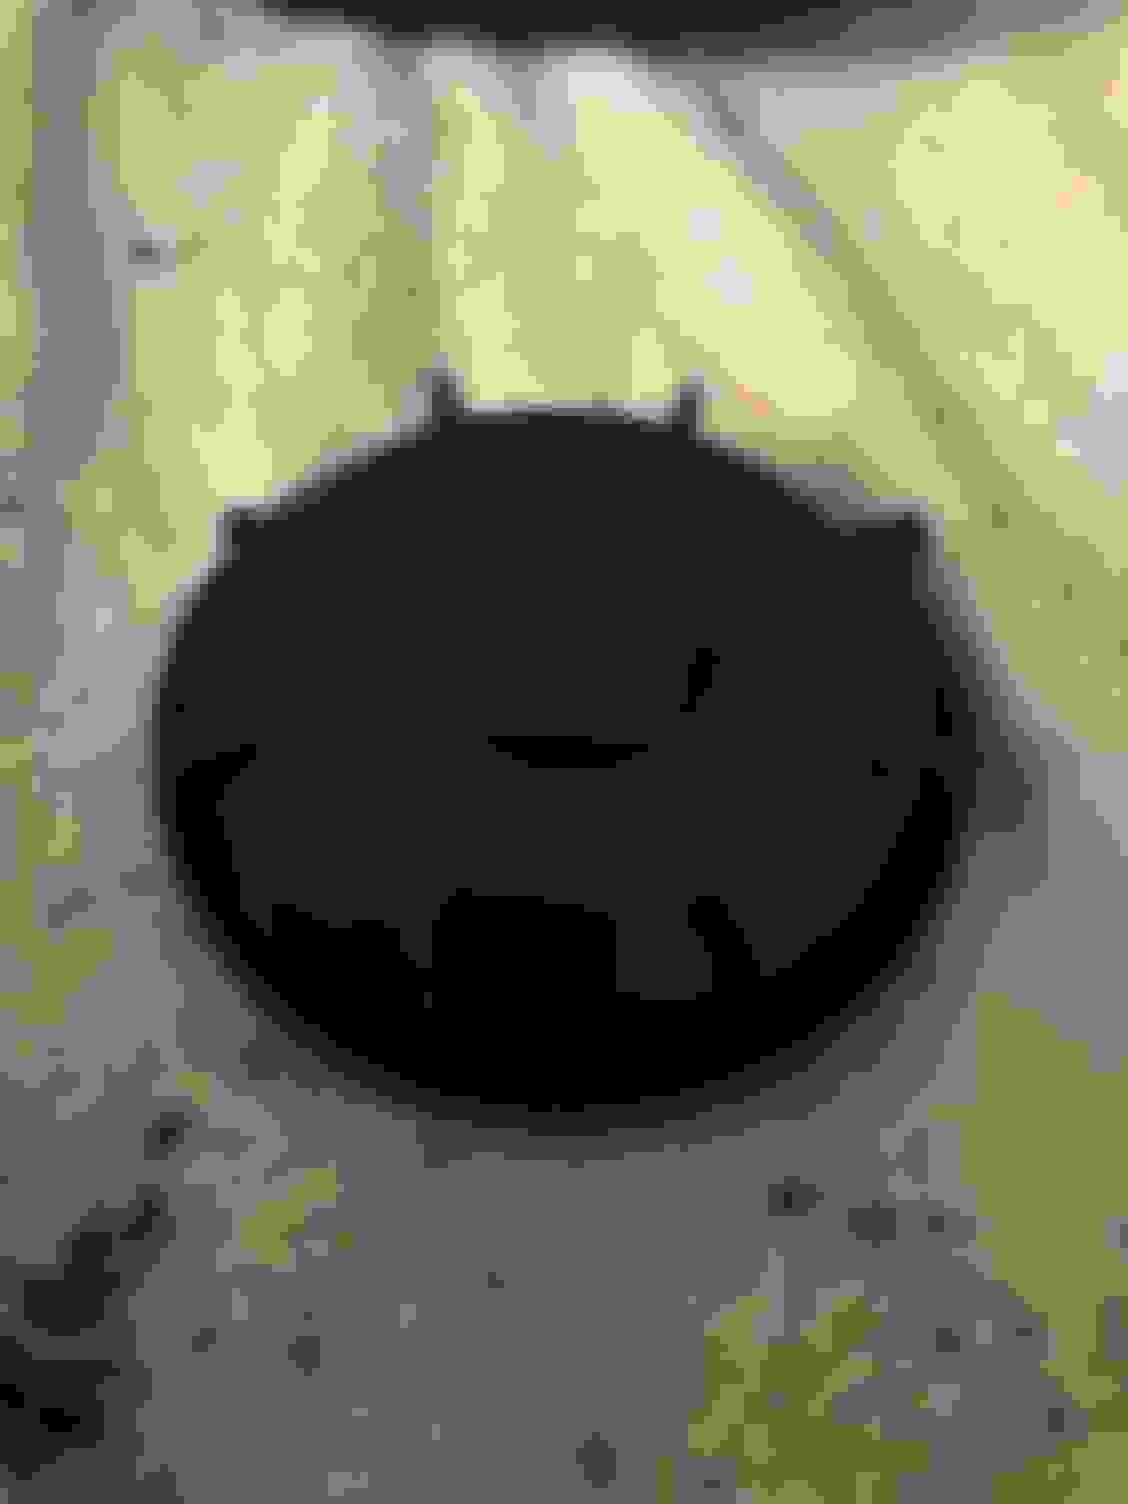
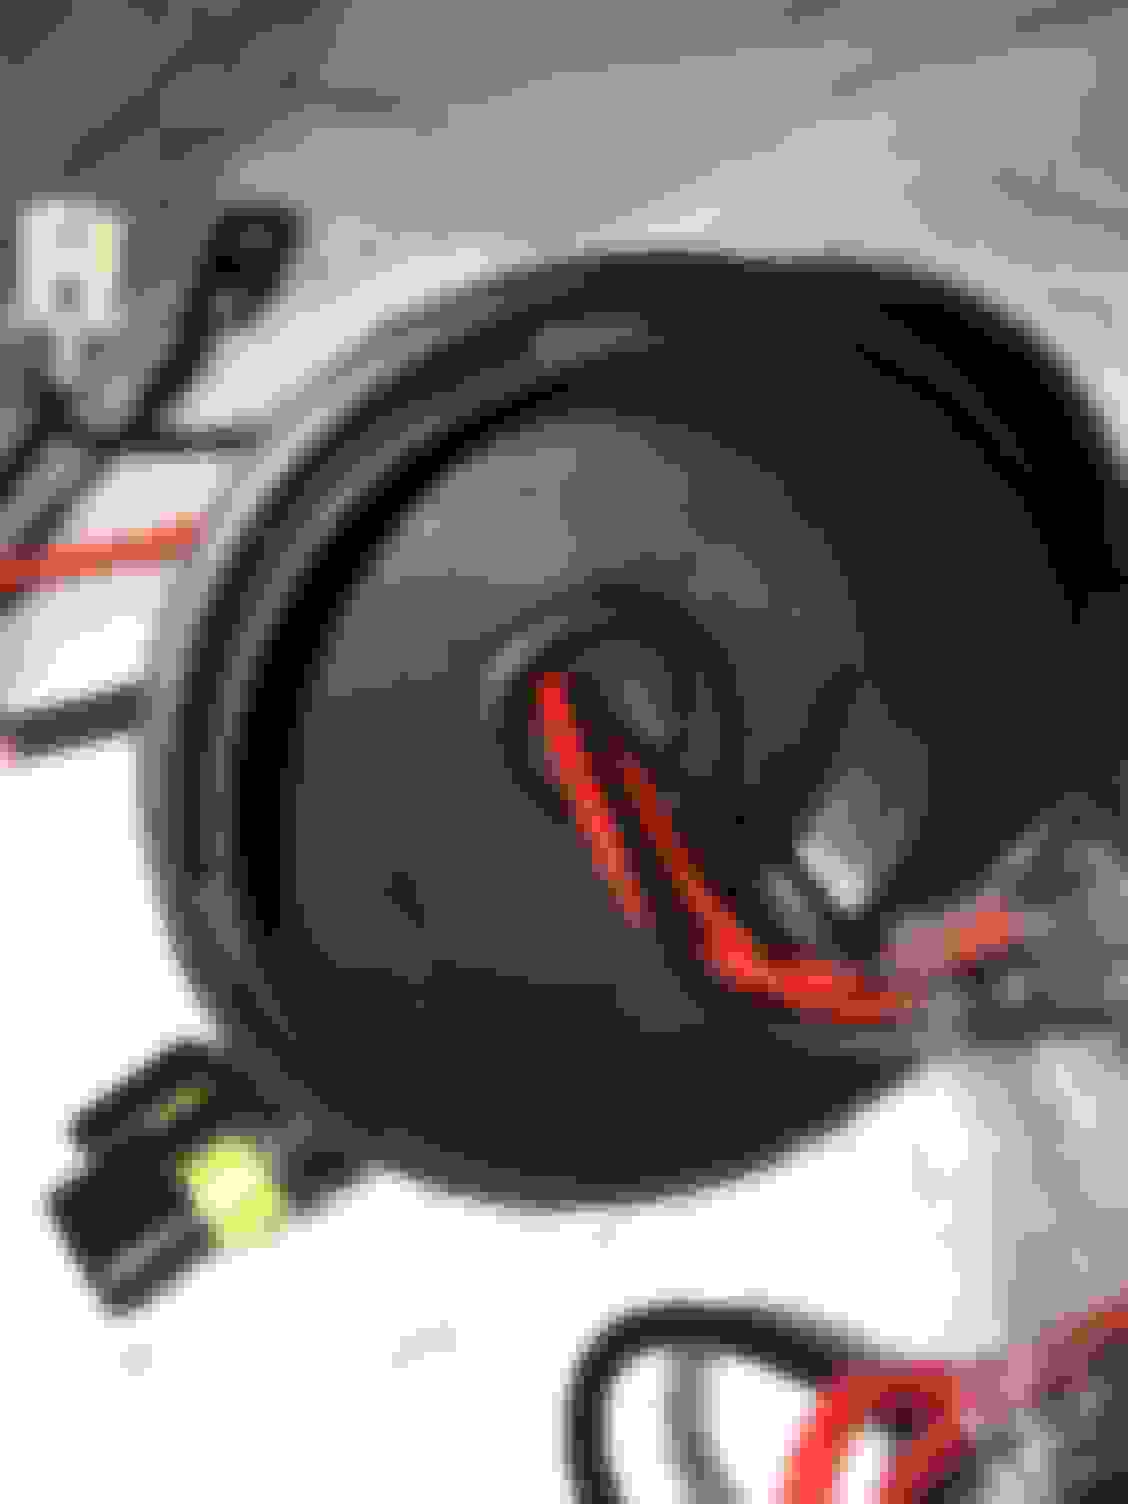
So I drilled that stock hole and bored it out to the size of the plug for a tight fit. As you can see after drilling I installed the plug for test fit (Note) always drill hole smaller and make bigger as you need cause you can�t go back after making hole too big. This is how it looks from the inside of the cap I used a bigger plug because I knew I was going to have to pull hid plugs through it and I was unsure if I was going to be able to de-pin them. I took a razor blade and I cut a vertical and horizontal cut to push wires and others through
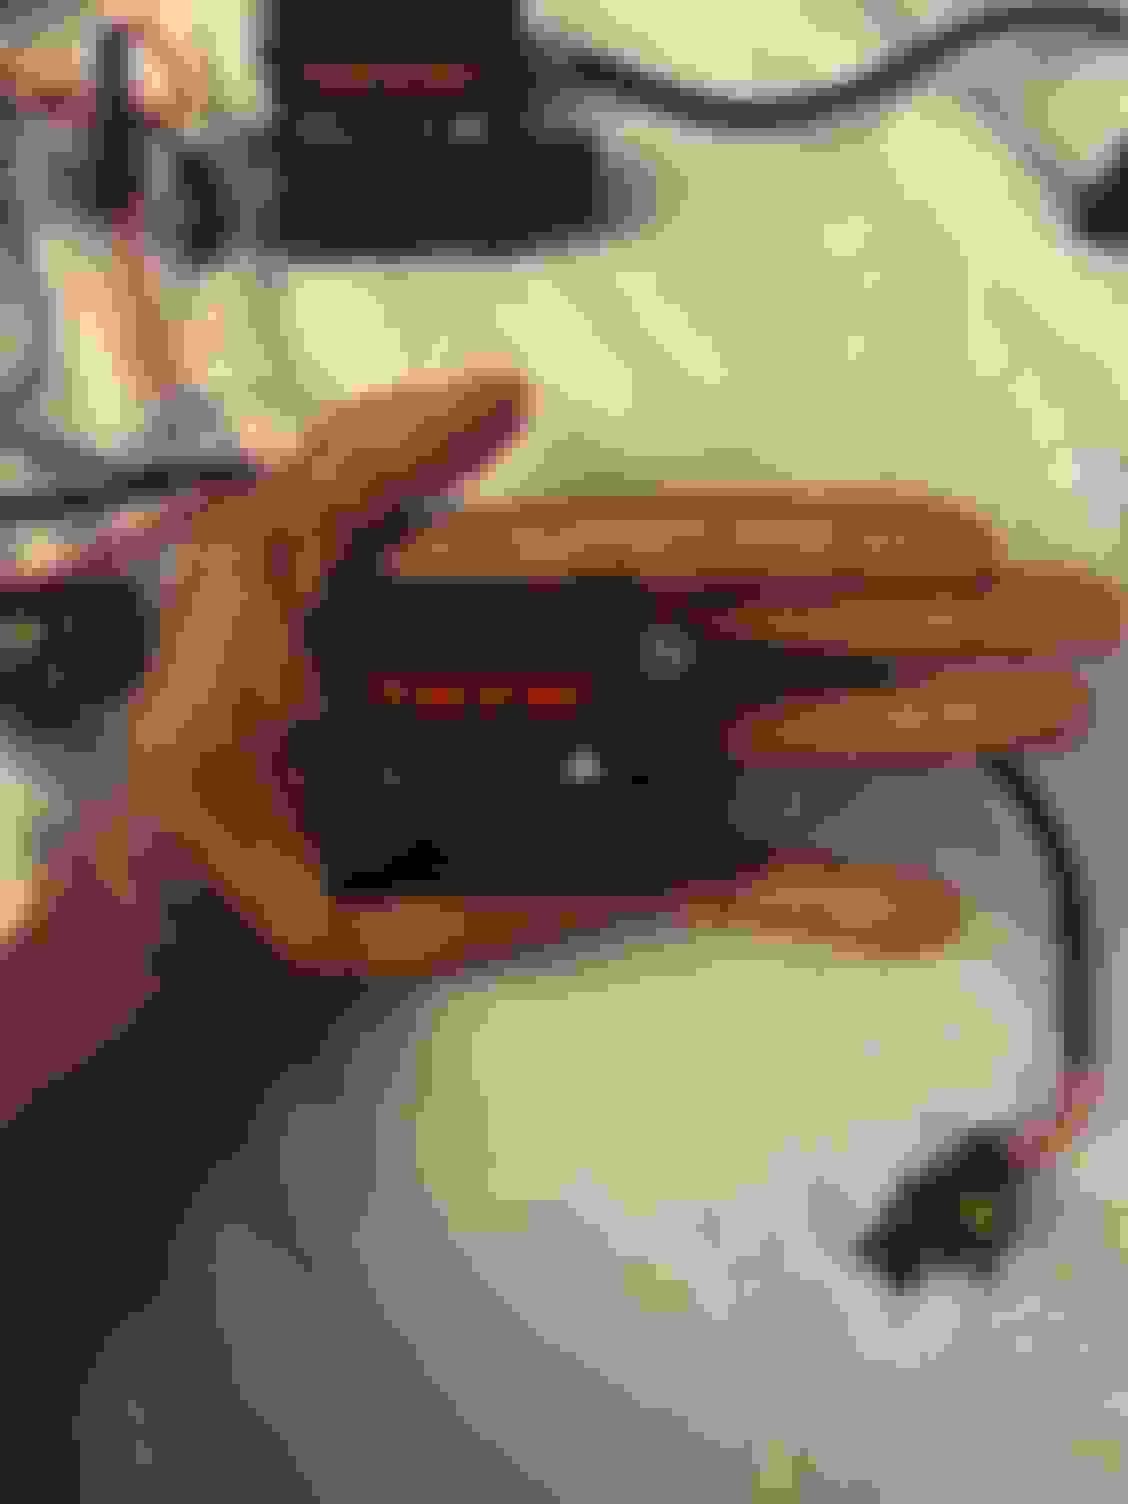
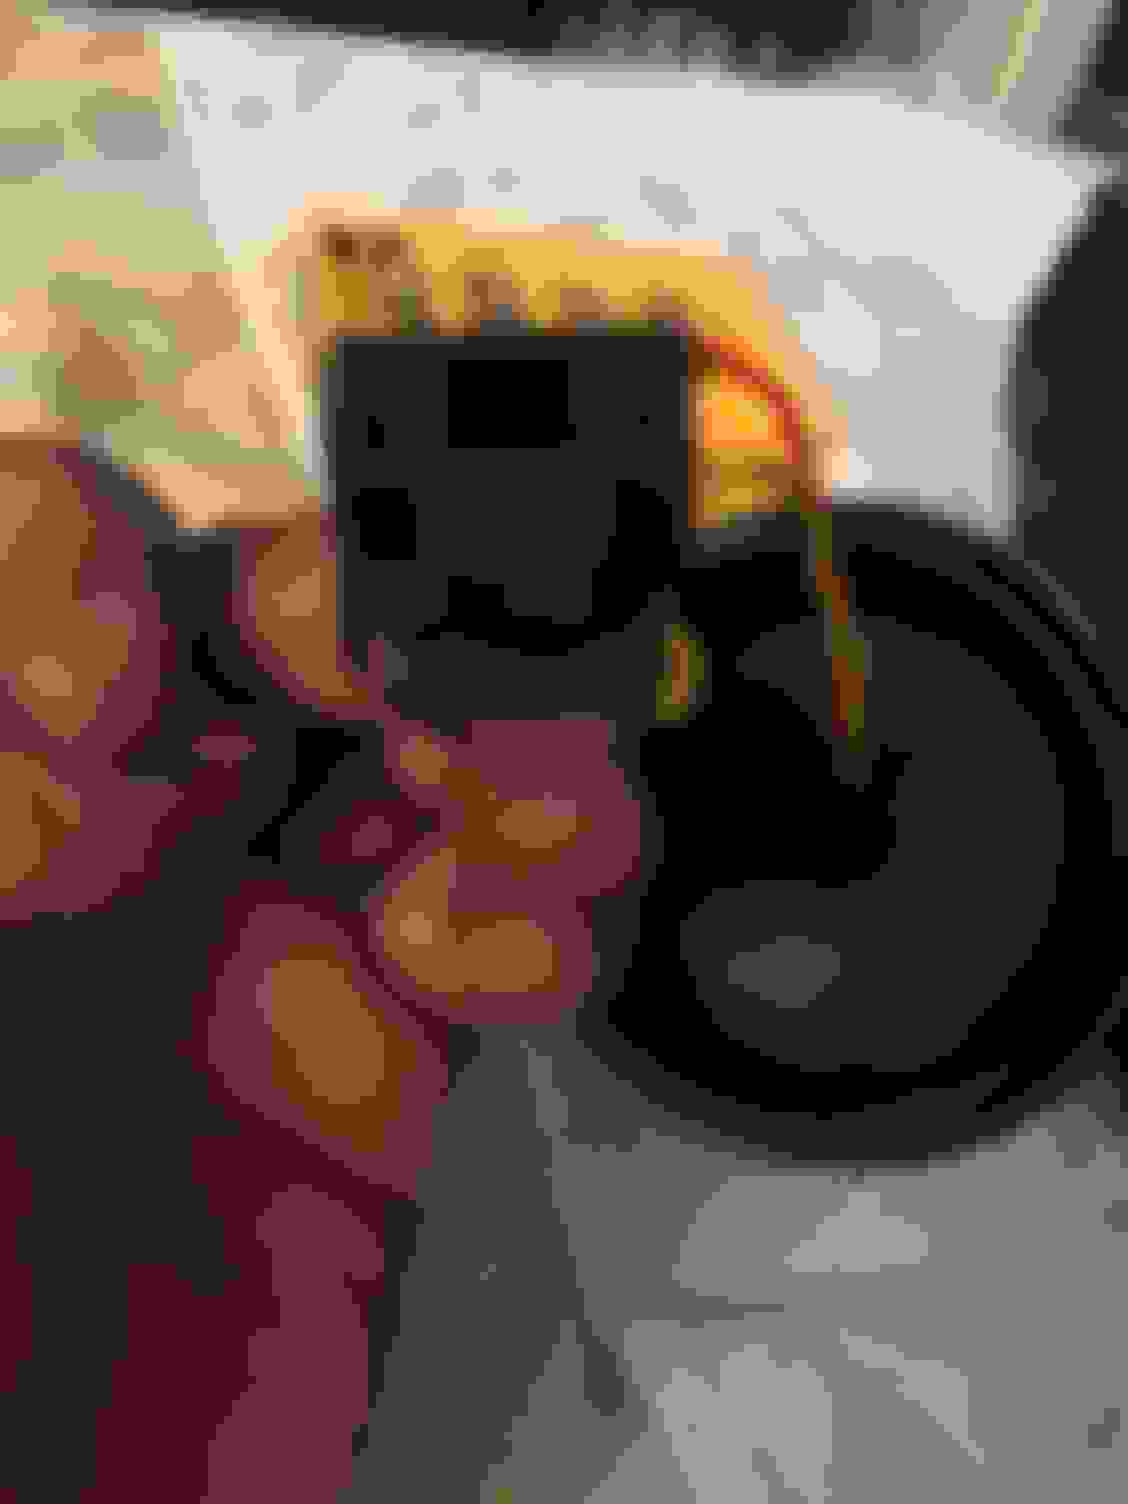
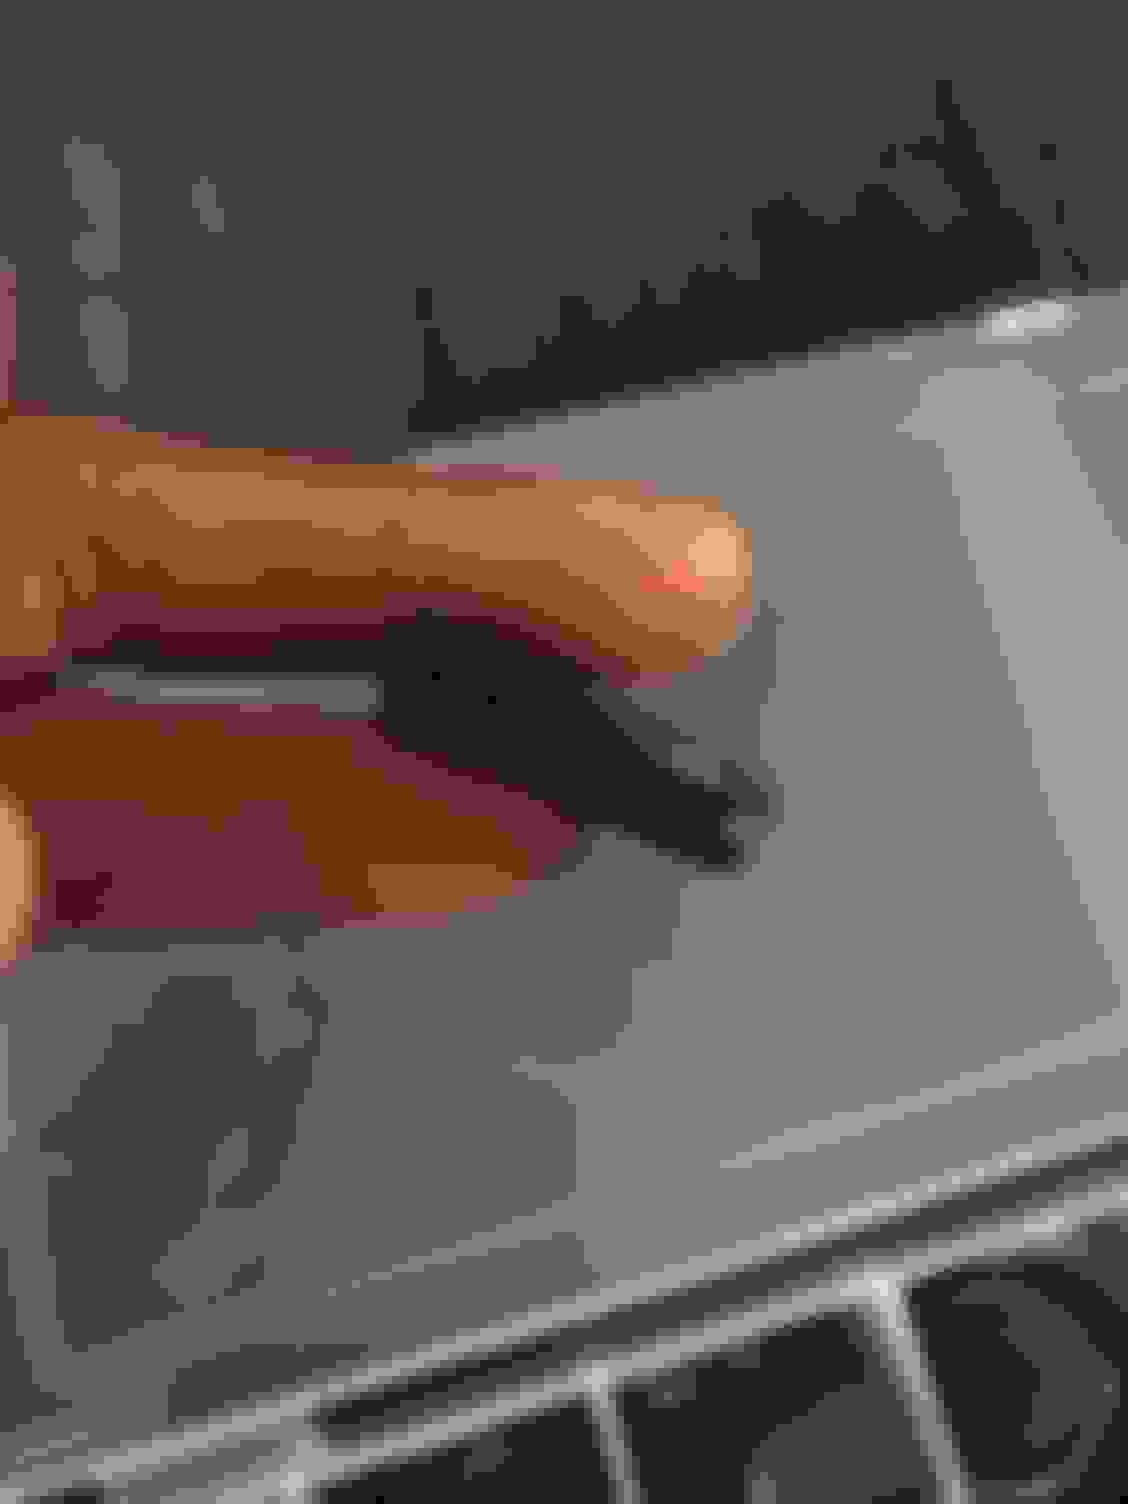
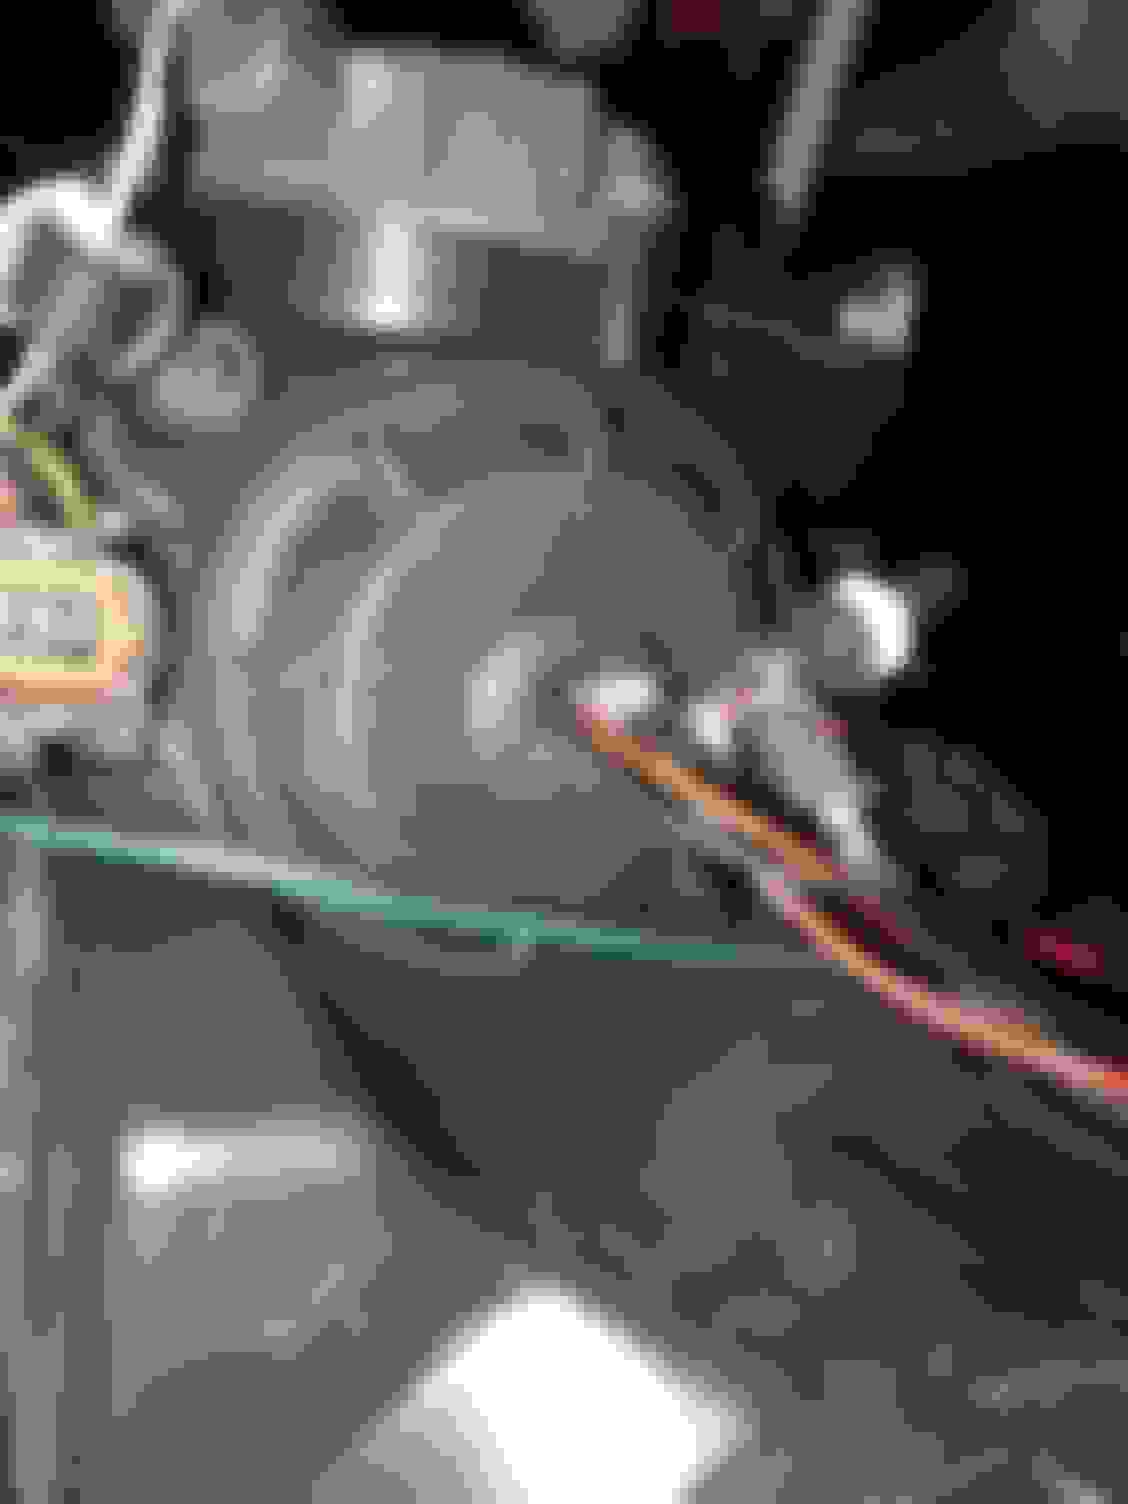
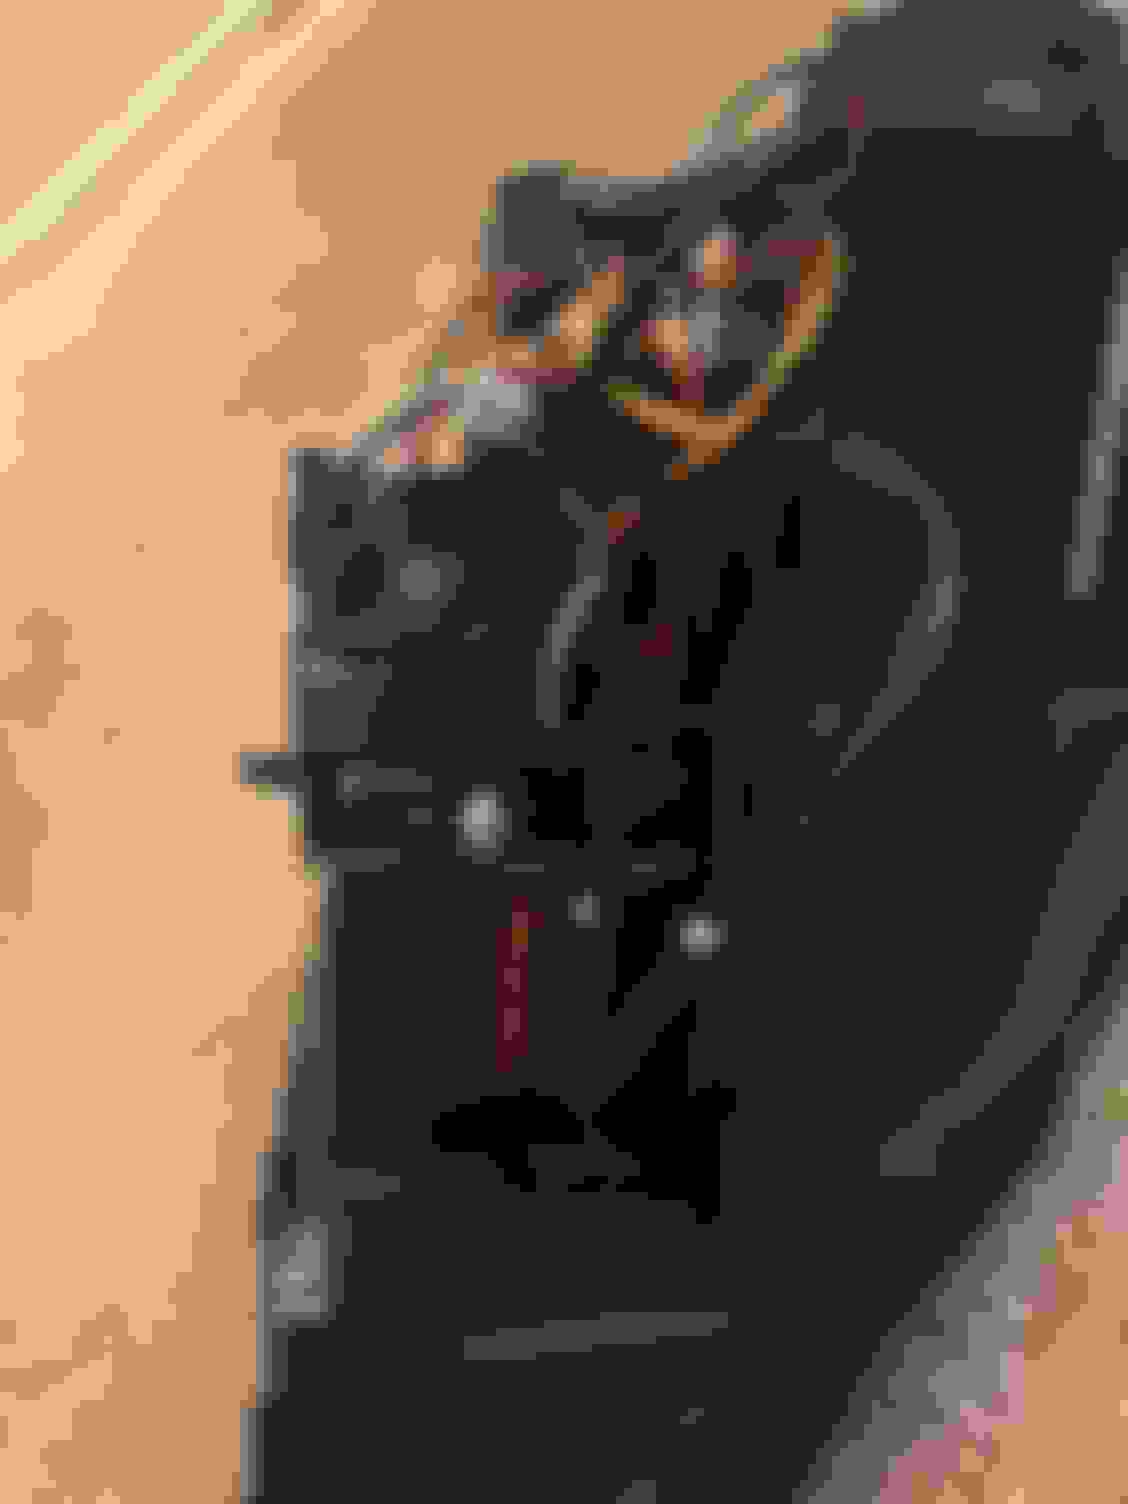
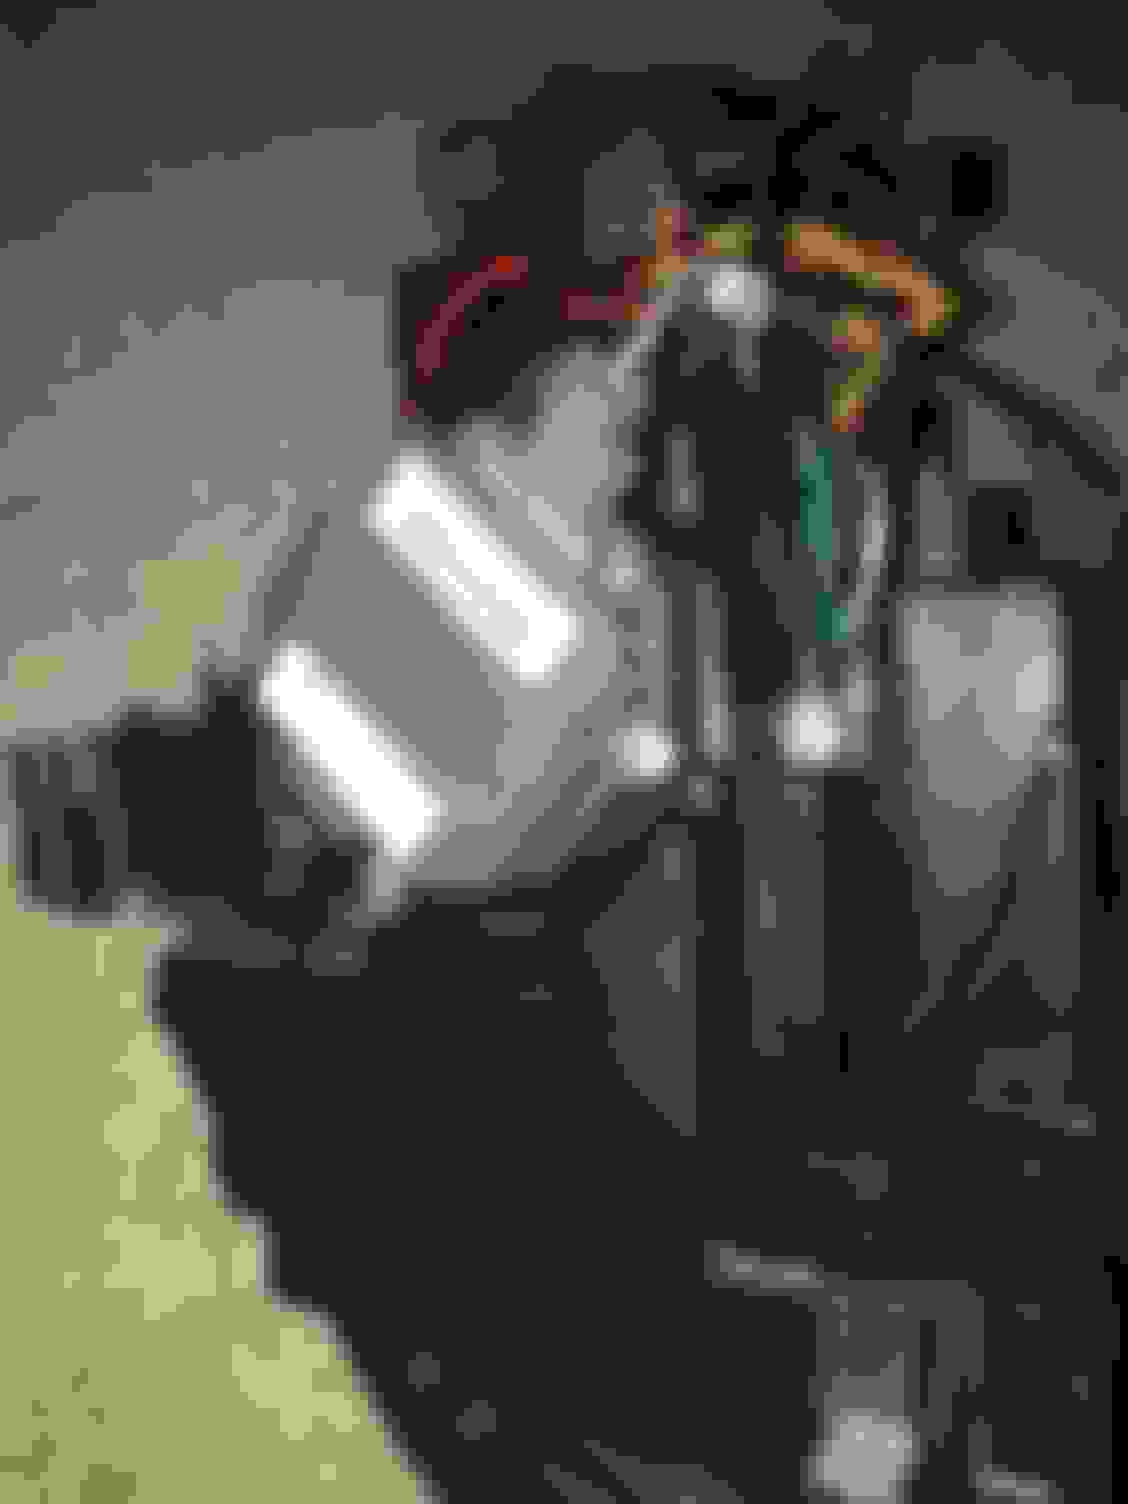
This is the plug that snaps into the hid xentec hid ballast I de-pinned it and pulled the wires through so I can put wires back into the plug As you can see I am running the wires through the rubber grommet. This is the inside of the fog light hi beam housing and you need to pull these two together that�s circled to release the bulb. This is a pic of my hid bulb as you can see I kept with the stock way it should work. Most just put a one way kit and they lose the hi beam function but I wanted it still so it has the 3k hid yellow for fogs and the white for halogen bulb part. As you can se here I have installed the bulb in place and you can see that I have ran those wires from the bulb through the grommet just as the stock harness was before. Now this allows me to keep my ballast on the outside and disperse the heat the right way just like my low beam ballast. Now I have installed new bulb and wires are ran through and cap has now been screwed on with all wires secure This is a view of the kit installed as you can see it looks like it should in the sense of wires being ran the right way. (Note I did not cut or hack any wire every wire was de-pinned and put back on a plug or in place where it needed to be after running through the cap. This is how I have it mounted I just ran zip ties around to hold everything in place
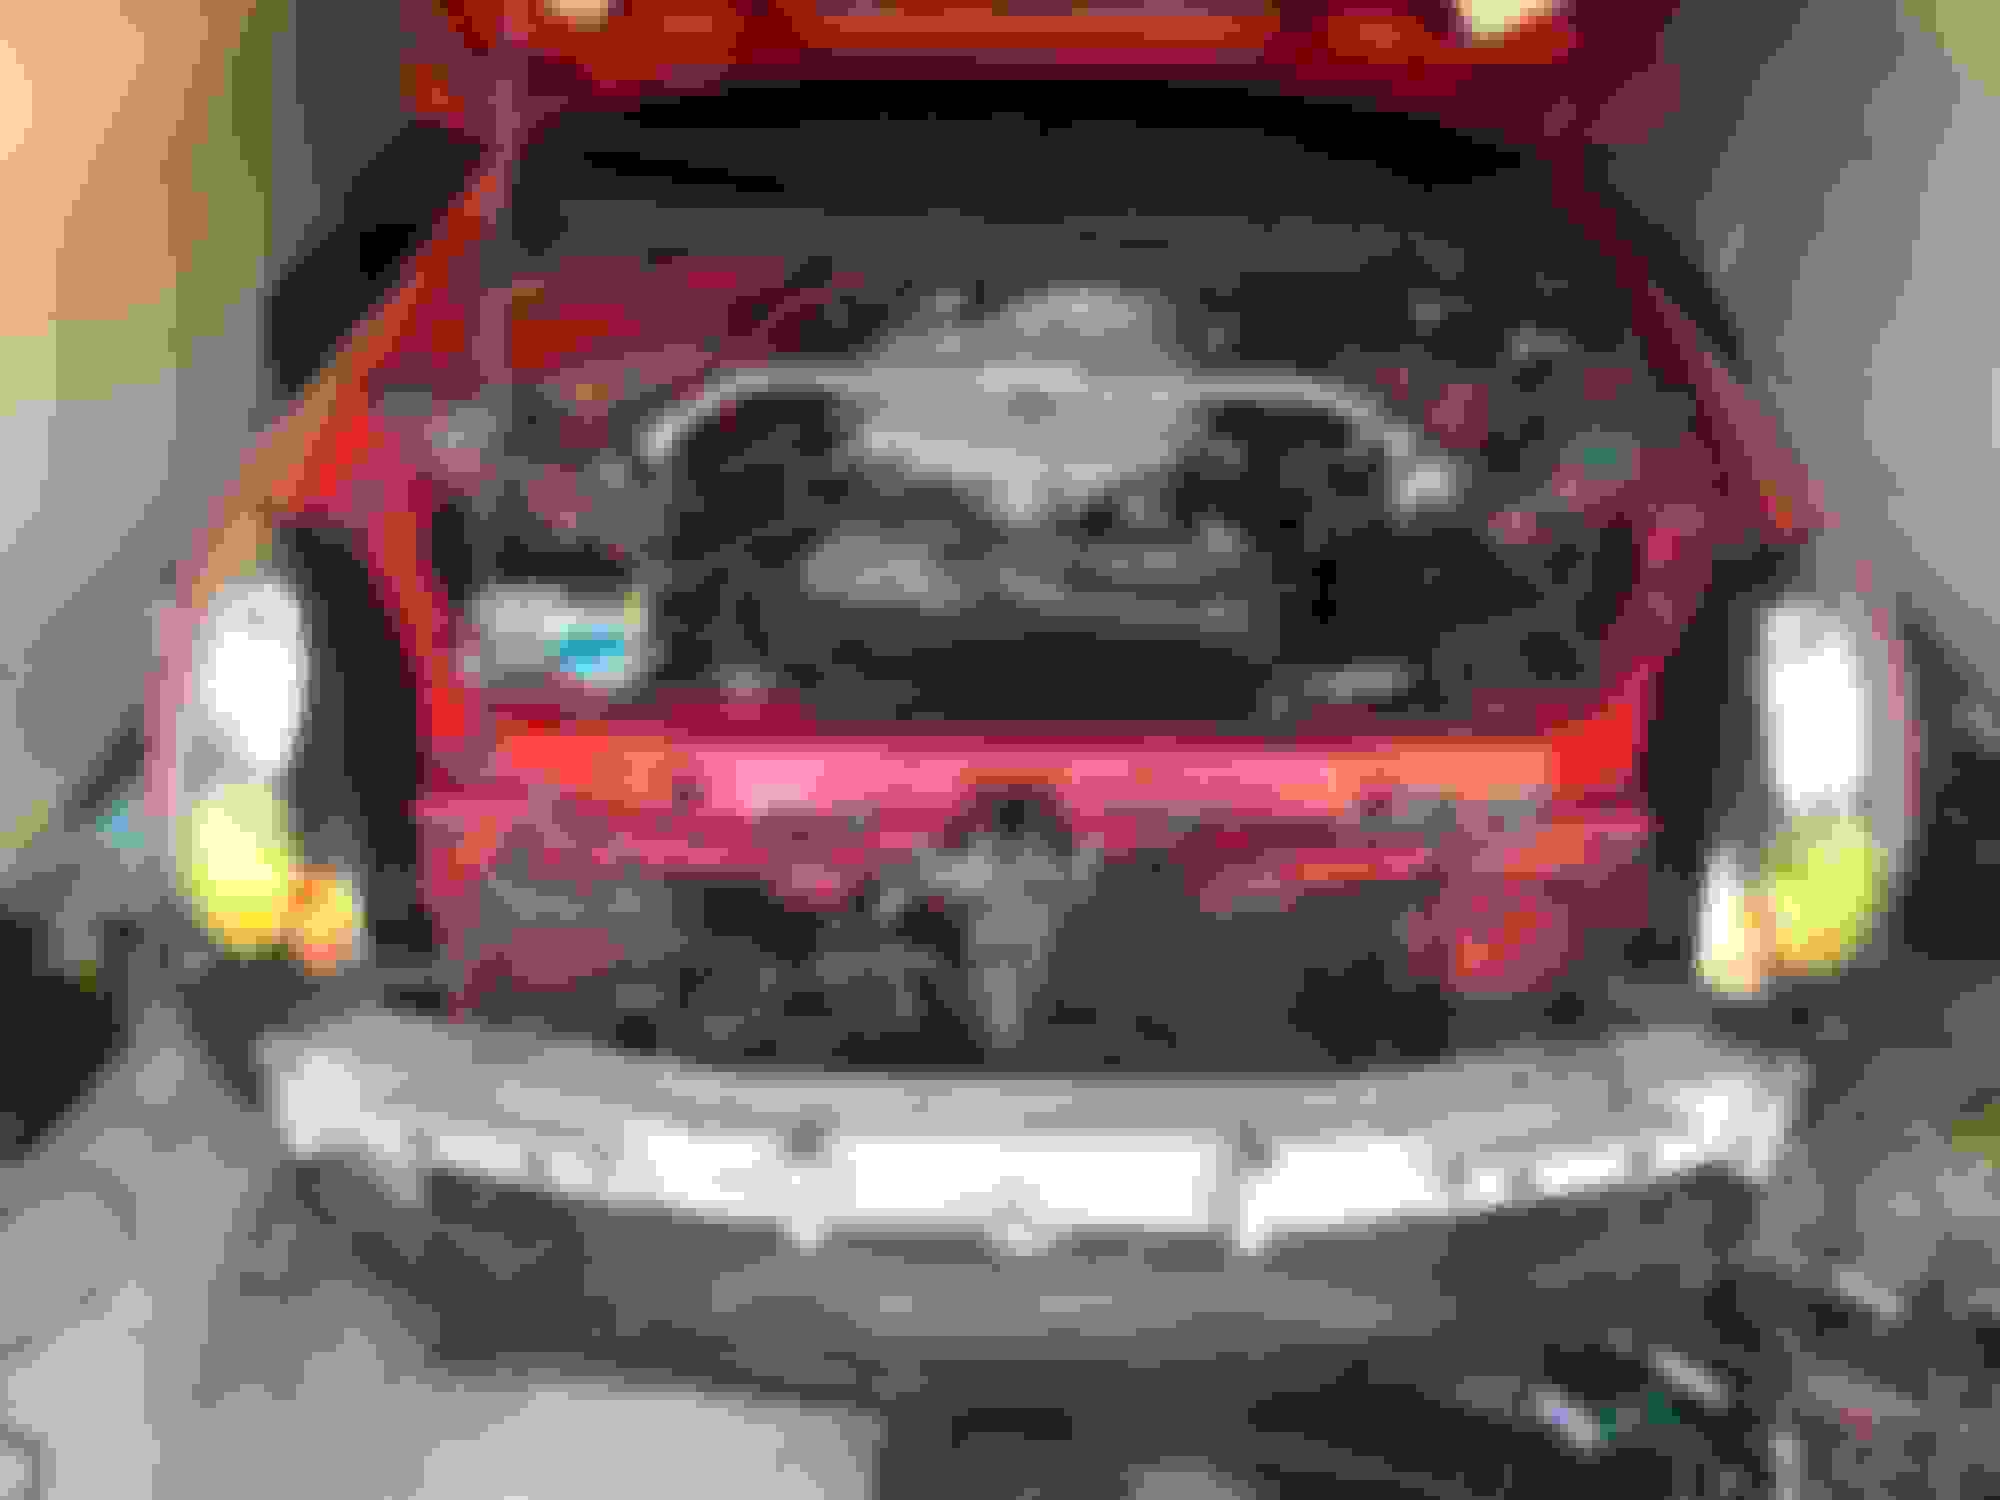
Just another view of everything installed and in place All plugs plugged up as they should be And here is the outcome no more cheap halogen bulbs that go out and now a hid kit for dogs that came out flawlessly Here are both lights in place plugged up and turned on without a issue. Now it was time to put back together. I did wait till night to finish so I can make sure they were aimed like I wanted before I put the bumper on. This is with the 3k foglight on with my 6k low beams This is when the high beams are on and I still have the function for them
Thanks for the write up. I did the same thing once but couldn't deal with the cheap HID warm up time. Switched to yellow tinted Halogen bulbs.
i see what you mean. My warm up time is not long maybe 5-10 seconds. To me it seemed better then dealing with halogen 3k bulbs that are tinted they kept going out on me every 2-3 months one would go out or something so I said let me try a hid kit
Fair. I bet you are running the fog lights all the time though I only run mine when it's foggy and they do great.
yeah your right. I run them all the time. I�m so cal it doesn�t really rain and rarely gets foggy. I think if I ran the same color temp bulbs low beam and foglights I think I would just use foglights when needed but since it�s two different colors I run them both as i think it makes for a nice look in the front
yeah your right. I run them all the time. I�m so cal it doesn�t really rain and rarely gets foggy. I think if I ran the same color temp bulbs low beam and foglights I think I would just use foglights when needed but since it�s two different colors I run them both as i think it makes for a nice look in the front
It does look good! I painted the reflector bowls 3000k gold on my street bike and it really helps when riding in foggy Ohio weather.
When you need fog lights they need to light instantly. HID is too bright and reflects off the fog, making it harder for you to see.
I also have an R1 of the same generation. What a fantastic motorcycle.
hey I didn�t think about that being bright and fog bouncing off. Good thing we don�t get fog like that. There is a obvious reason dogs don�t come in hid from factory.
hey I didn�t think about that being bright and fog bouncing off. Good thing we don�t get fog like that. There is a obvious reason dogs don�t come in hid from factory.
I'd be worried if my Doggo had HID he's already pretty bright!
I'd be worried if my Doggo had HID he's already pretty bright!
lmfao damn auto correct I don�t know why it puts dog when I type in fogs that�s crazy lol...it did that in another post I made and didn�t realize it until weeks later😂😂😂😂


 I only run mine when it's foggy and they do great.
