Rear diffuser on G35 coupe
#16


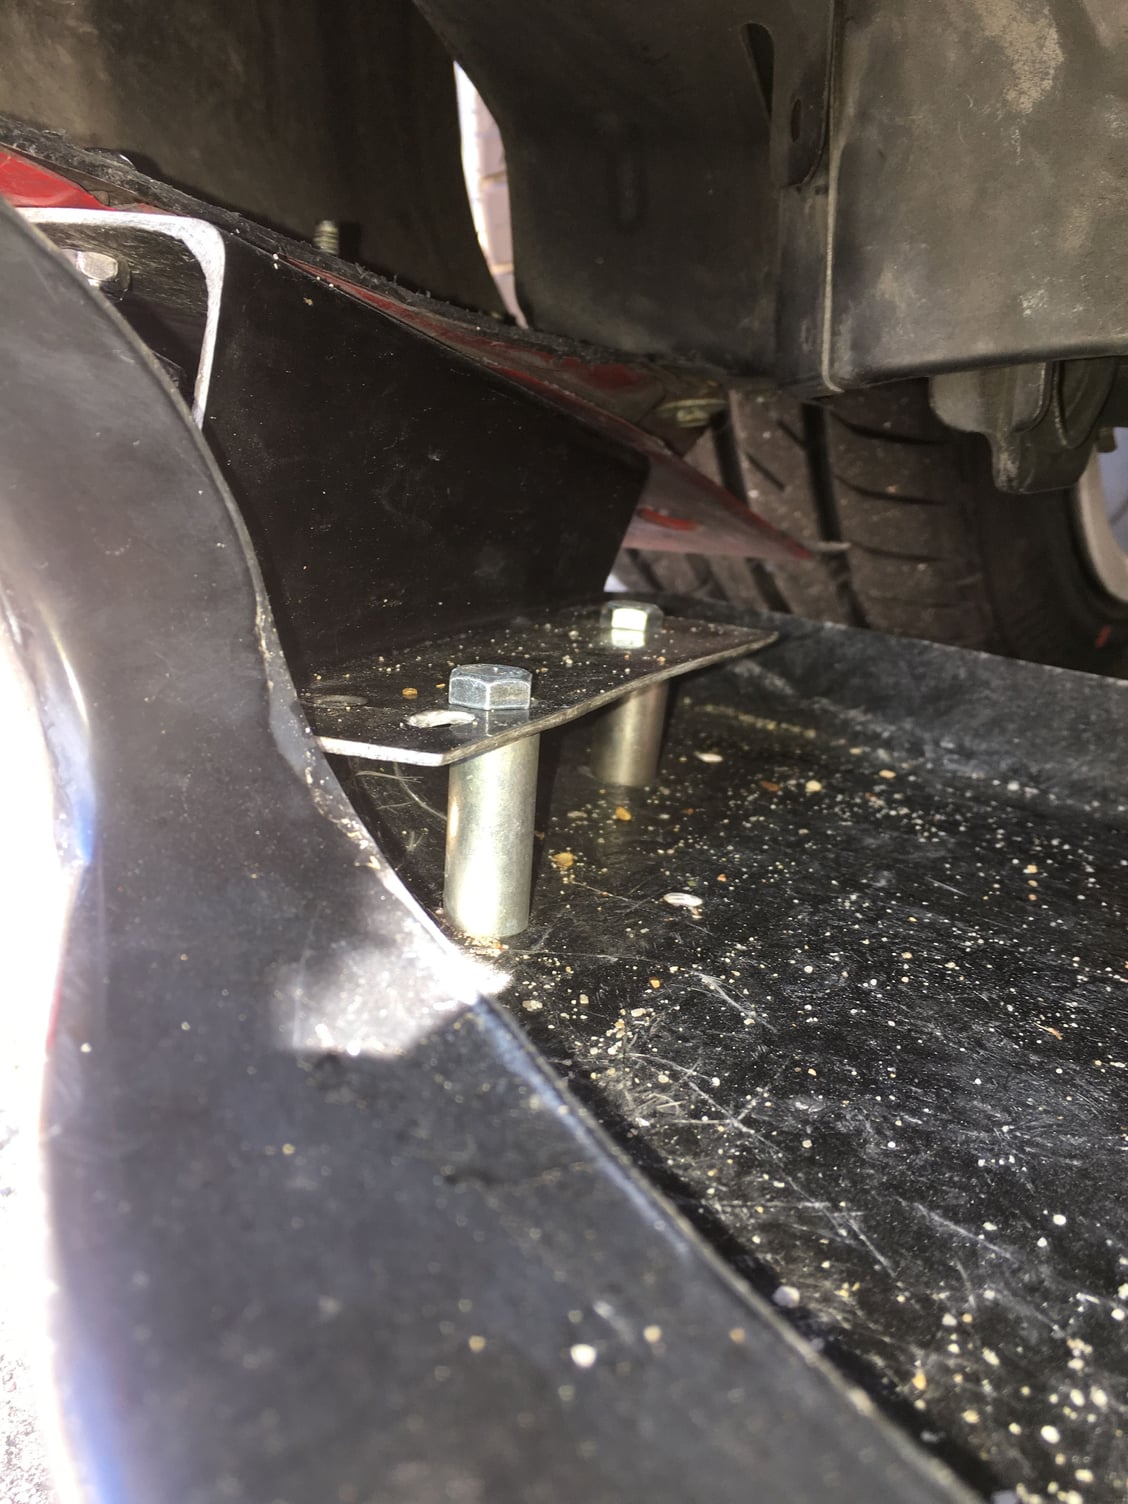
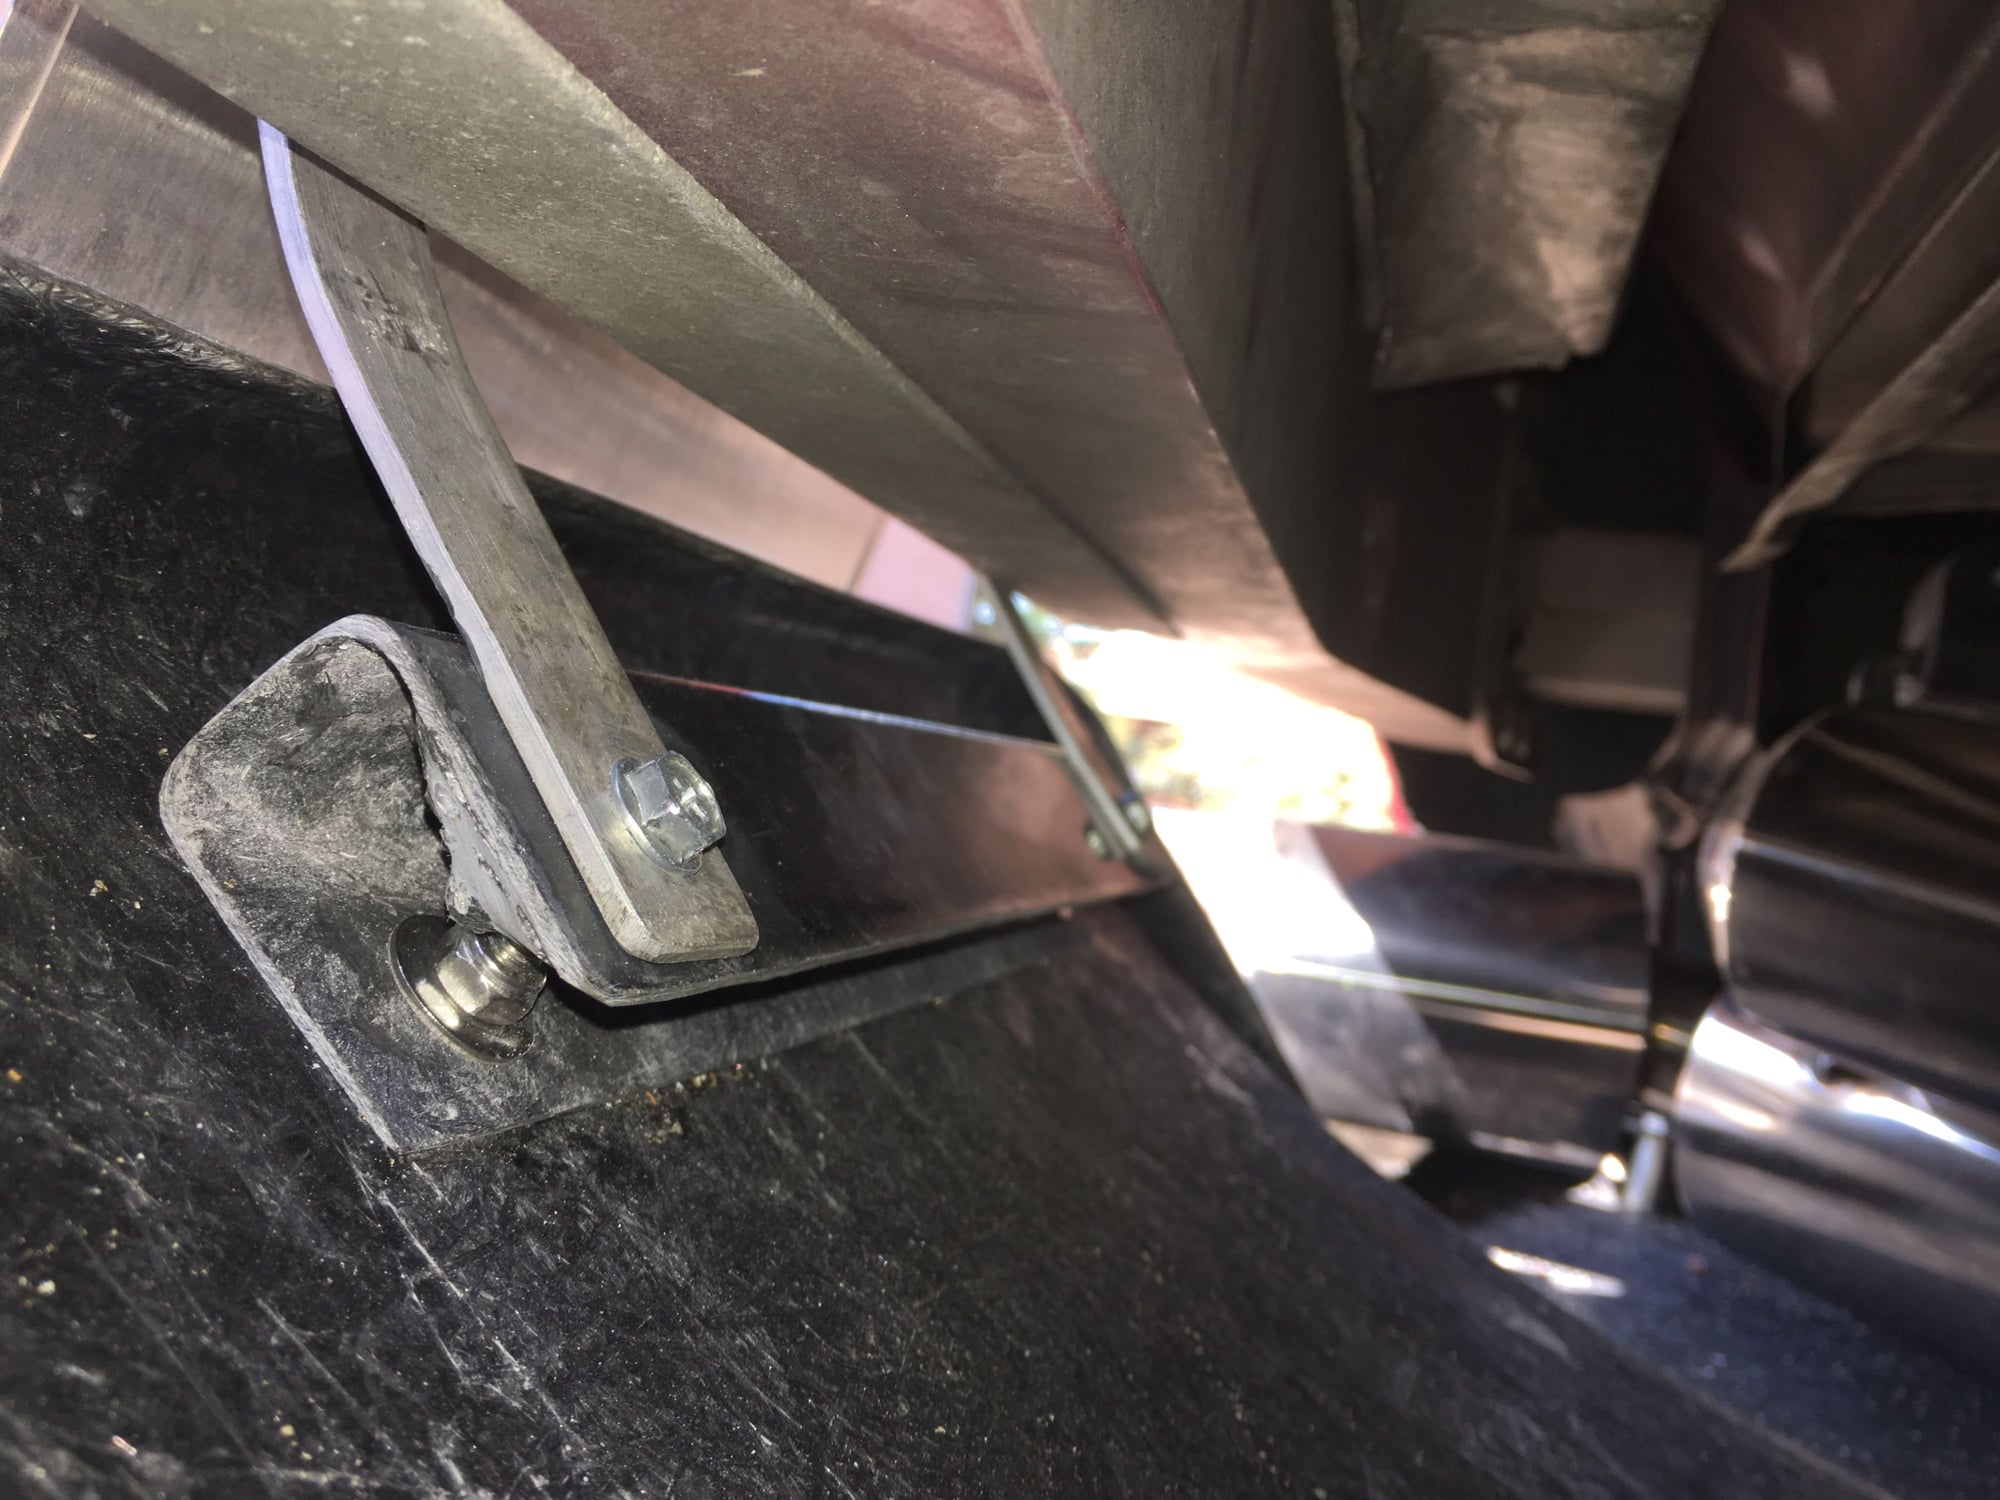
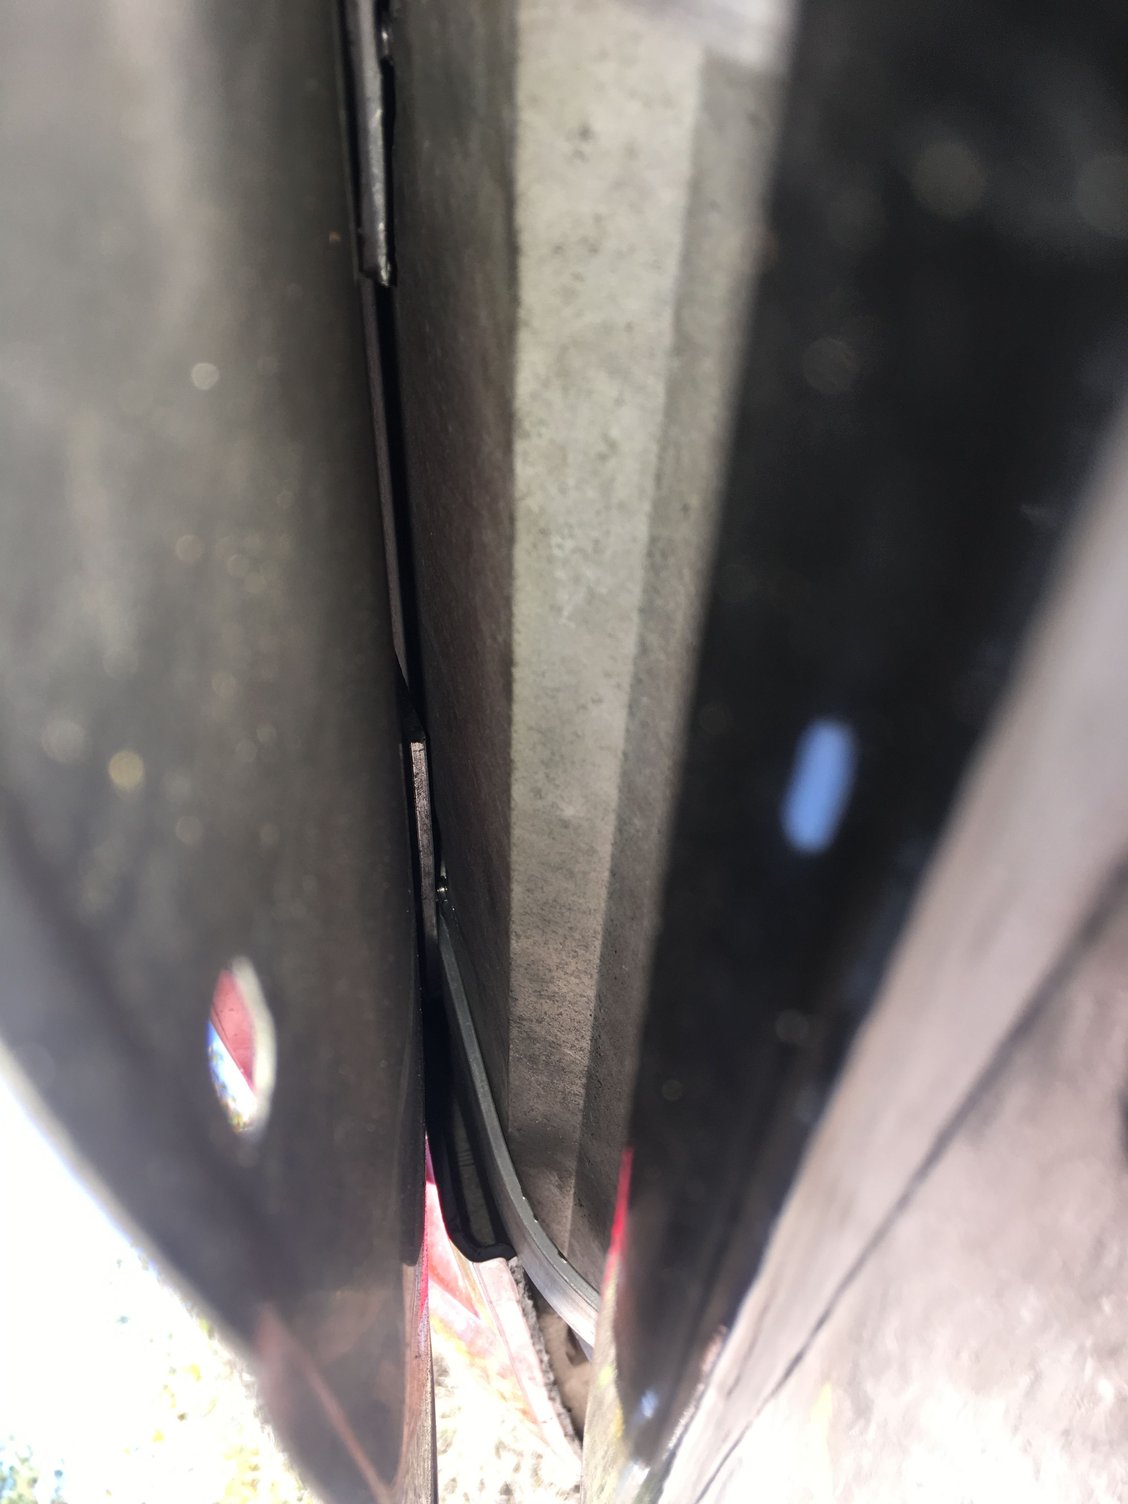
Here are some photos of the brackets. This diffuser is designed to fit multiple cars with narrower chassis so I had to make my own.
Sides
The peices that hold the sides are z shaped made of sheet metal/fiberglass to allow the bracket to reach outside of the diffuser. It sandwiches the edges of the bumper using 3 10mm bolts and a metal plate per side. The bracket attaches to the diffuser with 2 12mm bolts and some spacers I machined down to size to get the fit right.
Center section is made of aluminum flat stock I used this because it made bending it to shape a lot easier to duplicate and itís thick enough to hold shape under load. Is secured to a fiberglass/metal bracket that is held in with 2 10mm bolts and 2 more to secure the brackets. The last photo shows the brackets going up to the bumper support. I fastened this piece to the rear crash beam with 2 10mm bolts and nuts. The license plate is also bolted to this aluminum bracket allowing it more space to clear the diffuser.
This system was simple and cost effective. I might add a tension rod to the rear just to keep the wind from flexing it over time.
The following users liked this post:
EPiK (01-02-2018)
#17
#18
Working with fibreglass
Also thought I would mention this trick I was taught. To get the angles pretty close I used 90 degree angle iron for the shape. Lay tin foil neatly because this is what the fiberglass lays on. Apply the glass and resin on the foil and when it dries it comes right off non stick style IF YOU NEATLY LAY THE TIN FOIL. If you wrinkle it itís going to stick to it and doesnít sand off easily. This trick made this an easy process to duplicate.
Also thought I would mention this trick I was taught. To get the angles pretty close I used 90 degree angle iron for the shape. Lay tin foil neatly because this is what the fiberglass lays on. Apply the glass and resin on the foil and when it dries it comes right off non stick style IF YOU NEATLY LAY THE TIN FOIL. If you wrinkle it itís going to stick to it and doesnít sand off easily. This trick made this an easy process to duplicate.
The following users liked this post:
EPiK (01-02-2018)

