

Well what can I say... Couldn't sleep and figured I would finish this thing.
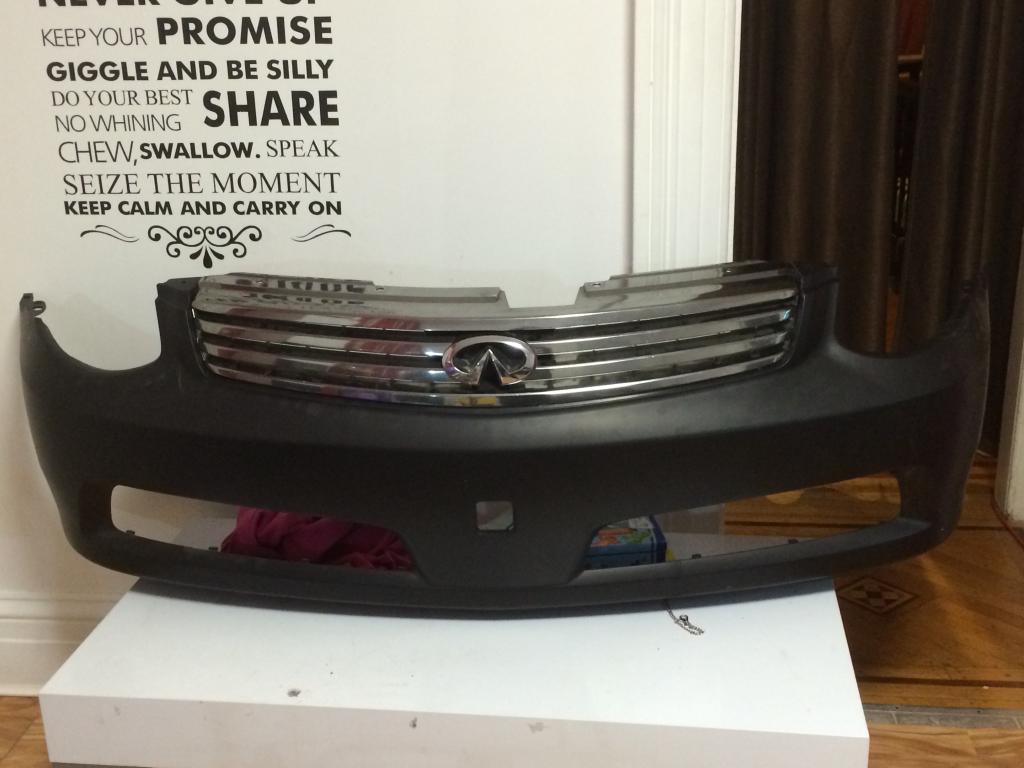
Here are the Picts, any questions just ask.
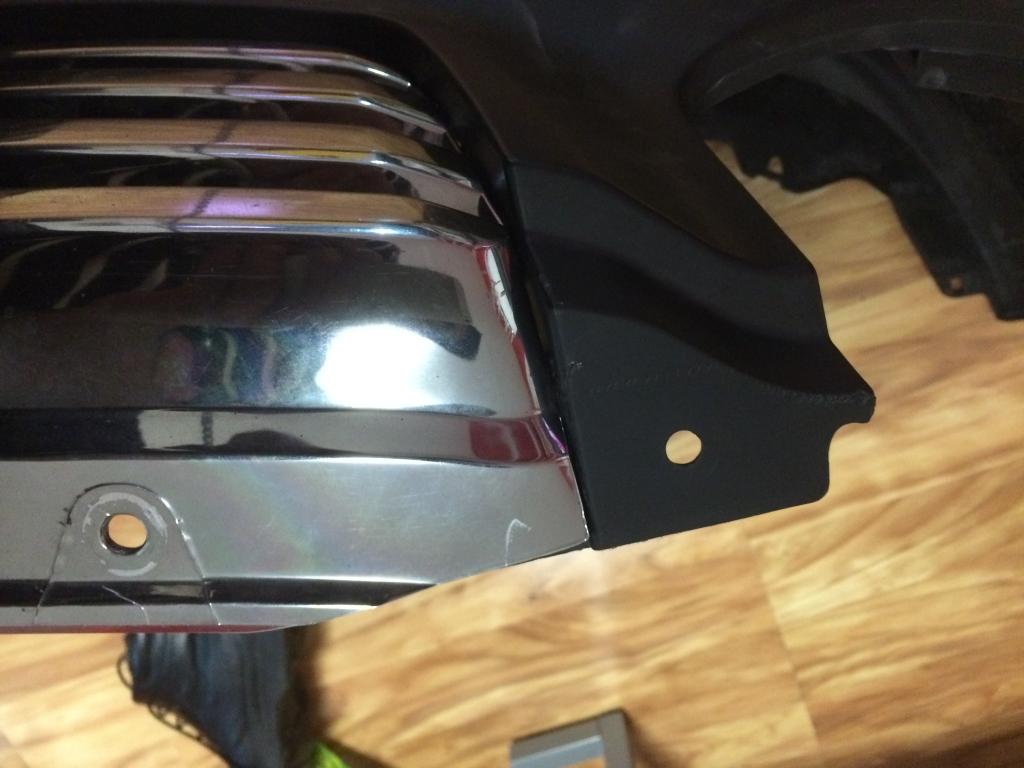
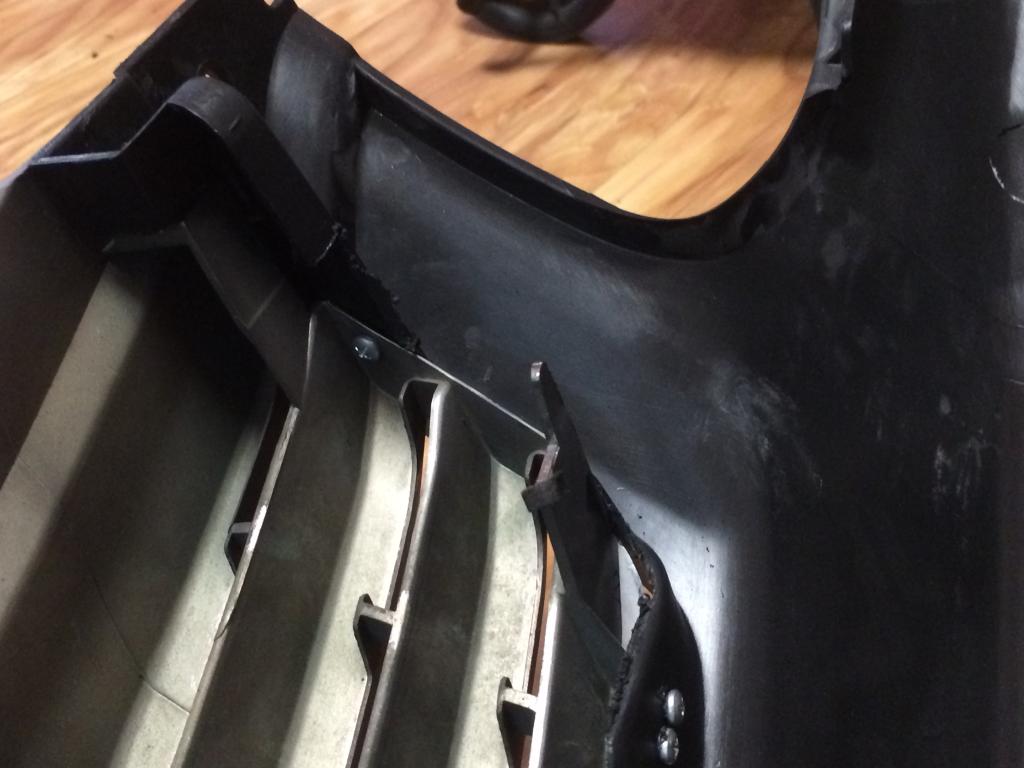
You have to cut the corner where the clip goes in the bumper.
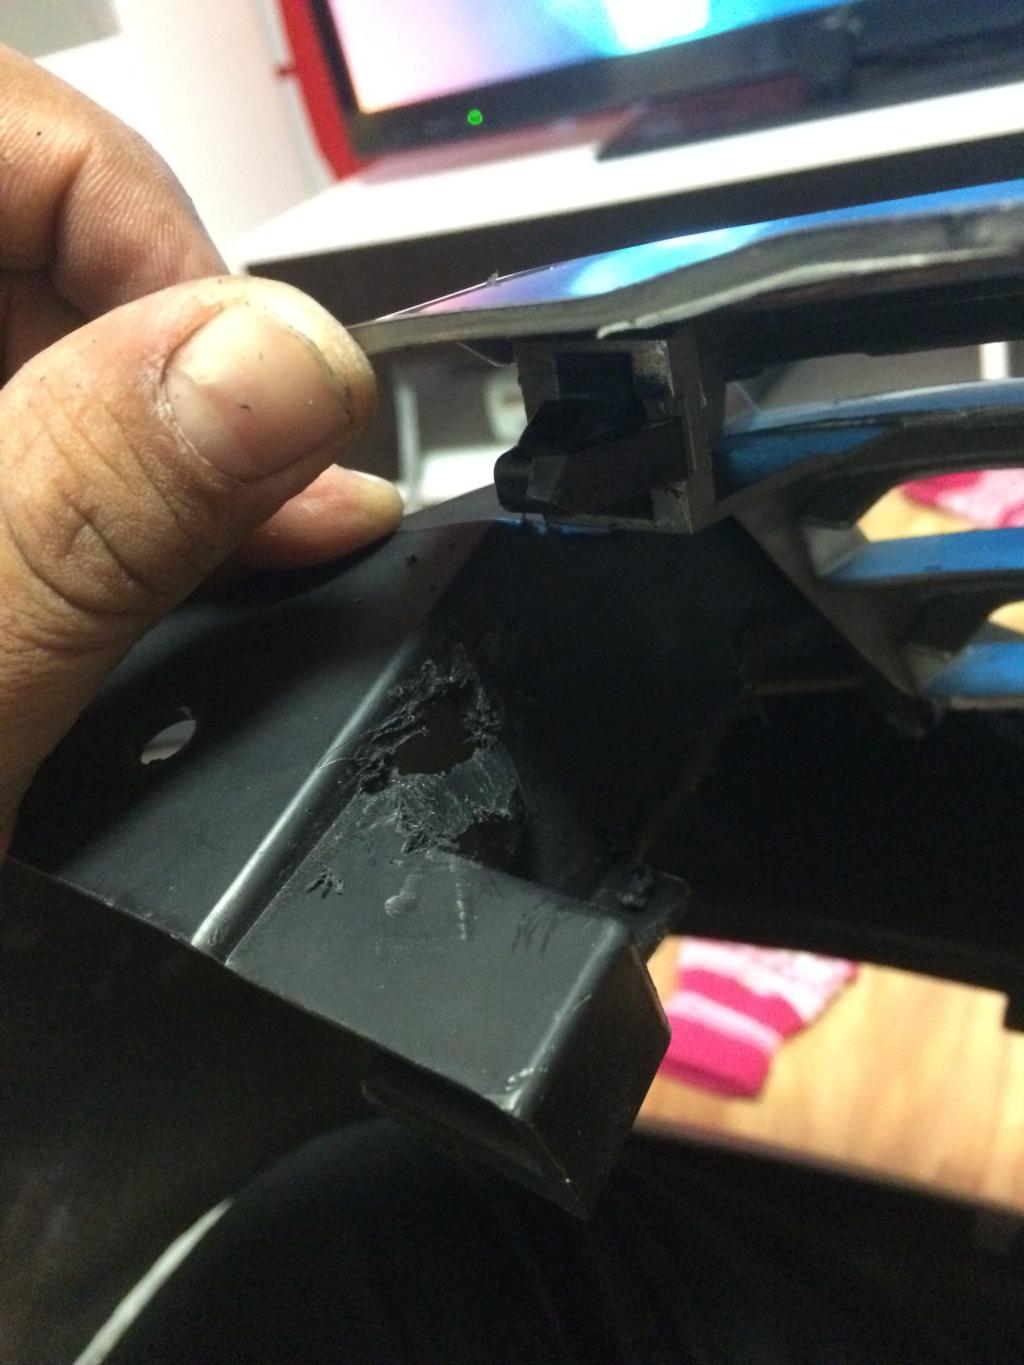
And after that... Success!!

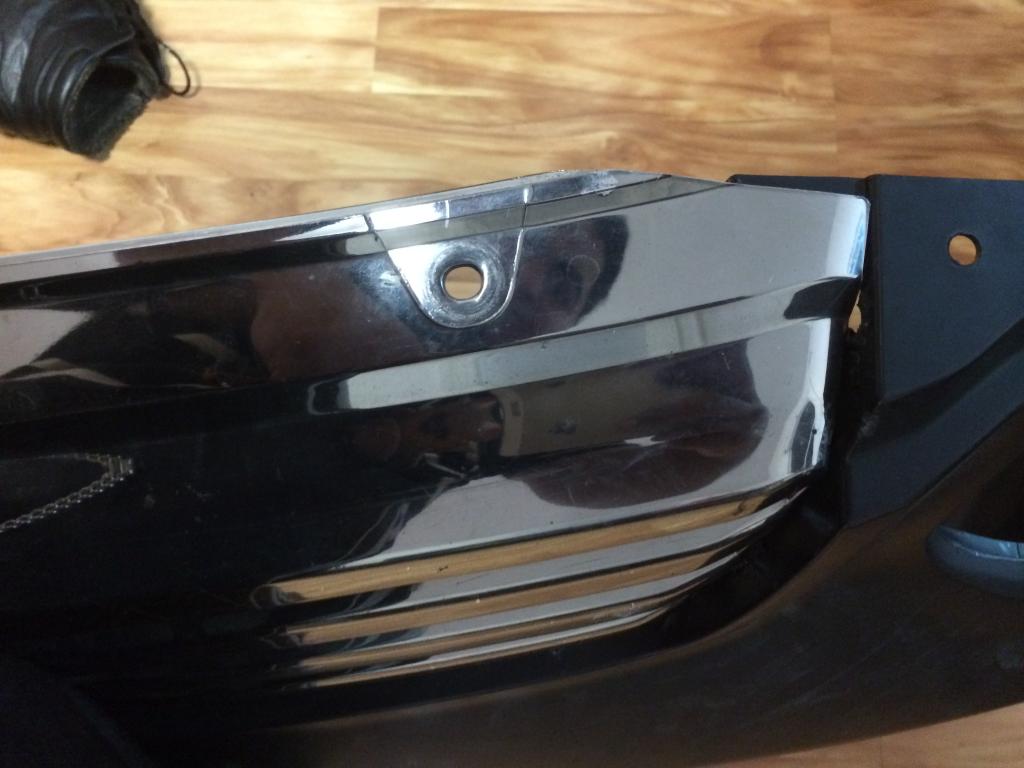
And that's how it looks after you cut the corner around the clip holder on the bumper.
And a bunch of screws.
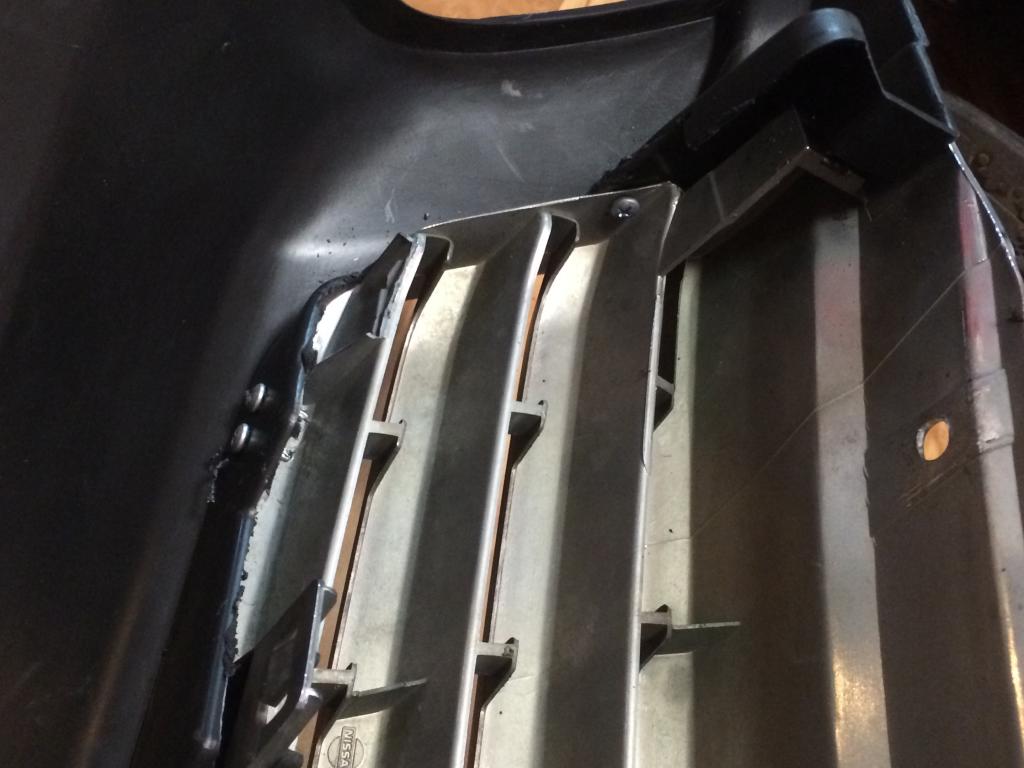
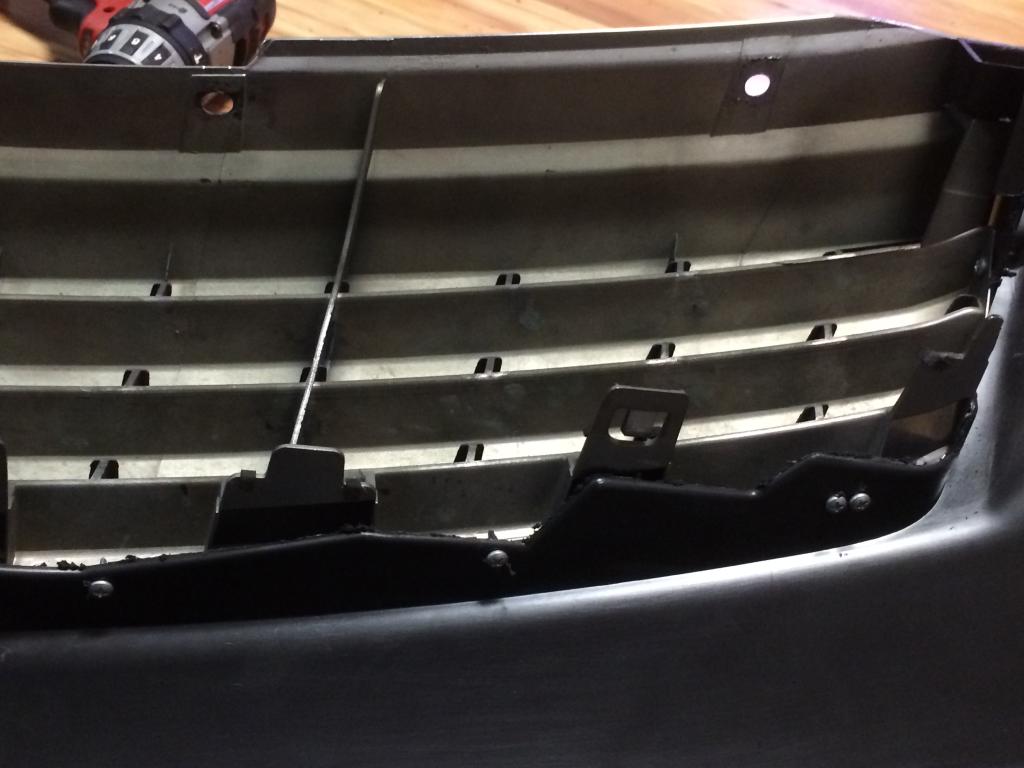
2 screws on each corner because that's the point where's more pressure and I don't want them to rip out or something.
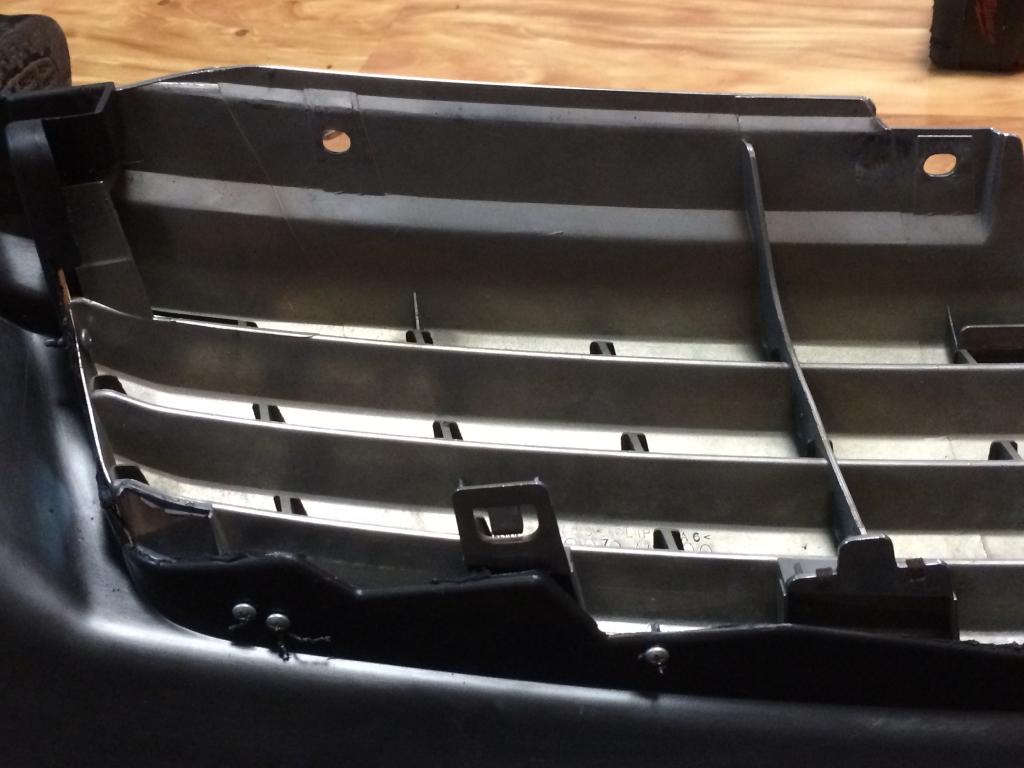
One screw on each side near the top to make sure the grill does not wiggle.
And overall view.
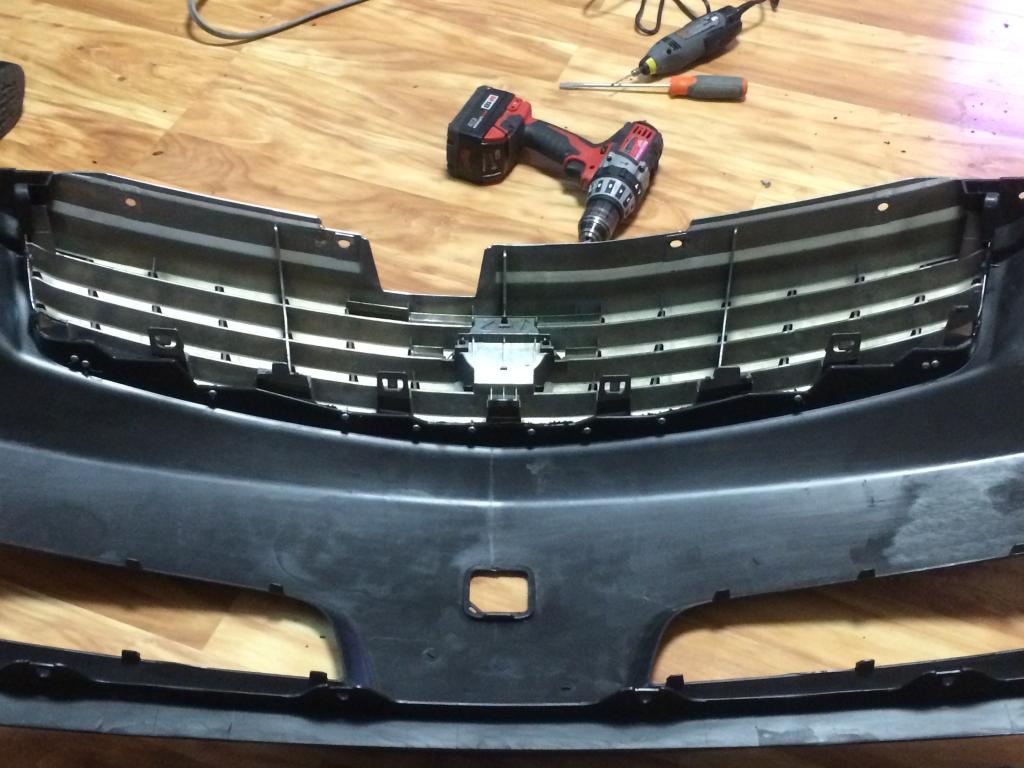
And done!
Sorry for all the Picts but I want this to be as detailed as I can and a pict is worth more than a thousand words...
Again if you guys have any questions ask away!
Here are the Picts, any questions just ask.
You have to cut the corner where the clip goes in the bumper.

And after that... Success!!


And that's how it looks after you cut the corner around the clip holder on the bumper.


And a bunch of screws.


2 screws on each corner because that's the point where's more pressure and I don't want them to rip out or something.
One screw on each side near the top to make sure the grill does not wiggle.

And overall view.

And done!

Sorry for all the Picts but I want this to be as detailed as I can and a pict is worth more than a thousand words...
Again if you guys have any questions ask away!

Urbanengineer
Super Moderator
close


Mar 24, 2026
- Join DateJun 2013
- LocationOH-IO
- Posts:11,174
-
iTrader Positive Feedback100
-
iTrader Feedback Score(3)
-
Likes:2,550
-
Liked:1,045 Times in 960 Posts
I hope it matches the hood well too. Good luck.
Quote:
We are gonna find out in the next hour or so but by the looks of it (fingers crossed) it should... Once I get to the shop I'll mount it and put up some pictures of the success or whatever problems I may encounter.Originally Posted by Urbanengineer
I hope it matches the hood well too. Good luck.
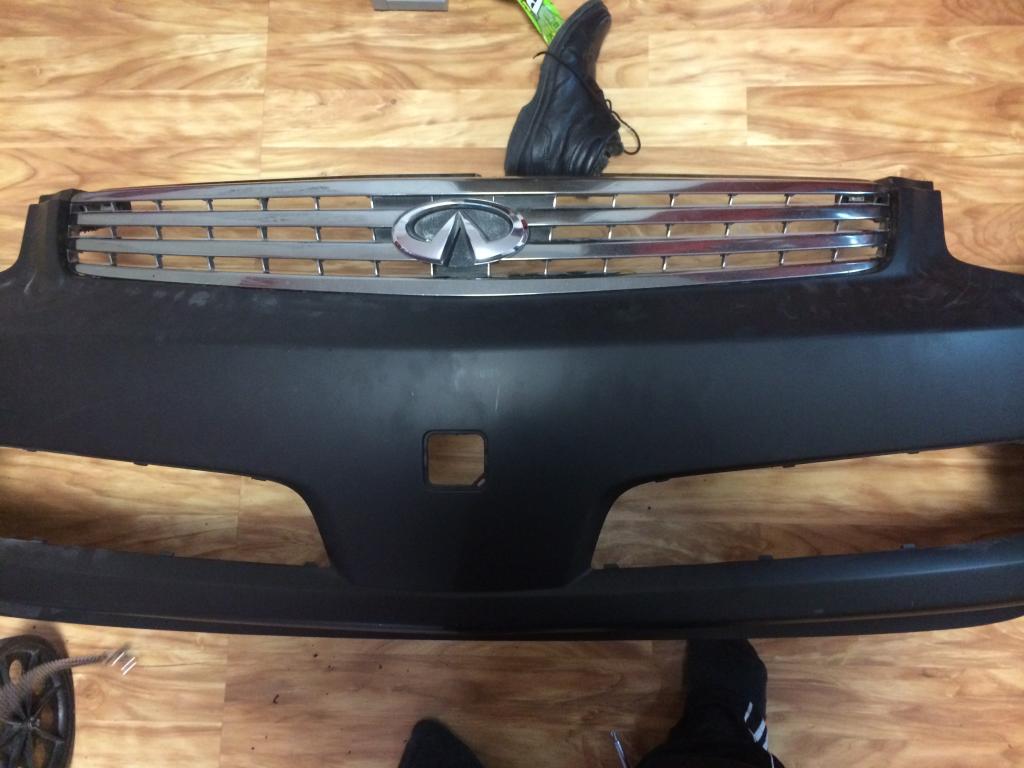
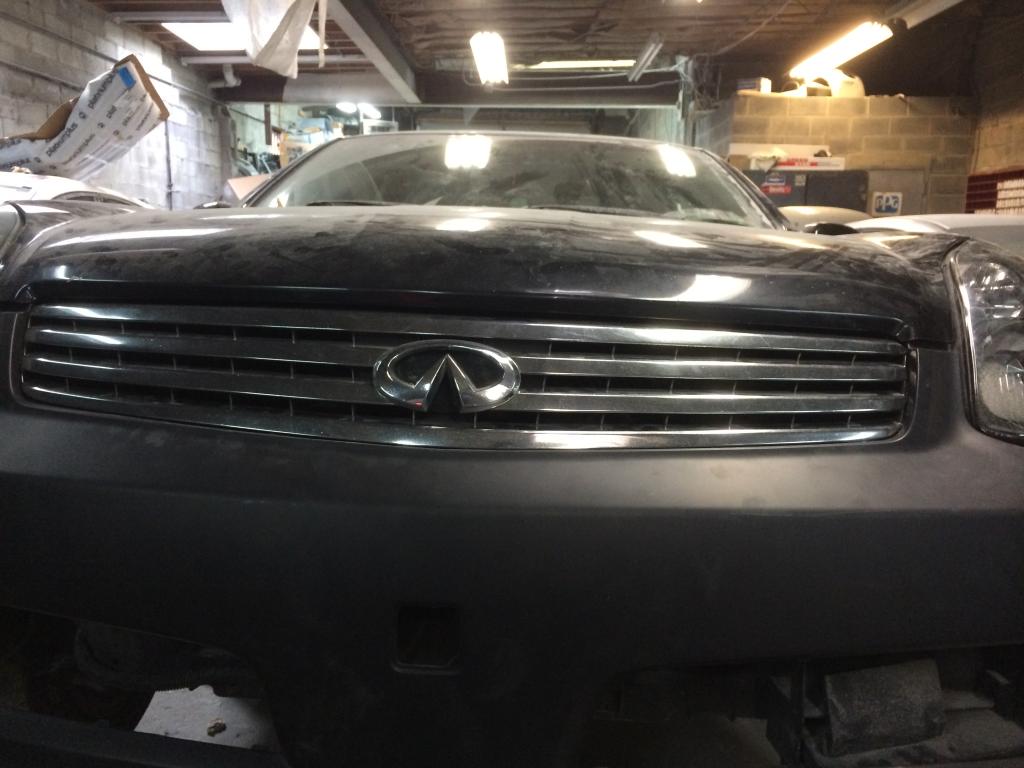
And success!!
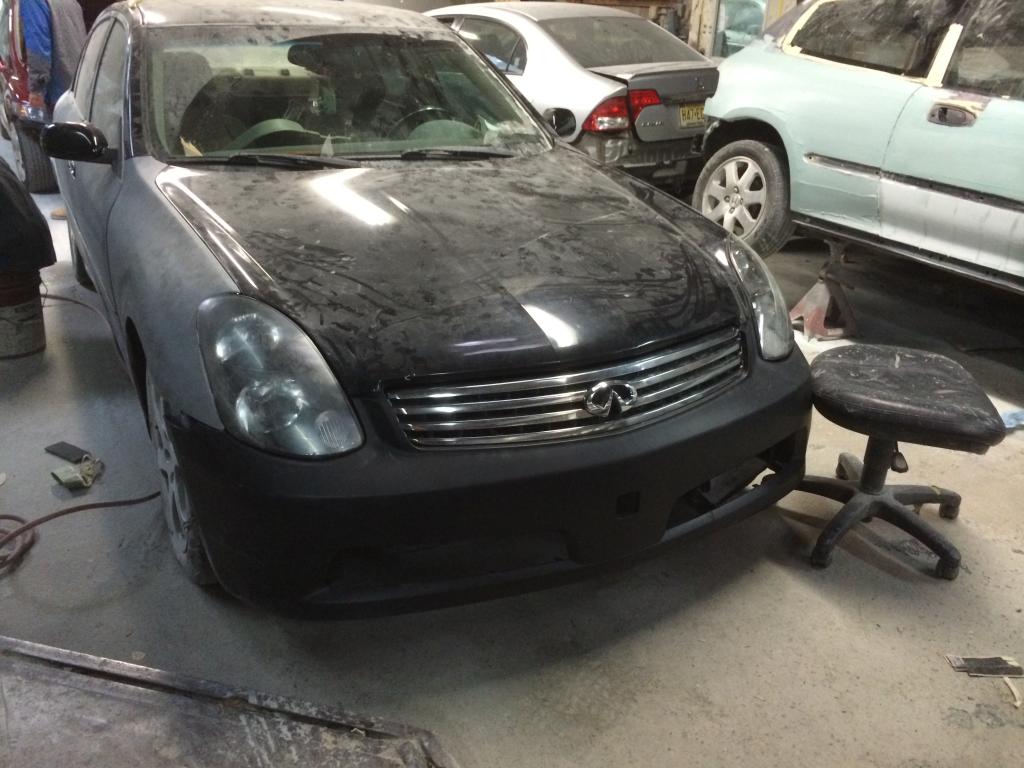
Well I'm so effin happy that the thing just mounted in place... Took a little flexing to make the grill holes align with the radiator support but it's there using all the stock holes without any modifications. Now you know it! It's doable.
Now I'm gonna address the bumper and hood difference. I'll post Picts later on.

Registered User
Quote:
Well I'm so effin happy that the thing just mounted in place... Took a little flexing to make the grill holes align with the radiator support but it's there using all the stock holes without any modifications. Now you know it! It's doable.
Now I'm gonna address the bumper and hood difference. I'll post Picts later on.
Originally Posted by Ralphy323
And success!! Well I'm so effin happy that the thing just mounted in place... Took a little flexing to make the grill holes align with the radiator support but it's there using all the stock holes without any modifications. Now you know it! It's doable.
Now I'm gonna address the bumper and hood difference. I'll post Picts later on.
 looks good so far ..

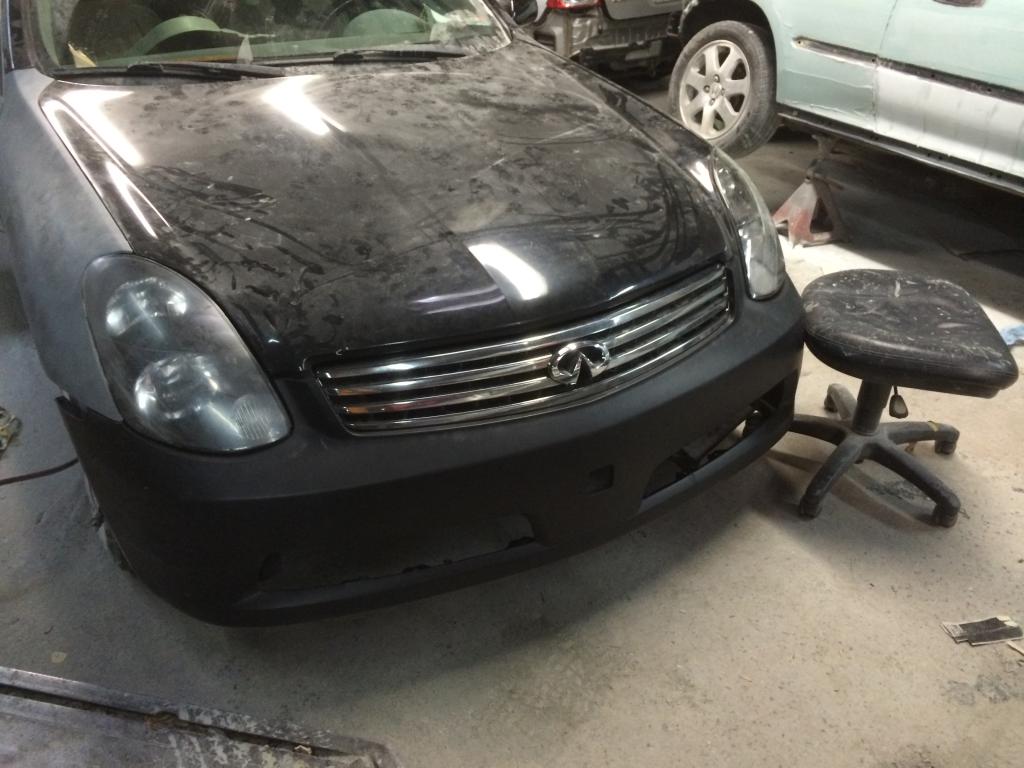
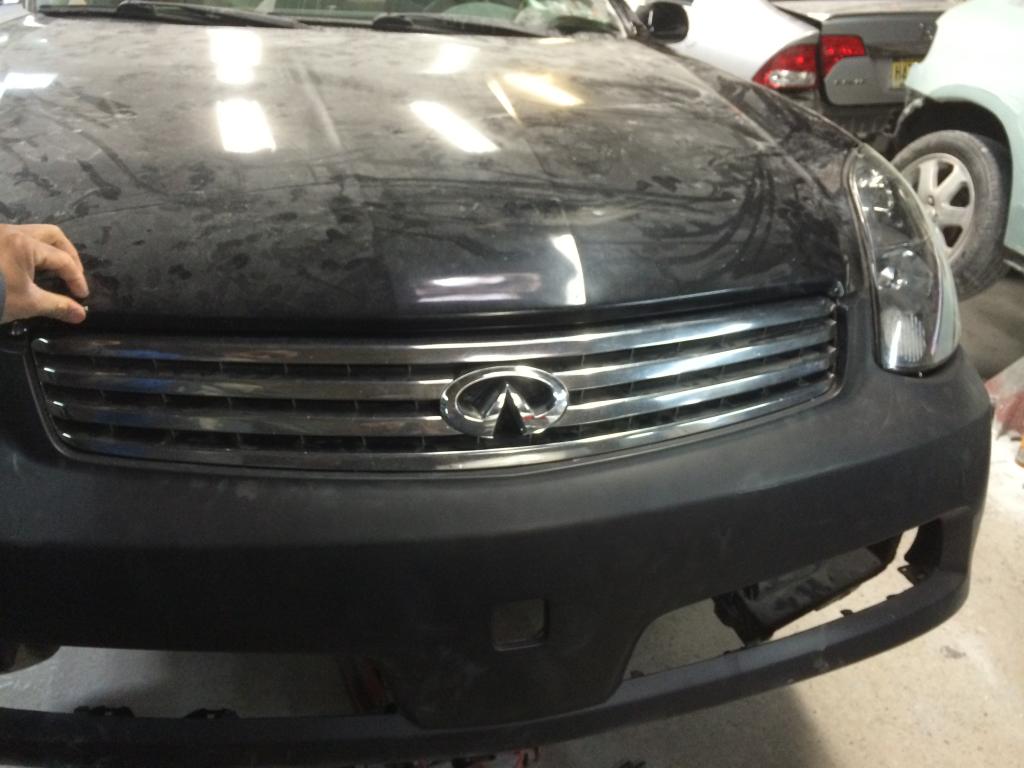
Well I ran into a little problem... I need the bumper cover brackets and infiniti does not have it in stock so I have to wait till today to get them so that means no modifying the hood until I get then parts and secure te bumper to it's final location so.. That sucks.
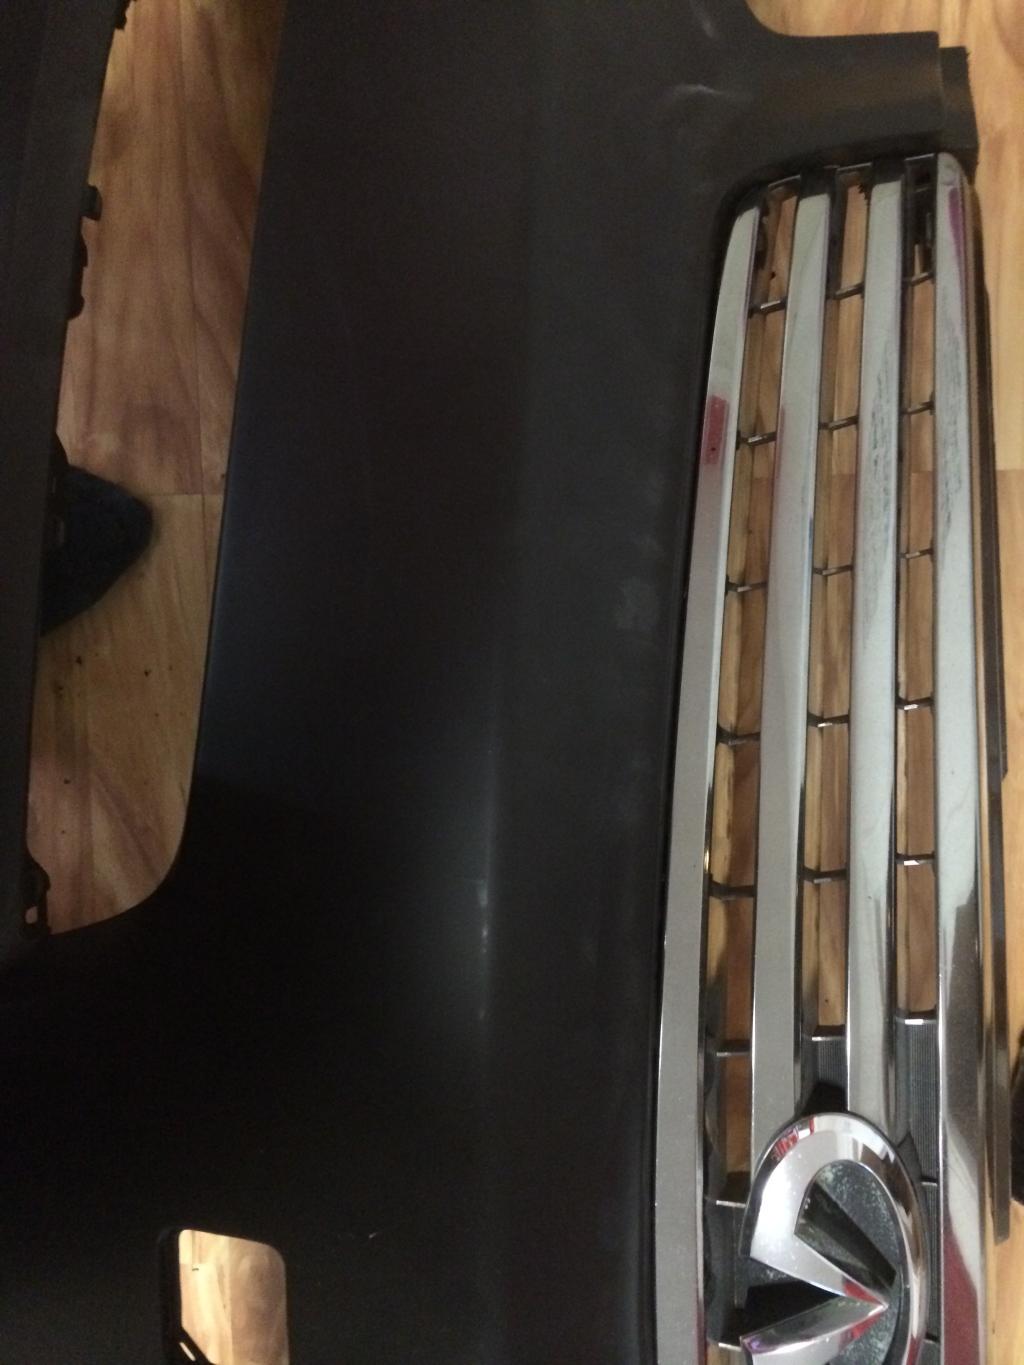
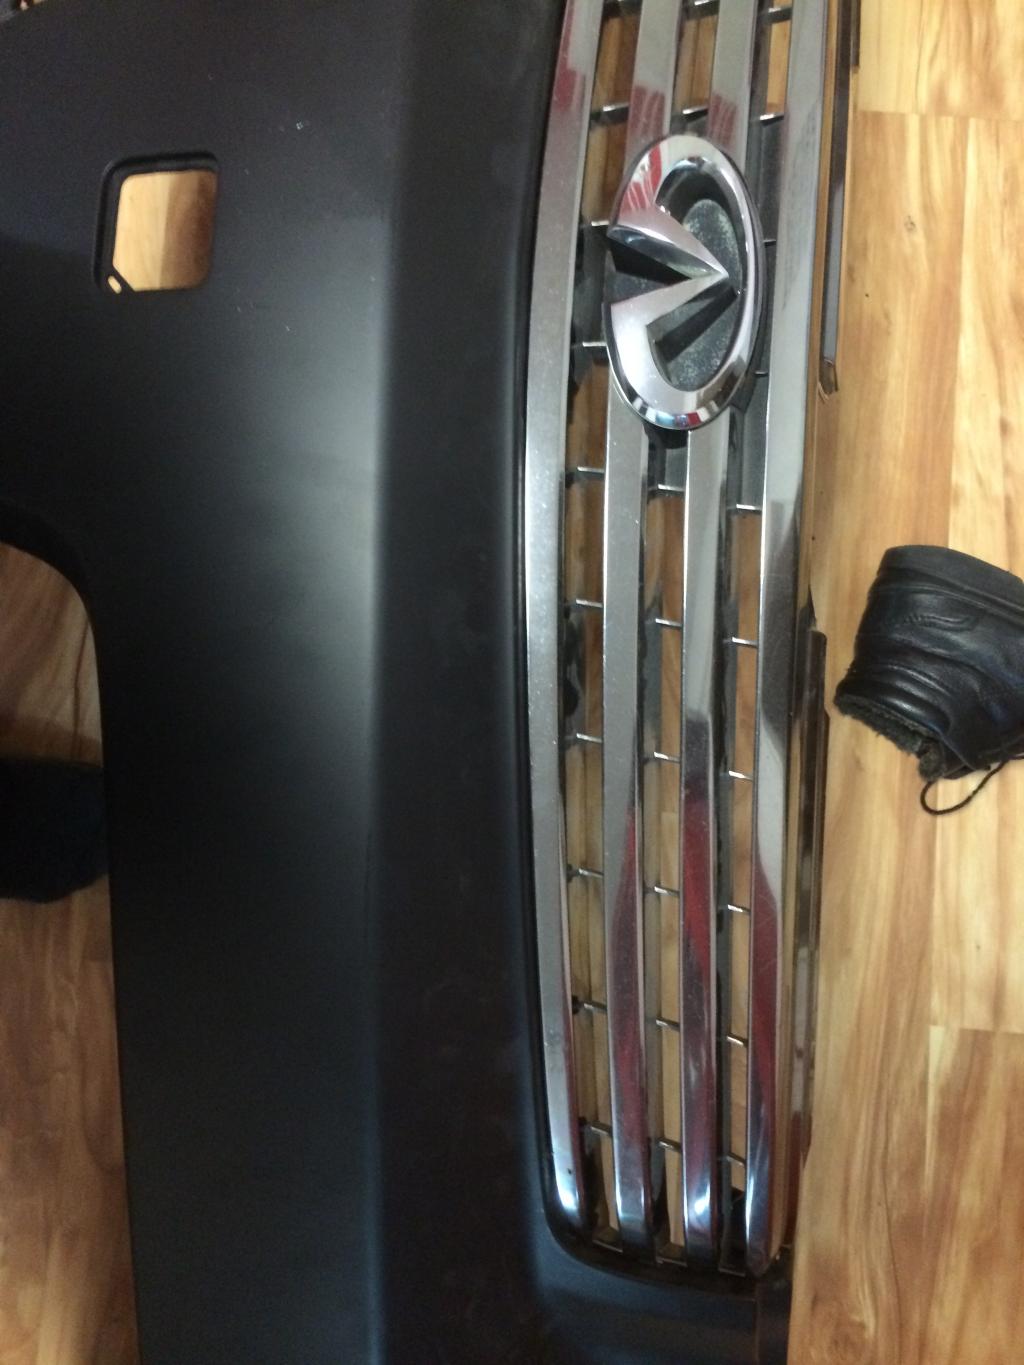
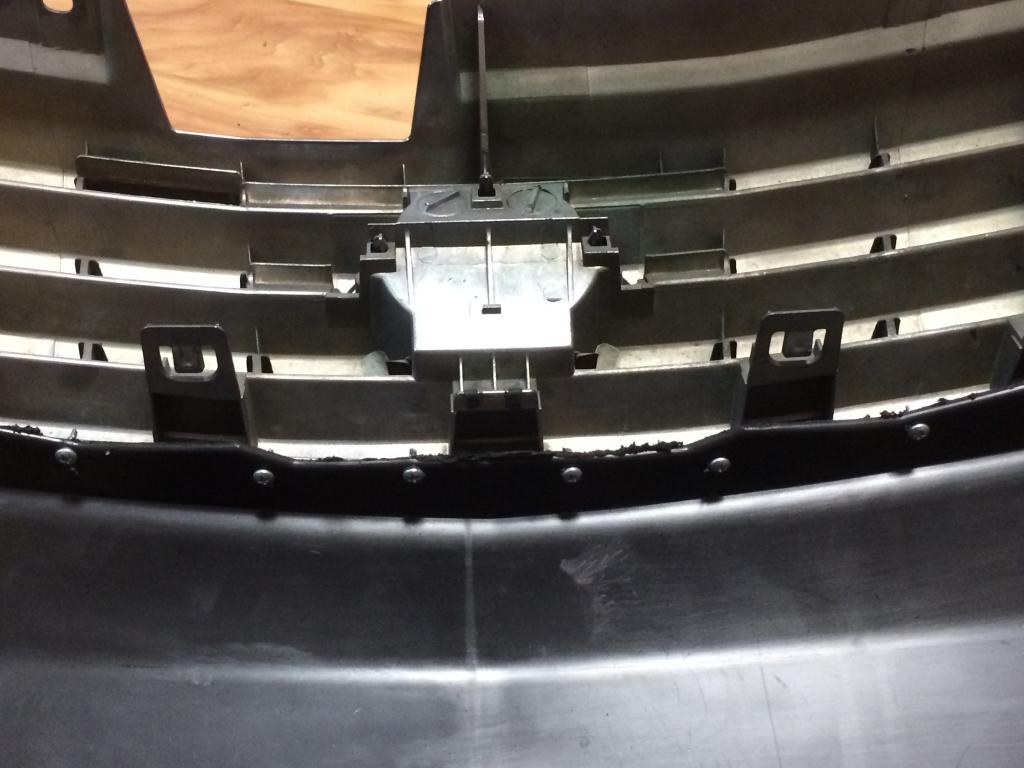
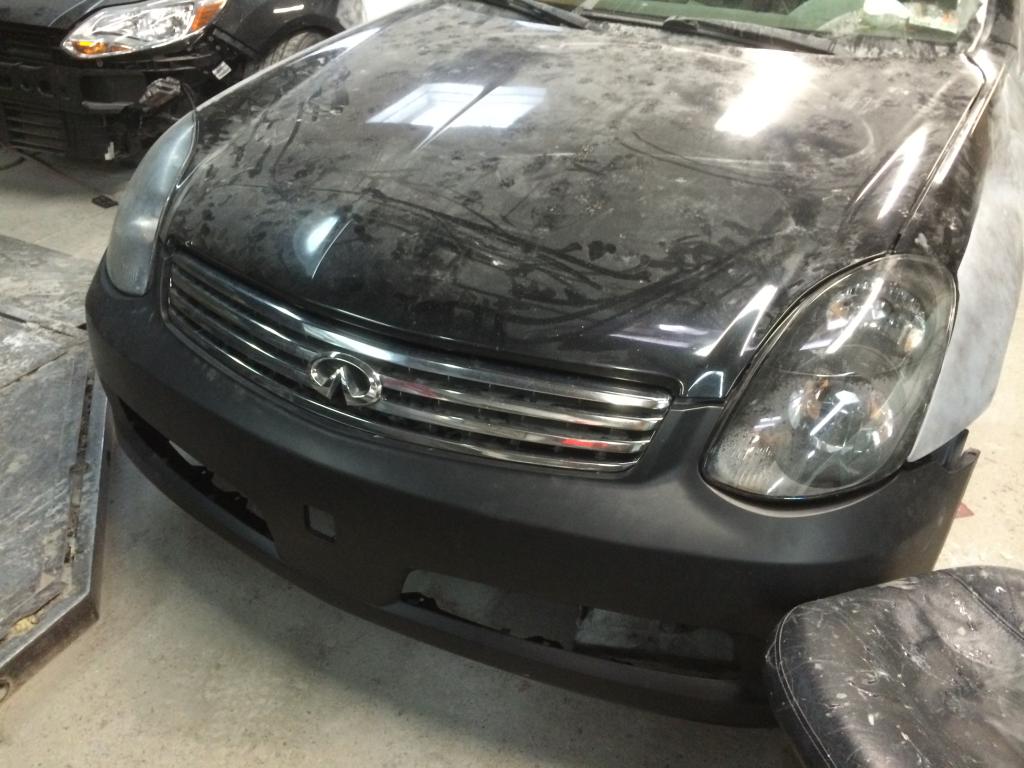
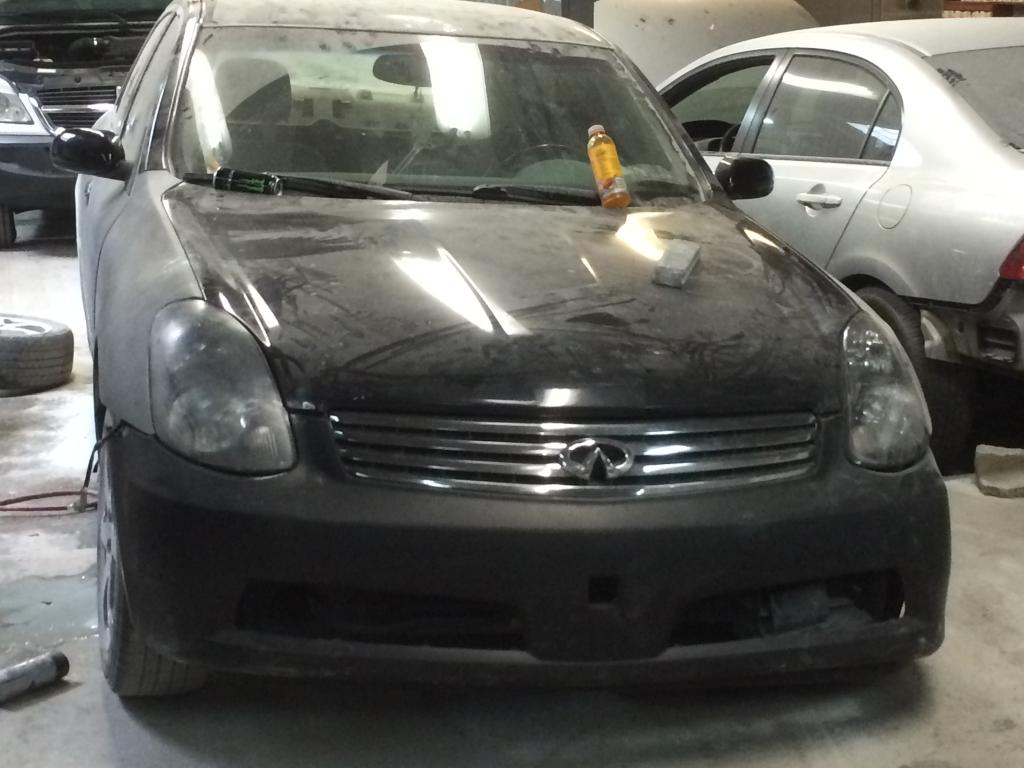
Anyways here are some Picts of the grill.
And under the hood.
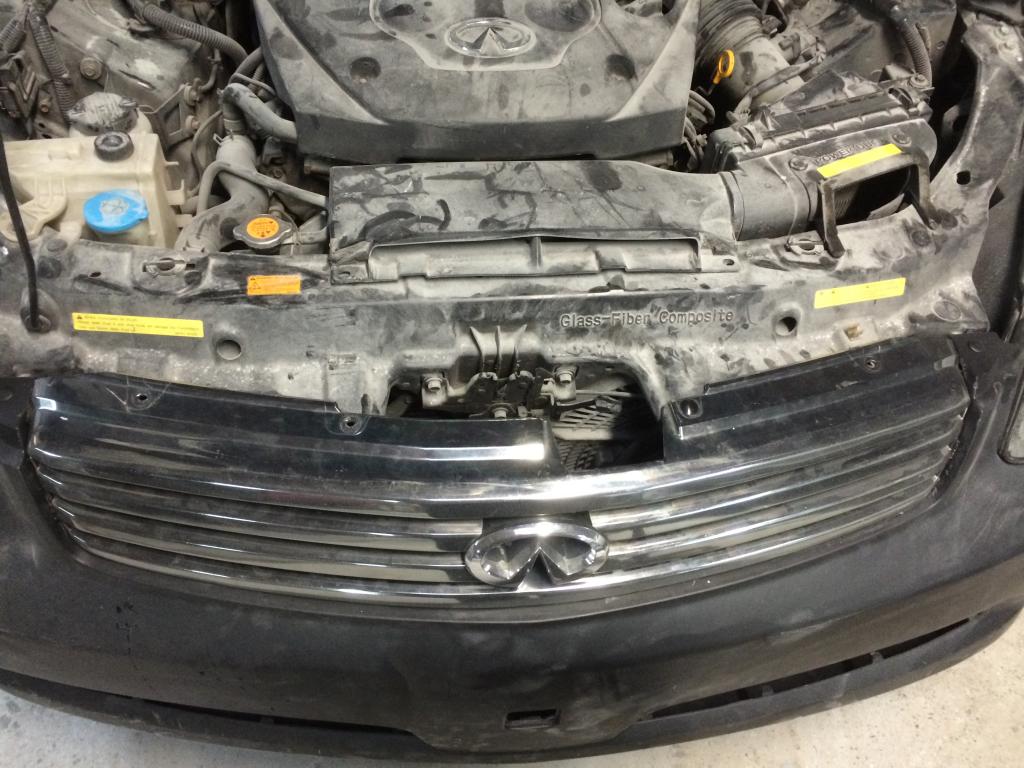
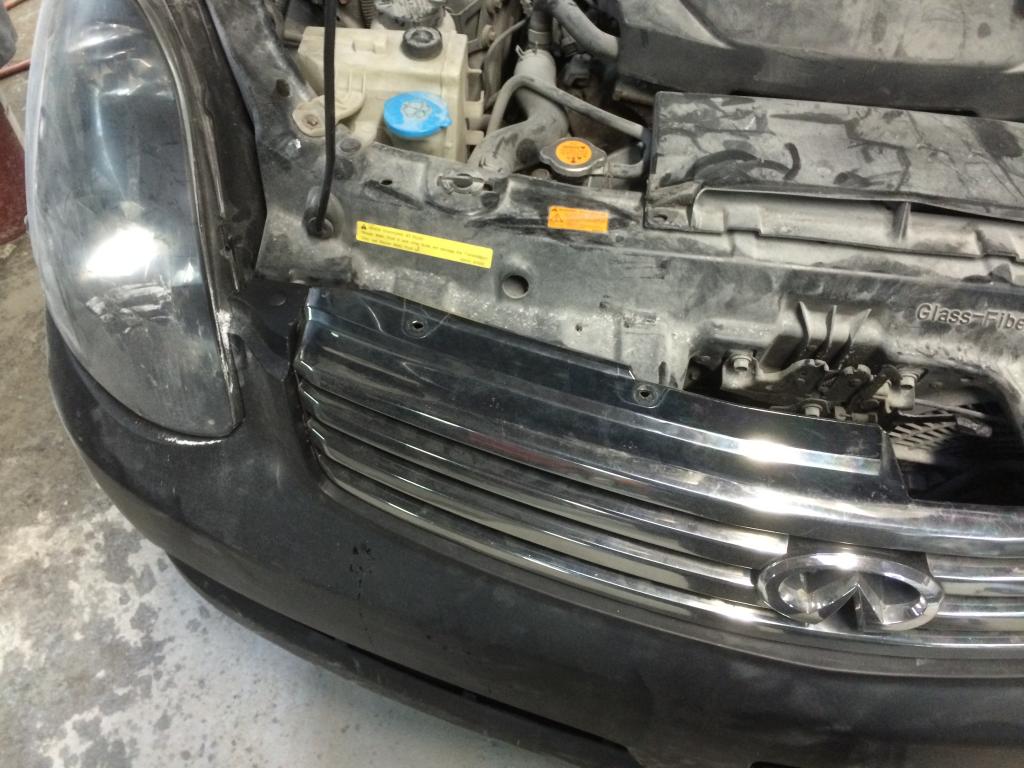
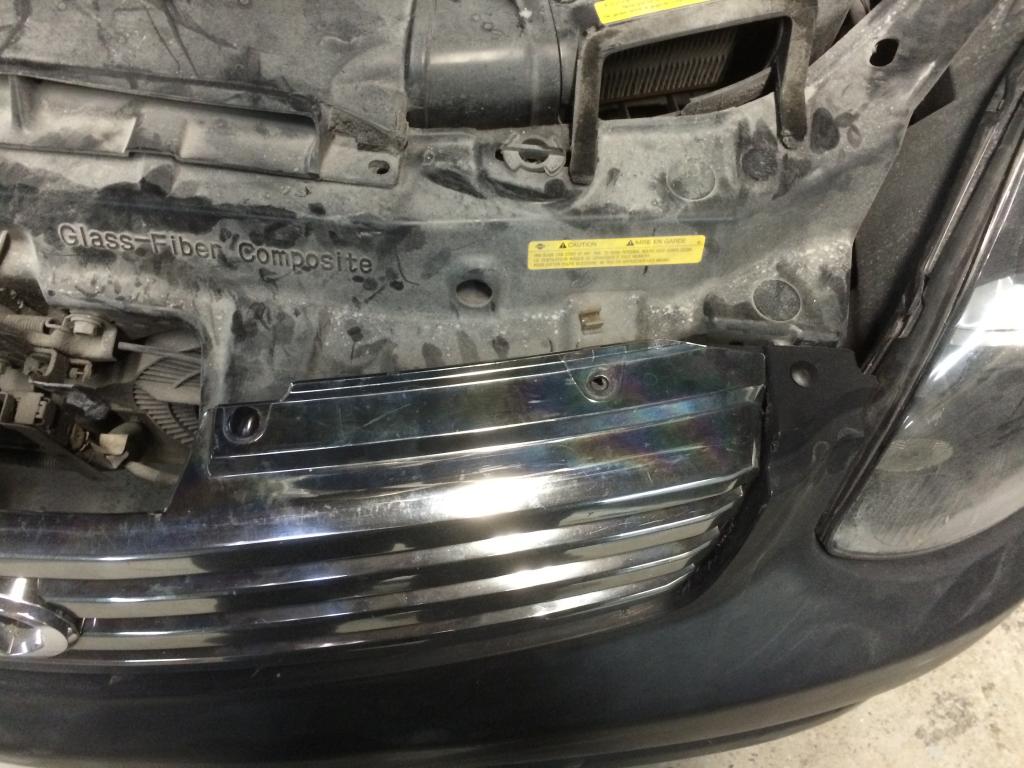
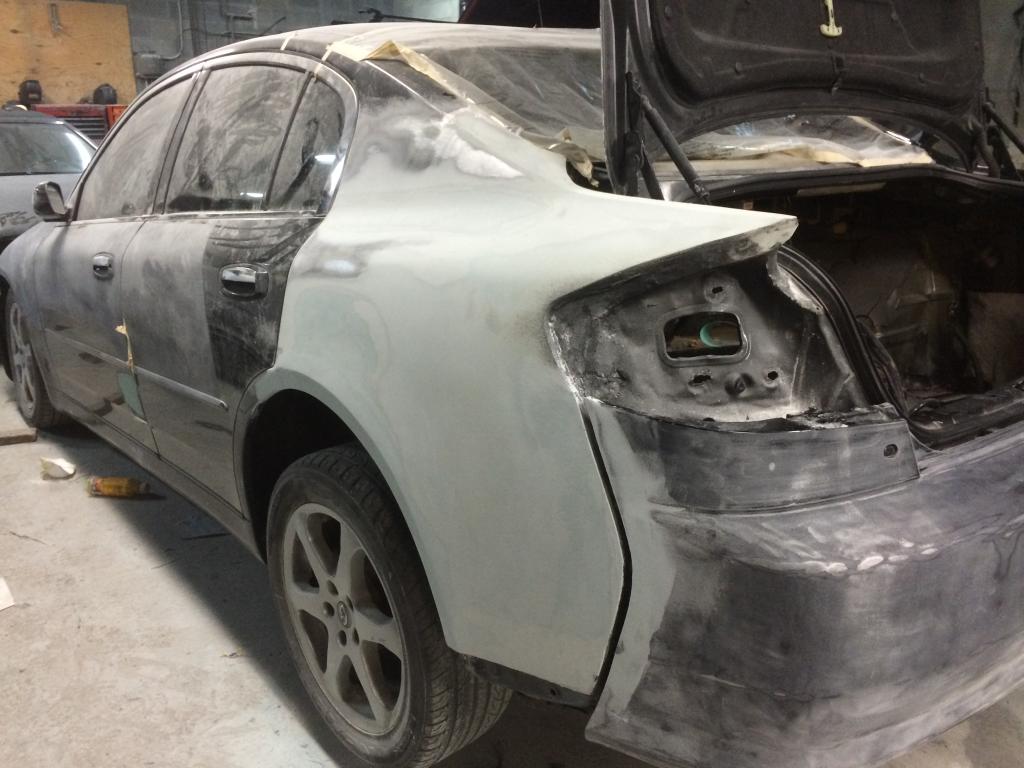
I've moved on to doing the bondo and finishing touches in the back, I'll post Picts tonight of that process.
Anyways here are some Picts of the grill.


And under the hood.


I've moved on to doing the bondo and finishing touches in the back, I'll post Picts tonight of that process.

Thanks gman, mindbeats and the fixer!! It came out pretty clean I must say even I was surprised that it went together that well and that easy... Now onto a small update...
This was last night and I stayed until 11pm in the shop working on it, the only reason I didn't post Picts last night was that I got home, took a shower and fell asleep in the shower 😁😁😁 my wife found me looking like a prune.
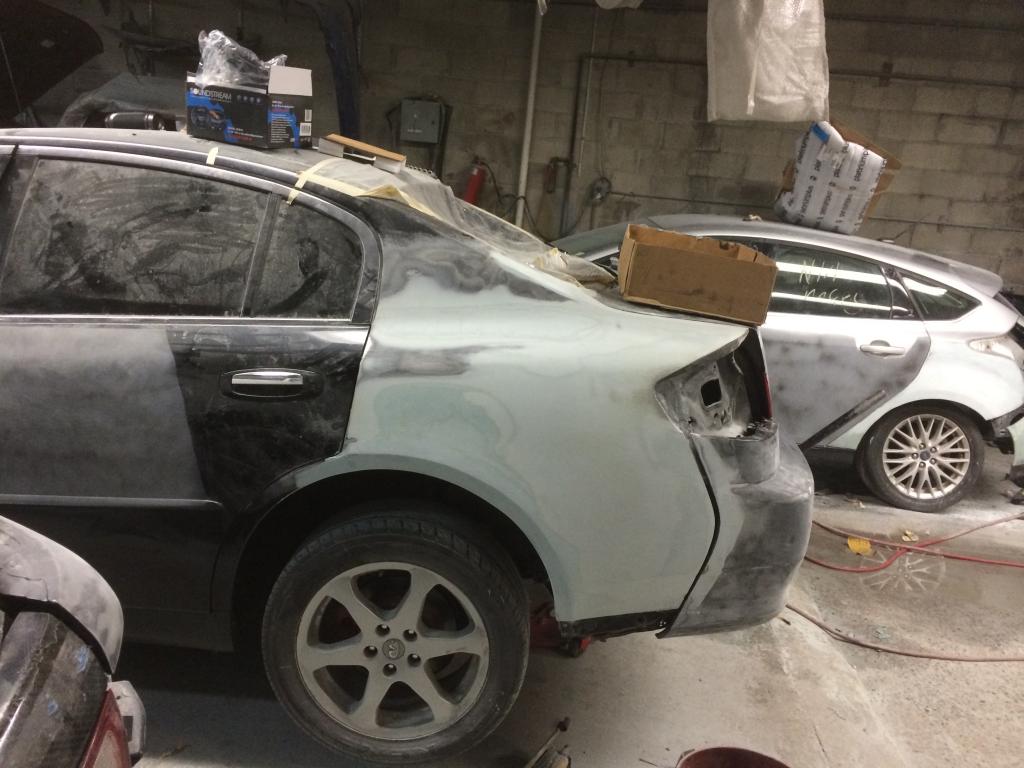
Anyways here are some Picts of the cars a s s.
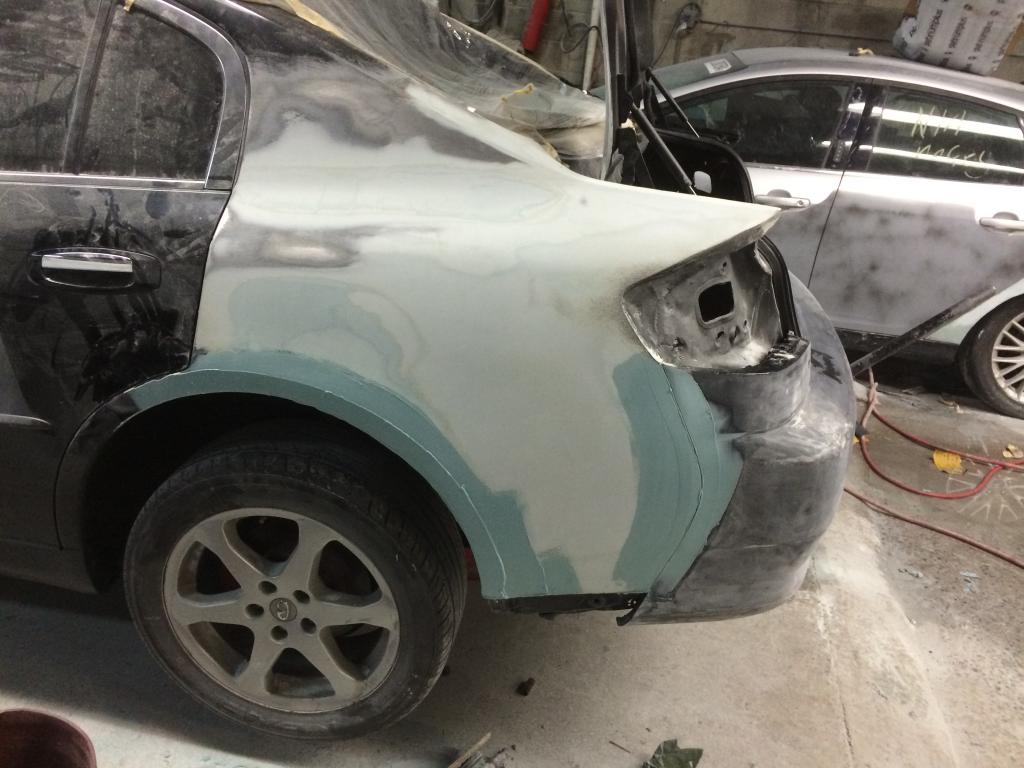
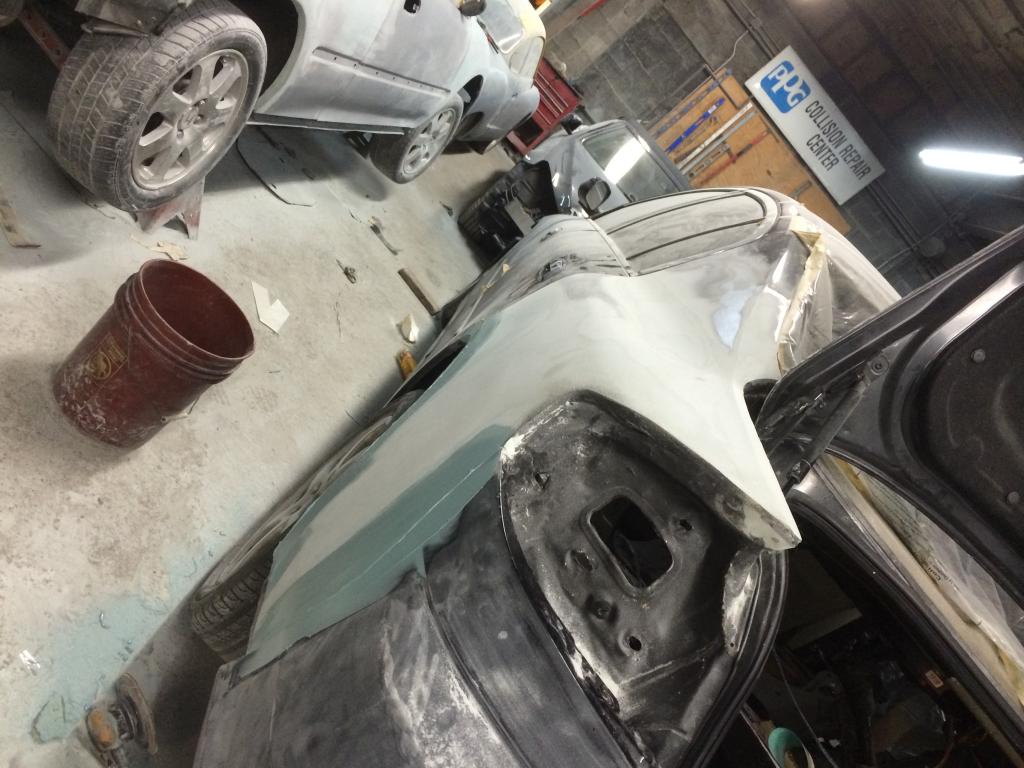
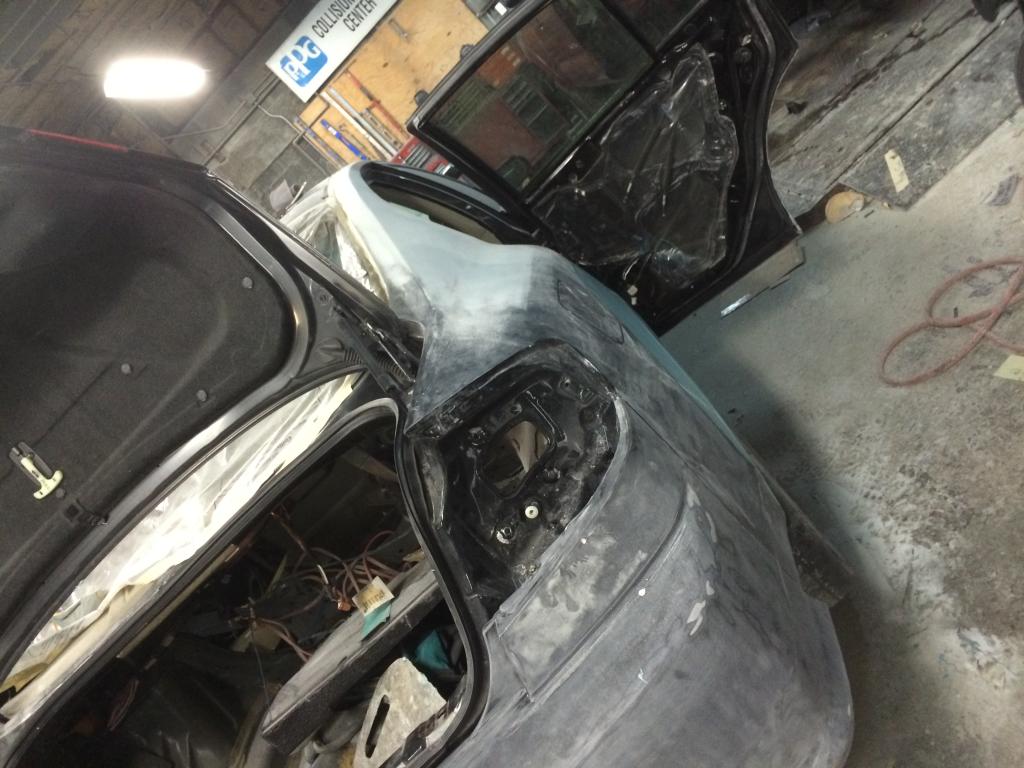
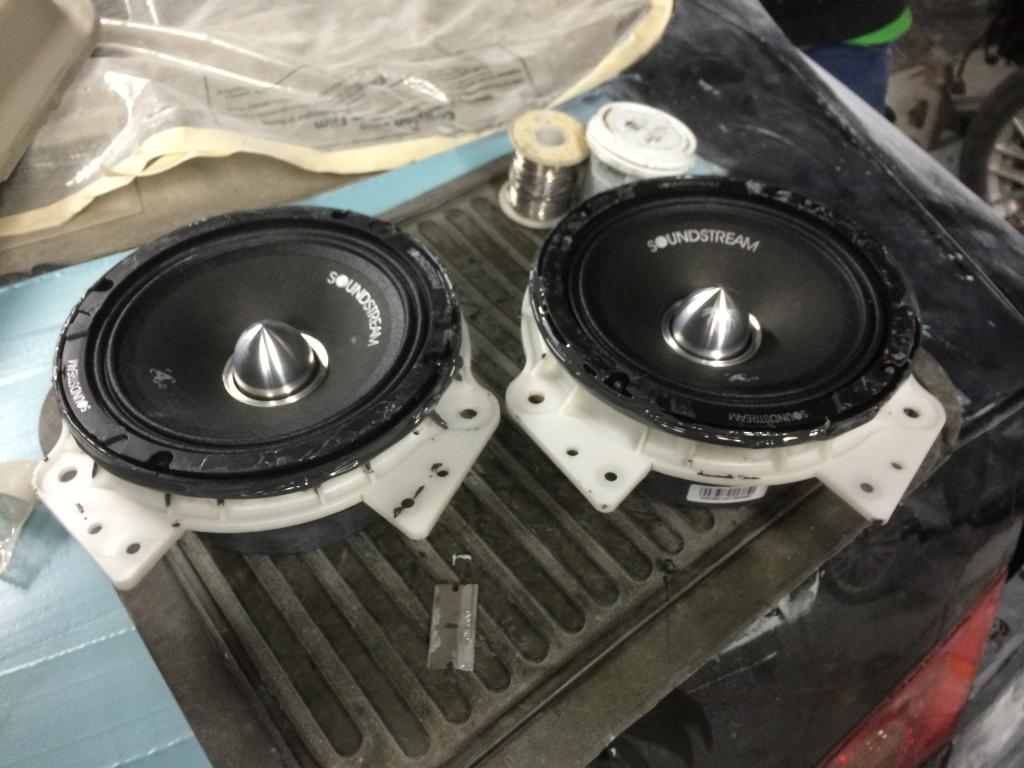
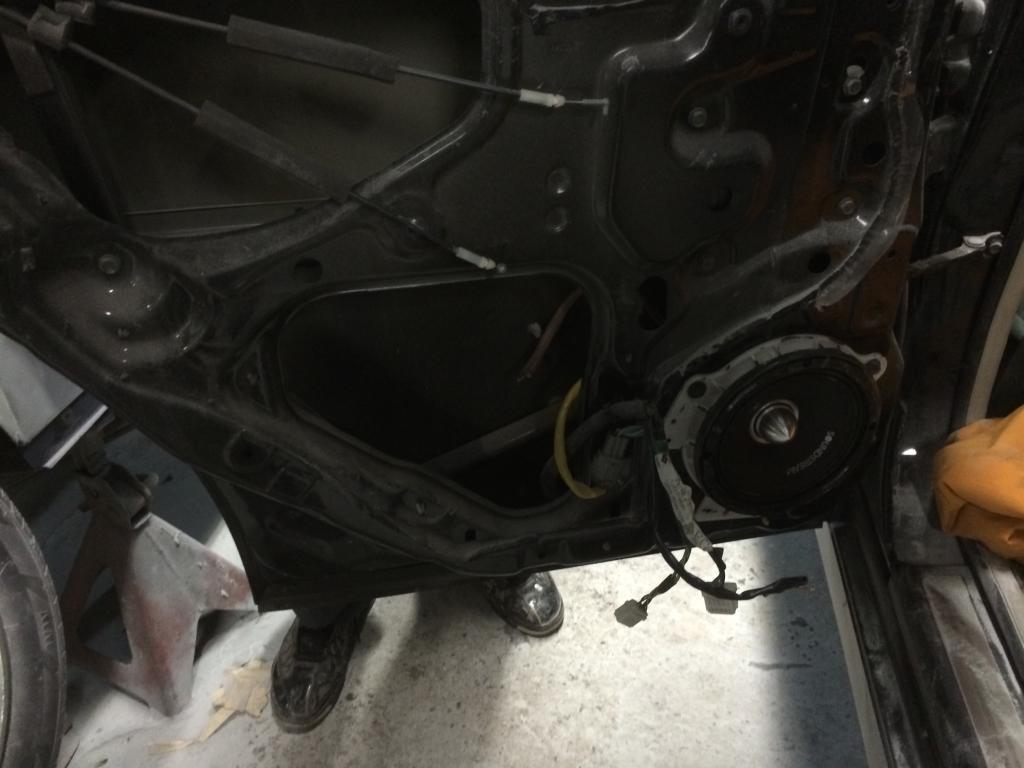
And the rear speakers are finally in and all the wiring done for the speakers.
That was it.... Detail work takes more time than the actual hard work and it's a PITA if you aske me.
That's it for today, happy new year for everyone and may all your wishes and plans come true!
This was last night and I stayed until 11pm in the shop working on it, the only reason I didn't post Picts last night was that I got home, took a shower and fell asleep in the shower 😁😁😁 my wife found me looking like a prune.
Anyways here are some Picts of the cars a s s.


And the rear speakers are finally in and all the wiring done for the speakers.


That was it.... Detail work takes more time than the actual hard work and it's a PITA if you aske me.
That's it for today, happy new year for everyone and may all your wishes and plans come true!


Registered User
faiz23
Registered User
close
Jul 4, 2025
- Join DateNov 2006
- LocationYour mom's bed
- Posts:2,198
-
iTrader Positive Feedback100
-
iTrader Feedback Score(2)
-
Likes:351
-
Liked:291 Times in 218 Posts
Nice progress. Did you ever buy a new regulator for your welder?
Quote:
Originally Posted by The Fixer
Sweet, looks like you're just about ready for paint!
Just about! Maybe a day or 2 and is off to paint.
Quote:
Yes I did, had to cough up 120 for it but well worth it.Originally Posted by faiz23
Nice progress. Did you ever buy a new regulator for your welder?