2004 g35 sedan saved from being junked 😁


nah id rather the thread not get filled with useless chatter. I jus wanna see pics and progress

Thread Starter
|
Registered User
Joined: Oct 2014
Posts: 102
Likes: 9
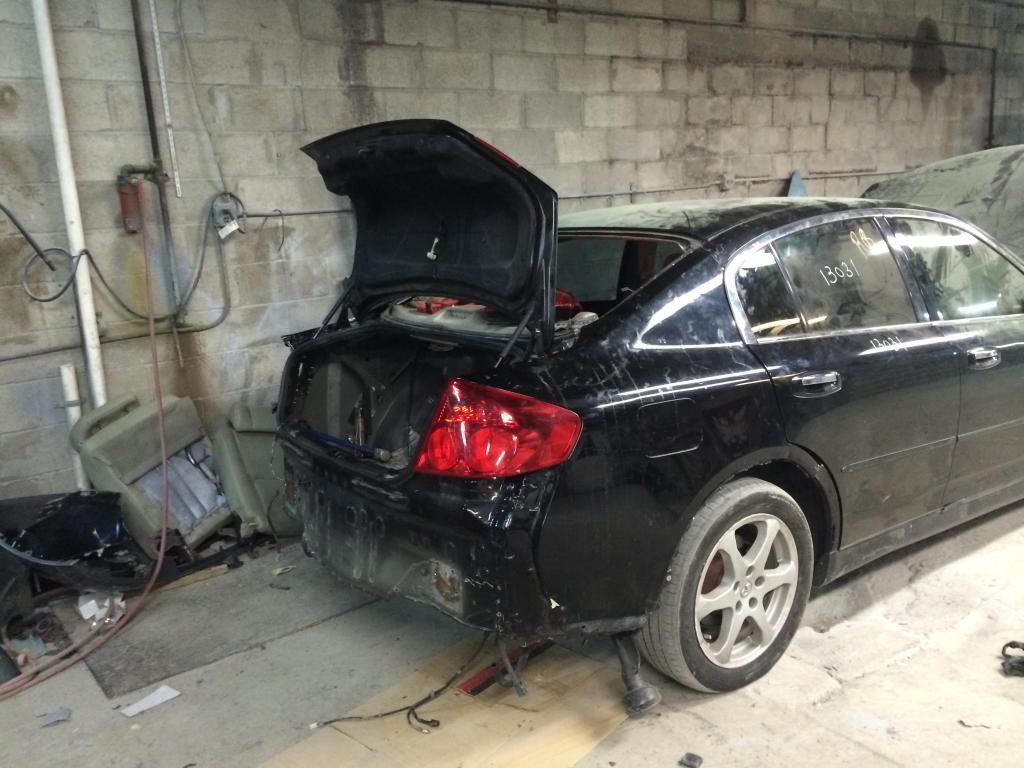
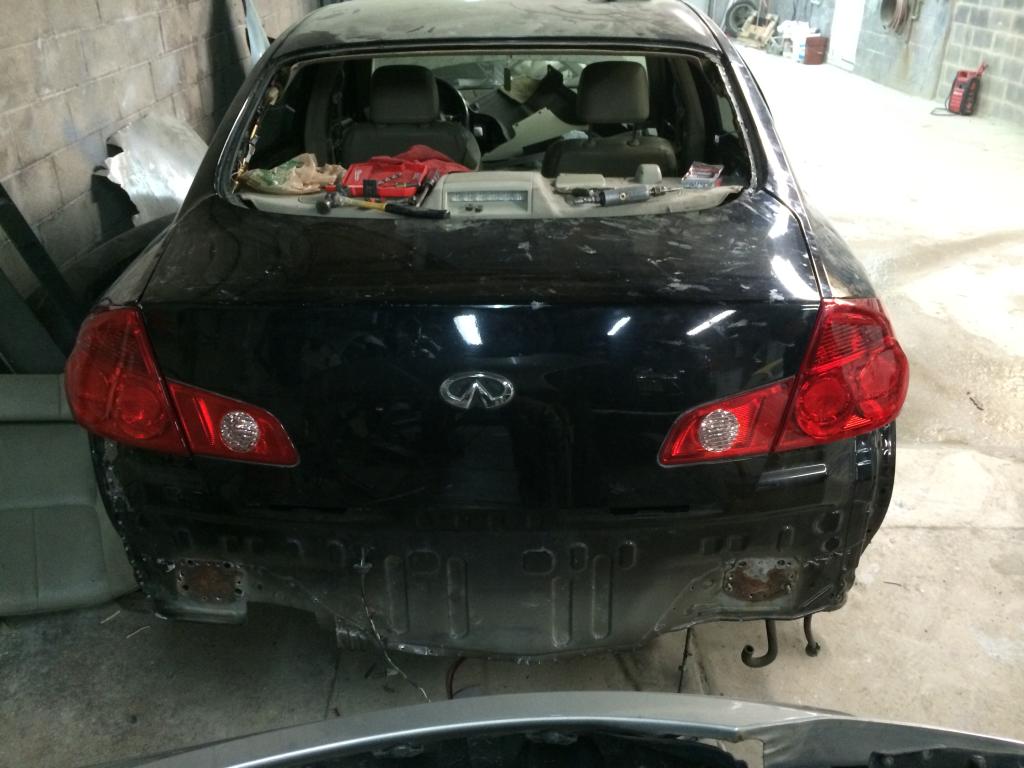
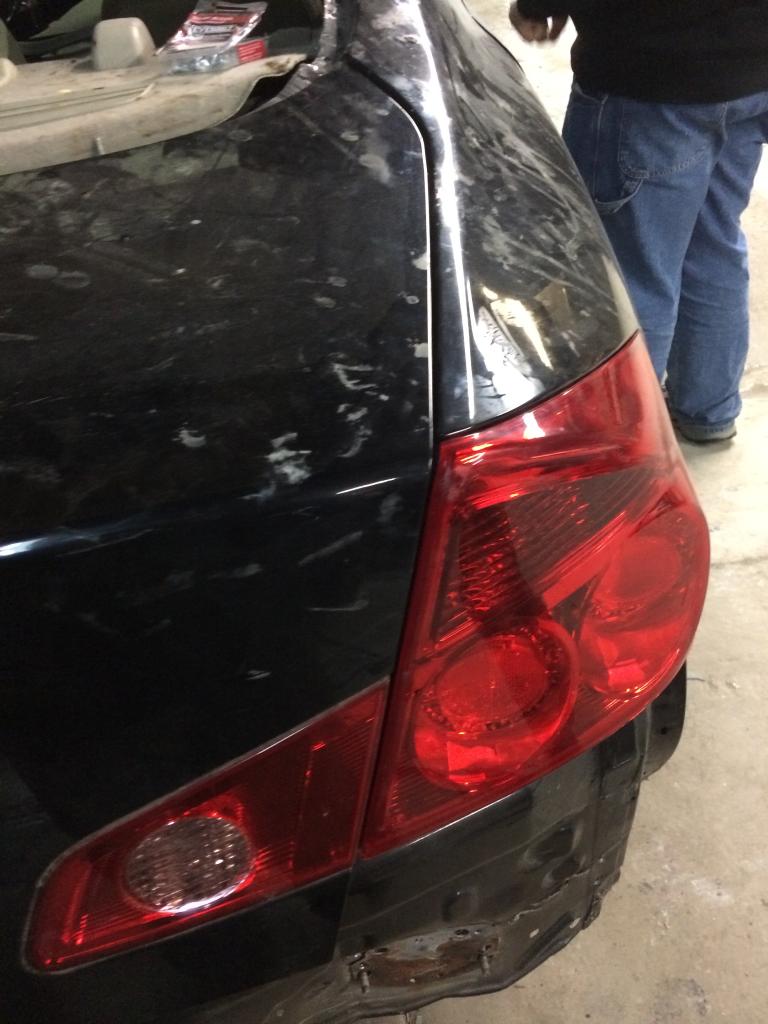
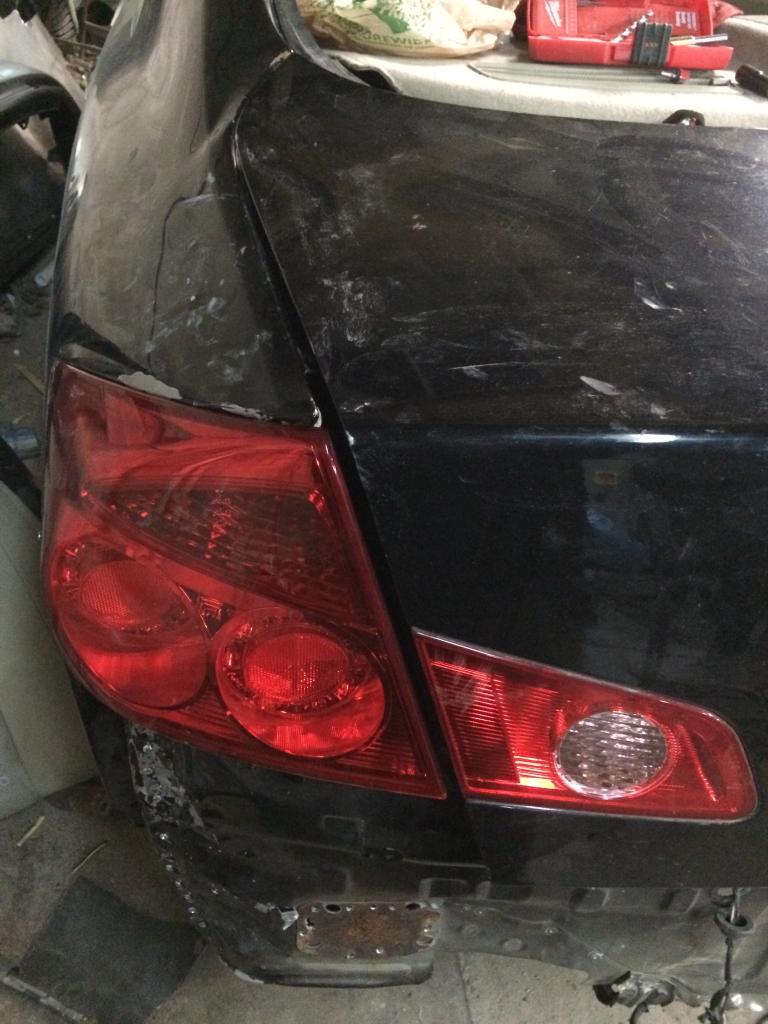
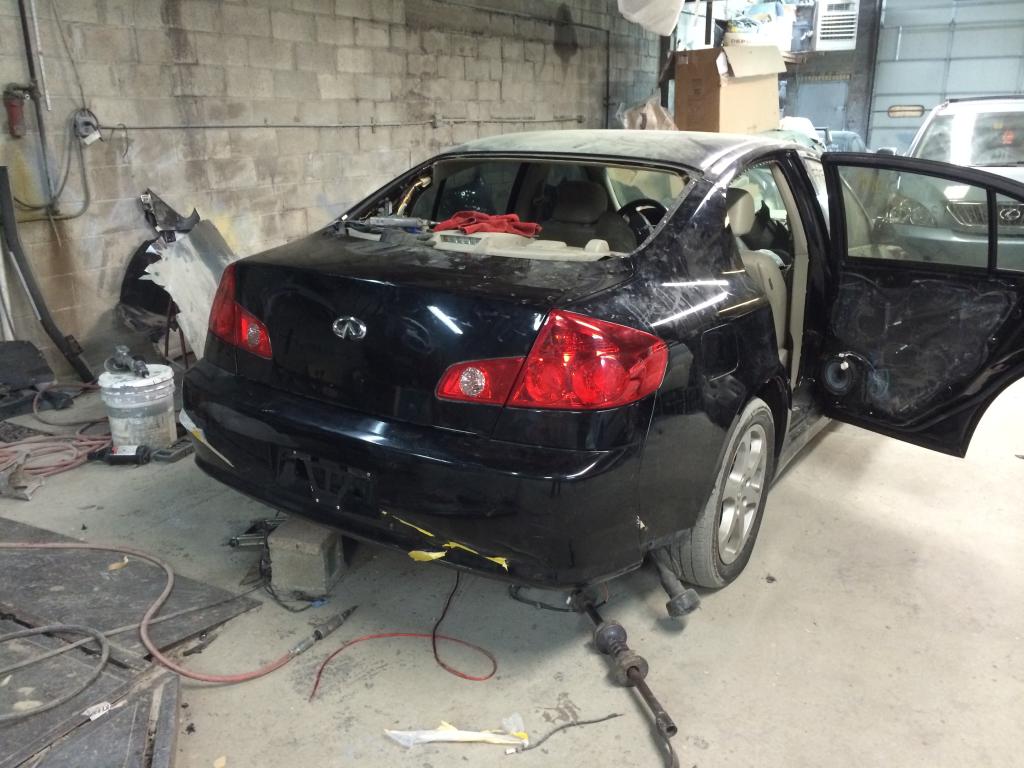
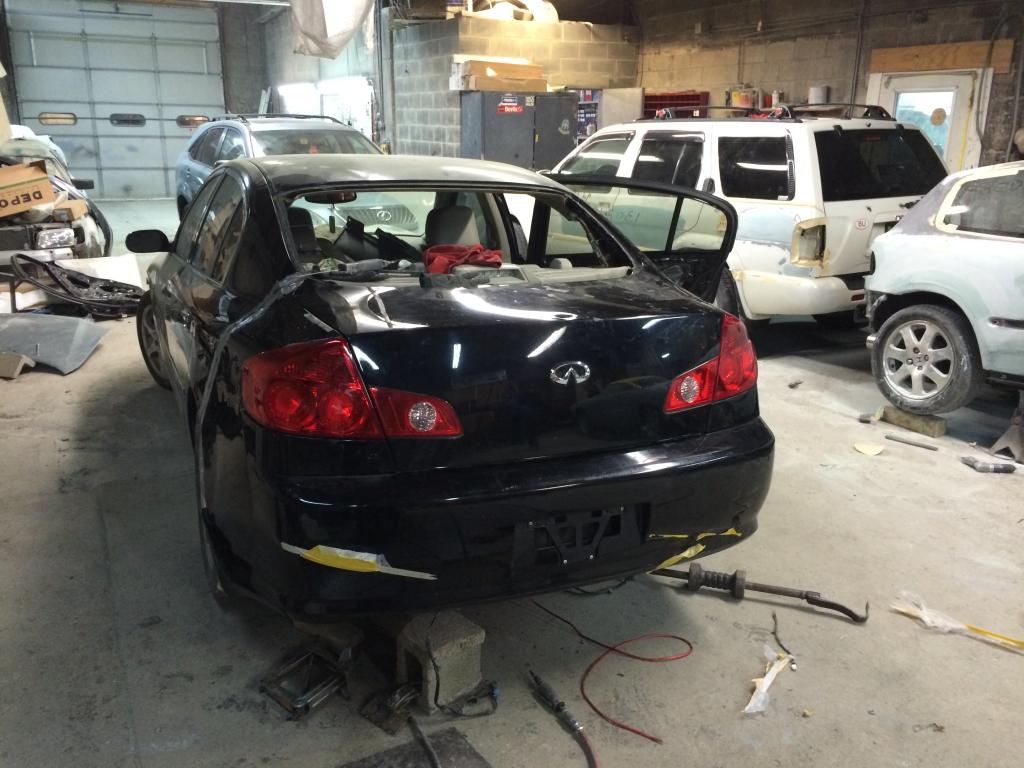
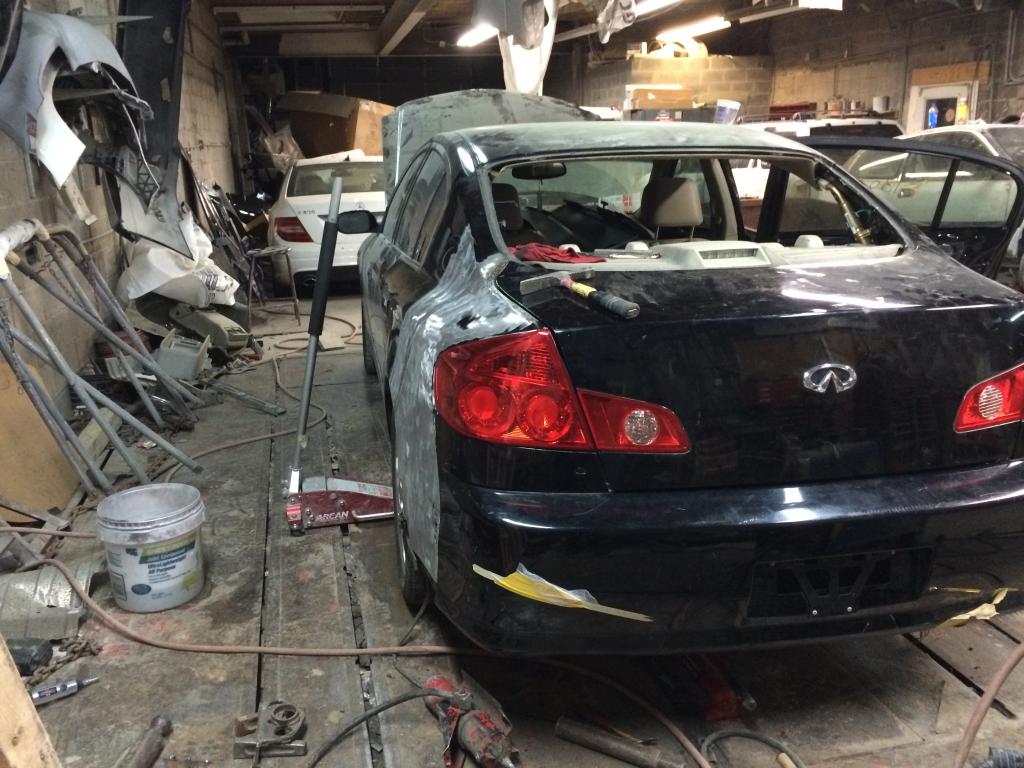
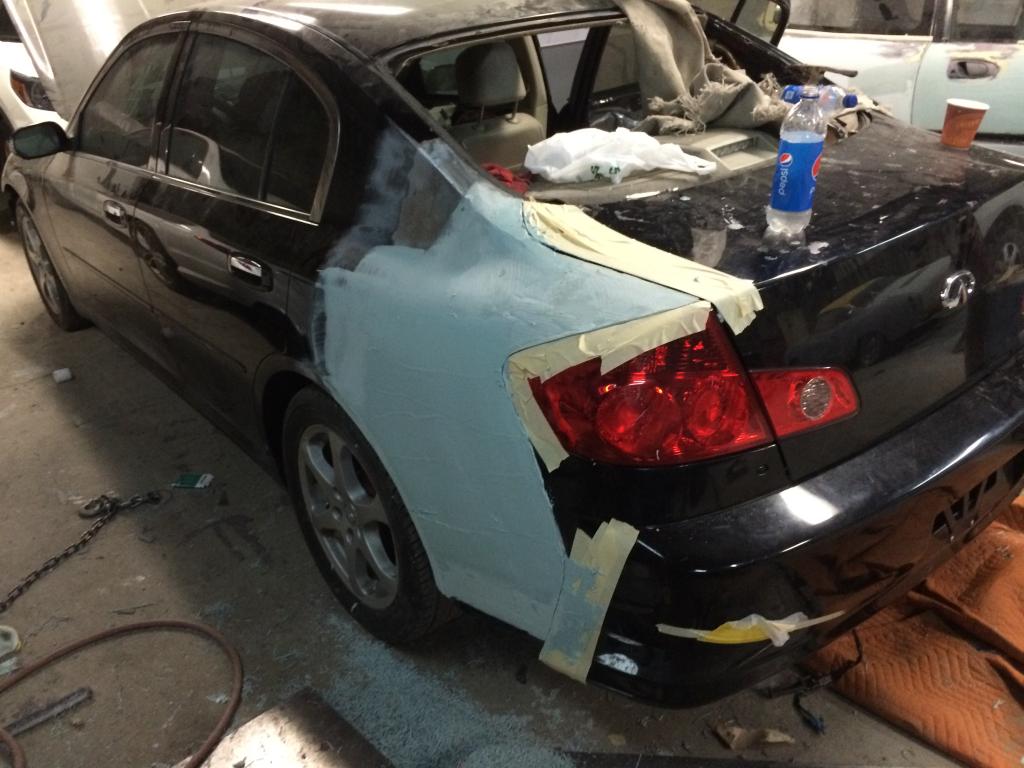
Much of an update but today I was getting all the kinks out of the trunk lid fitment and the door... I'm gonna need a new door and I hope it's coming in tomorrow morning... Here r some Picts of what I did today.


Not much of a diff in the Picts but the fitment is way better and also cut down the quarter panel a bit more to get the door to close properly but after closer inspection the door is bent out of shape so new door.
😑😑😑 my pocket
Does not like it.
Thread Starter
|
Registered User
Joined: Oct 2014
Posts: 102
Likes: 9
Mods later on once it's in a more advanced stage.
Thread Starter
|
Registered User
Joined: Oct 2014
Posts: 102
Likes: 9
That's why I'm test fiting everything before welding because it will tell you if something is out of place and I also use a chassi pulling machine which gives me the measurements as I go but at the same time once you weld the metal expands and contracts creating movement in the parts, that's why after a few welds you double check and keep the temps and settings on the low side.
Thread Starter
|
Registered User
Joined: Oct 2014
Posts: 102
Likes: 9
Thanks bro, it's even more intense when you have a rotator cuff injury and even tho you are not supposed to be doing any of this you pump urself with pain meds and carry on 😁😁
Thread Starter
|
Registered User
Joined: Oct 2014
Posts: 102
Likes: 9
well more updates...
its been a few intense days of working non stop and bashing my head against the effin trunk lid...
here are some picts...
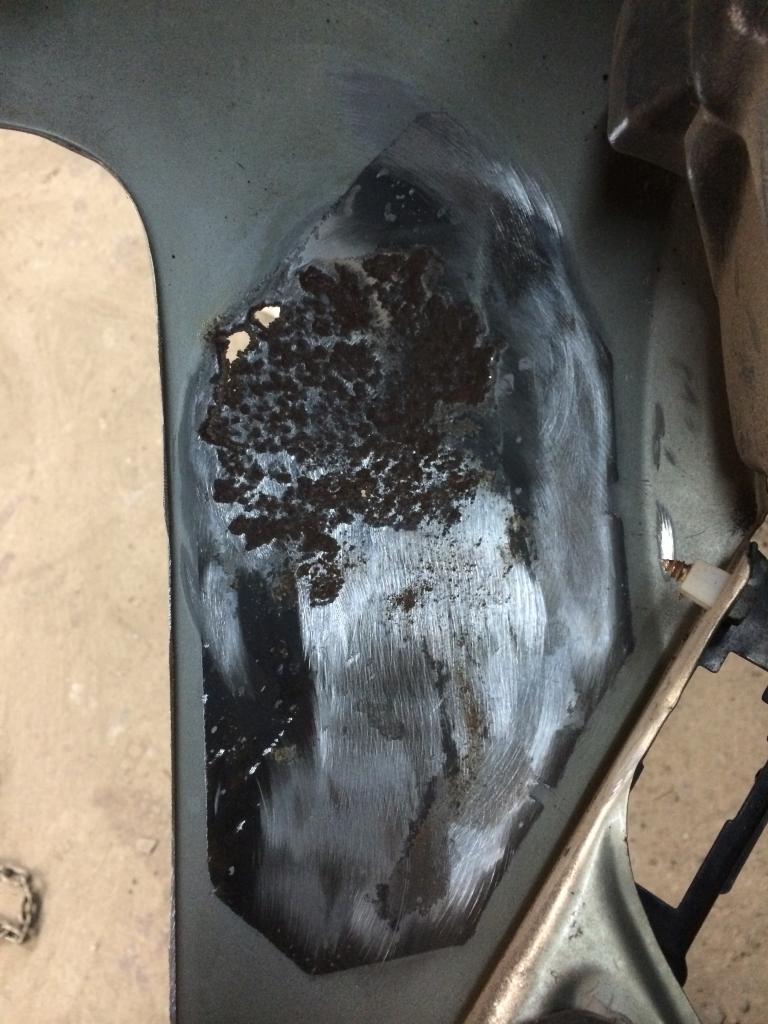
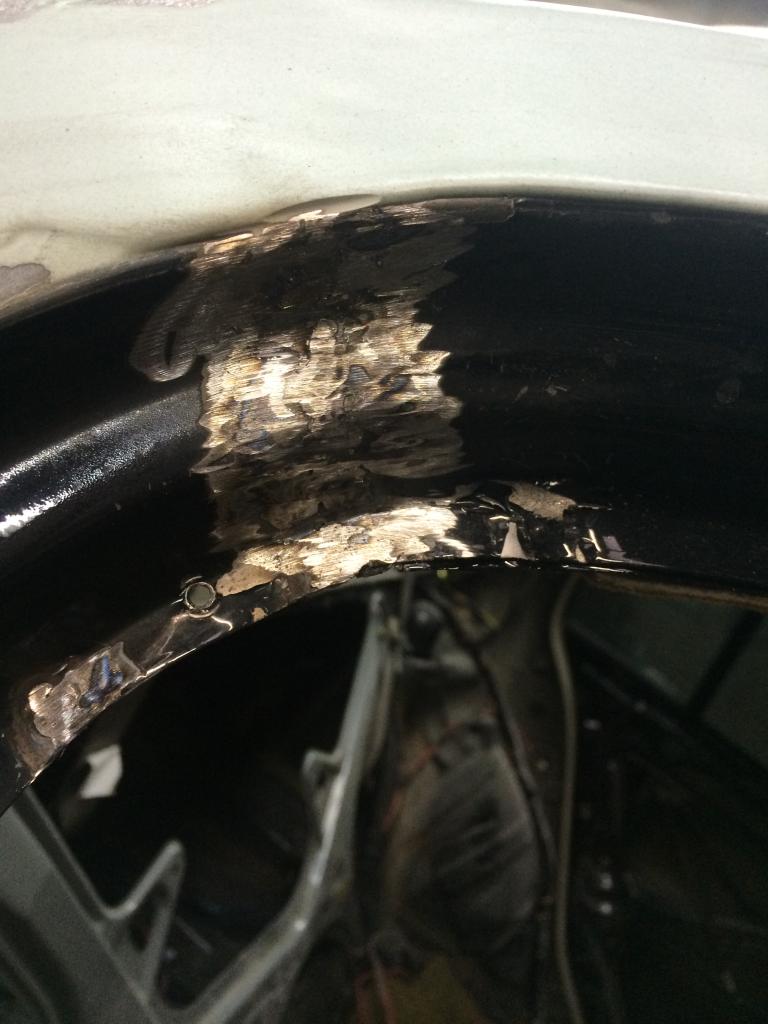
picked up this fender at a local junk yard for 50 bucks because it had rust... started tthe process of getting rid of all the "impurities" in the metal and so on..
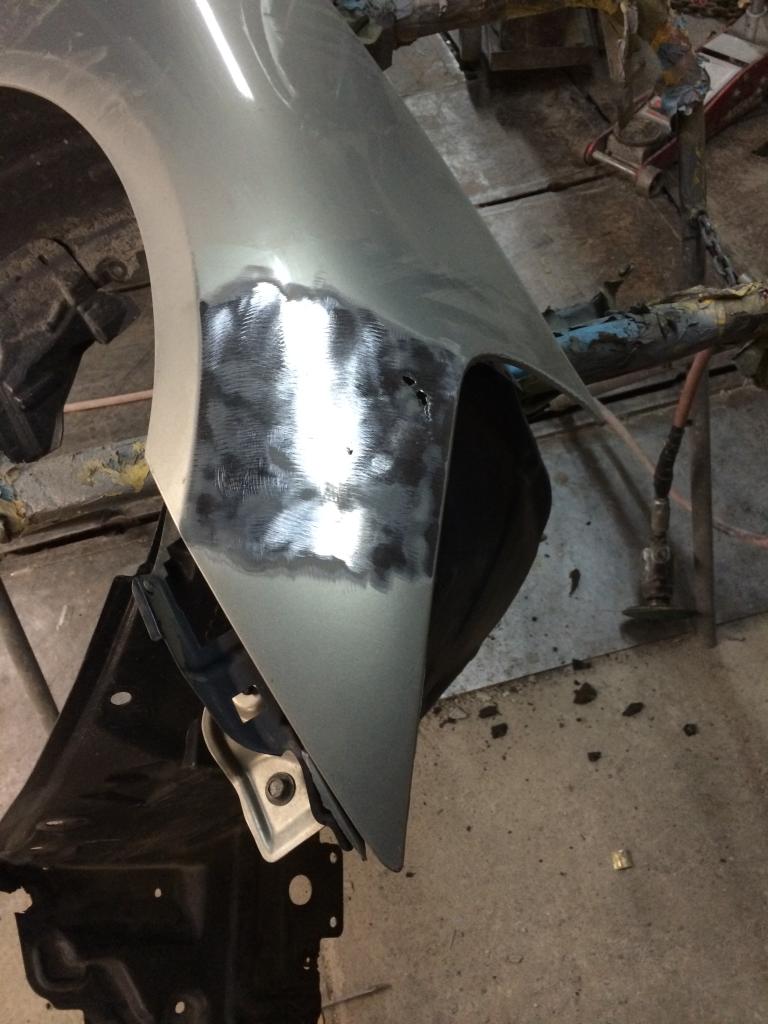
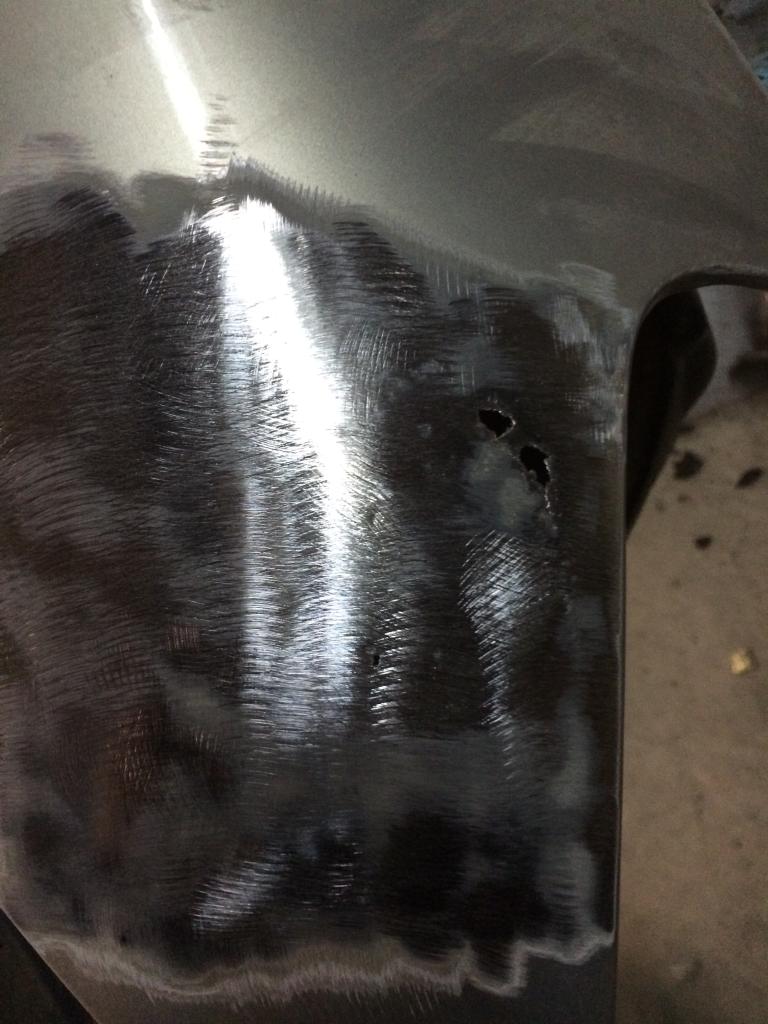
quite a lot of rust...
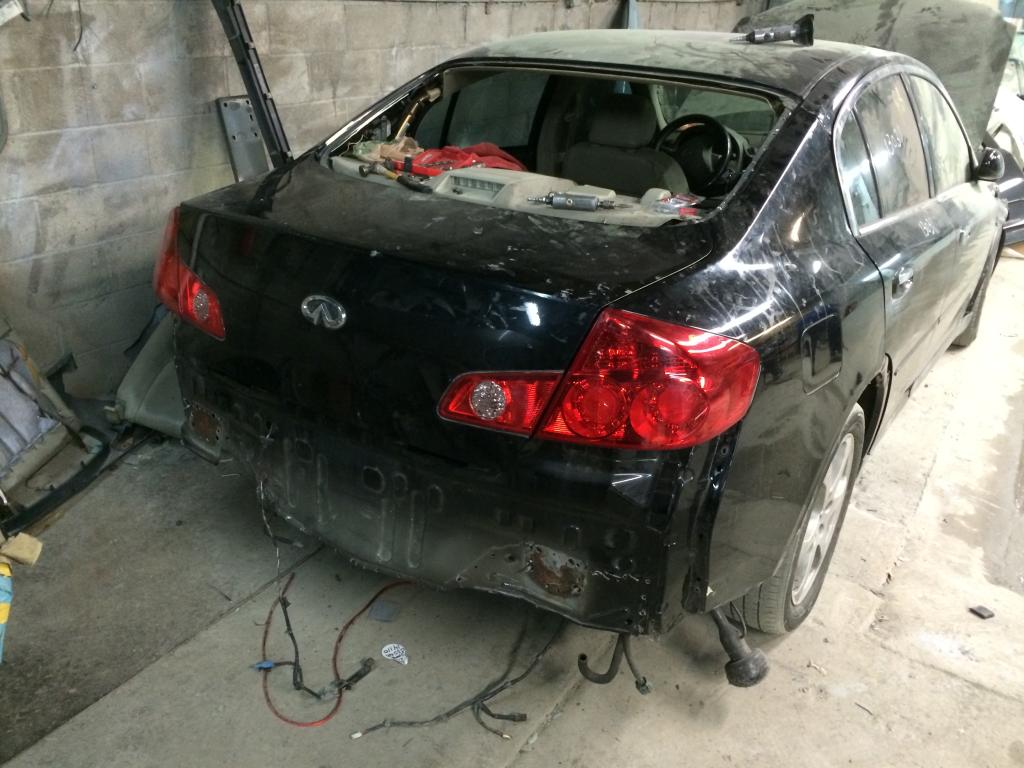
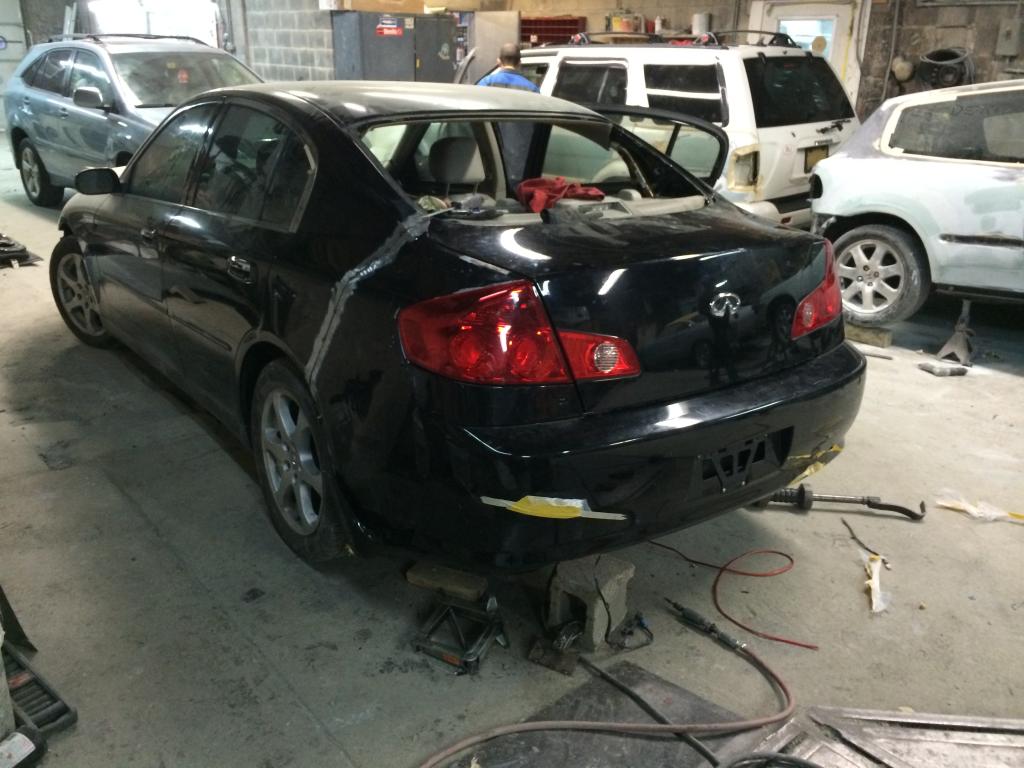
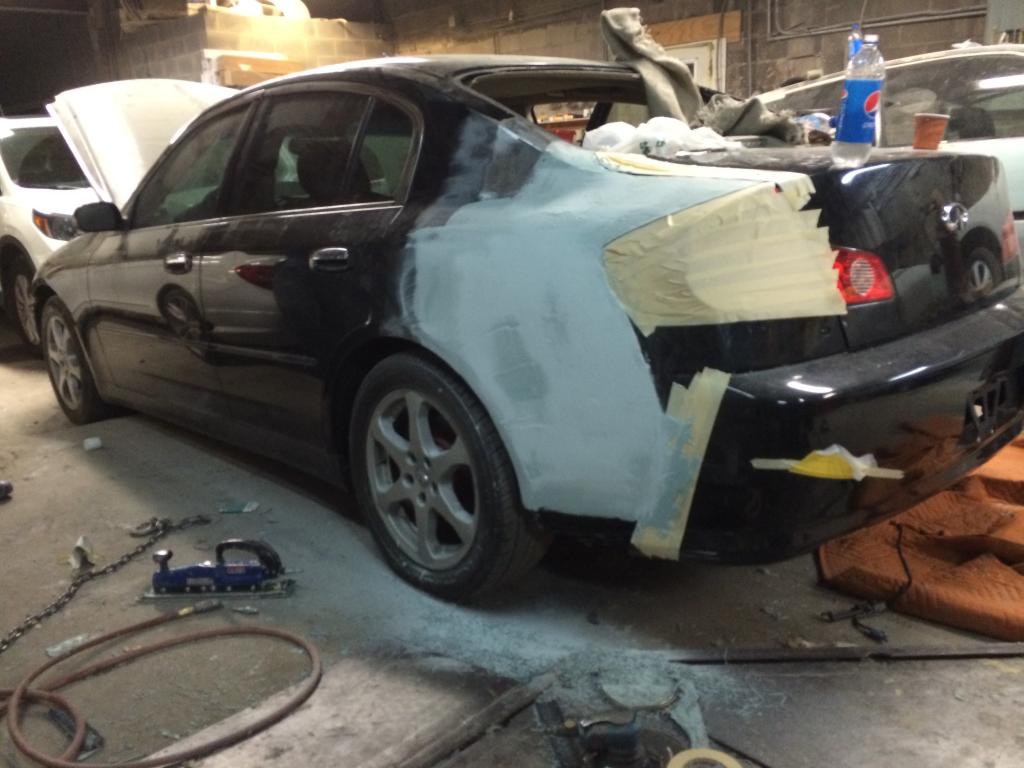
new door fits like a glove and clearances are looking good... just a bit more till they are perfect.
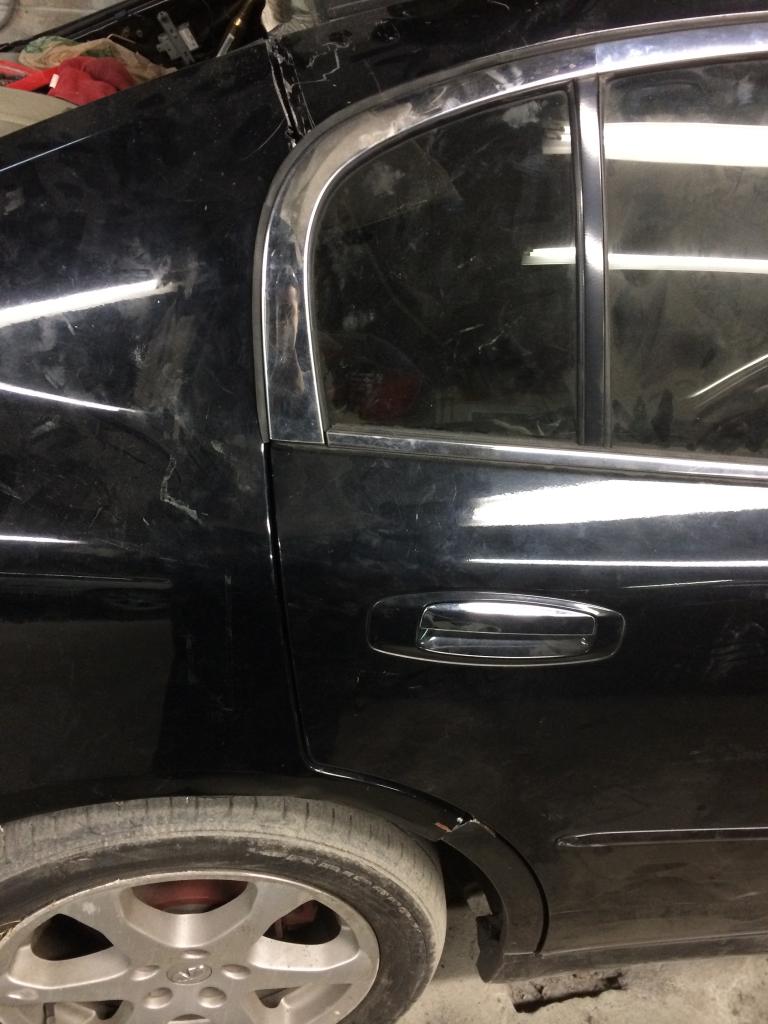
still a little open but workinh on it..
im uploading more picts which ill post in a few.
its been a few intense days of working non stop and bashing my head against the effin trunk lid...
here are some picts...


picked up this fender at a local junk yard for 50 bucks because it had rust... started tthe process of getting rid of all the "impurities" in the metal and so on..


quite a lot of rust...

new door fits like a glove and clearances are looking good... just a bit more till they are perfect.


still a little open but workinh on it..

im uploading more picts which ill post in a few.
Thread Starter
|
Registered User
Joined: Oct 2014
Posts: 102
Likes: 9
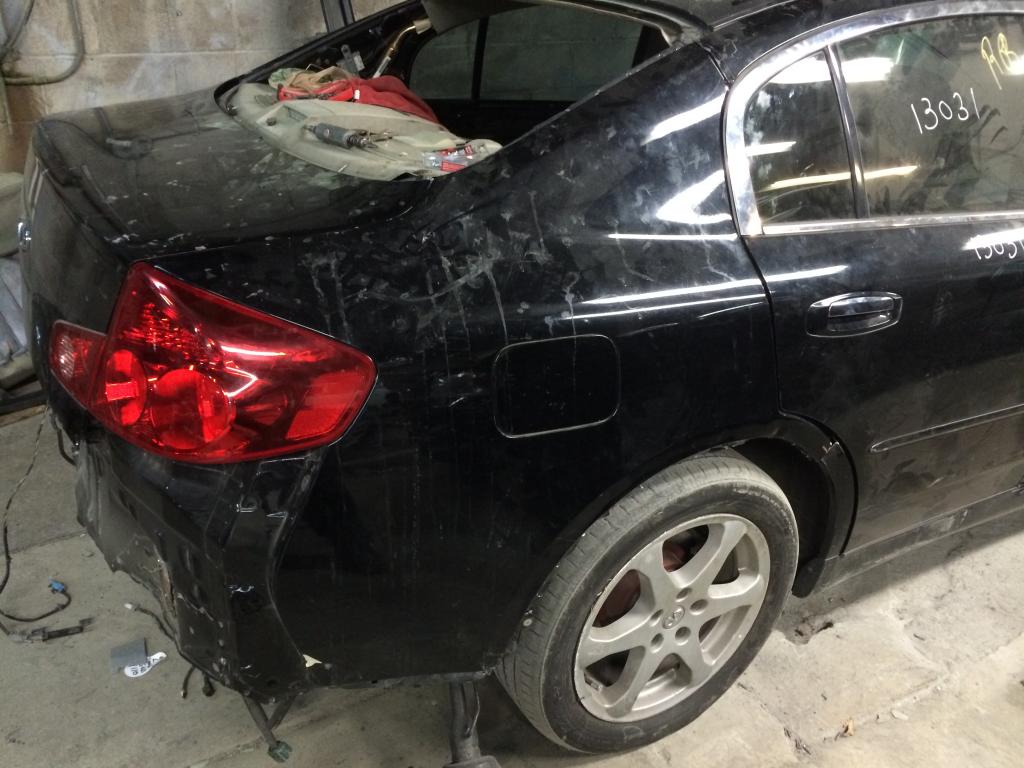
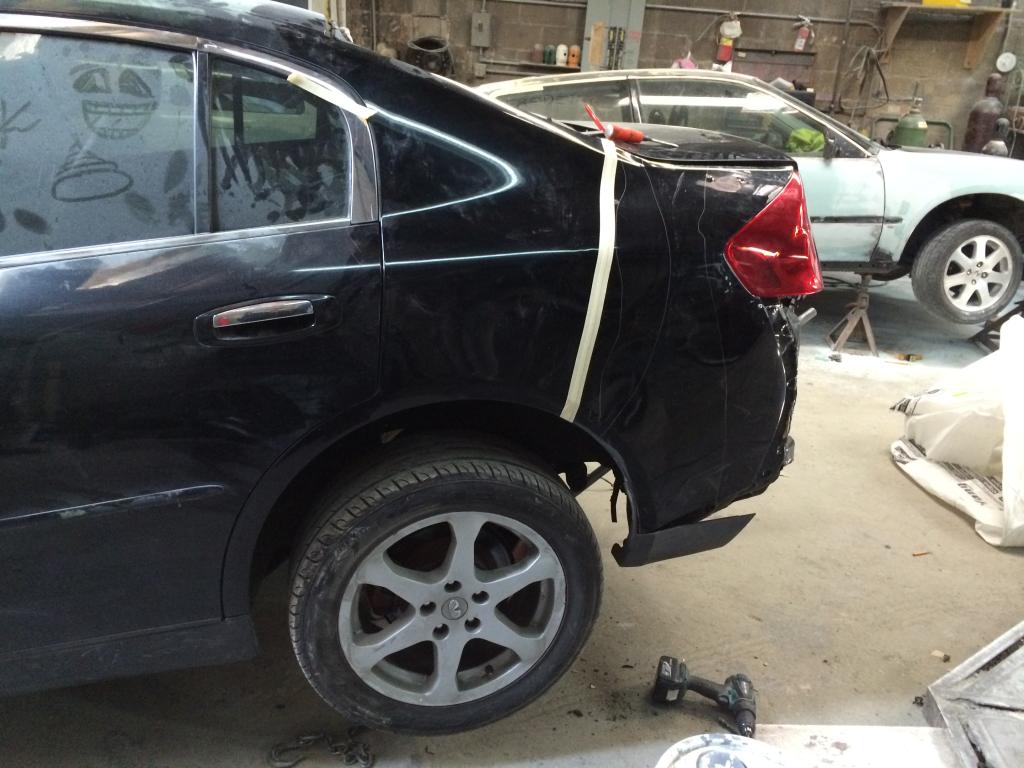
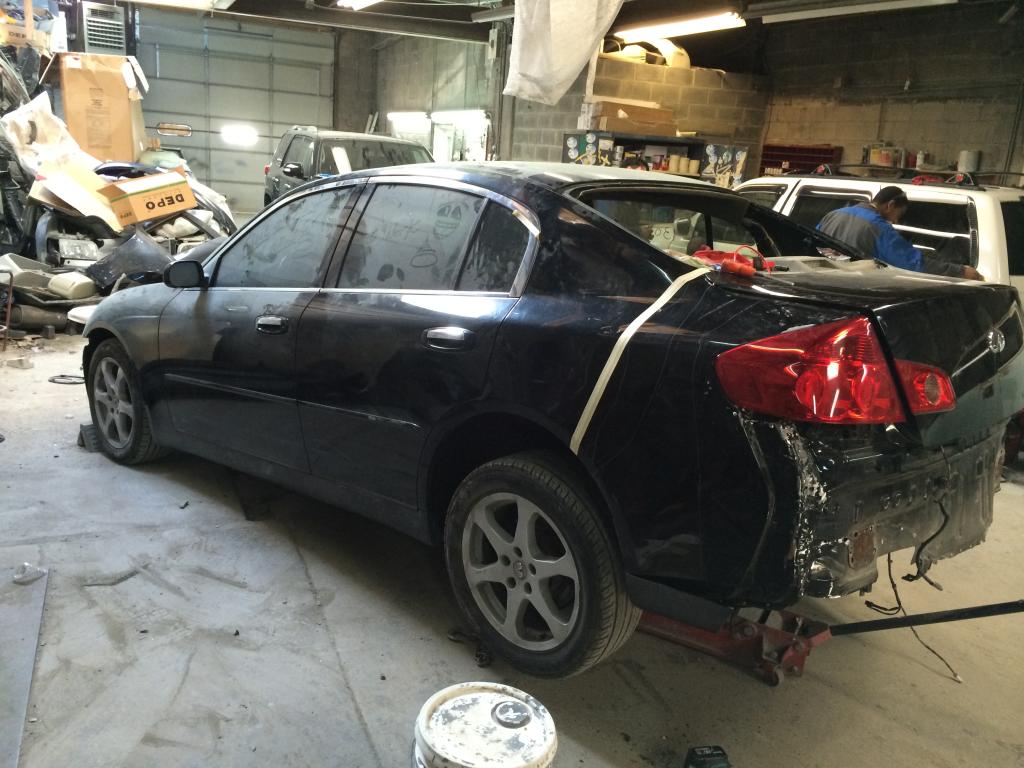
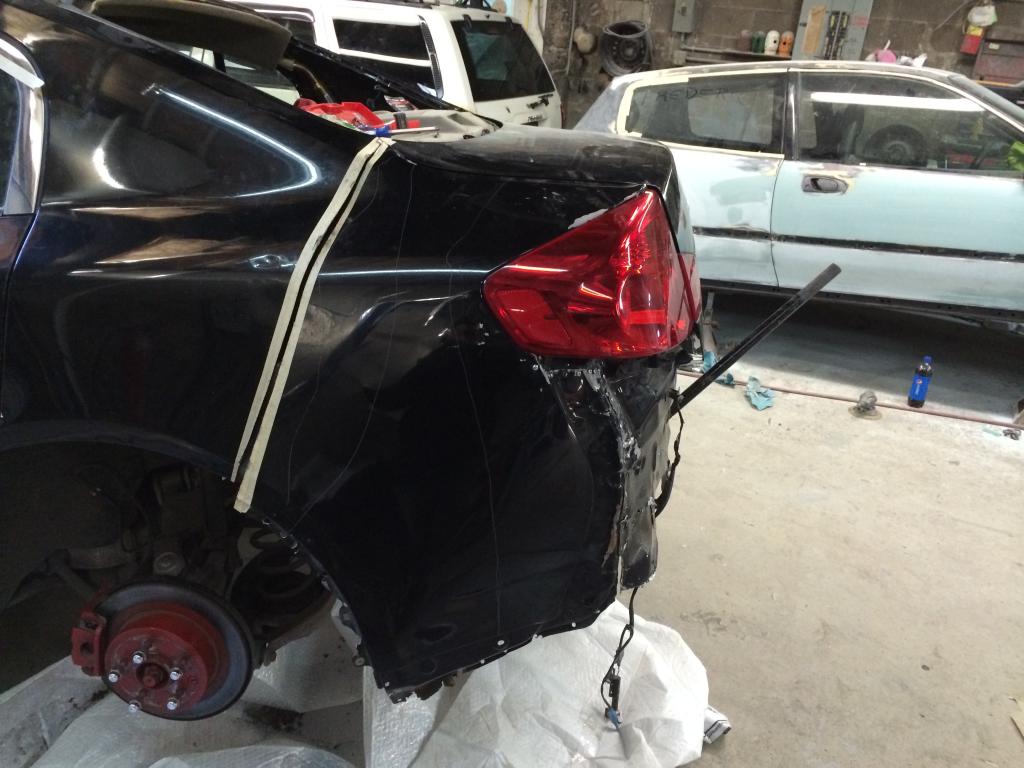
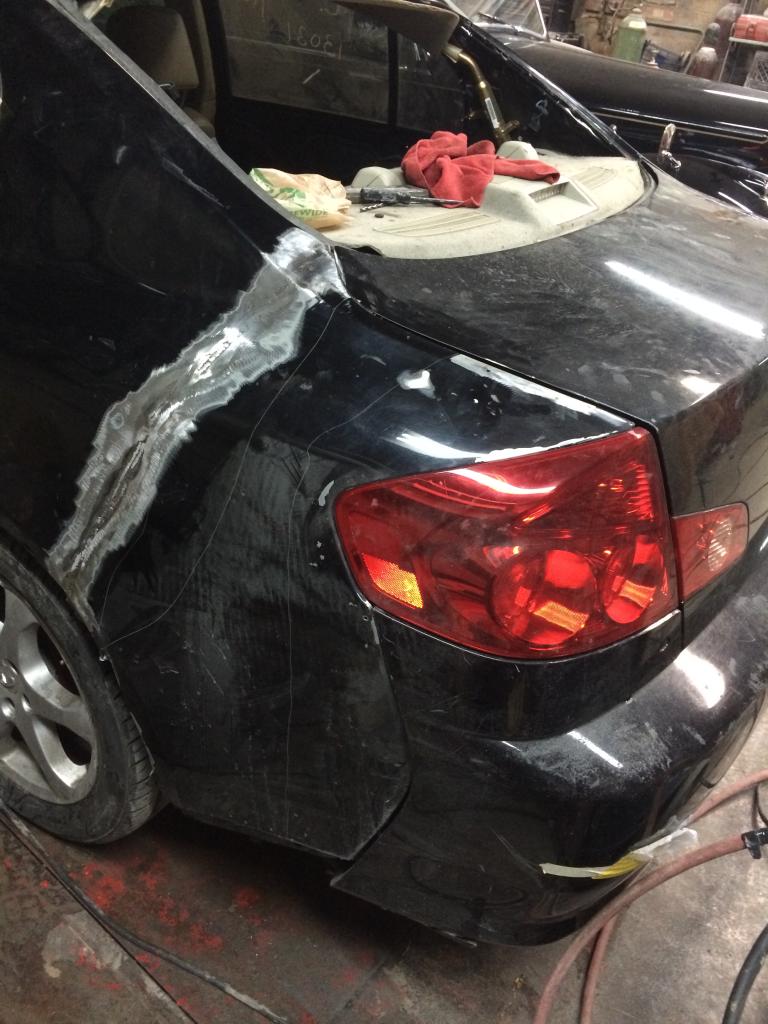
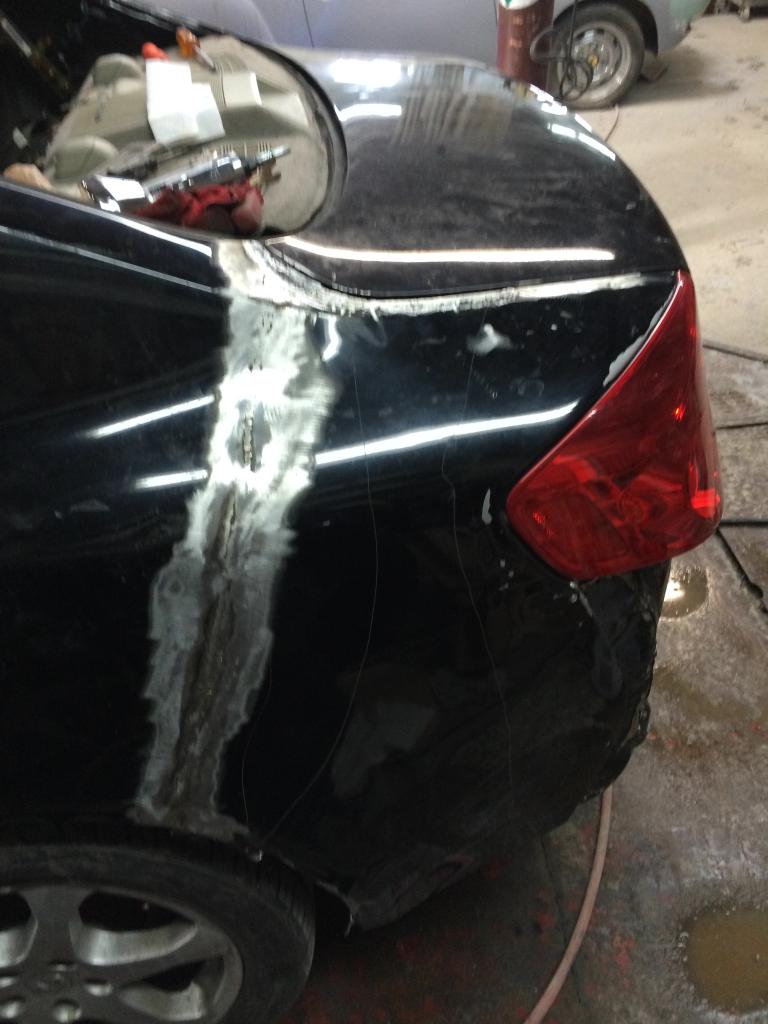
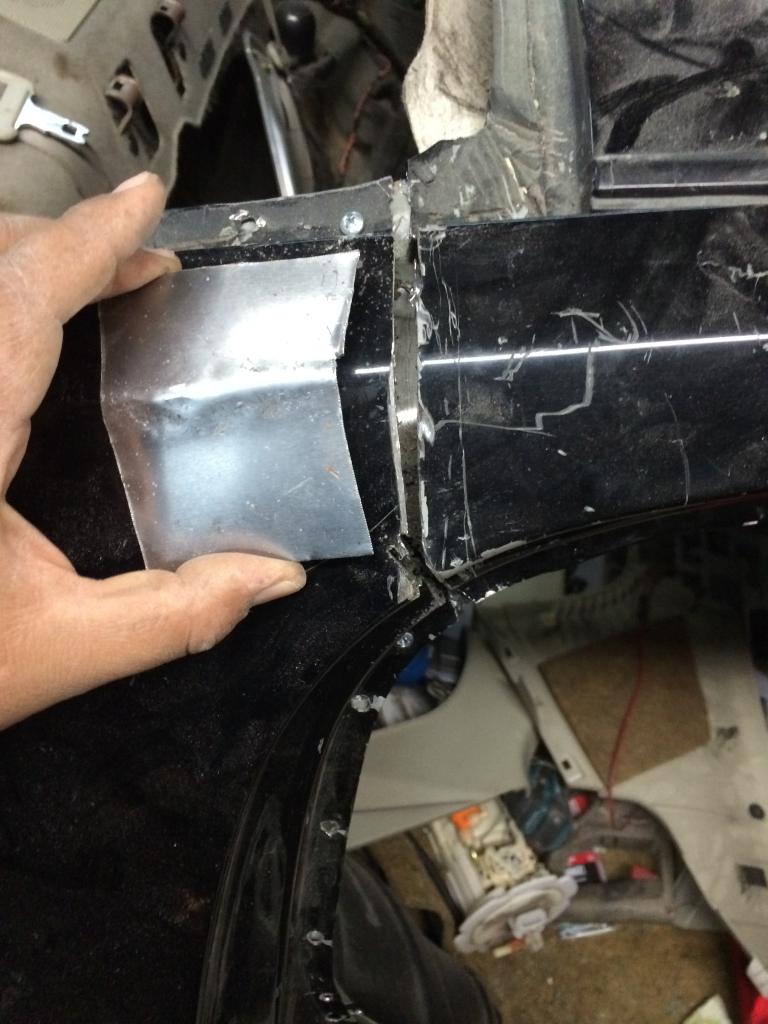
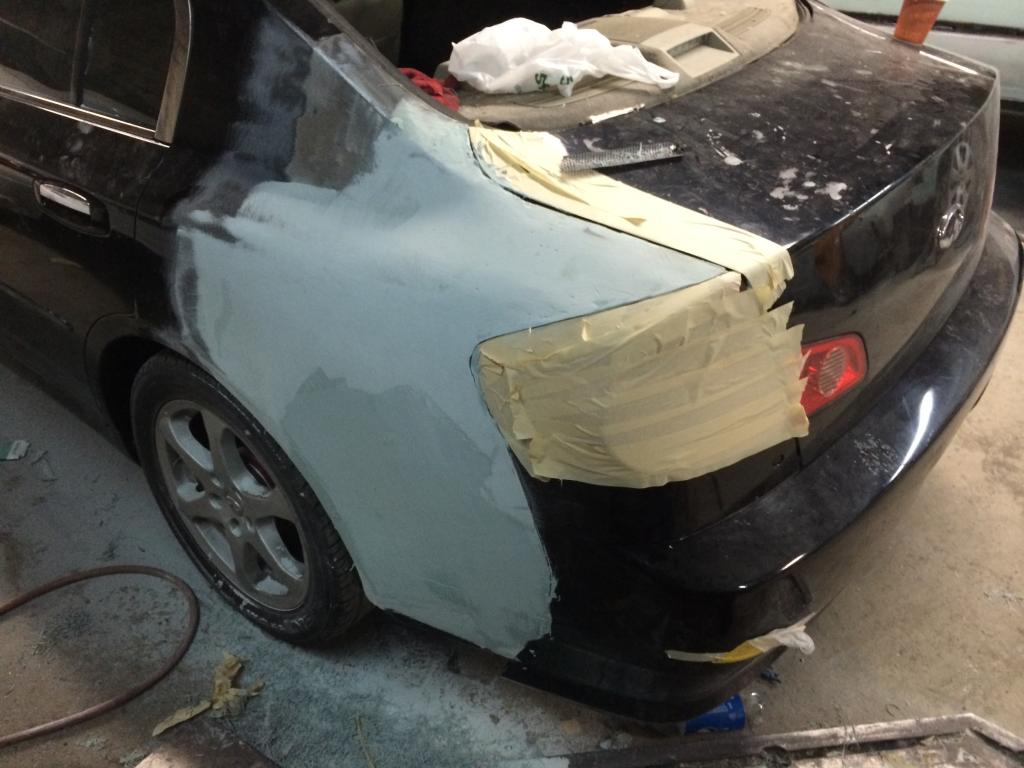
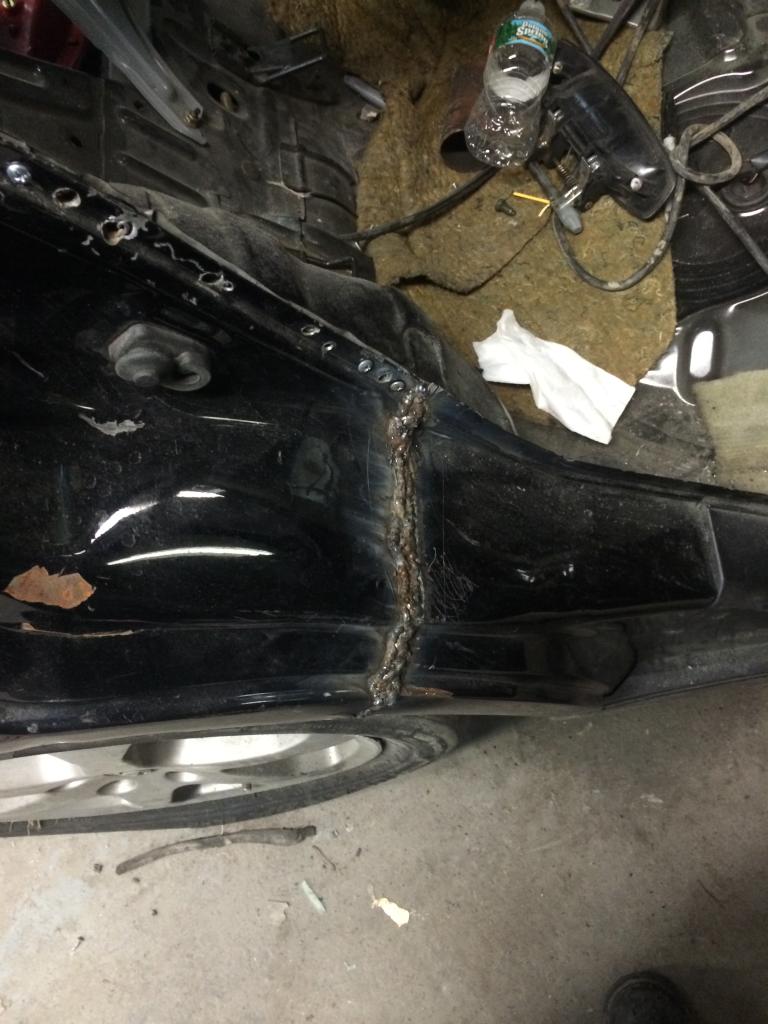
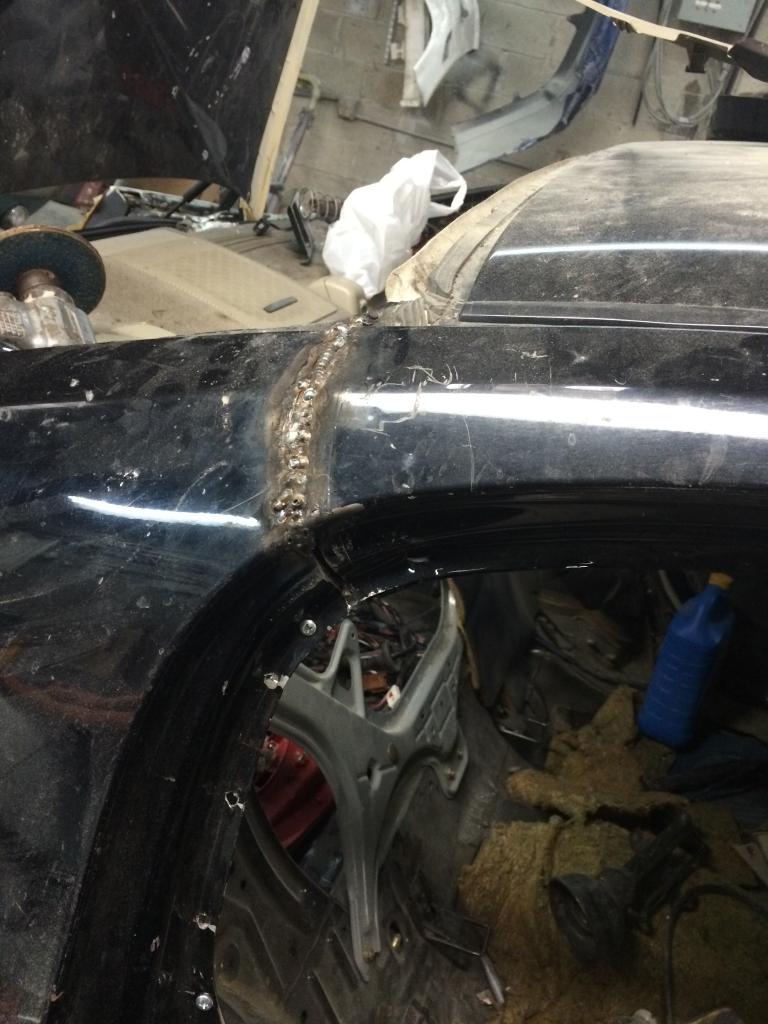
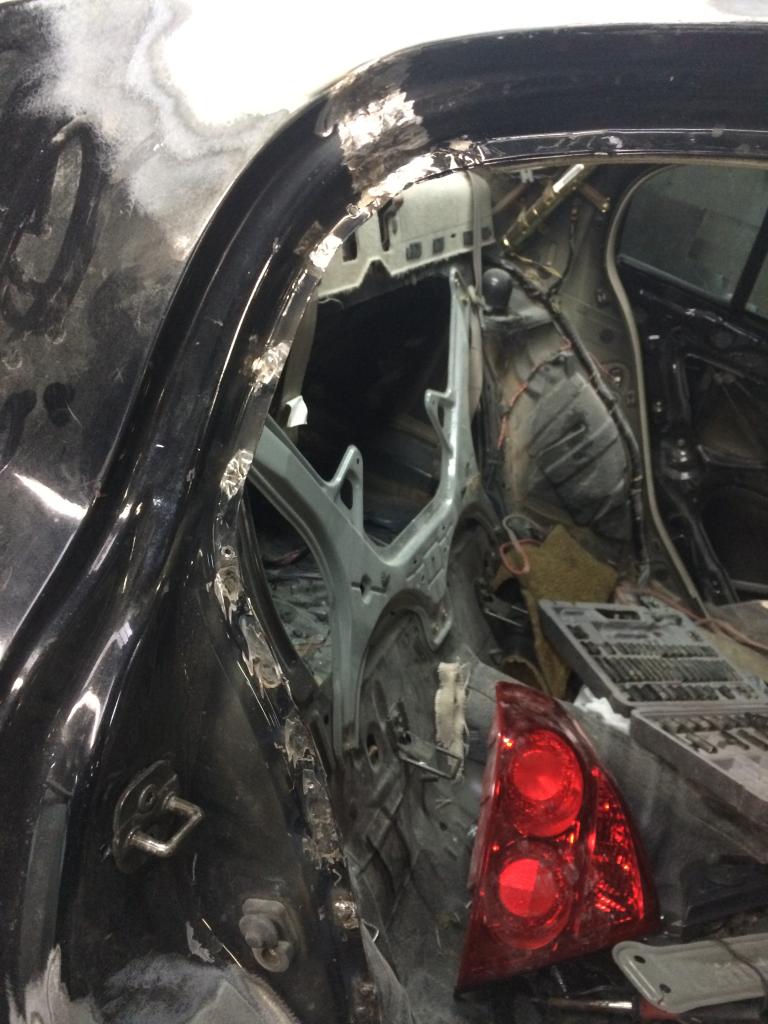
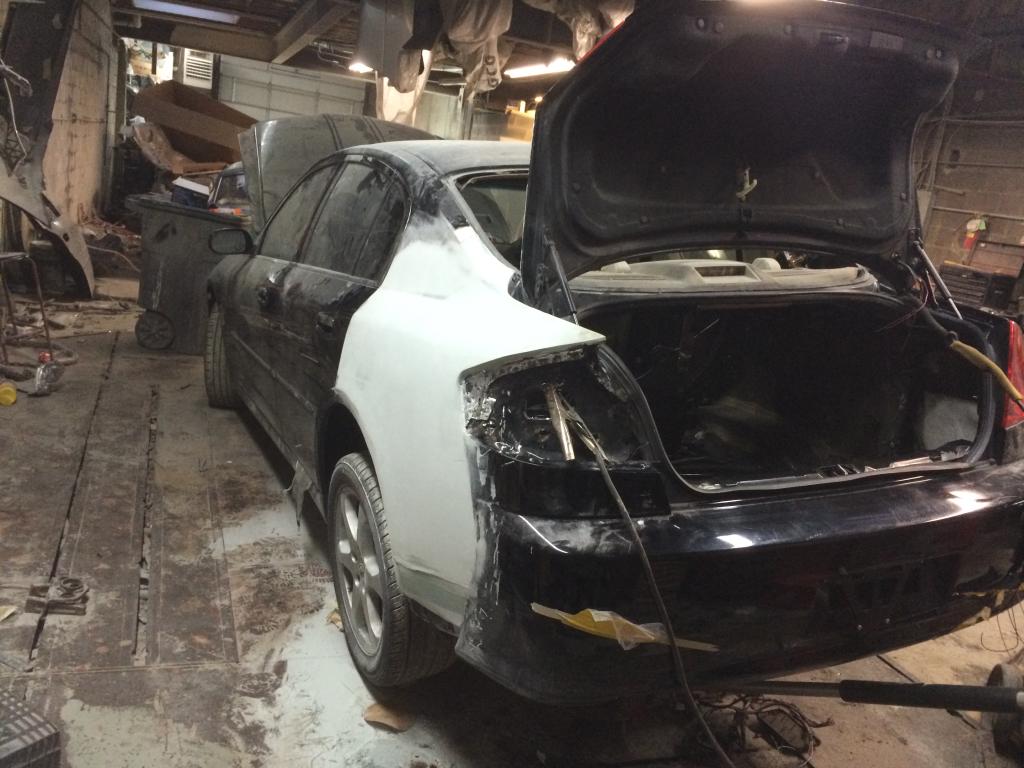
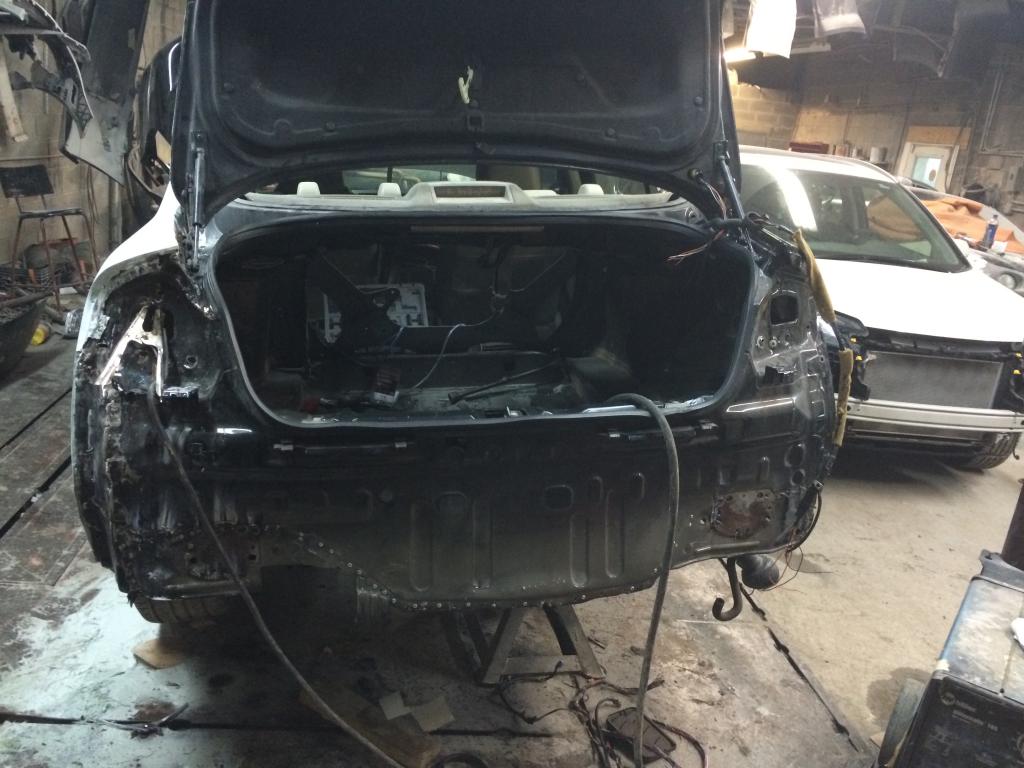
ok so big problem i was having with the left quarter panel is that it was too low... no matter how much i pulled and bent the chassis it was still too low and i had to go ti plan D... 
that involved cutting and manually moving the quater panel up... here the picts
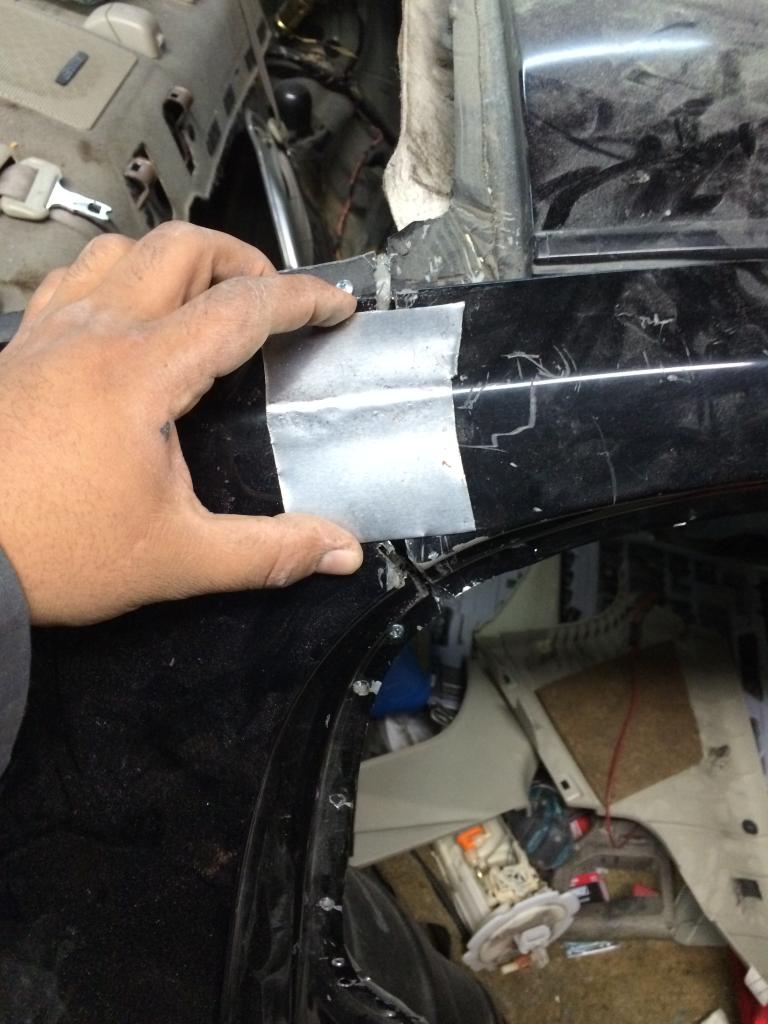
first the line where we are gonna cut.
then we cut..

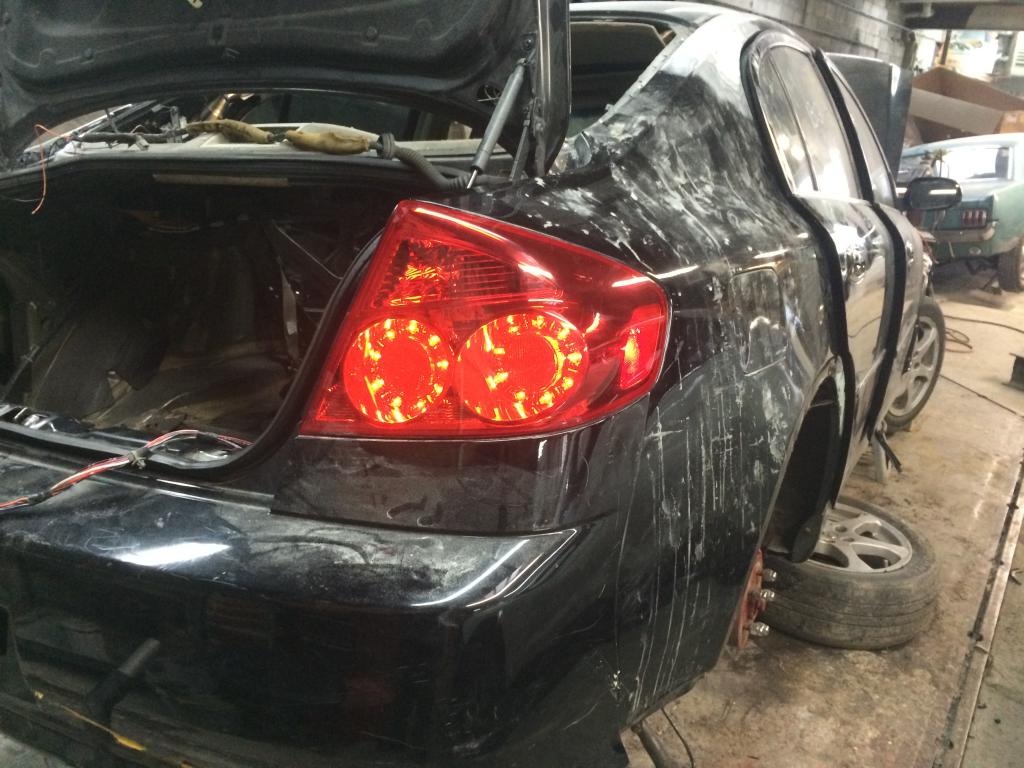
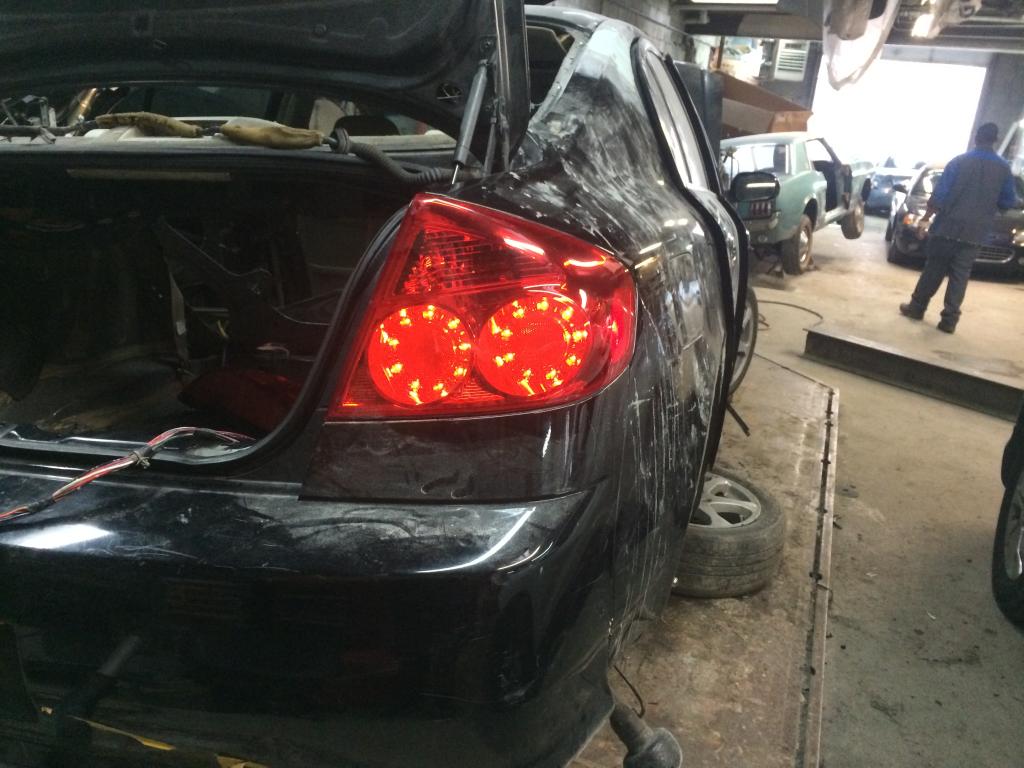
nice view with the bumper on..
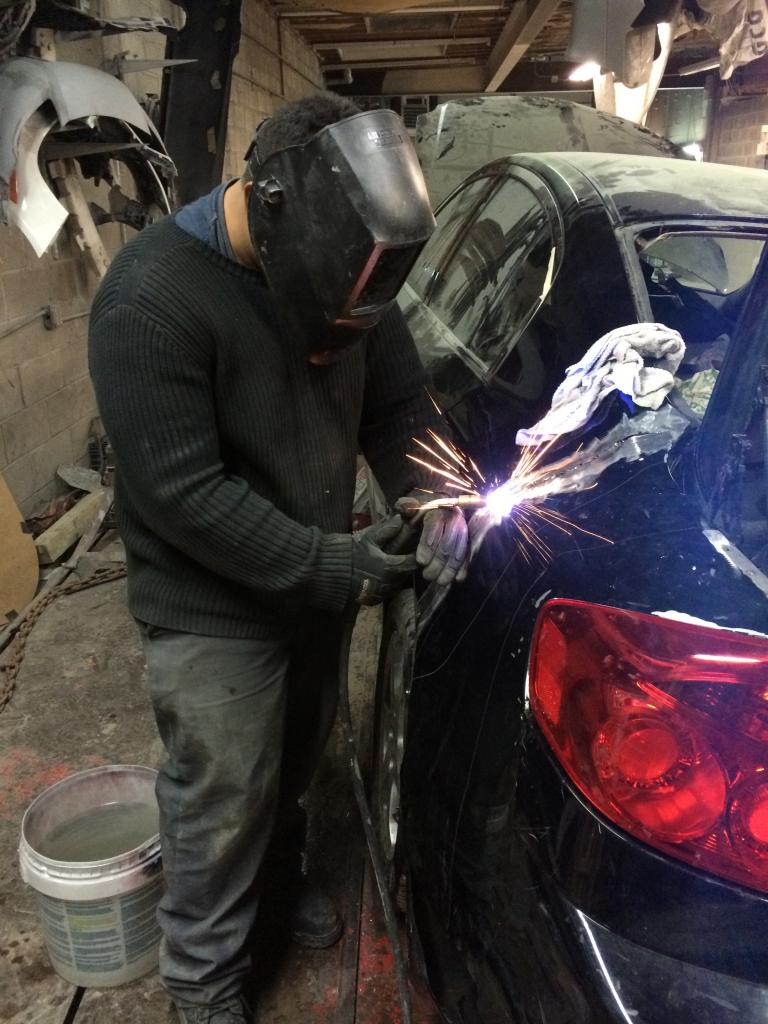
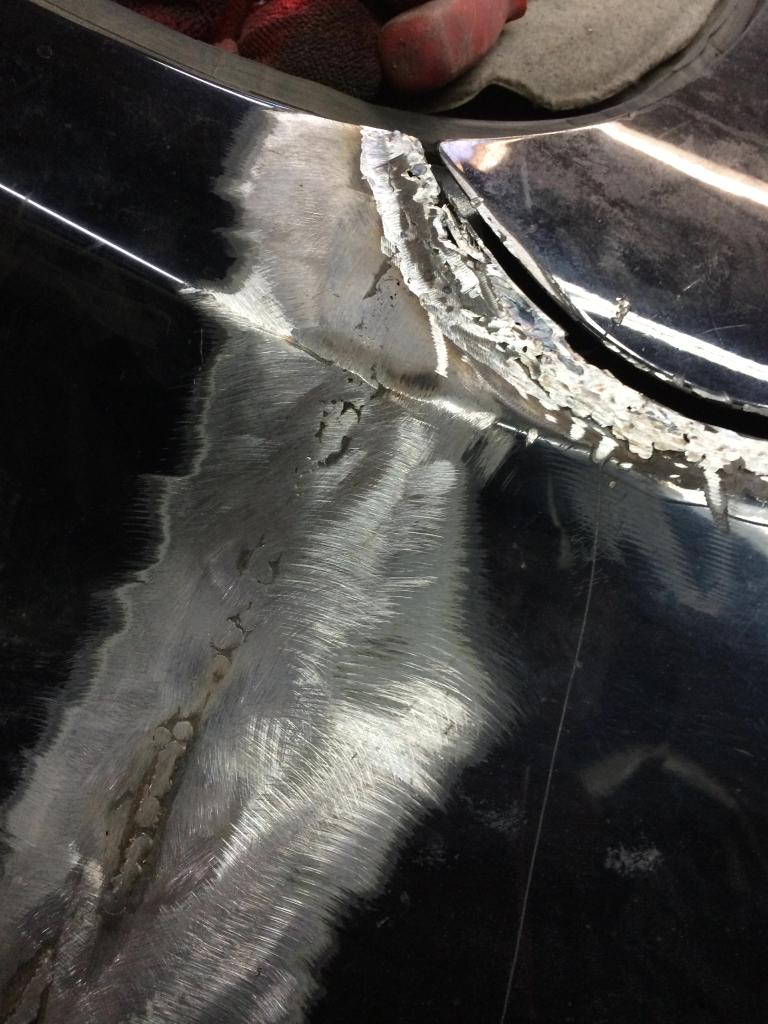
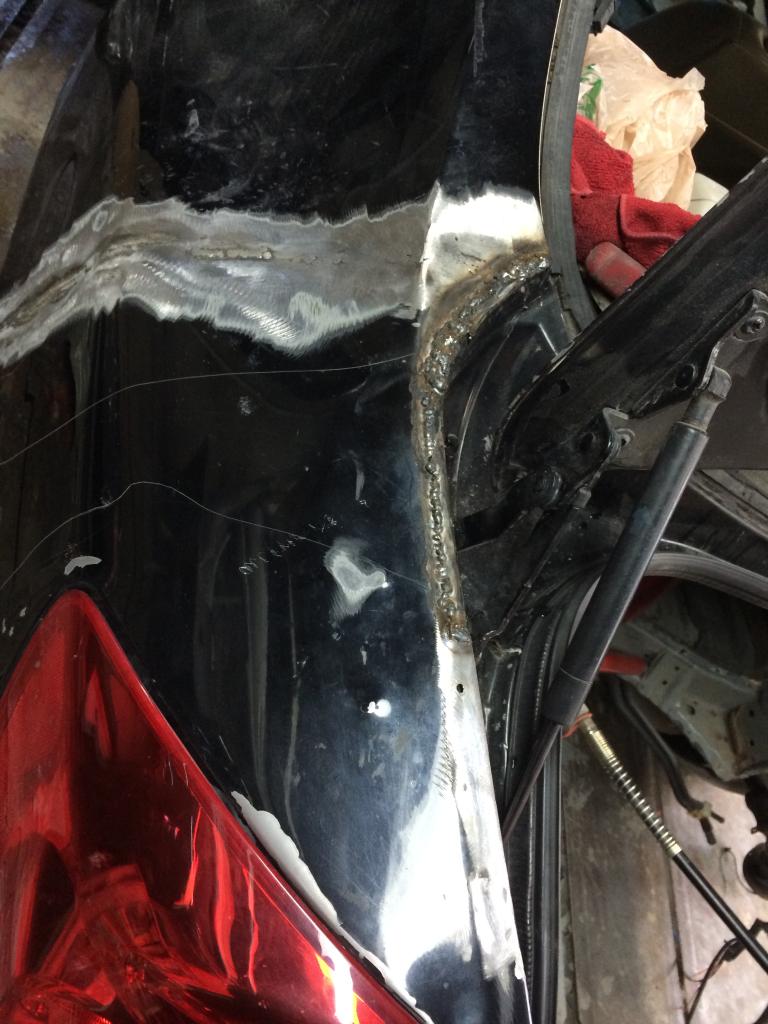
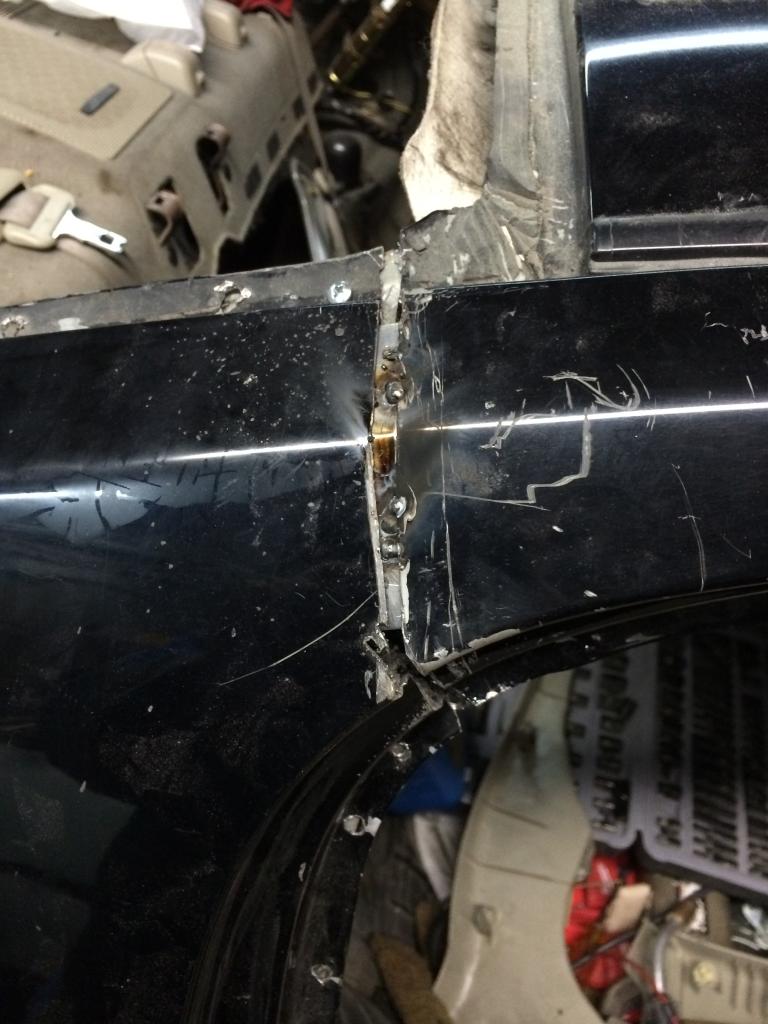
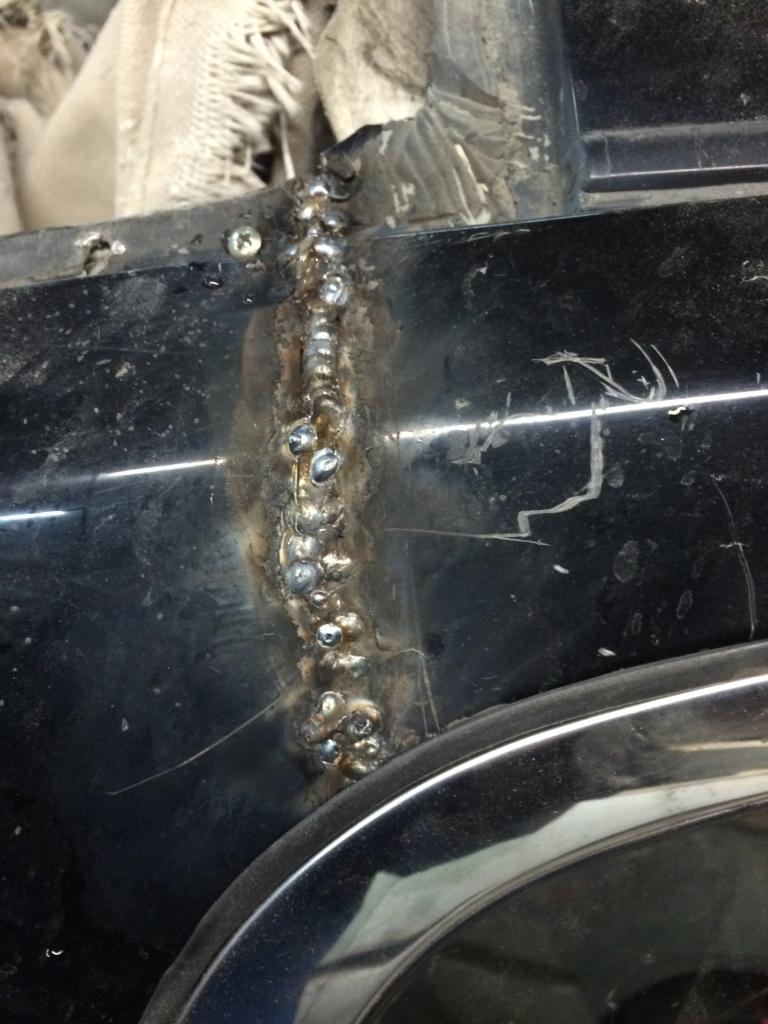
after that we tig weld the whole thing again...
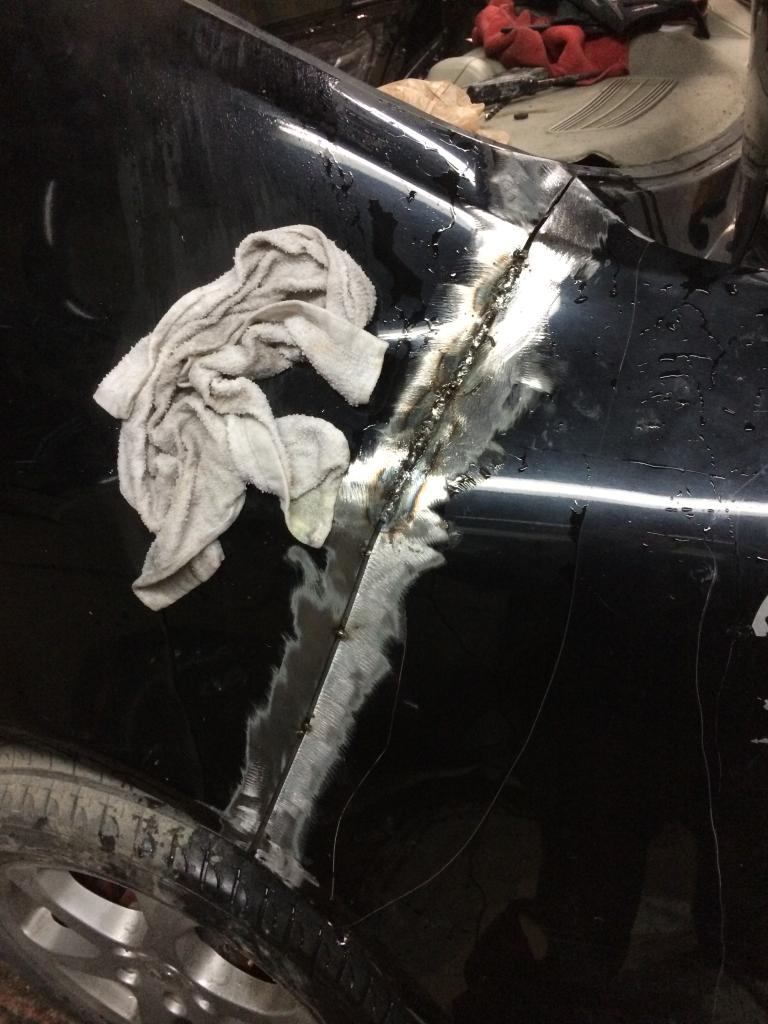
sorry about my welding but the machine was acting up... we need a new regulator for the argon.. anyways
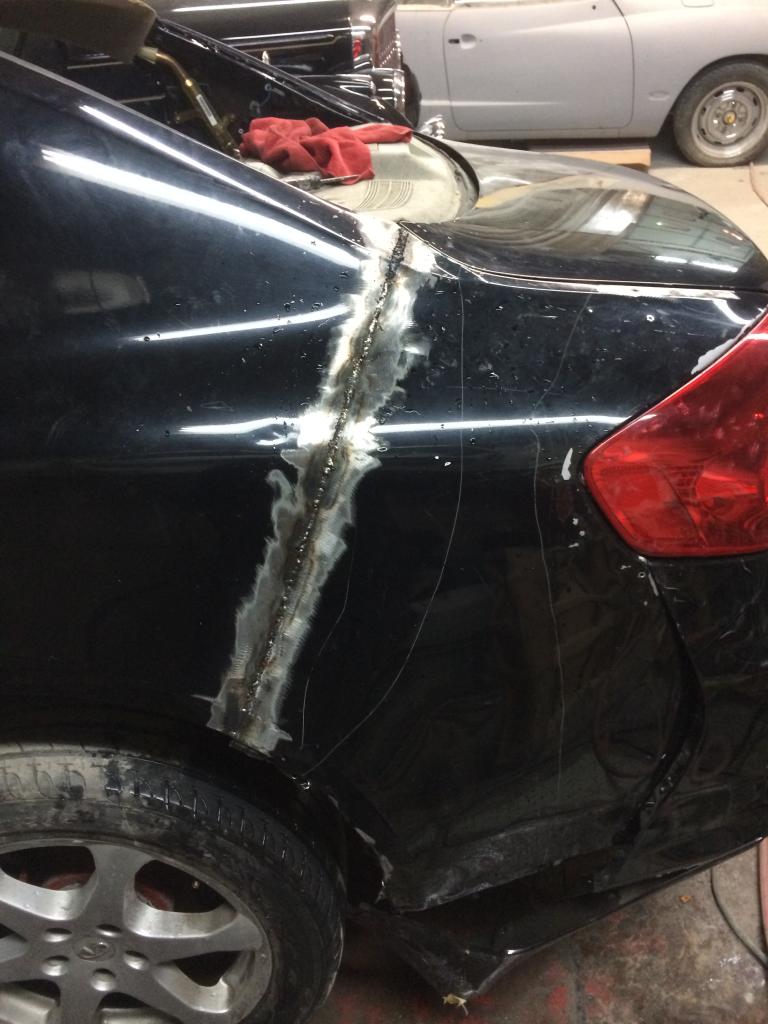
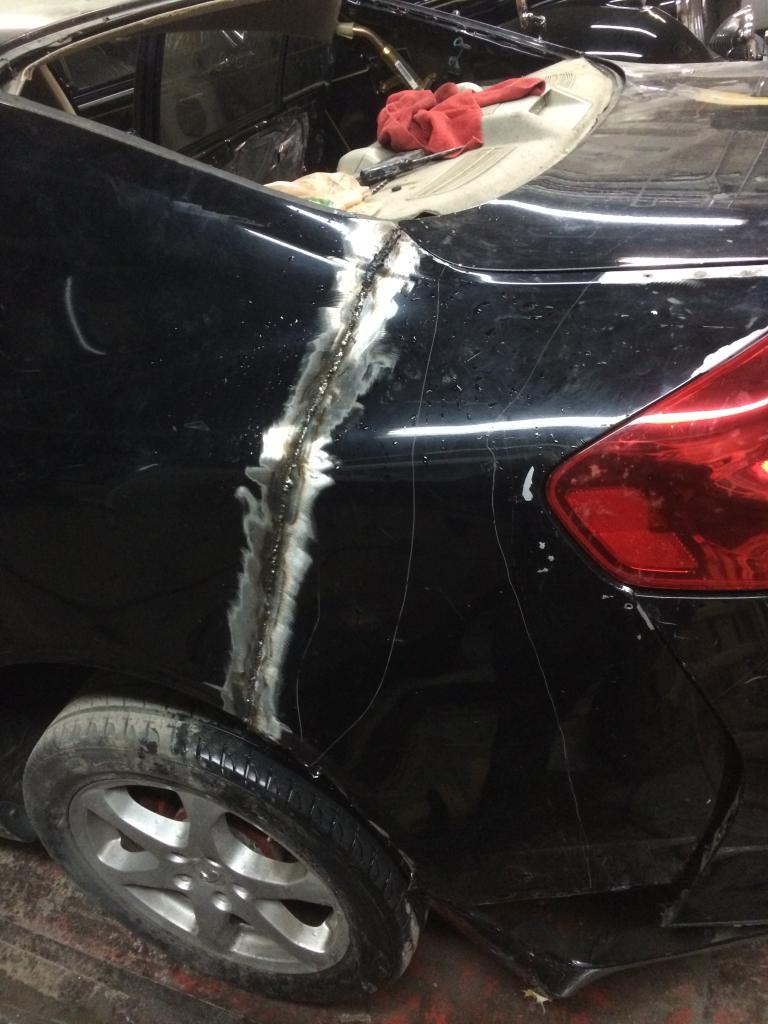
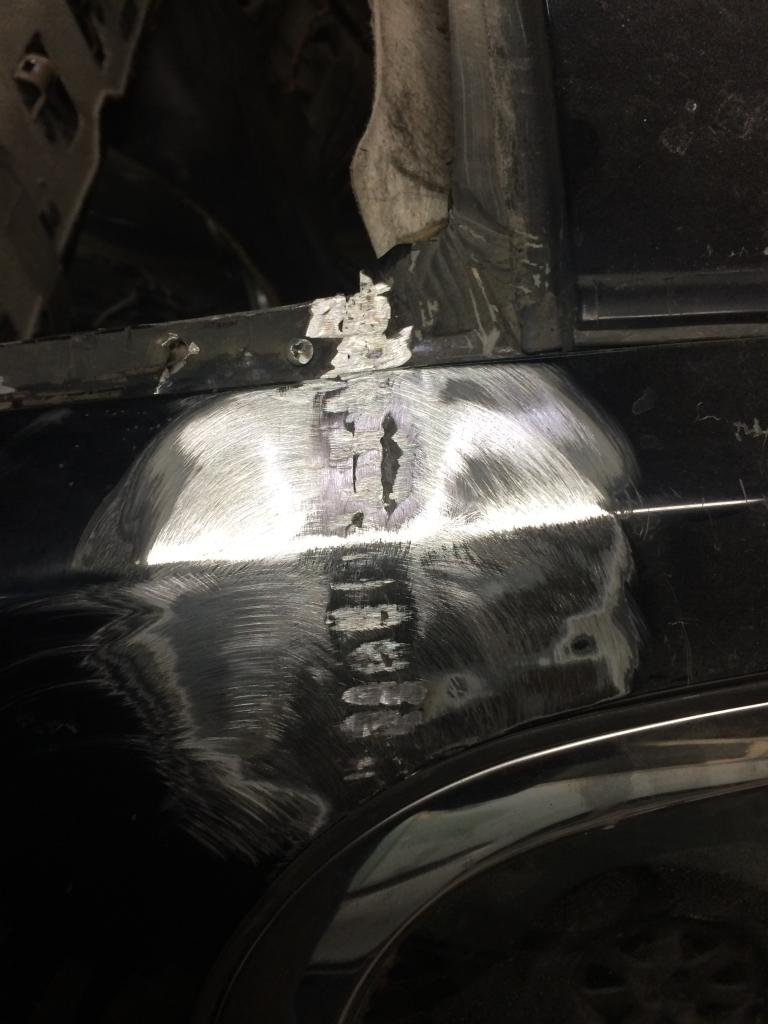
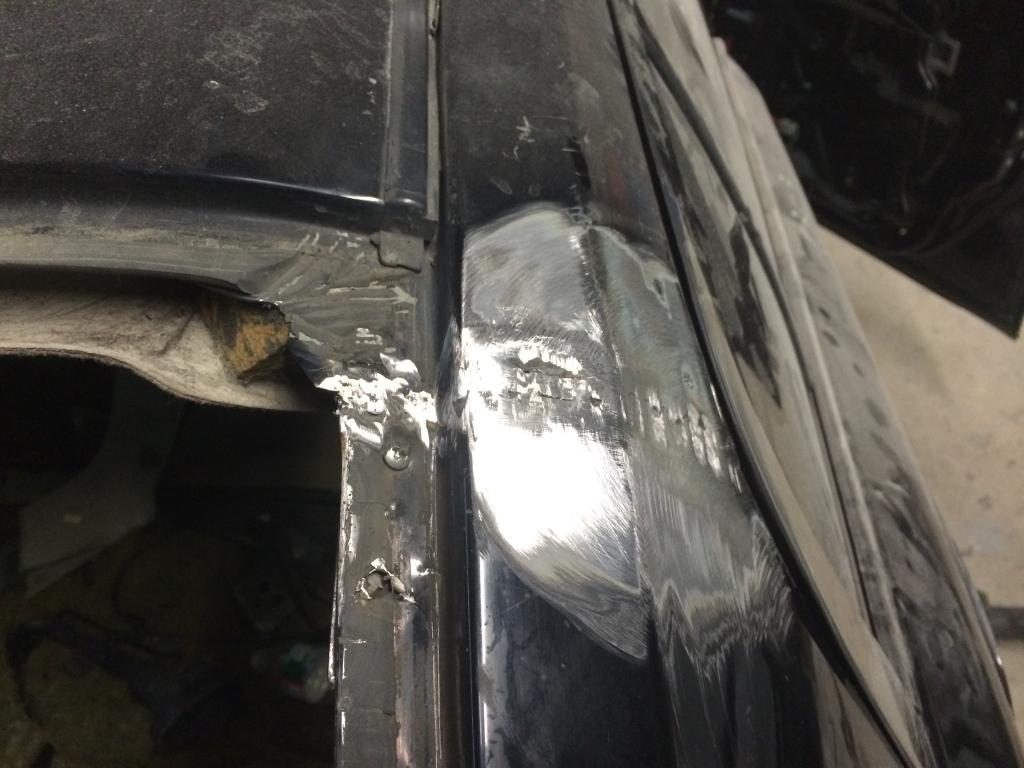
and after some grinding...
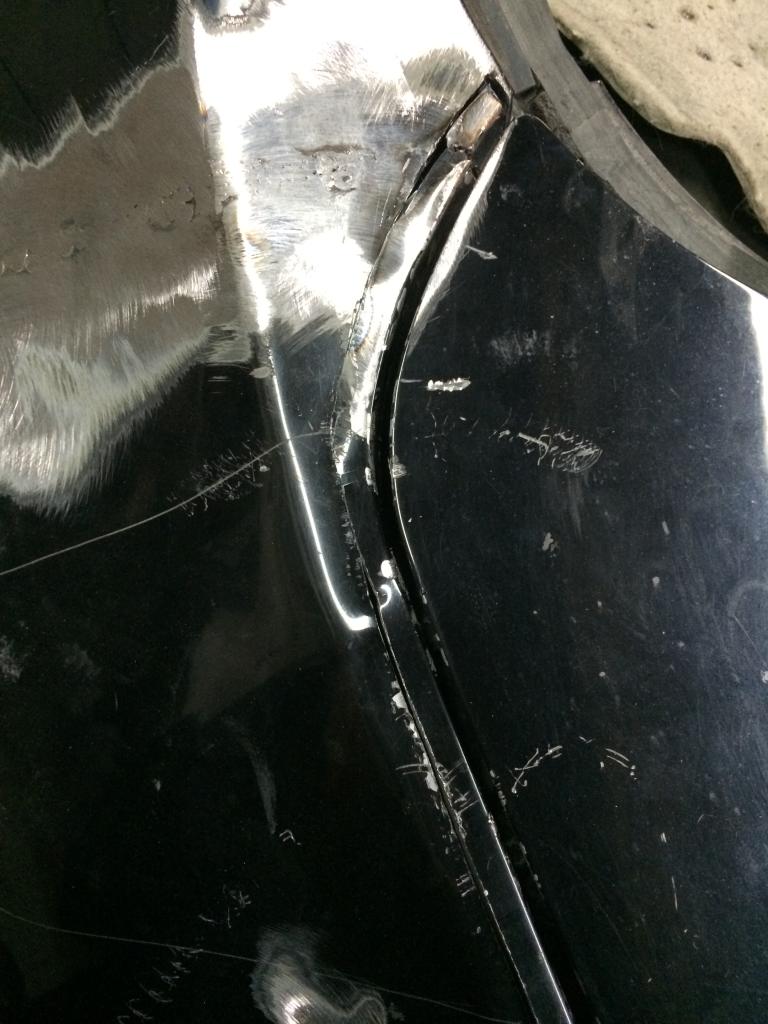
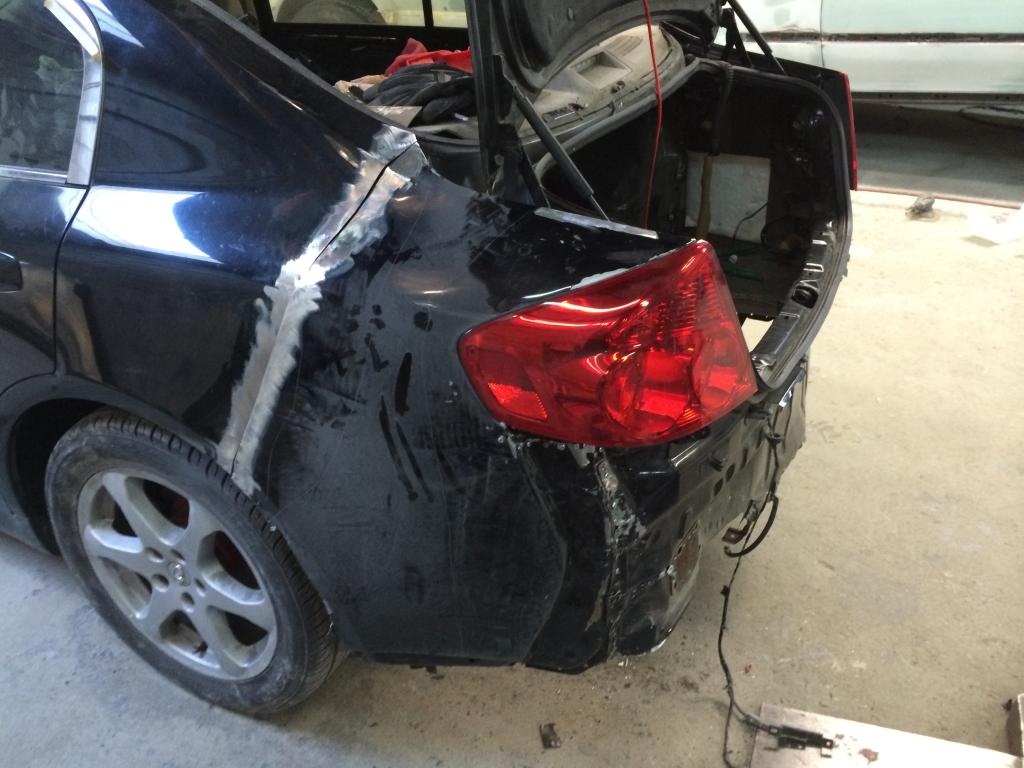
like nothing happend but we had to address the clearance between the qarter panel and the trunk lid which was to closed... so more cutting and welding.
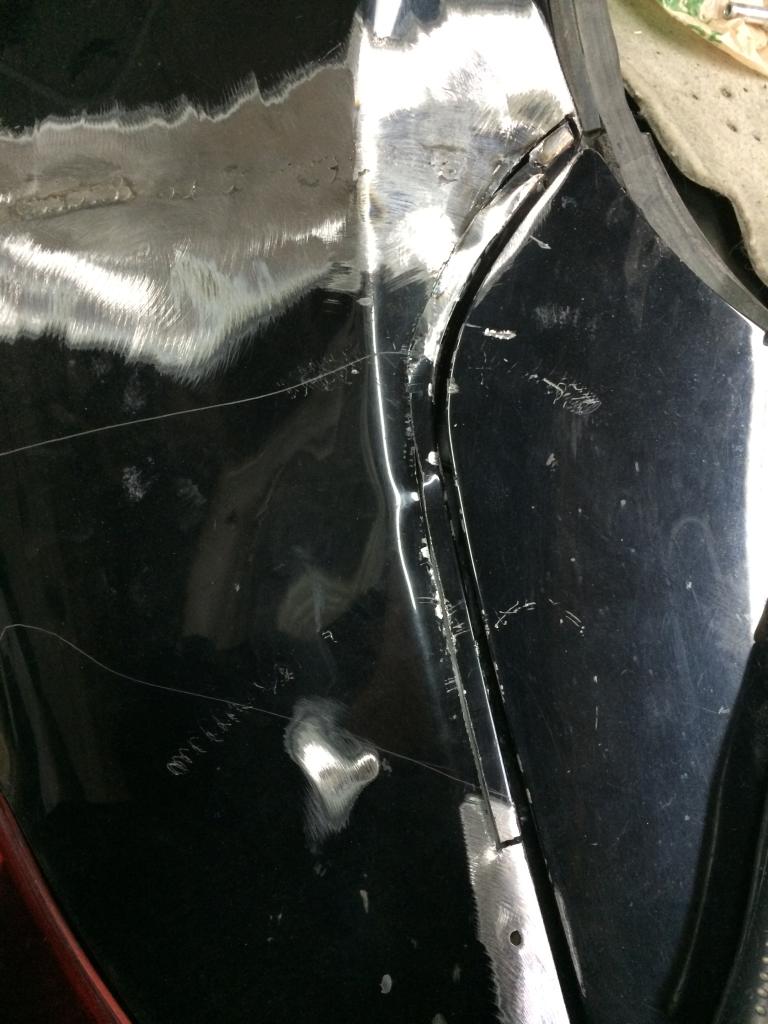
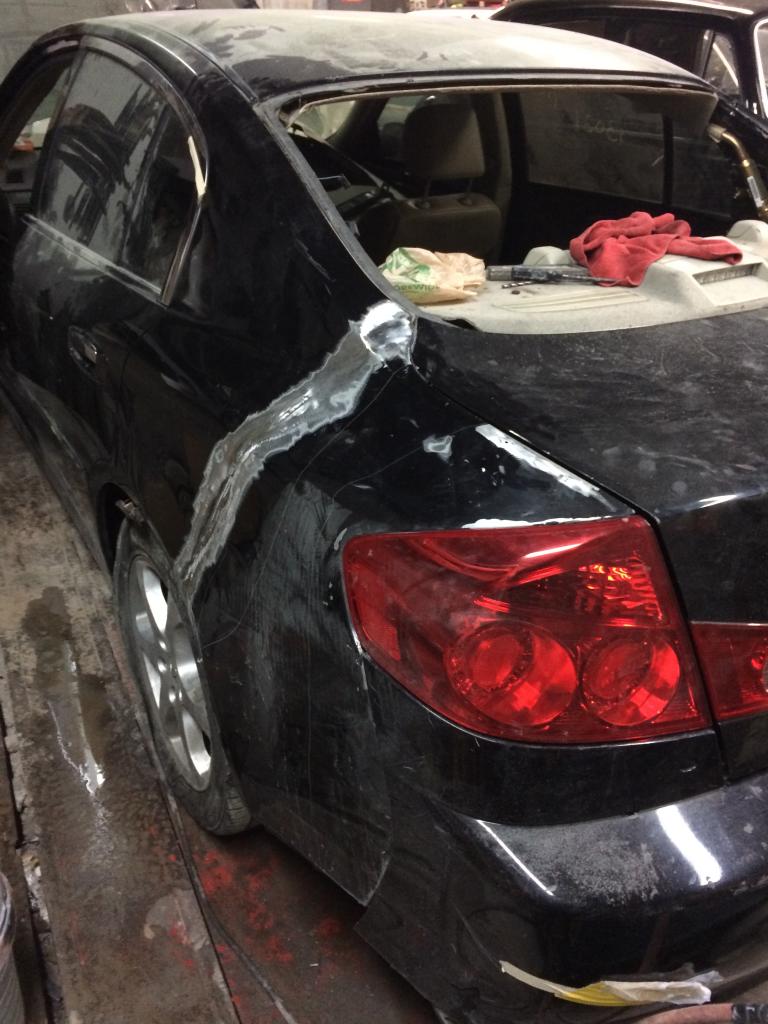
after that the taillight position has been moved so next was to square that off again and the rest is gonna be smoothed out with bondo... yes bondo.
and nice and straight
im gonna continue on monday... i was thinking on working on it tomorrow (sunday) but screw that i need some rest and my shoulder ionjury is killing me... hope you guys like the progress and as usual ill keek you posted..
that involved cutting and manually moving the quater panel up... here the picts
first the line where we are gonna cut.


then we cut..


nice view with the bumper on..


after that we tig weld the whole thing again...


sorry about my welding but the machine was acting up... we need a new regulator for the argon.. anyways


and after some grinding...


like nothing happend but we had to address the clearance between the qarter panel and the trunk lid which was to closed... so more cutting and welding.


after that the taillight position has been moved so next was to square that off again and the rest is gonna be smoothed out with bondo... yes bondo.


and nice and straight

im gonna continue on monday... i was thinking on working on it tomorrow (sunday) but screw that i need some rest and my shoulder ionjury is killing me... hope you guys like the progress and as usual ill keek you posted..

Thread Starter
|
Registered User
Joined: Oct 2014
Posts: 102
Likes: 9
thanks a lot!! i was starting to think that there was no love for my thread lol!!
anyways here's another update..
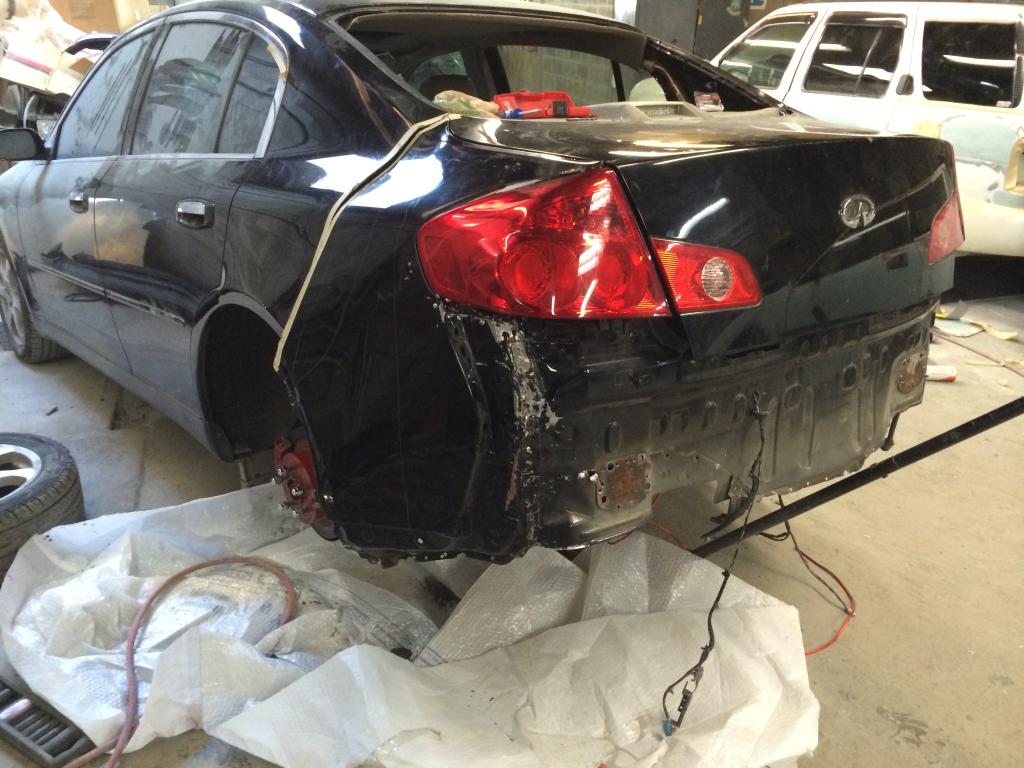
so heres me welding a patch in the left quarter panel because when i pulled it it kinda tore at the welfing spots..
and yeah, no trunk floor yet.
so now to weld everything in place, i made metal "brackets" to tig weld behind the right quarter panel and to fill the gaps with weld.
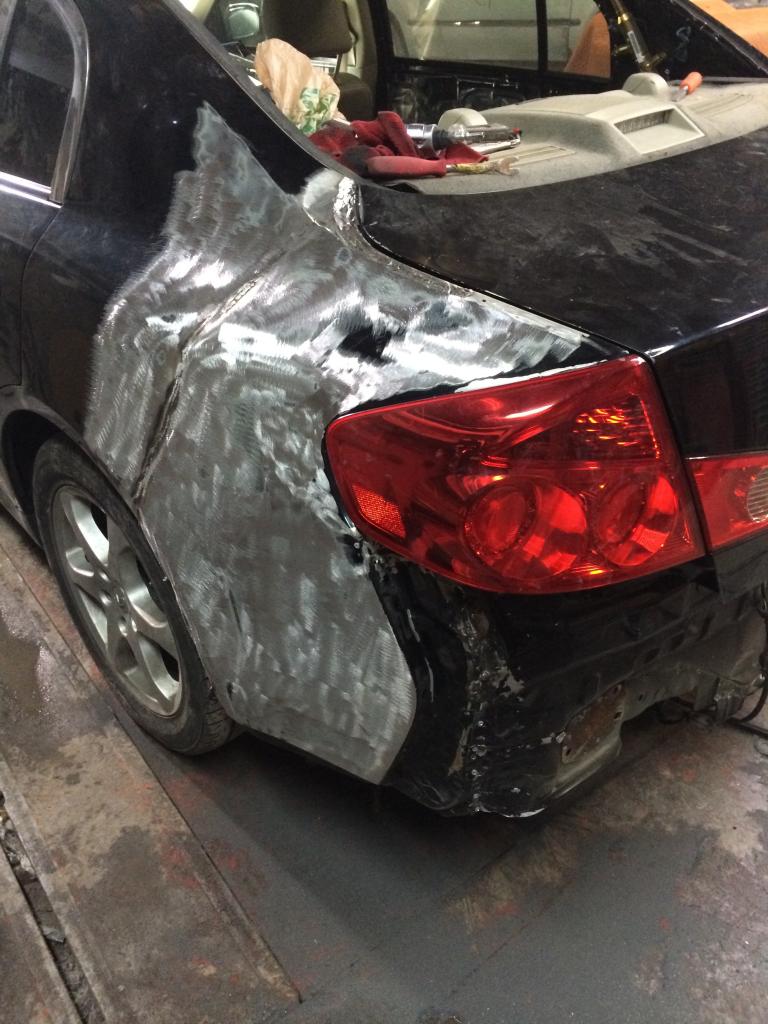
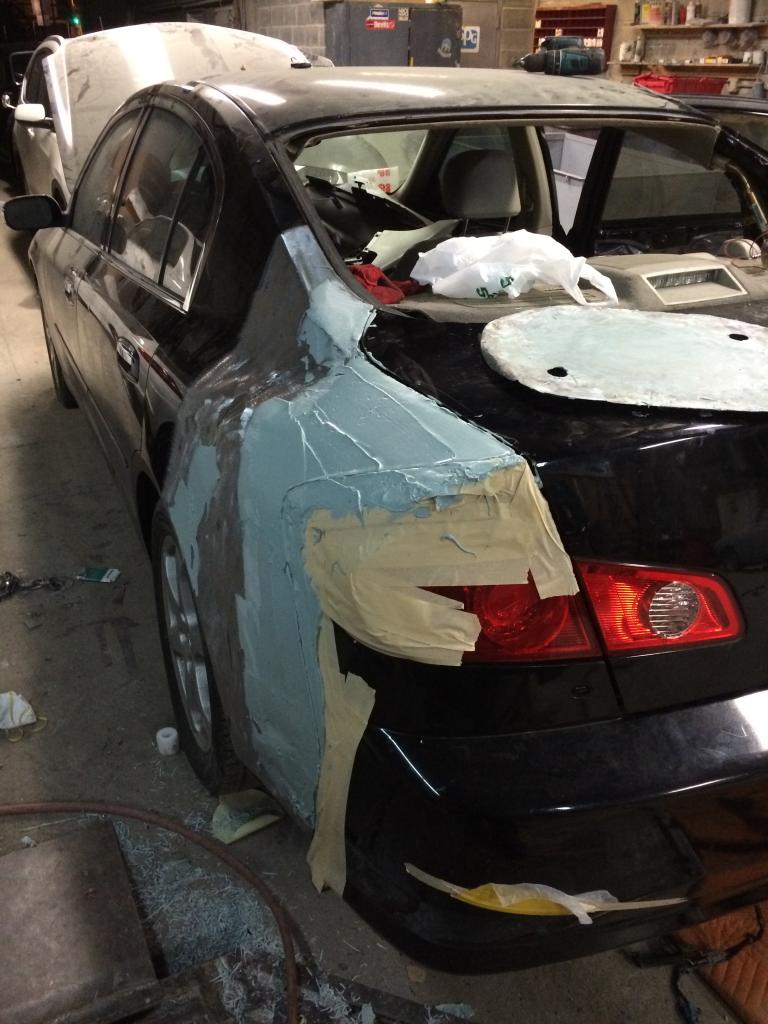
and we started bondo on the left side
the machine is still acting up byt what the hell.. it sticks and its gonna be grind off anyways.

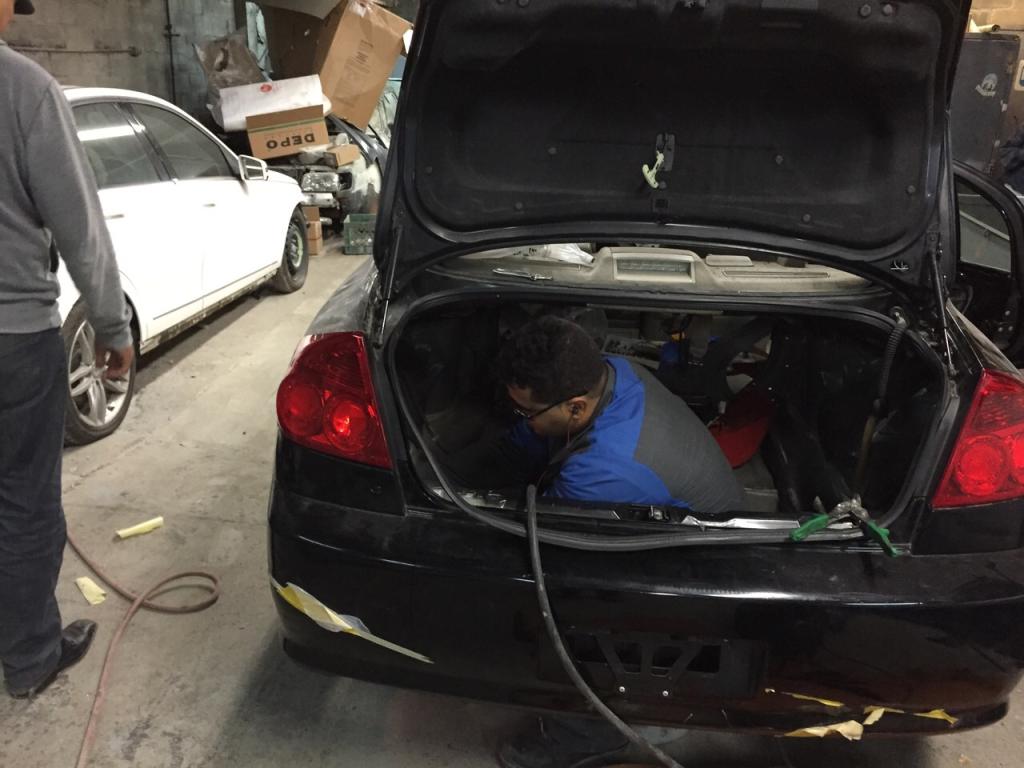
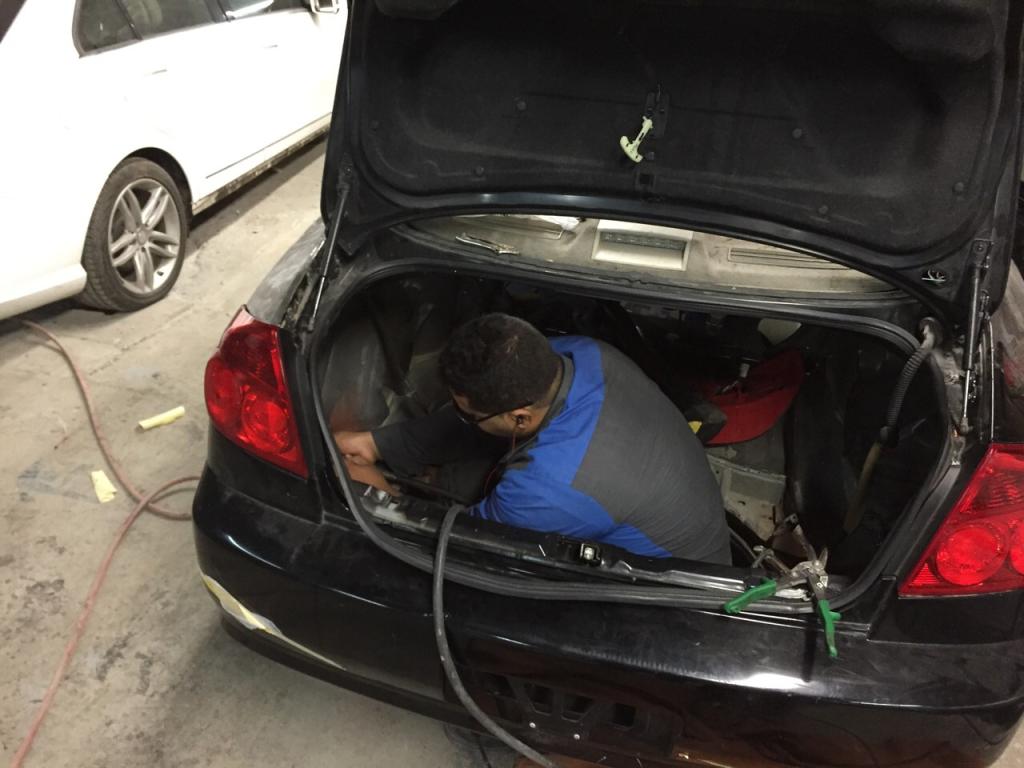
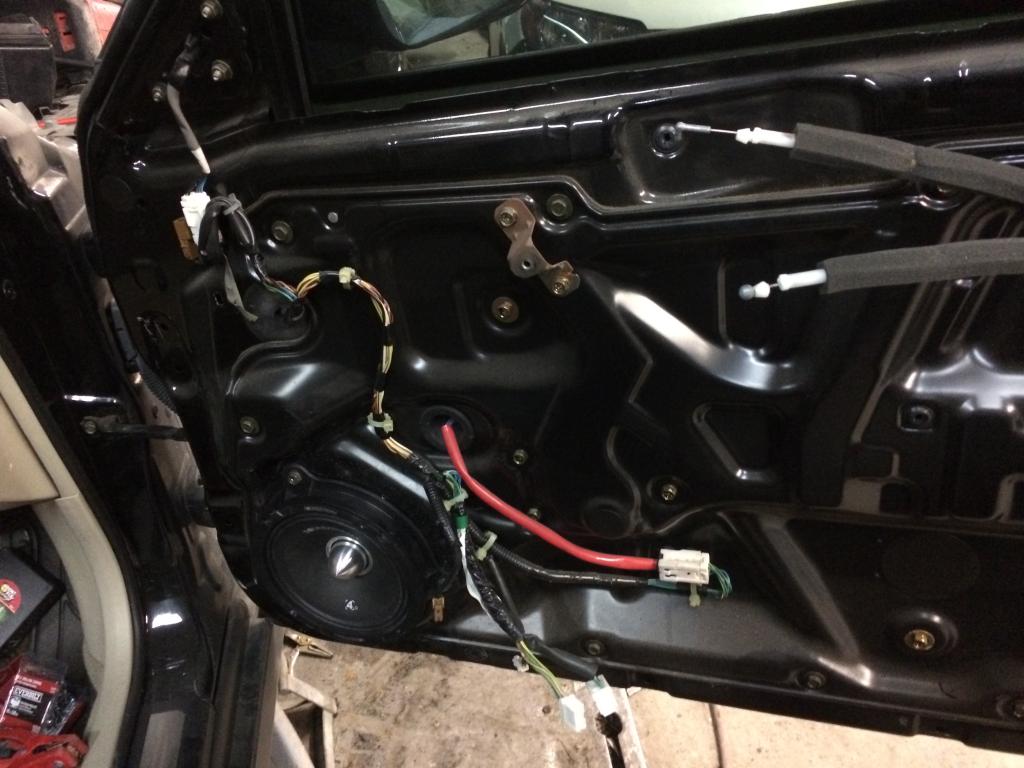
and started with audio
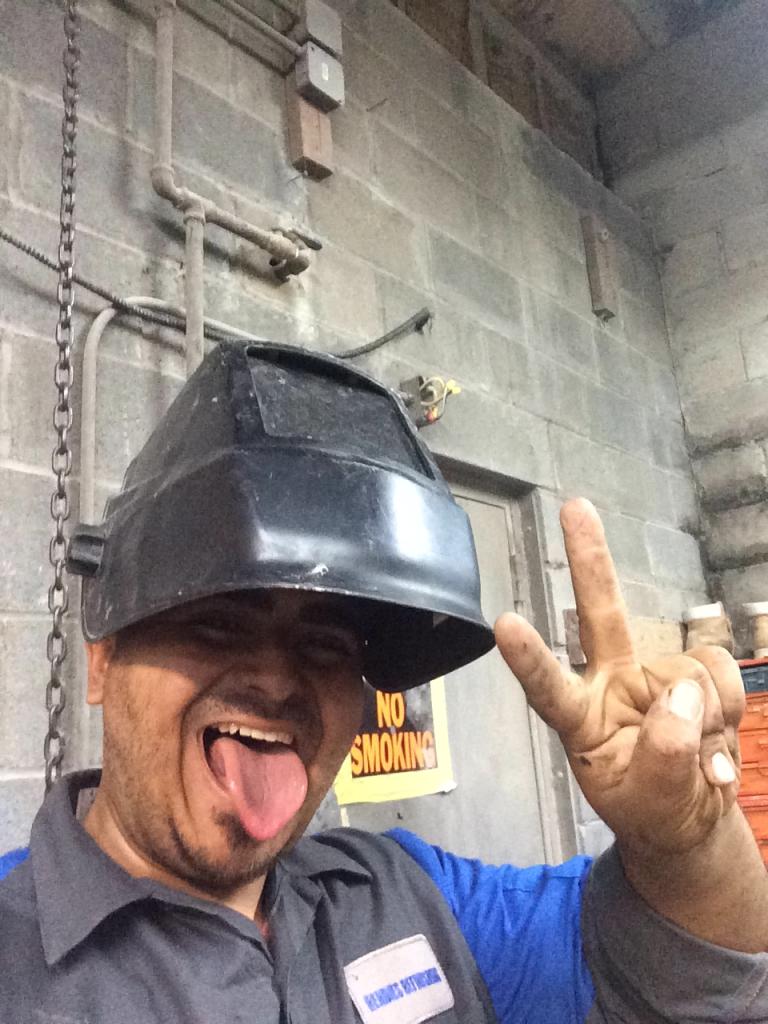
and this is me being retarded... one whole day of welding can have that effect on ppl...
anyways here's another update..
so heres me welding a patch in the left quarter panel because when i pulled it it kinda tore at the welfing spots..

and yeah, no trunk floor yet.


so now to weld everything in place, i made metal "brackets" to tig weld behind the right quarter panel and to fill the gaps with weld.


and we started bondo on the left side


the machine is still acting up byt what the hell.. it sticks and its gonna be grind off anyways.


and started with audio

and this is me being retarded... one whole day of welding can have that effect on ppl...

Thread Starter
|
Registered User
Joined: Oct 2014
Posts: 102
Likes: 9
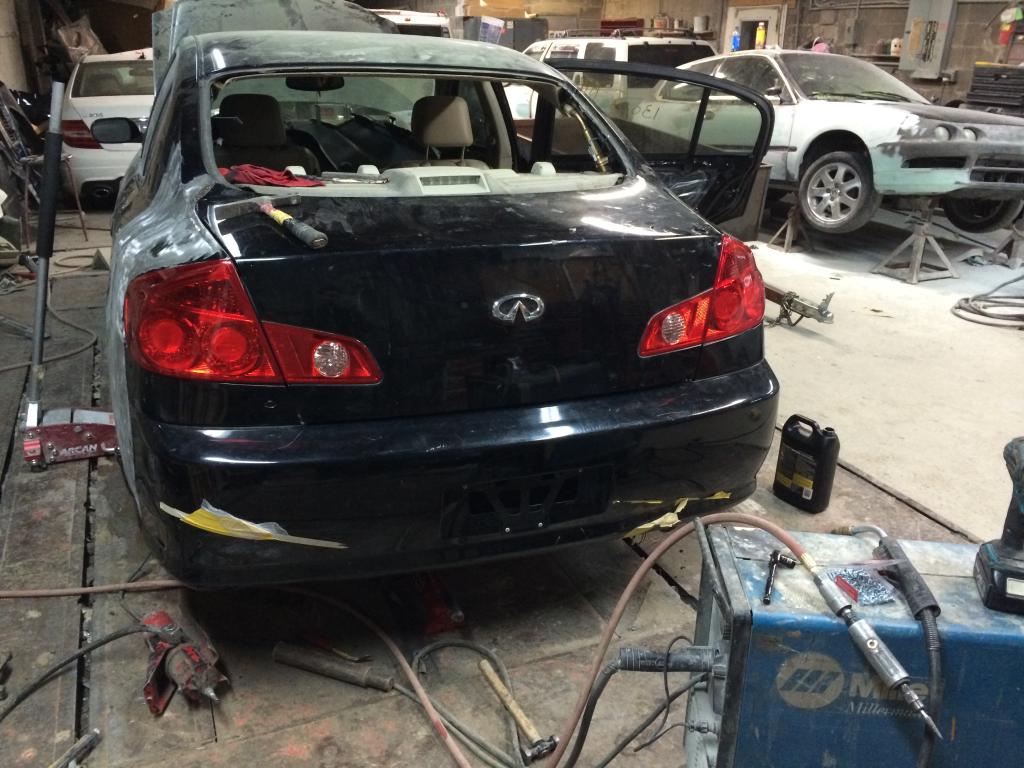
more picts of today, was waiting until thet finished uploading...
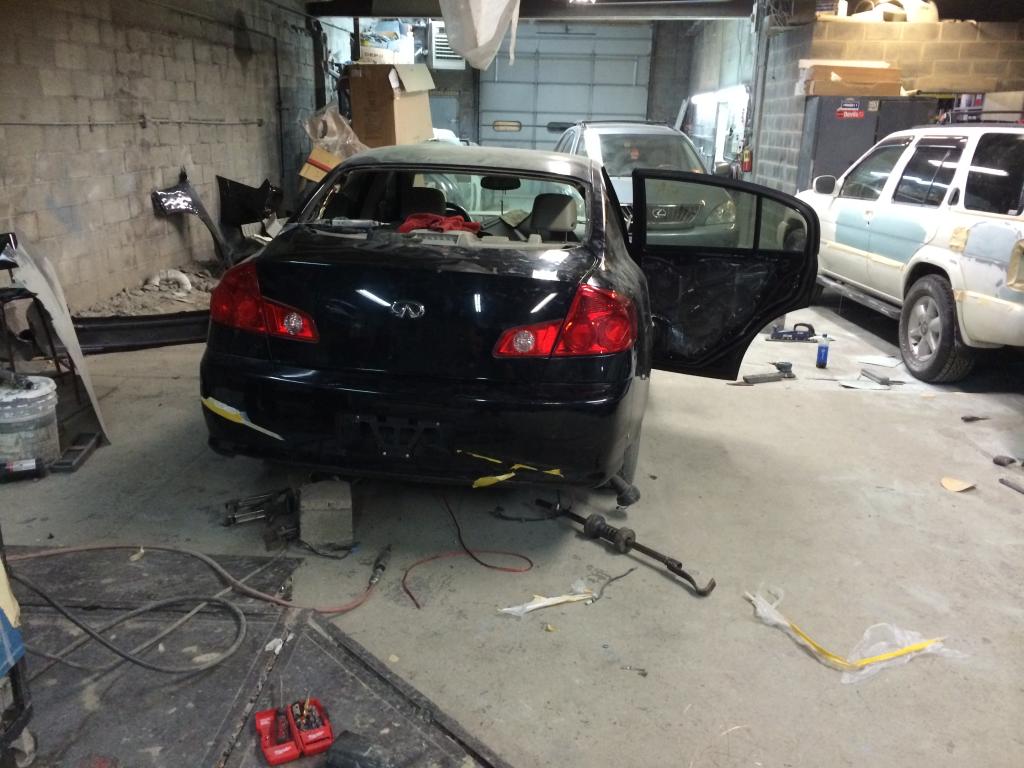
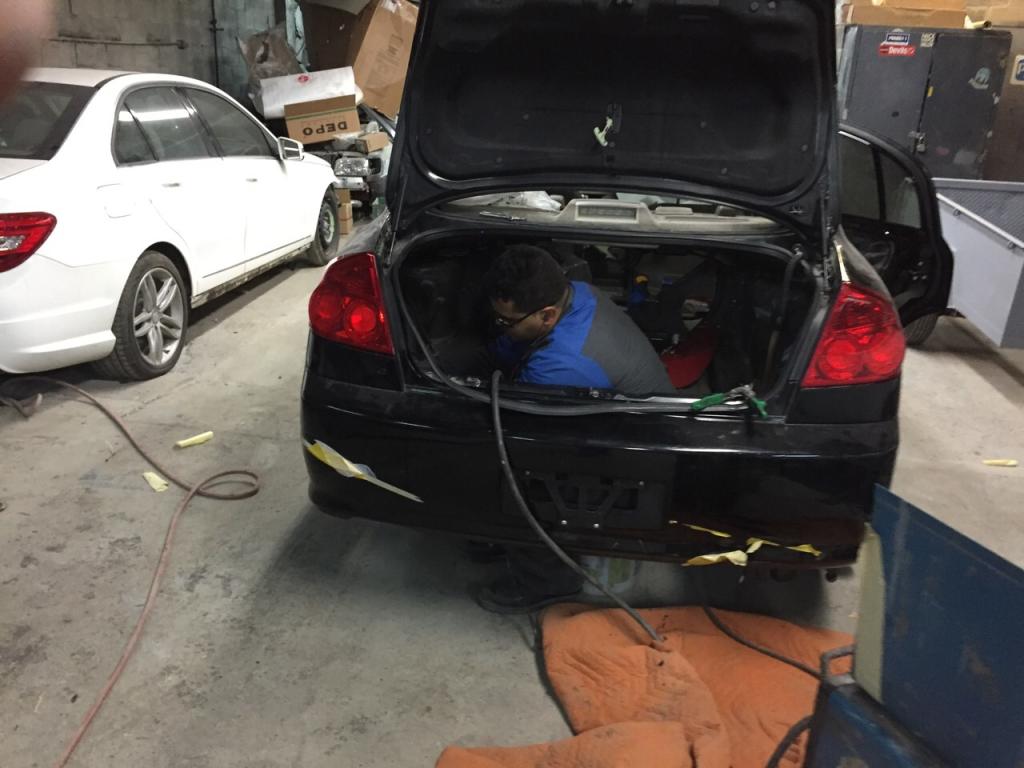
did the trunk floor...
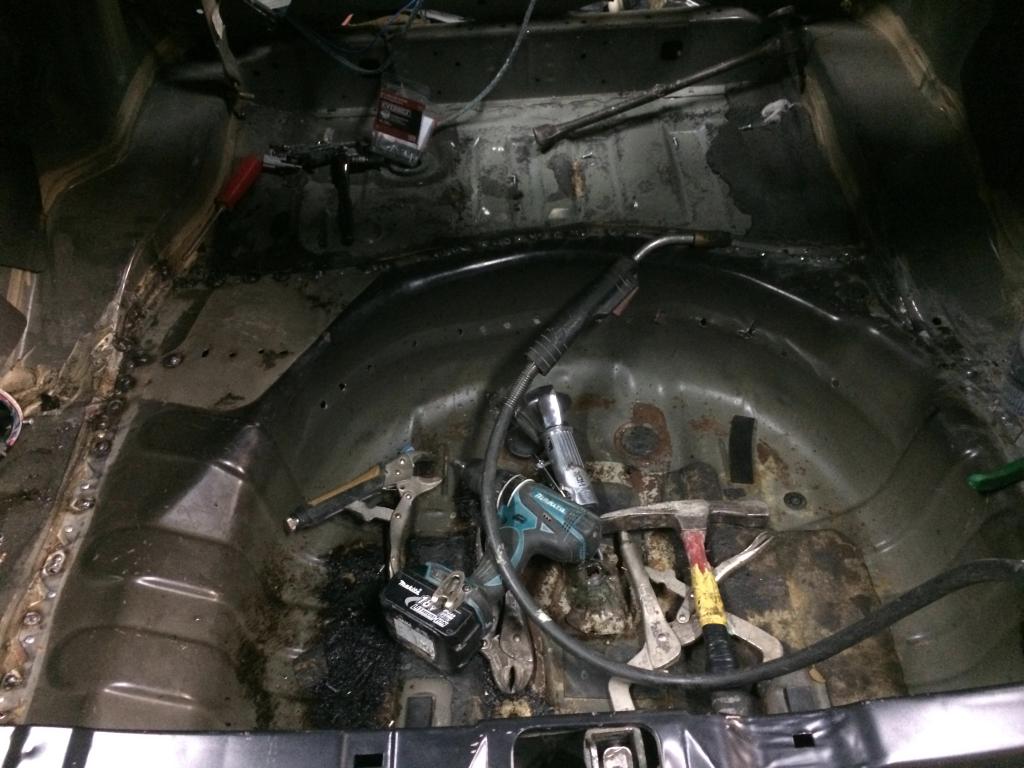

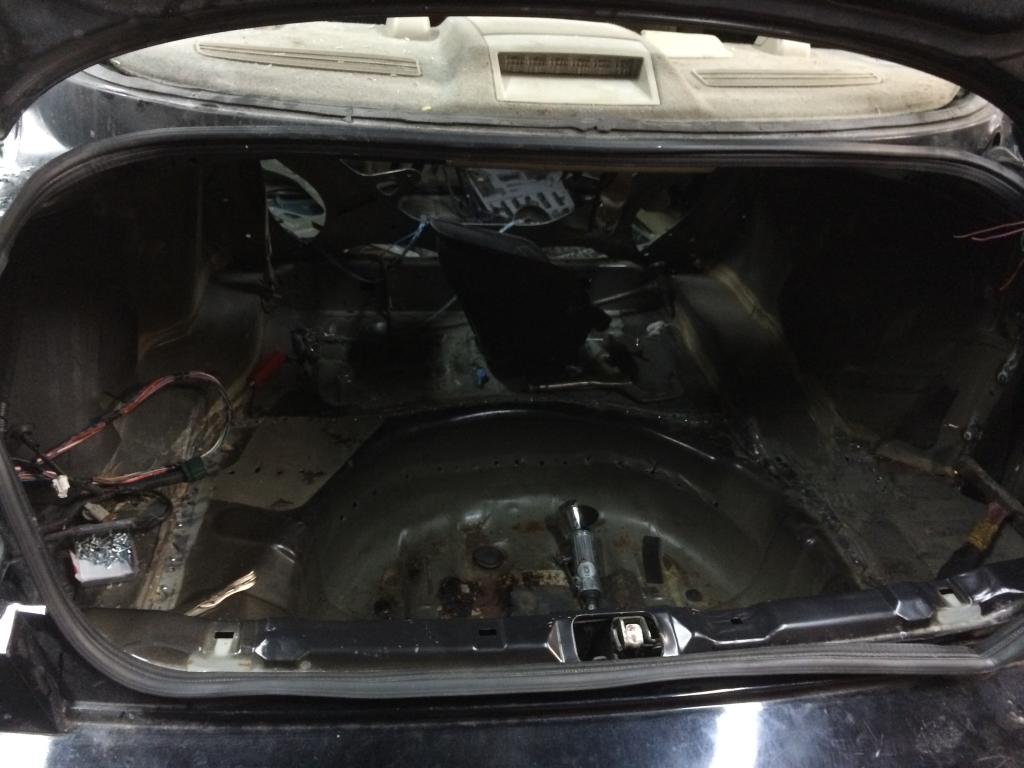
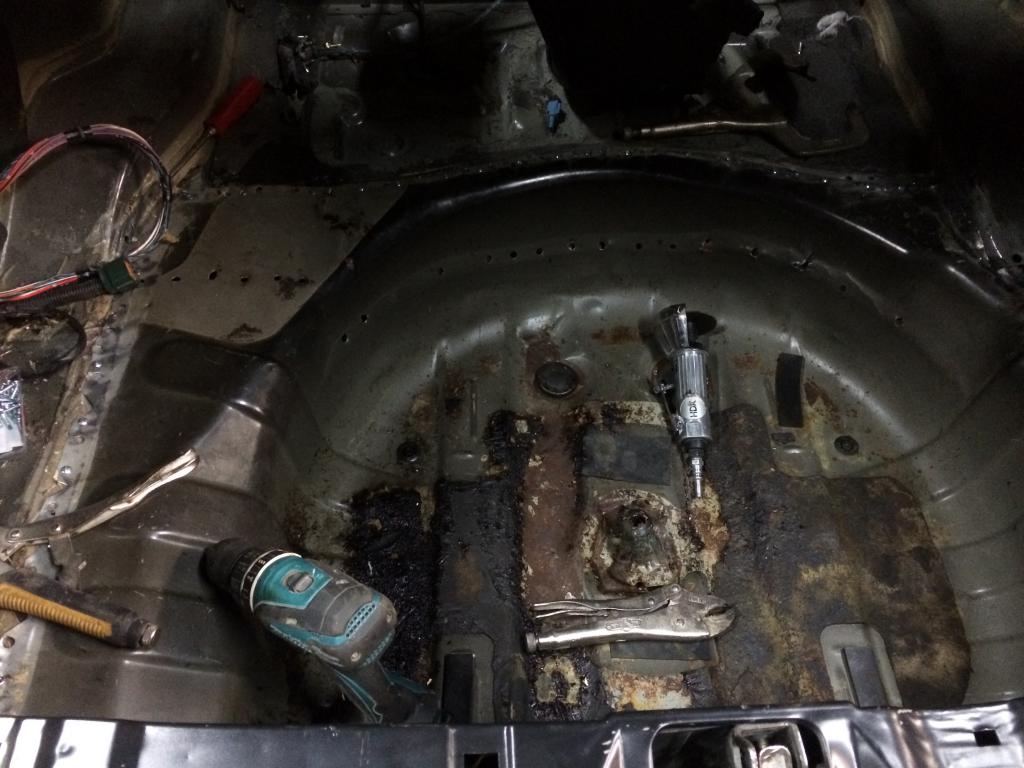
had to remove the bumper to finish welding the floor byt bow its done... still missing a few corners to weld in the right quarter panel but that will be on friday or saturday who knows.
anyways thats all ive done so far, its looking good but cant wait to finish it.
as usual ill keep you guys posted and let me know what you think...
PS. i know the welds looked like crap before cleaning them, the effin regulator is done so it can be that at any given point you have too much gas or no gas at all
let me know what u think guys
did the trunk floor...


had to remove the bumper to finish welding the floor byt bow its done... still missing a few corners to weld in the right quarter panel but that will be on friday or saturday who knows.
anyways thats all ive done so far, its looking good but cant wait to finish it.
as usual ill keep you guys posted and let me know what you think...
PS. i know the welds looked like crap before cleaning them, the effin regulator is done so it can be that at any given point you have too much gas or no gas at all
let me know what u think guys