When you click on links to various merchants on this site and make a purchase, this can result in this site earning a commission. Affiliate programs and affiliations include, but are not limited to, the eBay Partner Network.
Hey guys, just picked up this 2003 G35 Sedan and wanted to share the repairs, modifications and upgrades that I do as I do them so this will be an on-going thread.
I'm new here but not new to the sport sedan scene. I'm coming from the Euro side of things having previously owned a few BMWs (E36 and E38), a couple of VW passats and most recently a B6 Audi A4.
So a little about the G35. It runs very well but it is a high mileage vehicle so the first thing ill be addressing is basic maintenance and any mechanical issues. I want to make sure everything is sound and working properly before doing anything major aesthetically.
The car does have quite a bit of cosmetic work that needs to be addressed. Nothing too major really, mostly a lot of small things here and there. Then it's on to the fun stuff. Everything will be documented by picture for those of you who want to follow along. The weather here in Indiana isnt so great currently so I'm just going to post a few quick pics to start things off. Most of the pictures I post will be before and after shots but I may decide to do a few full write ups if its something that hasn't already been covered a thousand times.
In the next few days I will add some more before shots of the entire car so that you can get a better idea as to what I'm working with.
Last edited by Todd Miller; Mar 10, 2018 at 03:56 PM.
Always good to have a fun new project, any particular plans you have for this one?
I don't really have a plan. I've always appreciated super clean and subtle builds with a lot of attention to detail. I'm going to start by replacing/ repairing all the worn parts and freshening it up a bit since it does have quite a few miles. The passenger seat is in a pretty sad state. I have a replacement set of OEM upper and lower seat covers that the previous owner included with the purchase. Ill be taking photos and posting that project on here next. Everything is on hold right now though because this morning I woke up to this...........
That picture was taken while standing on my balcony this morning. So once I'm done dealing with the wrath of mother nature ill continue with the project.
While I'm waiting for the bushing kit I decided to take the upper glove box out and address the notorious "material pulling away from the plastic" problem that the upper glove box has. I randomly decided to tackle this issue tonight so I didnt get any before pics or pics of the removal process but I took a pic of how it sits now while the glue dries and I will take a pic of the final outcome after in have the upper glove box reinstalled. BTW the glue I used is Loctite brand Vinyl, Fabric & Plastic Flexible Adhesive and although only time will tell how well it holds up, my initial impression is that it seems to work well for this purpose.
Last edited by Todd Miller; Mar 2, 2018 at 09:36 AM.
Reason: Added adhesive info for anyone looking to perform this repair.
Re-installed the upper glove box tonight. I forgot to take before picture so you'll just have to take my word for it that it looks 100 times better then it did before. Sorry for the grainy image.
I havnt got around to installing the prothane kit and ball joints yet. The weather has been less then ideal for sitting outside for most of a day replacing bushings and ball joints so I decided to take on another project for now. The front passenger seat is in really bad shape and its been driving me crazy. Plus I can work on it Indoors where its warm and not snowing.
Took the seat out and into the house last night.
Here is what the seat looked like. Pretty bad.
With the back of the seat removed.
Bottom cushion removed and ready for new seat bottom.
Looks clean; I've always liked the black runners/front lip look on the sedans. Would love to try it on my coupe, but it may not look quite as good.
Where did you get the OEM seat bottoms? Mine have some brutal shredding I'd like to fix.
Thanks, its a work in progress and ive only just started. The OEM seat bottom I used actually came with the car. I'm not sure where the previous owner got it from. And its actually not the correct seat bottom for this vehicle. If you look carefully you'll see that the seat bottom is from a vehicle that doesnt have the power seat controls built into the side of the seat. I made it work because I couldn't stand to look at the torn up seat bottom that was in the car before and i plan to upgrade both front seats in the future.
Before I decided to use the seat bottom I already had, I looked around for a correct one that uses the built in seat controls. I found several on eBay in various factory colors. The ones I came across were all around $100 which is considerably less then replacing the entire seat.
I finally got around to installing the Prothane front suspension bushing kit and lower ball joints. Along with upper and lower control arm bushings and compression rod bushings the Prothane kit also came with new sway bar bushings and rack and pinion bushings. So I had a lot of old bushings to remove and new ones to install. I rented the ball joint/u-joint installation and removal tool kit from Autozone and I couldn't imagine doing this job without it. I pressed out the old ball joints and installed the new ones without any issues. Once I had everything apart the removal of the old bushings and installation on the new ones was pretty straightforward. I had some trouble removing a few nuts and bolts due to corrosion. I didn't have access to any airtools for this job but an impact wrench would have made a big difference and saved a lot time. While I was disassembling the passenger side I noticed a small amount of play in the ball joint of the compression rod so I ordered new compression rods for both sides. Once I received the new compression rods I pressed out the rubber bushings that they came with with and pressed in the Prothane bushings. Everything went back together pretty easily and I now longer have any noises coming from the front end. Steering and handling in the front have drastically improved and i am very happy with the results. However I can't say for sure how much of a difference the Prothane kit makes over stock because the front suspension was already pretty much shot when I got the car. Regardless I'm very happy with the results.
Here are a few pics I took. If anyone has any questions feel free to pm me.
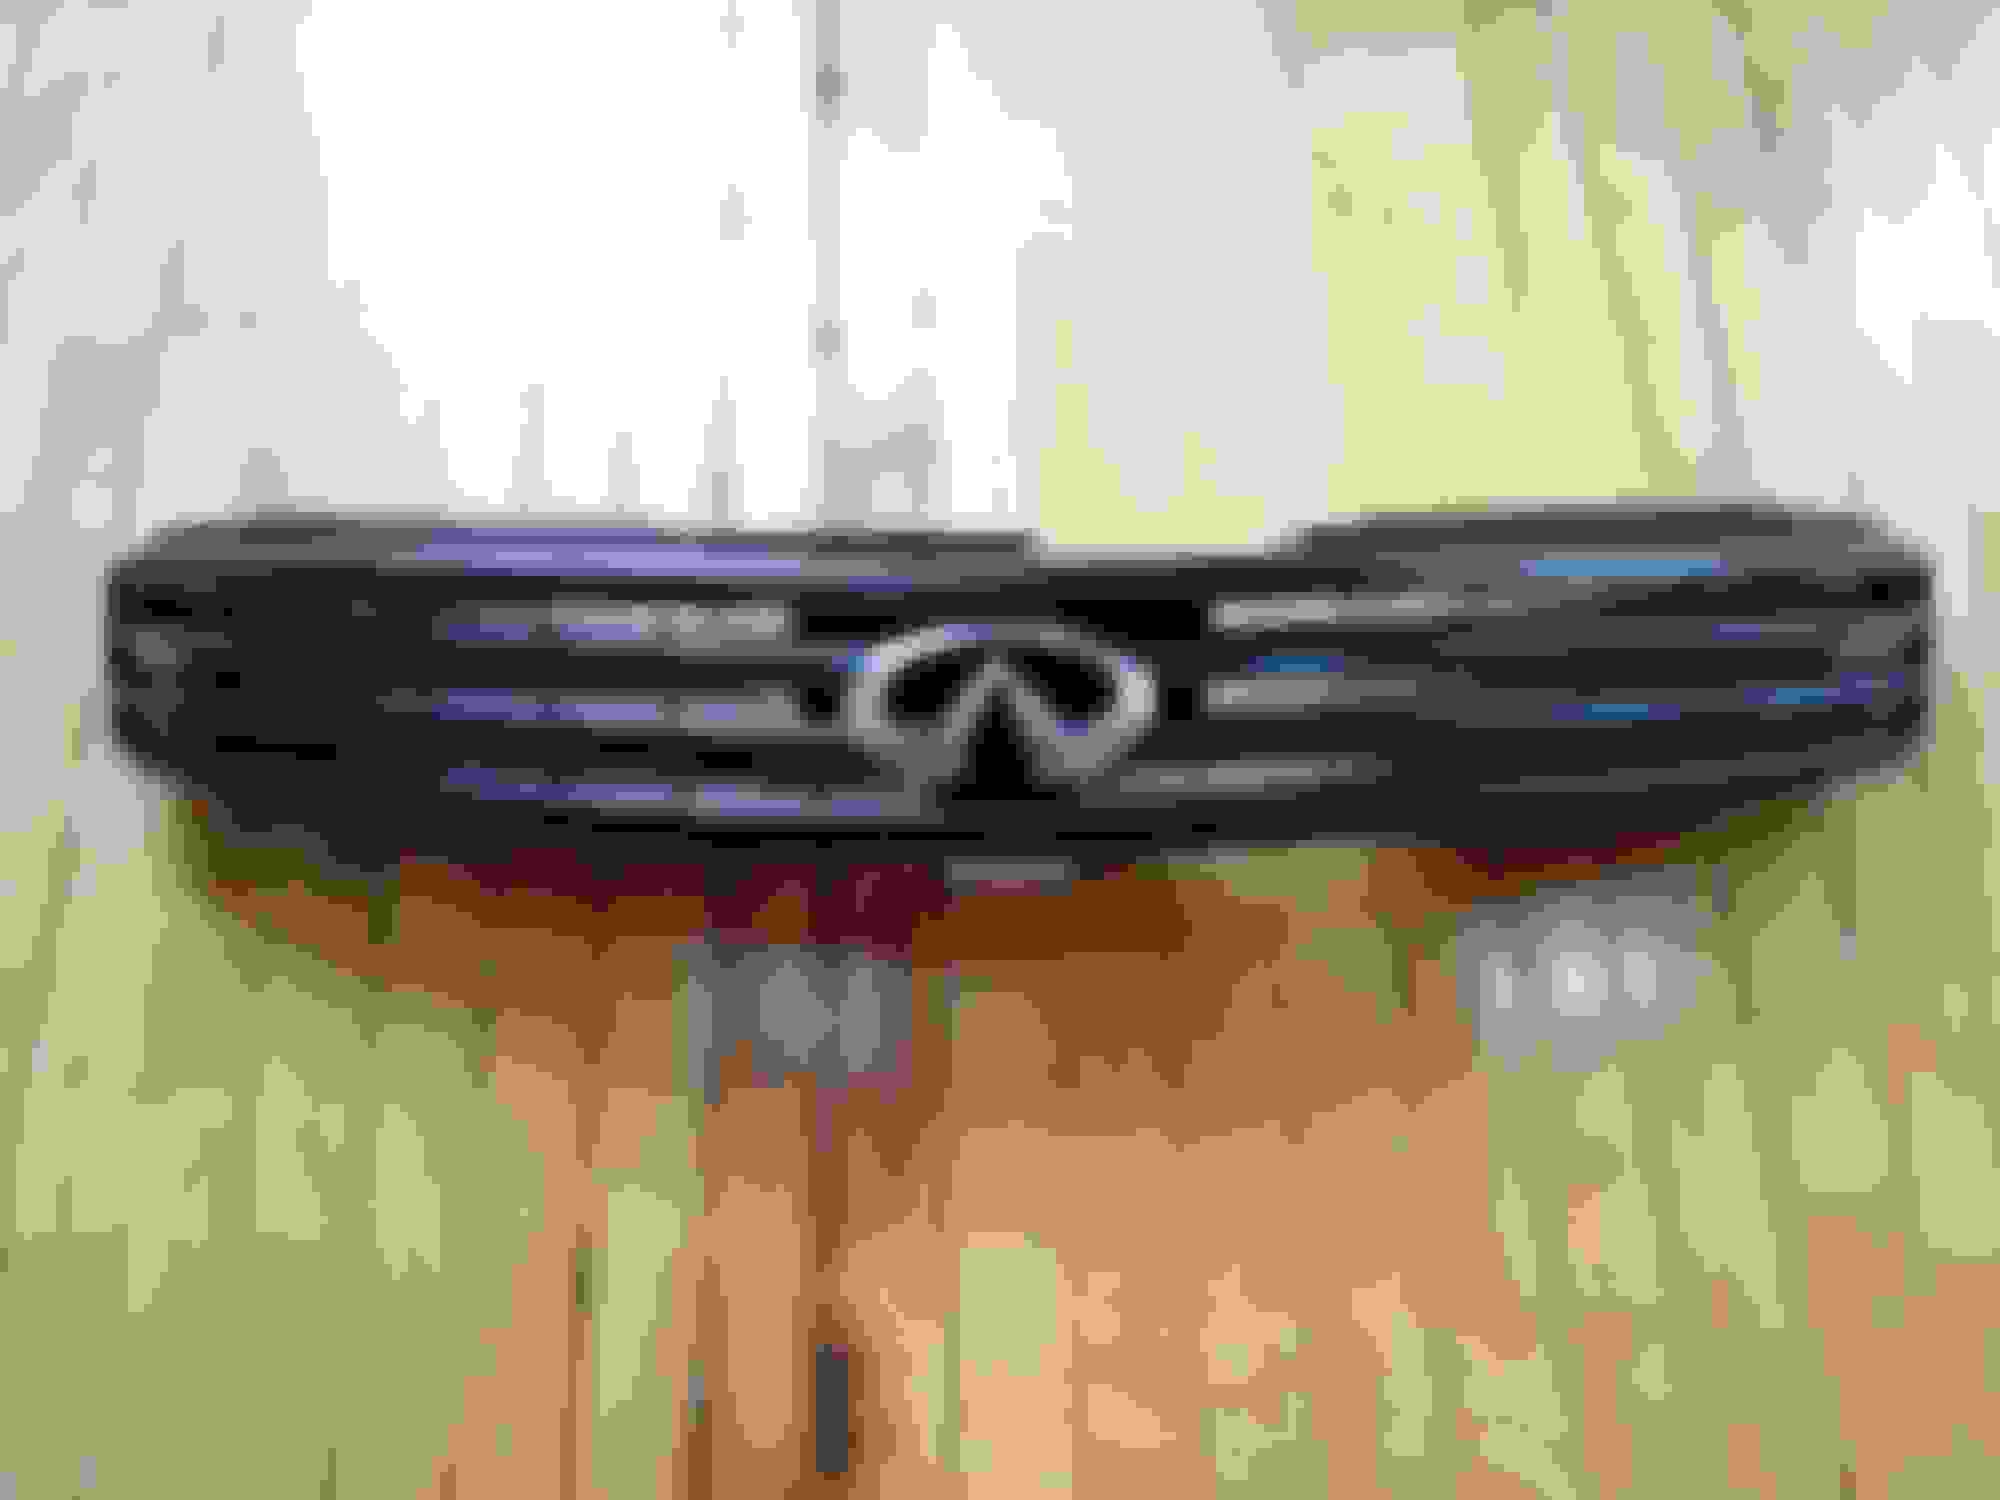
My G35 is an ongoing project. It has a lot of issues that need to be addressed and I am doing so as time and money allow. One thing on the car that has really been bothering me is the grill. Between the peeling and discoloration it just looked sad. My original plan was to install an Ionic grill and I still might go that route. But in the meantime I decided to improve on my OEM grill. I had some carbon fiber vinyl wrap left over from an old project I did when I had my A4 and I thought it might look good on my G35 grill. it had been awhile since I last wrapped anything but I gave it a shot anyways and i think it turned out pretty well. After wrapping the grill I sprayed it with some clear coat. I was on the fence about whether or not to clear coat the vinyl wrap but decided that a few coats of clear might help protect the vinyl from the elements. I sprayed it with three coats wet sanding between coats. Overall I'm pretty happy with the outcome. The grill looks much better then it did before. I still plan to get the Ionic grill at some point later on but in the meantime this will work.