
The Transformation of and Road to My VIP G35 Sedan


Registered User
iTrader: (78)
Joined: Feb 2005
Posts: 3,268
Likes: 295
From: Orange County, 714, 92780
i like the your sedan best way back when you had the black coupe 19's.. and your new front..? is it painted already..? looks like a totally different color than the rest of your car.....


Joined: Aug 2007
Posts: 10,850
Likes: 158
From: Los Angeles
Here's some pics thanks to Cookie Monster.


Joined: Aug 2007
Posts: 10,850
Likes: 158
From: Los Angeles
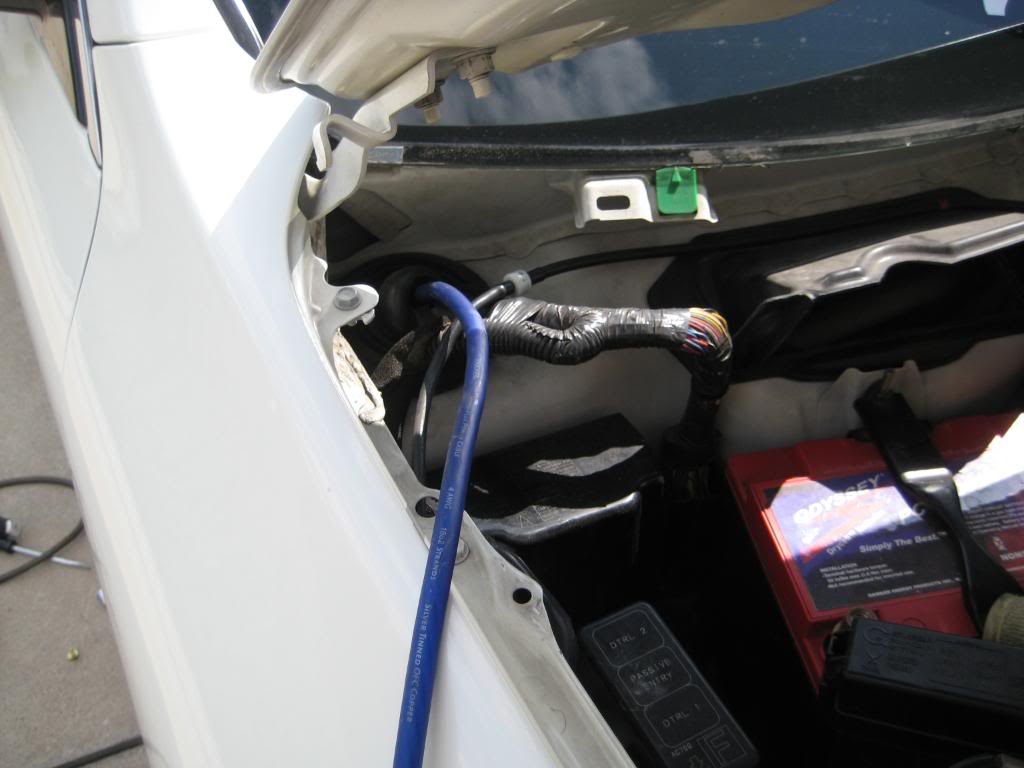
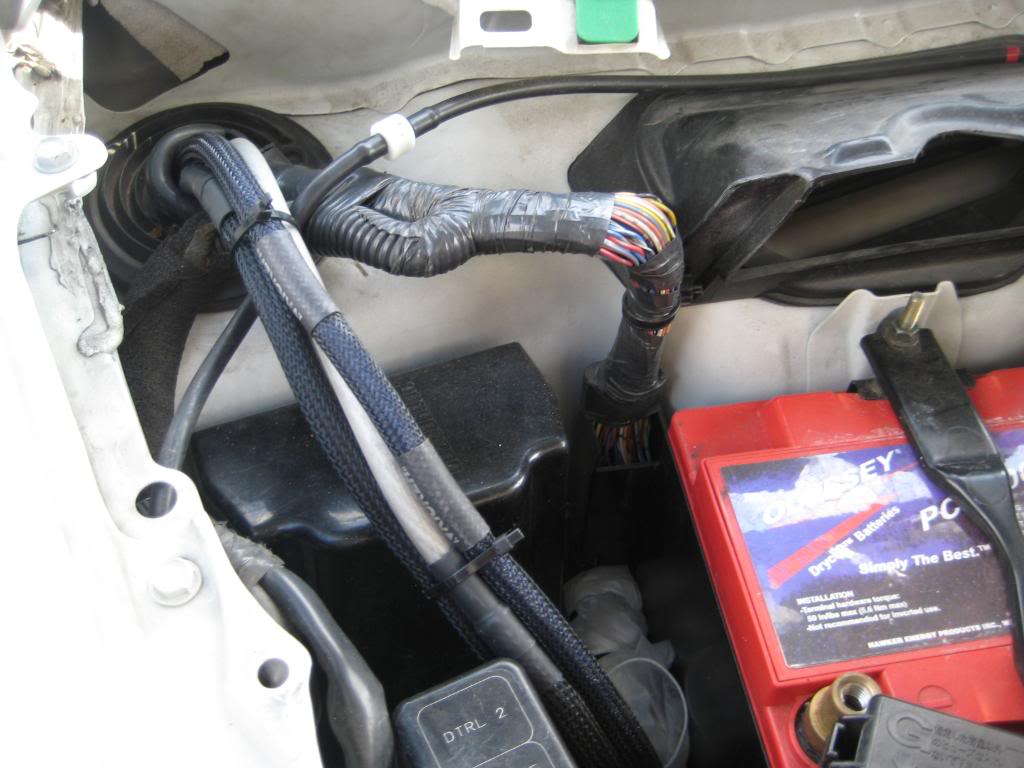
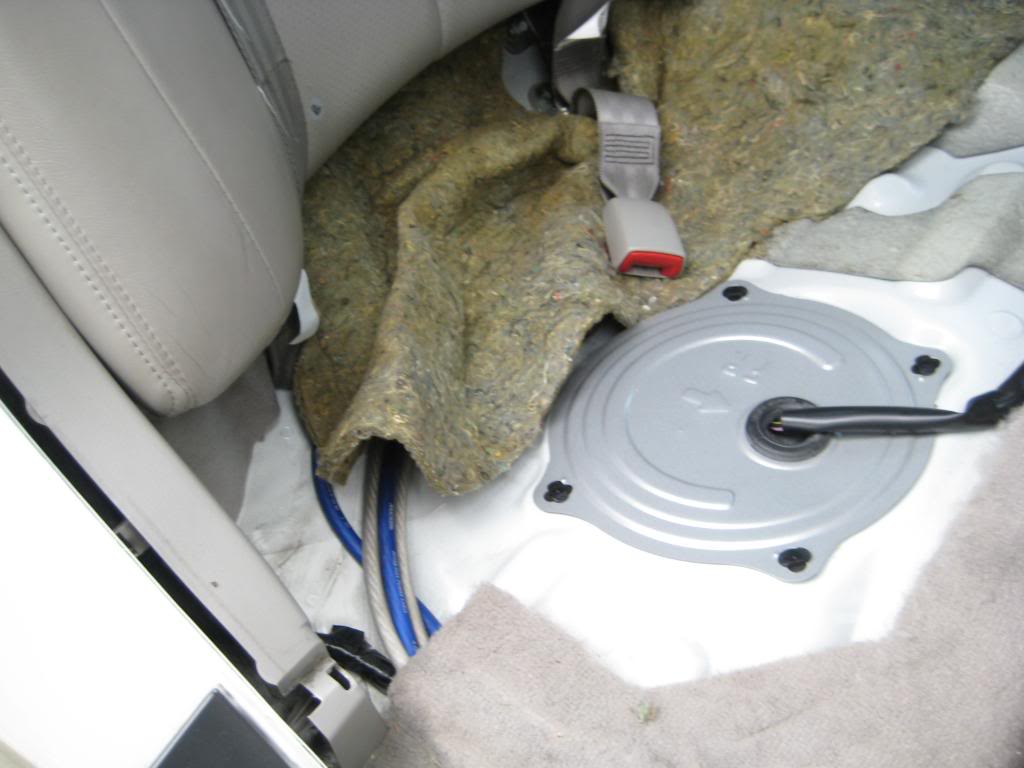
Quick update. I'm starting to run the wires. I figured I have plenty of wire so might as well put it to use. Rather than do a single run of power cable from batt to trunk and ground somewhere in trunk....or even do a full run of each like the occasional people do...I figured to do two full runs of each. One for each amp.
I'll also be replacing the Odyssey PC 1200 with a redtop group 35 and throwing the Odyssey in the trunk with a Yellowtop group 35. I was gonna use a Batcap 3000 up front and 2000 in the rear but I don't have that much money for batteries, even with my sponsorship pricing, so unfortunately I had to go with Optima cos I got sponsored by them as well....probably order those batteries in a couple weeks.
Here's some progress pics...
80 ft of 4 awg wire:
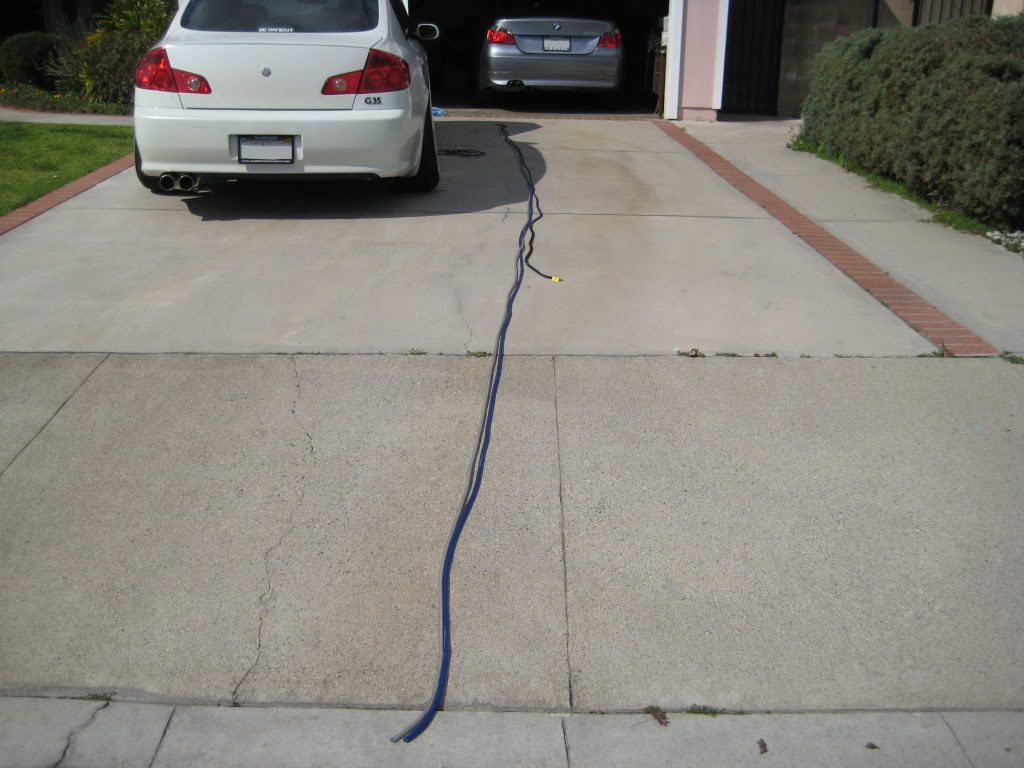

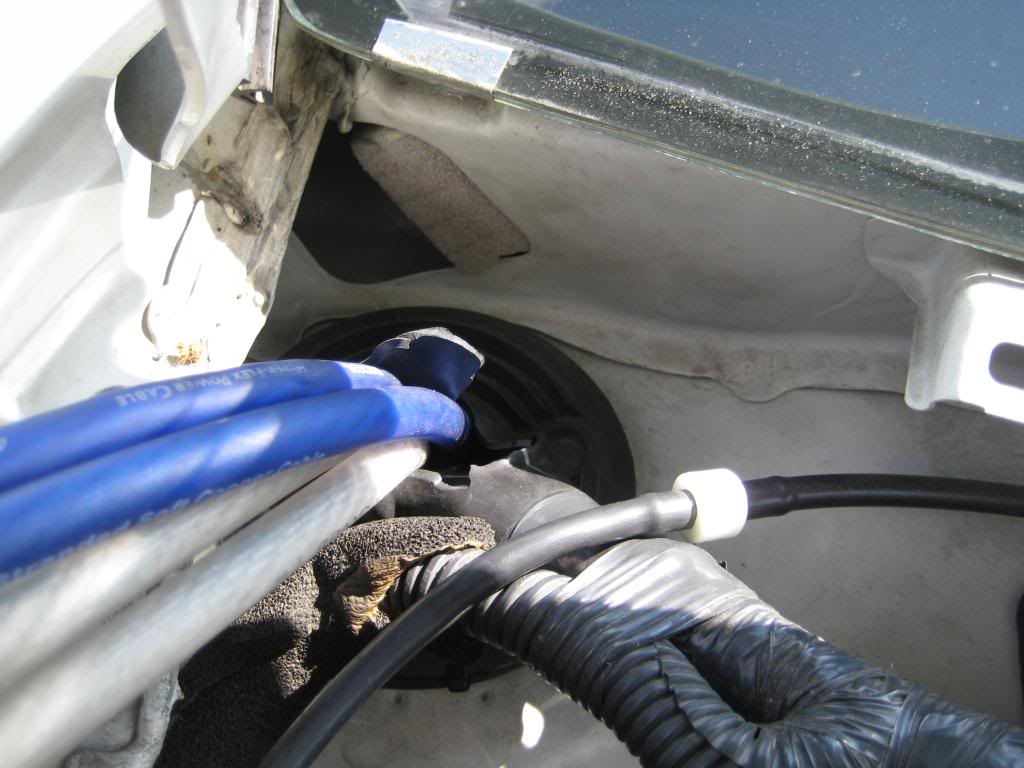
Gonna run the wire on the passenger side. Grommet slit open to get all the wire in:
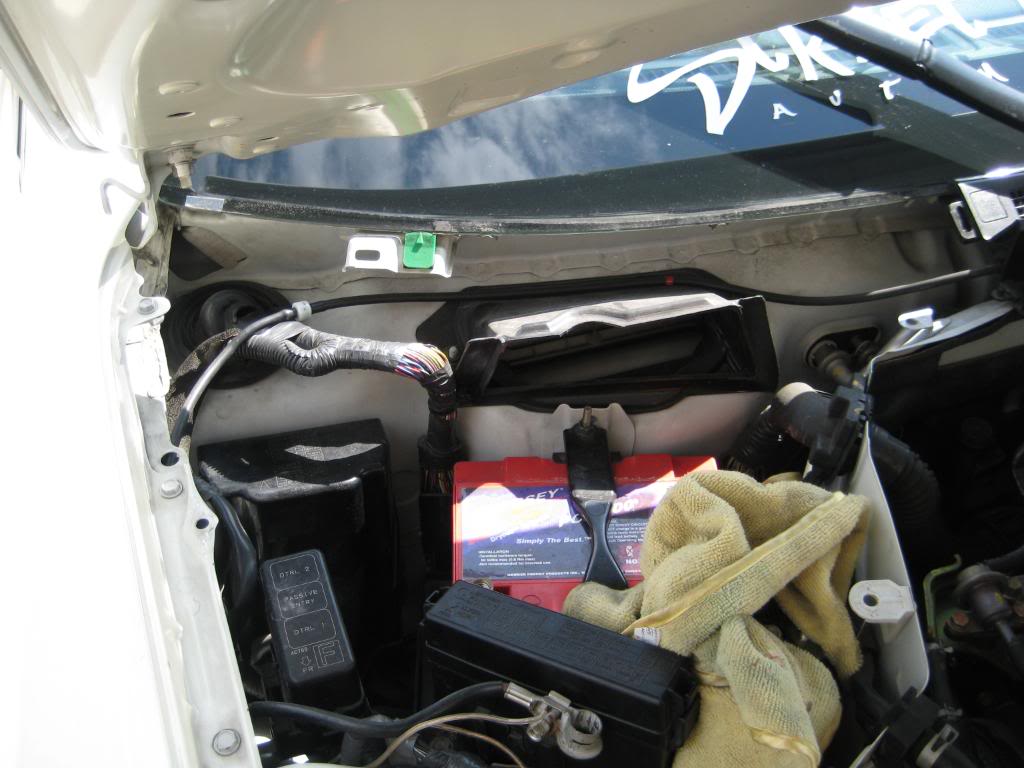

Got one in and one out:

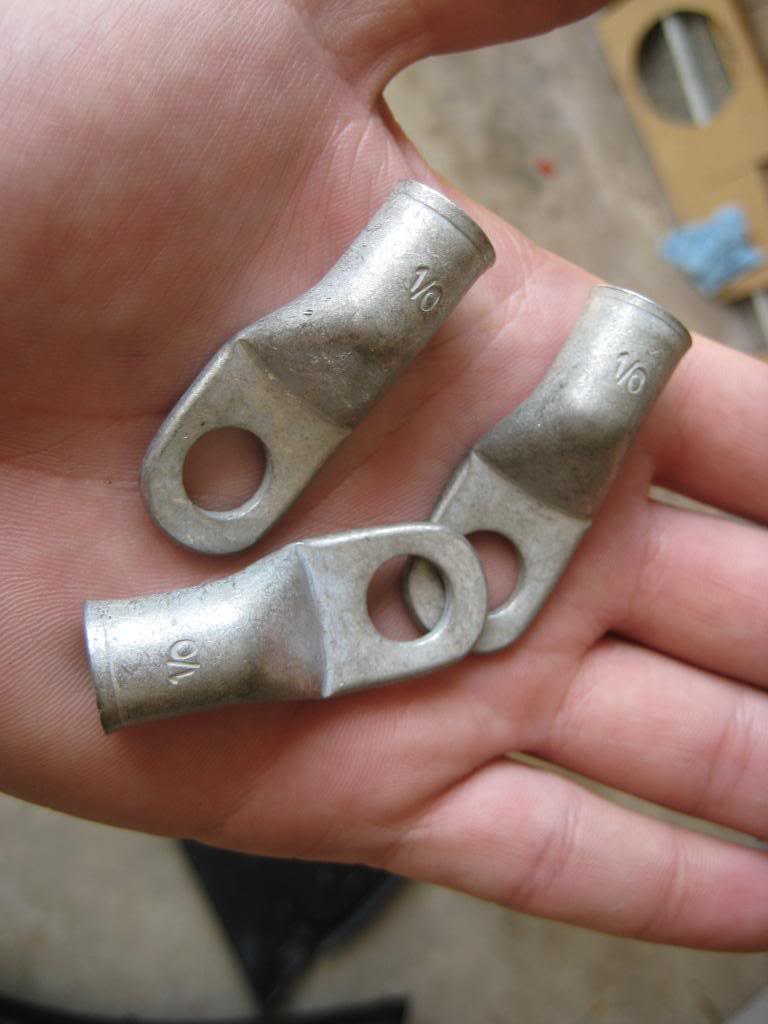
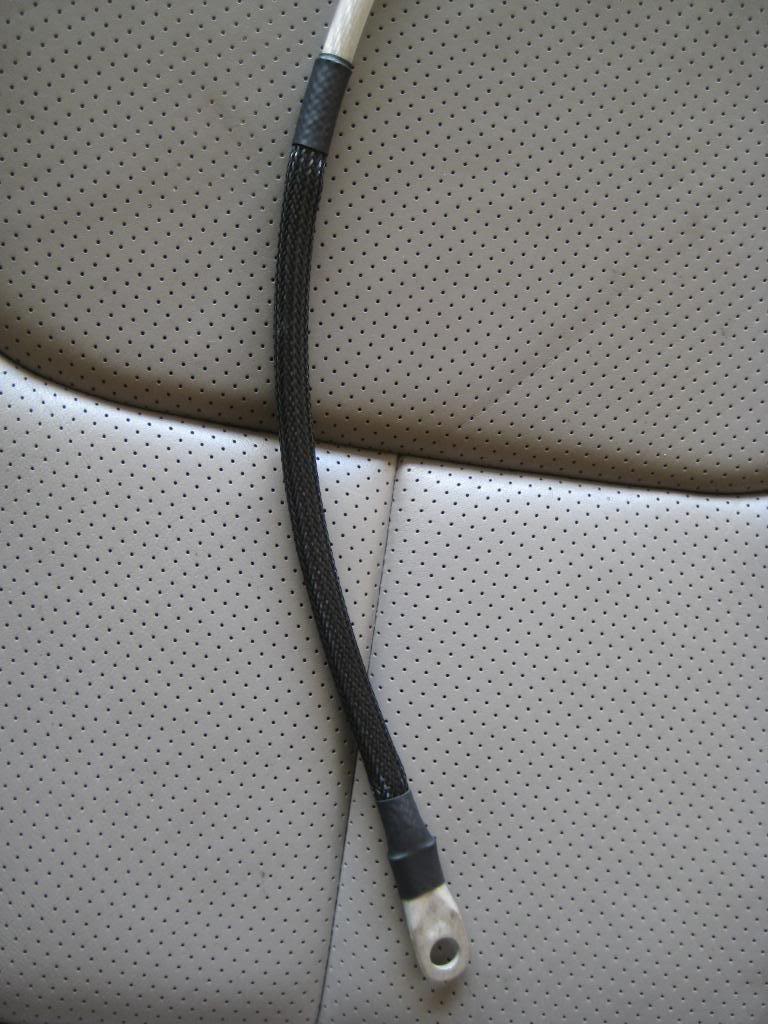
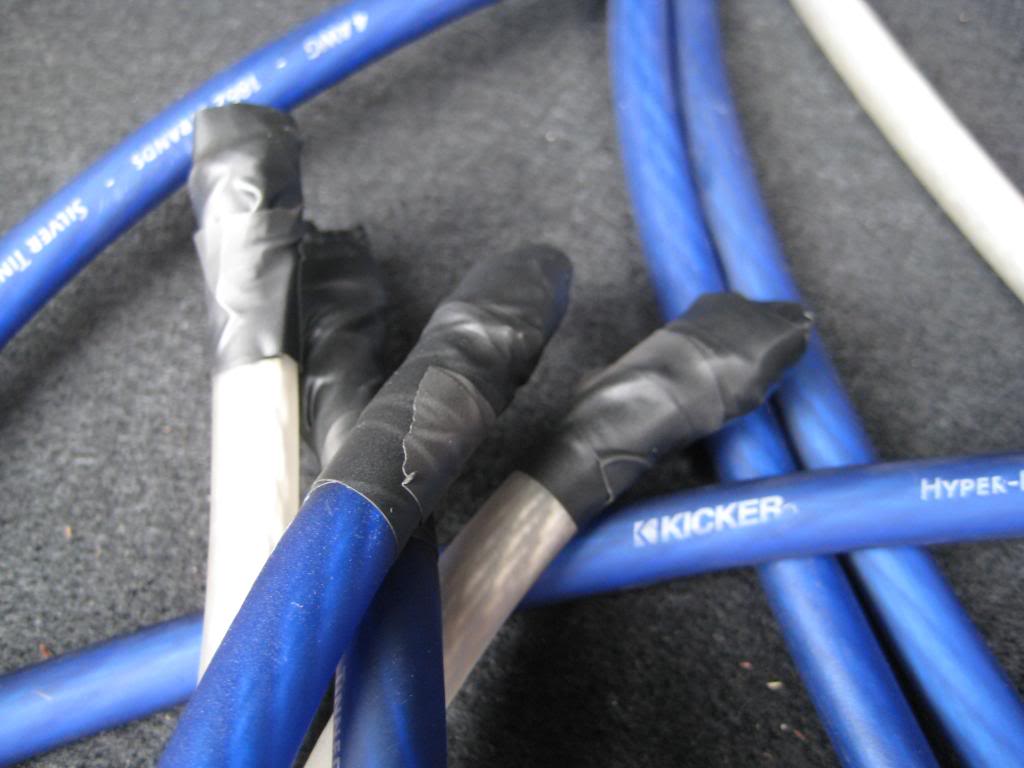
Tinned Copper Ring terminals:
A little techflex and heat shrink to make it look all purrdy:
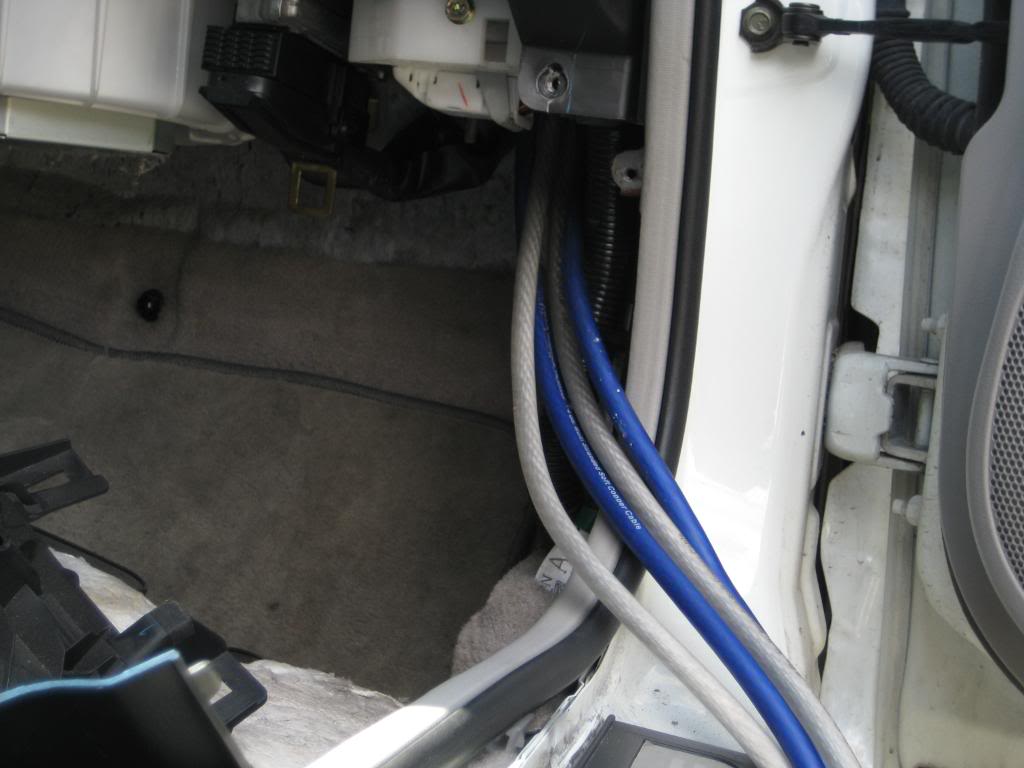
All four wires in and out:

Will update as I get more done, taking a little lunch break.
I'll also be replacing the Odyssey PC 1200 with a redtop group 35 and throwing the Odyssey in the trunk with a Yellowtop group 35. I was gonna use a Batcap 3000 up front and 2000 in the rear but I don't have that much money for batteries, even with my sponsorship pricing, so unfortunately I had to go with Optima cos I got sponsored by them as well....probably order those batteries in a couple weeks.
Here's some progress pics...
80 ft of 4 awg wire:
Gonna run the wire on the passenger side. Grommet slit open to get all the wire in:
Got one in and one out:
Tinned Copper Ring terminals:
A little techflex and heat shrink to make it look all purrdy:
All four wires in and out:
Will update as I get more done, taking a little lunch break.

Joined: Aug 2007
Posts: 10,850
Likes: 158
From: Los Angeles
Alright...finished everything up. It was quite simple running the rest of the wire and I had no troubles with it. Just snapping on some of the last pieces was a lil difficult, but then I realized I was doing somethin wrong...after that, it was a cinch.
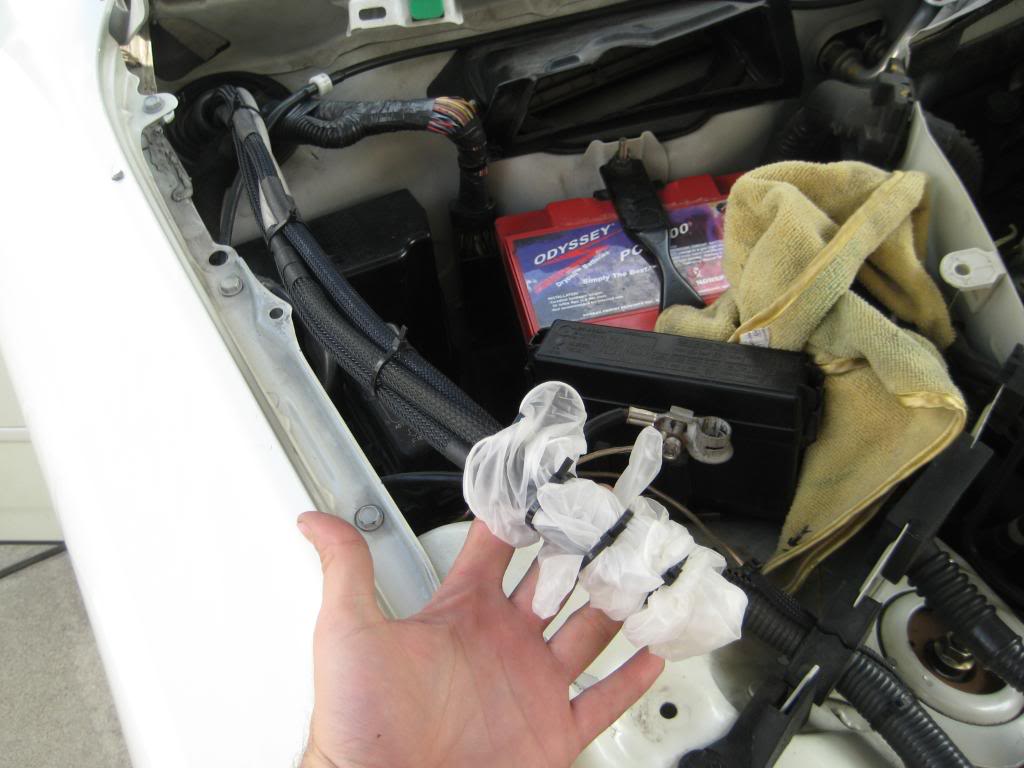
Since I'm going to be swapping the battery I figured I'd leave some slack for the wires. All I could find was some latex gloves..then I found some electrical tape and wrapped it around (not pictured is the electrical tape).
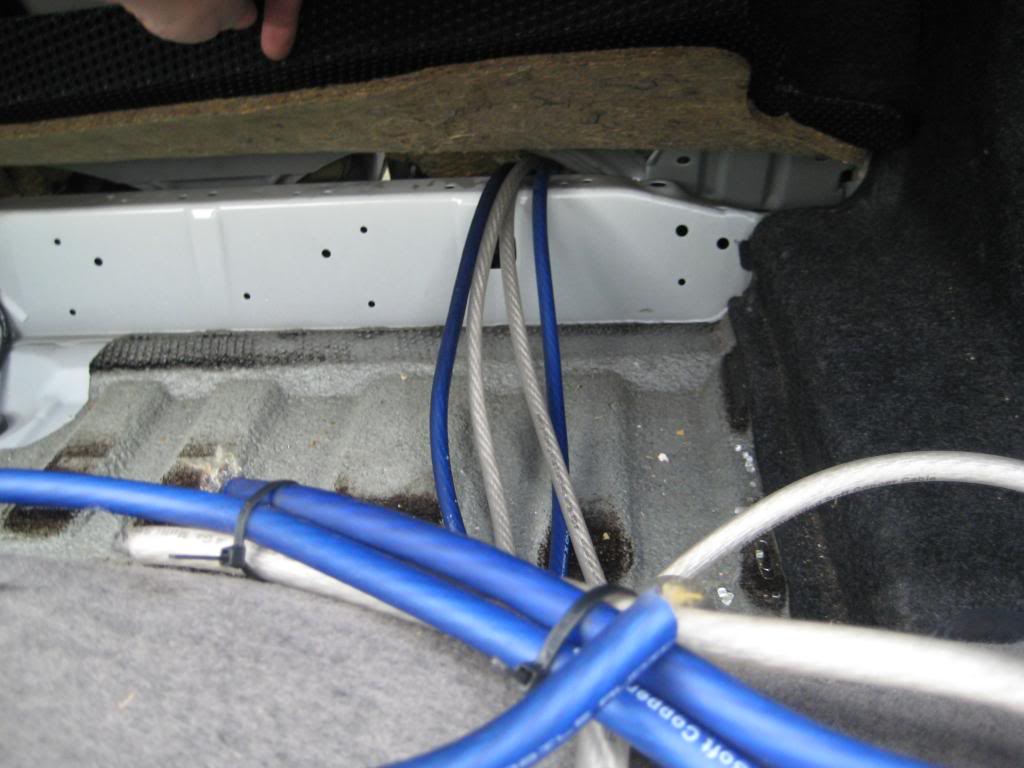
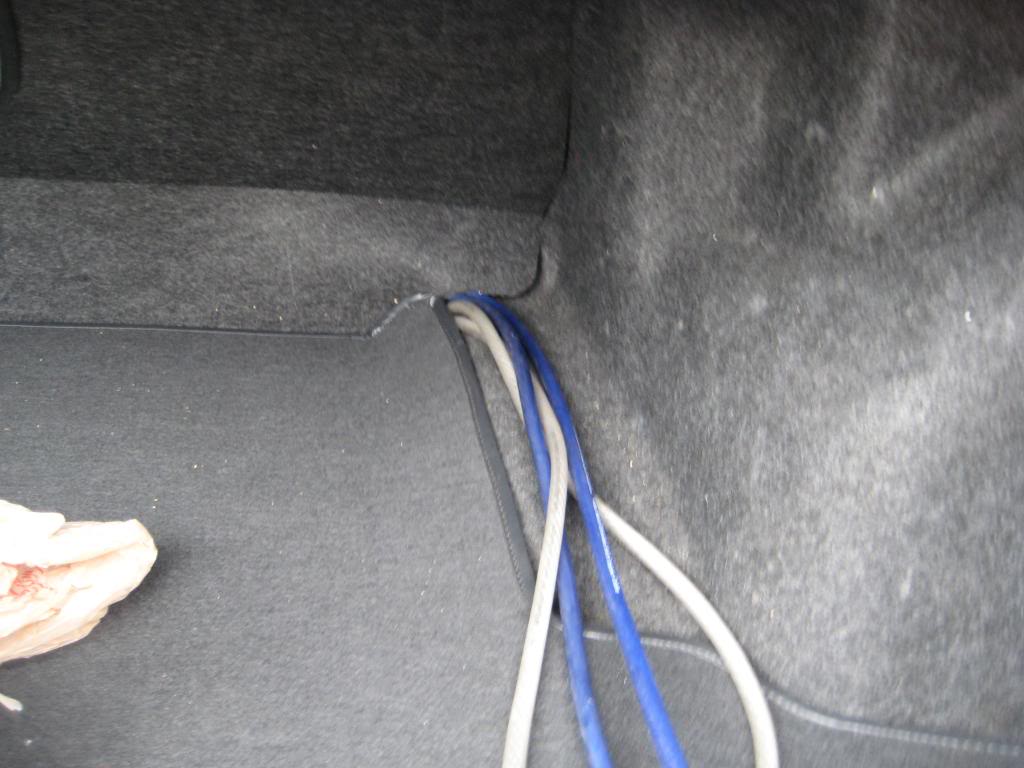
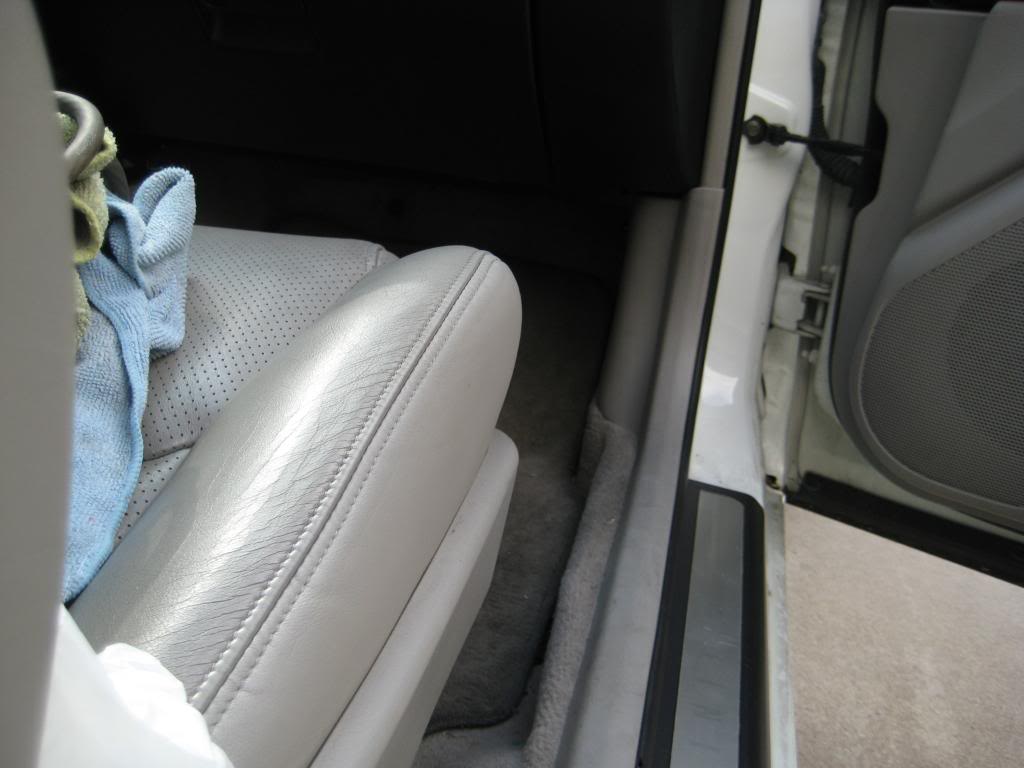
Progress of running all 4 wires
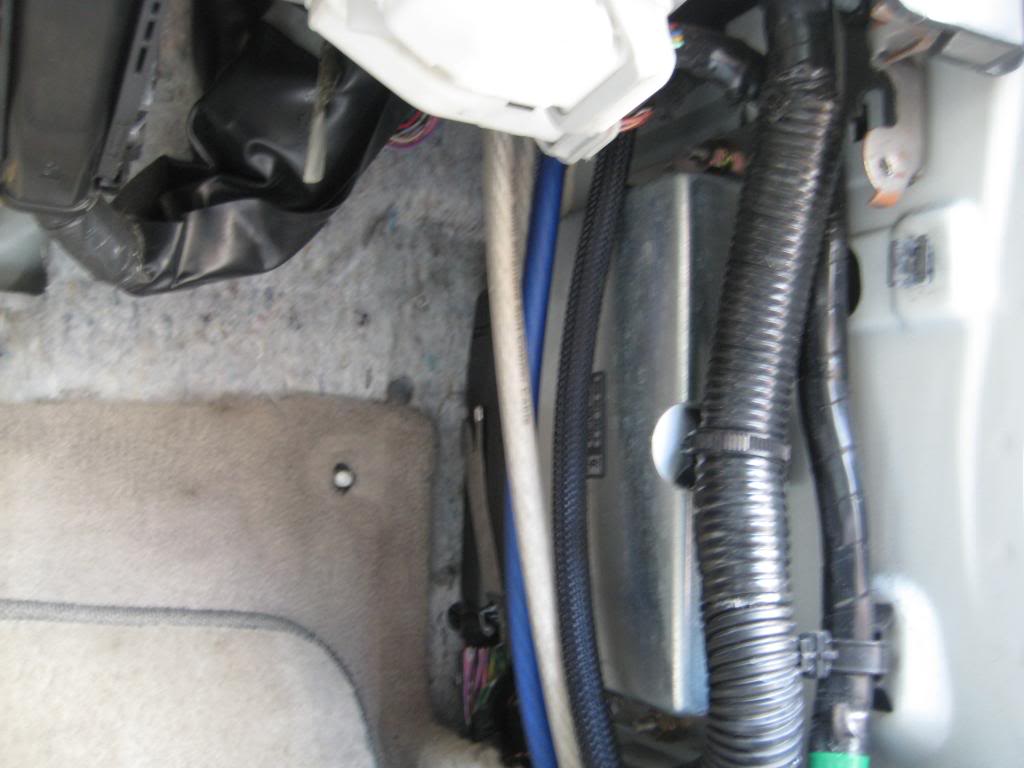
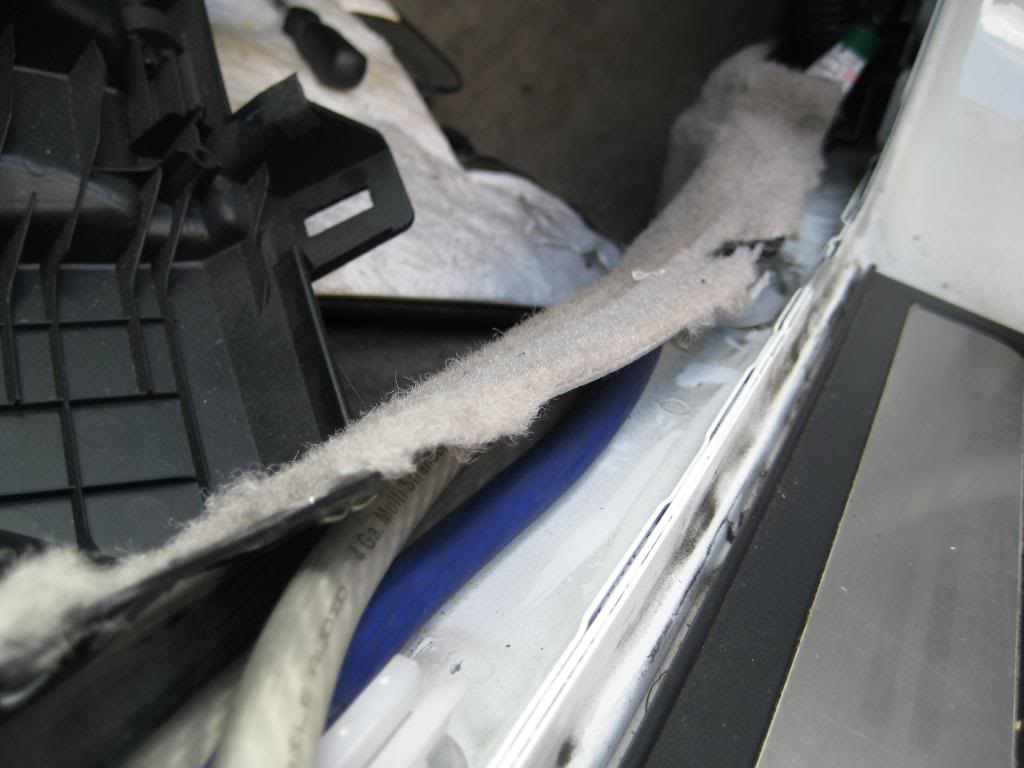
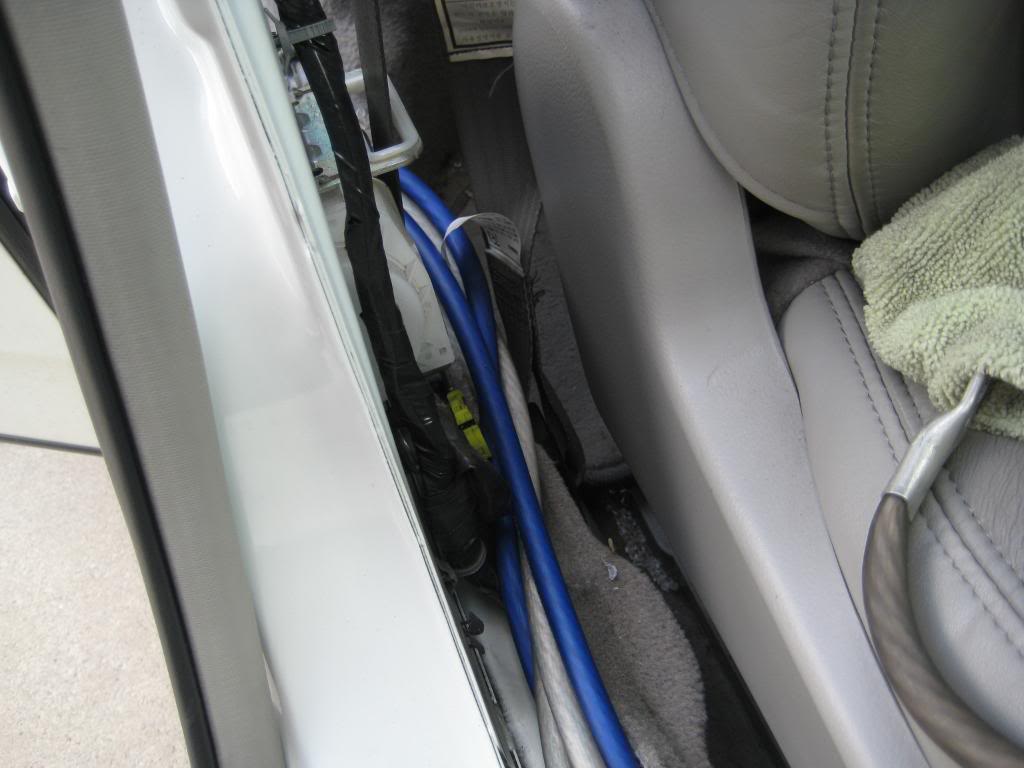
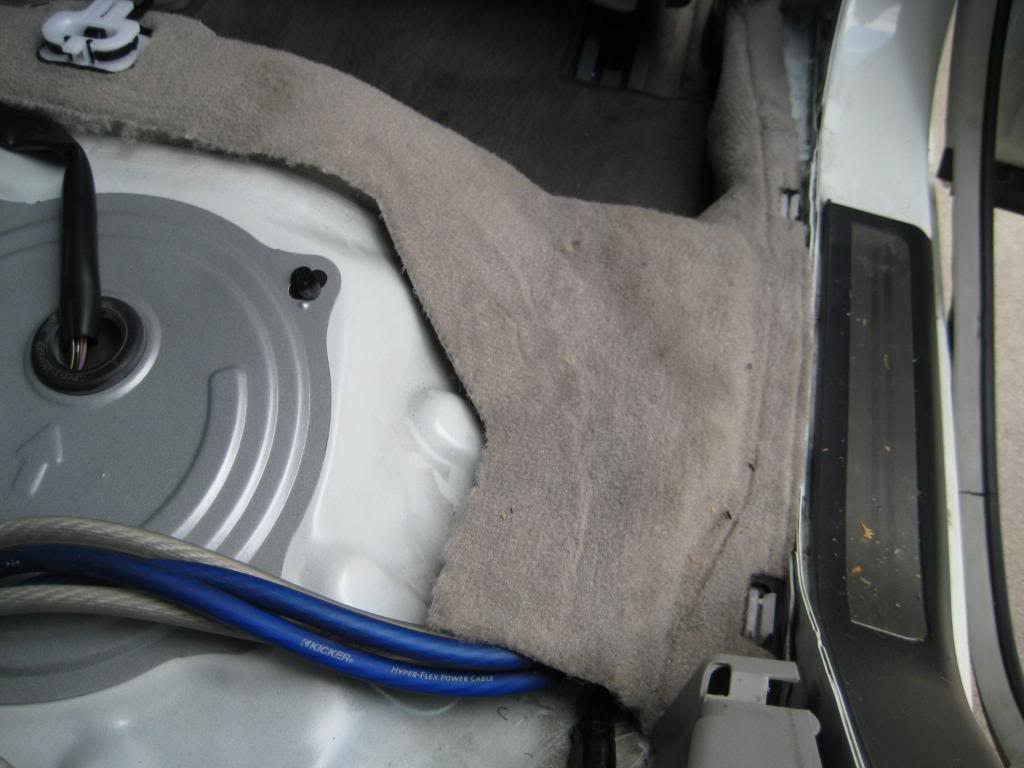

Time to head to the trunk and find that opening

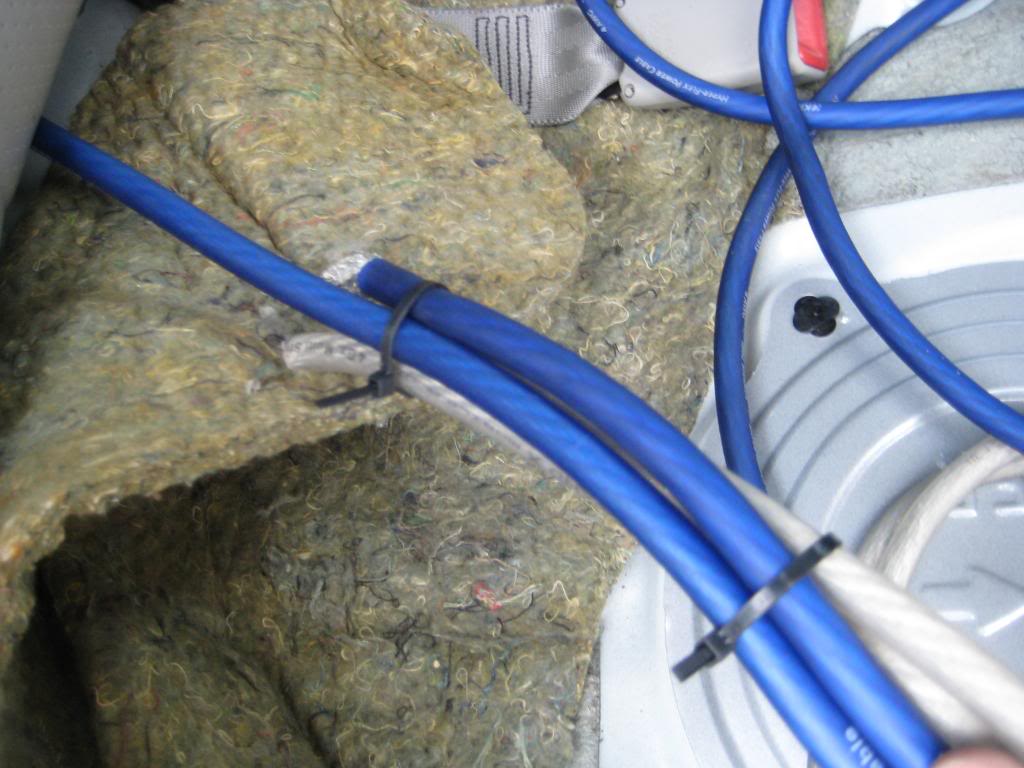
Fed one through. Then zip-tying them and pulling through made it much easier.
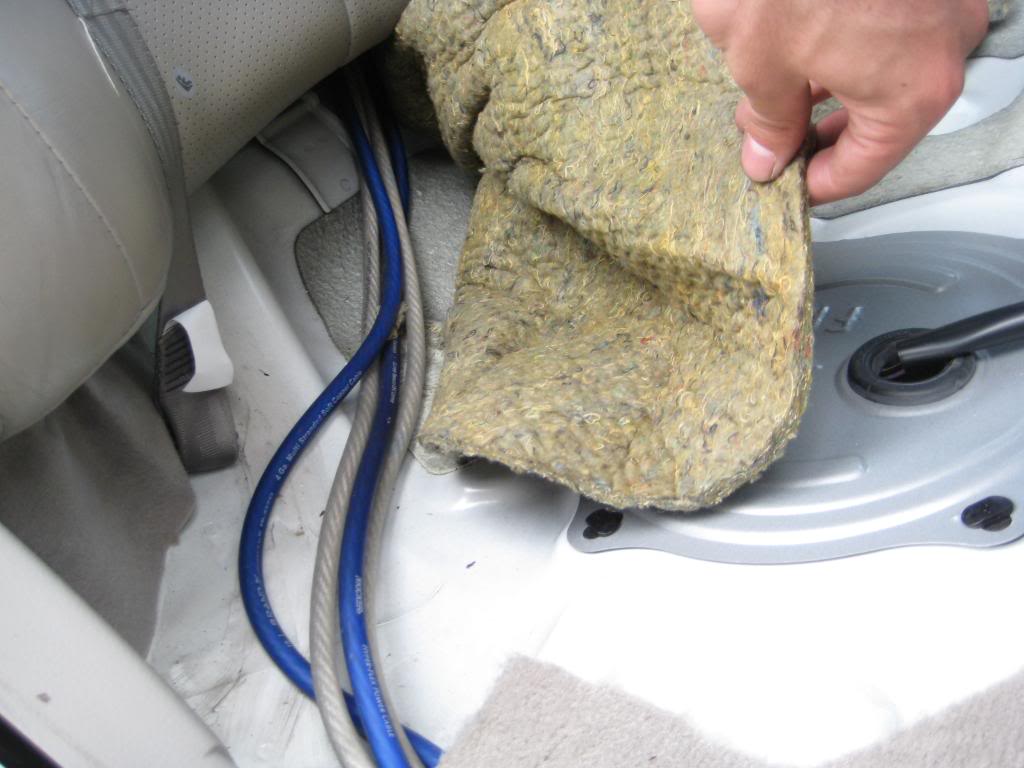
Putting everything back together and taping off the opposite end of the wires with electrical tape.
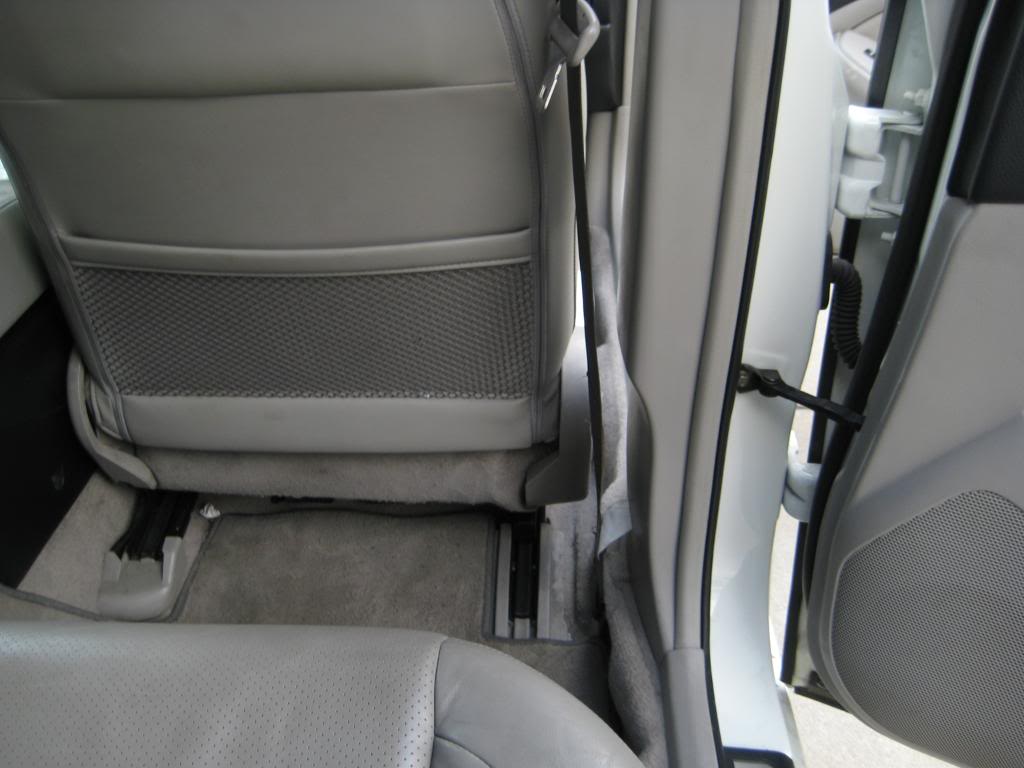

Since I'm going to be swapping the battery I figured I'd leave some slack for the wires. All I could find was some latex gloves..then I found some electrical tape and wrapped it around (not pictured is the electrical tape).
Progress of running all 4 wires
Time to head to the trunk and find that opening
Fed one through. Then zip-tying them and pulling through made it much easier.
Putting everything back together and taping off the opposite end of the wires with electrical tape.