LS1 Drift Build 'Nuff Said'

Subscribe
Nov 17, 2014 | 04:03 PM
  #511  
Tires are hiding in terror...
Reply 0
Nov 19, 2014 | 01:31 PM
  #512  
Going to kill all tires.. lol
Reply 0
Nov 25, 2014 | 10:46 AM
  #513  
Well finally got my Rivnut tool in the mall.. So know I can install all 24 rivnuts for my overfenders..


Name:  lrgscaleNutsert_tool_detail_zpsa5398f41.jpg
Views: 149
Size:  13.4 KB

More pics on the install by the end of the week


Reply 0
Nov 25, 2014 | 10:49 AM
  #514  
That's a slick little gizmo, the ones I saw work like a pop rivet tool That one can install much heaver duty rivnuts
Reply 0
Nov 26, 2014 | 12:39 PM
  #515  
Quote: That's a slick little gizmo, the ones I saw work like a pop rivet tool That one can install much heaver duty rivnuts
Yup that is why I picked up this little thing.. I am installing 6mm steel rivnuts..

I do have the other design tho, but not metric..
Reply 0
Nov 26, 2014 | 04:24 PM
  #516  
Where did you get that tool from?
Reply 0
Nov 26, 2014 | 05:37 PM
  #517  
Quote: Where did you get that tool from?

Got it off ebay...


http://www.ebay.com/itm/Rivet-Nut-To...item1e8bef364d
Reply 1
Dec 4, 2014 | 09:25 PM
  #518  
Okay finally got to installing my Rivet nuts, but first lets talk beer...


So I have not been drinking beer a lot lately, trying to cut back.. don't need that beer gut.. With that being said, I had to show case this local TX beer brewery.. Thirsty Planet Brewery, Now I just went there on a beer tour and had a blast. My favorite beer out of the bunch had to be their Smokey Porter. This was absolutely mind blowing. Every season they choose a locate TX BBQ spot for the Smokey Porter and the beers contained malts smoked by them.. The beer it self smelled like a BBQ joint. I just feel in Love with this beer.


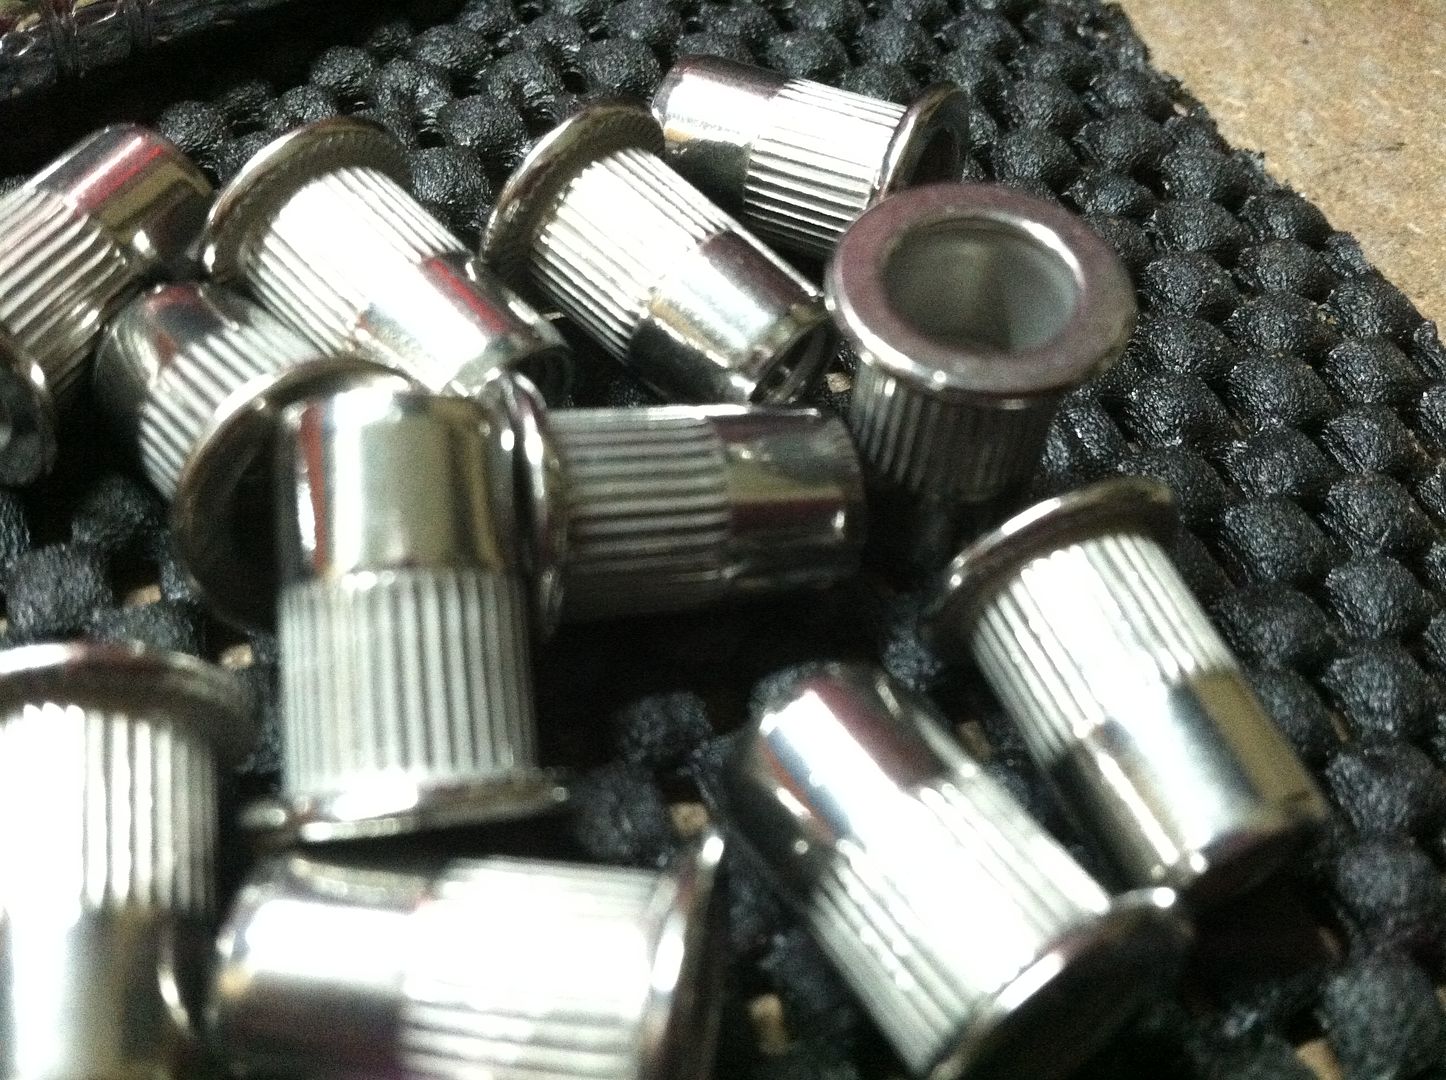
lets start with the rivet nuts them self. I decided to do 6mm Steel Rivets. Wanted the Steel so they don't strip on me.

Name:  IMG_4099_zps09cd8d0b.jpg
Views: 192
Size:  1.61 MB

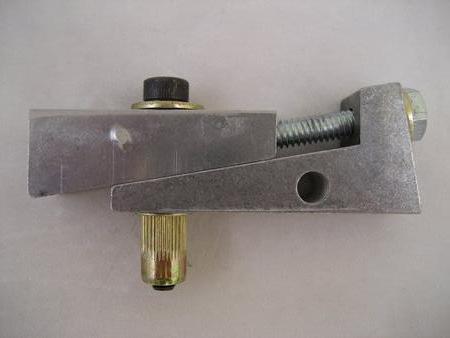
Here is the tool I am using to install them. And before everyone ask why not use the other hand tool like a rivetgun. Well I do have that tool too but it is in standard sizes and would be a bitch to install steel rivetnuts.

Name:  IMG_4097_zps481f62da.jpg
Views: 170
Size:  1.56 MB

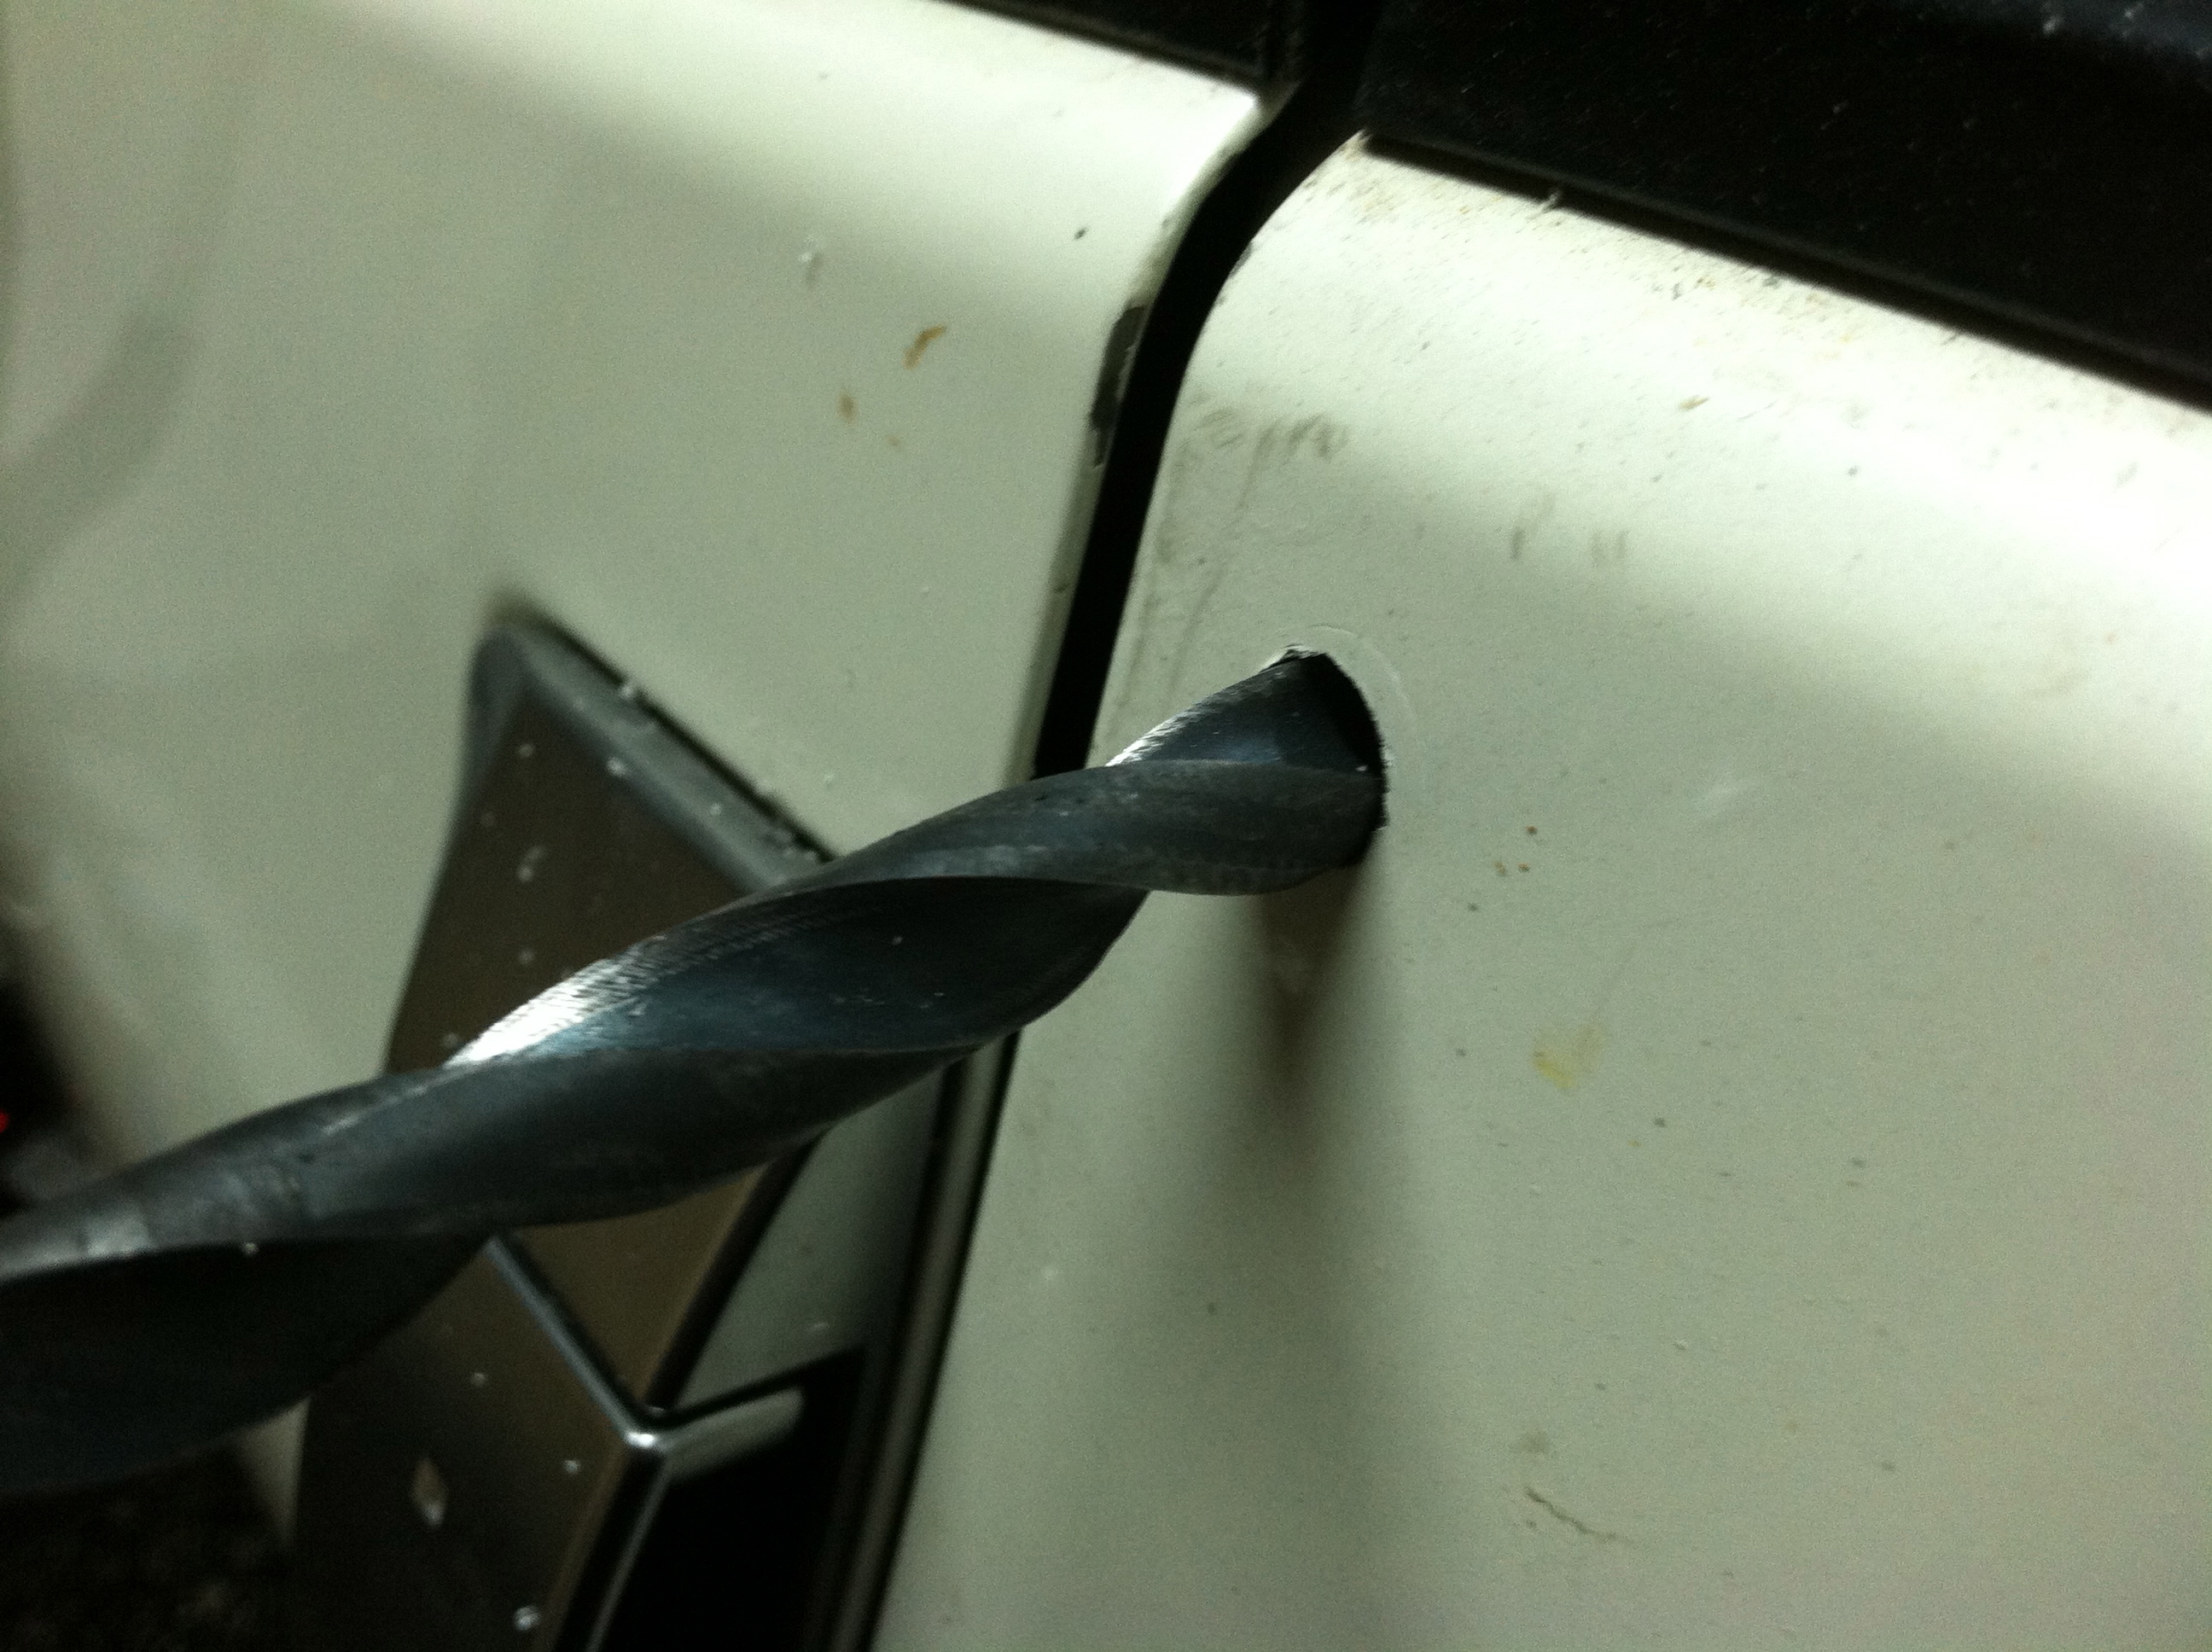
I already mocked up the fenders with your normal rivets so the holes were there, but need to be bigger to install the rivet nuts. Nothing a drill can't solve


Name:  IMG_4101_zps1b5af71f.jpg
Views: 151
Size:  1.57 MB


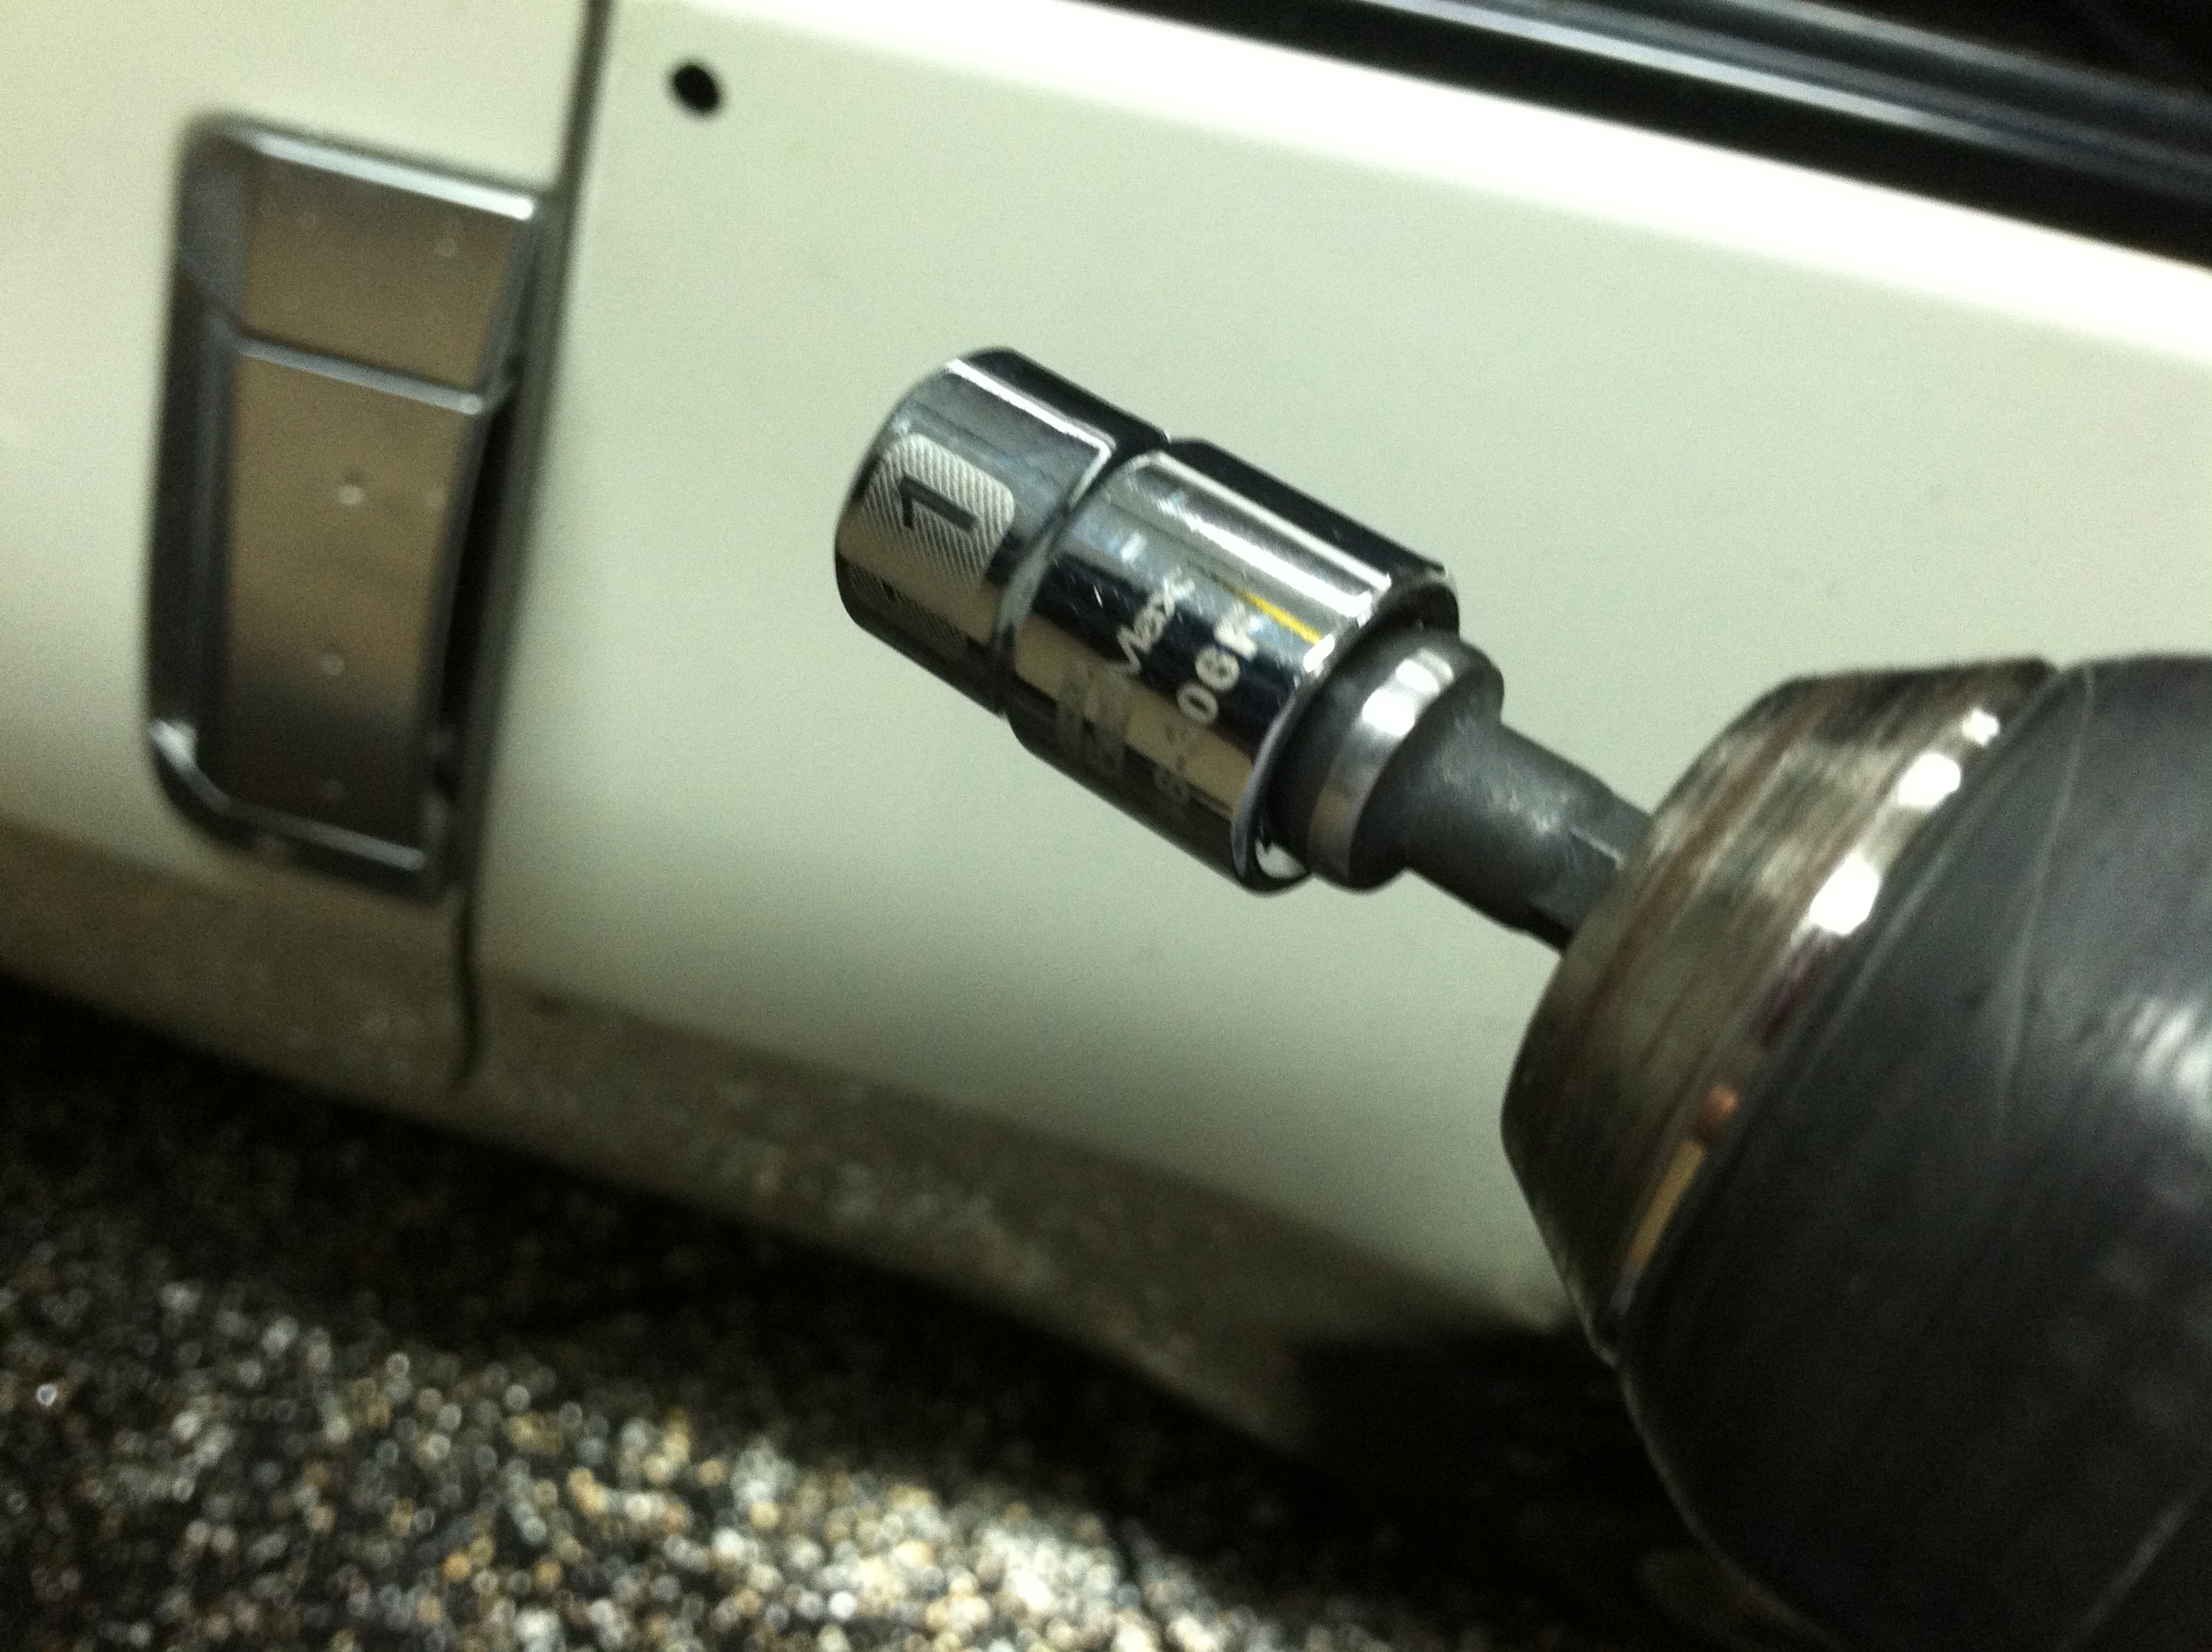
Picked up a socket to drill bit adapter so I can use my drill to install them.. Used a 11mm socket


Name:  IMG_4102_zps0868a93c.jpg
Views: 176
Size:  585.6 KB


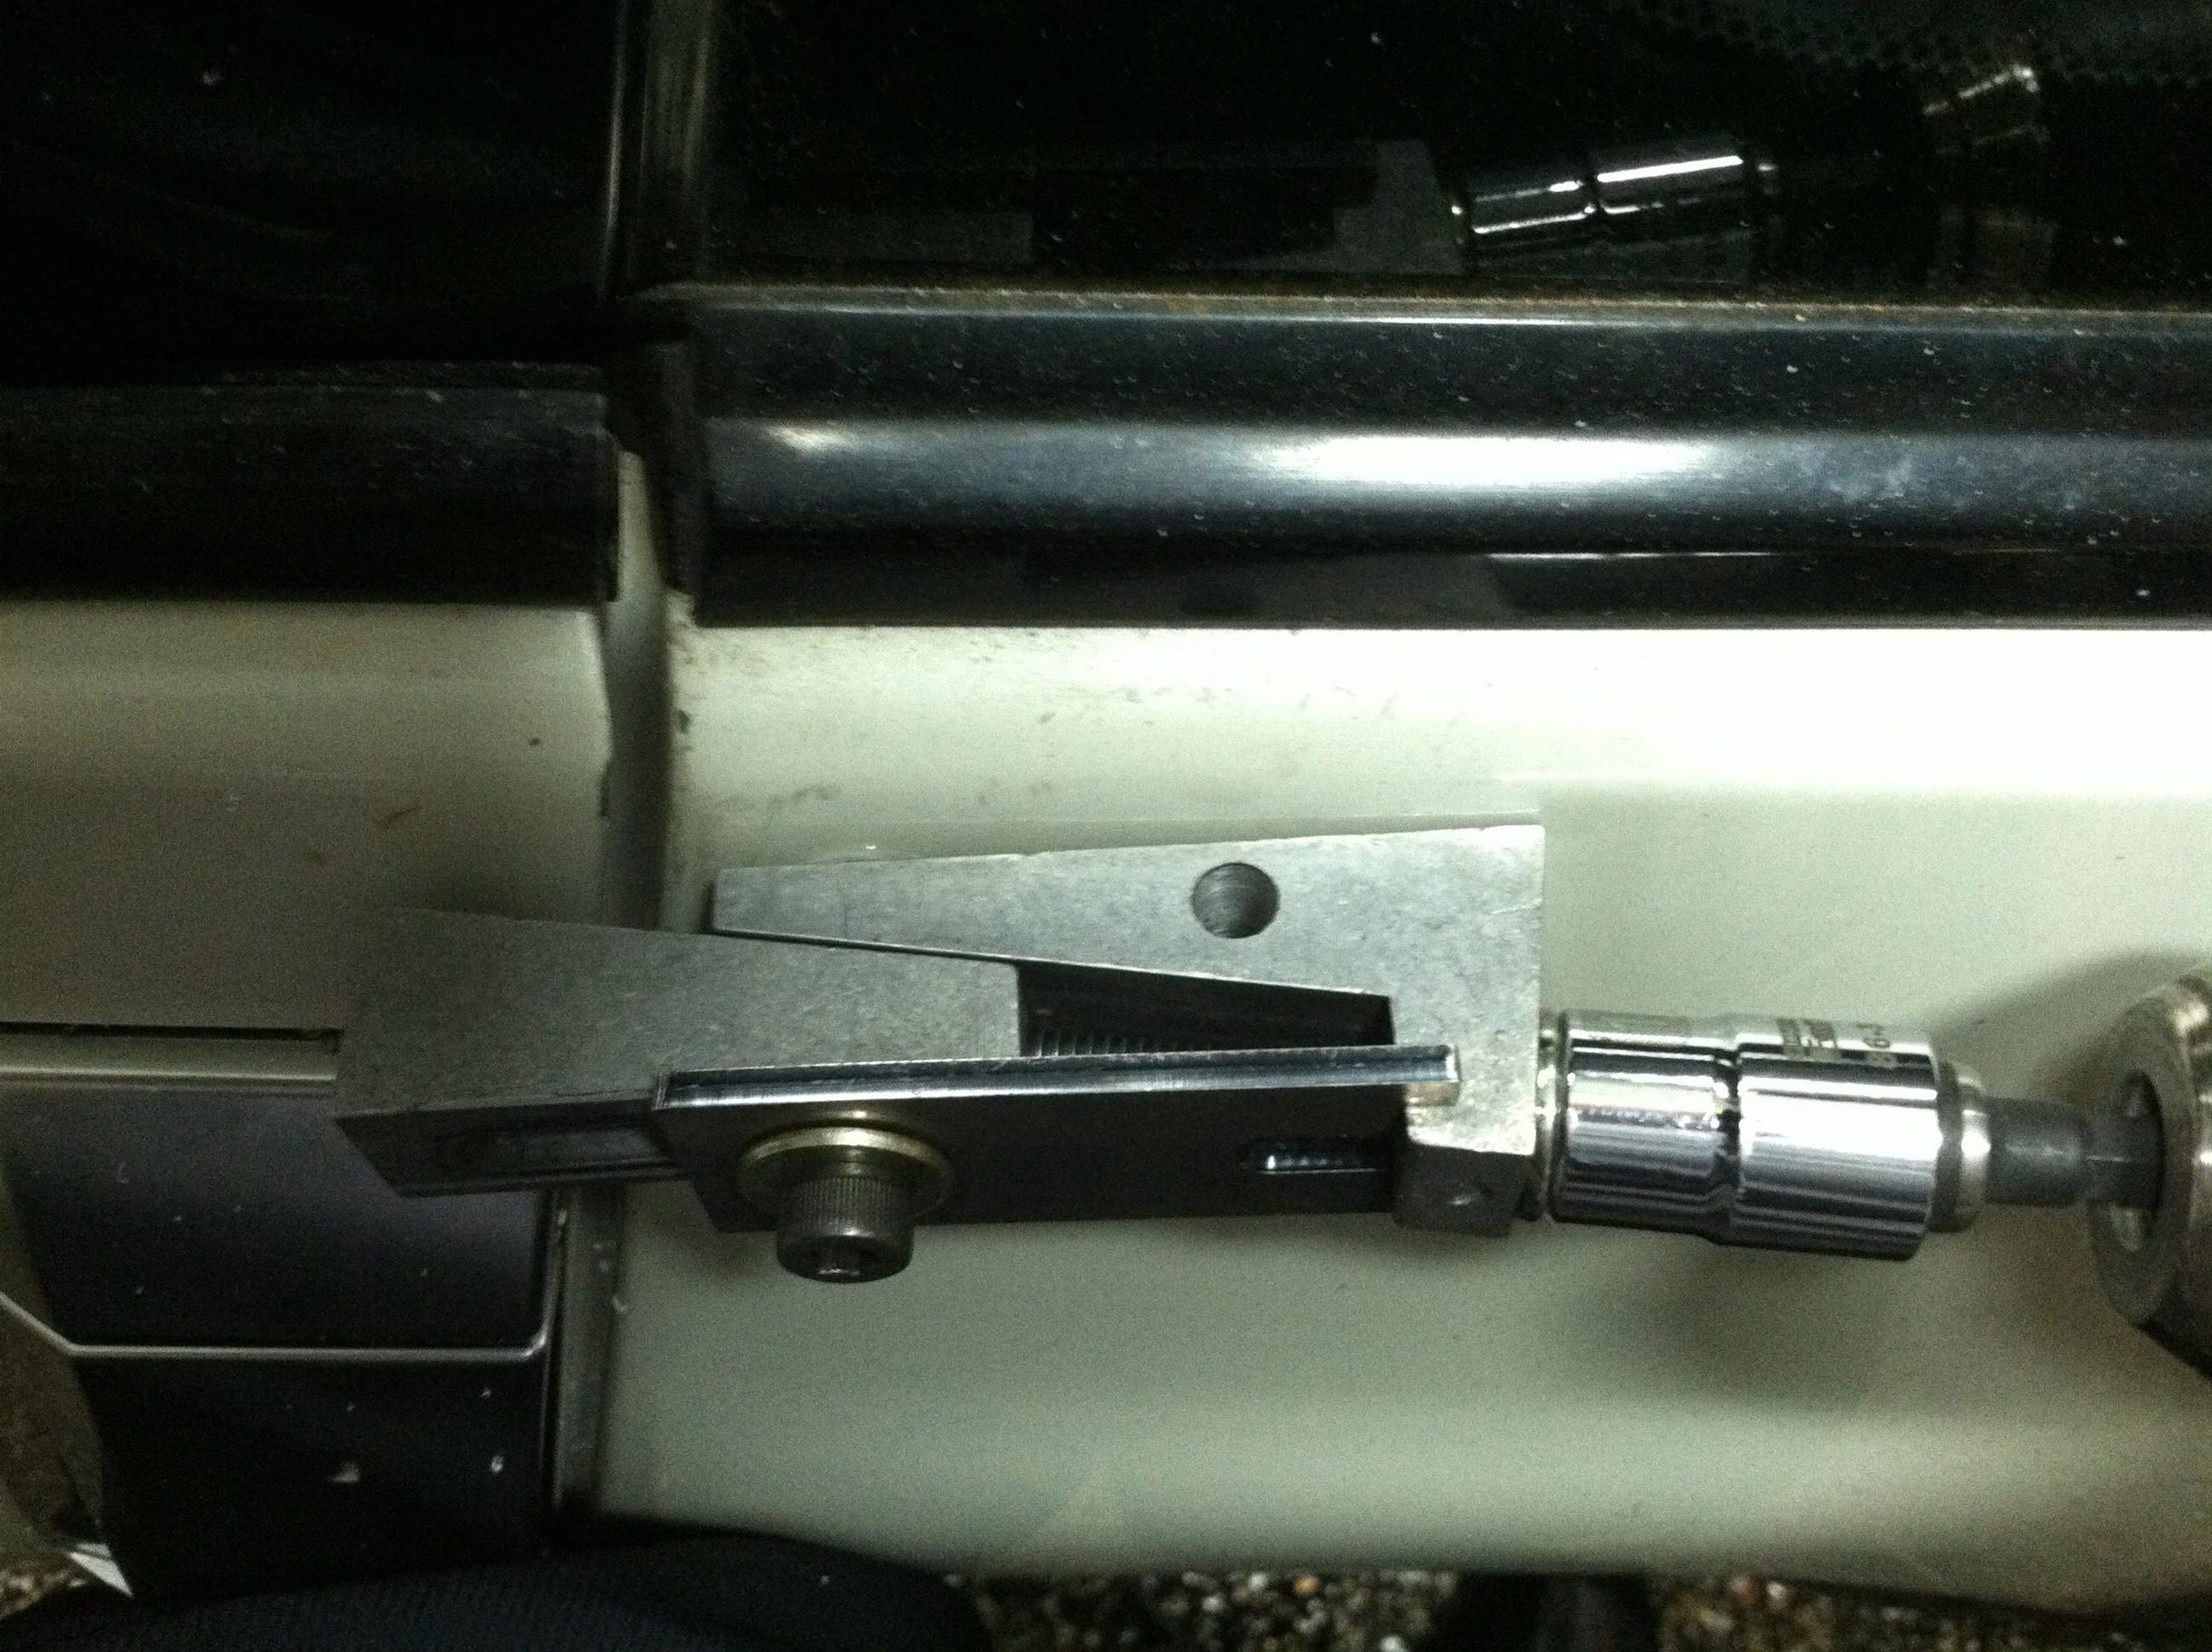
Getting ready to install the rivet nut. You are going to hold down the tool cause its going to want to twist on you if you don't


Name:  IMG_4103_zps202ab144.jpg
Views: 162
Size:  607.8 KB


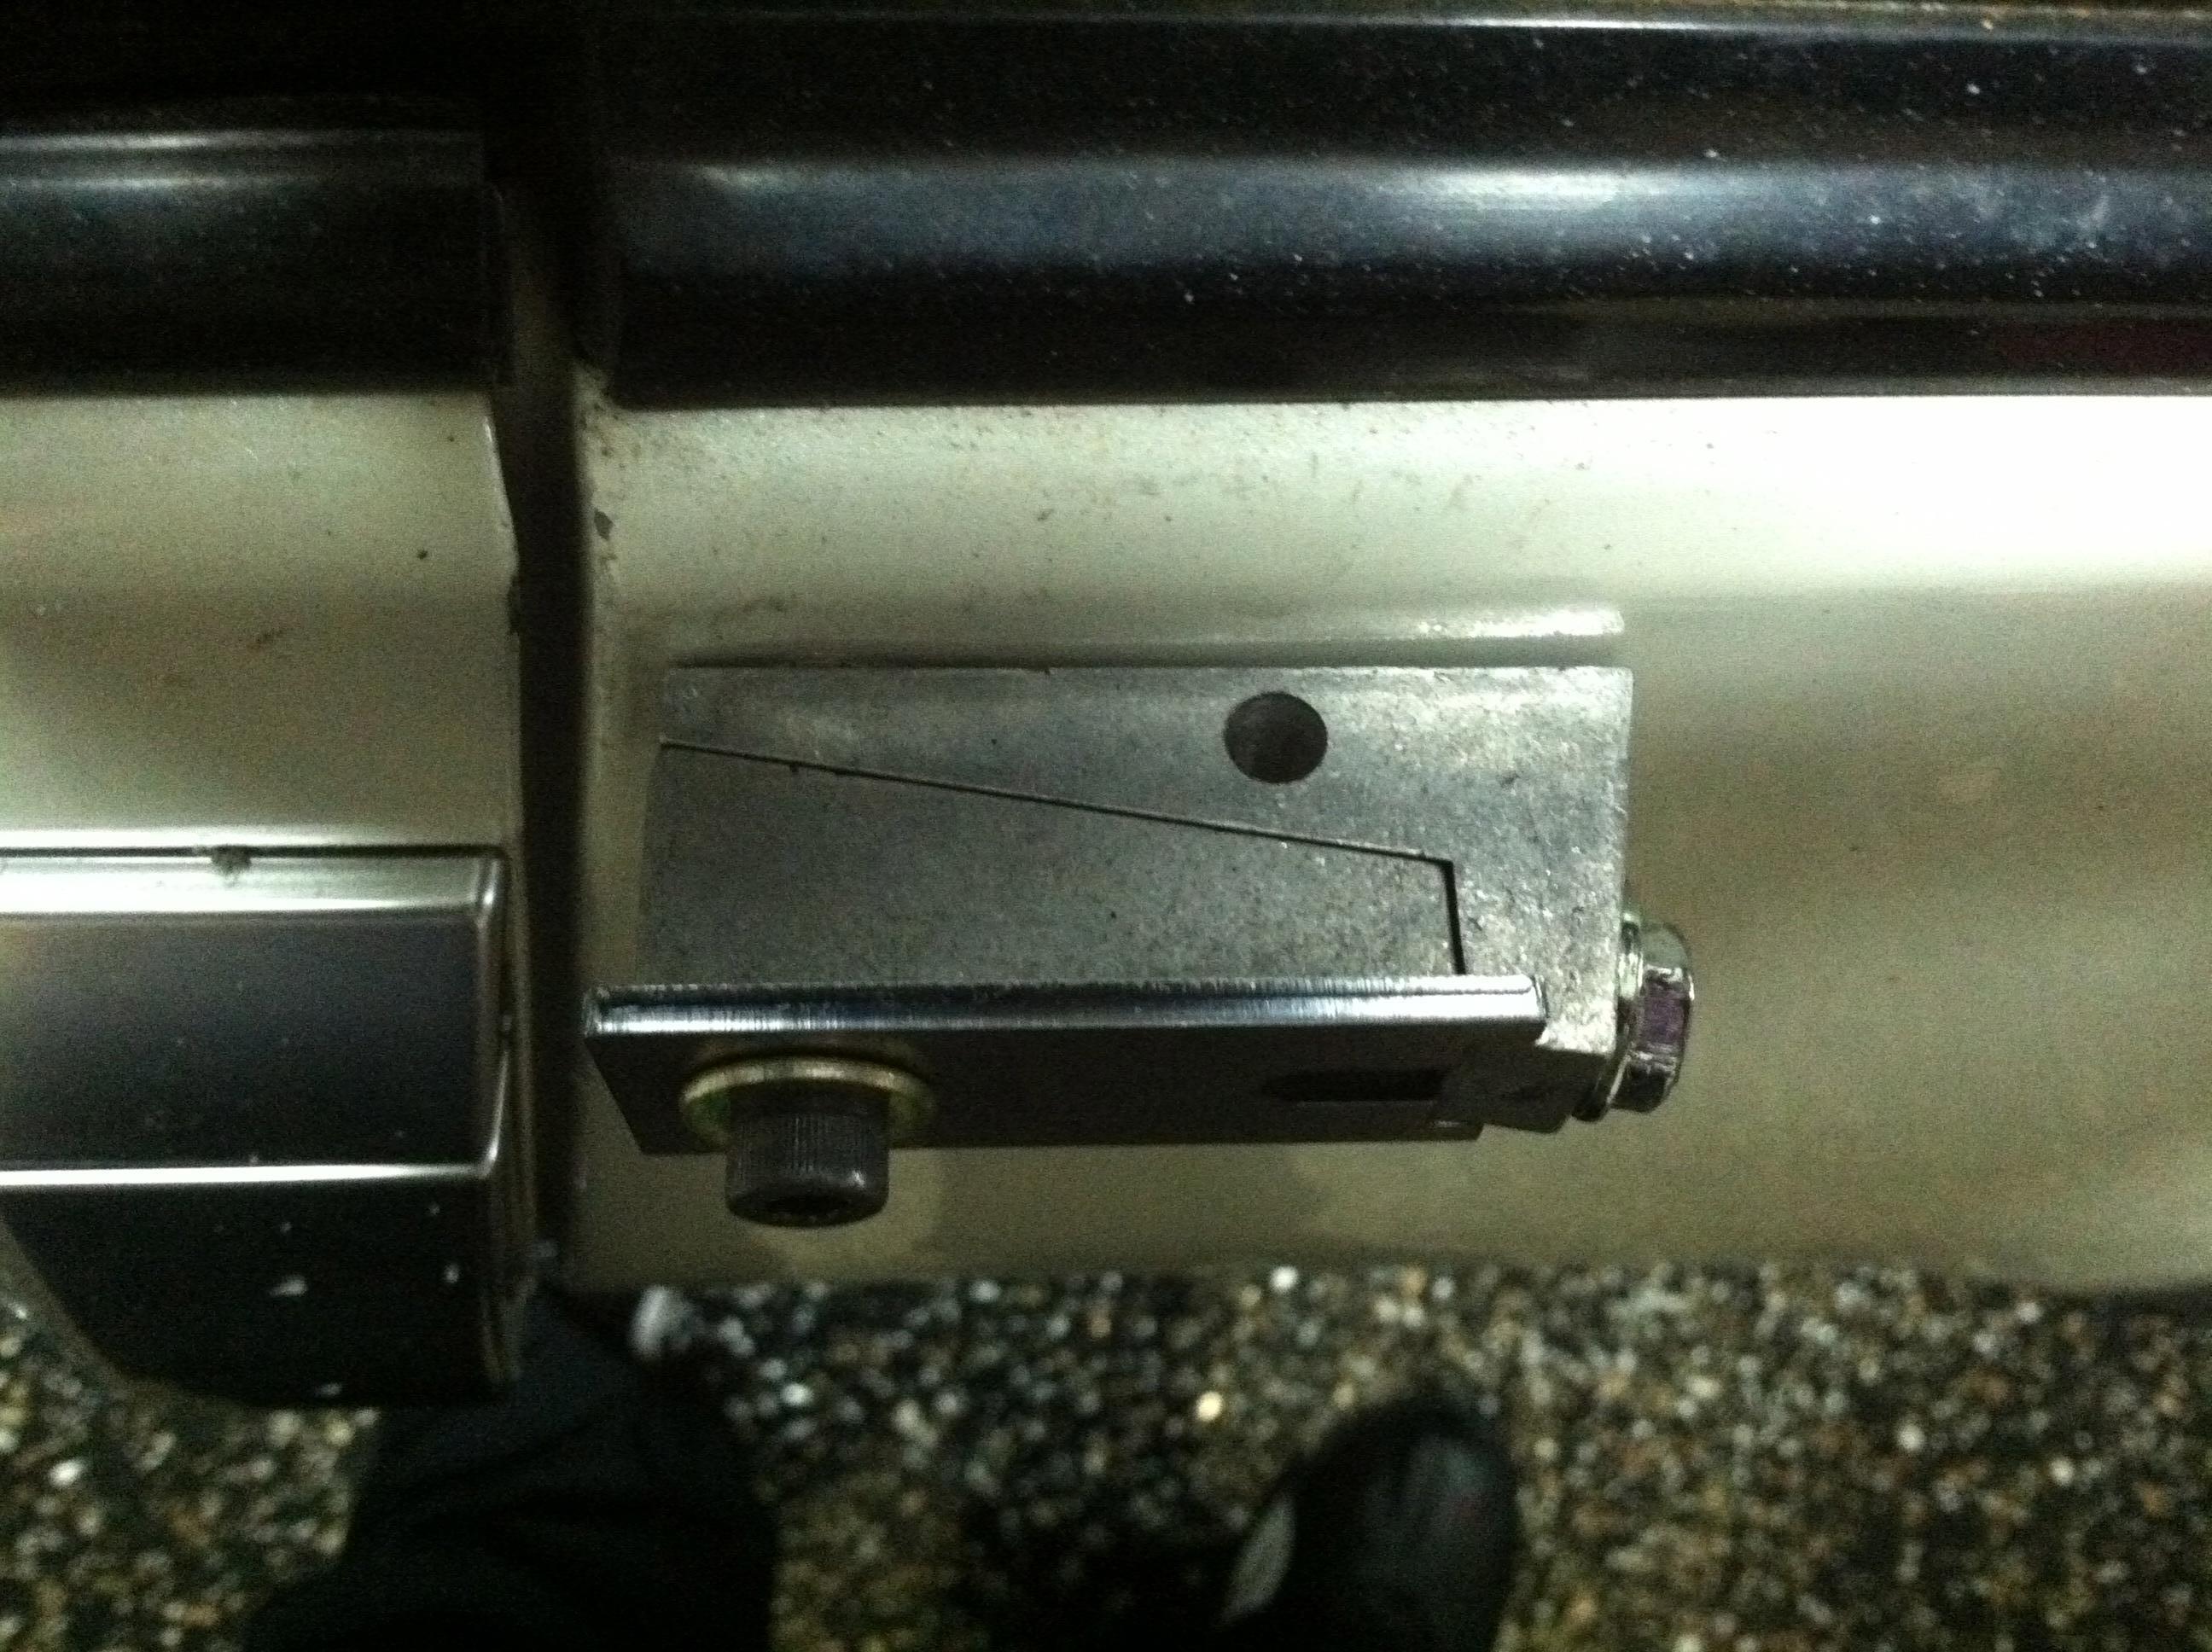
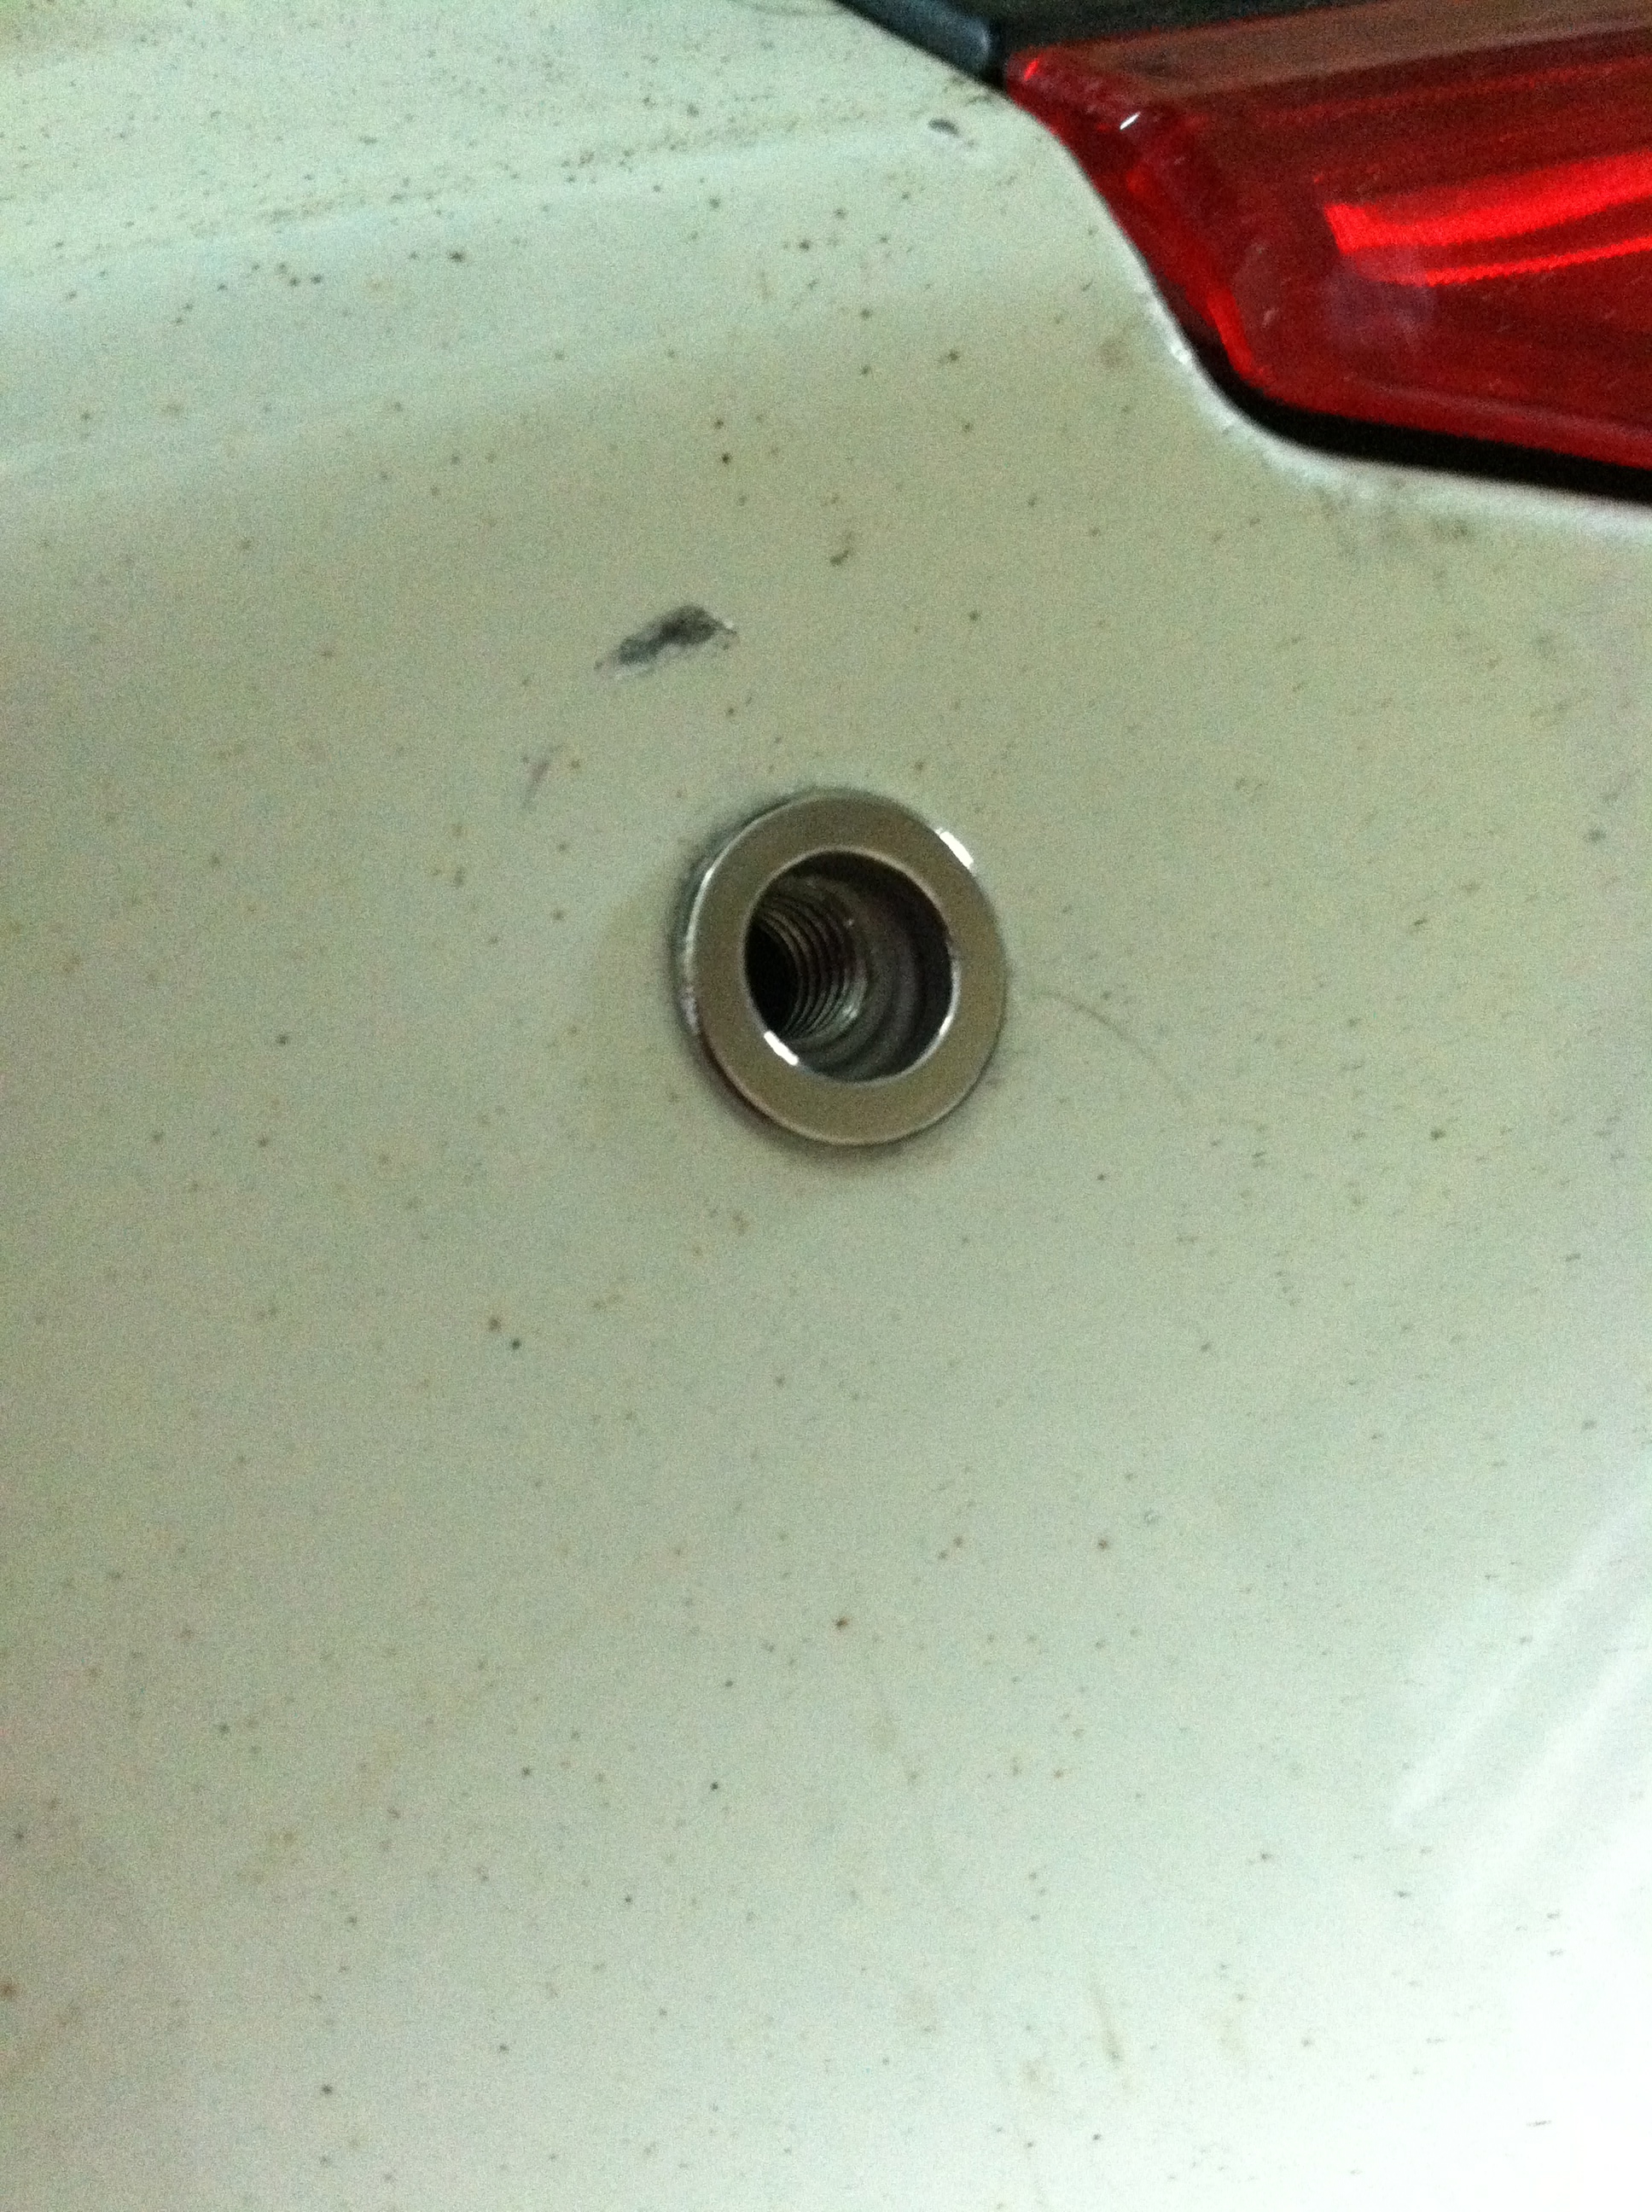
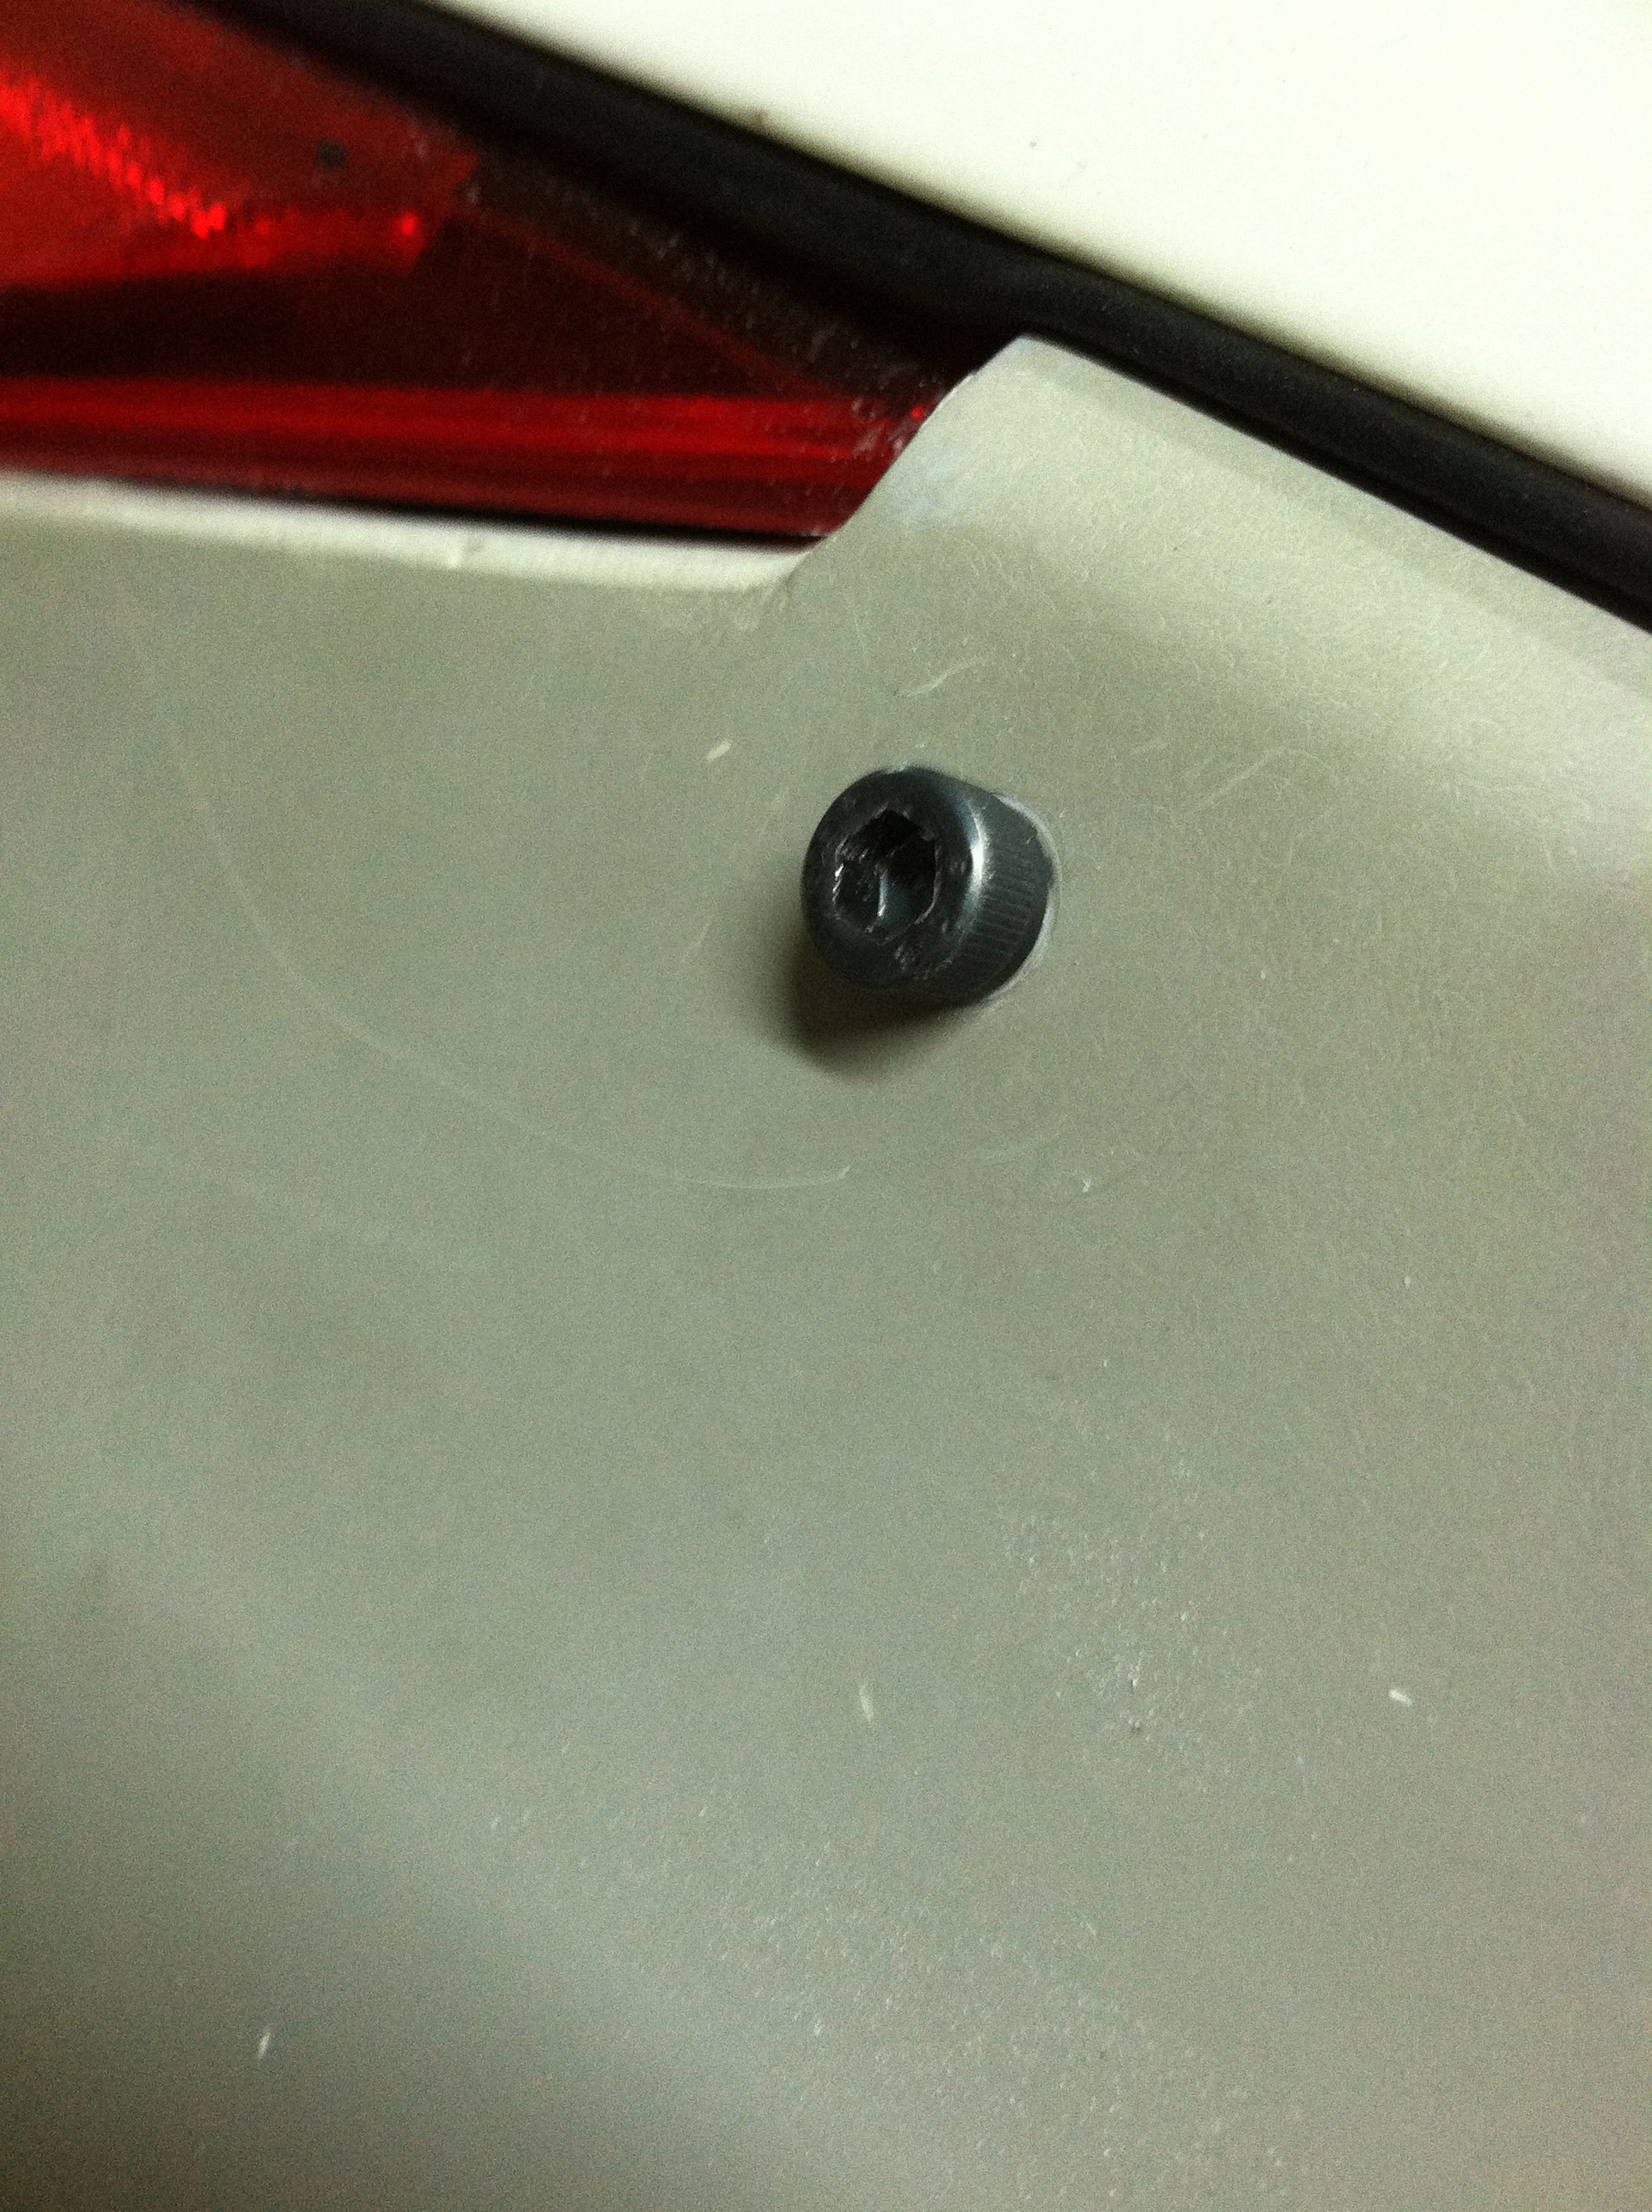
This is what it looks like once you have completed the install.


Name:  IMG_4104_zps97b73cc4.jpg
Views: 167
Size:  1.69 MB

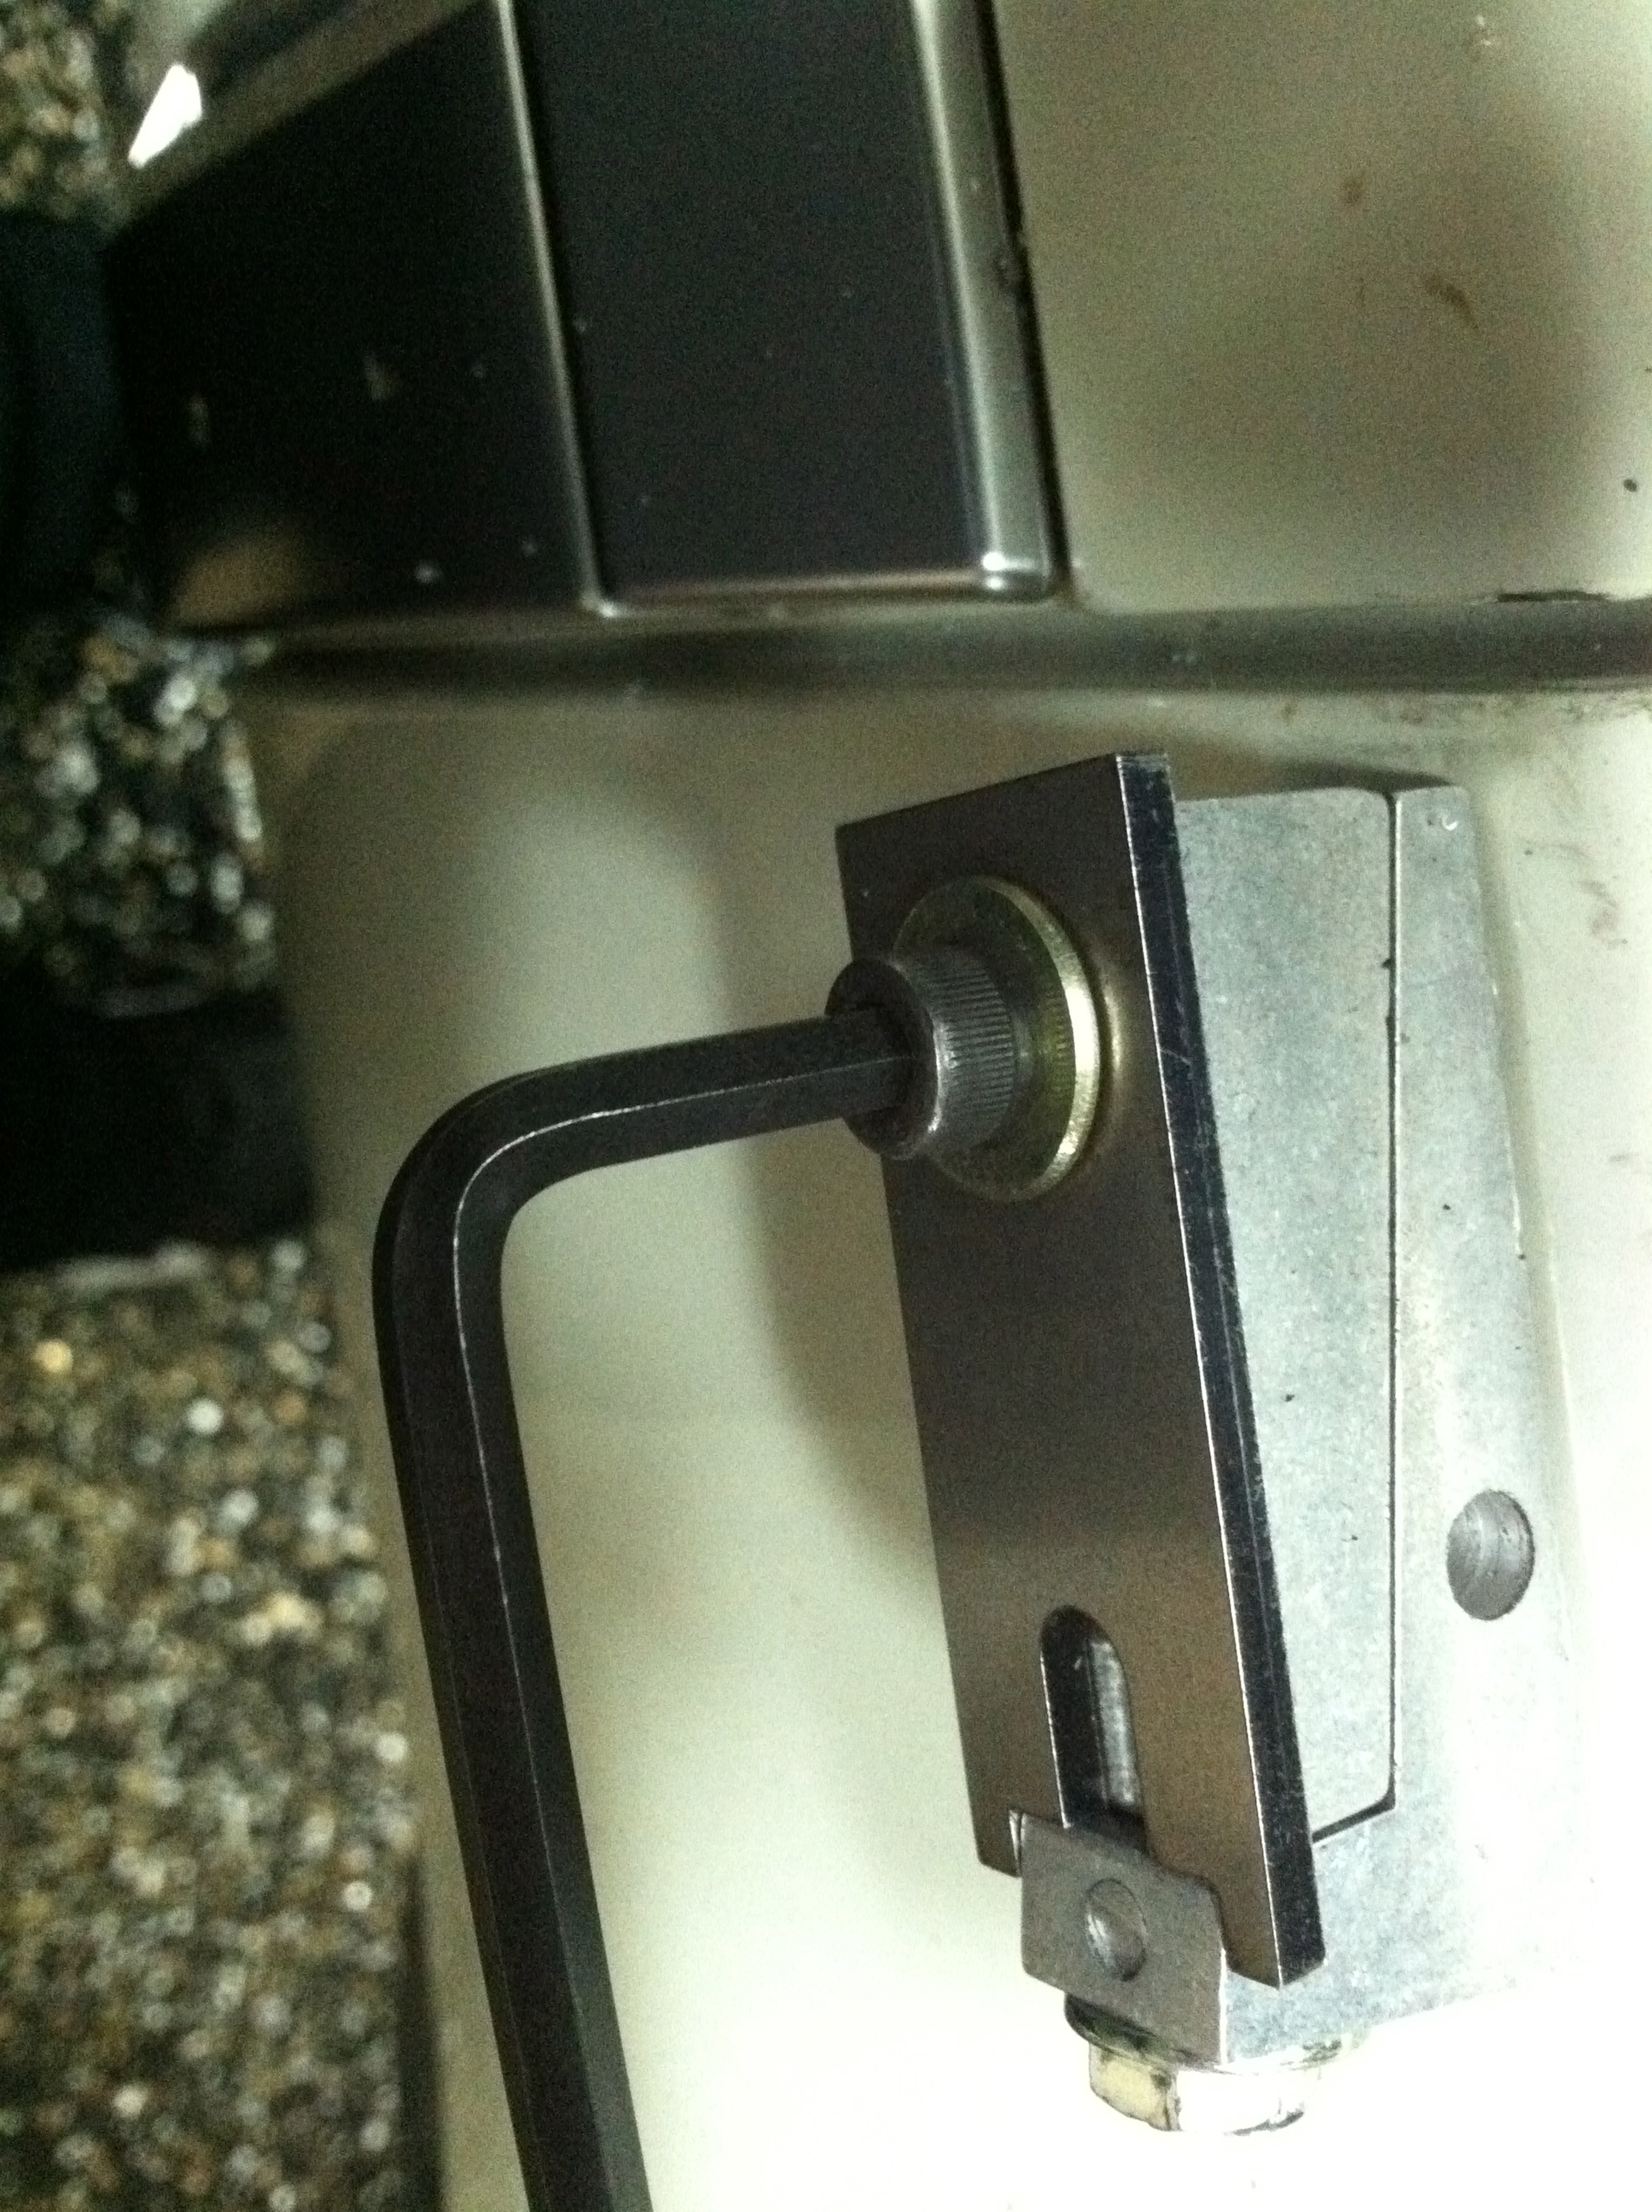
All you have to do is unscrew the 6mm from the rivet not add.....


Name:  IMG_4105_zps2e7d03ab.jpg
Views: 226
Size:  2.04 MB


BAM!!! we got a nice little rivet nut..


Name:  IMG_4108_zpsbc9c33b0.jpg
Views: 143
Size:  1.60 MB

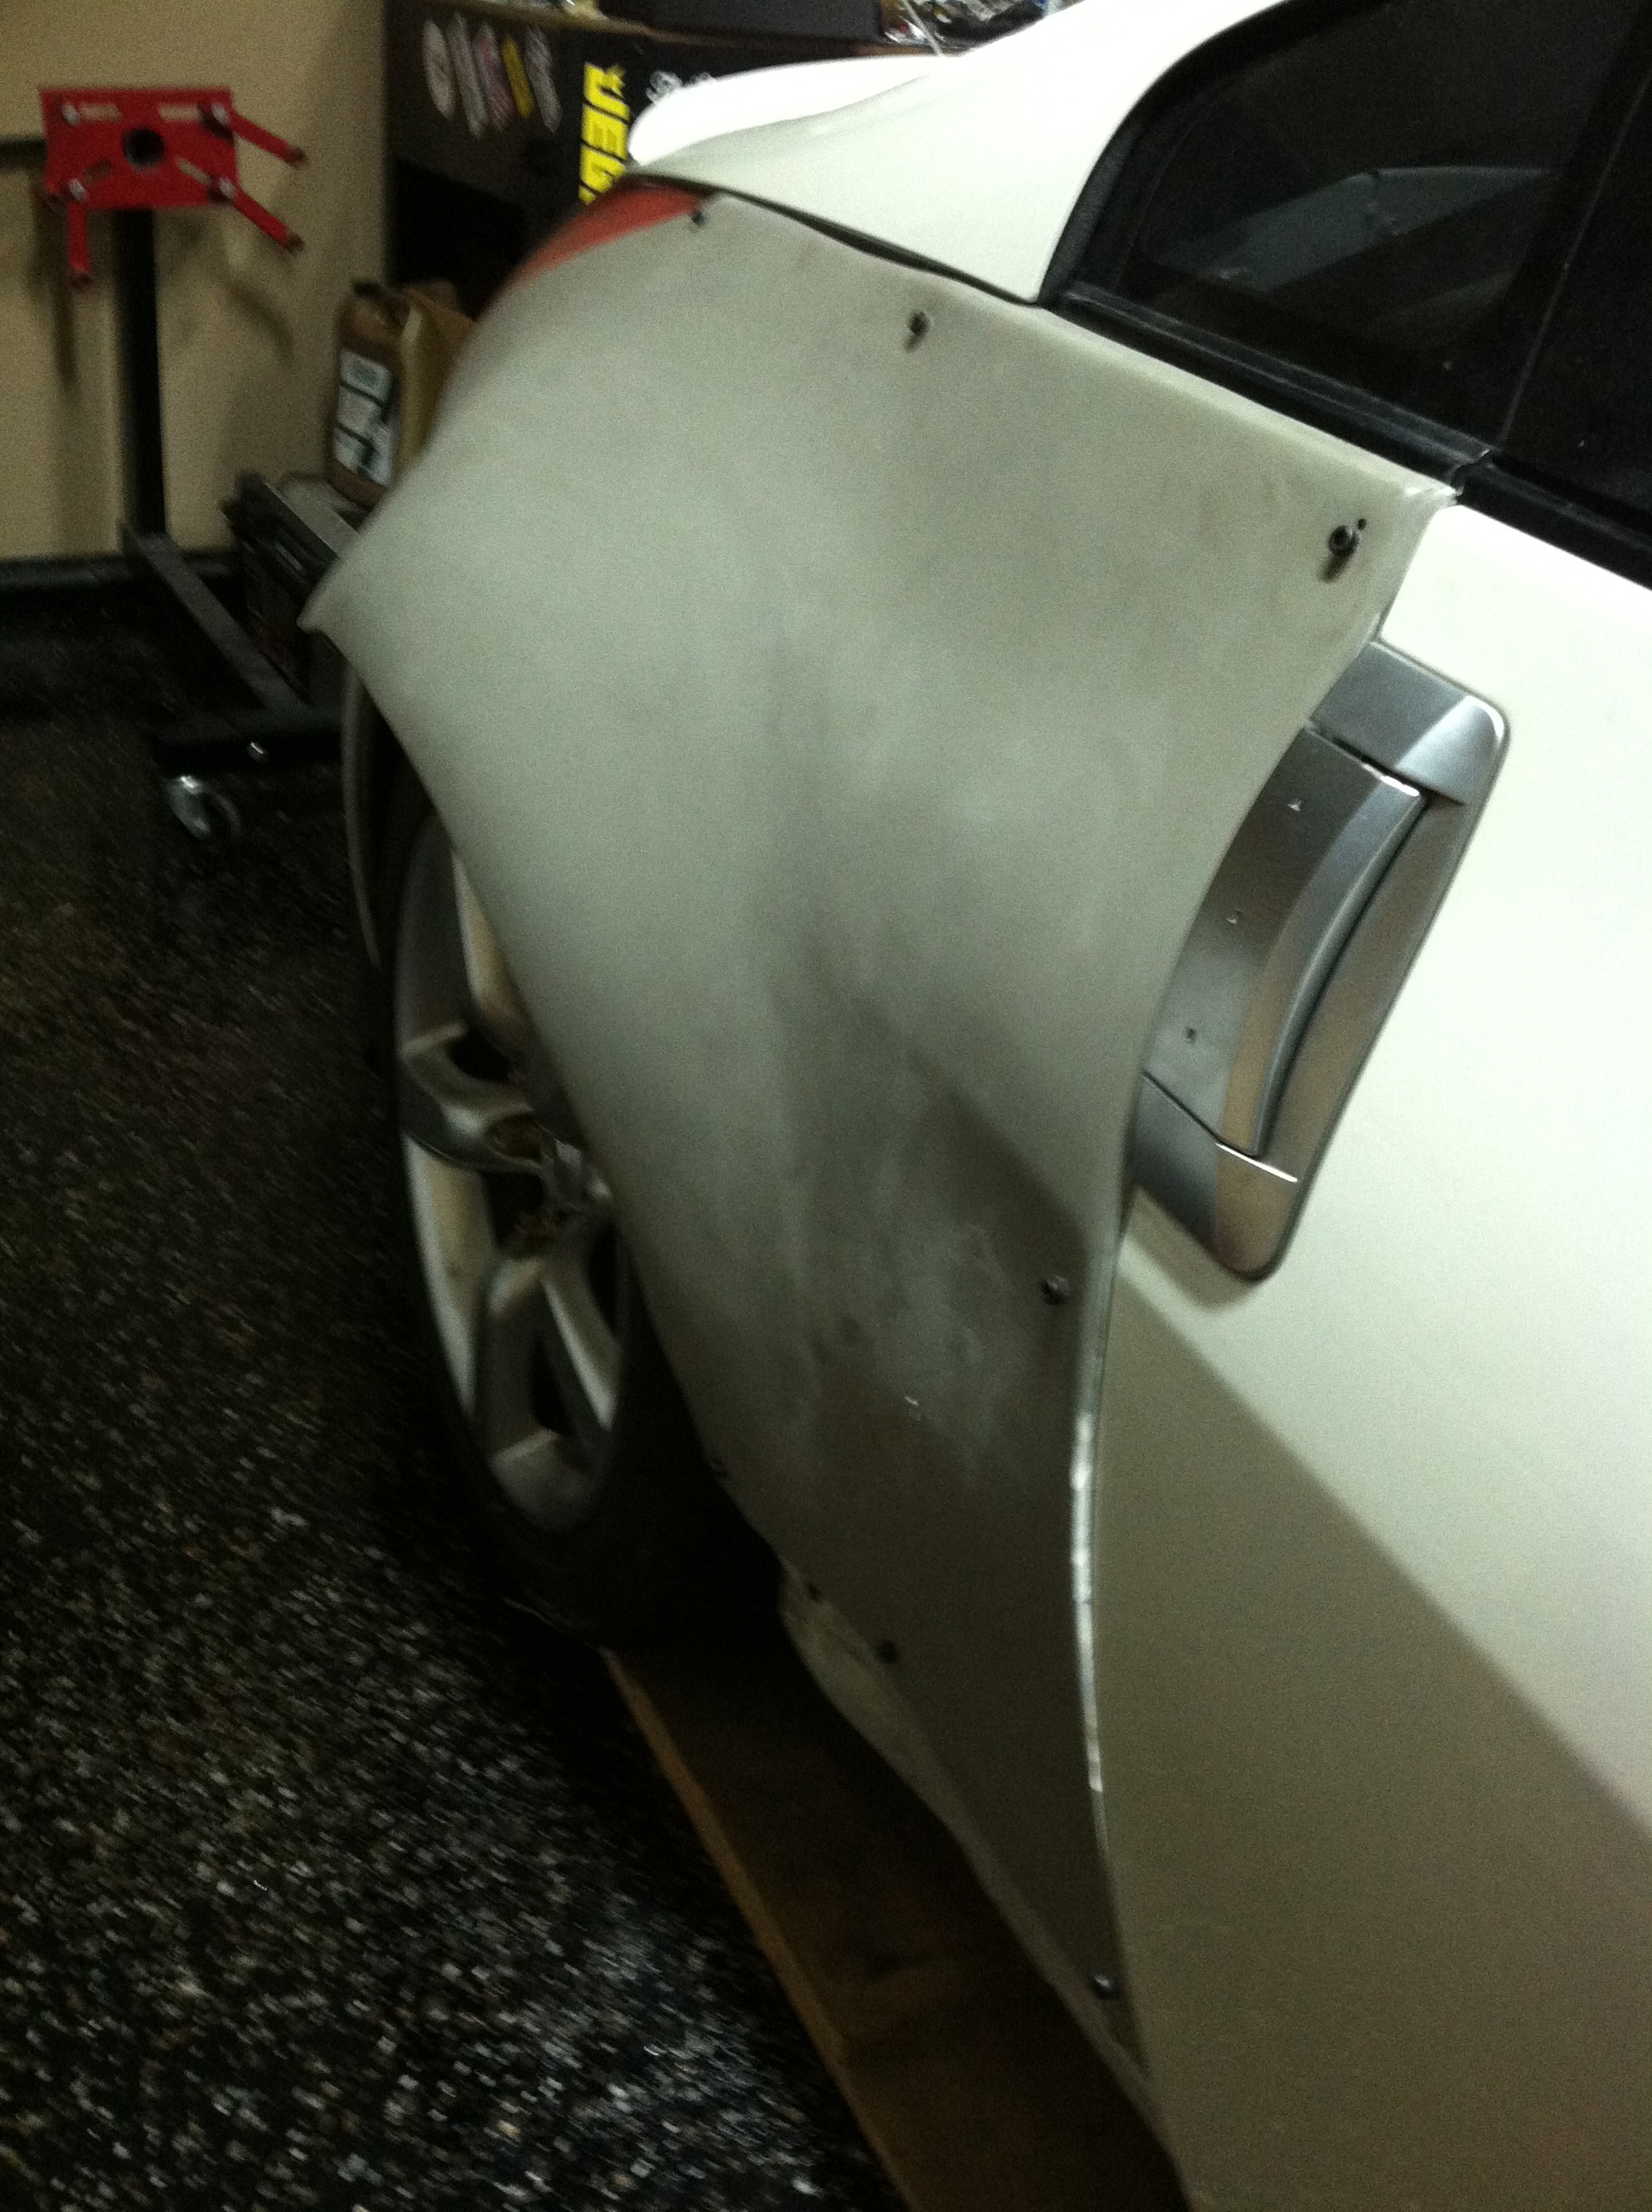
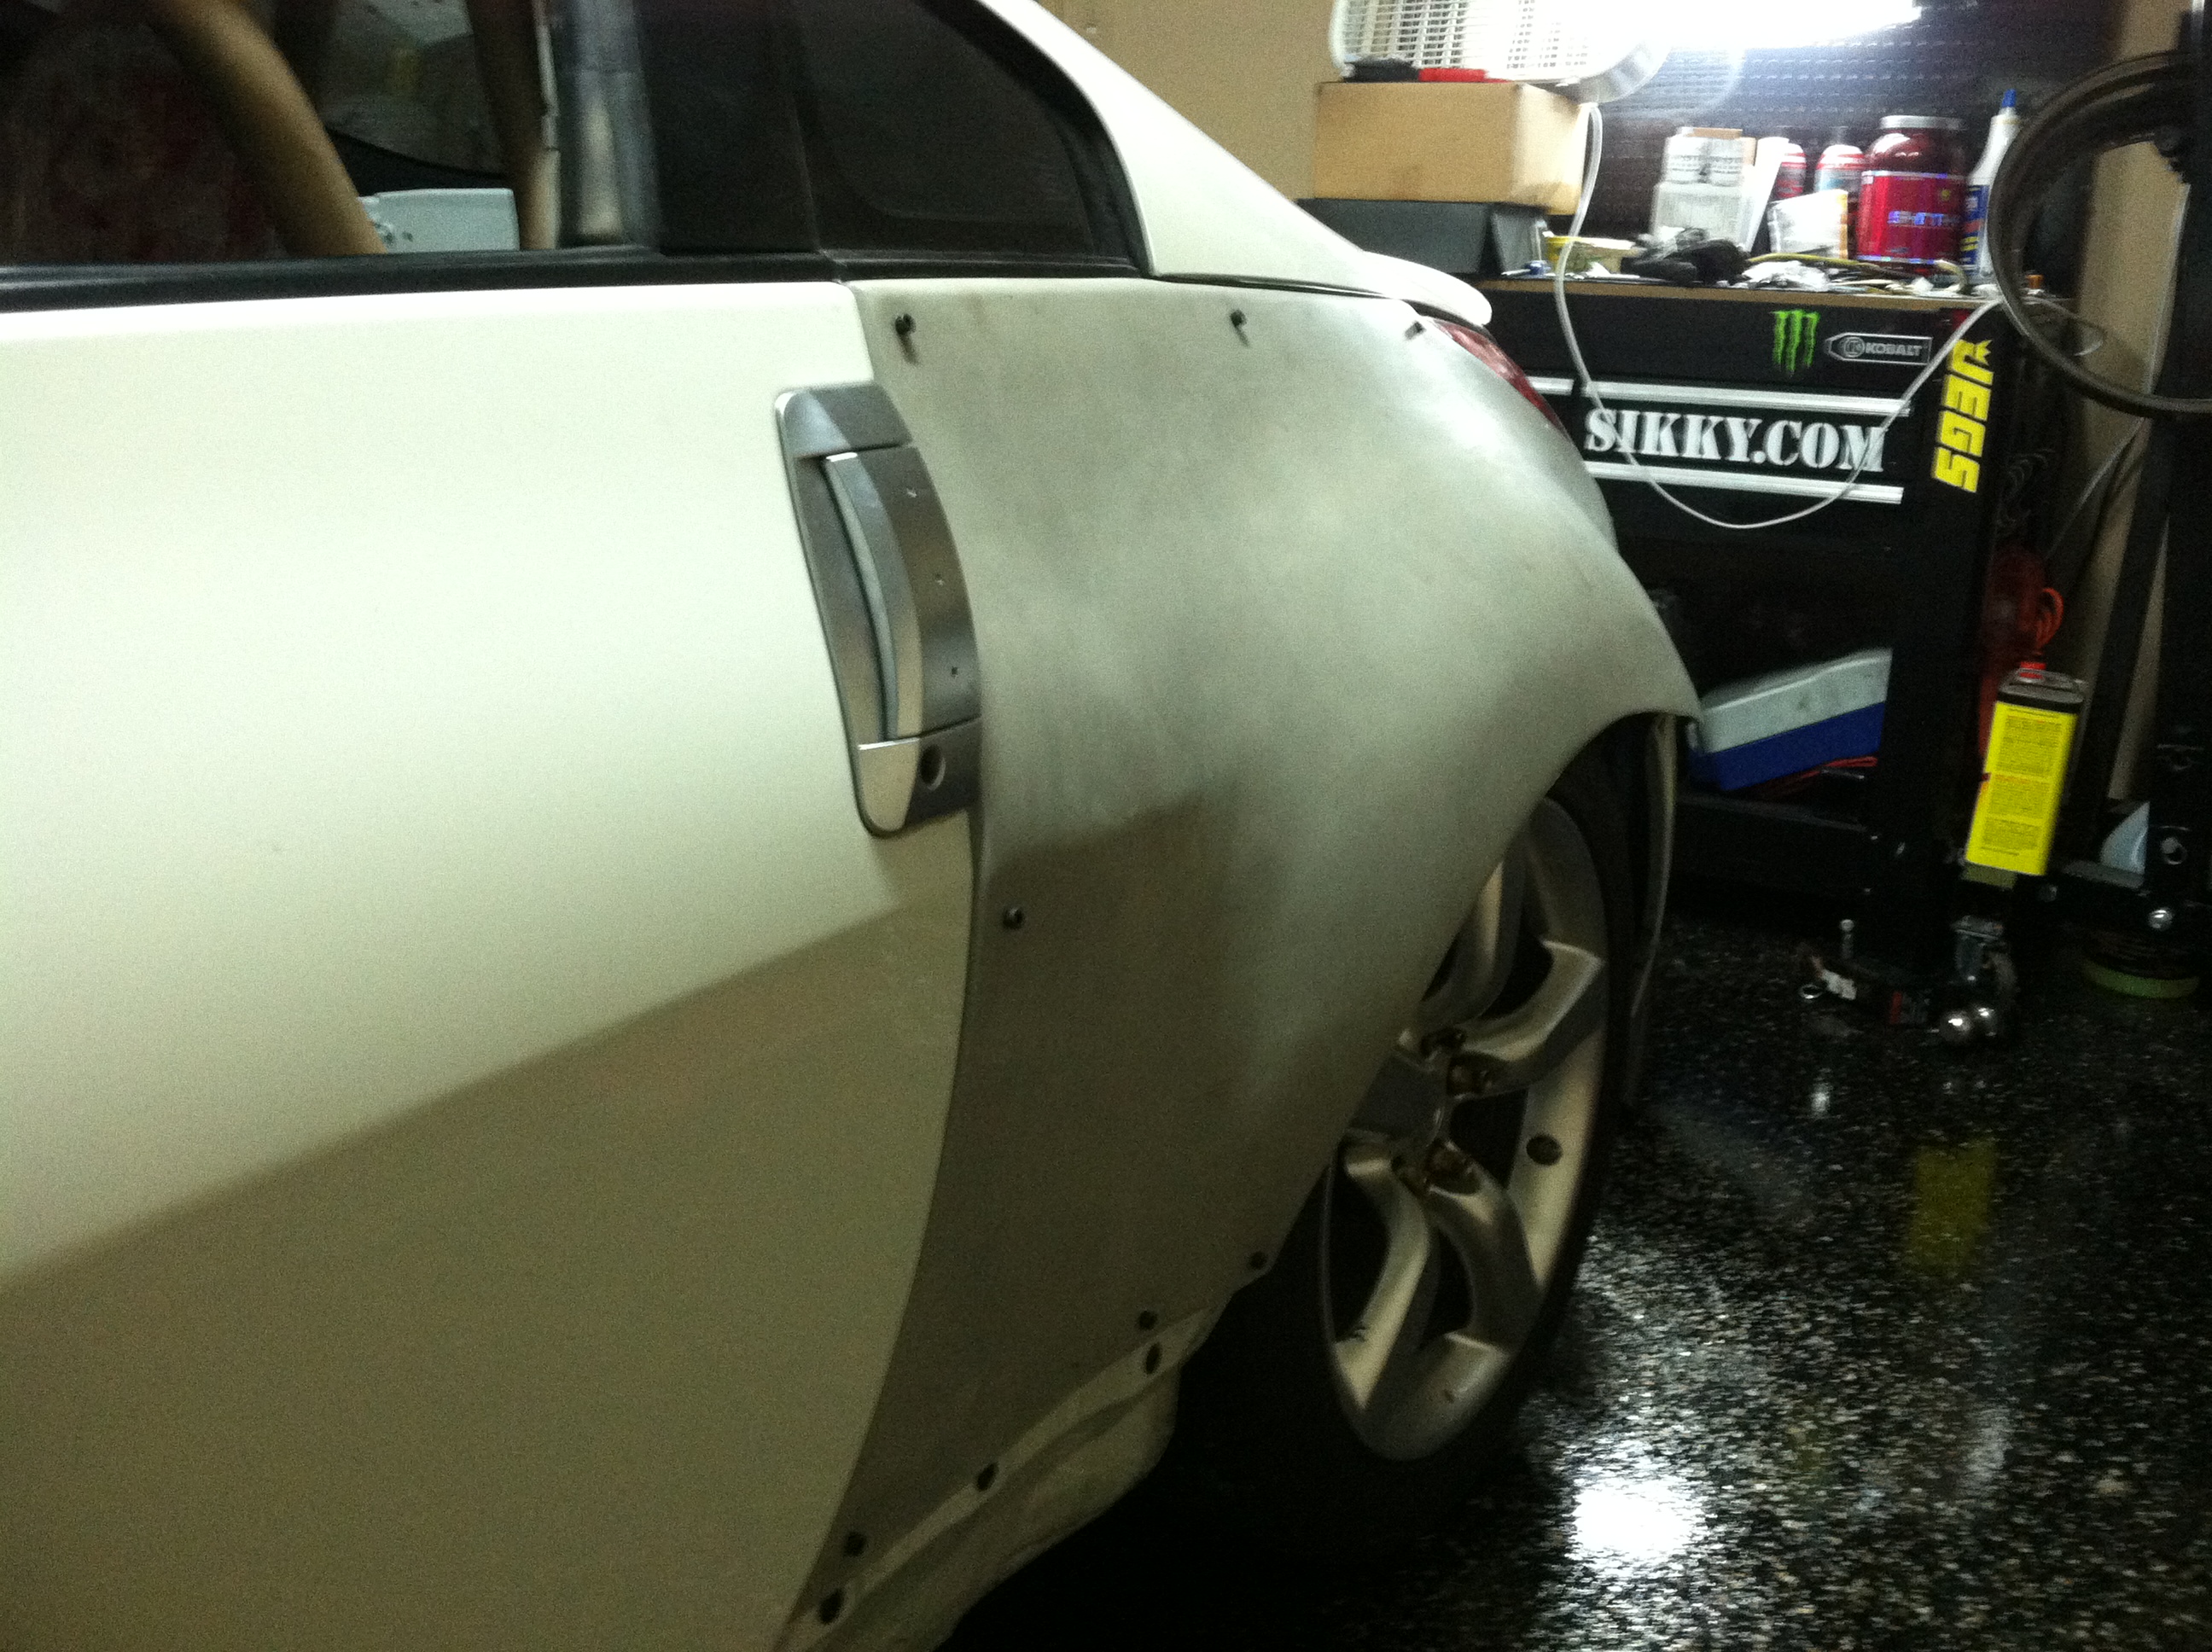
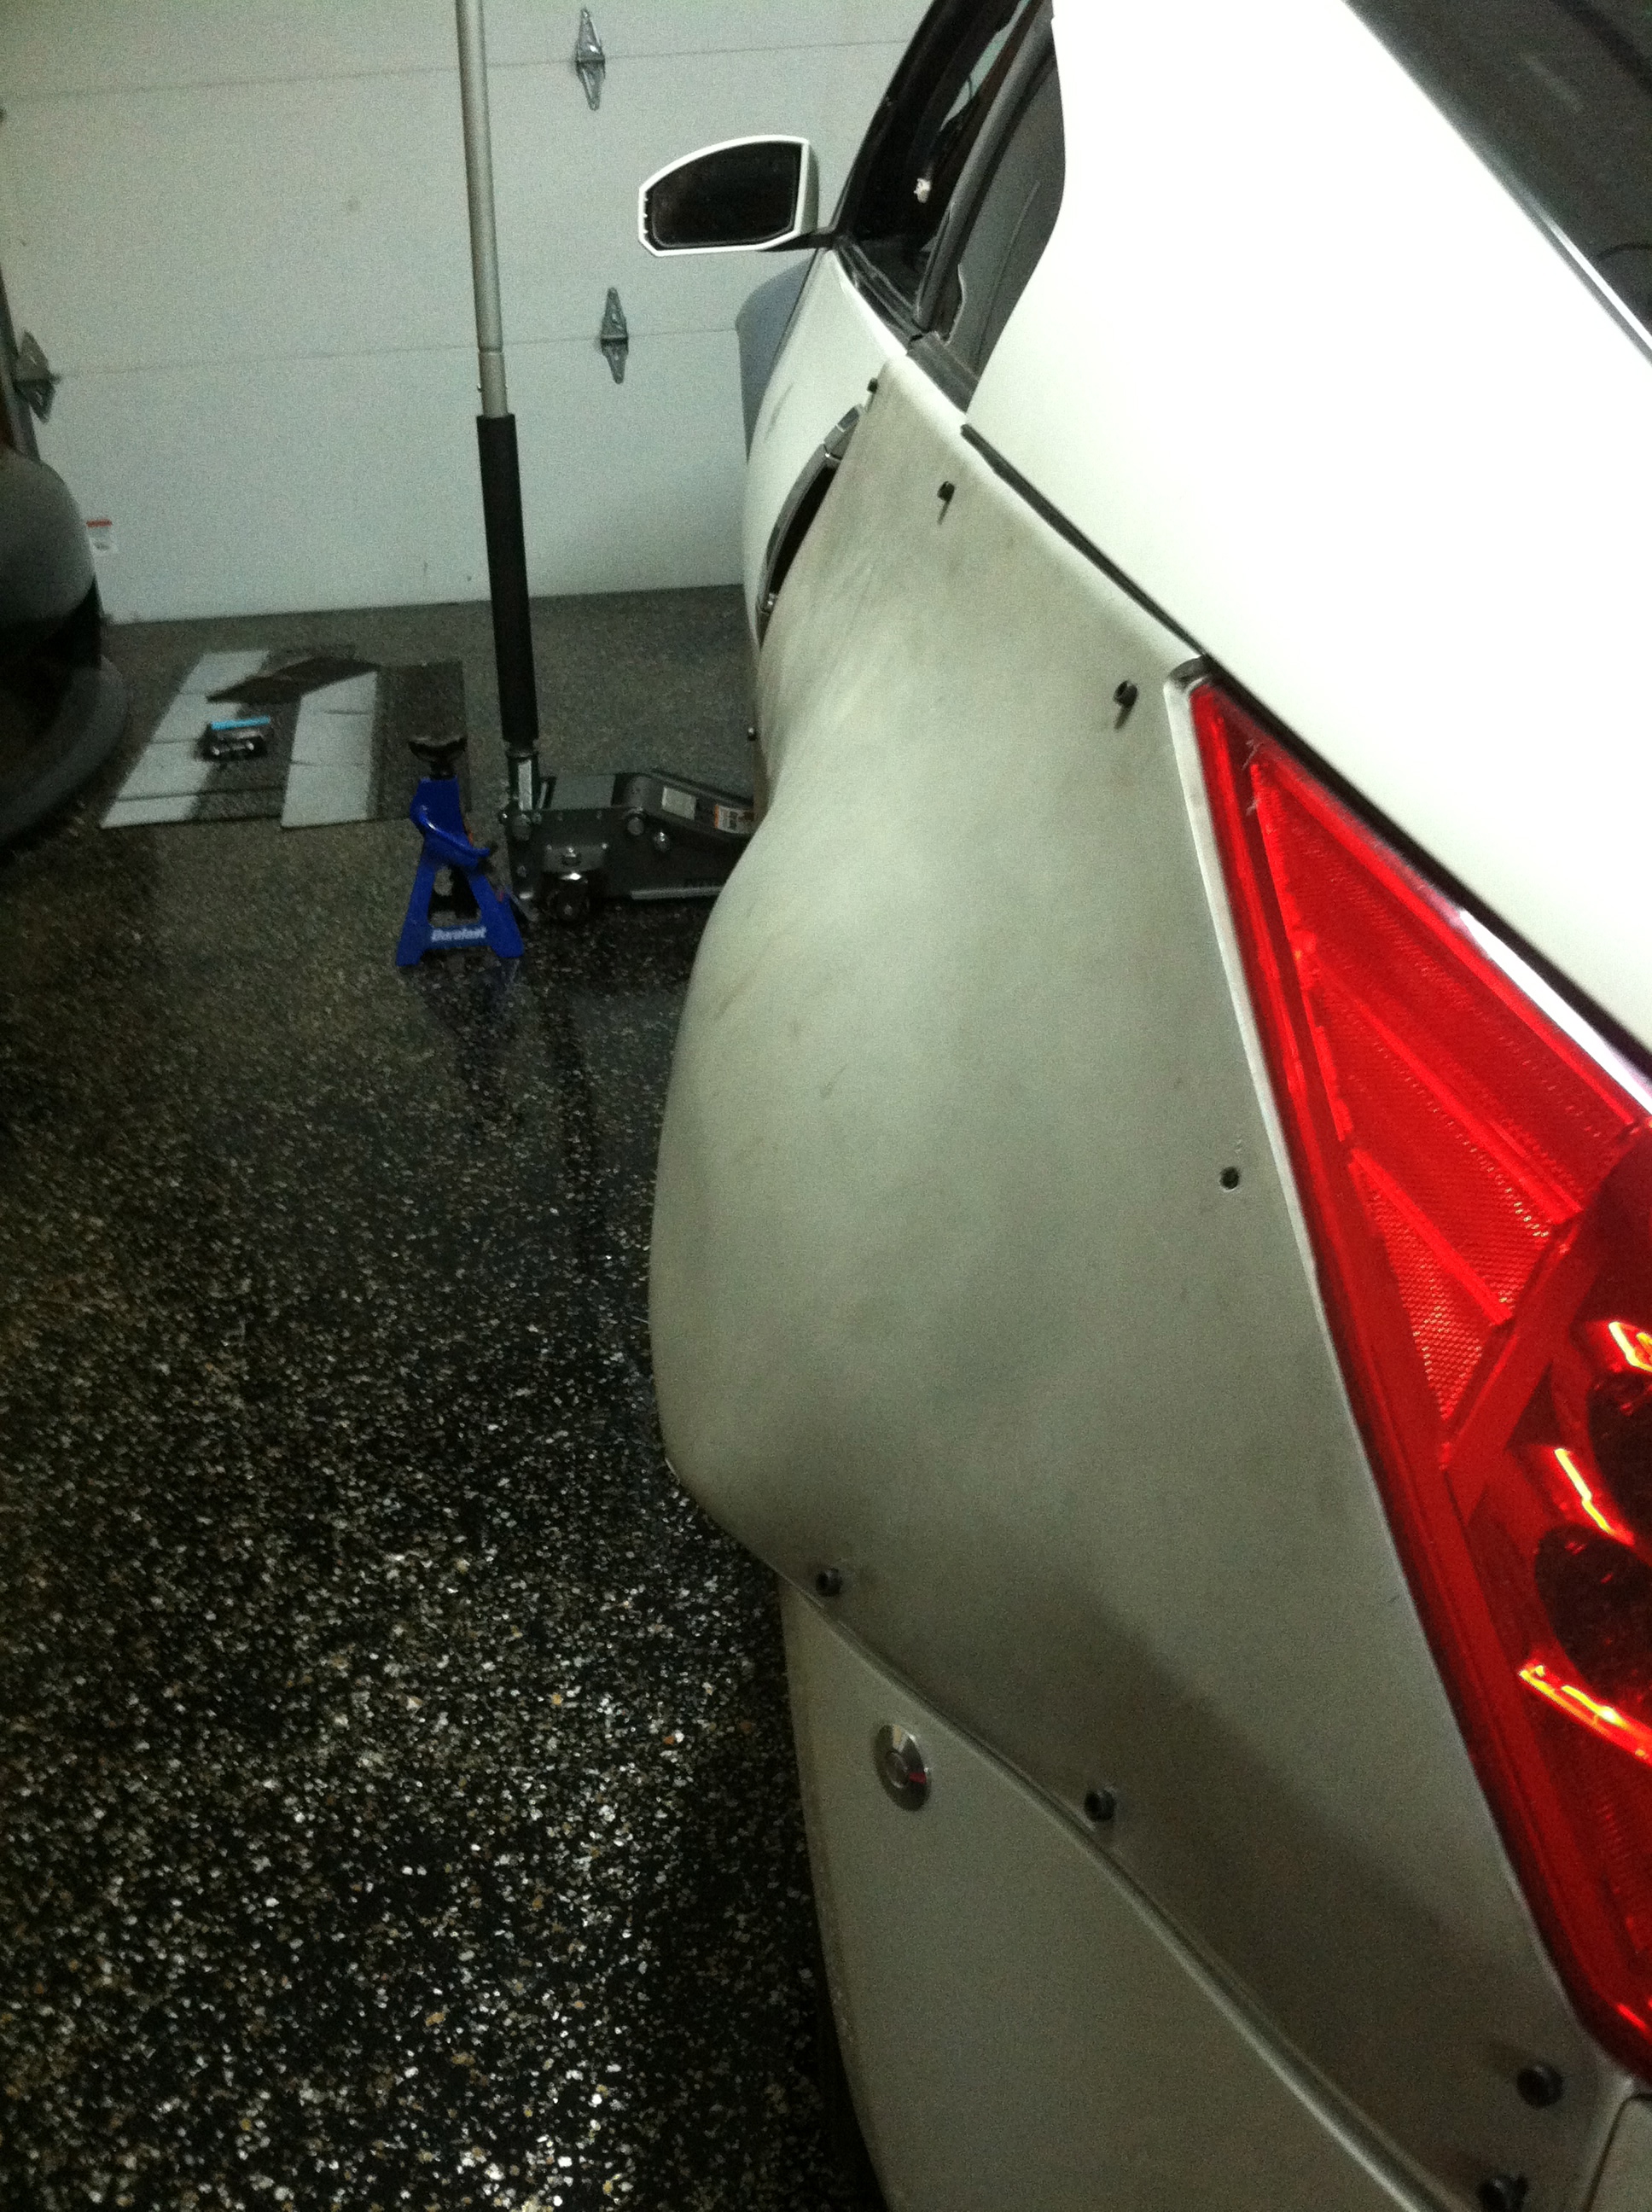
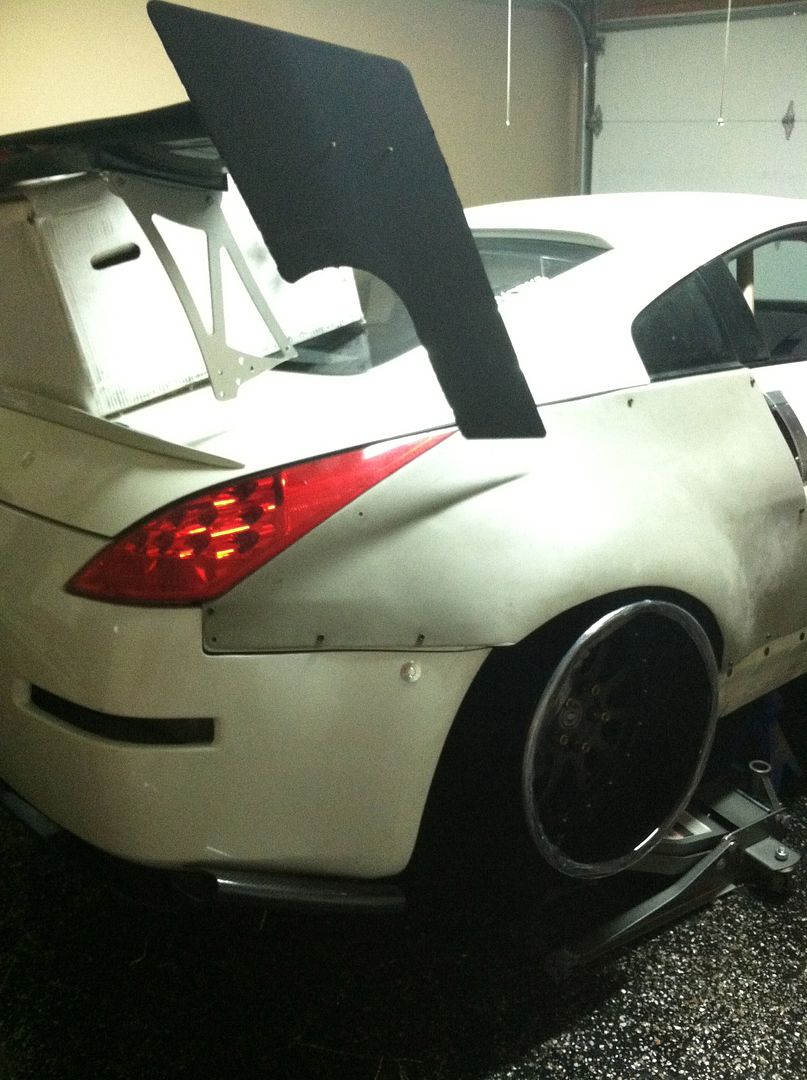
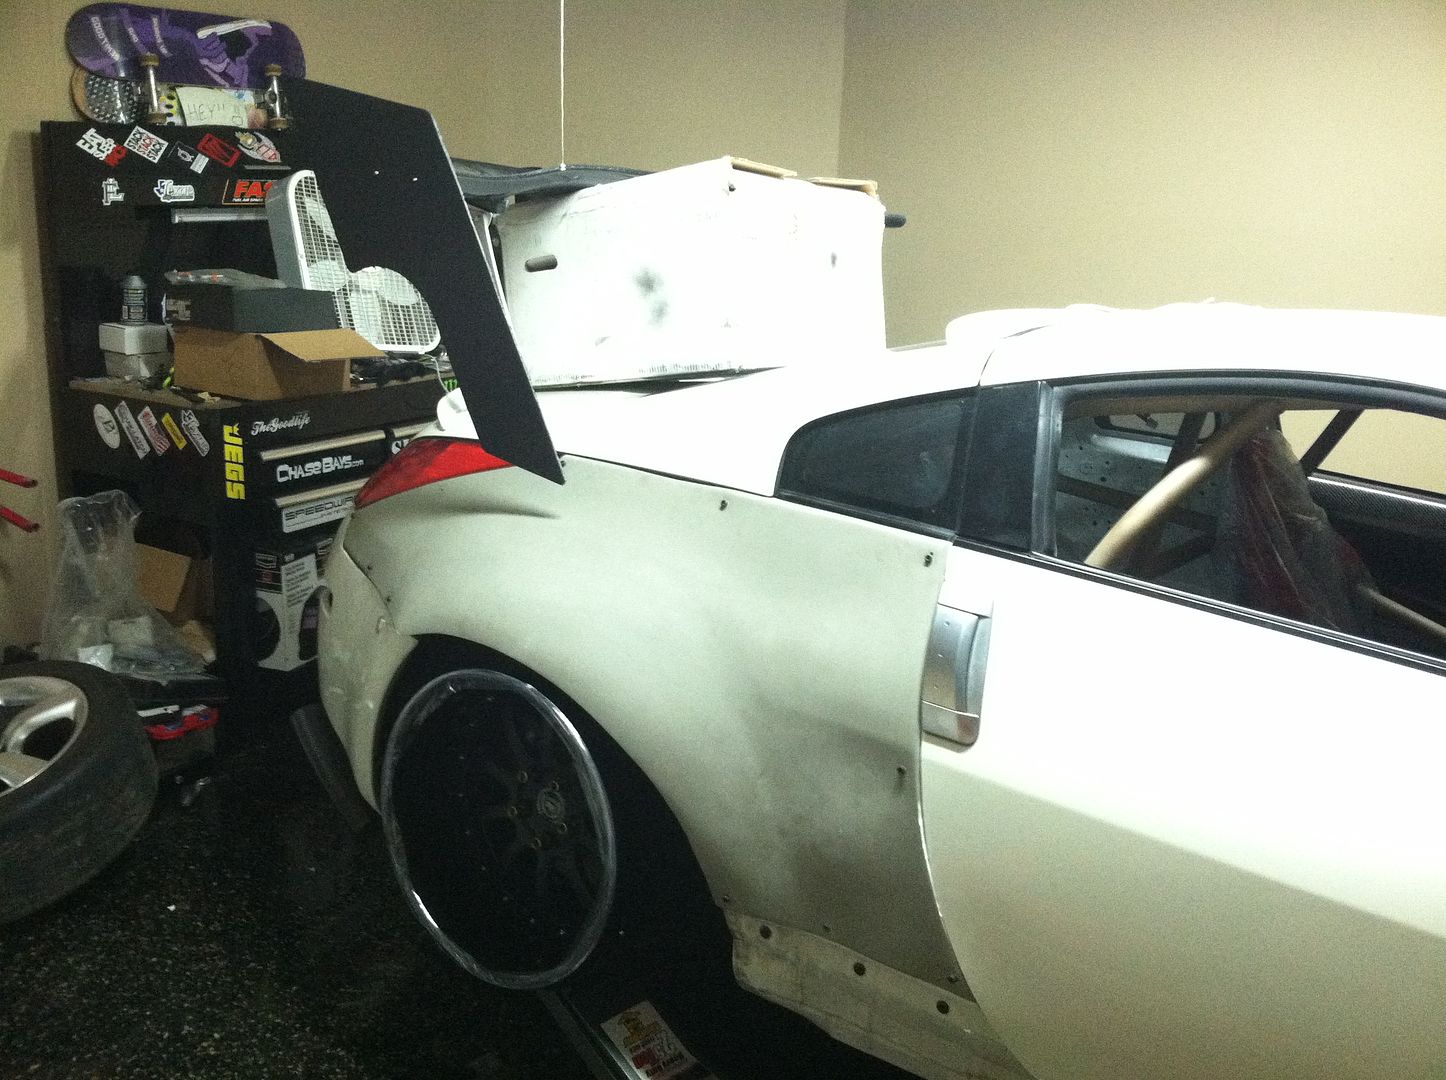
After I installed all 24 rivet nuts, 12 on each side. I mounted the over fenders.

Name:  IMG_4106_zpsf4b8cc65.jpg
Views: 159
Size:  1.71 MB


The other side

Name:  IMG_4107_zps354aded9.jpg
Views: 139
Size:  1.81 MB

Name:  IMG_4109_zps5d411006.jpg
Views: 189
Size:  2.06 MB


At the moment I am using these temp allen bolts to make sure everything is good.. Later I will install these:


NEO Chrome bolts.. should look pretty good..


Reply 1
Dec 10, 2014 | 10:42 AM
  #519  
Name:  10857831_10202948849792007_3109284947186583971_n_zps967d2ba5.jpg
Views: 155
Size:  128.0 KB

So I just linked up with a guy named Shawn that does a lot of CF work for Indy cars, we are going to be working on a few things on the Z but the first thing that is up to bat is my EndPlates. Here is a little tease on what we are working on for my Endplates for the BCL wing. I am mocking up some designs now and Shawn is going to do his thing to make these things badass. Can't wait..


Reply 0
Dec 18, 2014 | 07:13 PM
  #520  
So here is another pic of the end plates I design.. Mocked up the wheels to see how it would look also


Also please note that those are not the arms I am running.. Going to be running the Solid/Manly ones

Now just have to make the other side and send off to get made in CF.. Can't wait for this
Reply 0
Dec 19, 2014 | 10:53 AM
  #521  
If your were going for Gangnam style, I think you got it! That thing is huge!
Reply 0
Dec 23, 2014 | 10:40 AM
  #522  
Quote: If your were going for Gangnam style, I think you got it! That thing is huge!
I think its going to look pretty good, once the car is sitting on the ground and all one color.. We will see.
Reply 0
Feb 12, 2015 | 08:12 PM
  #523  


Going to be mounting my tires tomorrow.. After that I can get the car dialed in at the alignment shop and finally hit the dyno..
Reply 0
Mar 11, 2015 | 02:50 PM
  #524  
Need a alignment so bad.. In this pic I am trying to dial in the ride height. What you guys think low enough..


Reply 0
Mar 11, 2015 | 10:51 PM
  #525  
That's killer! You are creating a monster!
Reply 0