
DIY: M45s Shift Knob
#1
 01-12-2008, 10:19 AM


DIY: M45s Shift ****
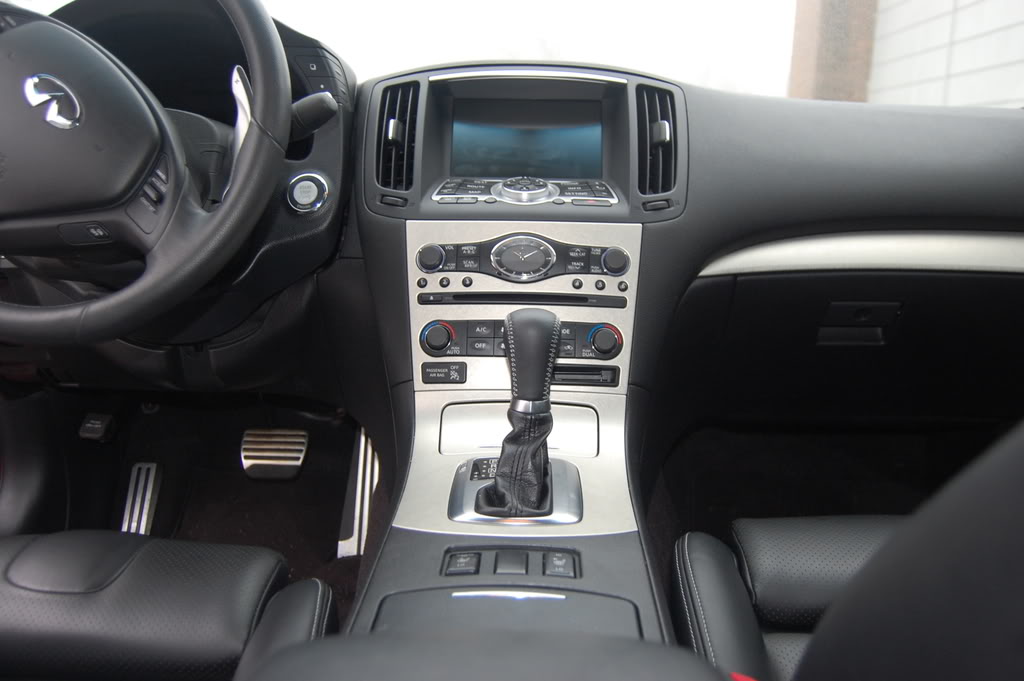
This is a quick and easy install so I am not sure if a DIY is really needed, but here it is anyways. It took about 5 minutes or so to install.
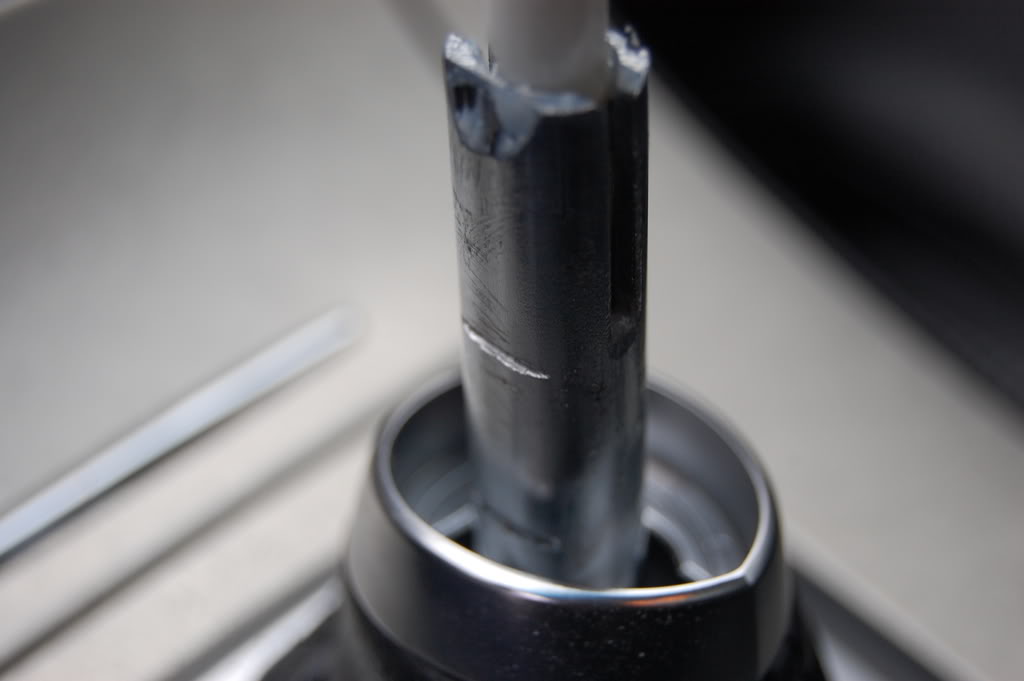
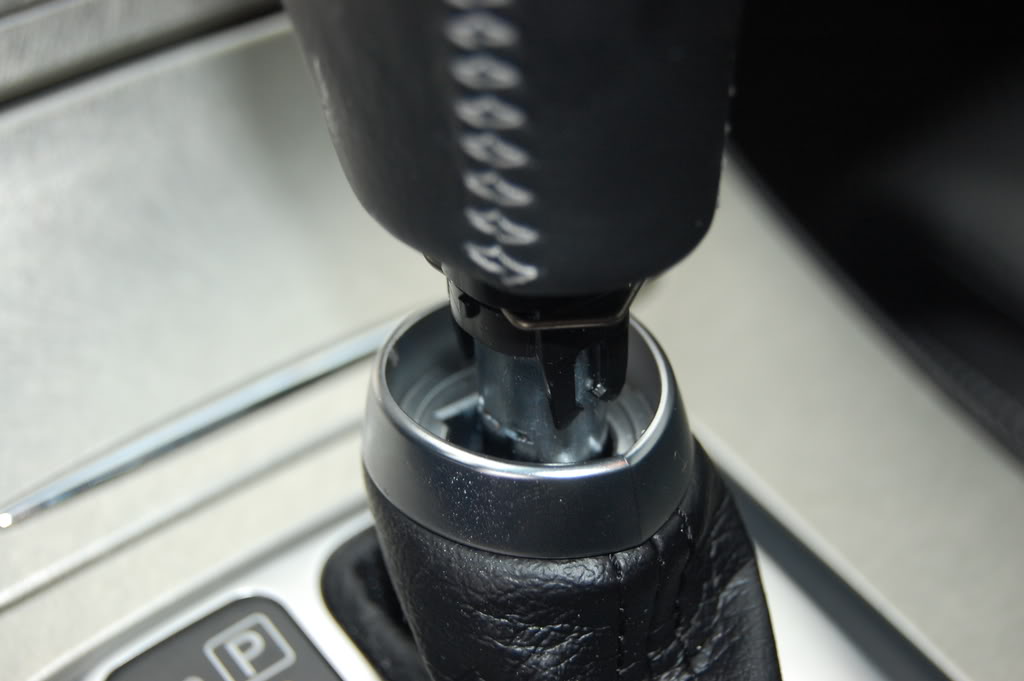
The first thing you do is pull down on the shift ring to separate the shift boot from the shift ****.
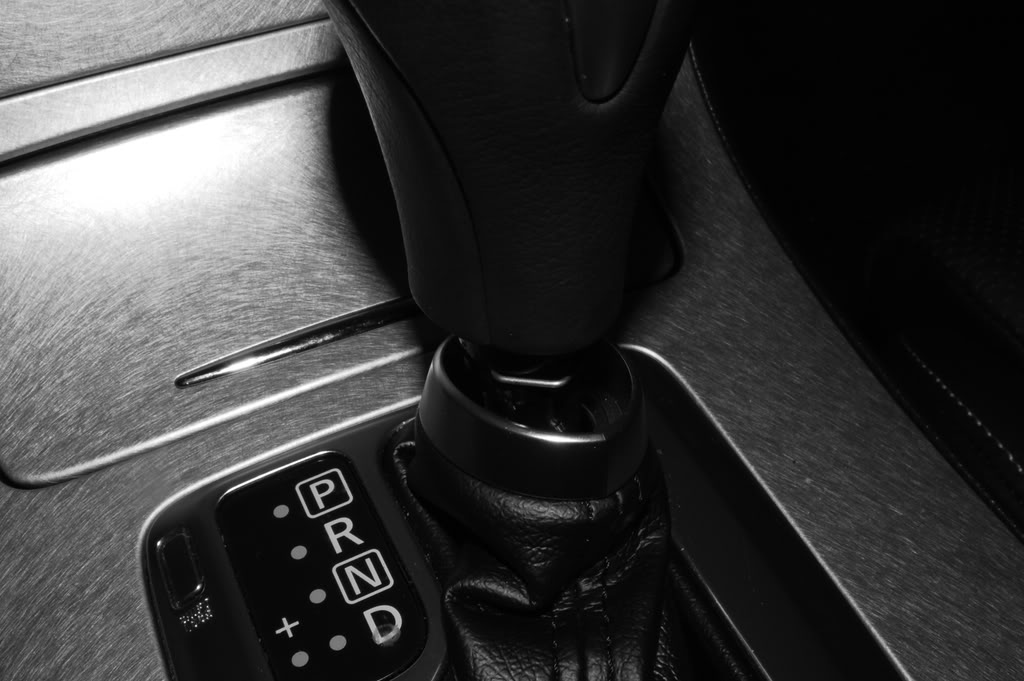
There is a clip that needs to be taken off so that the shift **** can be removed. The clip looks like this.
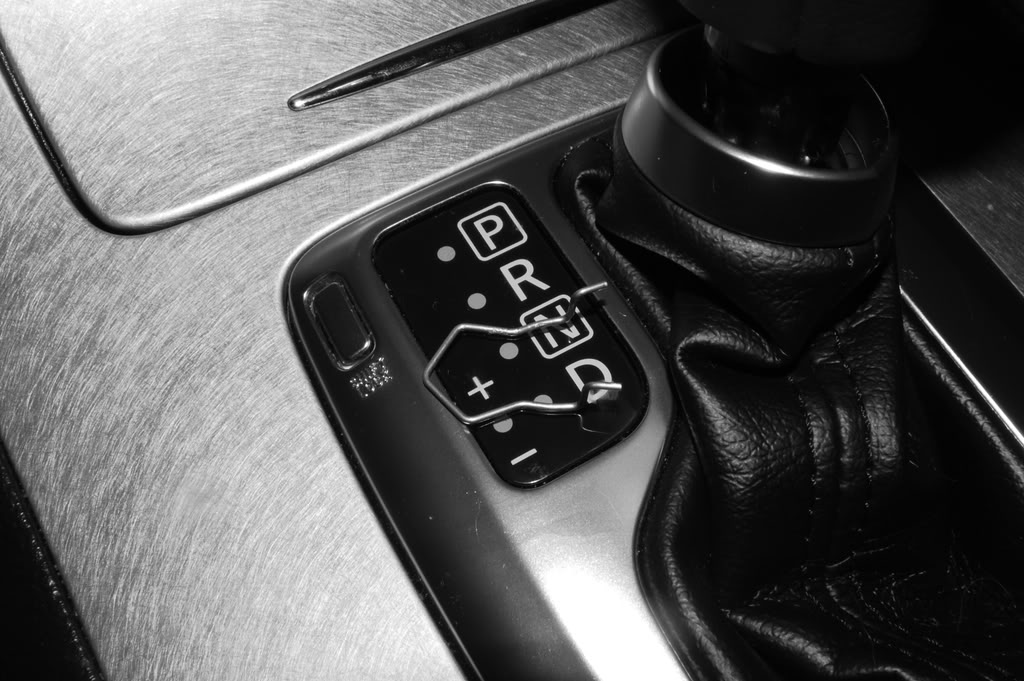
Once the clip is removed, you simply pull the shift **** up to remove it.
Once the shift **** is removed, I put the M45s shift **** on and marked where the new grooves were to be made on both sides. I removed the M45s shift **** and cut grooves on each side where I marked. Like Kre62, I just used a serrated steak knife to make the grooves.
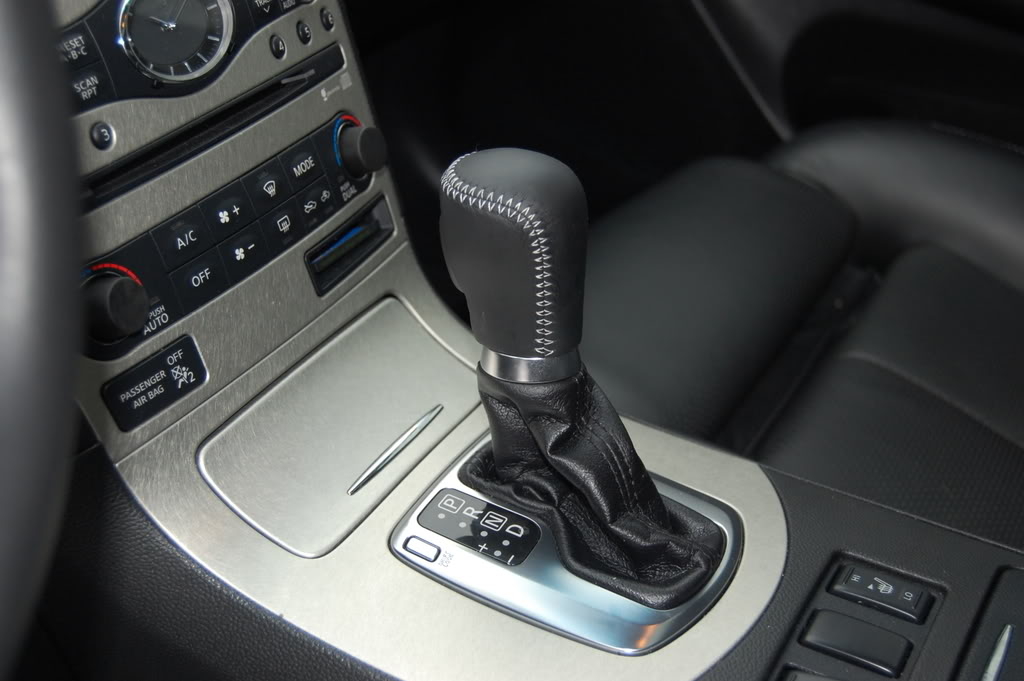
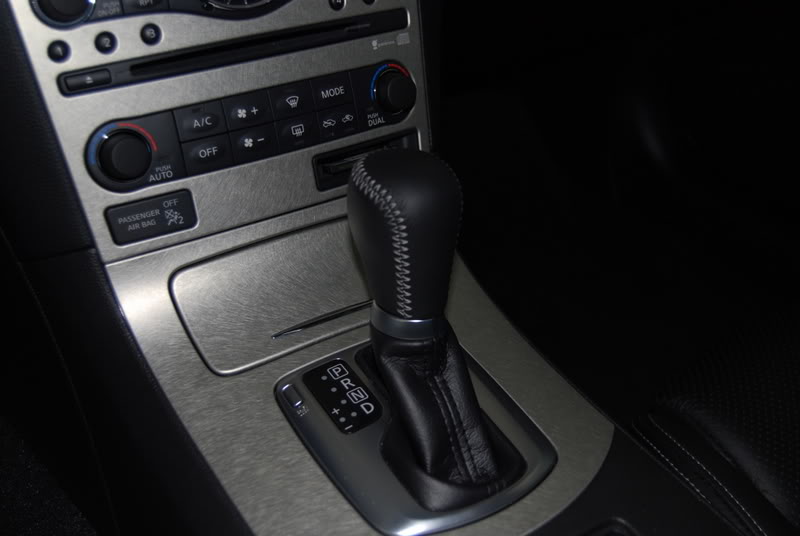
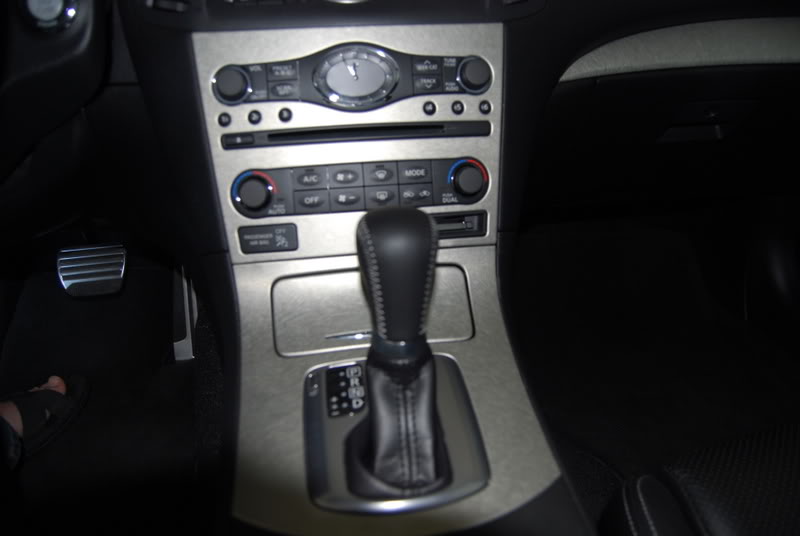
Once the new grooves are made for the clip, I simply put the M45s shift **** on, put the clip in place, and pulled the shift ring up to fasten it to the shift ****.
And you are finished.
The first thing you do is pull down on the shift ring to separate the shift boot from the shift ****.
There is a clip that needs to be taken off so that the shift **** can be removed. The clip looks like this.
Once the clip is removed, you simply pull the shift **** up to remove it.
Once the shift **** is removed, I put the M45s shift **** on and marked where the new grooves were to be made on both sides. I removed the M45s shift **** and cut grooves on each side where I marked. Like Kre62, I just used a serrated steak knife to make the grooves.
Once the new grooves are made for the clip, I simply put the M45s shift **** on, put the clip in place, and pulled the shift ring up to fasten it to the shift ****.
And you are finished.
#2
01-12-2008, 10:30 AM

#3
01-12-2008, 10:33 AM
#4
01-12-2008, 11:09 AM

#6
01-12-2008, 02:45 PM

#7
01-12-2008, 06:15 PM
Originally Posted by ckp
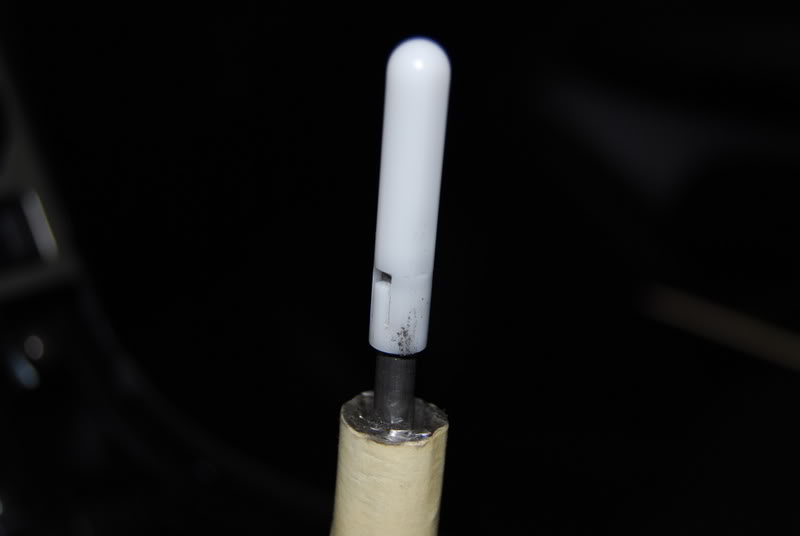
any ideas on how you would lower the shift ****? i think i would def. be interested in it if it could be lowered.
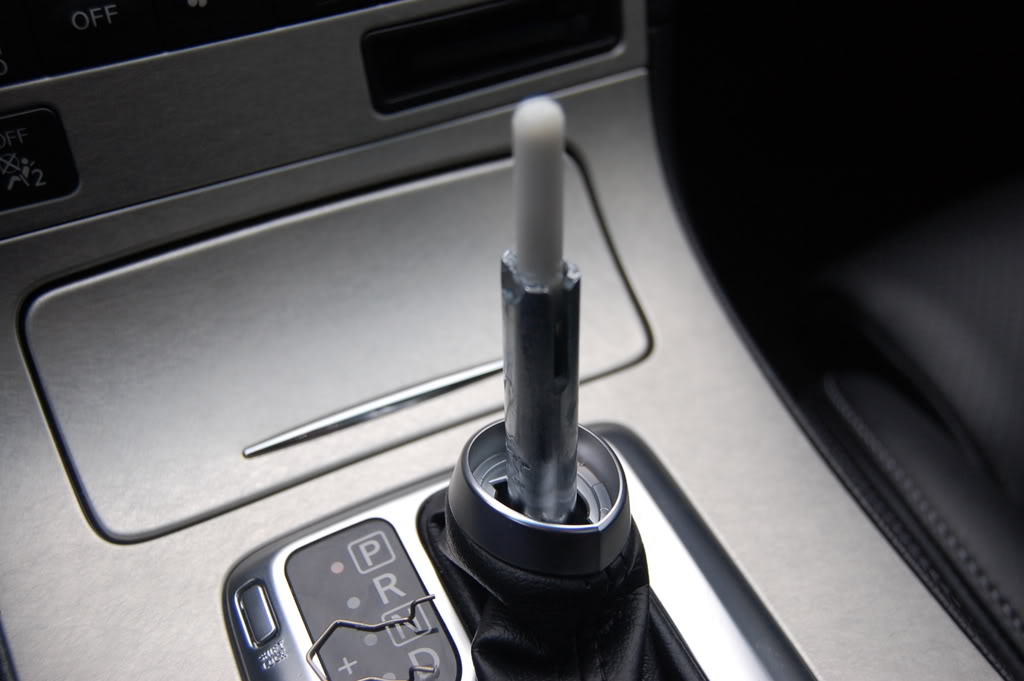
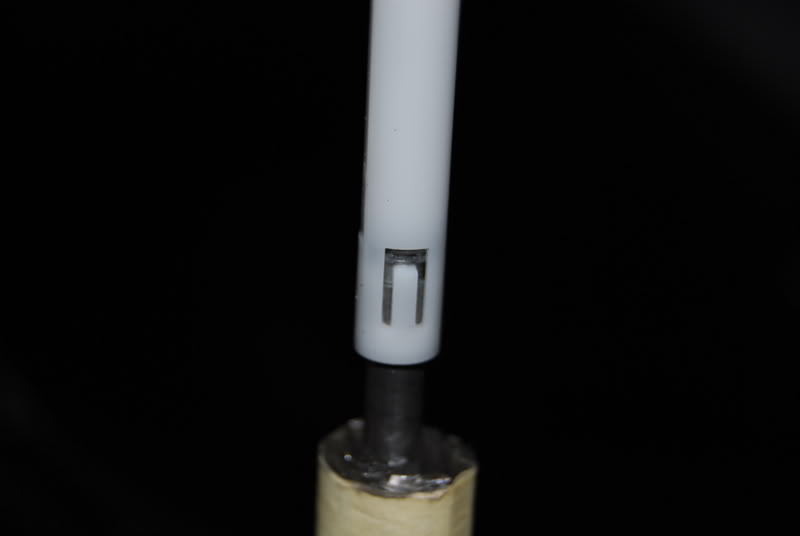
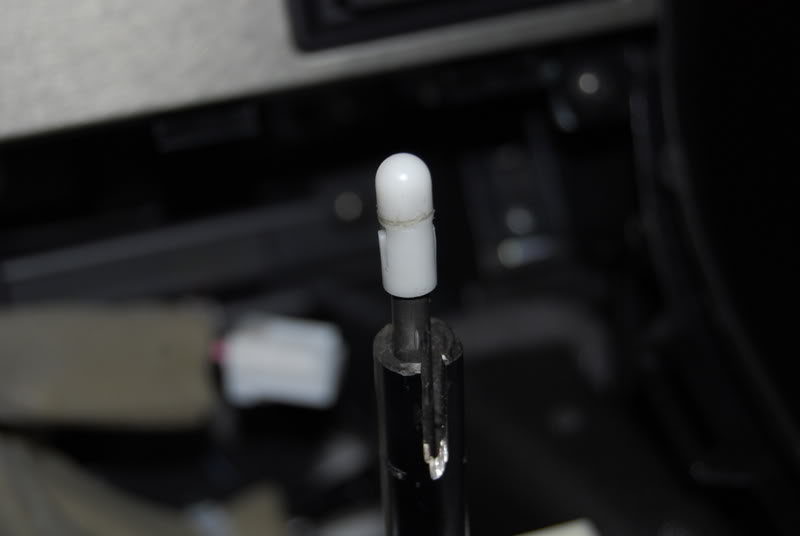
The only other way would be to reduce the height of the white plastic piece in the pic below. I haven't looked closely enough yet to see what the consequences of doing that would be yet though.

Trending Topics
#8
01-12-2008, 08:22 PM

Thanks for the DIY Garnet Canuck. Can you describe how the button on the shift **** moves the white shaft? Would you be able to lower the **** by either cutting the white shaft or drilling a deeper hole in the shift **** itself so that it would sit lower? If you were to deepen the hole in the shift ****, would it have any effect on how the button works?
#9
01-12-2008, 08:57 PM
Originally Posted by AlterZgo
Thanks for the DIY Garnet Canuck. Can you describe how the button on the shift **** moves the white shaft? Would you be able to lower the **** by either cutting the white shaft or drilling a deeper hole in the shift **** itself so that it would sit lower? If you were to deepen the hole in the shift ****, would it have any effect on how the button works?
I plan on taking a closer look tomorrow to see what options I have to lower it. I'll keep you posted.
#10
01-13-2008, 03:35 PM

great write up!
What needs to happen to lower the height of the **** is cutting down the plastic white piece and either the shifter rod its self or inside of the M-****.
Its on my to-do list to cut apart an M ****, getting there... Recovering from the end of the year paperwork...
Great write up once again! Looks great!
#11
01-13-2008, 06:36 PM

So I took the plunge today and took the dremel to my shift lever. Shortened my lever by about 3/4 inch.

I had to increase the 2 solts down the front and back side of the shifter, then cut the outer lever to the desired length.

Once the outside was short I worked on the inside. You can pull the white top off the metal pole.
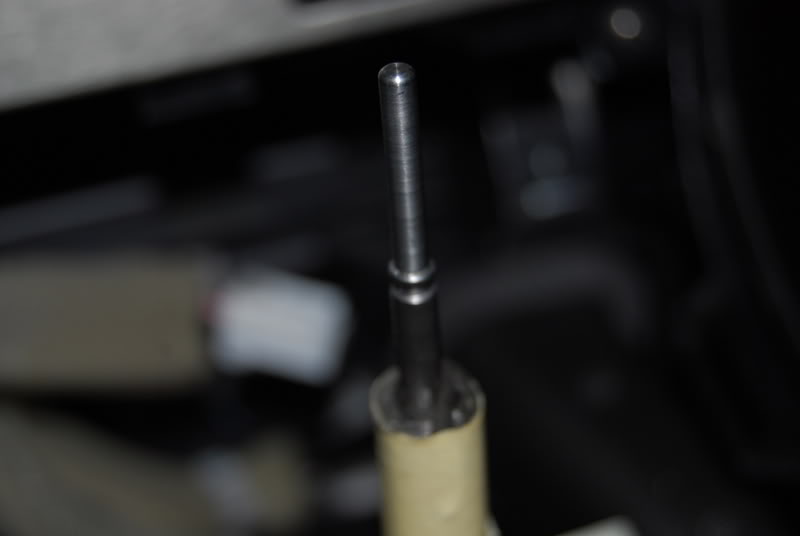
For the inner pole that controls the shifting I cut it down to length.
After the shaft was close I worked on the white piece. I cut the bottom clip off and then shortened the top section. Took a lot of fitting to get both the center pole and the white piece to the proper lengths for perfect function. Used some 2 part epoxy for plastics to reconnect the clip and the top of the white piece.
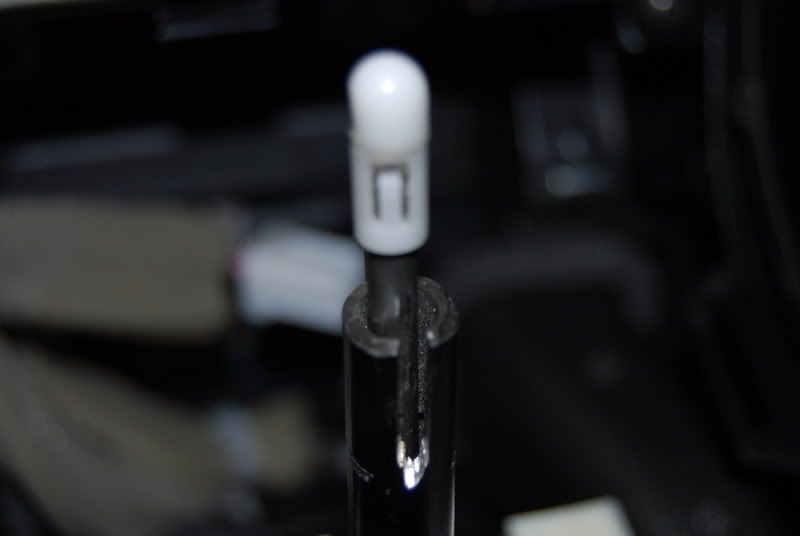
Still need to go get some lube for the shaft and the white tip.
Jason,
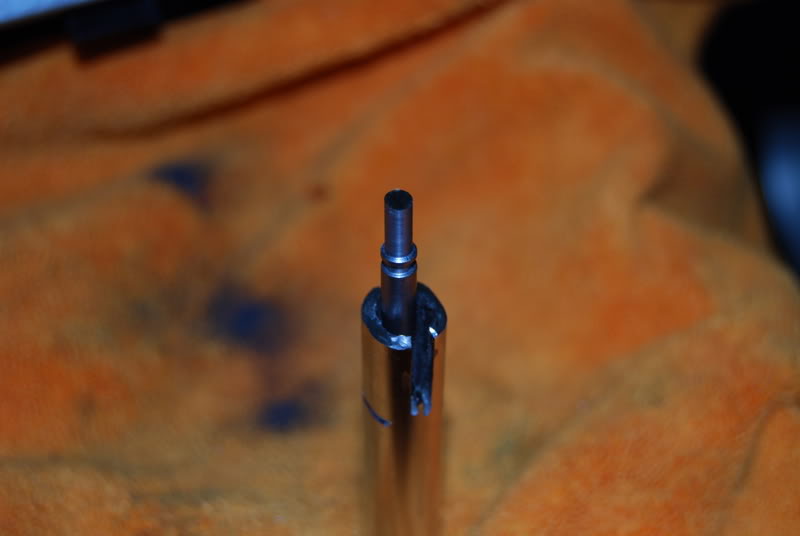
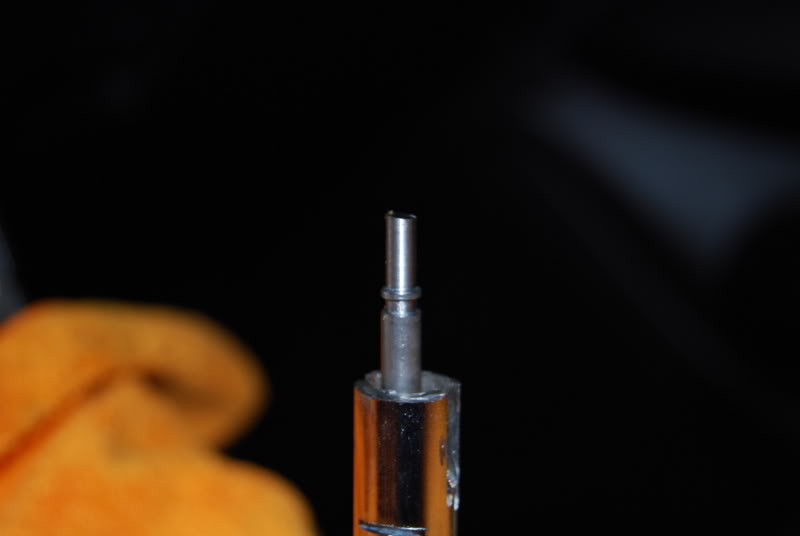
Don't bother cutting open a ****, they will not be able to be modified to sit lower. Heres a couple of pics of my **** (that doesn't sound right, LOL)
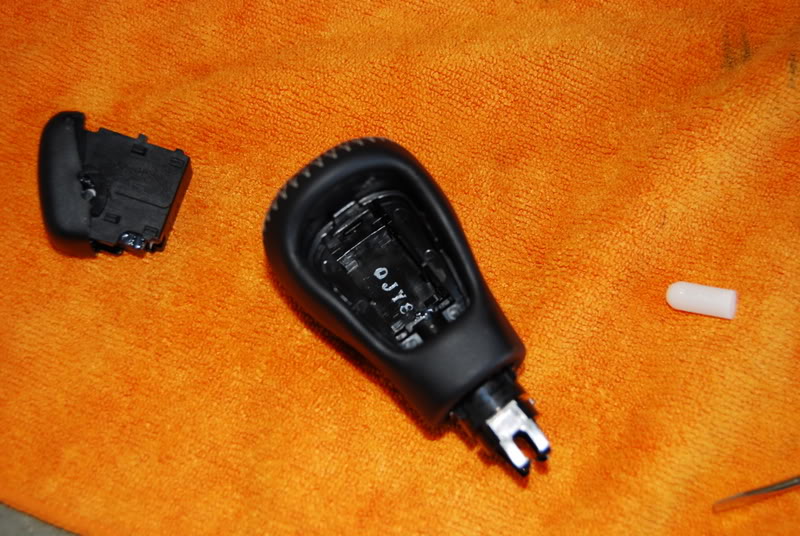
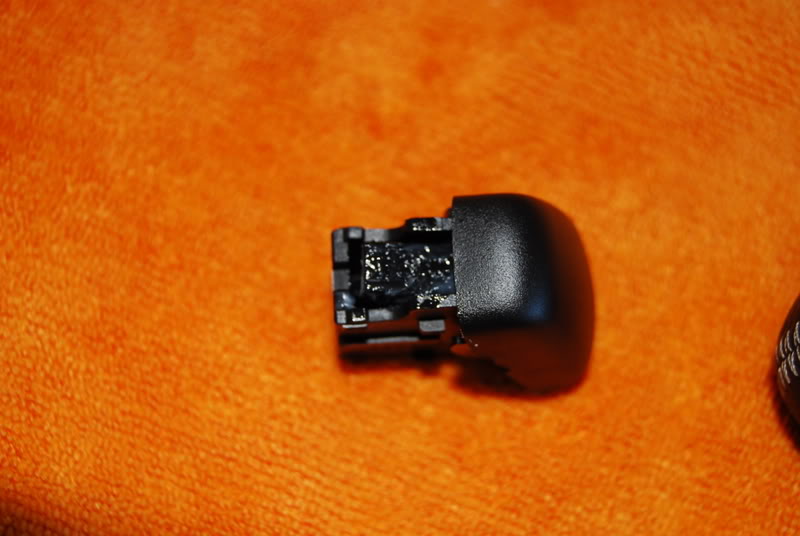
If you want to take a look inside one just stick a small flat head into the top side of the button, it pops right out.
I had to increase the 2 solts down the front and back side of the shifter, then cut the outer lever to the desired length.
Once the outside was short I worked on the inside. You can pull the white top off the metal pole.
For the inner pole that controls the shifting I cut it down to length.
After the shaft was close I worked on the white piece. I cut the bottom clip off and then shortened the top section. Took a lot of fitting to get both the center pole and the white piece to the proper lengths for perfect function. Used some 2 part epoxy for plastics to reconnect the clip and the top of the white piece.
Still need to go get some lube for the shaft and the white tip.
Jason,
Don't bother cutting open a ****, they will not be able to be modified to sit lower. Heres a couple of pics of my **** (that doesn't sound right, LOL)
If you want to take a look inside one just stick a small flat head into the top side of the button, it pops right out.
Last edited by 07G35Socal; 01-16-2008 at 11:11 PM.
The following users liked this post:
GXXXV X (10-04-2011)
#12
01-14-2008, 01:45 AM

Registered User
Join Date: Sep 2007
Location: College Station, TX
Posts: 272
Likes: 0
Received 0 Likes
on
0 Posts
#13
01-14-2008, 01:47 AM


#15
01-14-2008, 03:48 PM
 Great man, would be greater if you can write about the lenght and how much did you cut off the metal shaft and the white plastic piece so people (me) don't mess things up and buy new assembly
  .
.
The following users liked this post:
oo G35x oo (06-21-2011)