
Review: Injen Short Ram Intake


Review: Injen Short Ram Intake
Intro
So I received my intake this morning from the post office. Apparently it's been sitting there for the past two weeks and no one told me
Thanks goes to Kevin at US Autotech for the great deal and super quick shipping. I think he still has a bunch left so get yours now before they run out!
Pre-Install Check
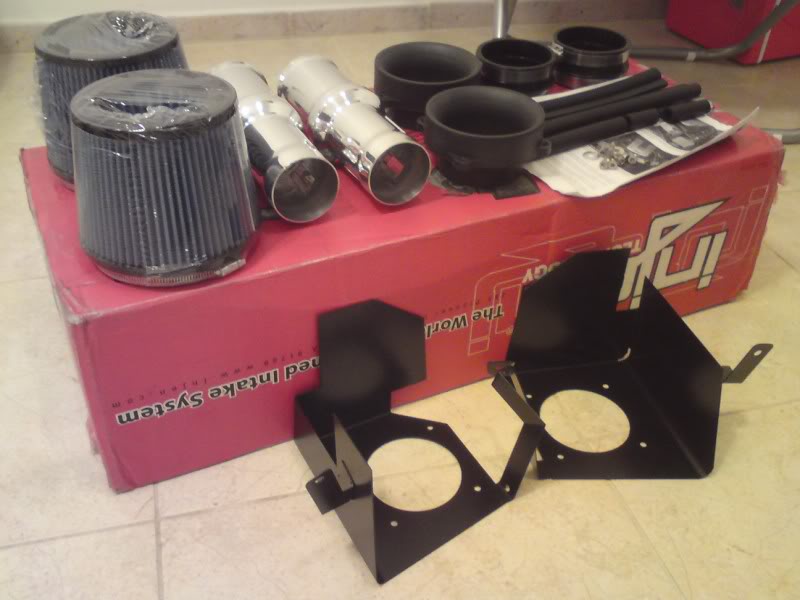
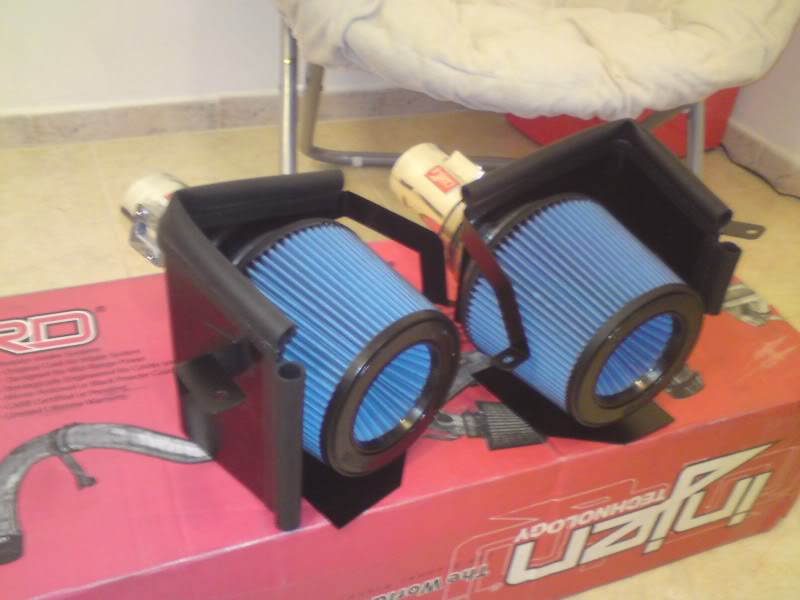
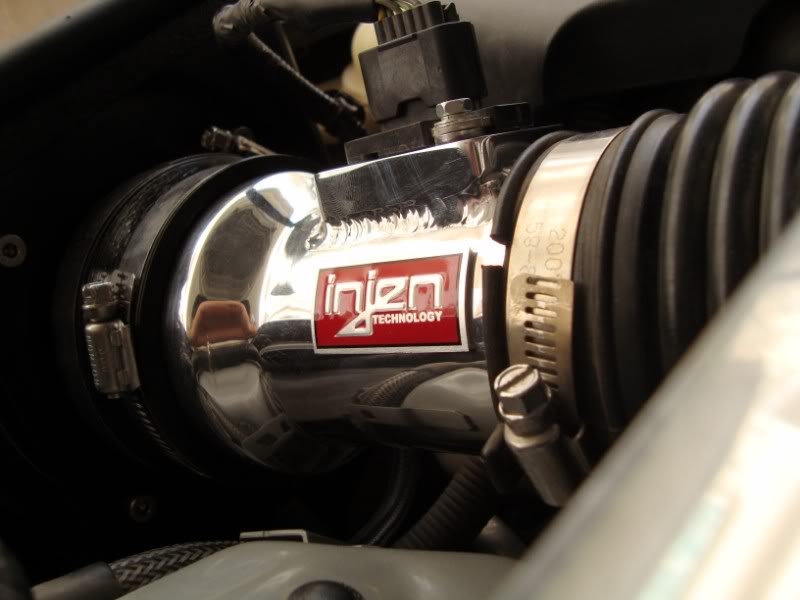
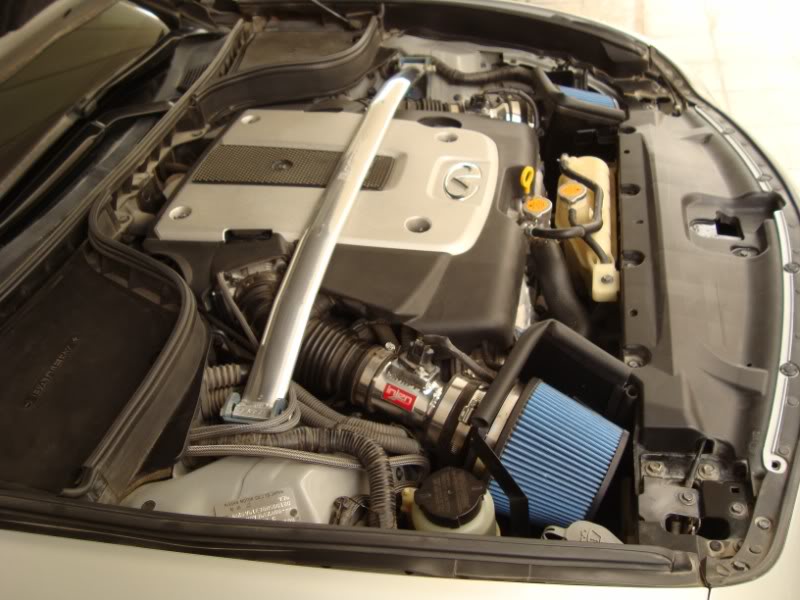
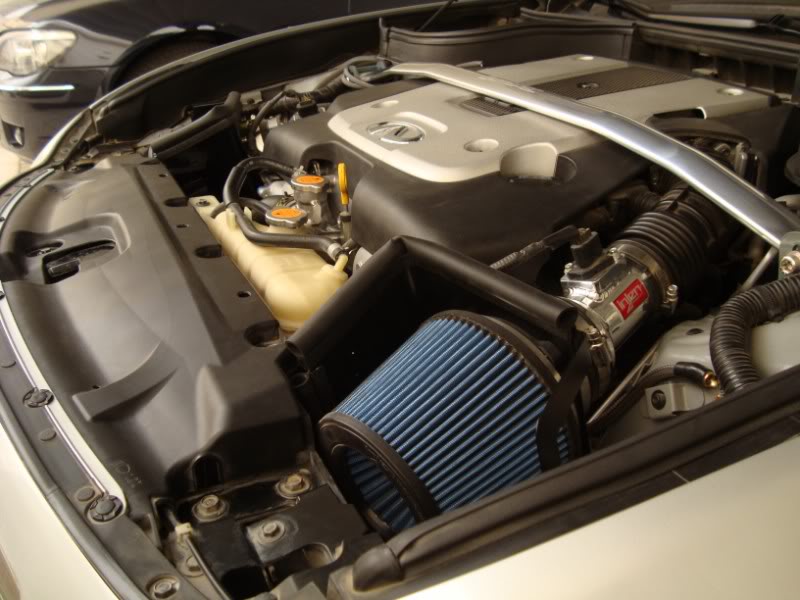
Now on to the intake. Everything was very well packed and covered with that brown paper stuff to prevent any damage. The Amsoil EA filters provided are excellent. They felt very well made and looked better than the oiled gauze paper IMO. The tubes were also super nice with a shiny finish on the outside and very clean welds around the MAF sensor mounts. The inside however seems to be a little left out. The hole where the MAF sensor goes looks as if someone took a dremel and just made a quick hack job. It does not alter performance or hinder it in any way, however, for those who are **** about looks this may be a slight issue for you. I am, however, completely satisfied, considering the sensor location on the left and right intake tubes are perfectly aligned.
Installation
The installation instructions were pretty good and goes over the entire install without missing anything. There were more pictures than words which I prefer. However, the pics were relatively small and could certainly be even more helpful if they were bigger. Moving on. Half of the install procedure is done prior to opening the hood. You will first need to install the velocity stacks into the intakes, mount the shields onto the intakes and the slip in the tubes and mount the rubber insulation. At this point, everything was a perfect fit. I was however not sure of the rubber insulation, since I had an extra piece left over that was not included in the pictures. Oh well.
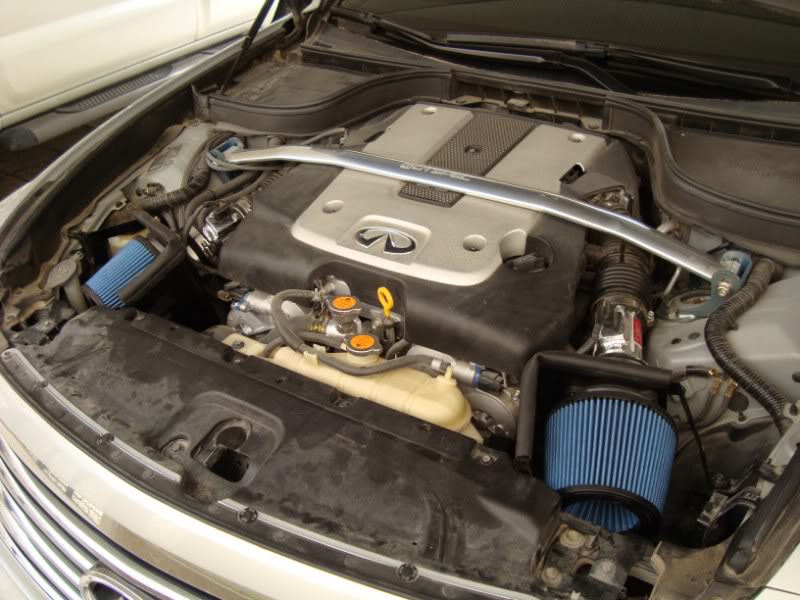
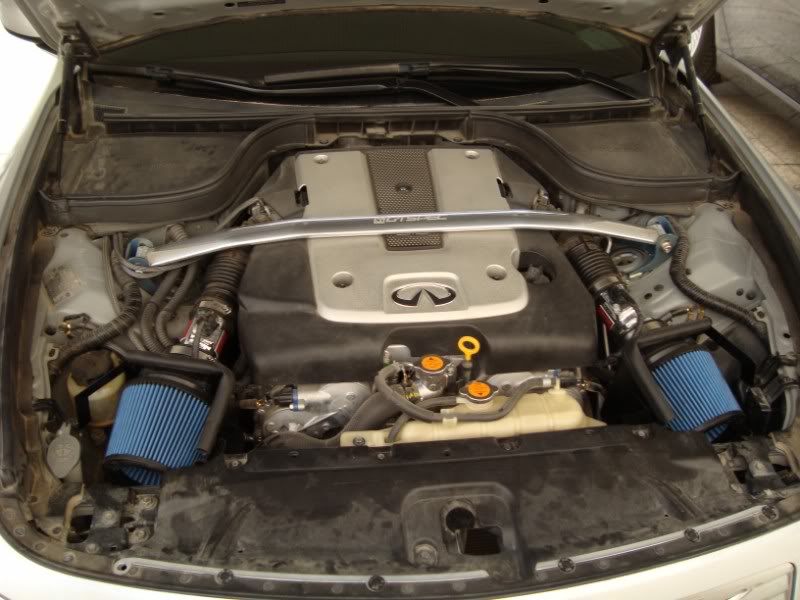
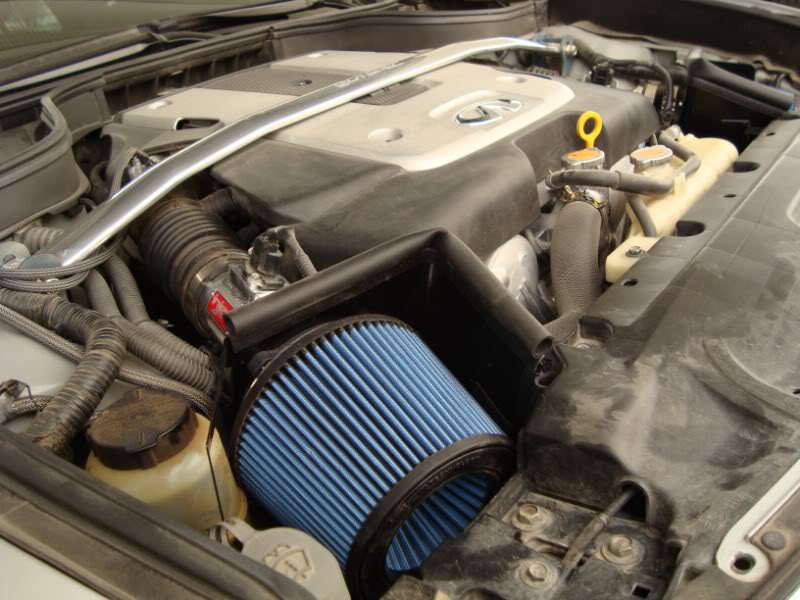
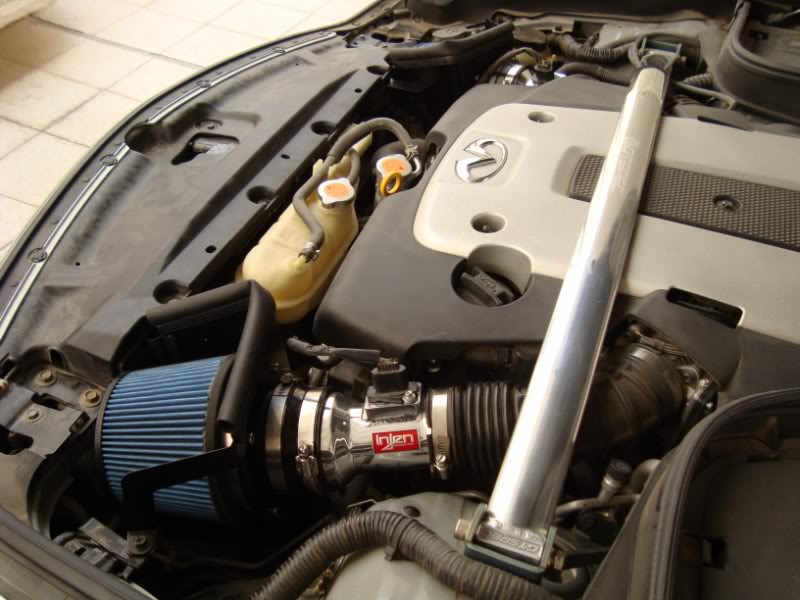
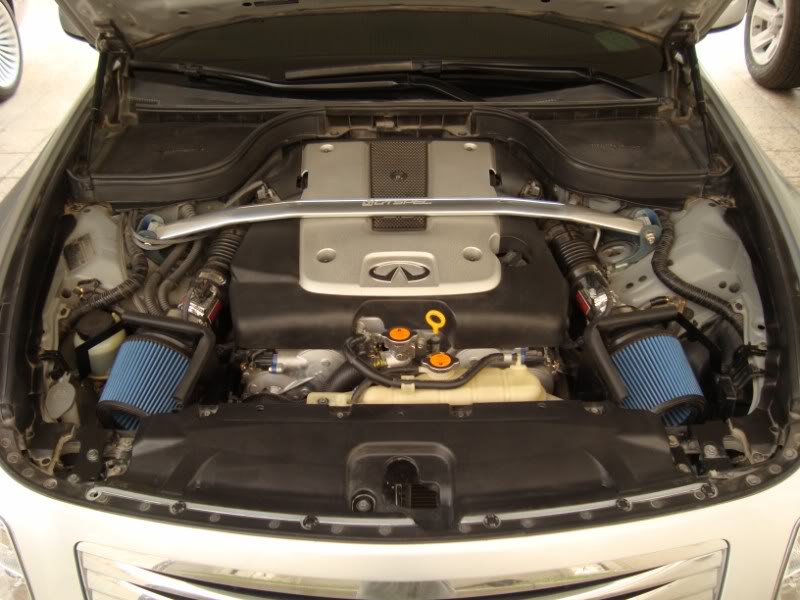
Removing the stock intakes is very simple and is outlined in the instructions. Once i removed them, I also took out the stock silencers. They were sitting there down nothing. Removing them helps reduce clutter, ease access down there and avoid future rattles and such. There's really not much to say about the install since it's a simply in and out procedure. Although I will comment on a couple things. First, the heat shields line up with the mounting points nicely. everything fit nice and tight with no moving around. The only thing that bothered me with the install is the driver's side intake tube. The darn thing will not stay put when tightening the bolts! It will either slip inside towards the filter or go the other way into the rubber upper tube. I had to slowly tighten both upper and lower bolts while holding the tube to get a good fit. Other than that, it was all good and took about an hour total time.
Testing
So far I have only put about 40kms (~25miles) on the car since the install so I can't really comment at the moment. One thing i immediately noticed though, it seems to drive smoother when cruising around. I do not attribute this to disconnecting the negative battery terminal since I've reset the ECU many times before and this never happened.
I will update this thread as I get more time on the road.
Comments and opinions are welcome.
So I received my intake this morning from the post office. Apparently it's been sitting there for the past two weeks and no one told me
Thanks goes to Kevin at US Autotech for the great deal and super quick shipping. I think he still has a bunch left so get yours now before they run out!
Pre-Install Check
Now on to the intake. Everything was very well packed and covered with that brown paper stuff to prevent any damage. The Amsoil EA filters provided are excellent. They felt very well made and looked better than the oiled gauze paper IMO. The tubes were also super nice with a shiny finish on the outside and very clean welds around the MAF sensor mounts. The inside however seems to be a little left out. The hole where the MAF sensor goes looks as if someone took a dremel and just made a quick hack job. It does not alter performance or hinder it in any way, however, for those who are **** about looks this may be a slight issue for you. I am, however, completely satisfied, considering the sensor location on the left and right intake tubes are perfectly aligned.
Installation
The installation instructions were pretty good and goes over the entire install without missing anything. There were more pictures than words which I prefer. However, the pics were relatively small and could certainly be even more helpful if they were bigger. Moving on. Half of the install procedure is done prior to opening the hood. You will first need to install the velocity stacks into the intakes, mount the shields onto the intakes and the slip in the tubes and mount the rubber insulation. At this point, everything was a perfect fit. I was however not sure of the rubber insulation, since I had an extra piece left over that was not included in the pictures. Oh well.
Removing the stock intakes is very simple and is outlined in the instructions. Once i removed them, I also took out the stock silencers. They were sitting there down nothing. Removing them helps reduce clutter, ease access down there and avoid future rattles and such. There's really not much to say about the install since it's a simply in and out procedure. Although I will comment on a couple things. First, the heat shields line up with the mounting points nicely. everything fit nice and tight with no moving around. The only thing that bothered me with the install is the driver's side intake tube. The darn thing will not stay put when tightening the bolts! It will either slip inside towards the filter or go the other way into the rubber upper tube. I had to slowly tighten both upper and lower bolts while holding the tube to get a good fit. Other than that, it was all good and took about an hour total time.
Testing
So far I have only put about 40kms (~25miles) on the car since the install so I can't really comment at the moment. One thing i immediately noticed though, it seems to drive smoother when cruising around. I do not attribute this to disconnecting the negative battery terminal since I've reset the ECU many times before and this never happened.
I will update this thread as I get more time on the road.
Comments and opinions are welcome.
Last edited by Q8y_drifter; Jul 3, 2009 at 12:12 PM.


Lol your engine bay is still filthy...which reminds me...I gotta wash my car tomorrow 
I found out from one of the techs at my dealership that you can wash the whole engine bay with water. No electrical problems like they tell you when you buy the car.
I found out from one of the techs at my dealership that you can wash the whole engine bay with water. No electrical problems like they tell you when you buy the car.

I usually use an older wash mit with soap and water, followed by a light rinse with the hose. You really need some type of soap to break up the grease. Just be careful not to spray the exposed filters of course.

How'd you take out the stock silencers? Was it hard to take out? I didn't even think about that when I installed my Popchargers.
Trending Topics
+1 on that, i didn't notice them, is there any DIY here for that??
they are really easy. No tools are used or anything. I remember for the drivers side, just pull the silencer towards the wheel well. it is held by a metal piece that clips onto a groove in the silencer (kinda like a paper clip). pulling the silencer will unclip the metal piece. Same goes for the passenger side, but i think you will pull it towards the engine i can't remember. You'll see how it's mounted when you look down there. i'll try to get a how-to if anyone needs.

they are really easy. No tools are used or anything. I remember for the drivers side, just pull the silencer towards the wheel well. it is held by a metal piece that clips onto a groove in the silencer (kinda like a paper clip). pulling the silencer will unclip the metal piece. Same goes for the passenger side, but i think you will pull it towards the engine i can't remember. You'll see how it's mounted when you look down there. i'll try to get a how-to if anyone needs.


Registered User
Joined: Dec 2008
Posts: 152
Likes: 2
From: Franklin, TN
Nice post Q8y_drifter. Your engine bay looks better now that it has been cleaned. Btw if you install an aftermarket intake than the silencers are basically disconnected I assume. Unless you want weight savings (like 1-2 lbs) I'd just leave them. Correct me if I'm wrong guys I'm not 100% sure.