Polished Exhaust Cannister - DIY + Pics
#1
 03-31-2009, 01:49 PM


Join Date: May 2007
Location: R-Town, Nevada
Posts: 458
Likes: 0
Received 0 Likes
on
0 Posts
Polished Exhaust Cannister - DIY + Pics
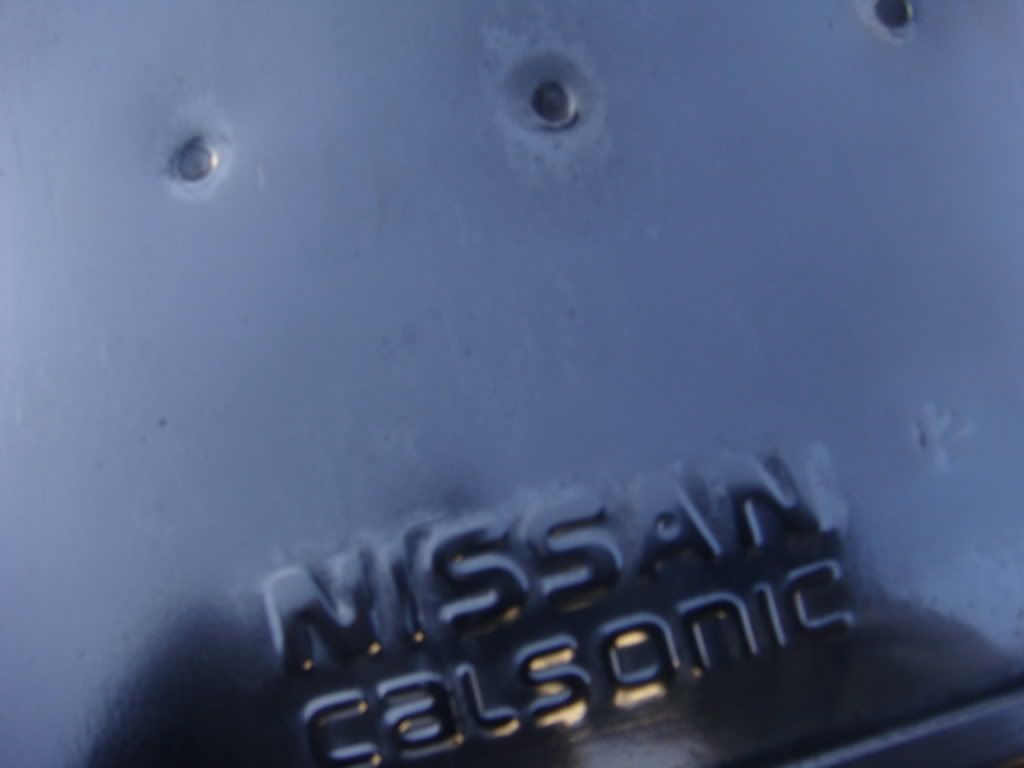
Some time ago I saw a thread posted up by "DRAGMODE" about the possibilities of polishing stock exhaust cans for a super clean stock look.
https://g35driver.com/forums/florida...haust-can.html
My buddy and I thought it looked awesome, so we decided to give it a try.
WARNING: This project is not easy. It is time consuming and frustrating. If you do not have the proper tools you will end up with a trashy product. Also, members RPL (car owner) and Myocyte X are in no way responsible for your mistakes when trying this yourself.
Materials:
PB Blast (Penetrating Oil for Bolts)
Aircraft Paint Stripper (Two Cans)
Wire Brush
Palm Sander
Palm Sander Pads (120 and 220 Grit)
Dremmel Tool
Dremmel Wire Brush Wheel
Dremmel Abrasive Wheels (+ Dremmel Polishing Compound)
Sand Paper (400, 500, 800, 1500, 2000)
Buffing Wheel
Buffing Compound (Stainless Compound)
Note: The buffing wheel make the difference here. A professional wheel and professional compounds are the only thing that will make your project bling. You arm will fall off long before you get the desired shine with hand polishing.
Detergent
TONS OF ELBOW GREASE
Tools:
14mm Deep Socket
12mm Socket and 4" extender
Other basic hand tools
Now a very basic DIY:
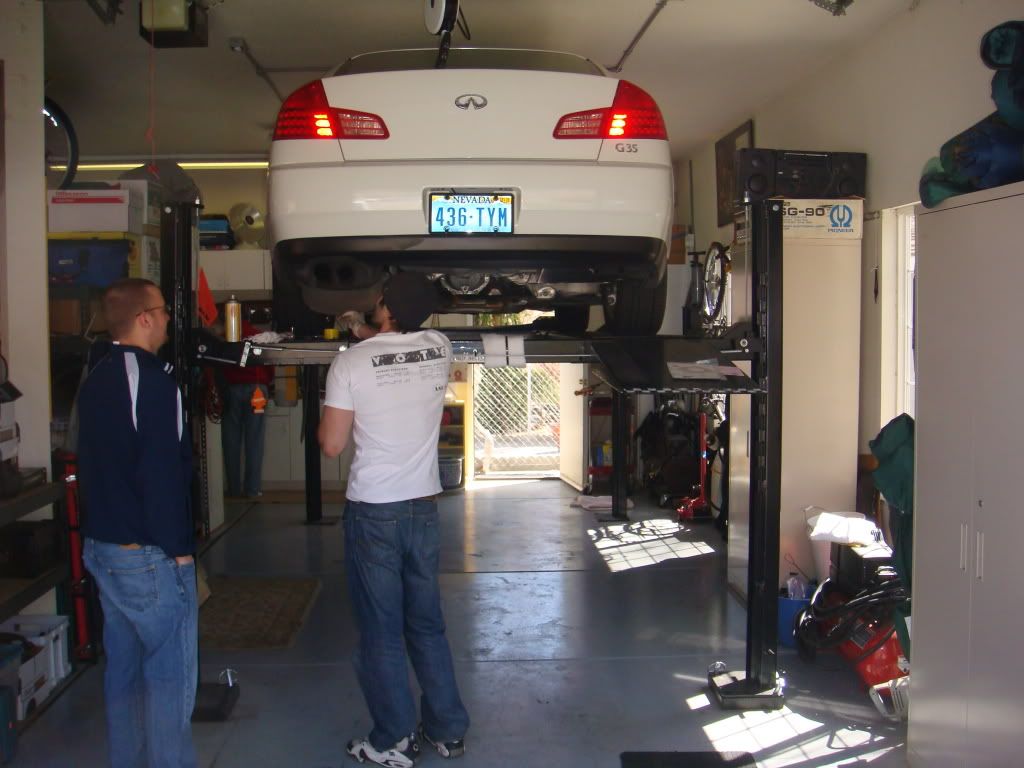
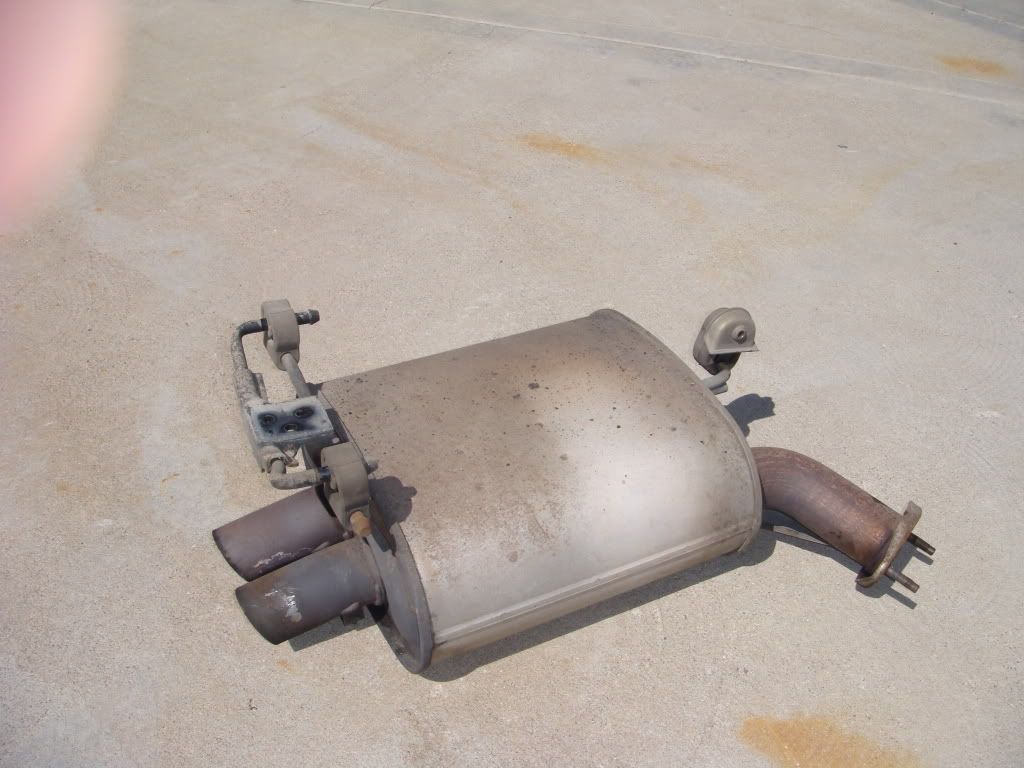
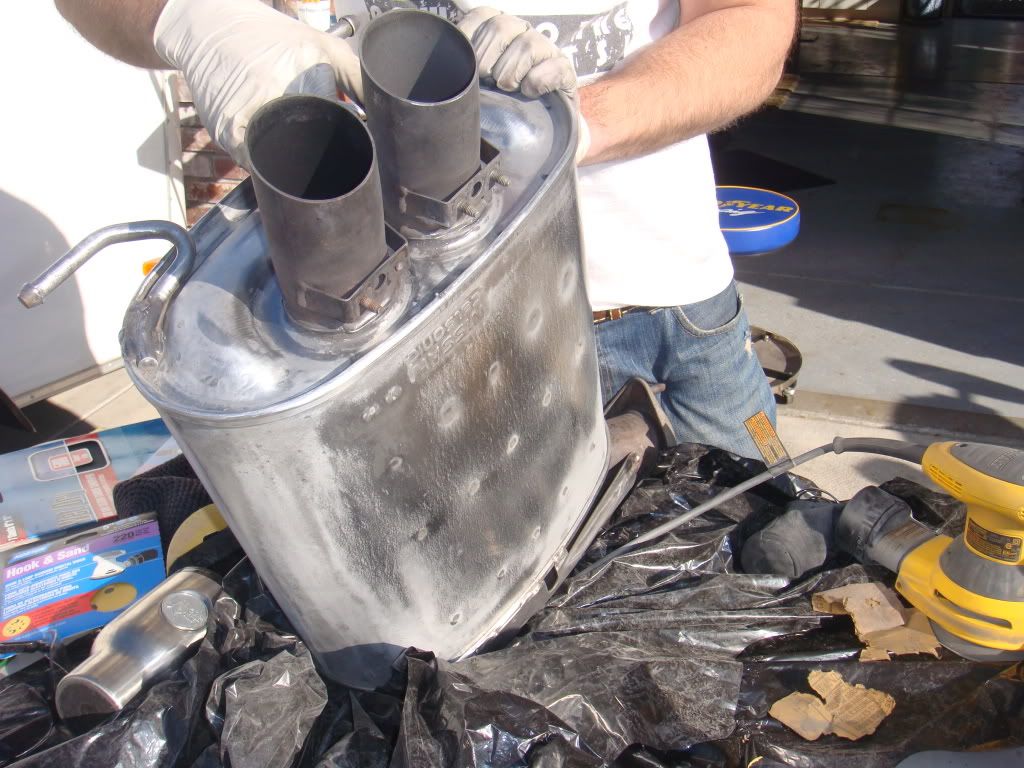
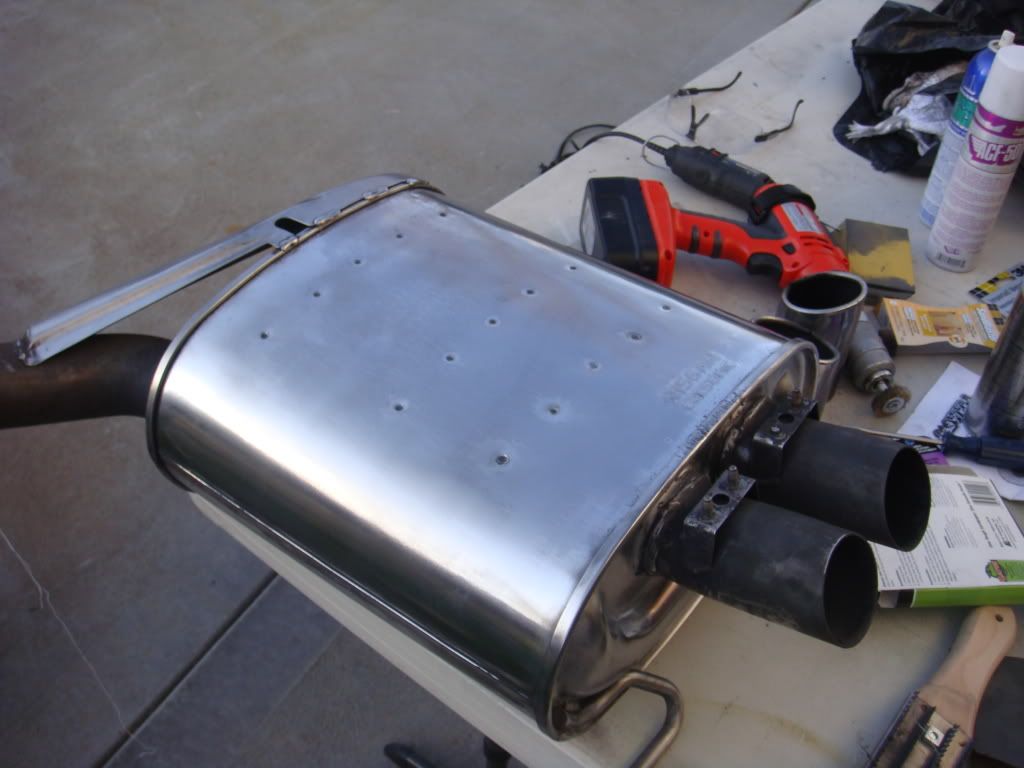
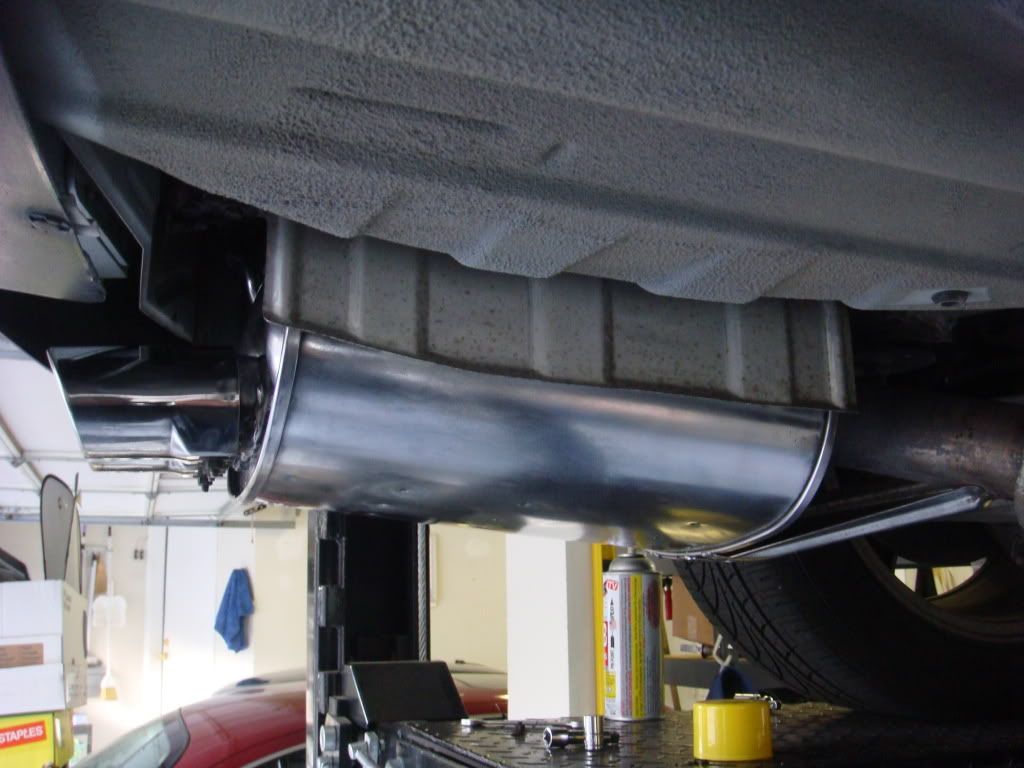
1. Get that can off the car.
We opted to remove the 4 bolts that held the two exhaust hangers and pull the whole assembly out.
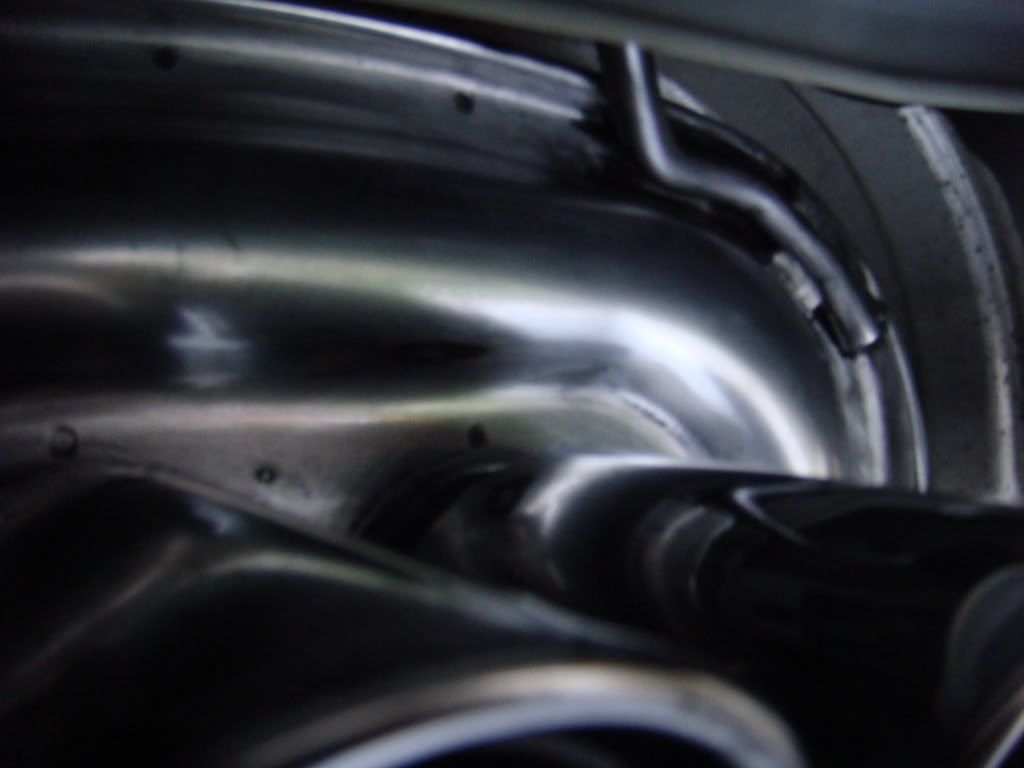
Rear Hanger Assembly with 3 12mm Bolts
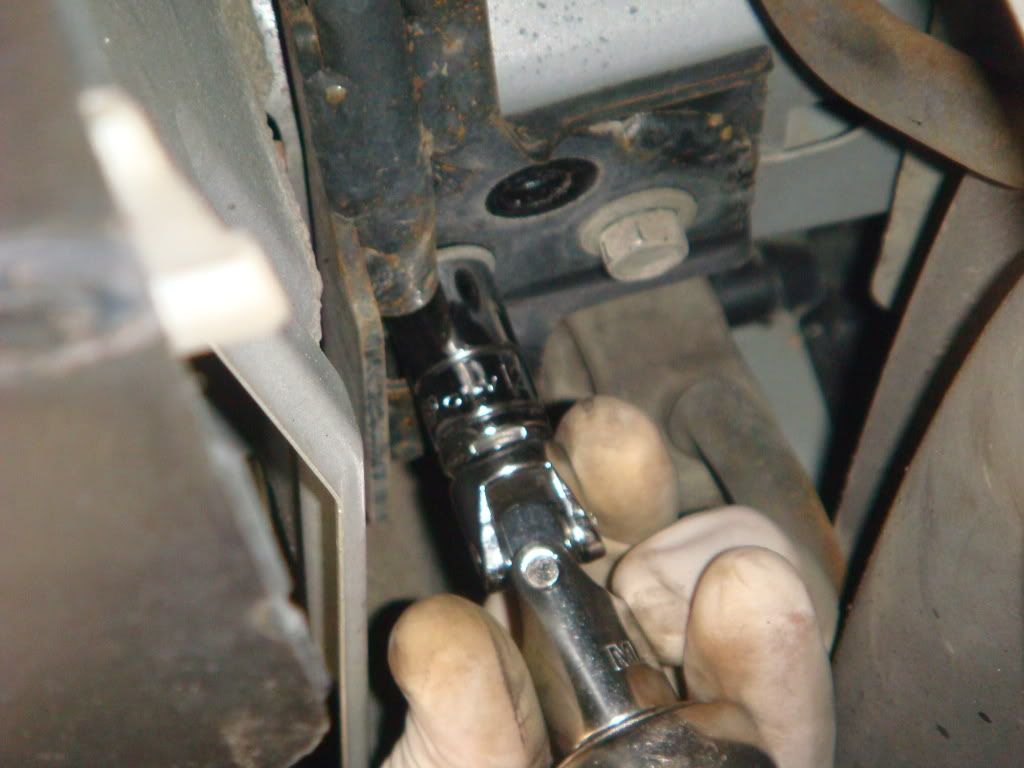
Now you're having FUN!
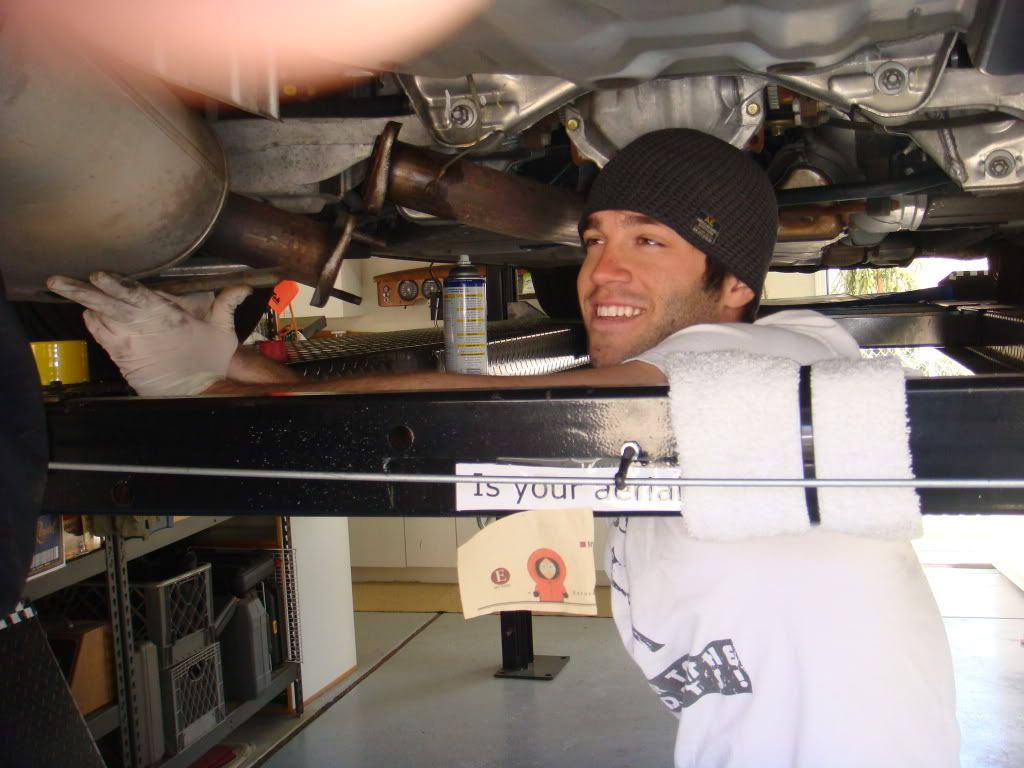
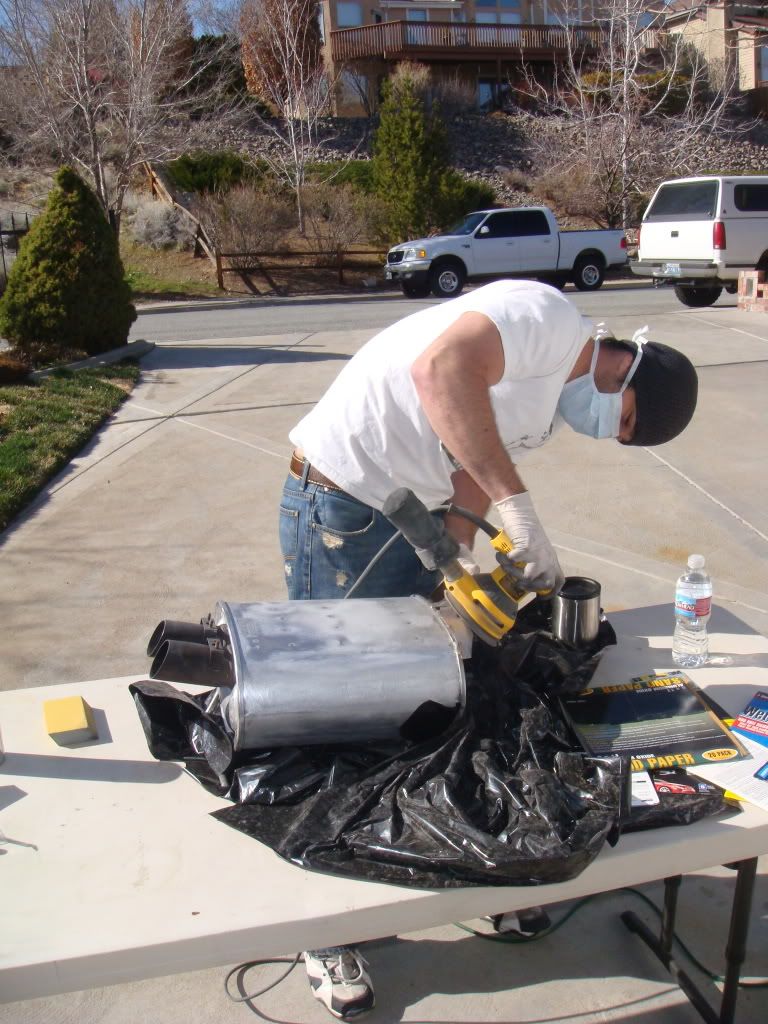
2. Once the can is off the vehicle, make a space to spray the aircraft paint stripper on. This shizz is pretty nasty and caustic, so wear gloves and proper protective garments.
Once the stuff is on, let it sit for a few minutes and you will see it starting to work. Then help it along with a wire brush.
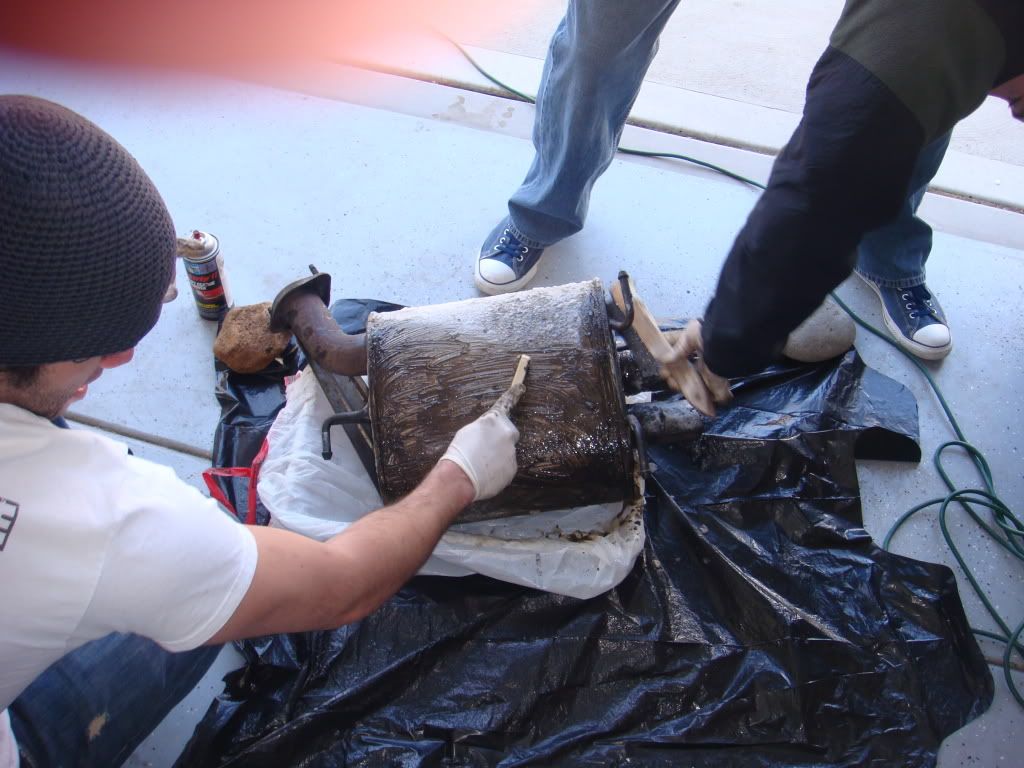
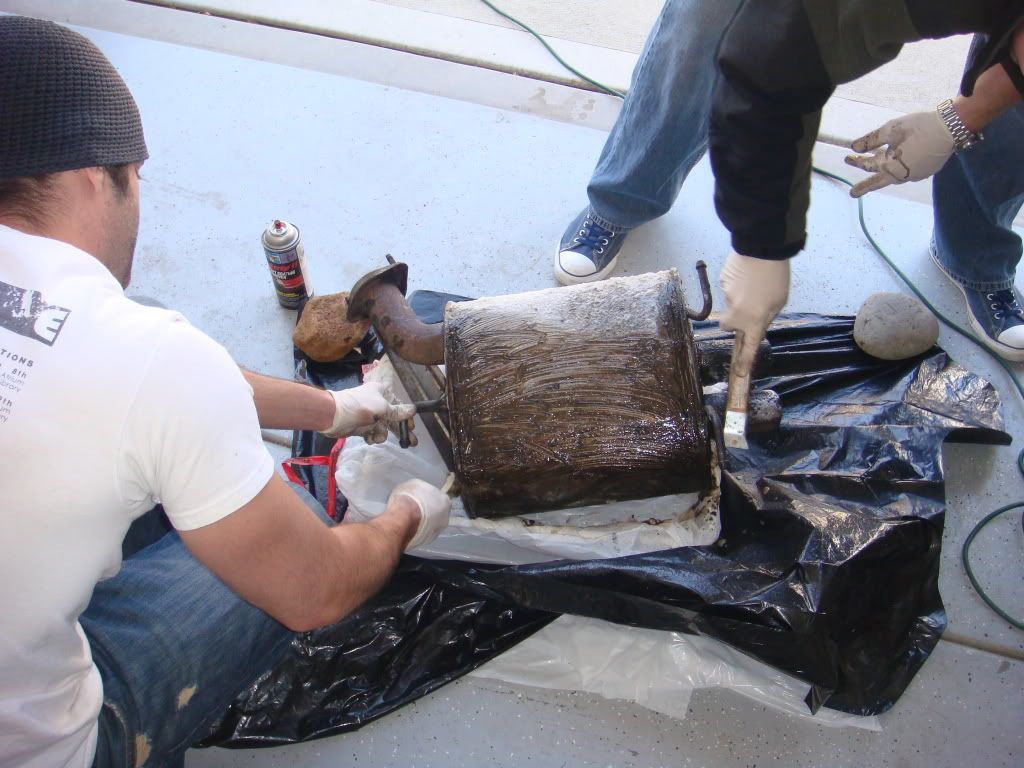
3. Wipe the remainder of the gooey paint stripper off and hose the rest off. We used a strong detergent to clean off the stripper and anything else. Dish soap will work.
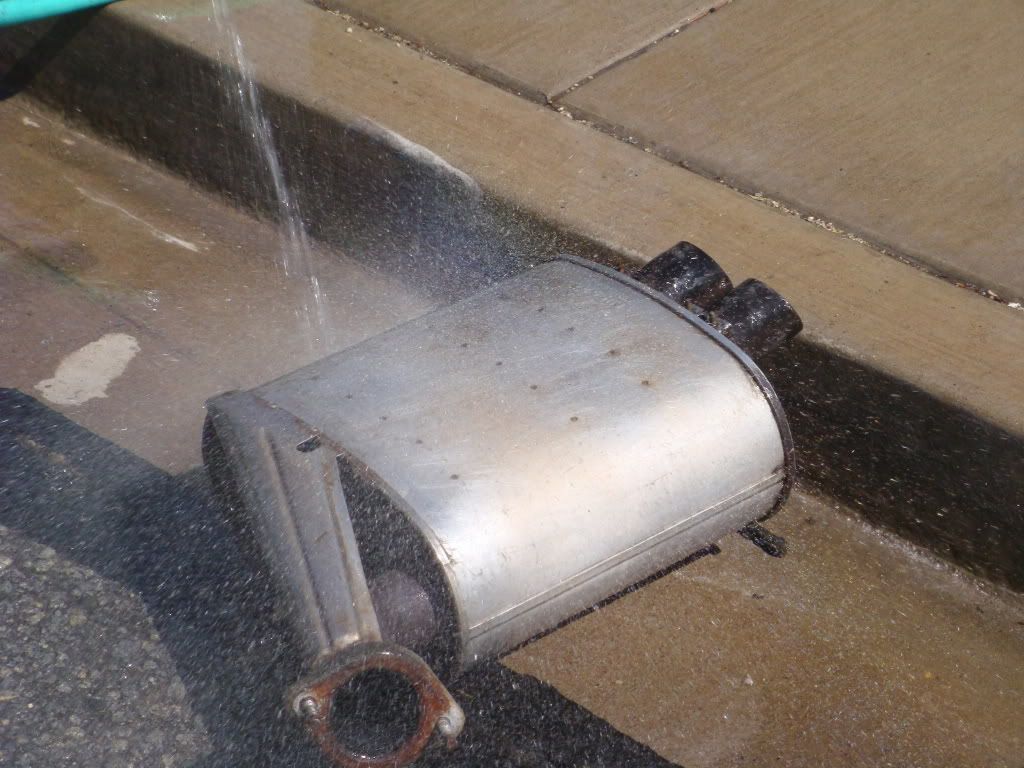
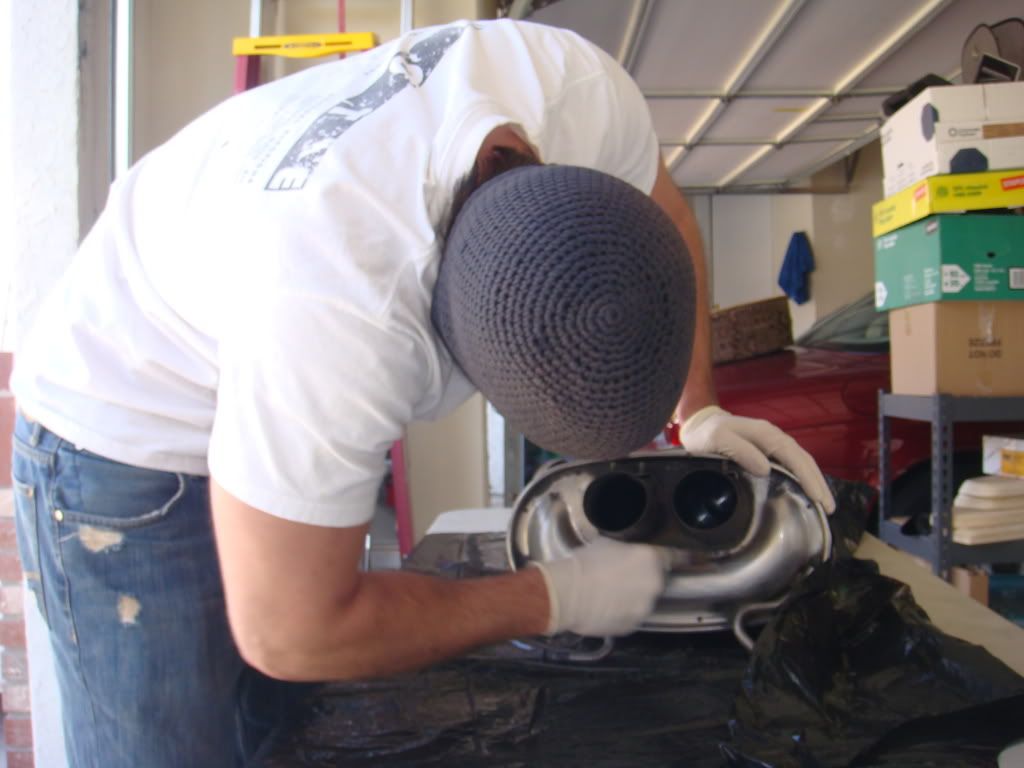
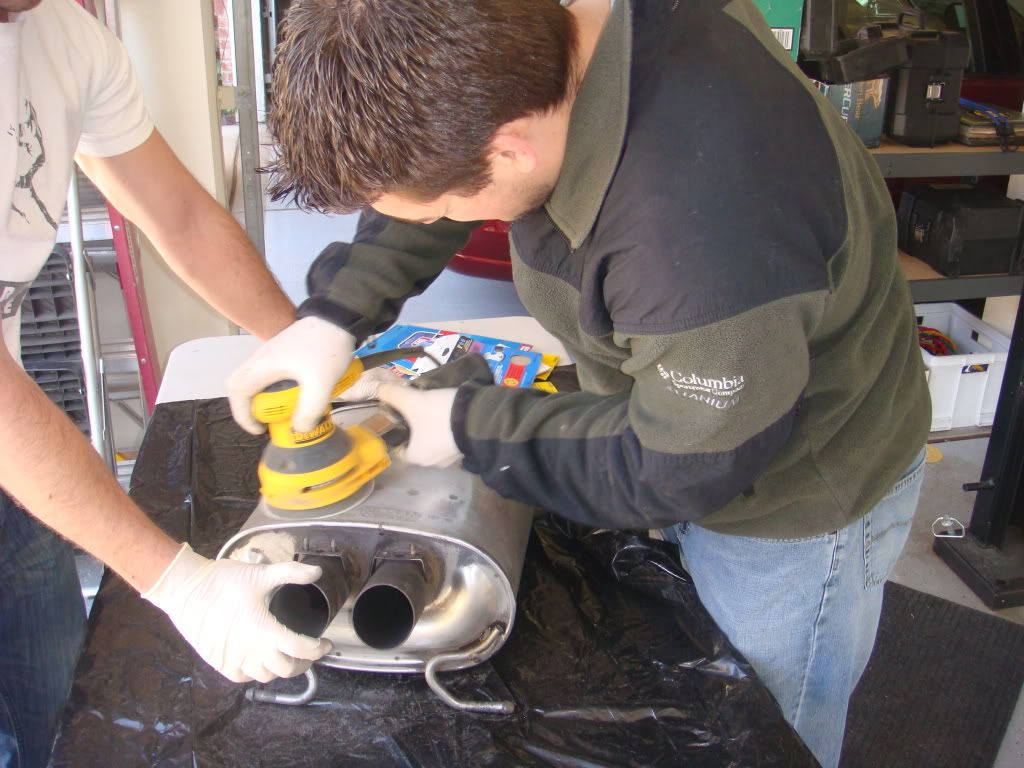
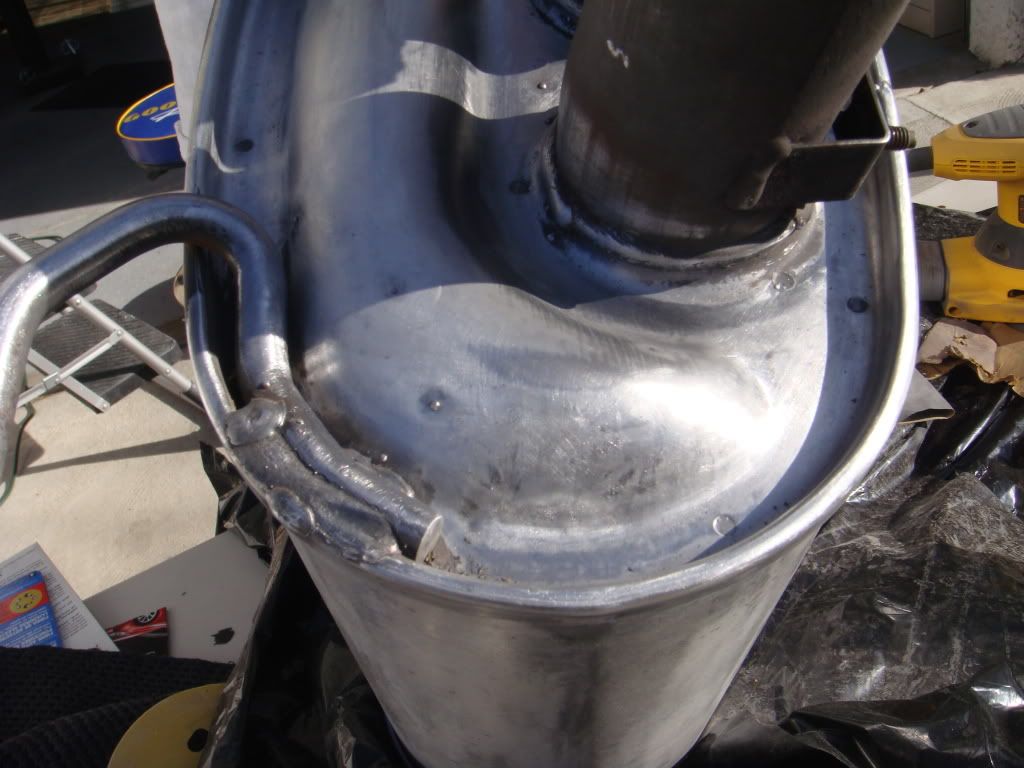
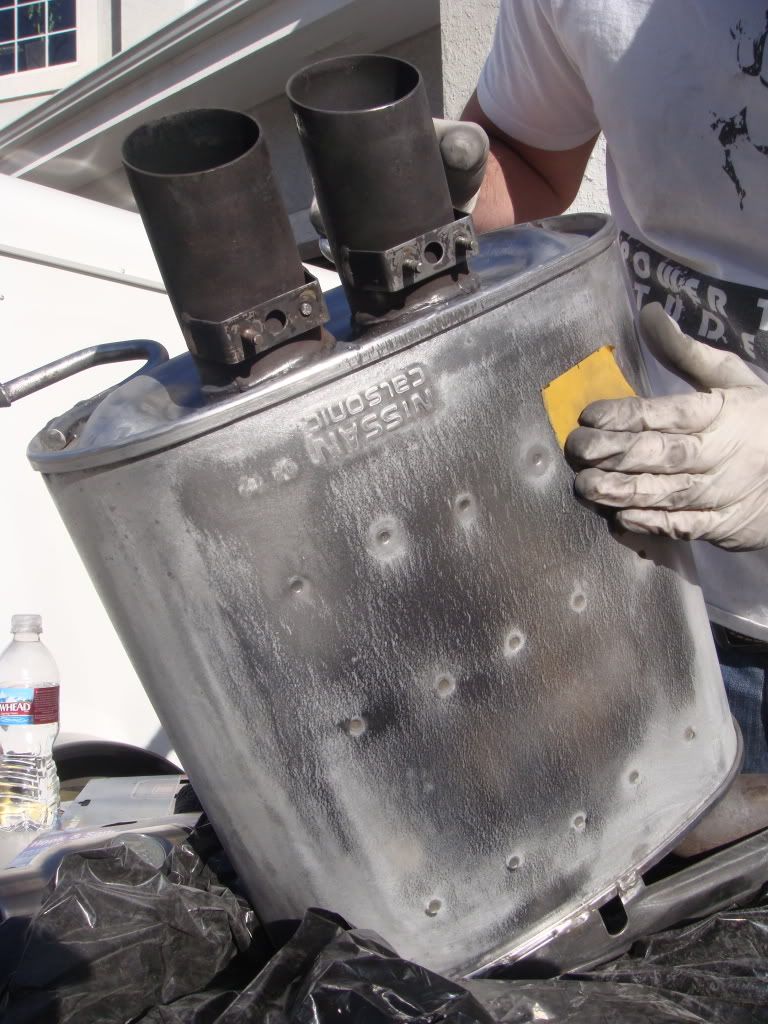
4. Now the work begins. Start with your rough grit and clean this thing up. Use the palm sander for the flat areas and get to the hard to reach areas with the dremmel and some hand sanding.
What you are doing here is tying to scratch the metal uniformly. As you move to finer and finer grits the scratches become smaller and less noticeable. Once you get up to the 2000 grit you will have a relatively shiny and clean surface. Then it is time to buff. This is doing the same thing to the metal as sanding, but on a microscopic scale.
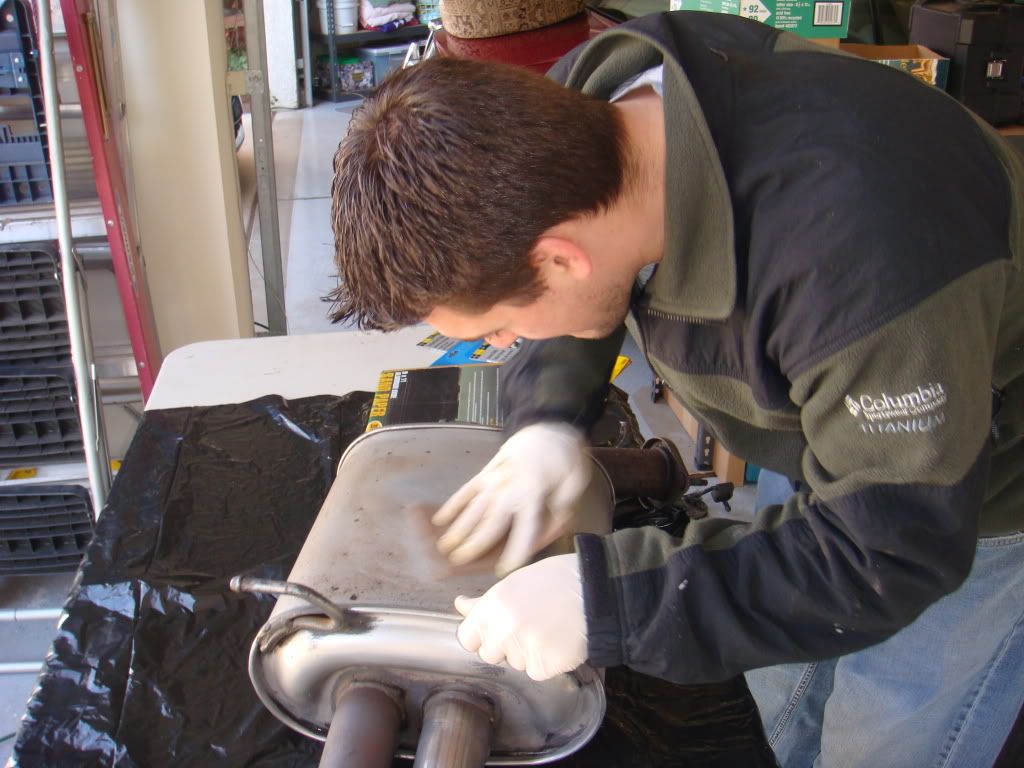
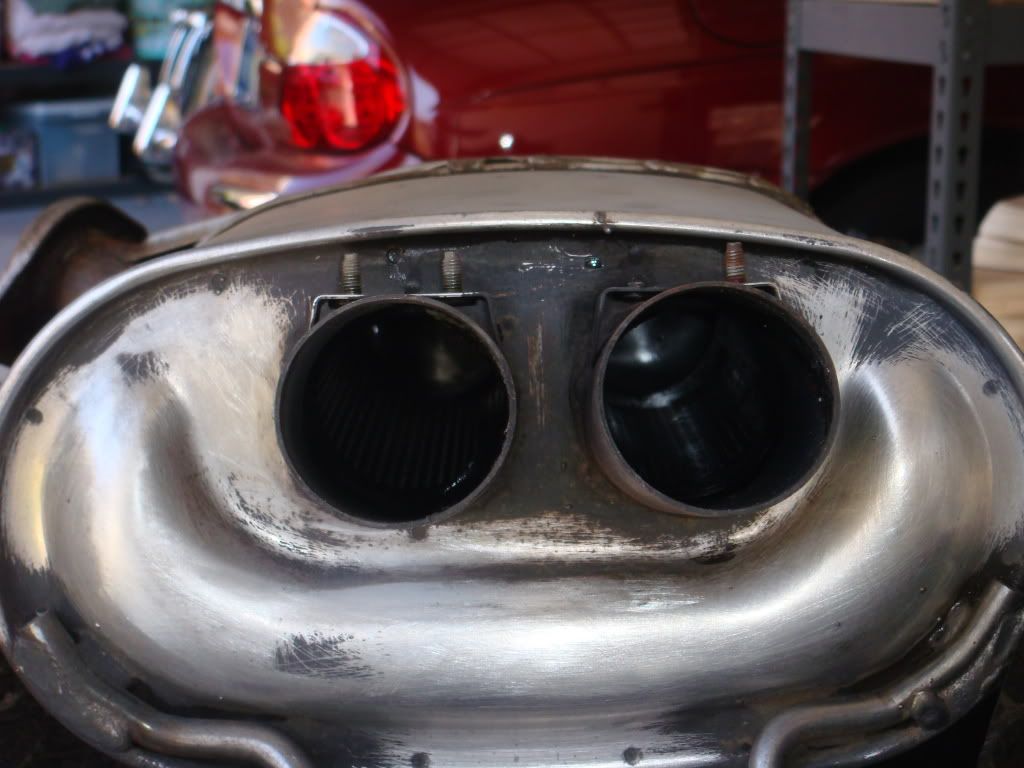

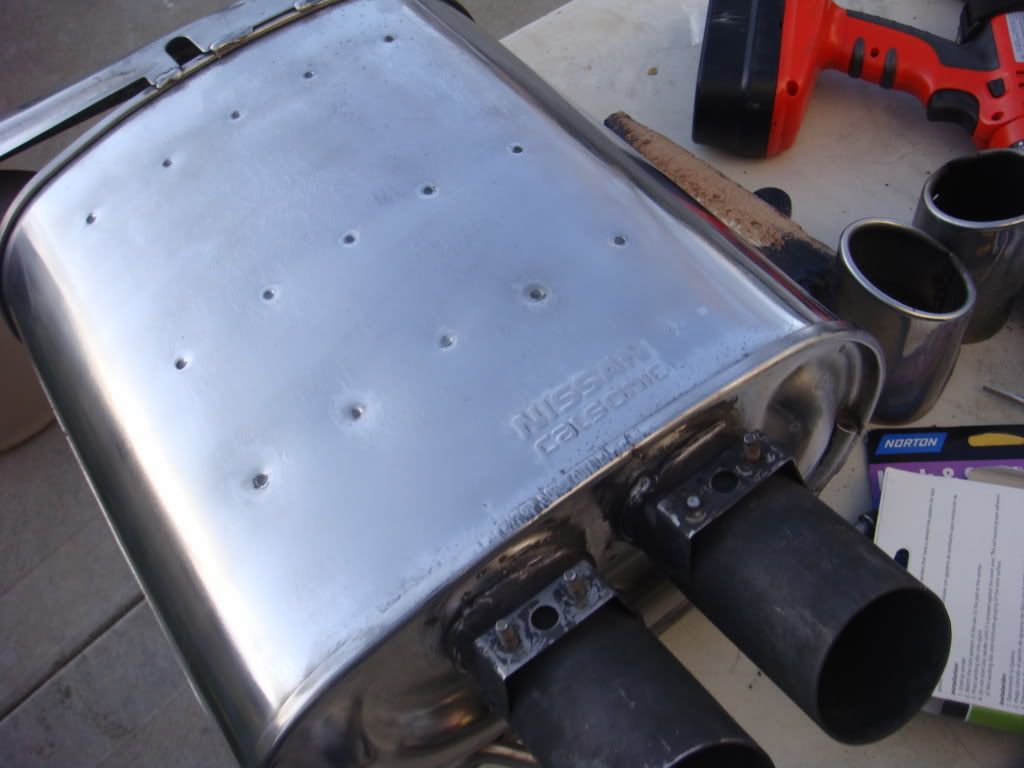
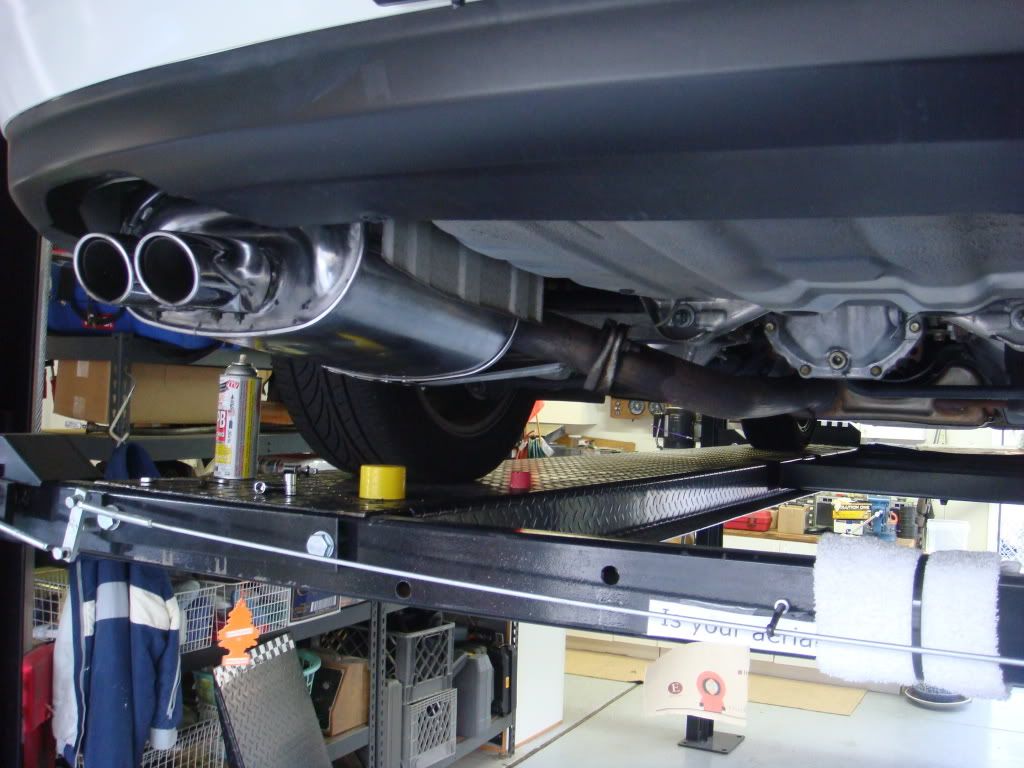
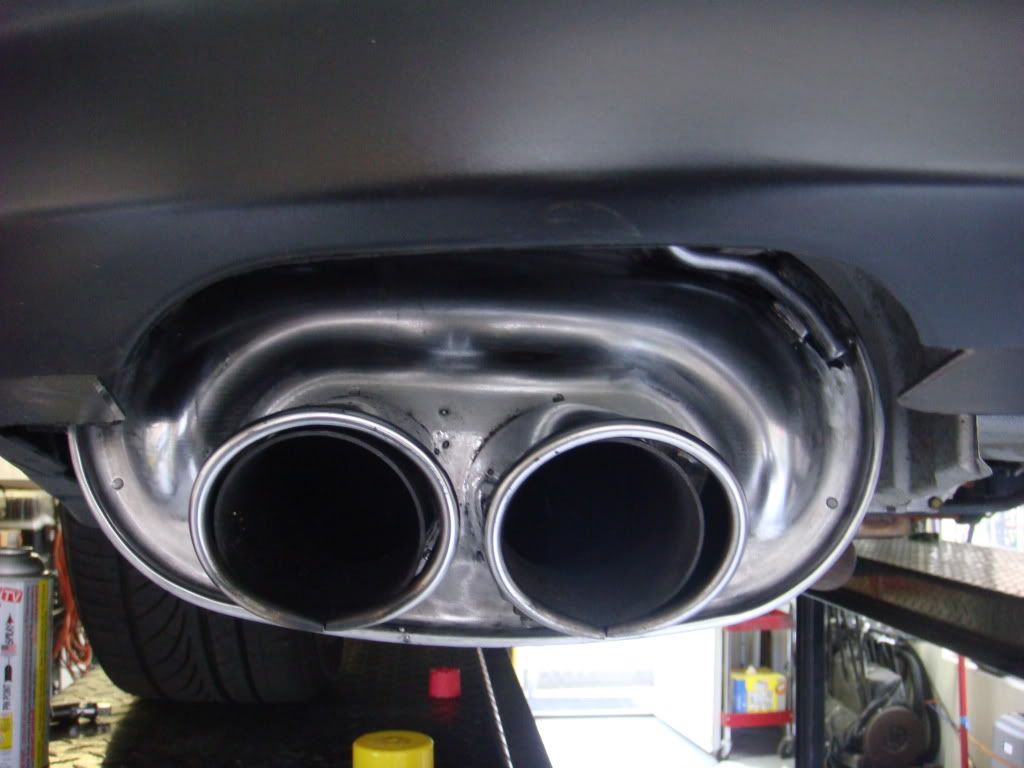
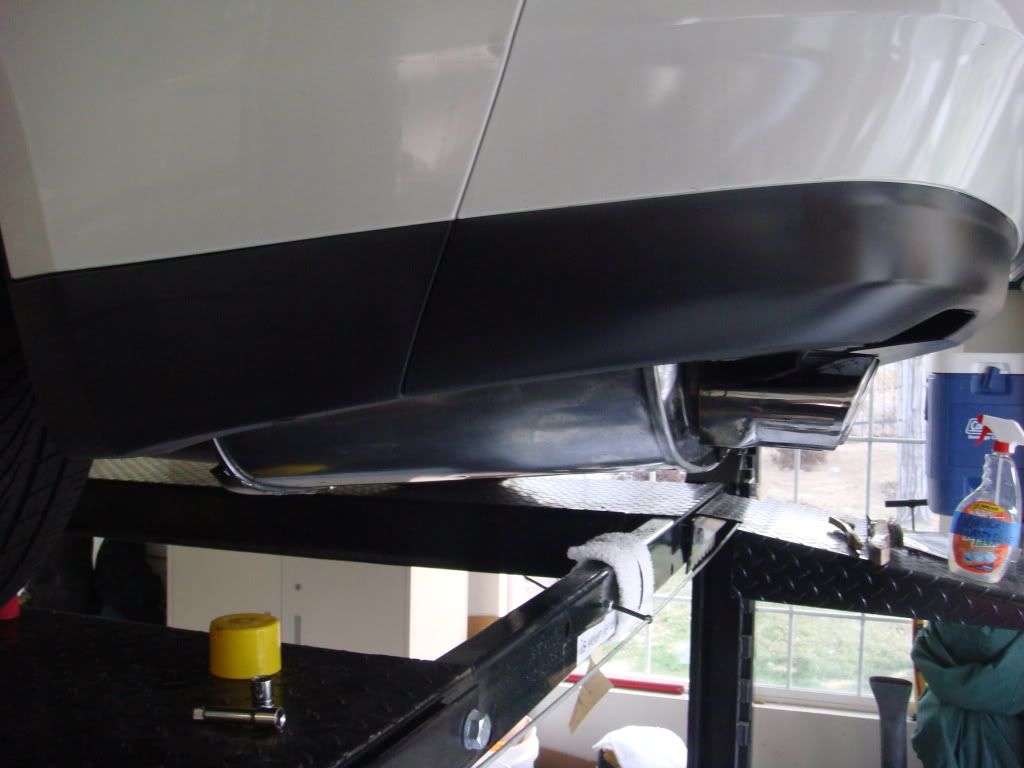
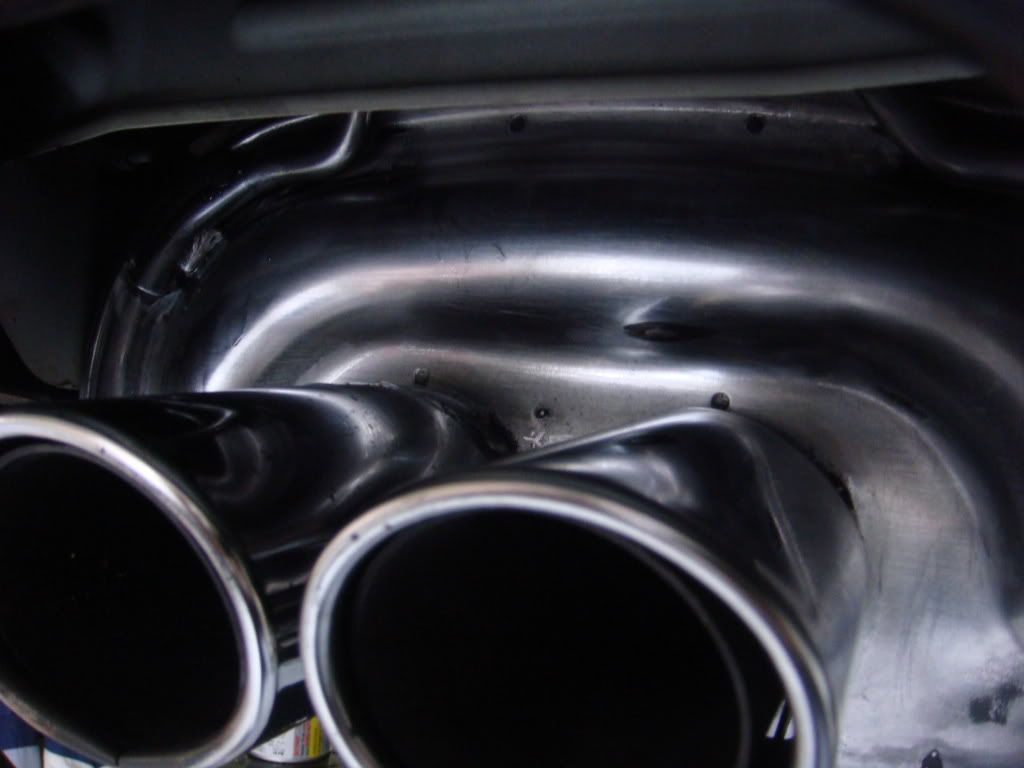
5. Polish that thing!
Our other friend who was taking the pics left and we were all dirty, so we didn't get pics of the polishing, but again, we used a professional wheel, cotton wheel, and a compound designed for stainless steel. This is what you end up with.
6. Bolt her back up!


Next project - Same thing on my car.

https://g35driver.com/forums/florida...haust-can.html
My buddy and I thought it looked awesome, so we decided to give it a try.
WARNING: This project is not easy. It is time consuming and frustrating. If you do not have the proper tools you will end up with a trashy product. Also, members RPL (car owner) and Myocyte X are in no way responsible for your mistakes when trying this yourself.
Materials:
PB Blast (Penetrating Oil for Bolts)
Aircraft Paint Stripper (Two Cans)
Wire Brush
Palm Sander
Palm Sander Pads (120 and 220 Grit)
Dremmel Tool
Dremmel Wire Brush Wheel
Dremmel Abrasive Wheels (+ Dremmel Polishing Compound)
Sand Paper (400, 500, 800, 1500, 2000)
Buffing Wheel
Buffing Compound (Stainless Compound)
Note: The buffing wheel make the difference here. A professional wheel and professional compounds are the only thing that will make your project bling. You arm will fall off long before you get the desired shine with hand polishing.
Detergent
TONS OF ELBOW GREASE
Tools:
14mm Deep Socket
12mm Socket and 4" extender
Other basic hand tools
Now a very basic DIY:
1. Get that can off the car.
We opted to remove the 4 bolts that held the two exhaust hangers and pull the whole assembly out.
Rear Hanger Assembly with 3 12mm Bolts
Now you're having FUN!
2. Once the can is off the vehicle, make a space to spray the aircraft paint stripper on. This shizz is pretty nasty and caustic, so wear gloves and proper protective garments.
Once the stuff is on, let it sit for a few minutes and you will see it starting to work. Then help it along with a wire brush.
3. Wipe the remainder of the gooey paint stripper off and hose the rest off. We used a strong detergent to clean off the stripper and anything else. Dish soap will work.
4. Now the work begins. Start with your rough grit and clean this thing up. Use the palm sander for the flat areas and get to the hard to reach areas with the dremmel and some hand sanding.
What you are doing here is tying to scratch the metal uniformly. As you move to finer and finer grits the scratches become smaller and less noticeable. Once you get up to the 2000 grit you will have a relatively shiny and clean surface. Then it is time to buff. This is doing the same thing to the metal as sanding, but on a microscopic scale.
5. Polish that thing!
Our other friend who was taking the pics left and we were all dirty, so we didn't get pics of the polishing, but again, we used a professional wheel, cotton wheel, and a compound designed for stainless steel. This is what you end up with.
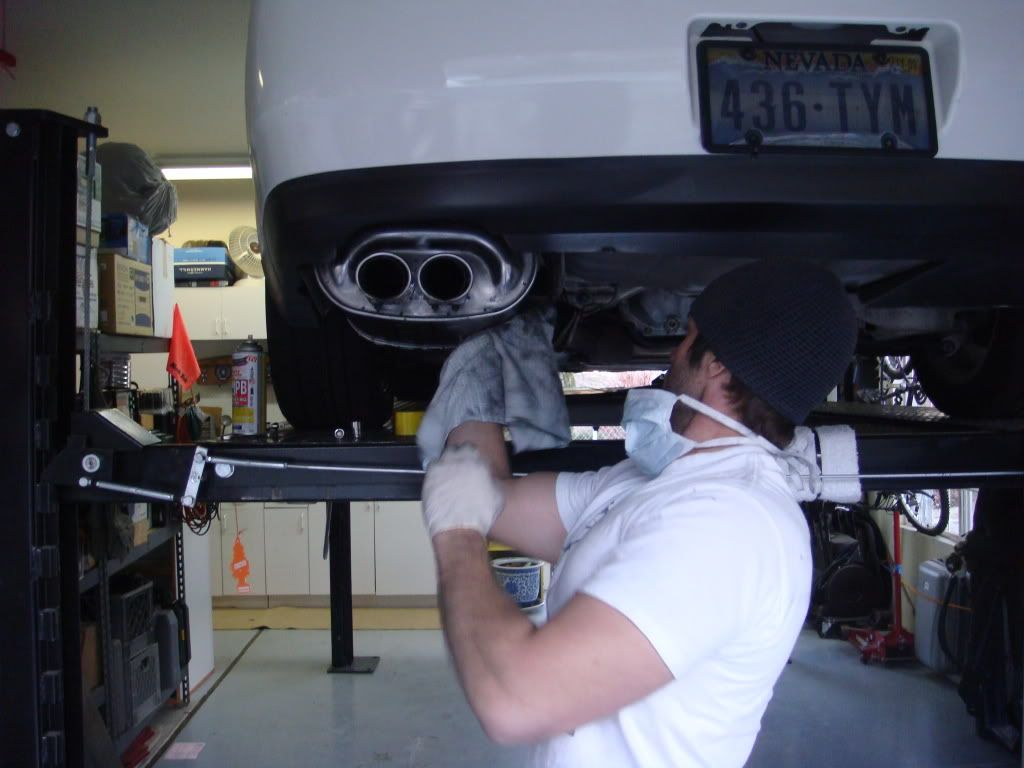
6. Bolt her back up!
Next project - Same thing on my car.
#2
03-31-2009, 02:04 PM
#3
03-31-2009, 02:05 PM

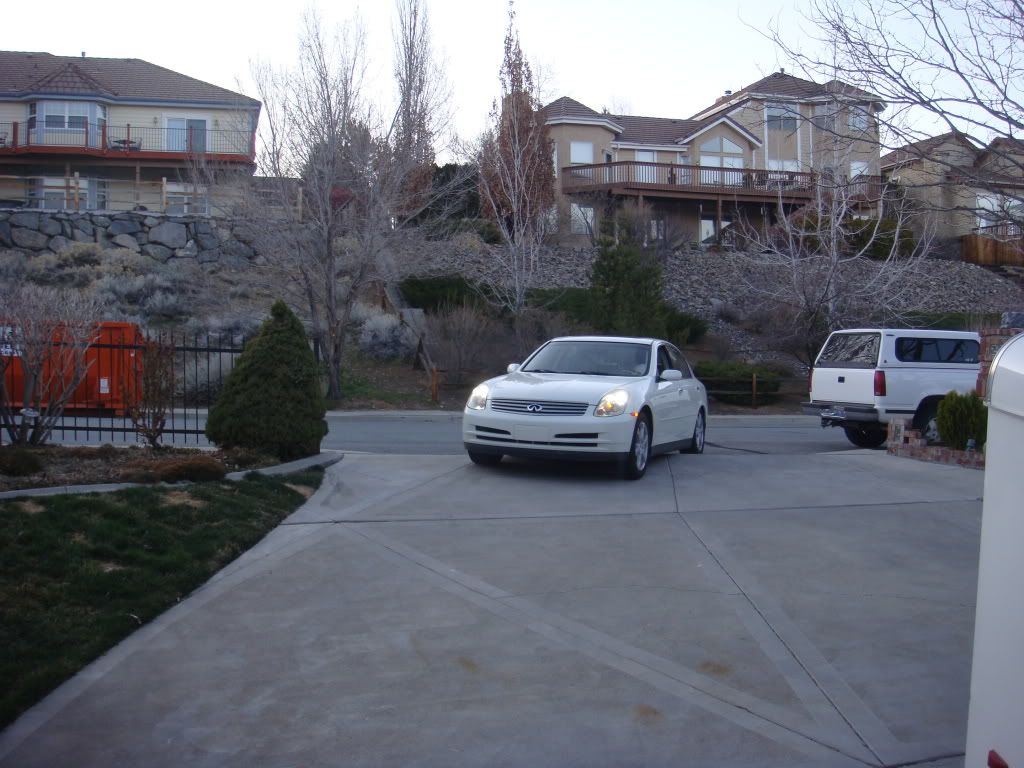
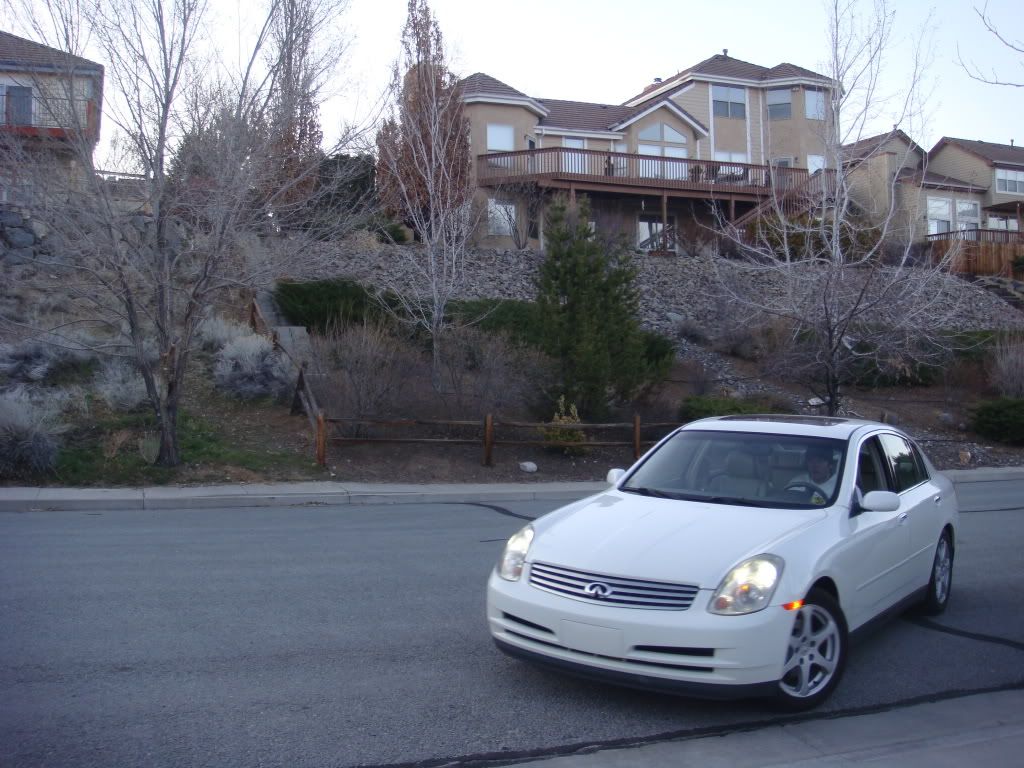
Did you have to add the last photo of me backing out of the driveway with my mouth open like a tard? lol
I thought I should add that we were also running out of daylight and it was getting chilly. So we decided we'd complete anything that we've missed later.
However, the project went extremely well! It looks even better in person. The only bummer is now the rest of my exhaust looks like crap because of the super clean muffler. I've been thinking about taking my car down to a local exhaust shop and having the mid-pipe deleted in place of a straight pipe, which I would probably then convince Myocyte X to lend me the proper tools and his 'craftful' hands again to polish that sucker up as well.
A special thanks to Myocyte X and all his amazing tools to complete the project with a touch of professionalism. Without his supply of tools and knowledge, I can see how a project like this could get extremely complicated and stressful.
Constructive criticism is welcome to make our project even better!


#6
03-31-2009, 03:26 PM

#7
03-31-2009, 04:10 PM
Join Date: May 2007
Location: R-Town, Nevada
Posts: 458
Likes: 0
Received 0 Likes
on
0 Posts
Thanks man. 
Yes....I did have to add that pic. hehe
More projects to come from the Myocyte garage, that's for sure!
Yeah, that's my Dad's garage. The lift makes everything 1,000 times easier. We had the exhaust can off in like 5 minutes. haha It would have taken more like 20 even with jack stands. Thanks. 
Yeah, it is all about seeing that shine at the end of the job. It is the light at the end of a long tunnel.
Thank you sir.
Did you have to add the last photo of me backing out of the driveway with my mouth open like a tard? lol
I thought I should add that we were also running out of daylight and it was getting chilly. So we decided we'd complete anything that we've missed later.
However, the project went extremely well! It looks even better in person. The only bummer is now the rest of my exhaust looks like crap because of the super clean muffler. I've been thinking about taking my car down to a local exhaust shop and having the mid-pipe deleted in place of a straight pipe, which I would probably then convince Myocyte X to lend me the proper tools and his 'craftful' hands again to polish that sucker up as well.
A special thanks to Myocyte X and all his amazing tools to complete the project with a touch of professionalism. Without his supply of tools and knowledge, I can see how a project like this could get extremely complicated and stressful.
Constructive criticism is welcome to make our project even better!
I thought I should add that we were also running out of daylight and it was getting chilly. So we decided we'd complete anything that we've missed later.
However, the project went extremely well! It looks even better in person. The only bummer is now the rest of my exhaust looks like crap because of the super clean muffler. I've been thinking about taking my car down to a local exhaust shop and having the mid-pipe deleted in place of a straight pipe, which I would probably then convince Myocyte X to lend me the proper tools and his 'craftful' hands again to polish that sucker up as well.
A special thanks to Myocyte X and all his amazing tools to complete the project with a touch of professionalism. Without his supply of tools and knowledge, I can see how a project like this could get extremely complicated and stressful.
Constructive criticism is welcome to make our project even better!
More projects to come from the Myocyte garage, that's for sure!
Yeah, it is all about seeing that shine at the end of the job. It is the light at the end of a long tunnel.
Thank you sir.
Trending Topics
#8
03-31-2009, 07:59 PM
Join Date: Mar 2009
Location: By the sea, Tx
Posts: 18,301
Received 1,486 Likes
on
1,221 Posts
G35 sedan w/ too much money in mods


#11
04-01-2009, 01:06 PM
#12
04-03-2009, 11:41 AM
Join Date: May 2007
Location: R-Town, Nevada
Posts: 458
Likes: 0
Received 0 Likes
on
0 Posts
We need more stock polishers! Anyone else do this!?


#15
04-10-2009, 04:53 PM
Join Date: May 2007
Location: R-Town, Nevada
Posts: 458
Likes: 0
Received 0 Likes
on
0 Posts
I don't remember the model exactly, but I will try and get that for you.