When you click on links to various merchants on this site and make a purchase, this can result in this site earning a commission. Affiliate programs and affiliations include, but are not limited to, the eBay Partner Network.
How to Install a Remote Starter in a 2004/2005/2006 G35 (FULL GUIDE)
Hey guys! I'm been lurking the forums for a long time now, and I've learned lots from all of you so now it's time for me to try and teach something! It is finally summer now and while this will not be immediately useful, it will hopefully be useful in the future!
I installed this remote starter system at the beginning of last winter and it has been rock solid and super useful for the entirety of winter thus far. It's fantastic early in the morning or late and night when it's freezing outside, and you can even install it for a hot summer to turn your AC on if you'd like!
Here are some of the features it has that I like:
- Remote starting from up to 3000ft away (with a clear line of sight)
- Programmable engine run time, automatic timed starting and constant start feedback
- Lock, unlock, trunk and hood status from your key fob. You will know the status of your car just by looking at your key fob since this is a 2-way system.
- Will not start if the hood is open
Here are some of the dangers of this project:
- You can now lock your keys in your car. Always have an extra set of keys available in the event that you do lock your keys in your car.
DISCLAIMER: I am not responsible for your car blowing up, stalling, dying, causing you cancer, holding your family hostage or anything else. I am a college student and if I can do this, chances are you can as well, but please try to be careful. There are always dangers to working with cars, especially with the electronics, so do this at your own risk, and if you don't think this is for you, DON'T DO IT!
That being said, here we go!
Here are some of the tools you will need for this install:
- Soldering Iron and solder
- Electrical Tape
- Zip Ties
- Socket & Screwdriver set
- Automatic Wire Stripper or Wire Cutters
- Pliers
- Knife or Scissors
- Multimeter (If you’d like)
Here are the parts you will need for this install:
Fortin Evo-All Bypass and Interface Module (Mandatory)
- Buy this, don’t by anything else. This is the best bypass module available from an awesome Canadian company with some of the best tech support I have ever gotten.
- Realistically any remote starter should work, but this is the one I chose because it is 2-way, has 3000ft of range, has a nice LCD fob, and was not super expensive like the VIPER ones. I much prefer Crimestopper stuff and this system has given me no problem at all so far.
The best place to buy the full kit for this would be from a great company called MyPushCart. They are actually the ones who introduced me to this configuration and their tech support is also outstanding. I am not affiliated with them at all, but I would highly recommend purchasing a kit from them for your install. I have used some of their documentation in my write-up, and including a link to their product page is the least I can do.
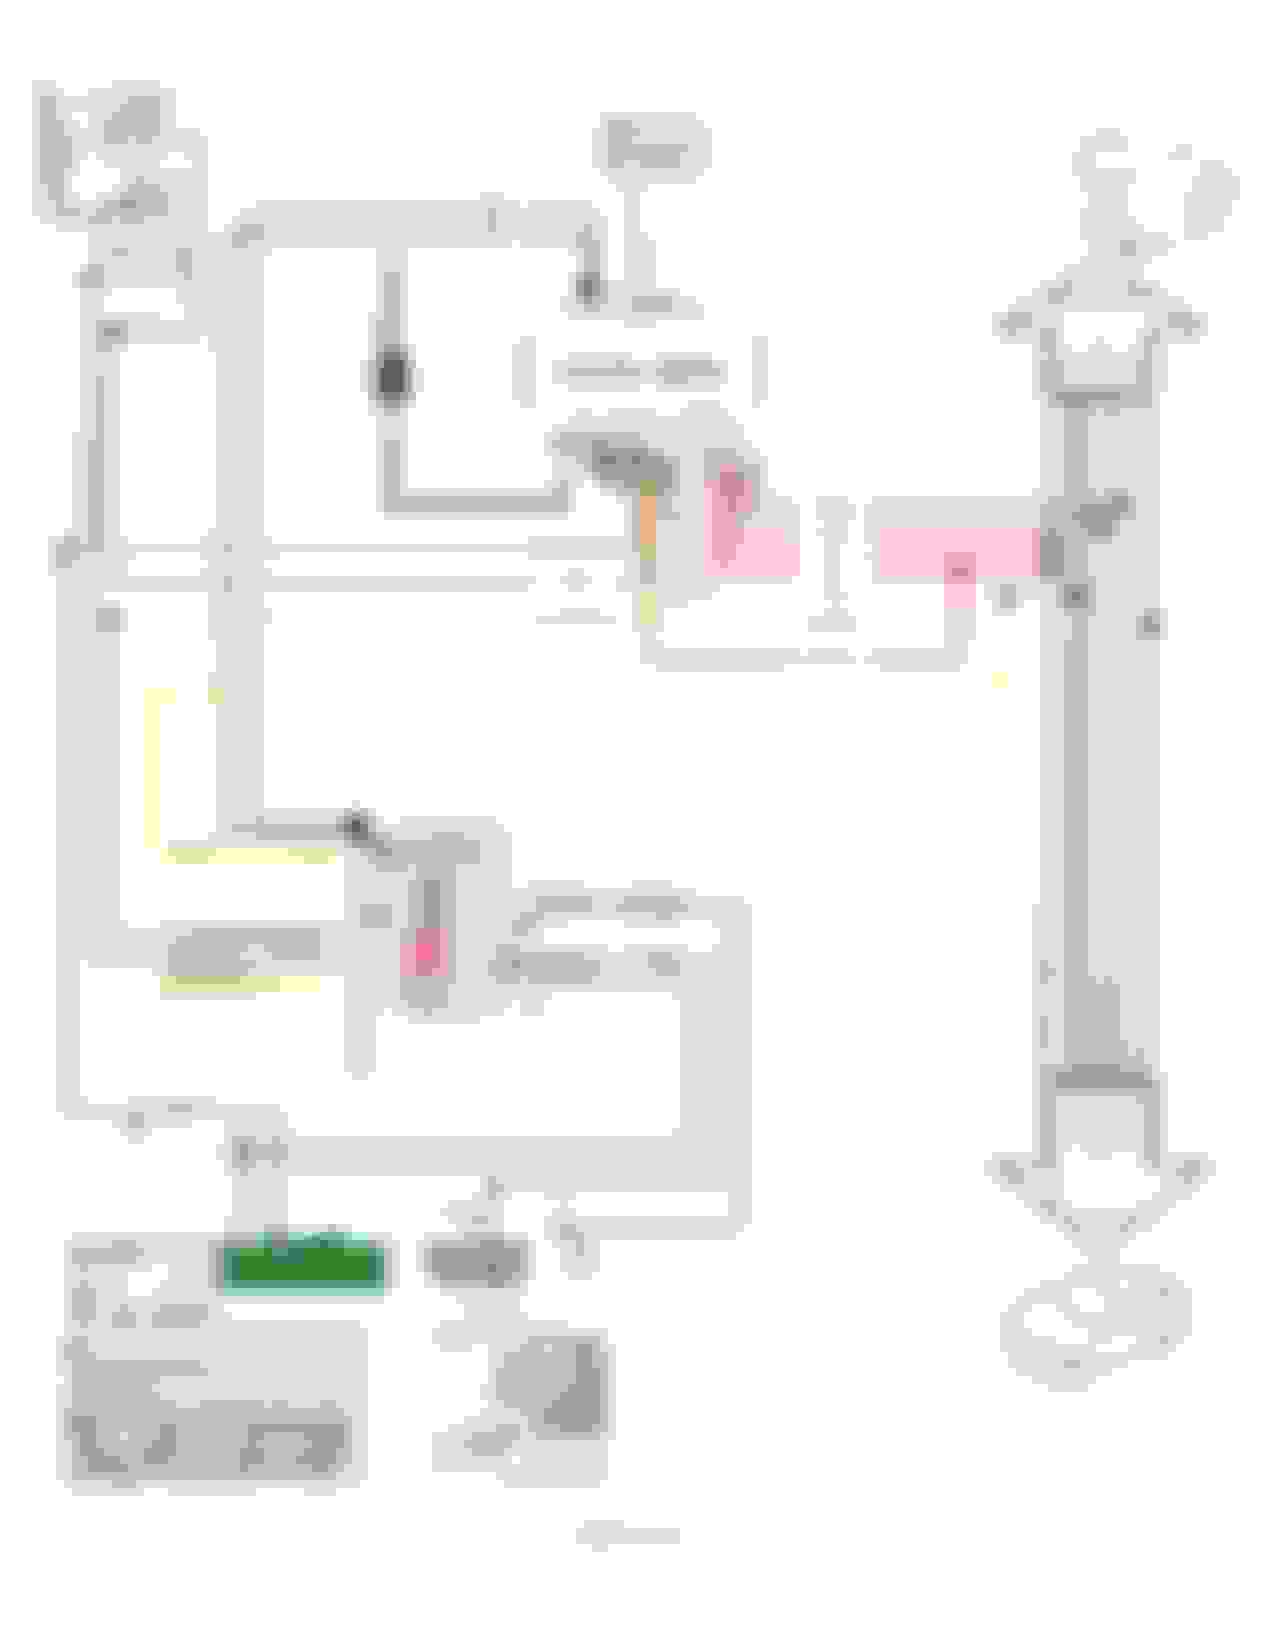
Here is a picture taken from the MyPushCart instructions. I did not create this and they get 100% credit for this drawing. It is very helpful.
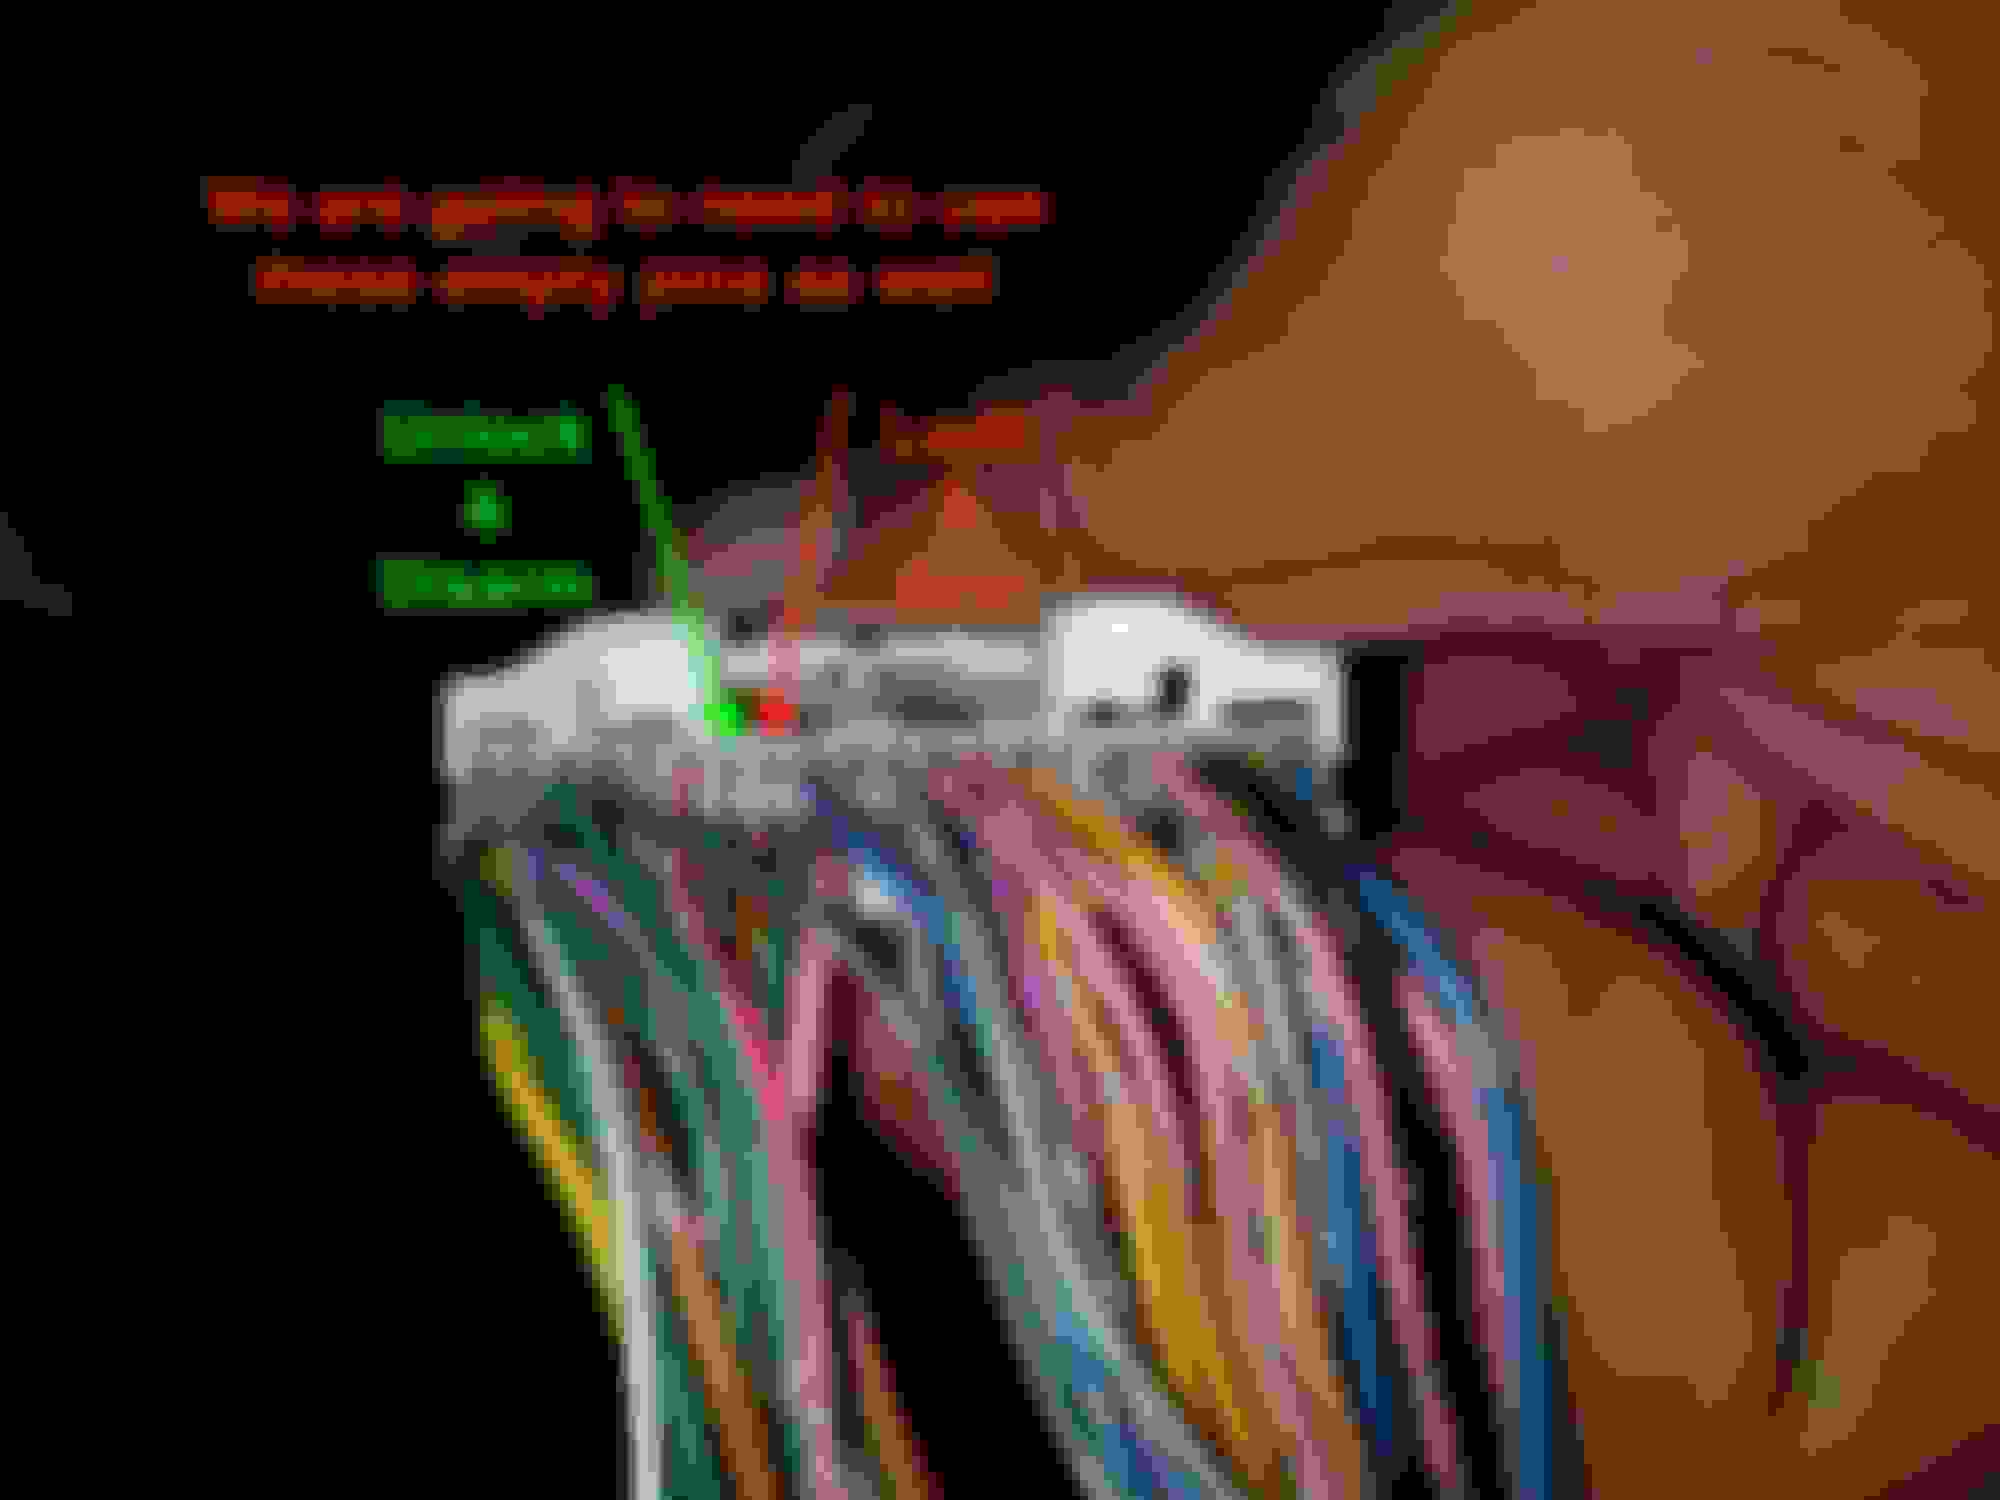
First let’s get the wires all prepped and ready to go. Here are the colors for each wire and what they mean:
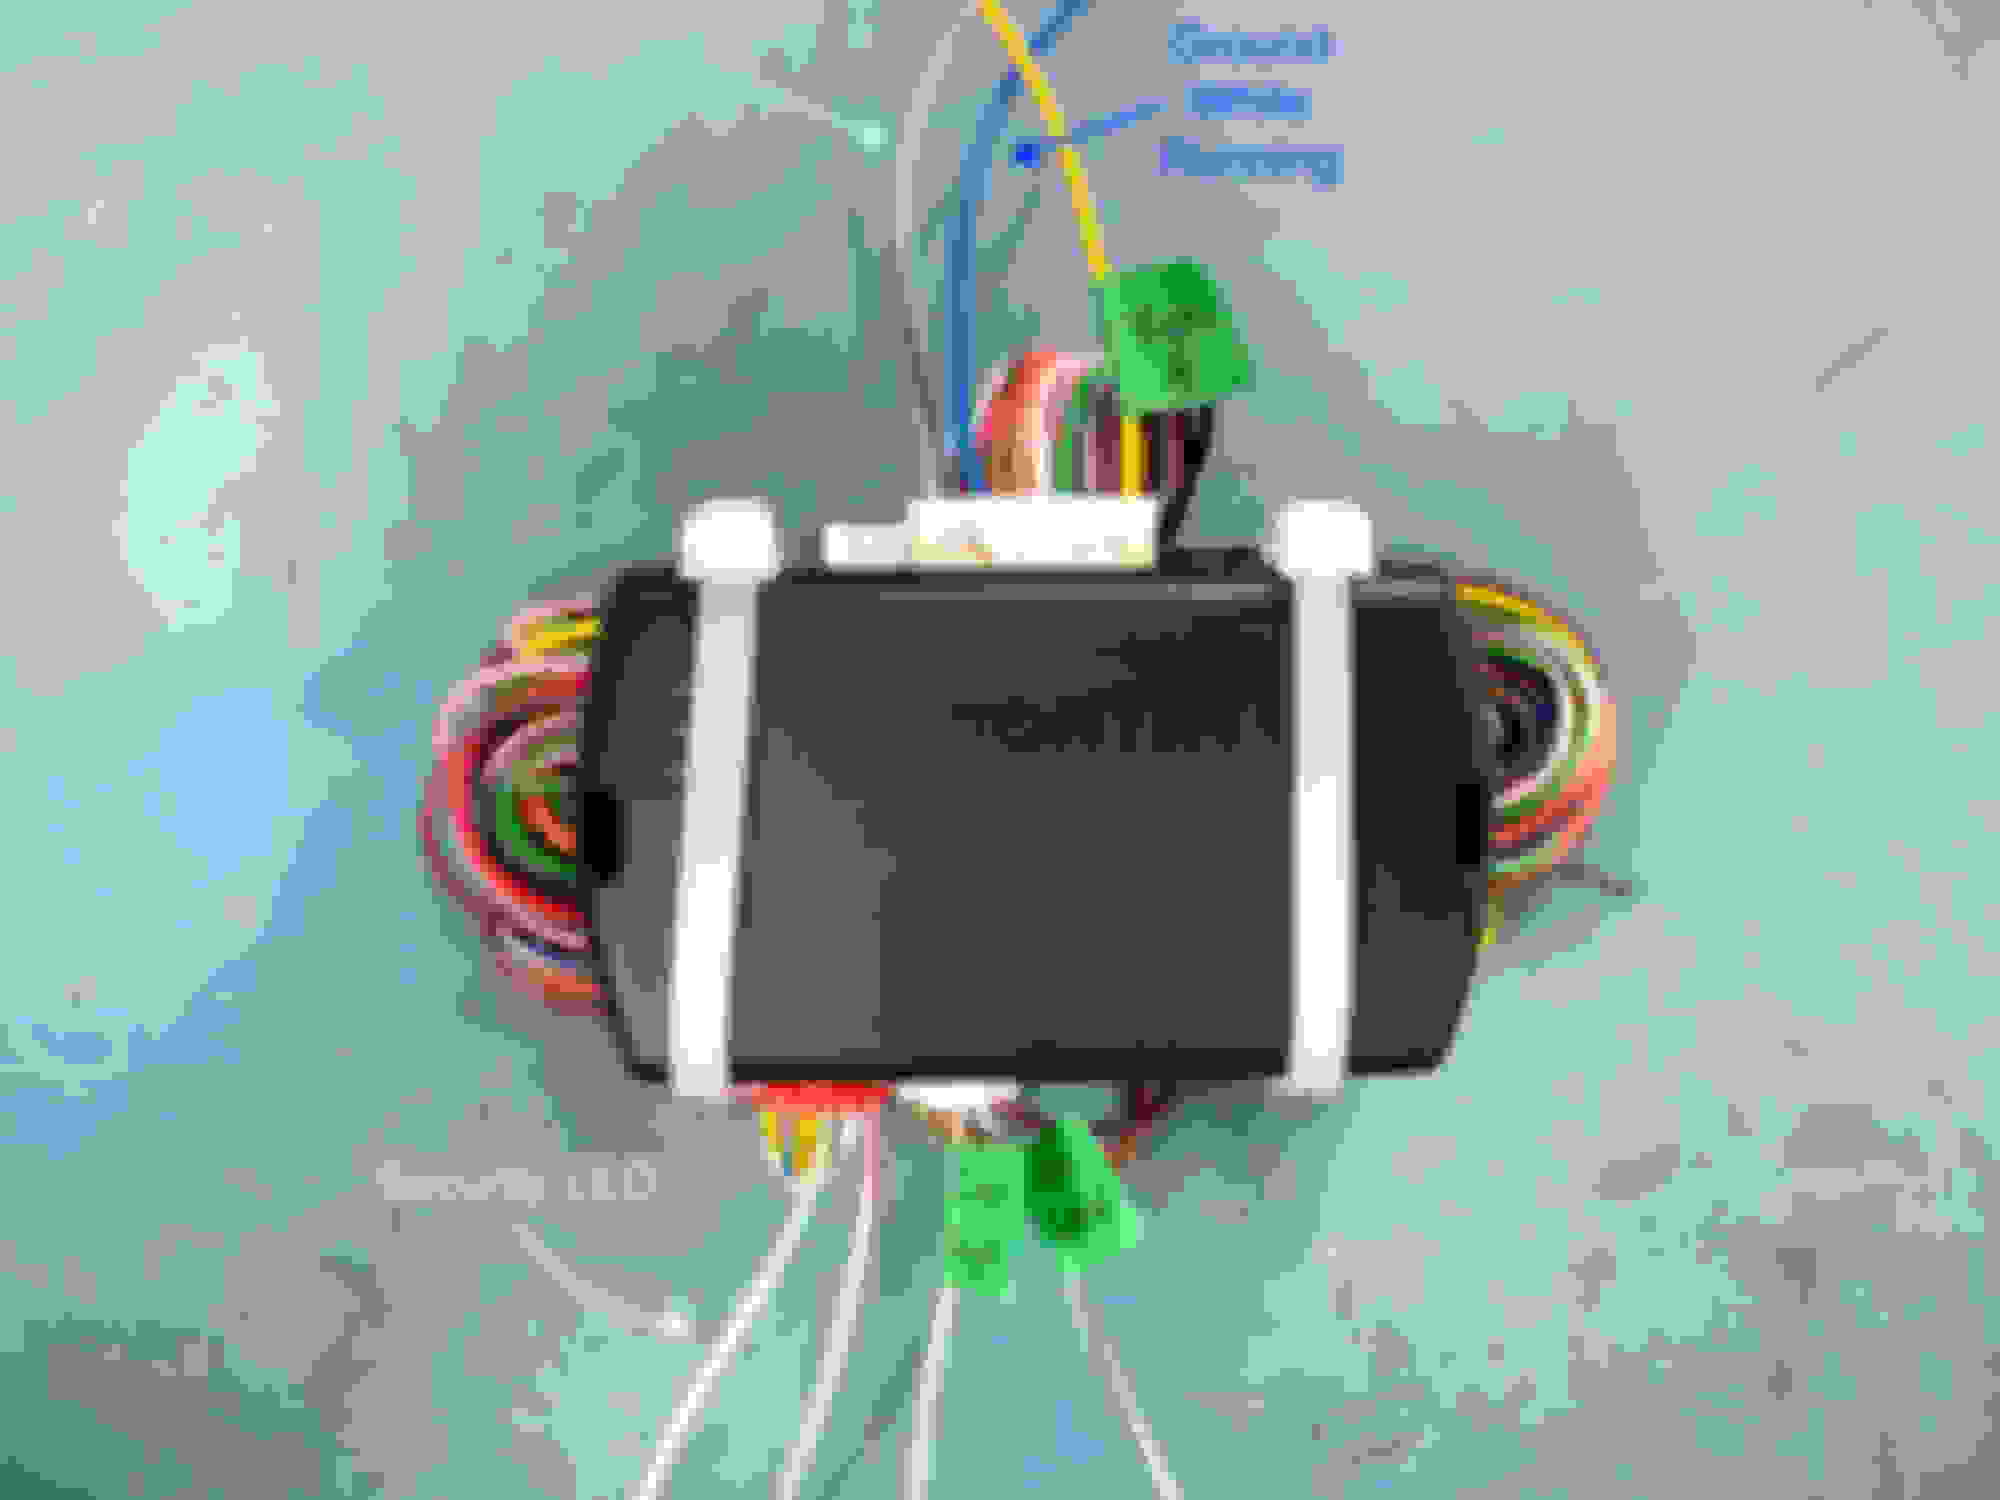
EVO-ALL
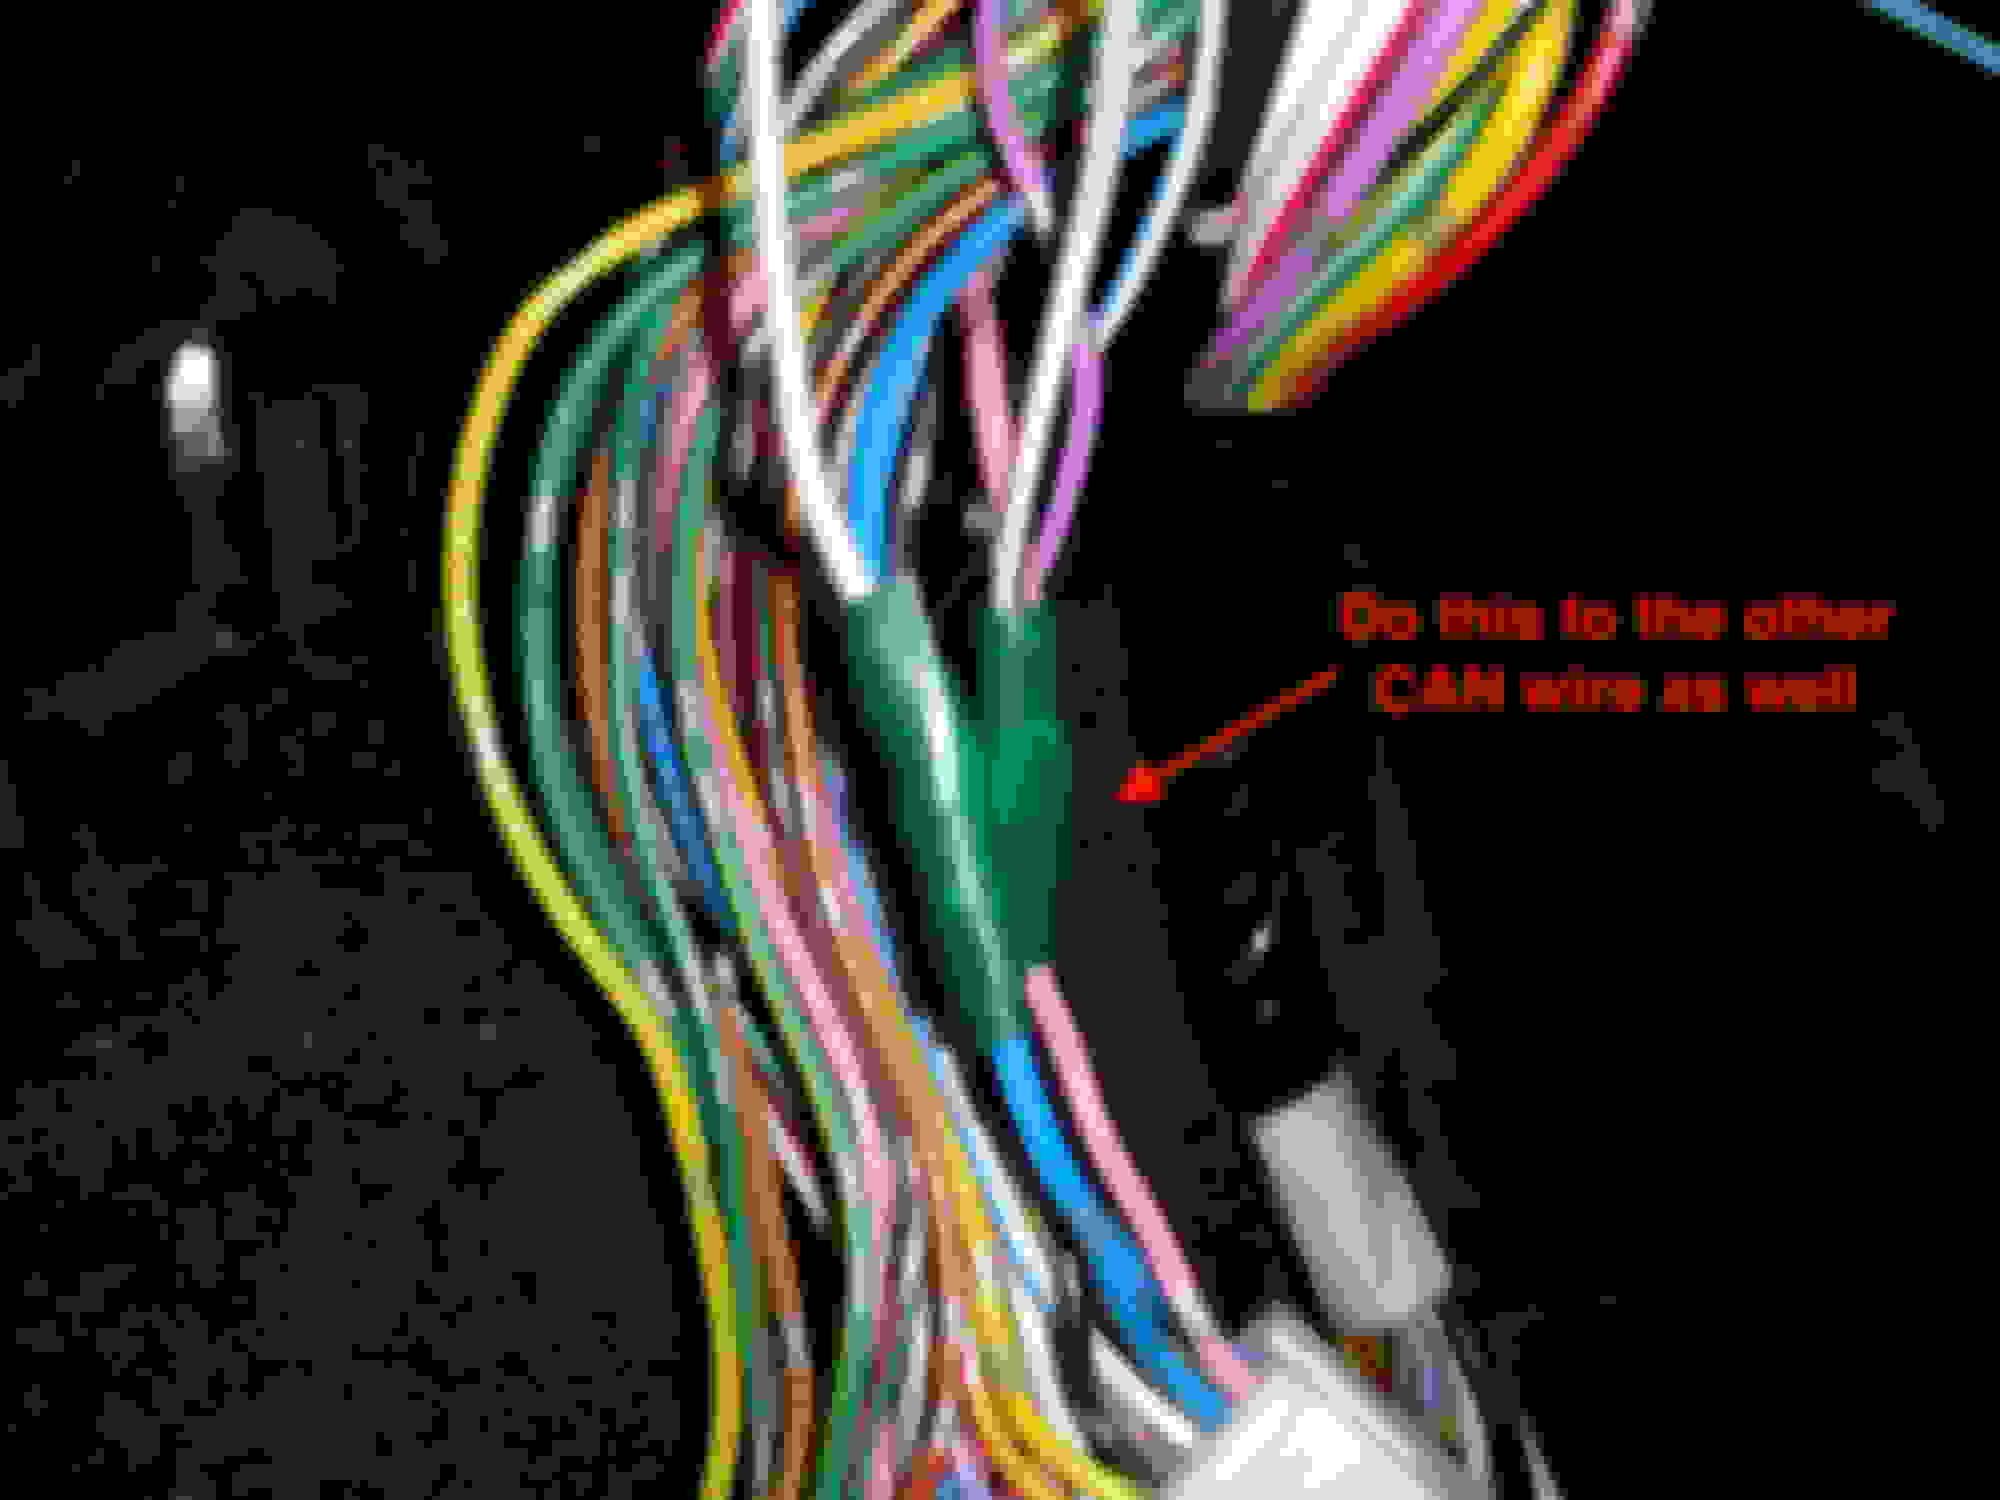
Yellow --> Goes to the ignition harness, let’s the module know when the car is in ignition Blue --> Needs to be grounded for the module to activate. Sadly I did not get a picture of this, but you need to connect this to the Yellow/Black wire on the RS7. Grey & Grey/Black --> CANBUS wires, these allow the module to interface with the ECU and BCM. Red/White & Green/White --> Security LED. This is as simple as it sounds, it is the security LED on your car that flashes to let you know the status of the security system. Light Blue/Black --> Goes to a BCM connector, more on this below
Every other wire is useless for us. Either cut it off or tuck it away like I did.
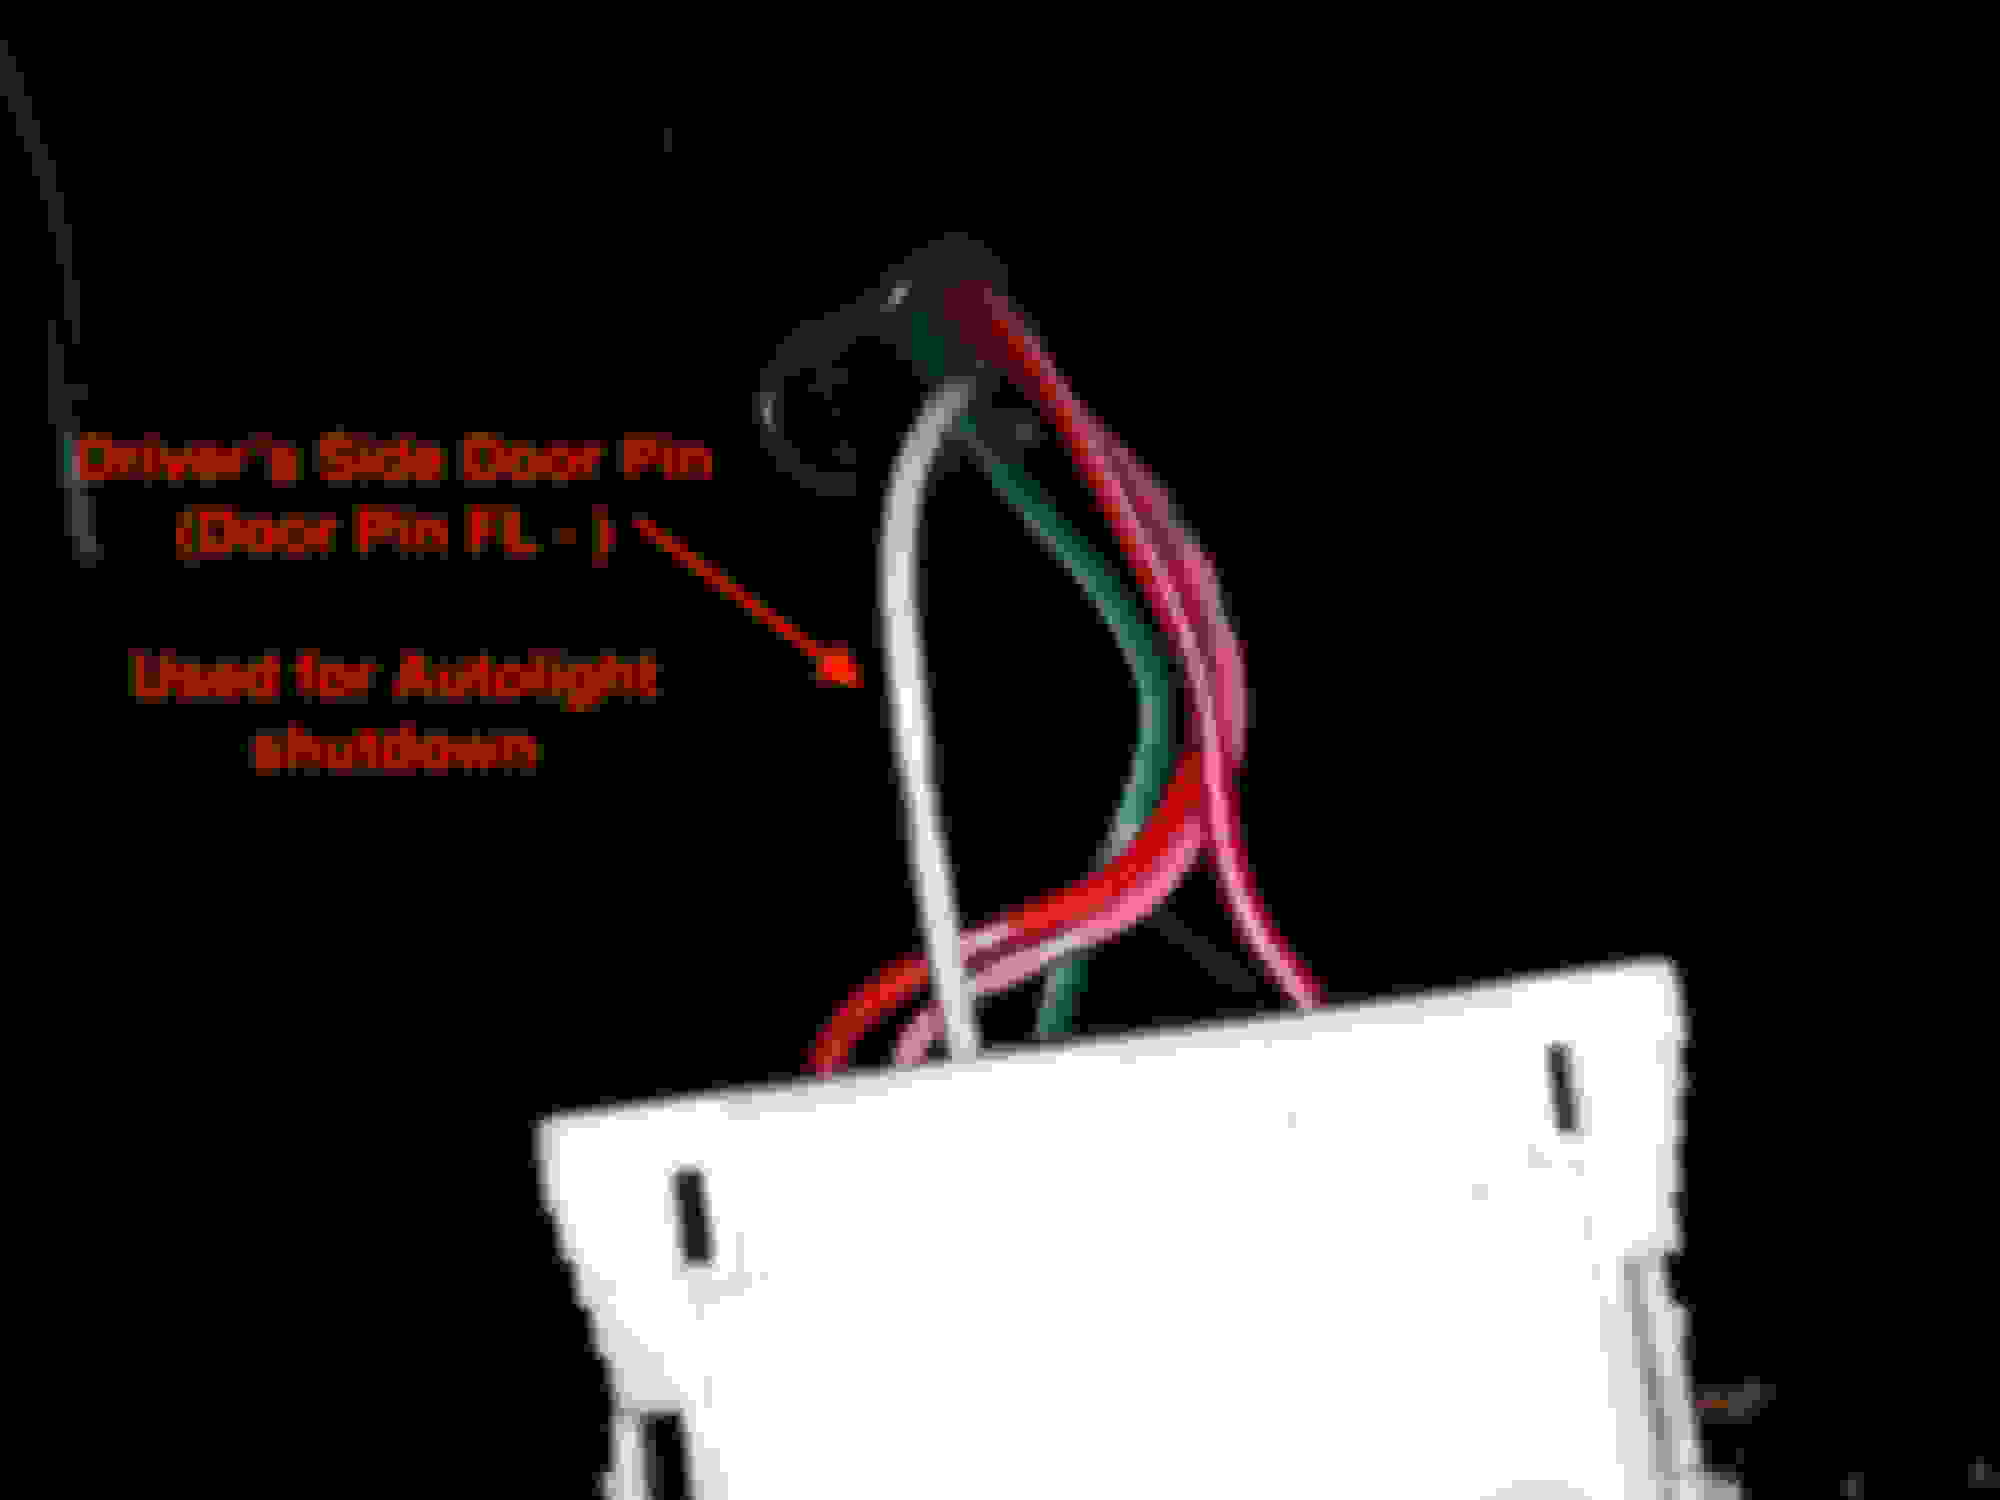
All of these wires seem mandatory except for the Driver’s Door Pin. This is used for the Autolight shutdown in the car, but since these cars already have that feature, I don’t think it’s necessary. I have it wired up but I’m not entirely sure what it does. Still, it’s up to you whether you include it or not.
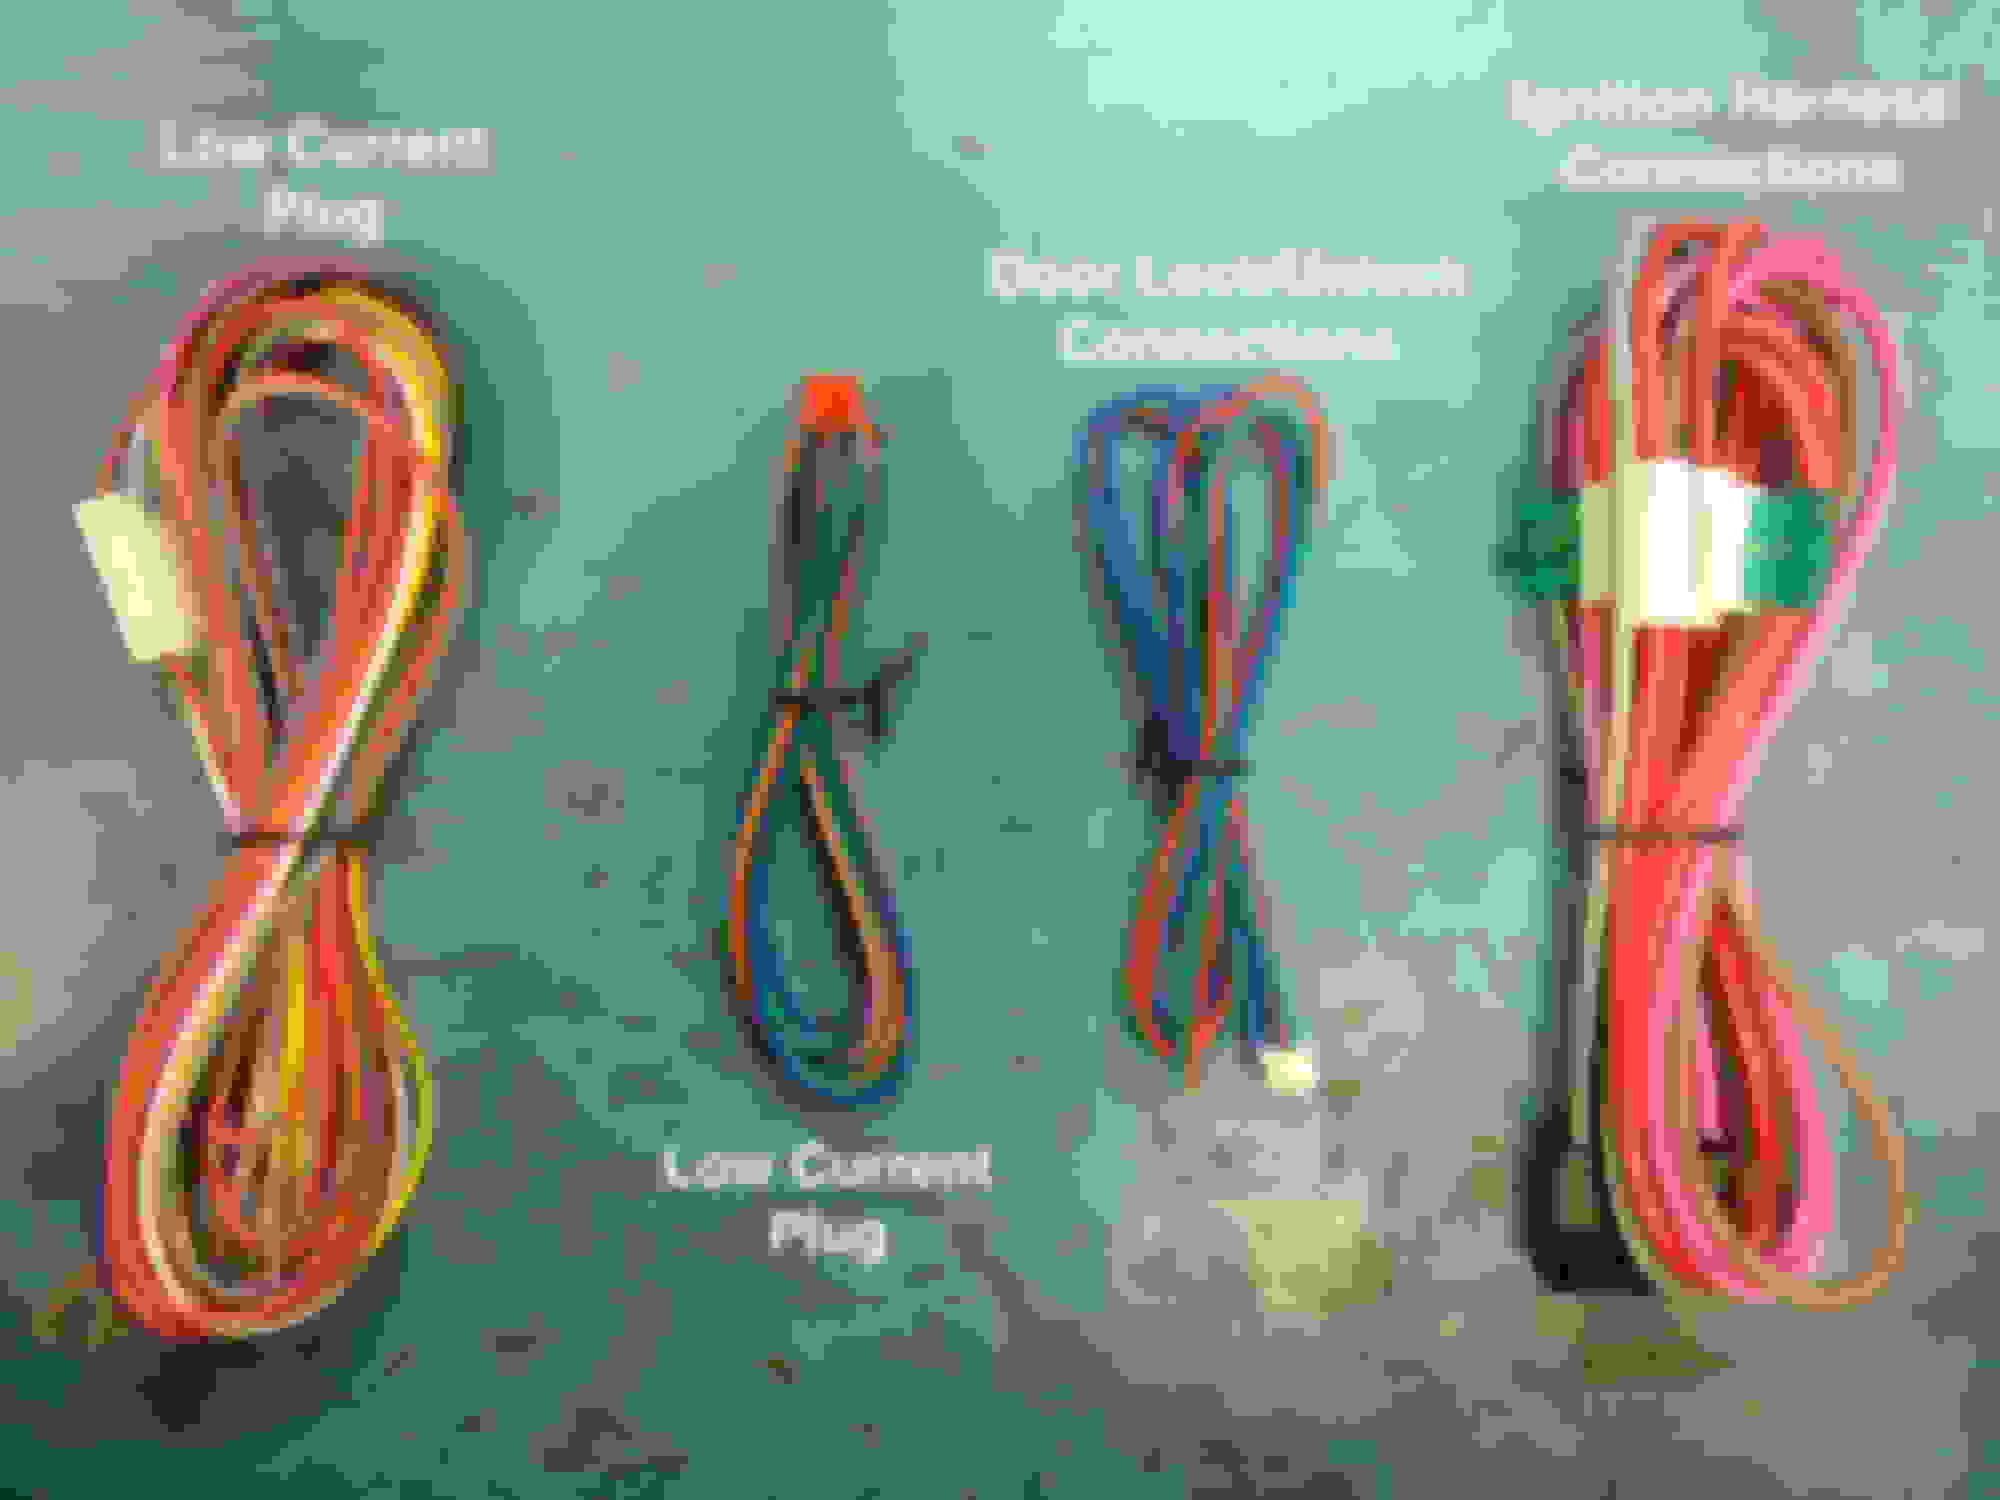
Crimestopper RS7
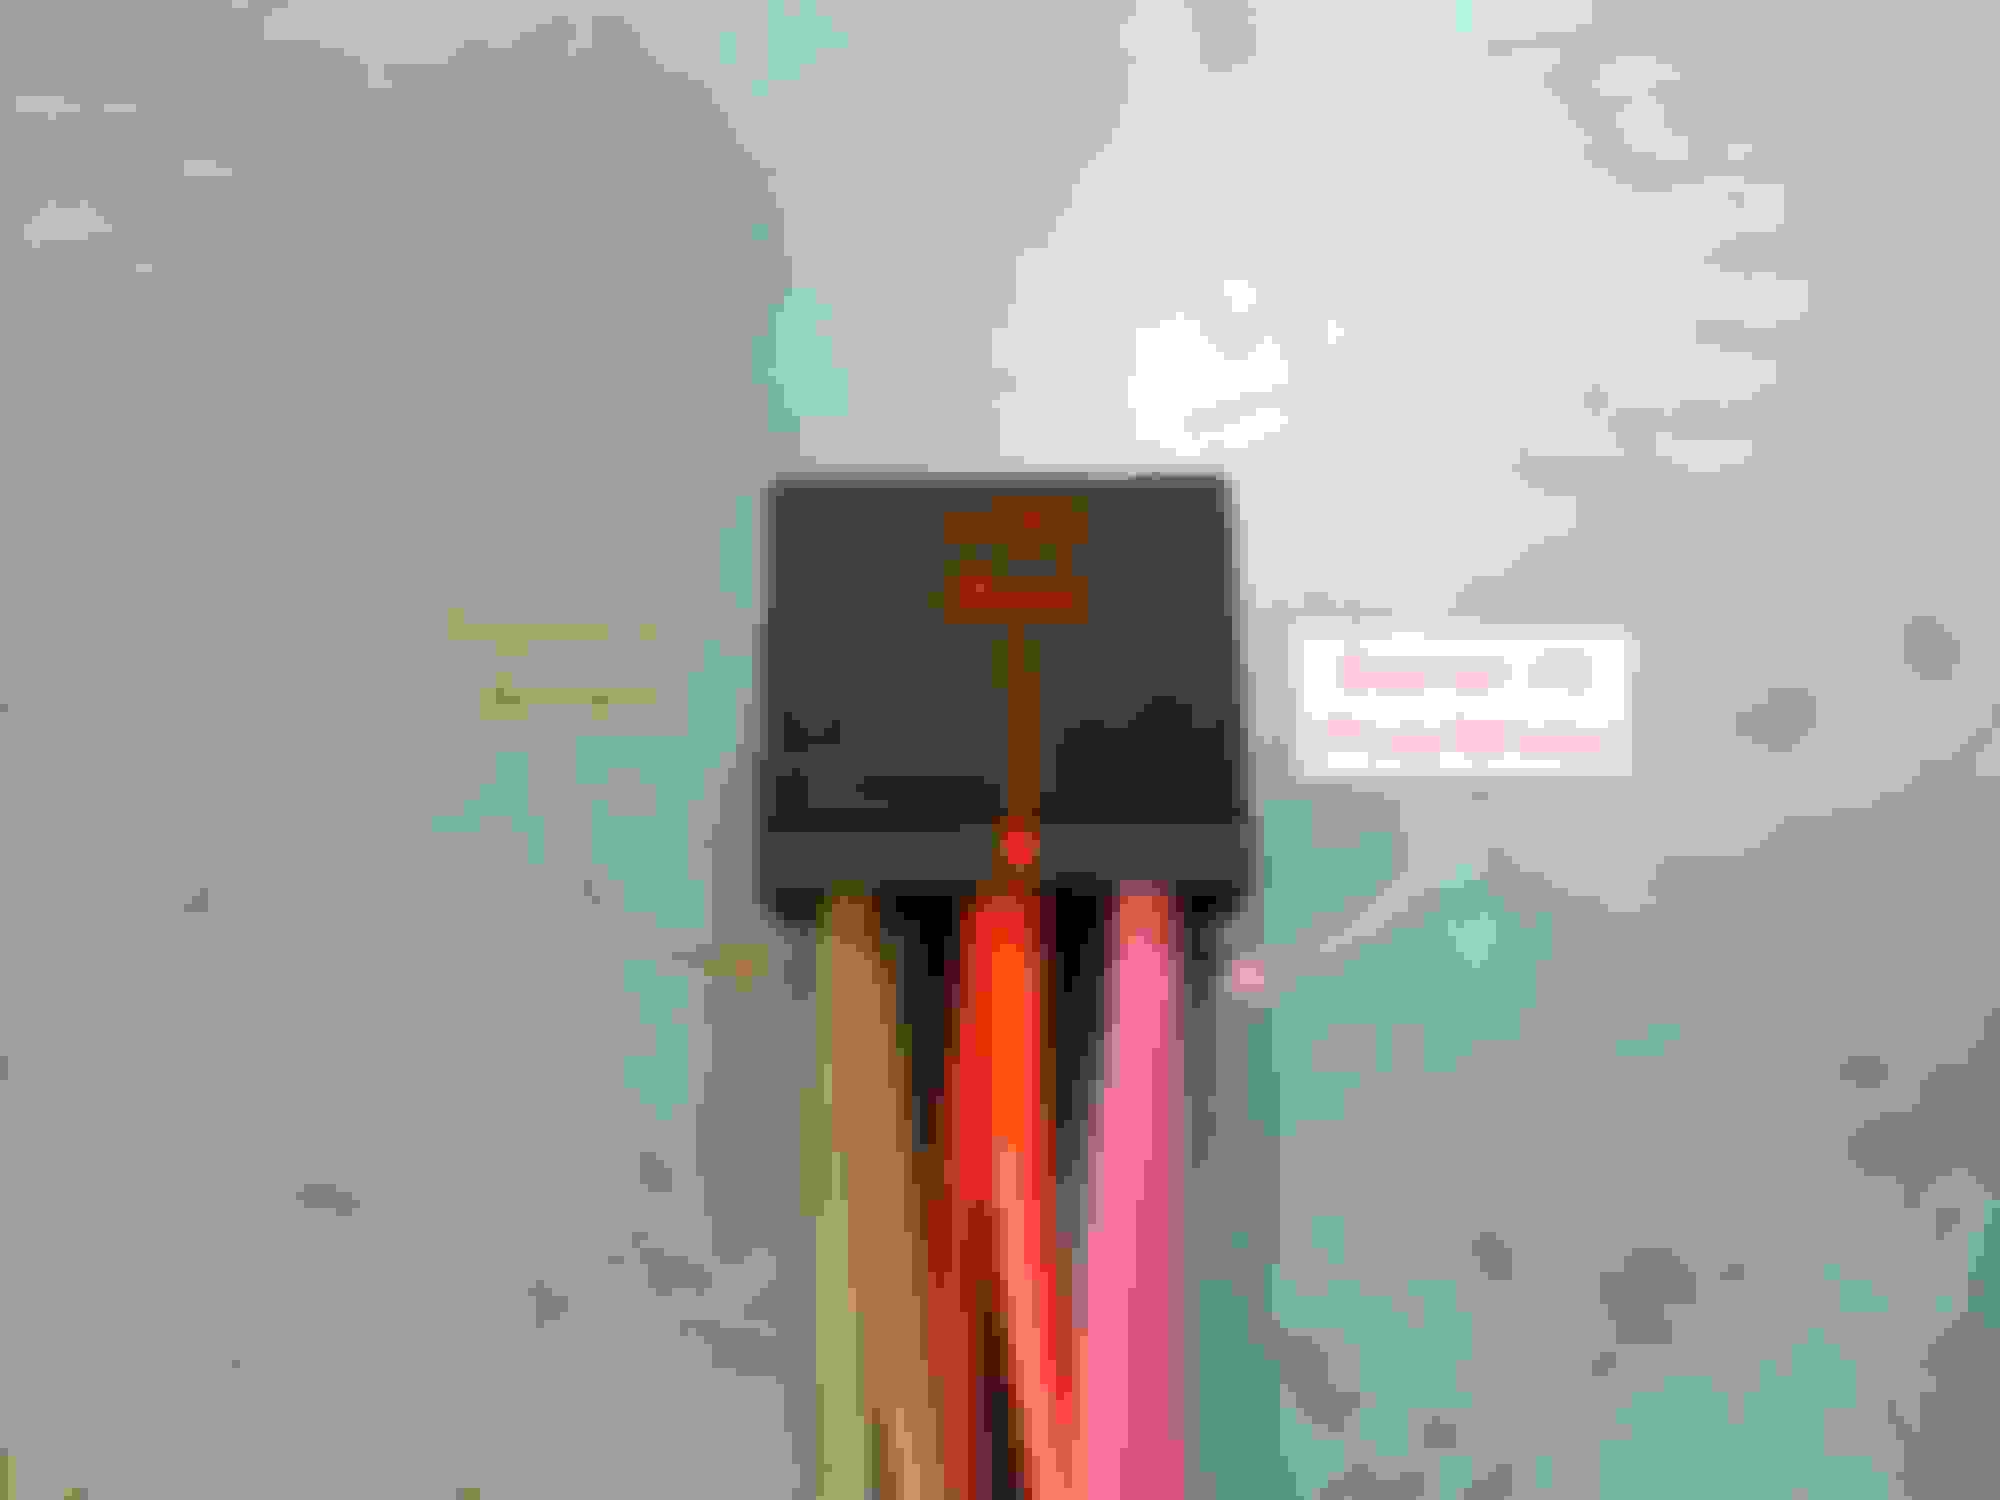
This has a lot more wires which we are going to use. Here is the ignition harness:
Here are the wires for the main harness (We will not be using all of these)
And here are the wires for the door harness:
**This is only needed if your car doesn’t support lock and unlock over the CAN network. Apparently the 2004 G35s don’t have CAN support for this(?), in which case this connector needs to be used.
**This connector is only needed if you want to have external remote starter control from something like a smartphone or an Arduino or something else. We will not be using this.
Okay, now that we know what everything is, let’s get started:
Open the driver’s side door and find this side trim piece. To remove it:
Next step is to remove the foot rest:
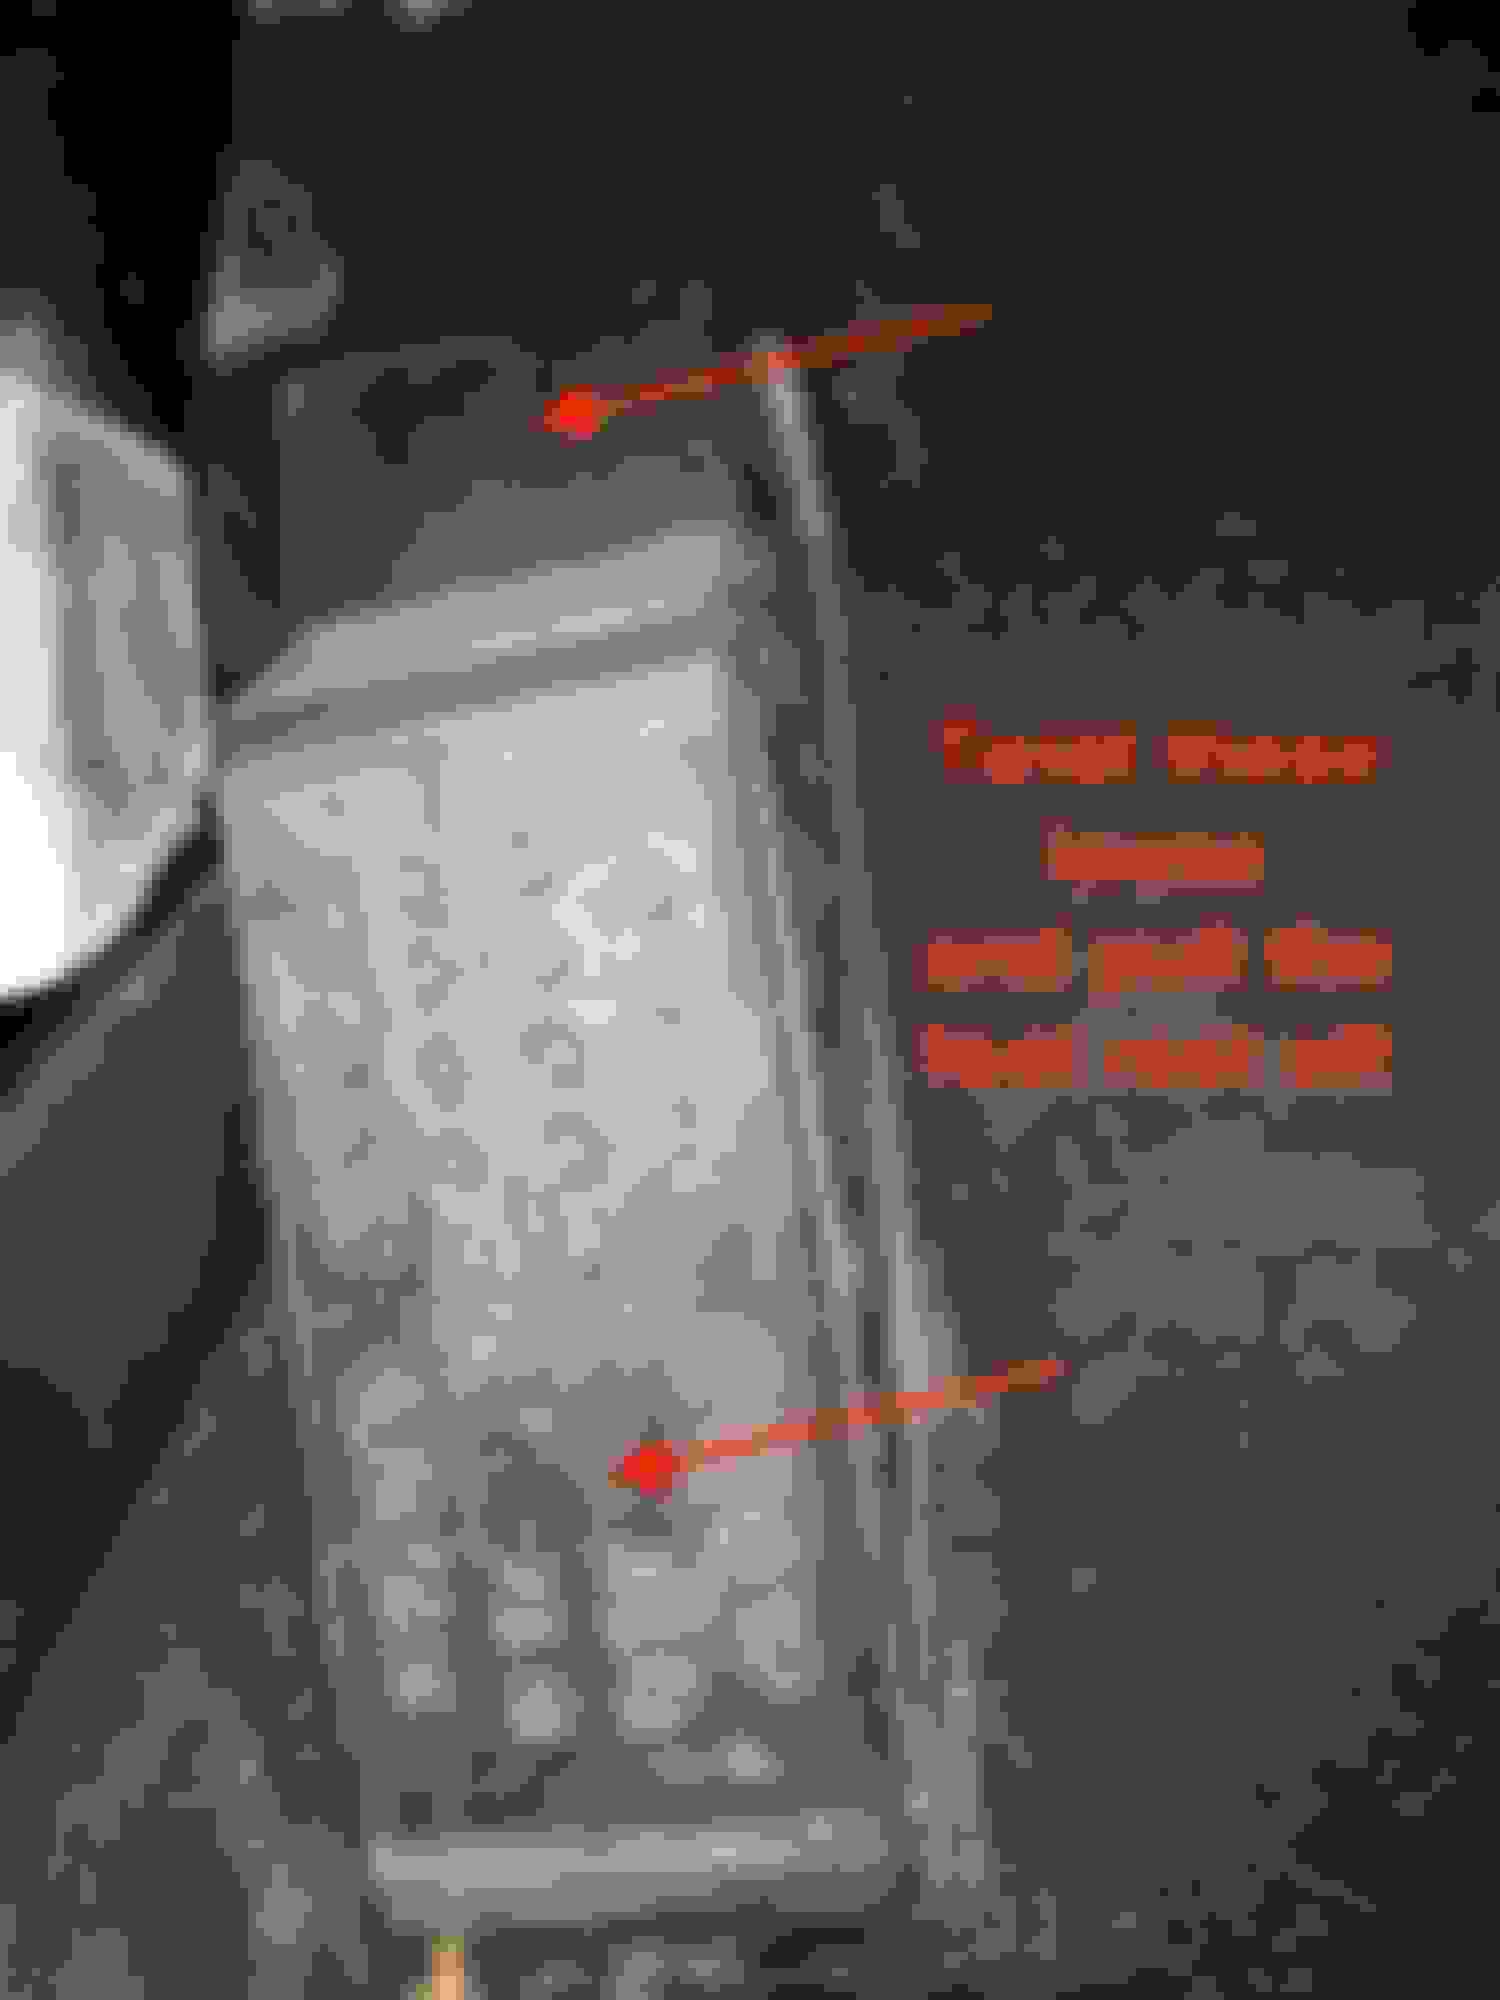
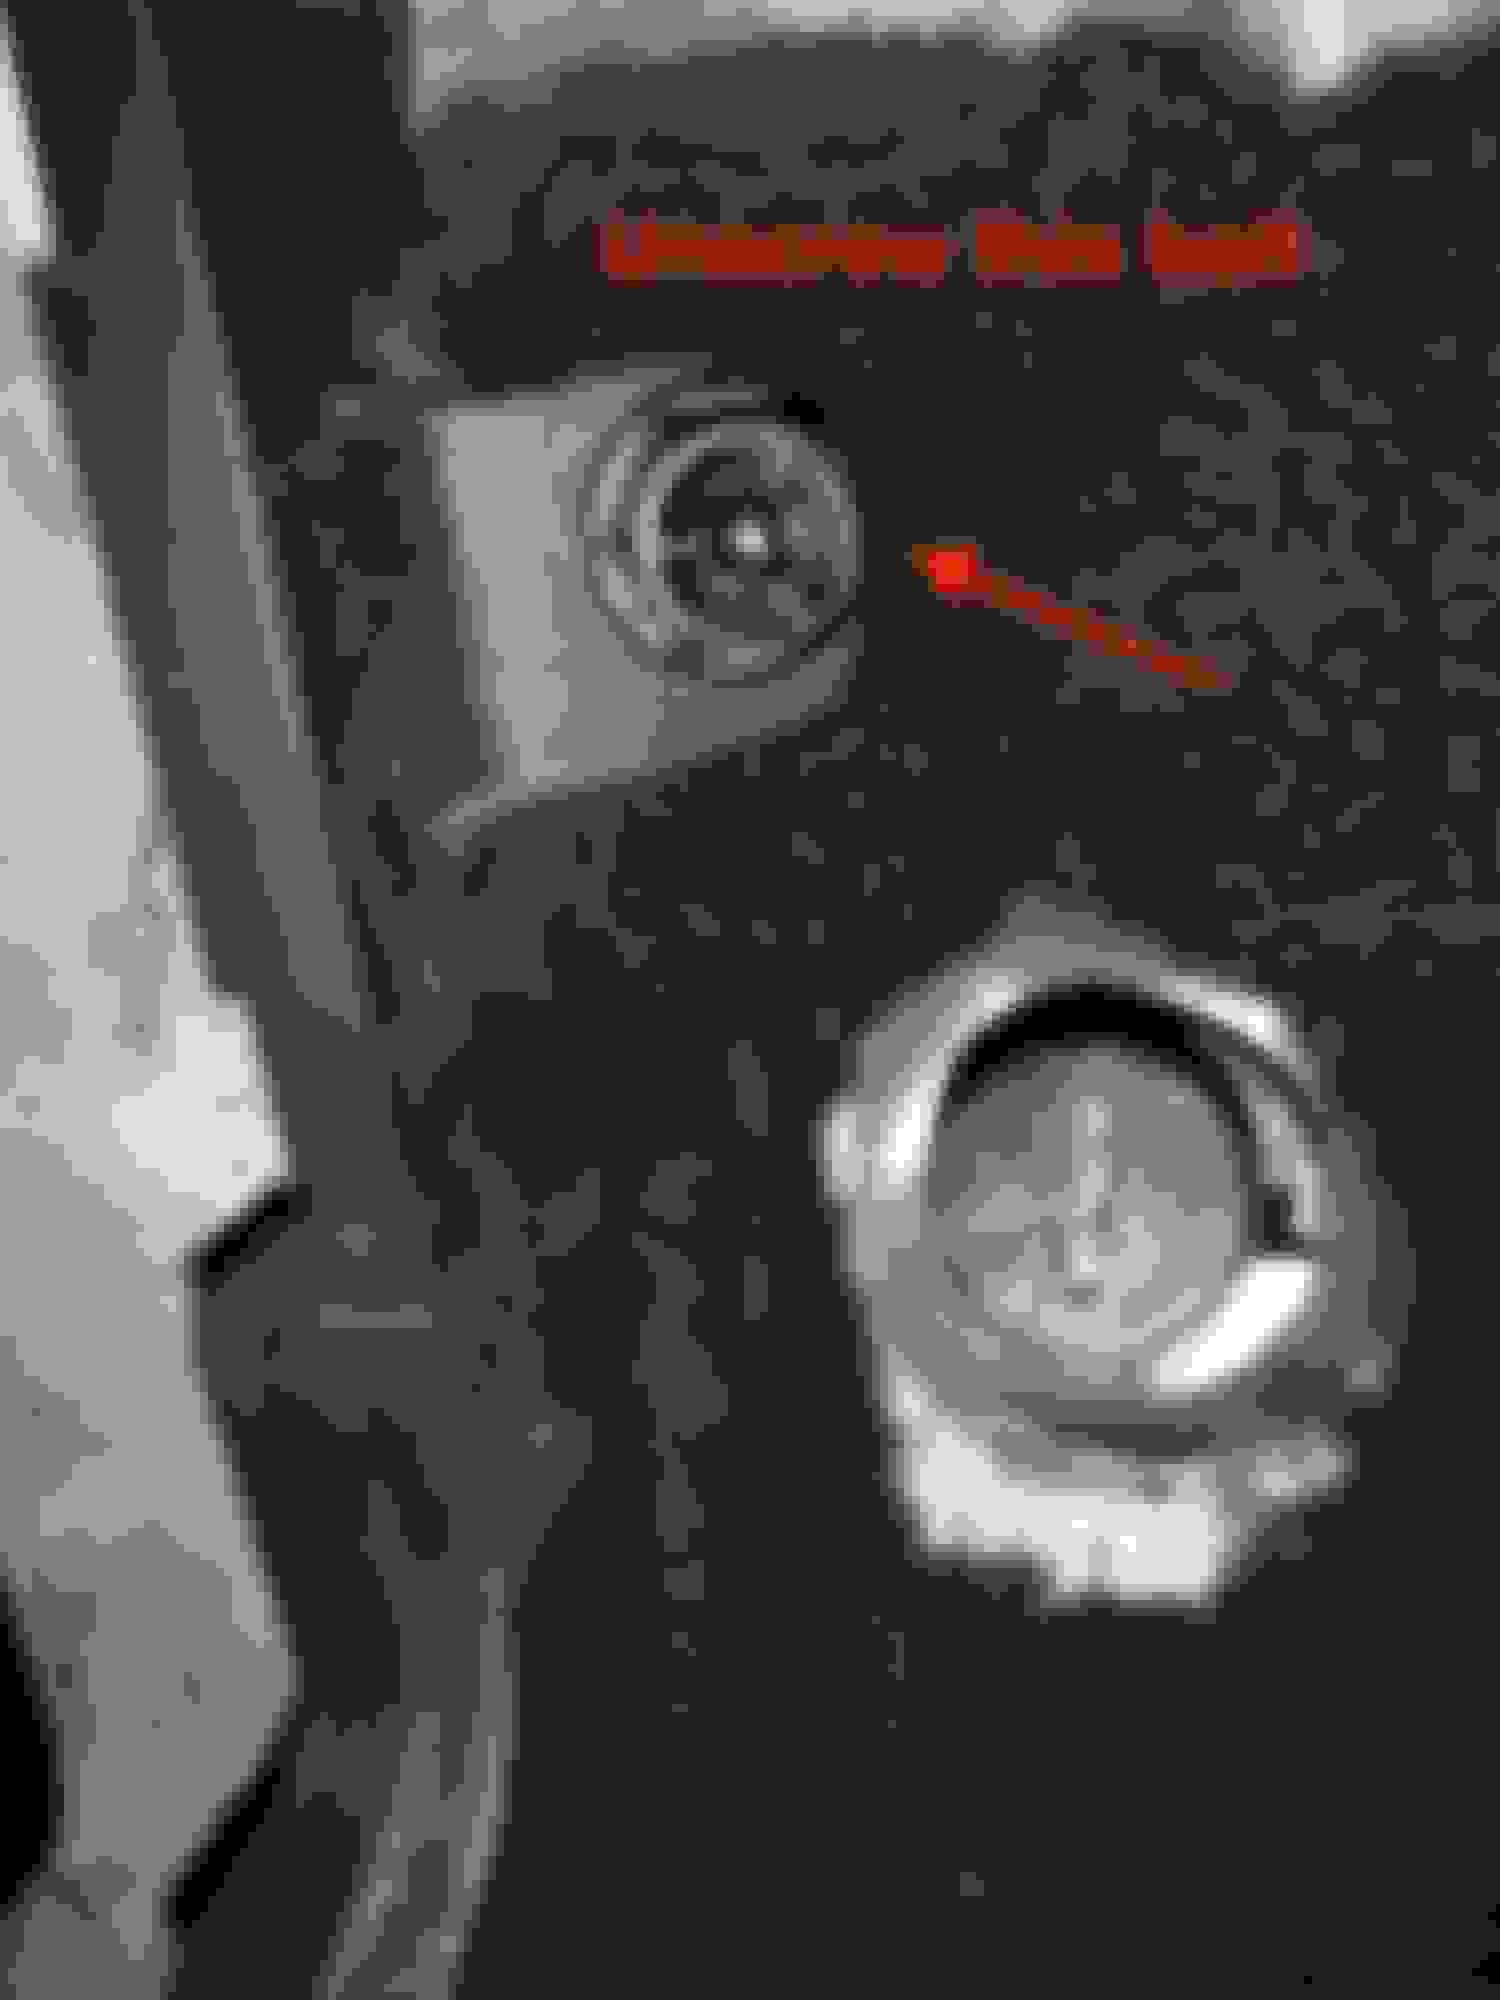
Next step is to remove the plastic bolt holding the Fuse Box cover:
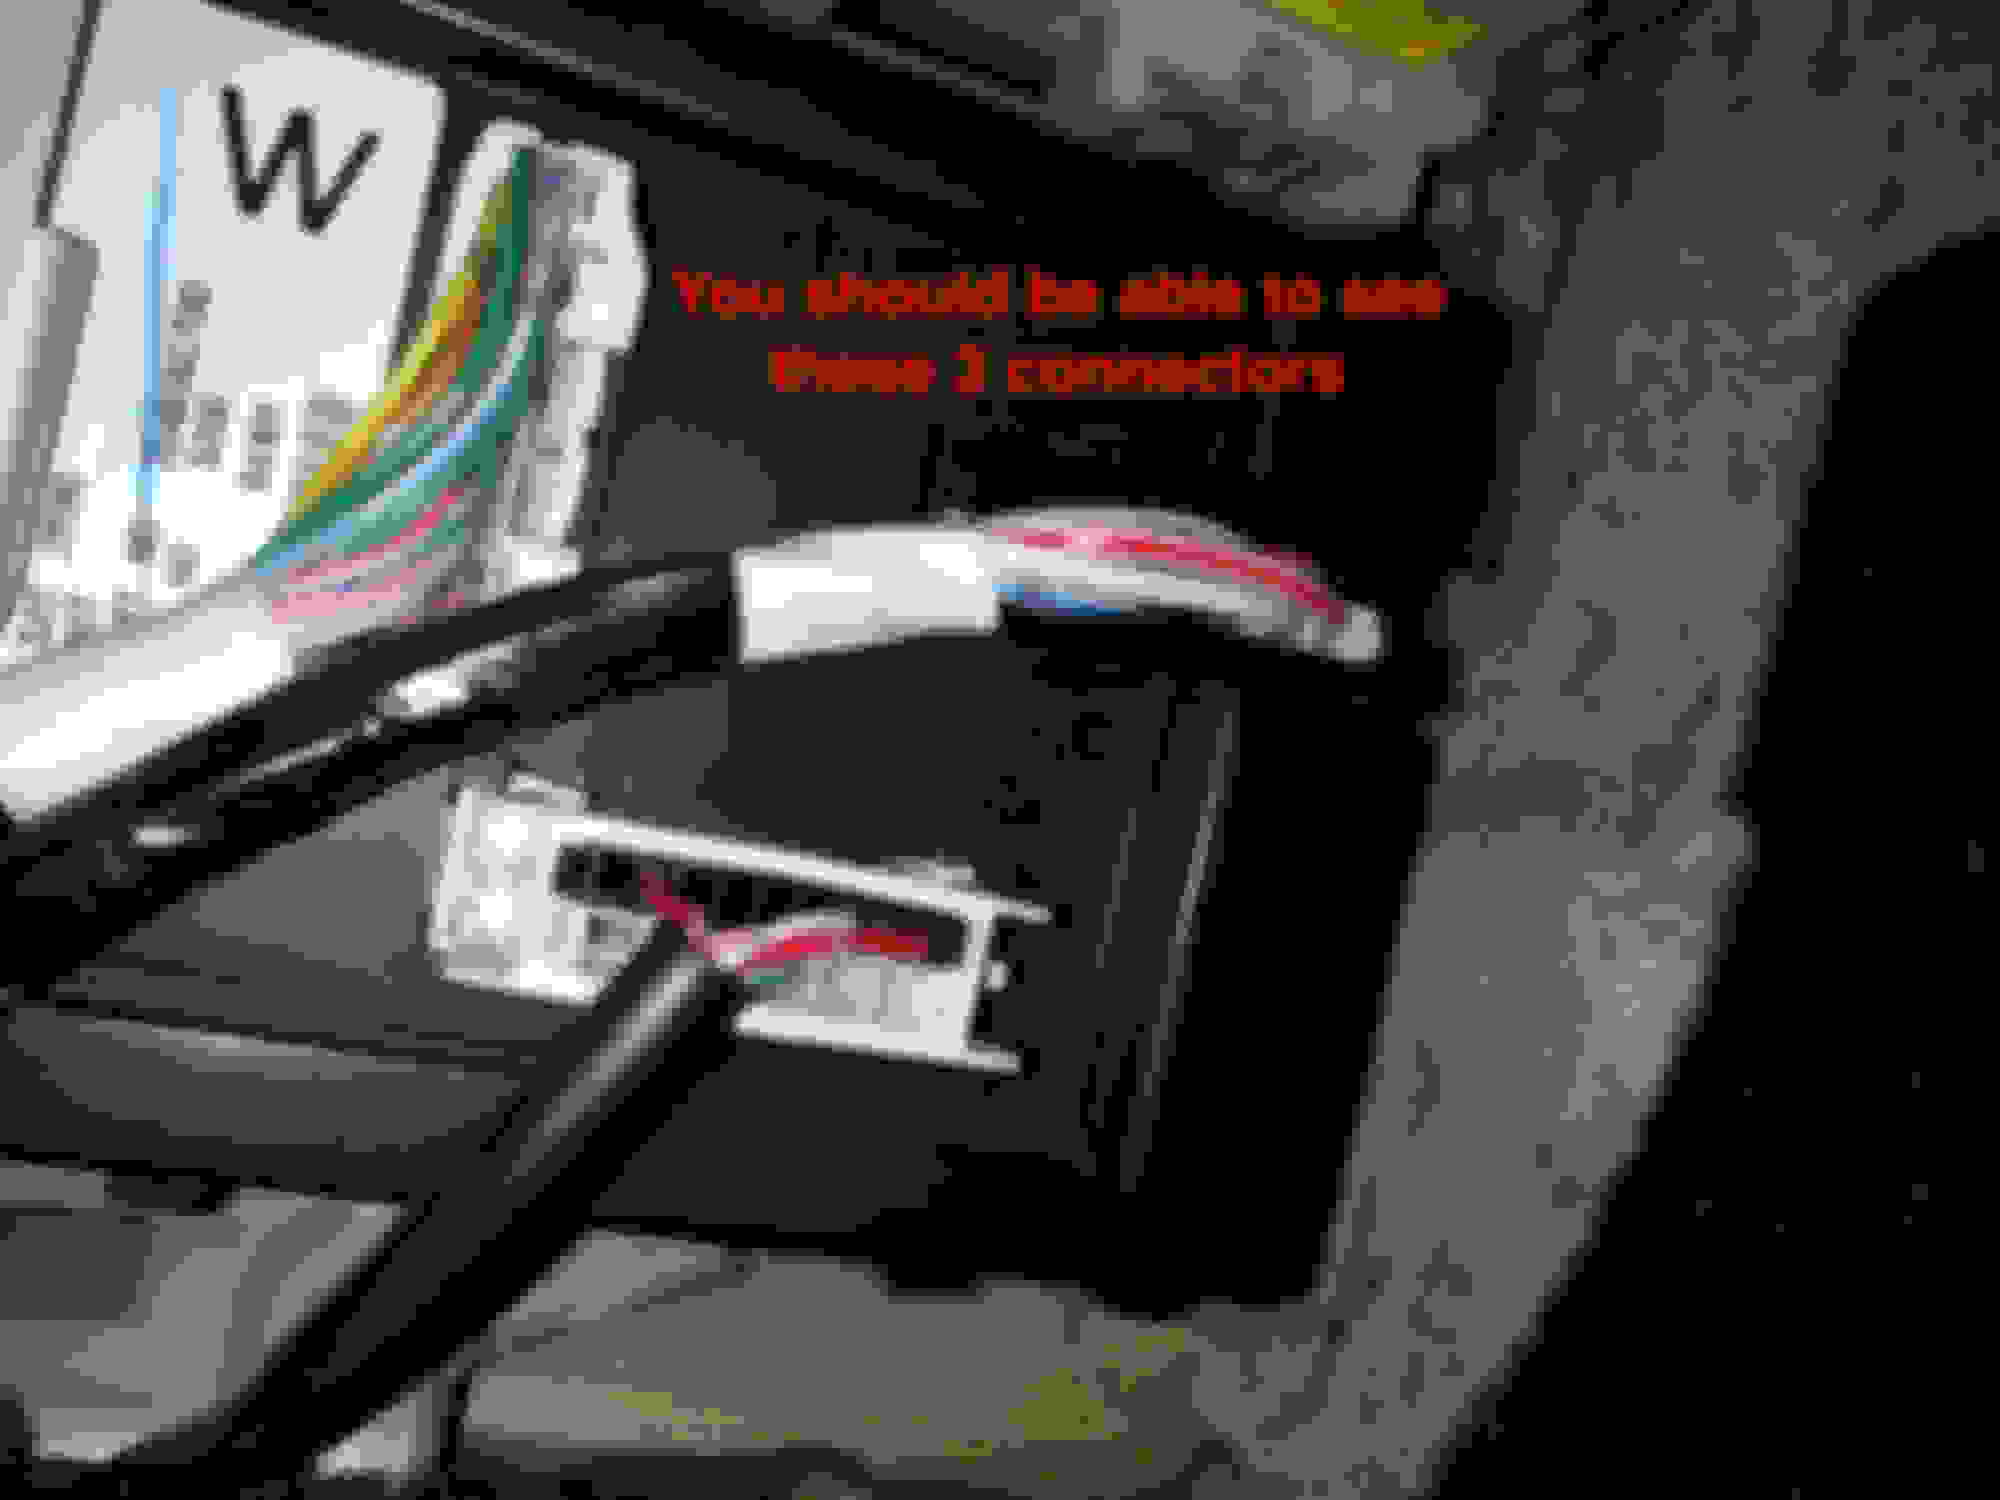
Once this piece is removed, now we have access to some of the wiring
If you stick your head in, you should be able to see this:
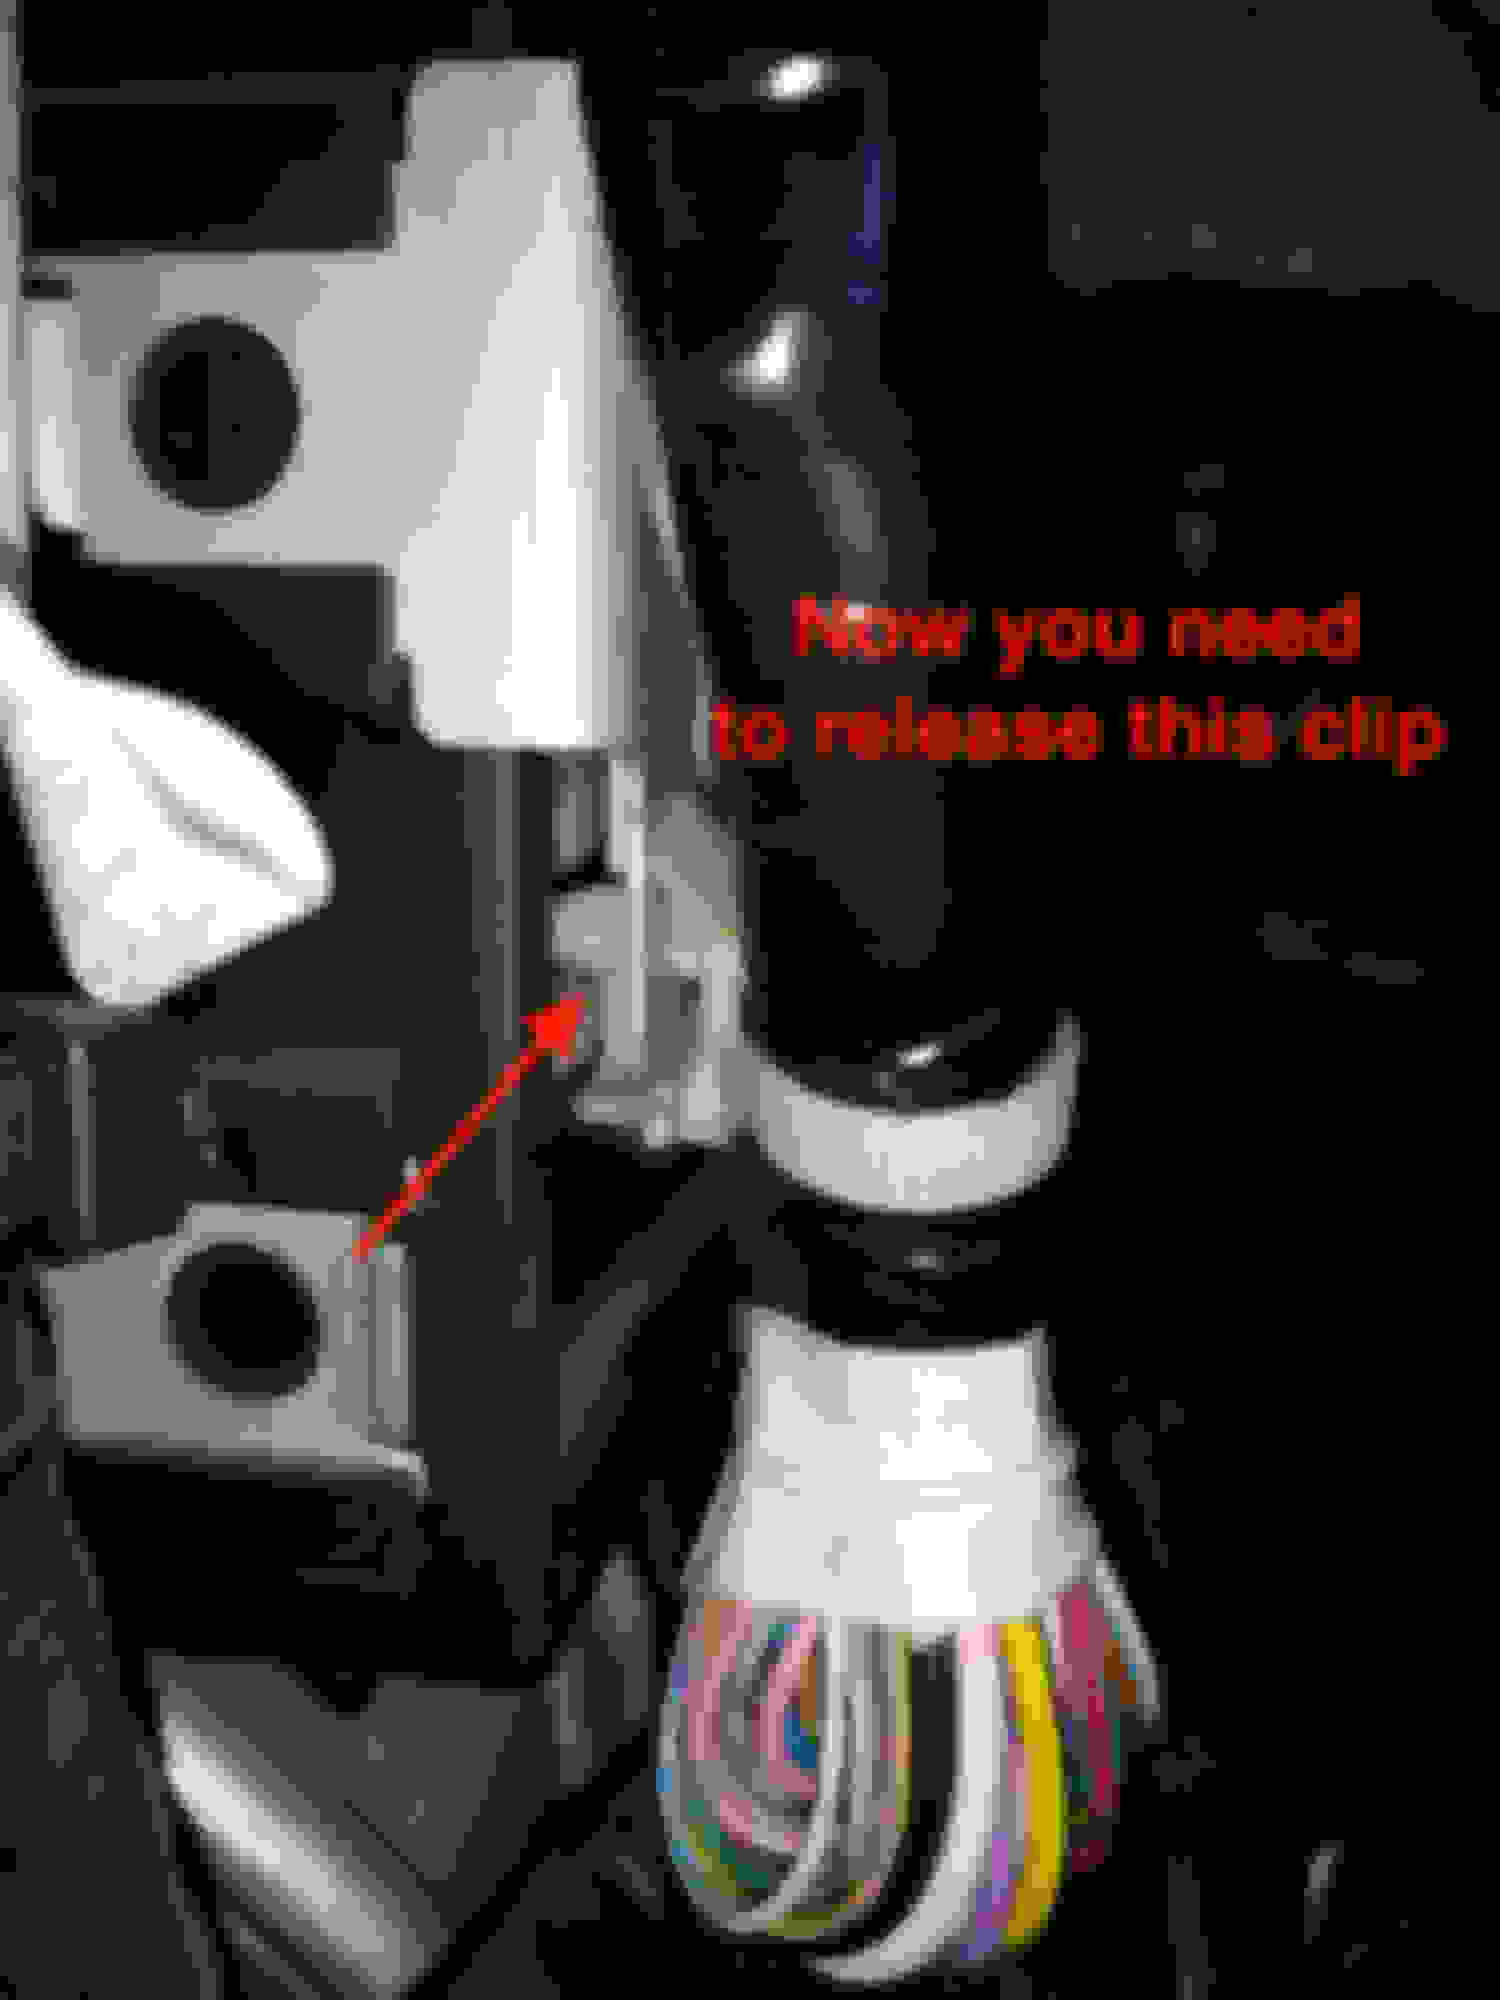
Next is the clip holding the wires down:
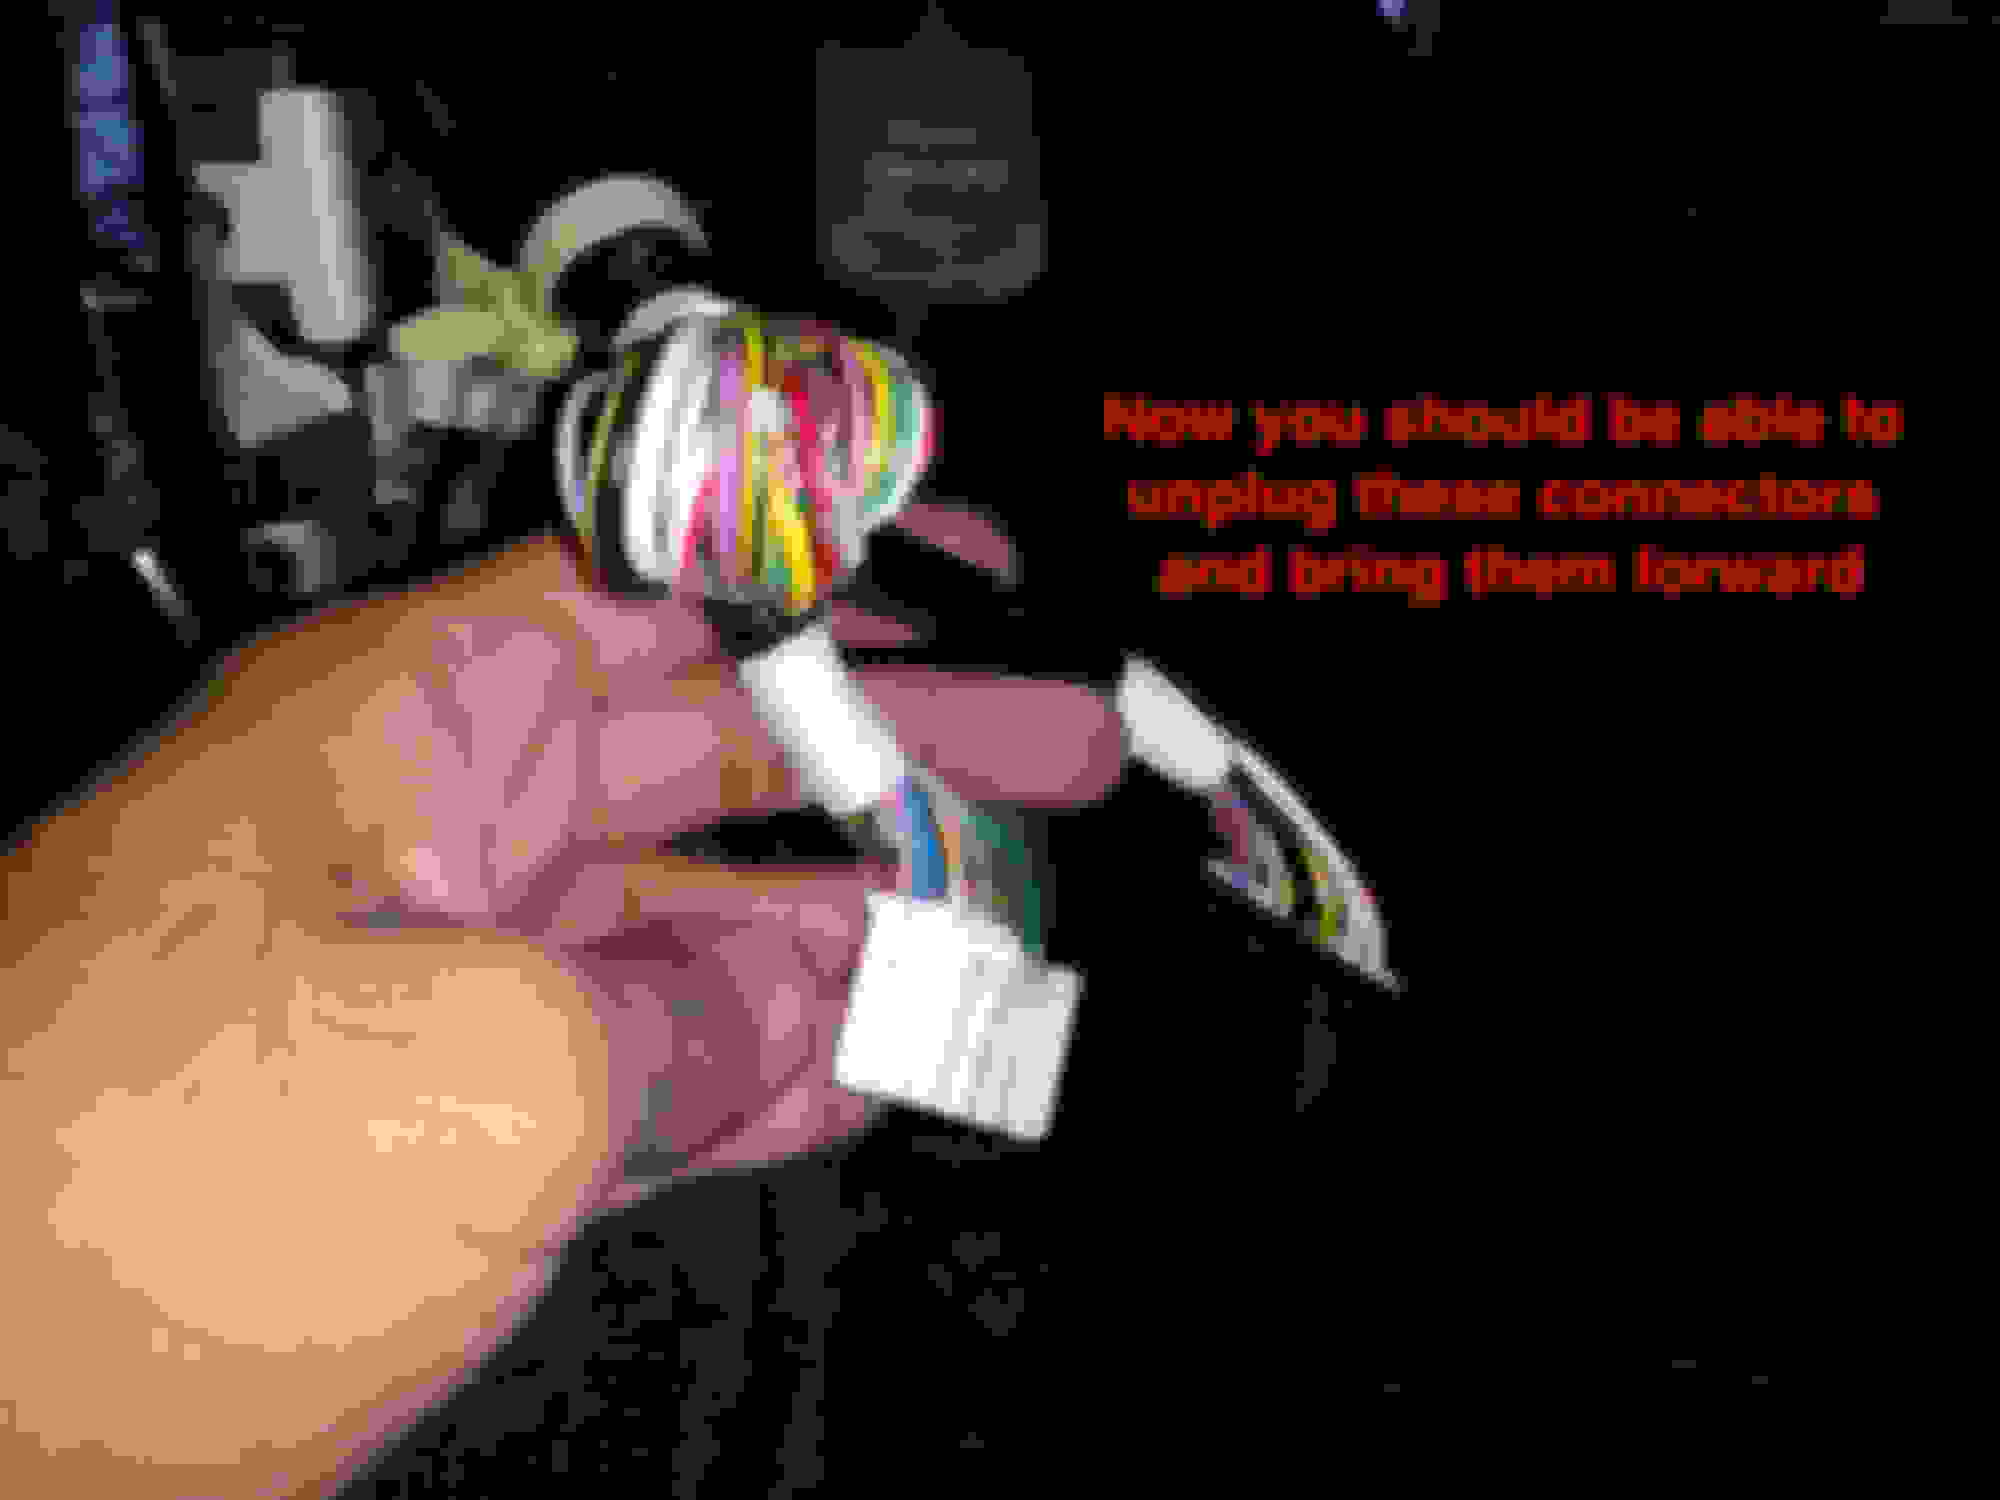
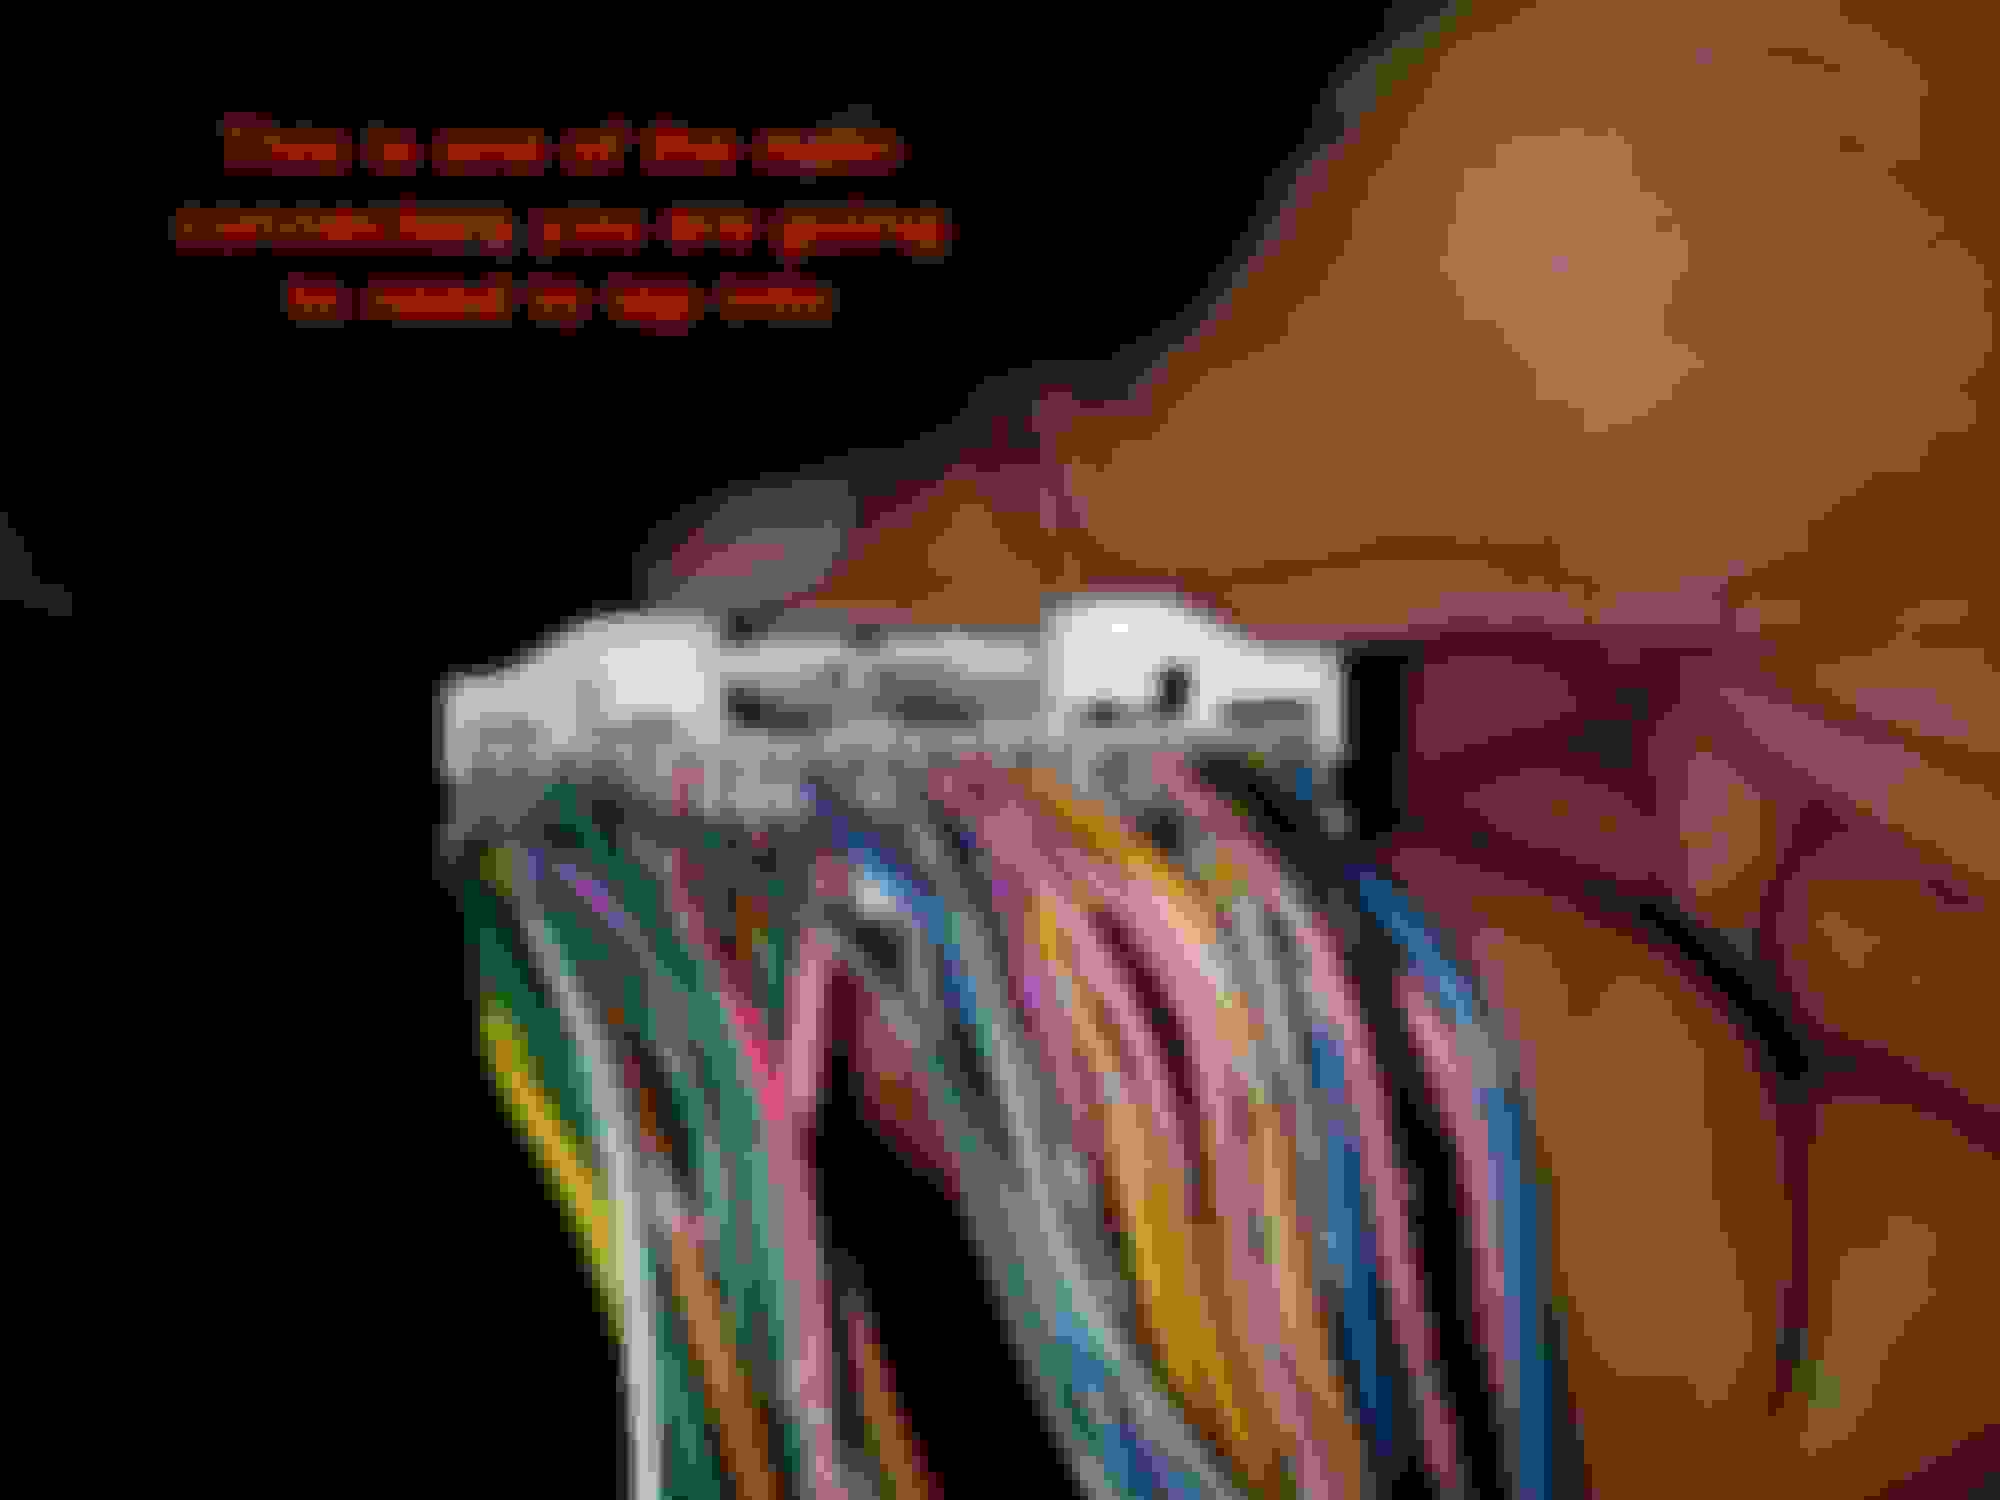
Once you have access to the connectors, we need to cut them free. To do this you need to cut the tape, but whatever you do, DO NOT CUT THE WIRES!!!
This picture is for anyone who has a 2004 G35 or whoever doesn’t have lock/unlock via CAN. If so, you will need to find a way to get the lock and unlock wires into this harness. I am not sure what the best way to do this is, but I think that you should be able to use a thick enough wire and just stick it into the connector. My 2005 G35 has lock/unlock support over CAN so I did not need to use these pins.
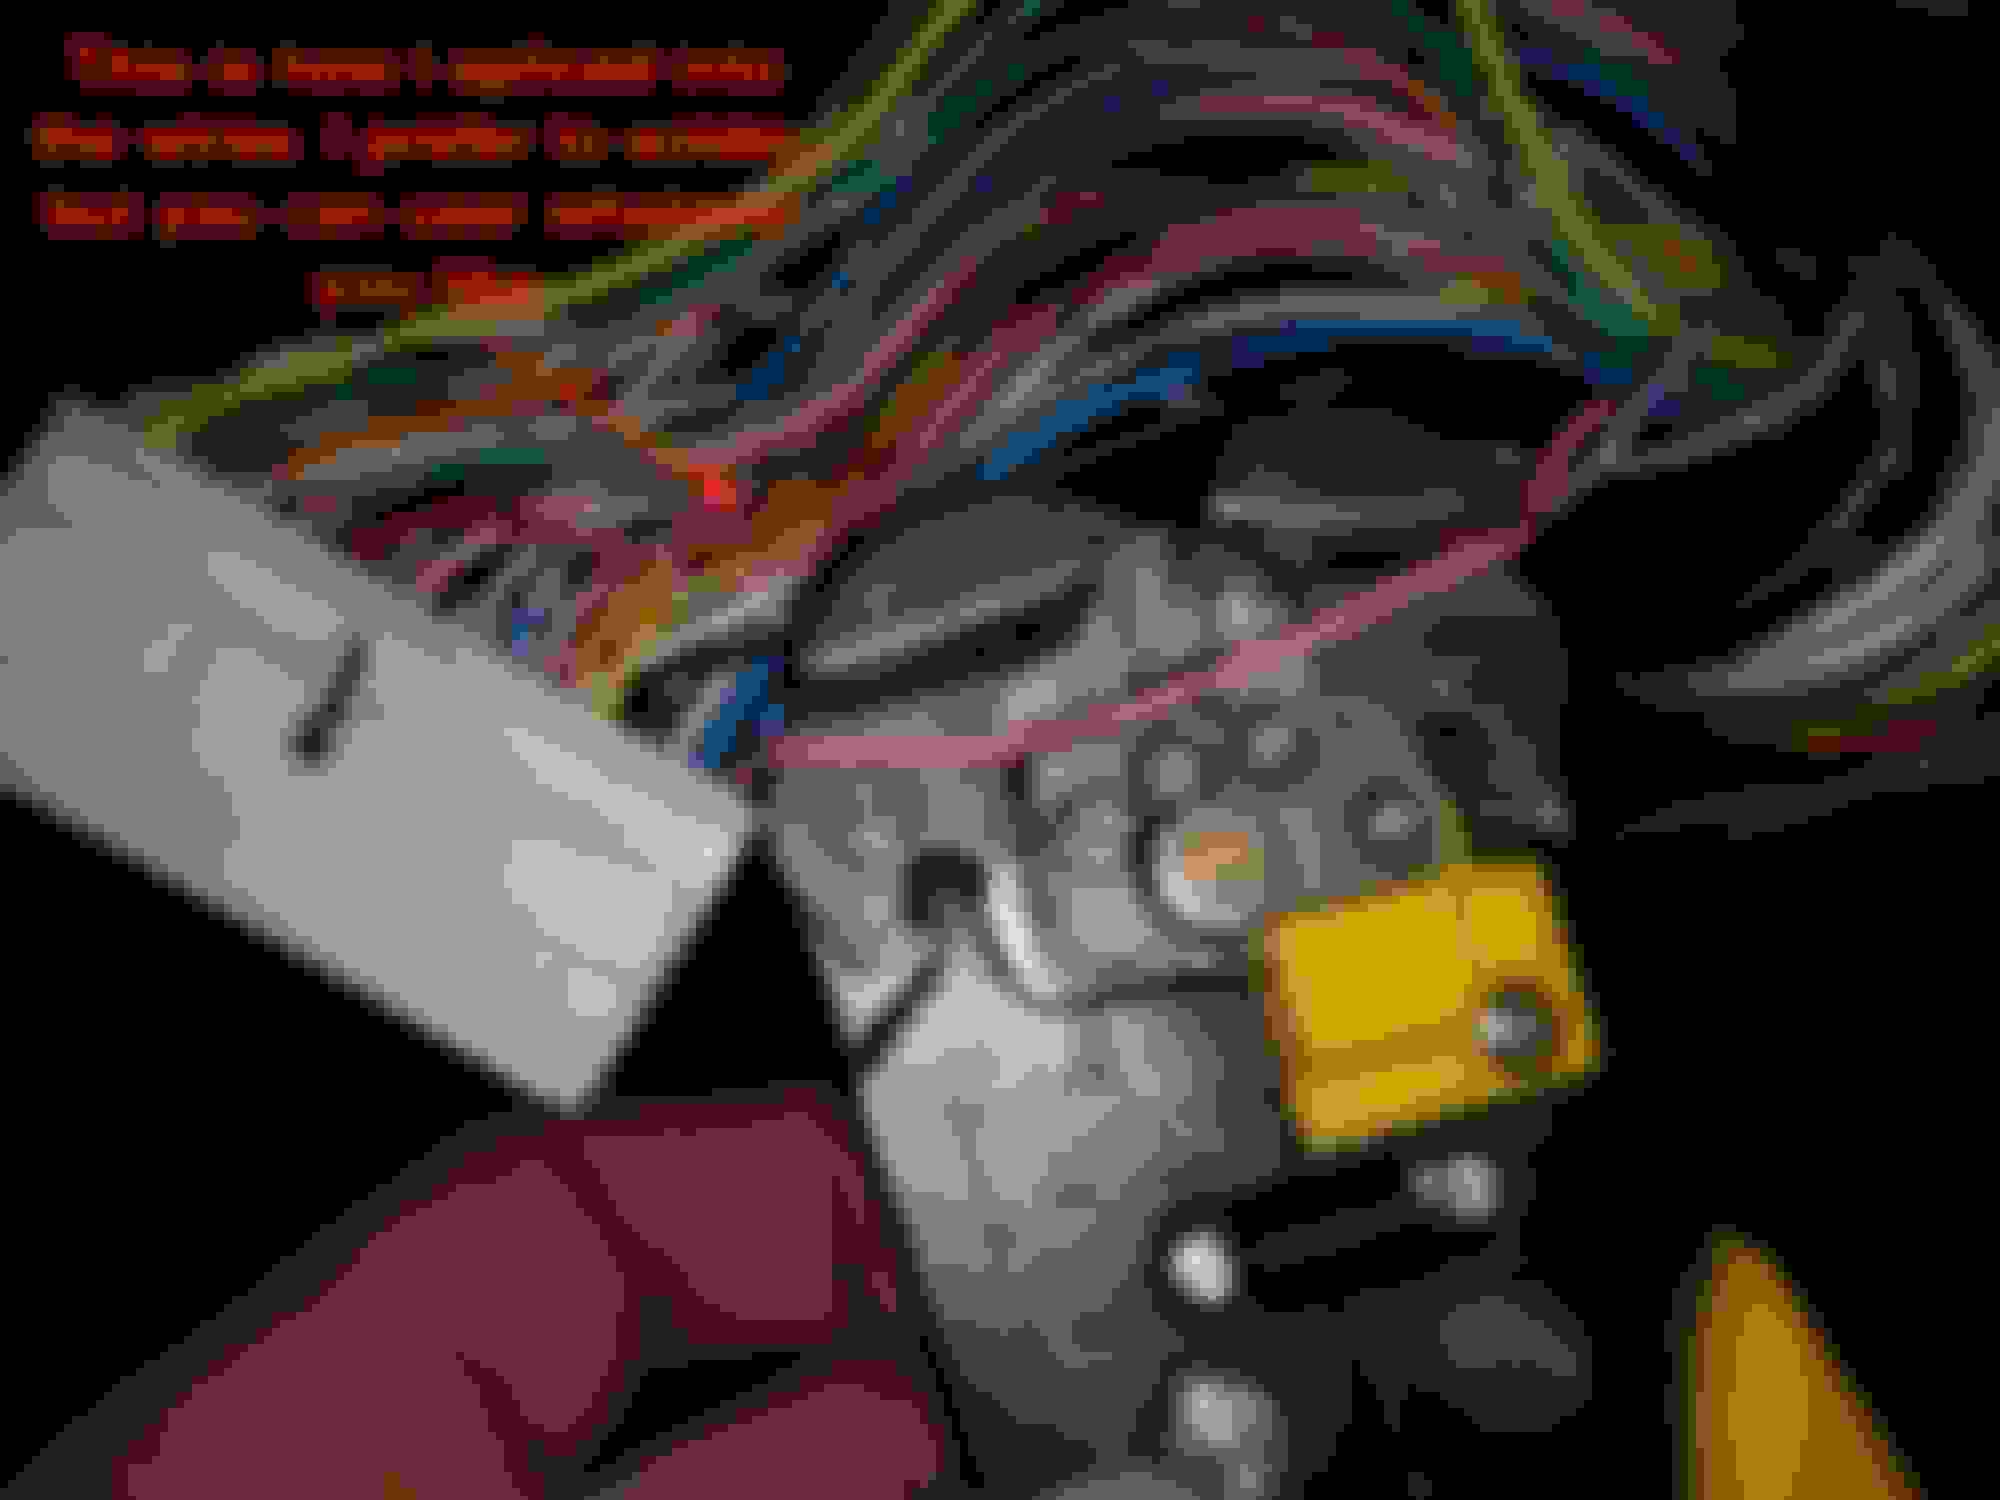
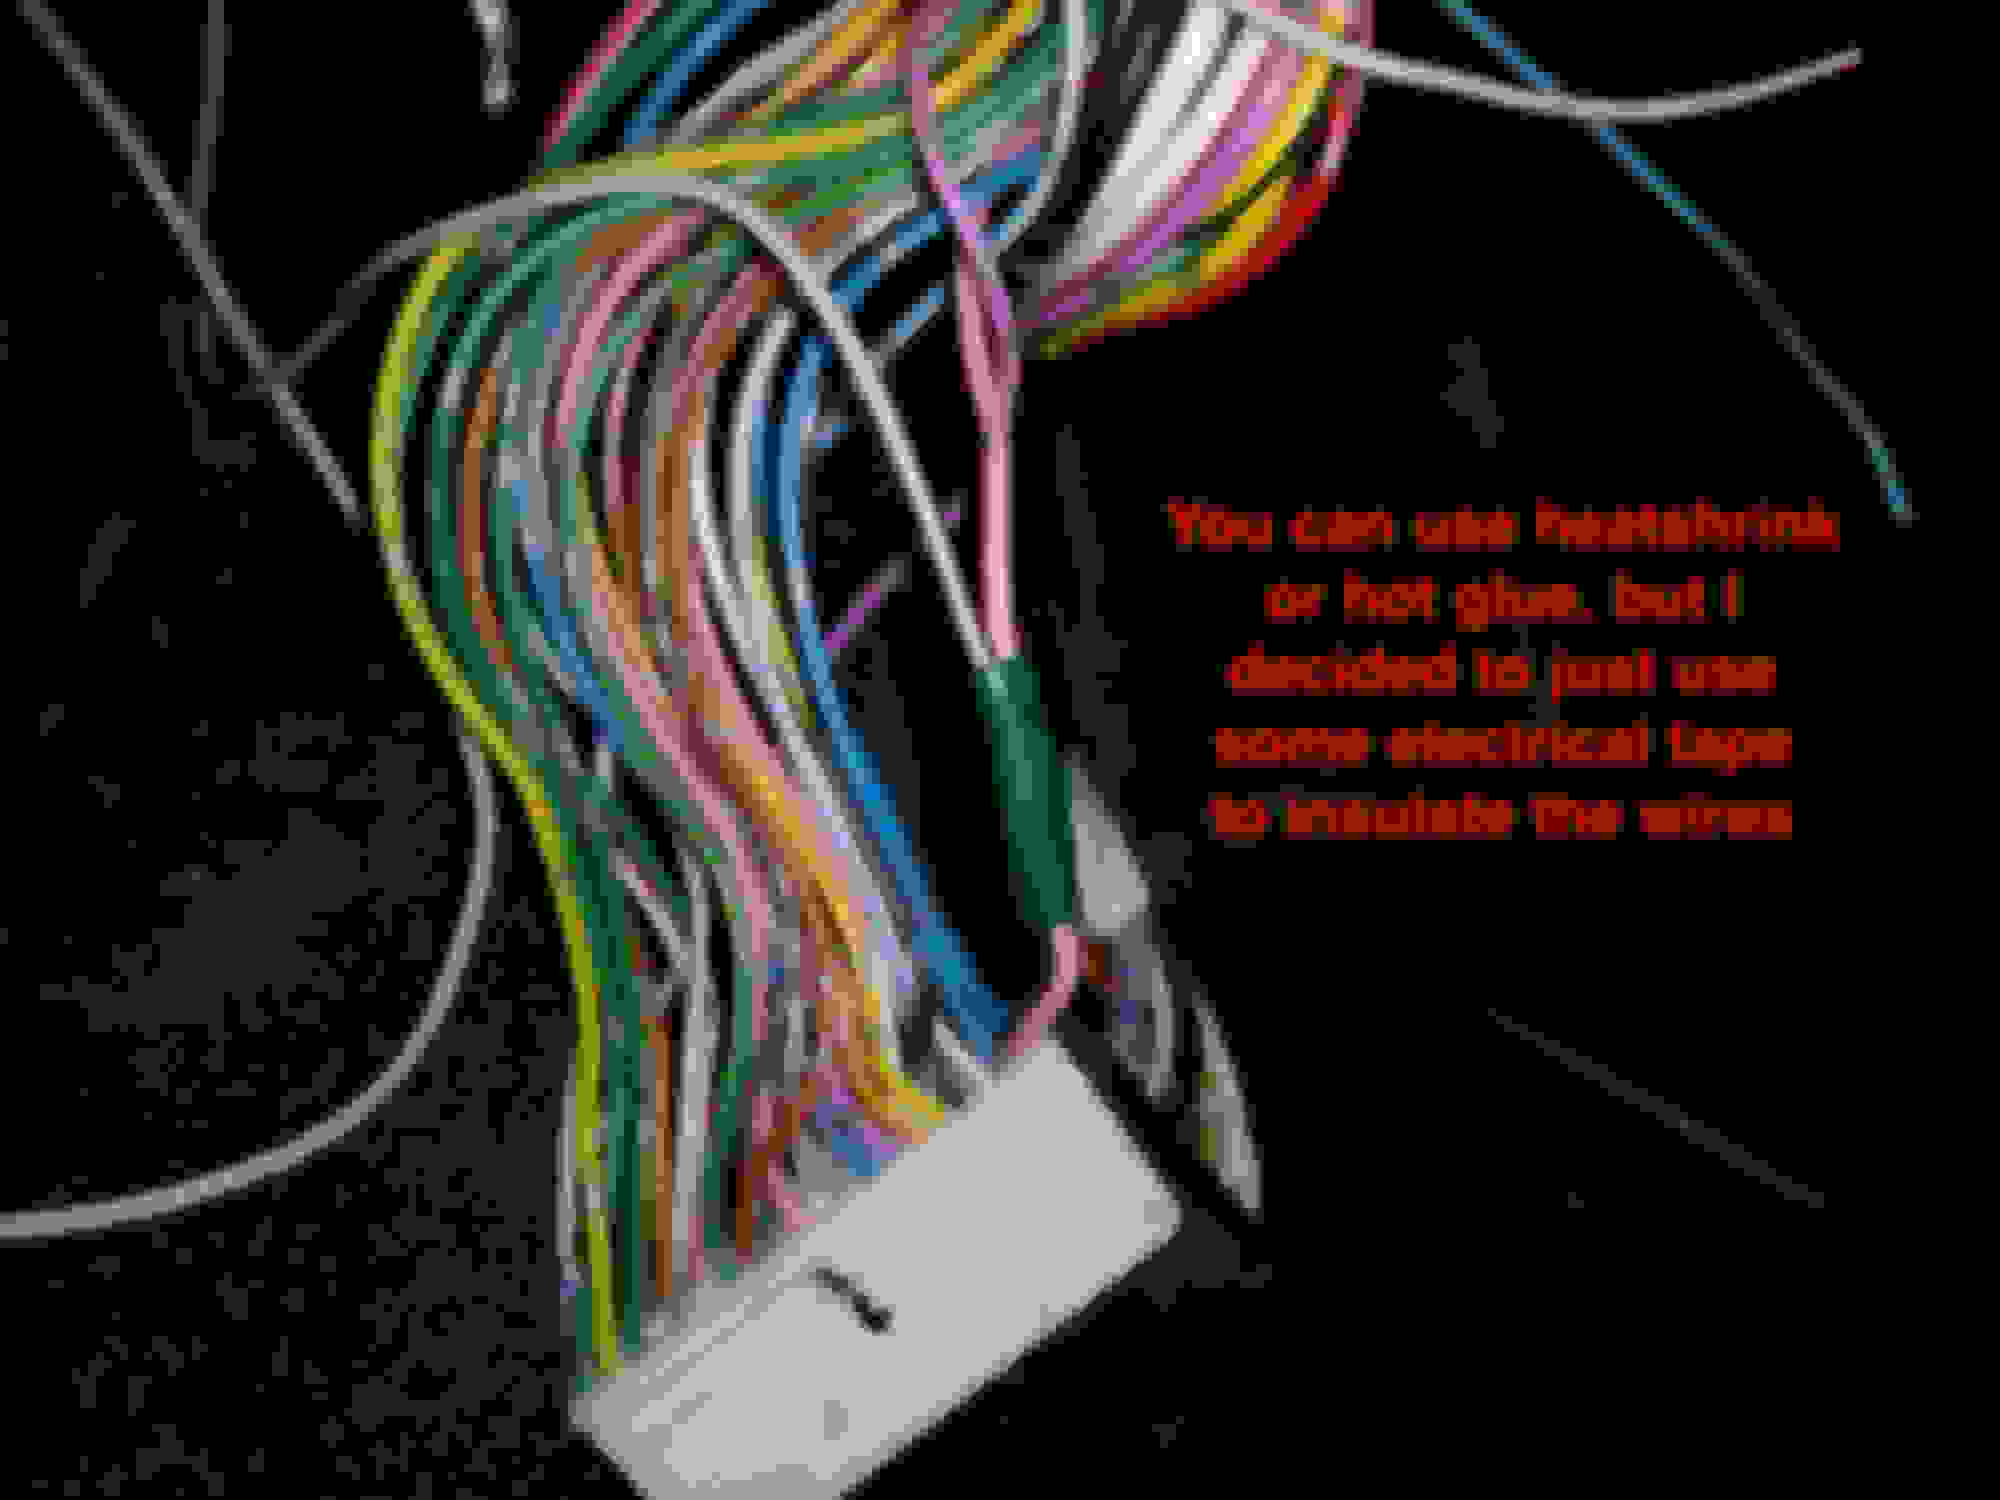
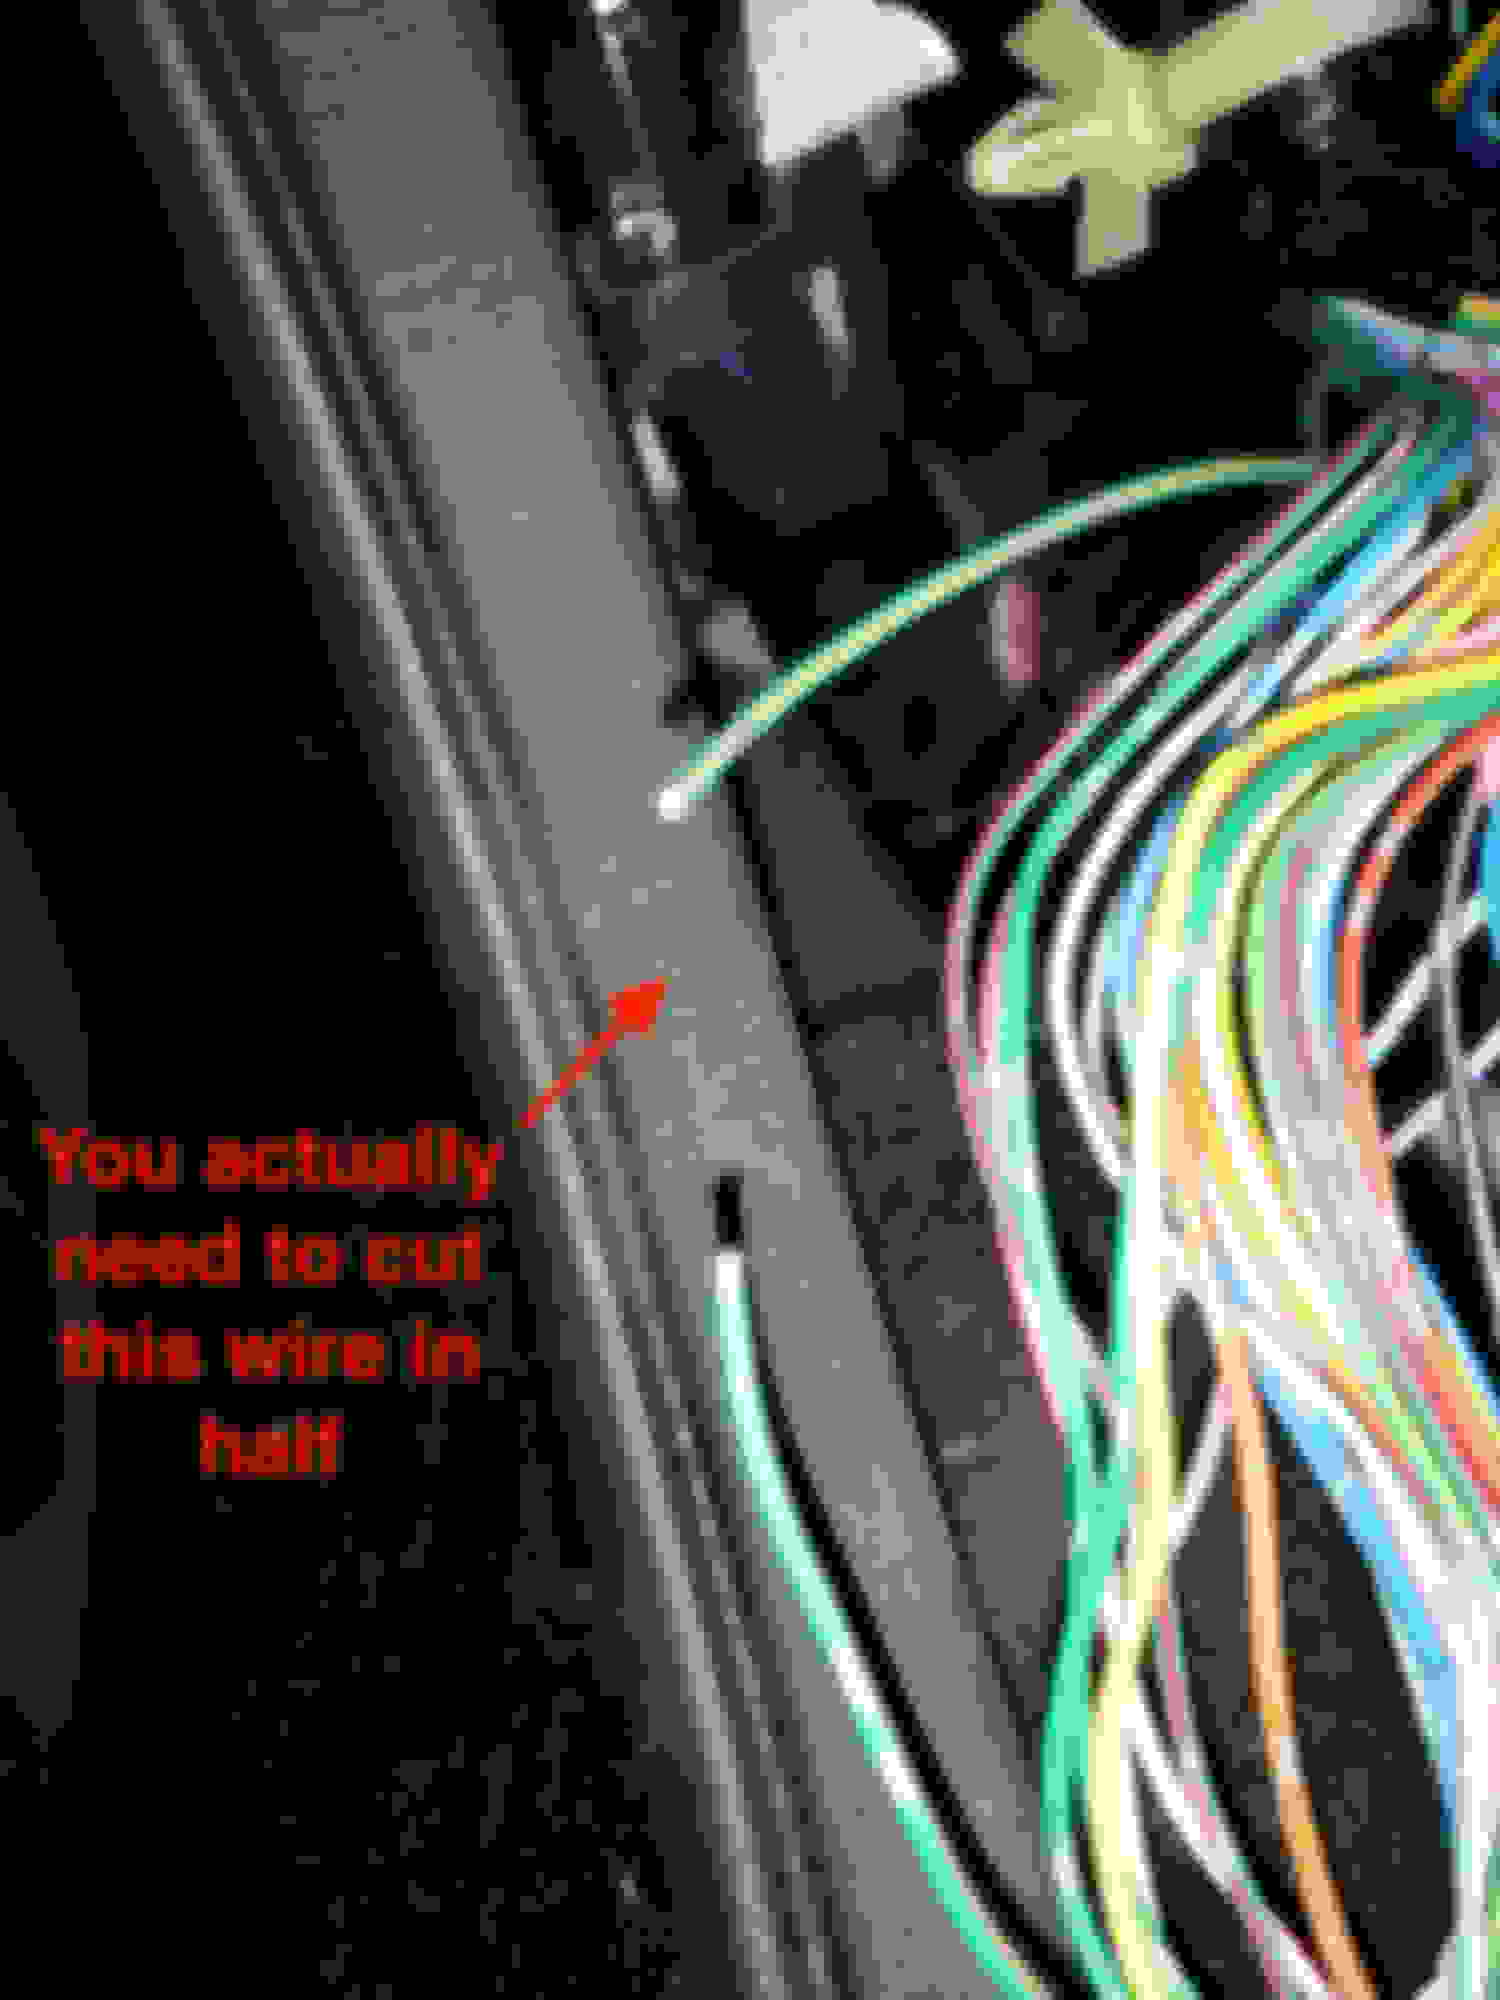
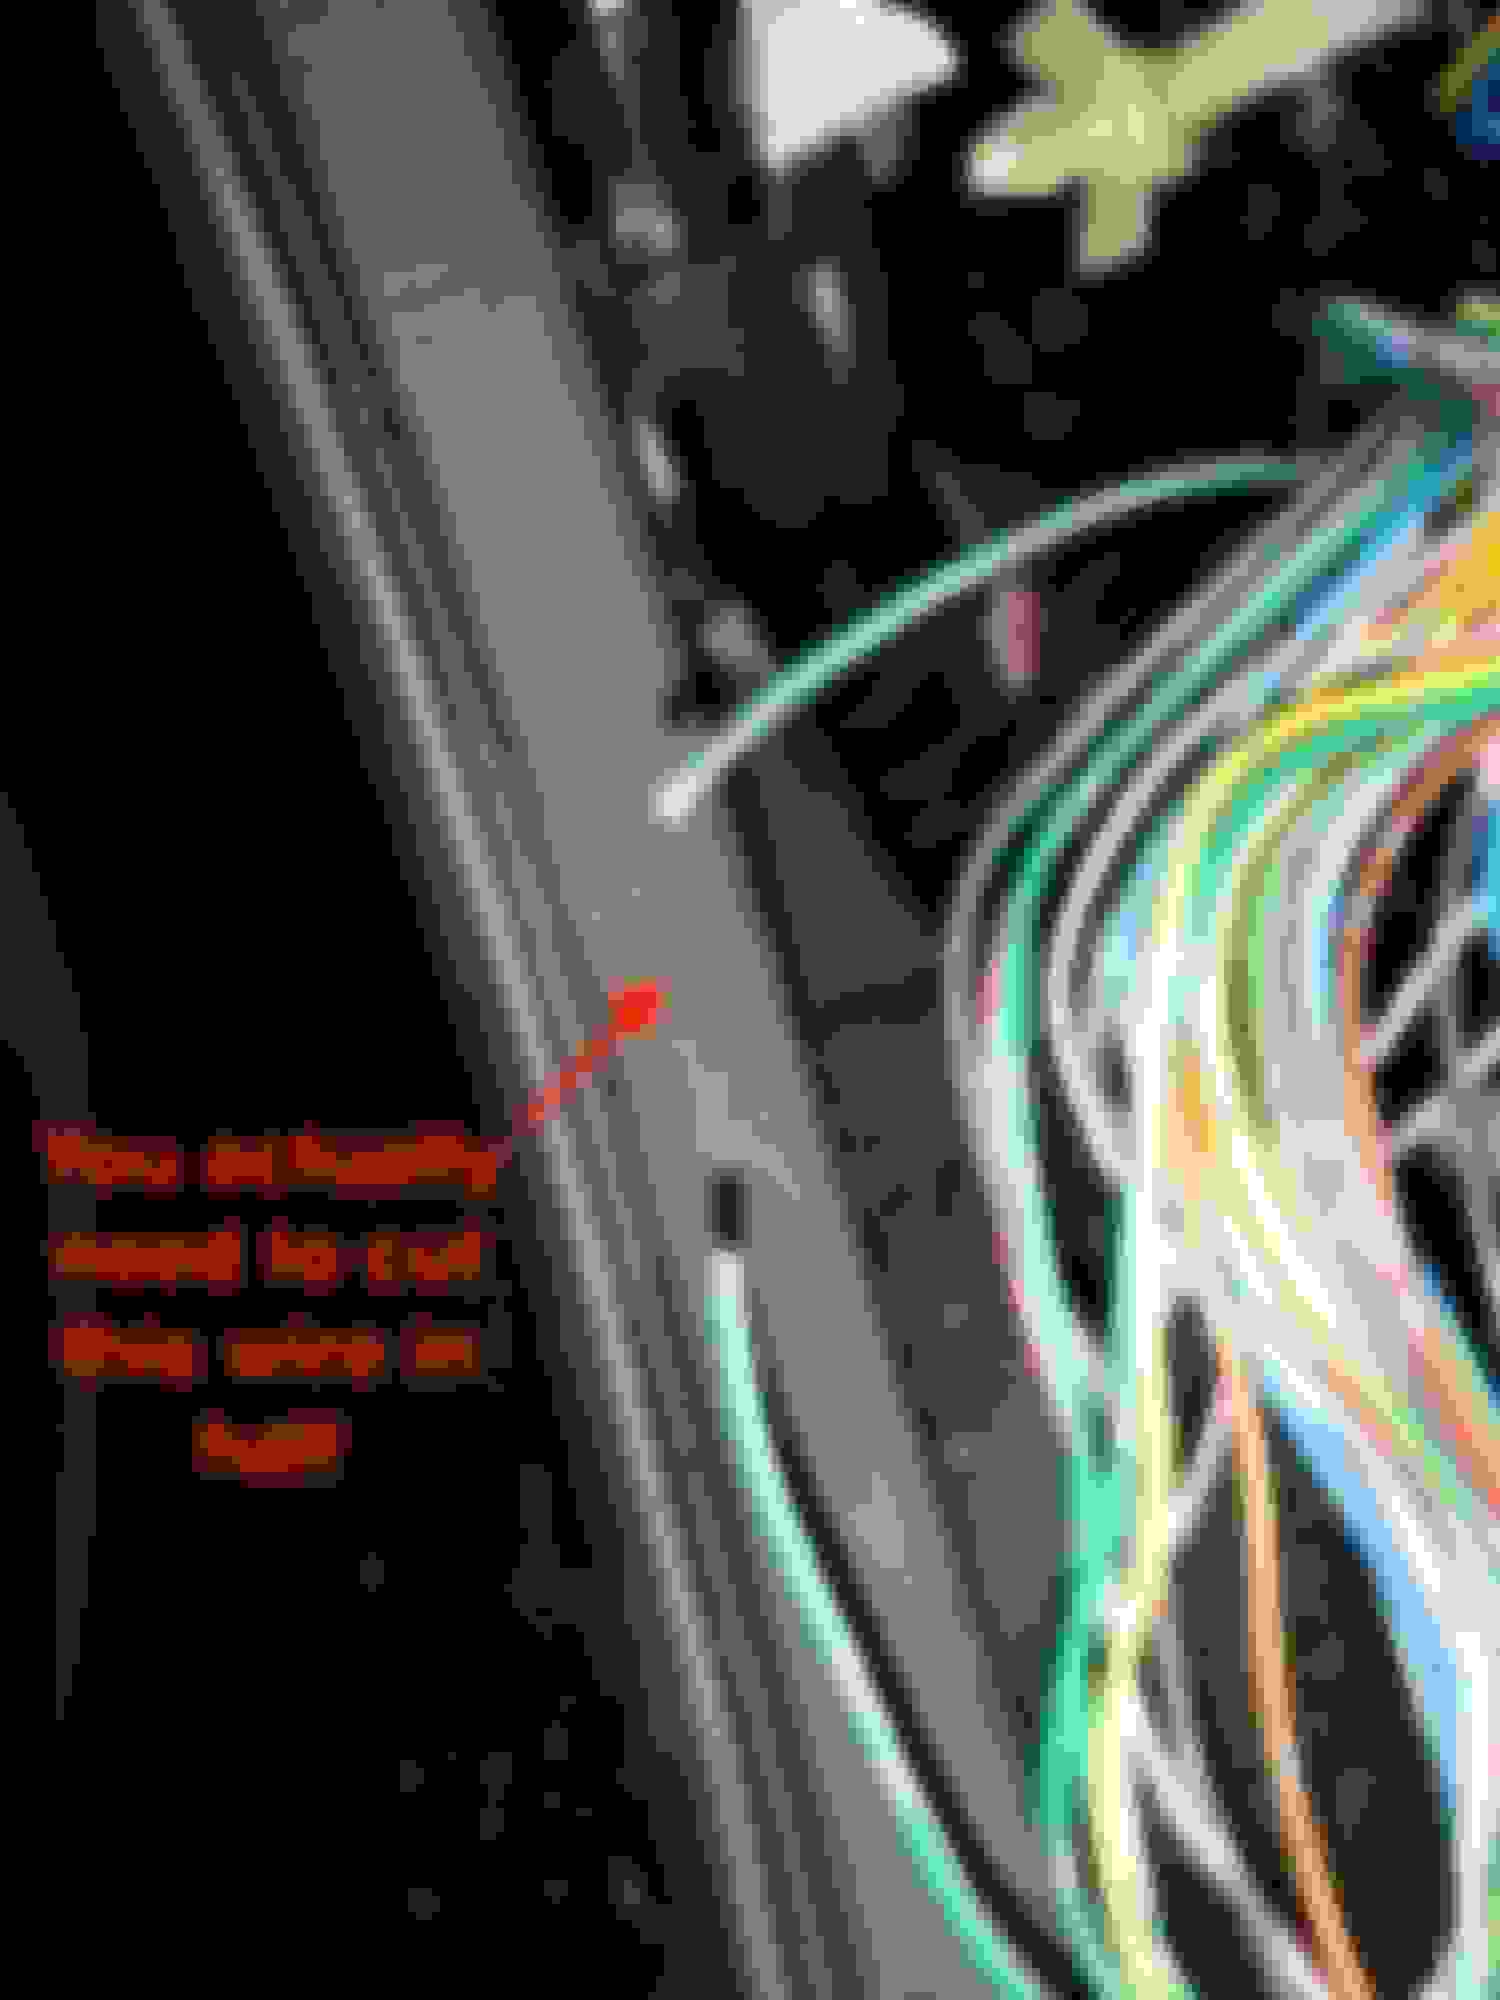
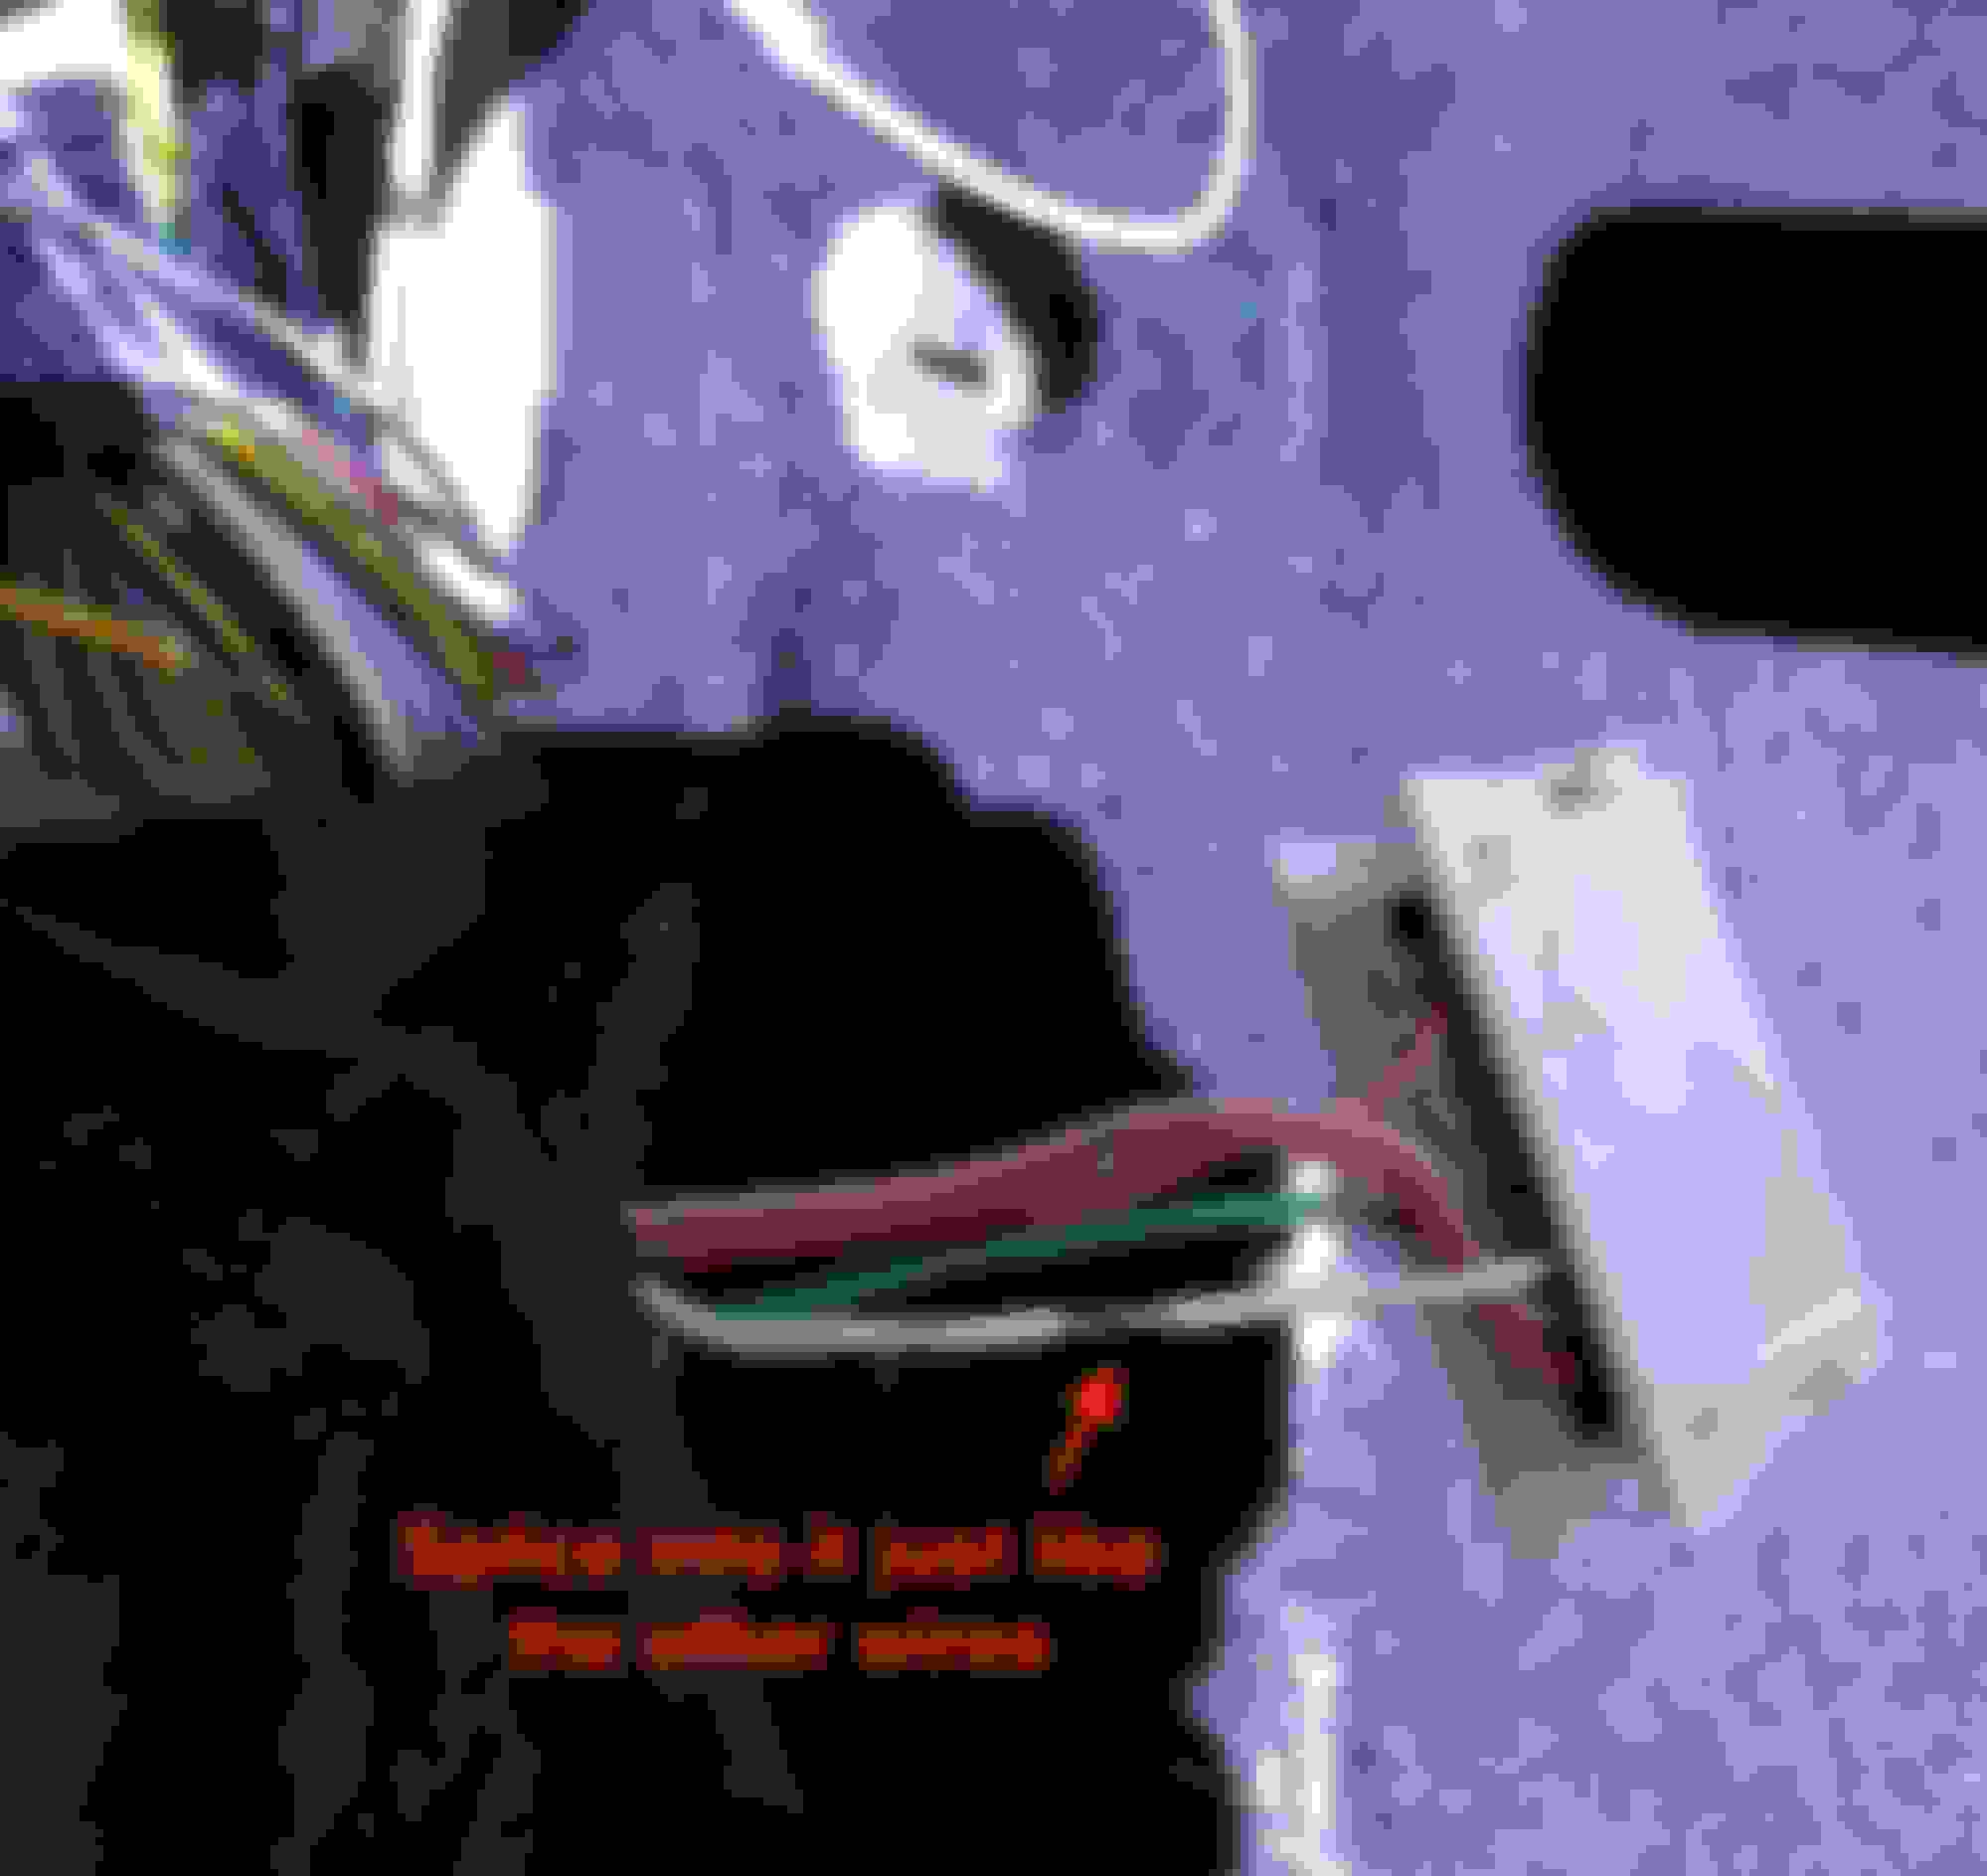
Okay, now for the fun part: Splicing into the wires! There are many ways to do this, you can use T-Taps, you can cut into the wire, wrap the other wire around it, and tape it up, or, the best option, you can use solder. Here is how I made my connections:
This is the process for all of the wires I have done in this install with the exception of the security LED wires:
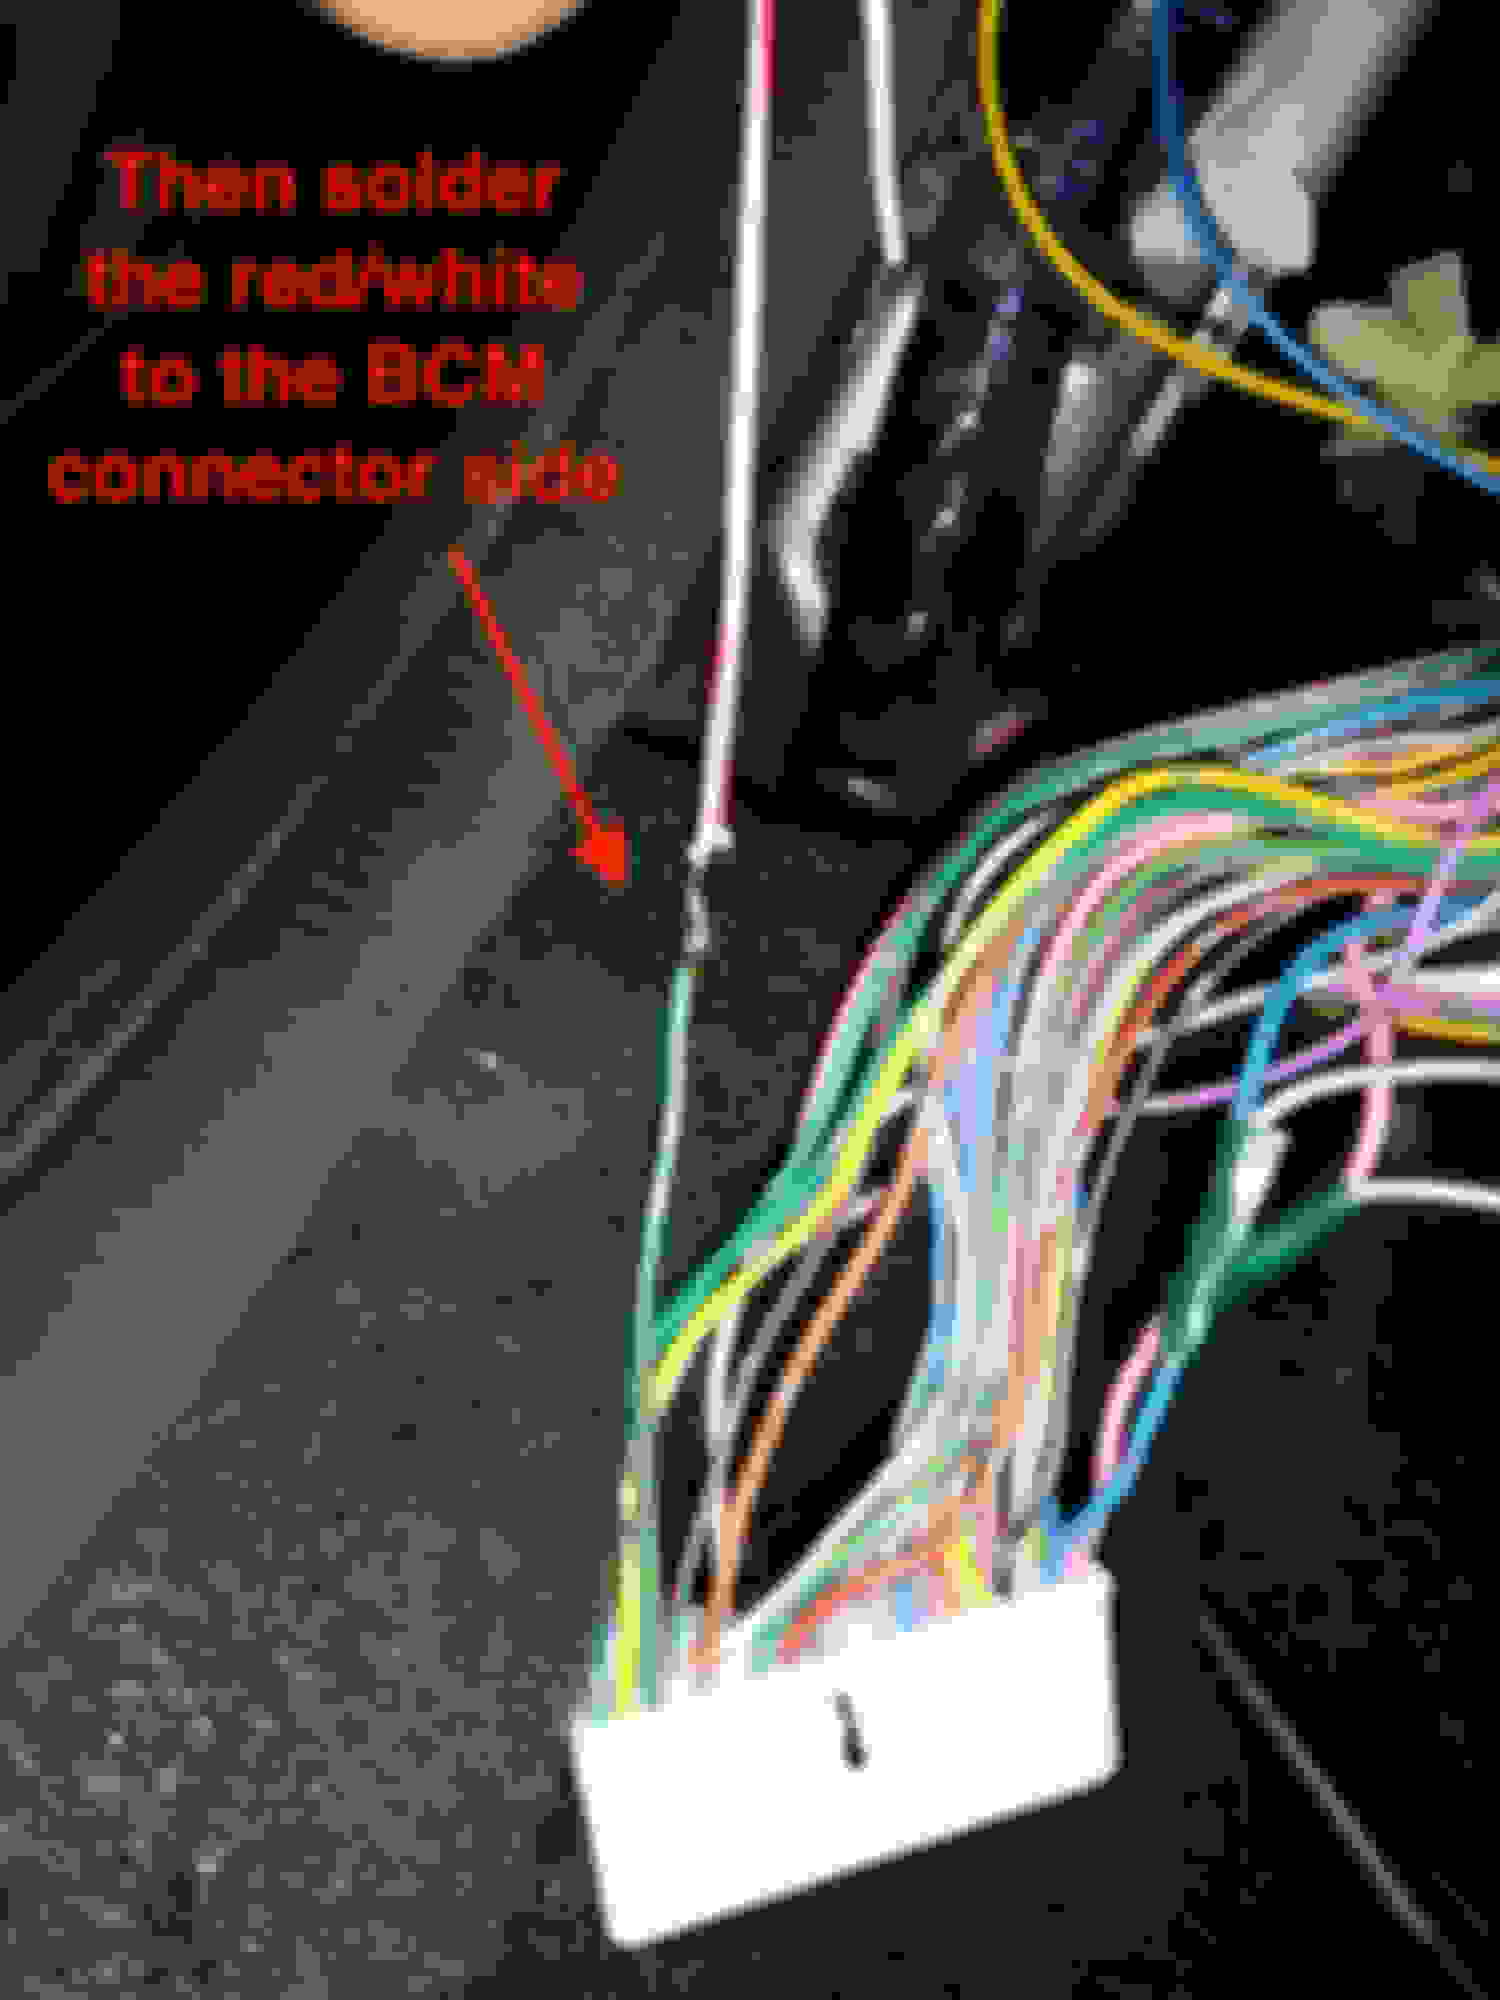
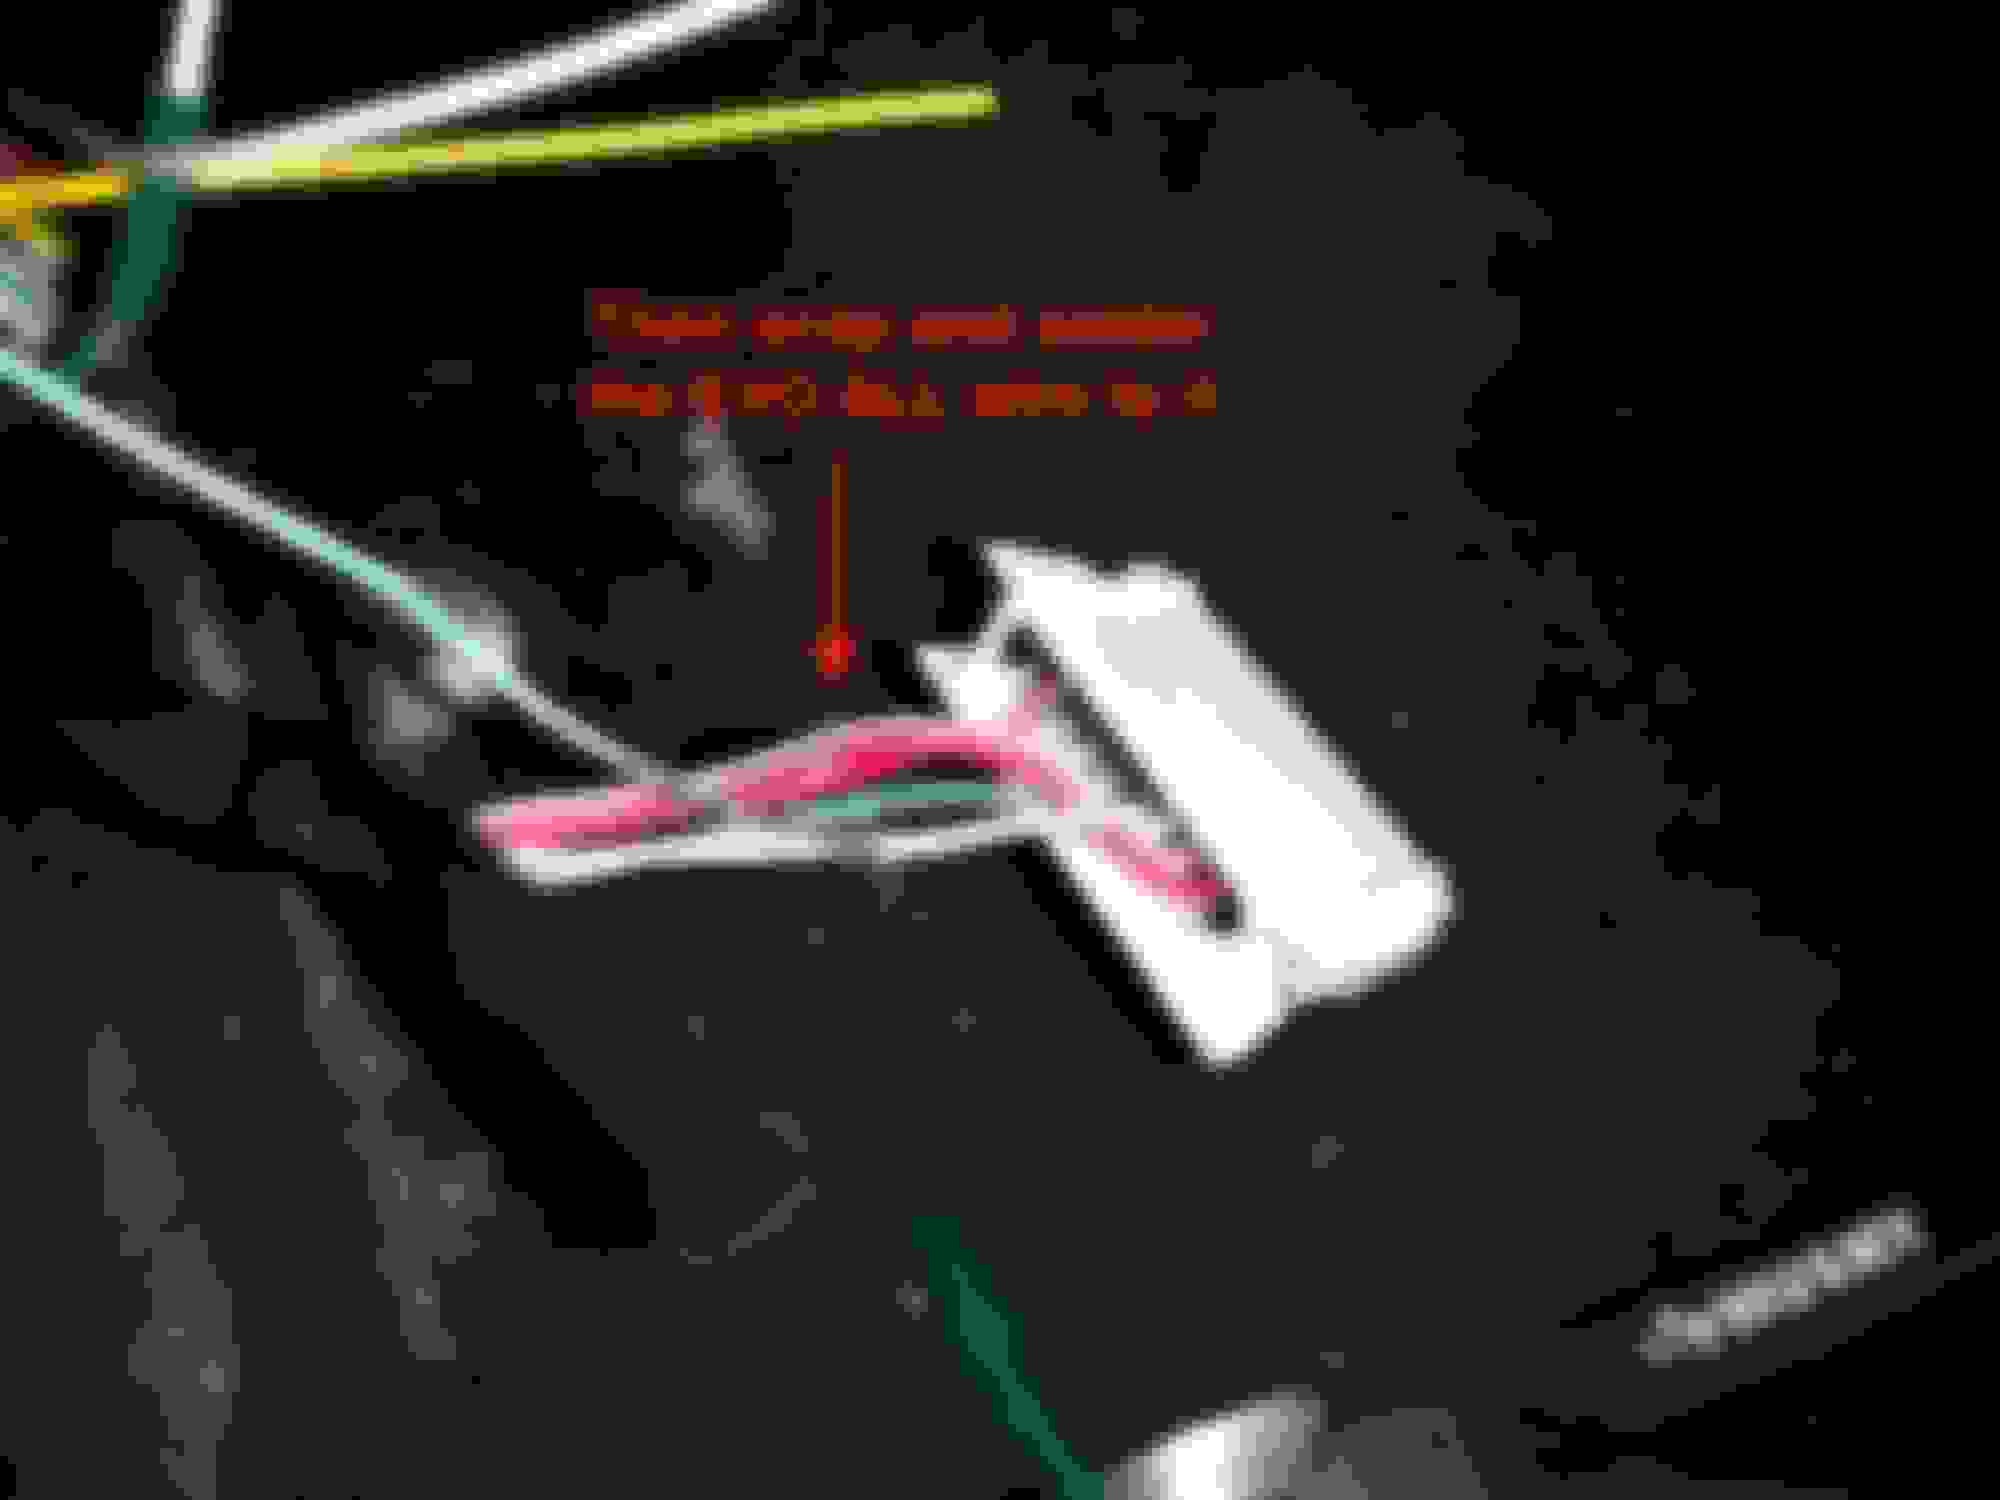
That’s all the wires we need to use on that connector, next up is the other BCM connector.
Once again this is optional, I’m not really sure it does anything, but it doesn’t hurt if you do it anyways:
Once these connections are made, we are done with all of the wires on the BCM. Now let’s move on to the actual ignition harness:
These pictures are all pretty self-explanatory:
Once again, this is very important, only cut the tape, DO NOT CUT THE WIRES!
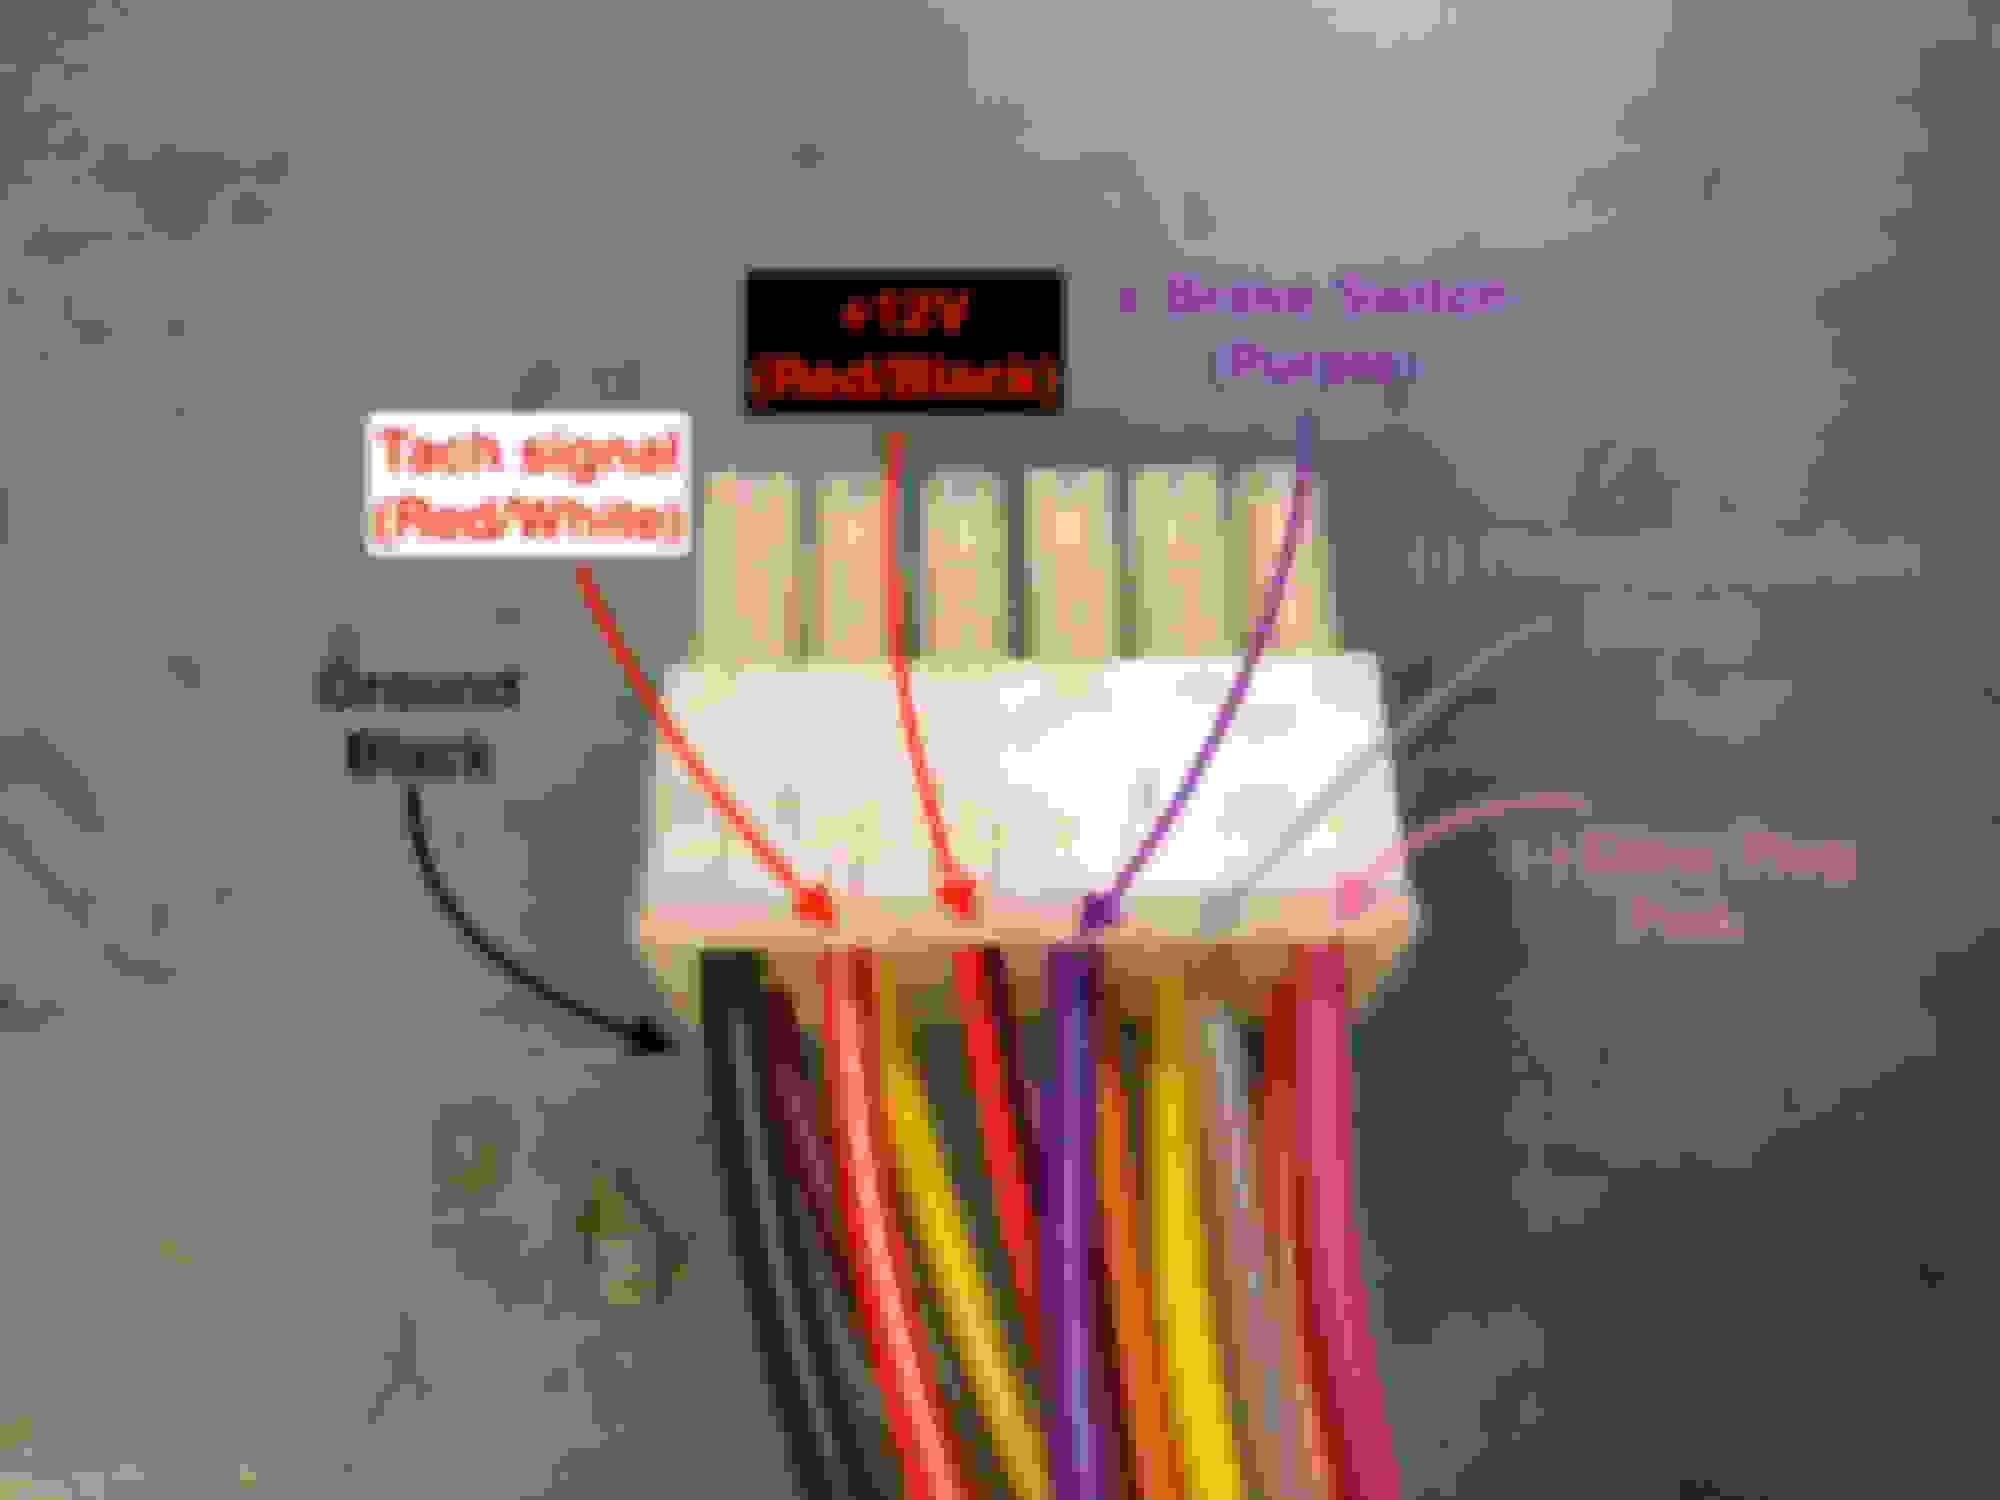
Here is the layout of the wires:
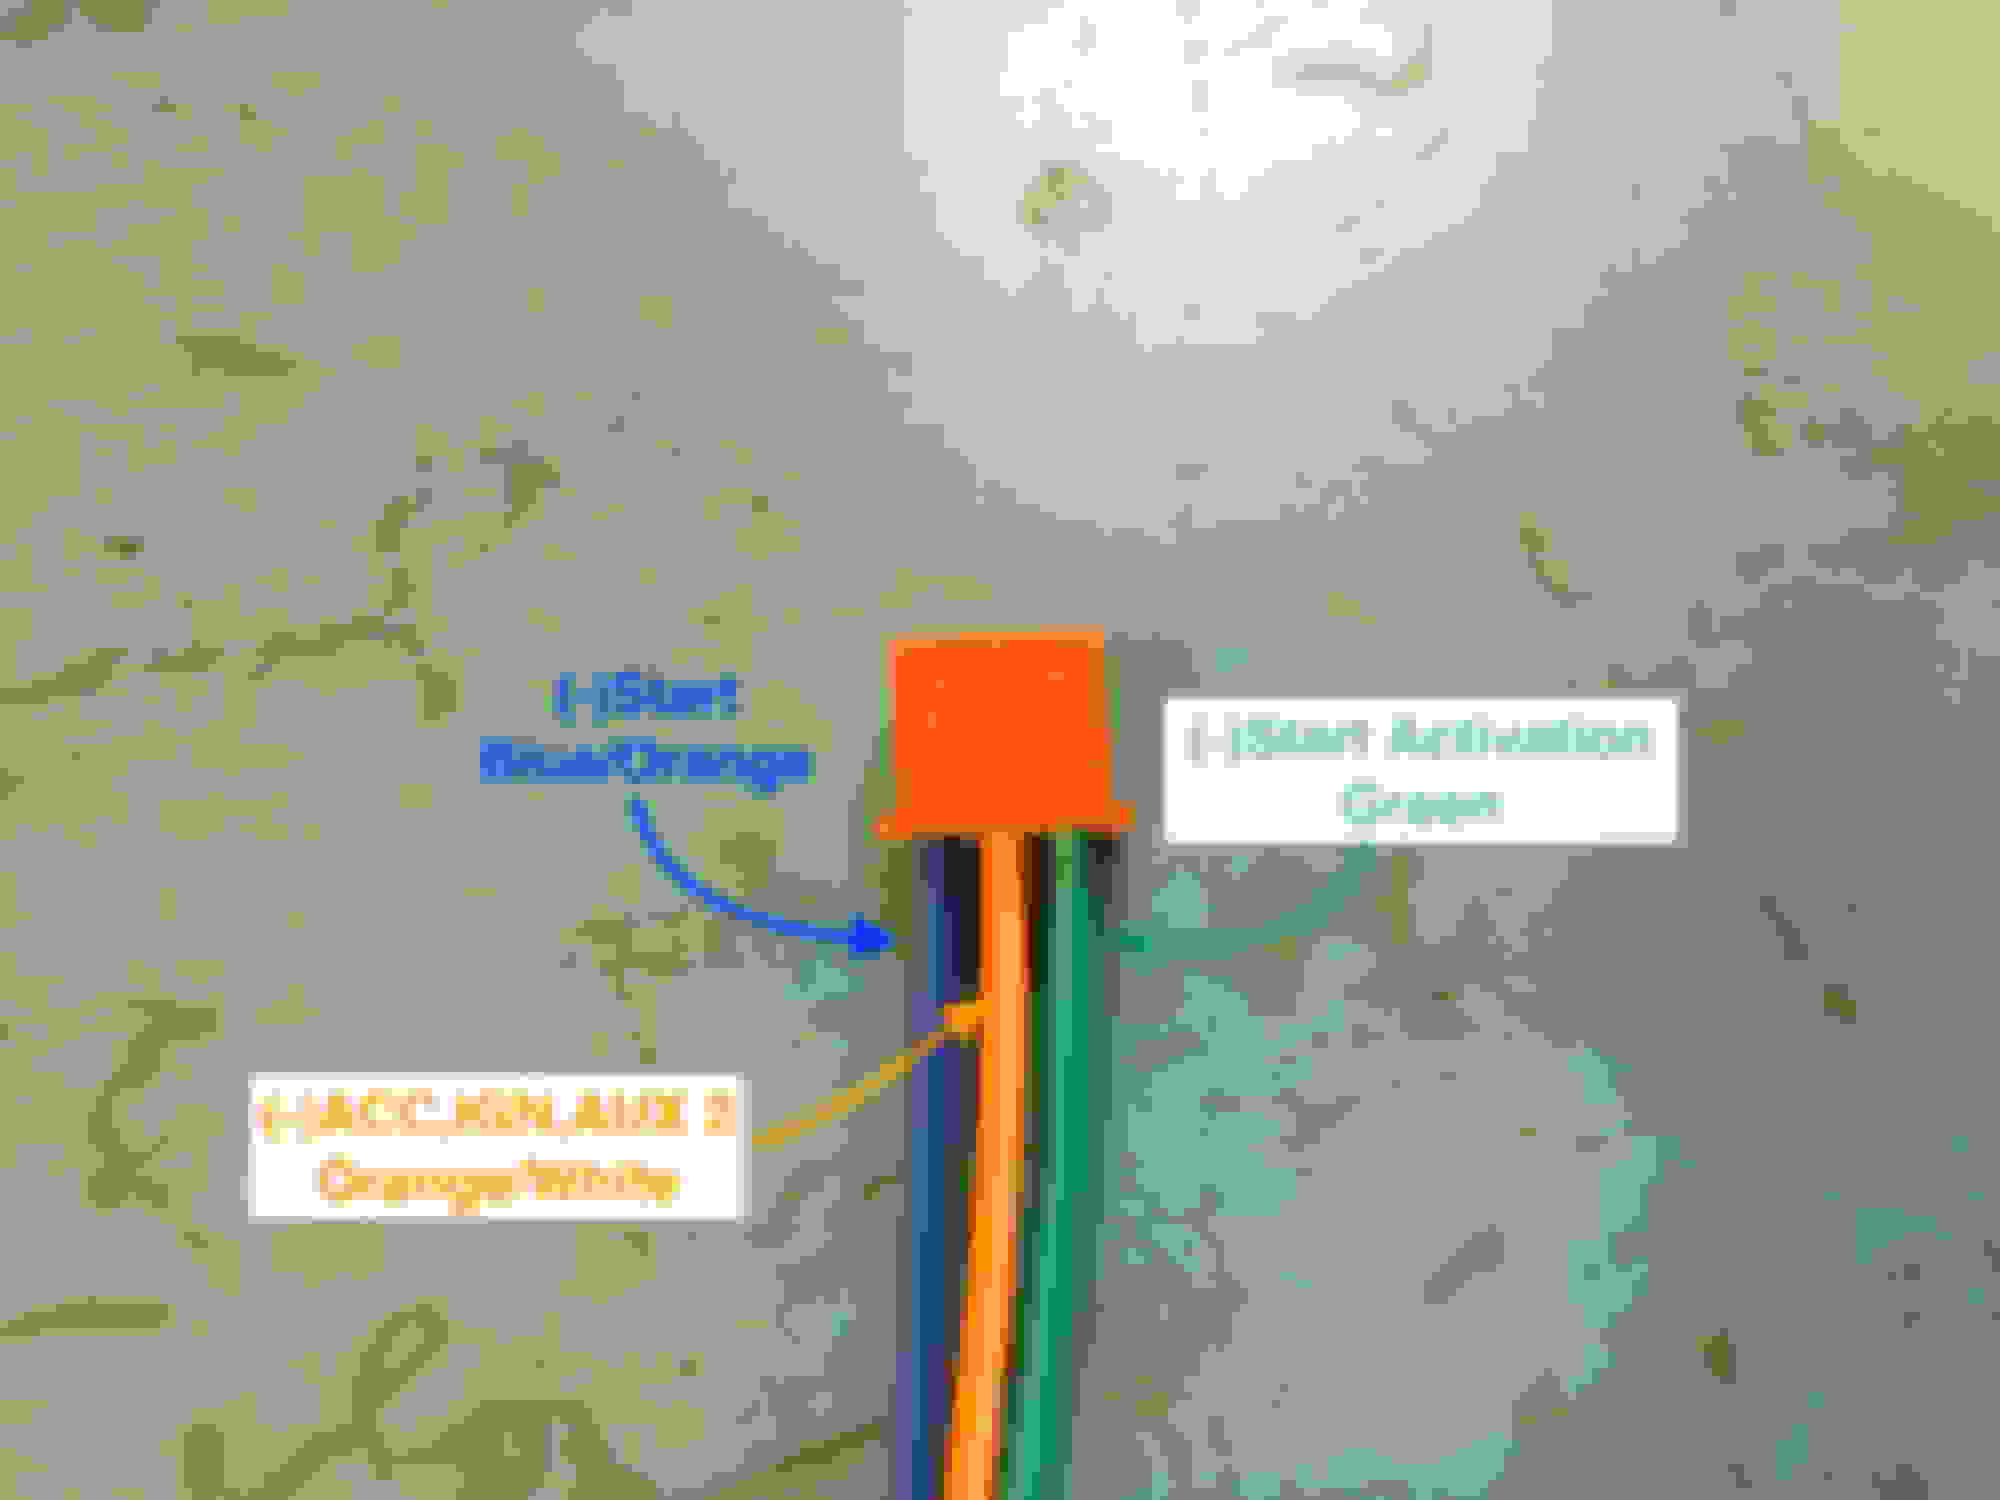
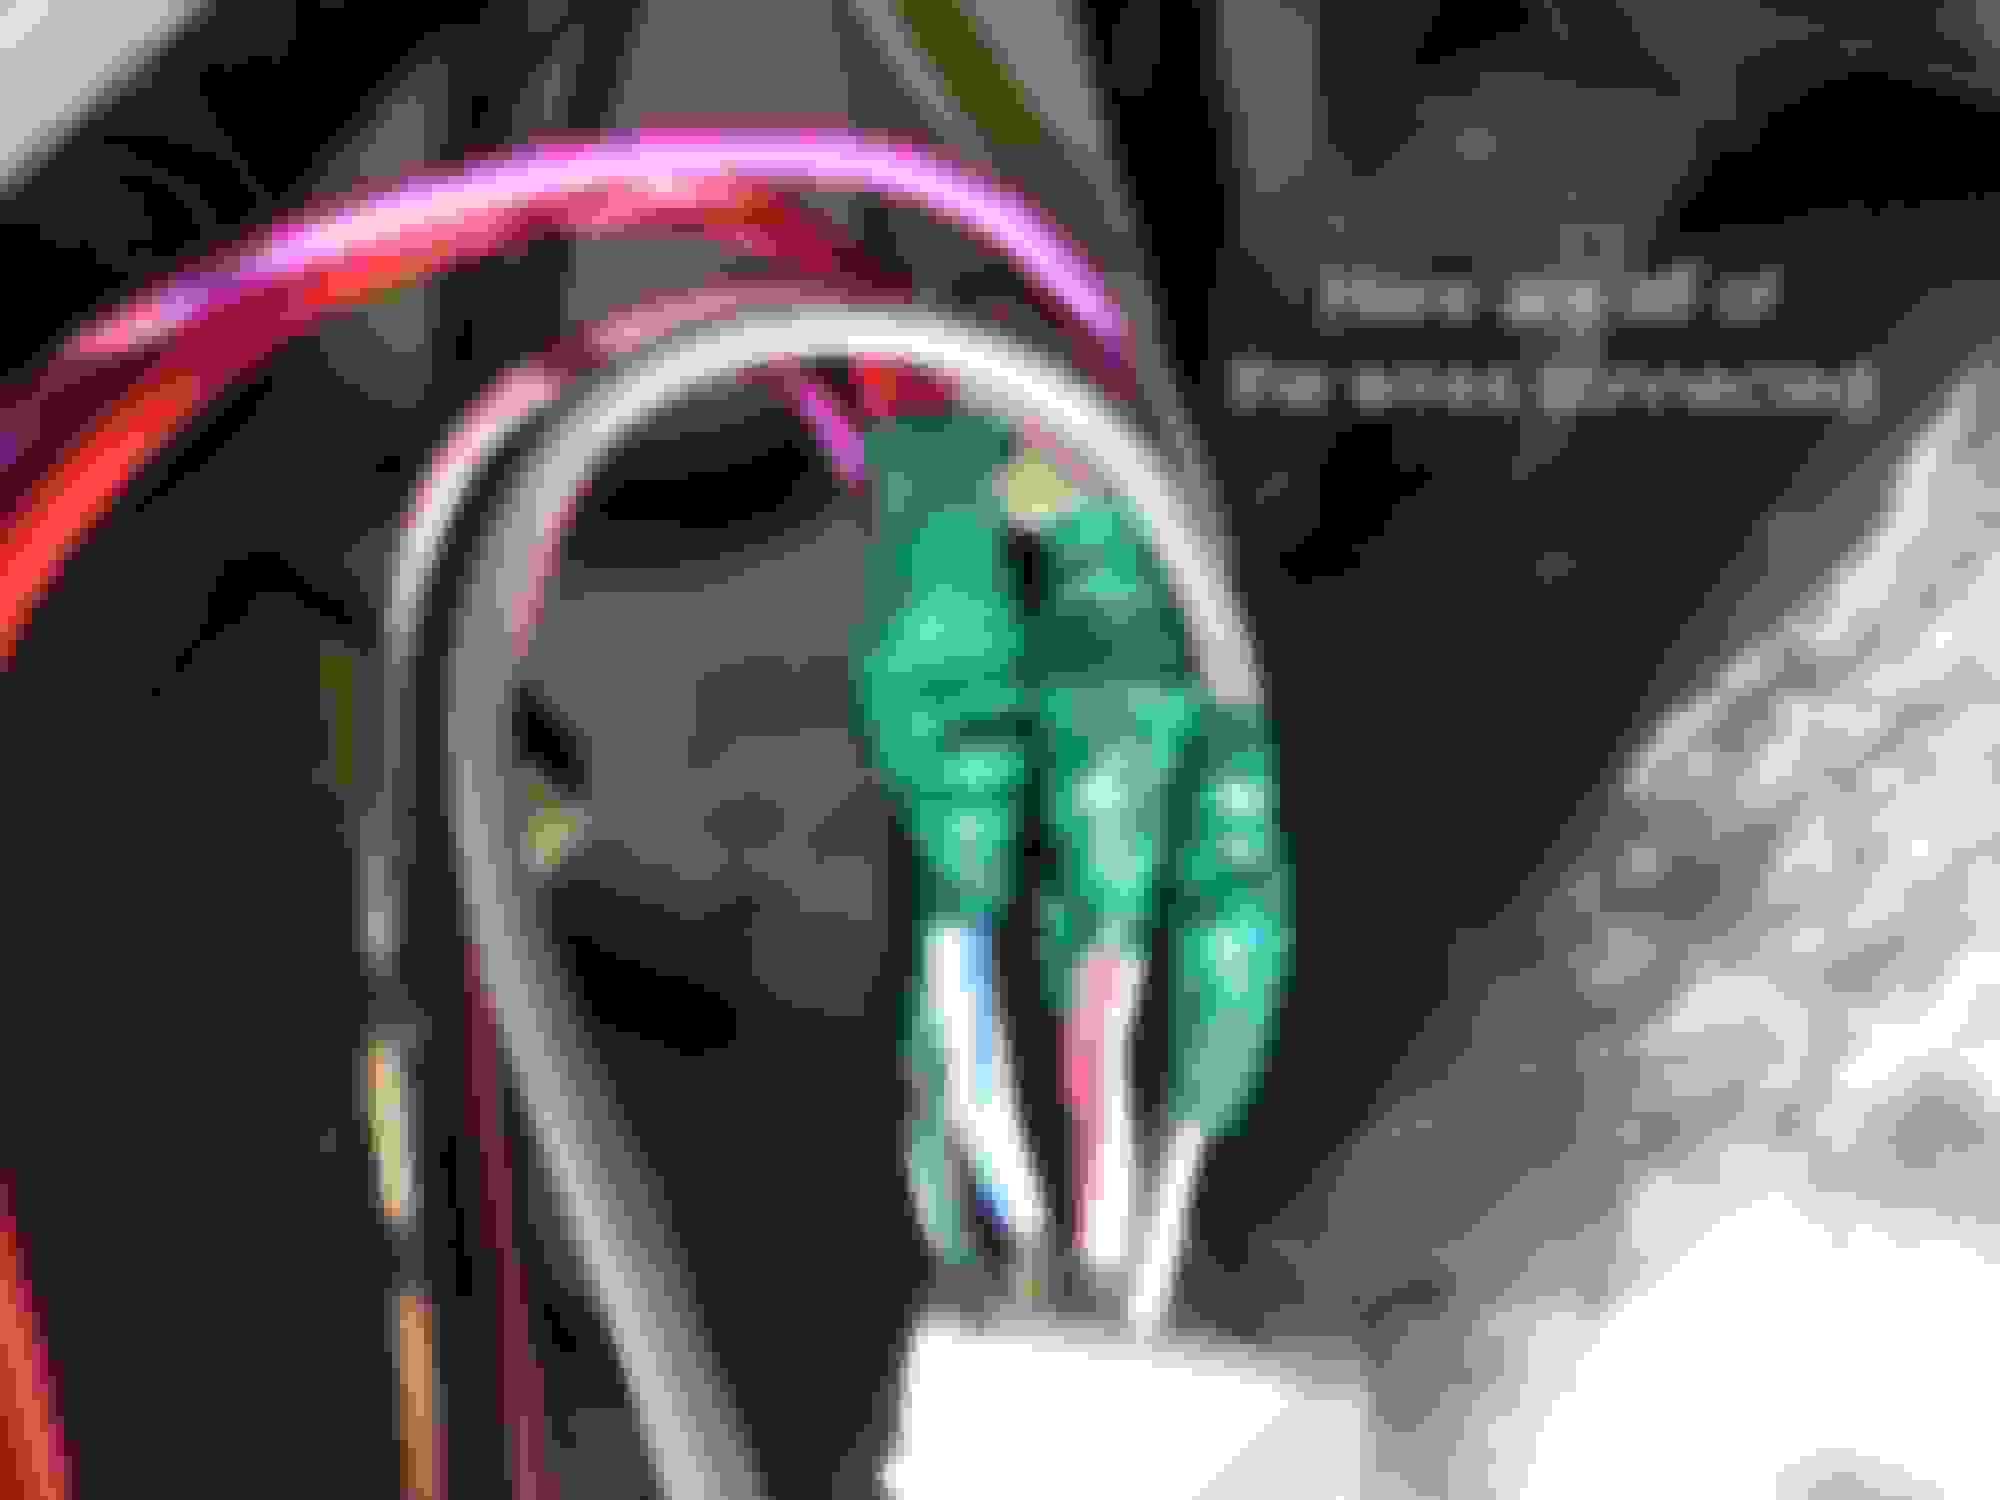
Once you have connected all of the wires into the ignition harness there are only 3 wires left to connect:
The last wire is a ground wire:
Once that final ground wire is connected, you are done all of the mandatory wiring!
There are two optional wires you can splice into if you would like your remote starter fob to be able to control the horn and parking lights. I did this because now the remote starter key fob works just like the factory key fob (for the most part) because it flashes the lights when the car is locked or unlocked, and honks the horn when the car is locked.
Here is how to hook up the horn (OPTIONAL BUT RECOMMENDED):
The horn wire is located underneath the steering wheel. It is difficult to reach and is also next to the airbag wires. Be VERY careful when doing this.
Here is how to hook up the parking lights (OPTIONAL BUT RECOMMENDED):
This was a complete pain in the ***. COMPLETE PAIN IN THE ***. The wire for the parking lights is RED with a BLUE stripe. This would have been fine, but there are 3 or 4 wires in this loom with the EXACT SAME COLOUR. Once of them is some sort of ignition wire, one of them makes the car go crazy, one of them does something else, and one of them is the actual parking light wire. I don�t know how to test this, I simply went through them and I managed to find it. You might get lucky and find it on your first go, but if not, go through the loom and try to find it again. Best of luck.
Sadly I was so frustrated that I didn�t get a picture of me splicing, soldering and taping this wire, but rest assured, it does work, I just wish there was a better way to identify it. If anyone knows of a way, let me know.
The only thing left to do after installing the system is to program it. While you should read the manuals included with both the bypass and the remote starter kit, I took some screenshots of the important bits. Still, these are not replacements for reading the manual, and this should be considered the bare minimum to get things working:
Here are the instructions for programming the RS7:
And here are the instructions for programming the EVO-ALL:
Once these steps are followed you should be good to test the system and see if it works. There are ton of parameters you can change such as how long the car gets started for, how long you want the horn to honk when you lock the doors, and even auxiliary options for to control other things with combination key presses. (Think: AC control!)
After this is all done, you should be good to tidy everything up, run the wire for the antenna, and start your car in style!
I would go with an Evo-One and use one of their T-harnesses. This will be more plug and play, which requires less splicing and soldering. I installed one of those in my wife's Subaru Forester prior to trading it in and I was able to retain the regular keyfob. You also get more functionality with the Evo-One if you have an I-key.
I would go with an Evo-One and use one of their T-harnesses. This will be more plug and play, which requires less splicing and soldering. I installed one of those in my wife's Subaru Forester prior to trading it in and I was able to retain the regular keyfob. You also get more functionality with the Evo-One if you have an I-key.
I think with the G though you'll need a new fob.
You certainly can go with the EVO-ONE, but I've found that it's a much more expensive path to take overall if you want a long range remote starter. The factory key fobs in the G have a really short range, and I don't think it's worthwhile to use them for remote starting.
When I was shopping around, the EVO-ONE did not have any compatible LCD screen key fobs that would showcase things like door status, trunk status, hood status, how long the car had been started for, etc.
Don't get me wrong, Fortin makes great stuff and they are a great company and I am sure that it would be easier to install an EVO-ONE for sure, but I just preferred to go this route instead, and it's been almost a year now and I've had no problems whatsoever!
Does anyone know how to resize pictures smaller and make them clickable to see them full size? Right now they are showing up as full size on my browser and it's kind of hard to read. I'm not sure if it's just me but it is a bit annoying.
Thanks for this, I might actually try to do this myself because of how detailed and thorough this write up is. Where did you mount the antenna and how did you run the wire?

 06-23-2017, 10:55 PM