DIY: Clear Corners
#61
 10-29-2007, 11:26 AM


#65
11-27-2007, 09:13 AM

#66
09-16-2008, 05:47 PM

Registered User
Join Date: Jan 2008
Location: NorCal
Posts: 31
Likes: 0
Received 0 Likes
on
0 Posts
Originally Posted by Calvin
Since I've been on driver I've received PMs from about 5 different people about how to install Clear Corners...
1. Pop the Amber Corner by simply tugging on it (gently). You'll be amazed at how easy it is to remove.
2. This is what it should look like...
3. Twist that gray piece (counter clockwise i believe) so it now looks like this...
4. Pull the gray connector out of the Amber Corner.
5. Get the Clear Corner in hand...
6. Put the gray connector into the Clear Corner - be sure to align the notches so that it goes in all the way.
7. Twist the connector (clockwise i believe) so it snaps back into place.
8. Snap the Clear Corner back into the bumper...
9. You're done...!
#67
09-16-2008, 05:51 PM
#68
09-16-2008, 07:12 PM


#71
05-30-2009, 08:34 PM

JDM Clear Corner Install
So, I did a little searching and didnt see one of these made, so I figured I'd put one together. Obviously this is an extremely easy mod to do, but maybe there are folks out there wondering how to get their corners off and how to install new ones... i dunno. In either case... here we go...
First, the original canvas... (we want to get rid of those amber ones)

Another shot

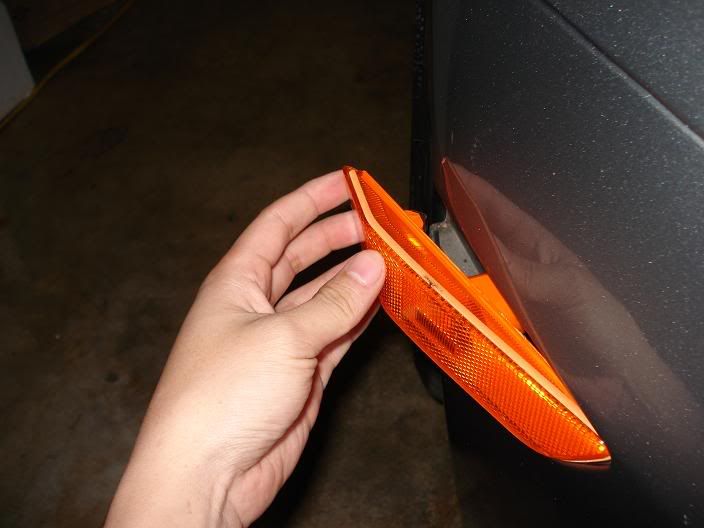
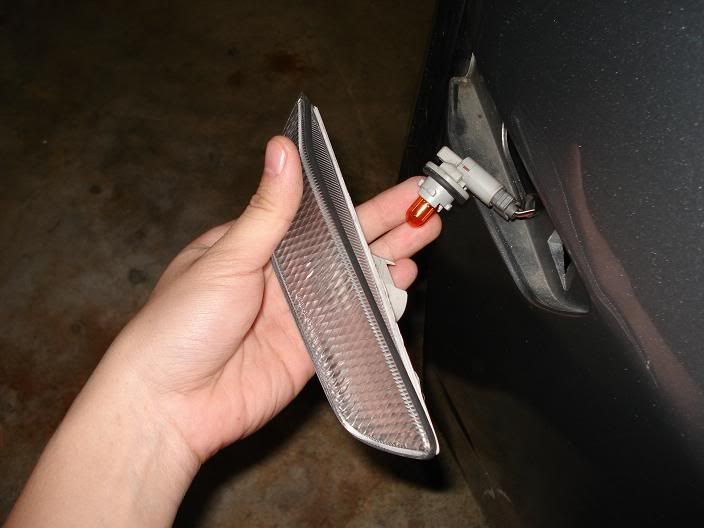
Now, this is the main reason these are so easy to steal. To remove your corner lenses you simply gently pull from left to right out and away from the bumper like so...

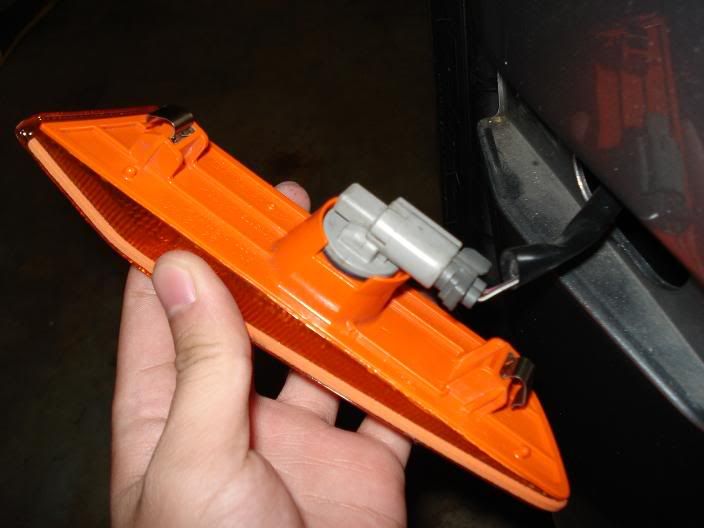
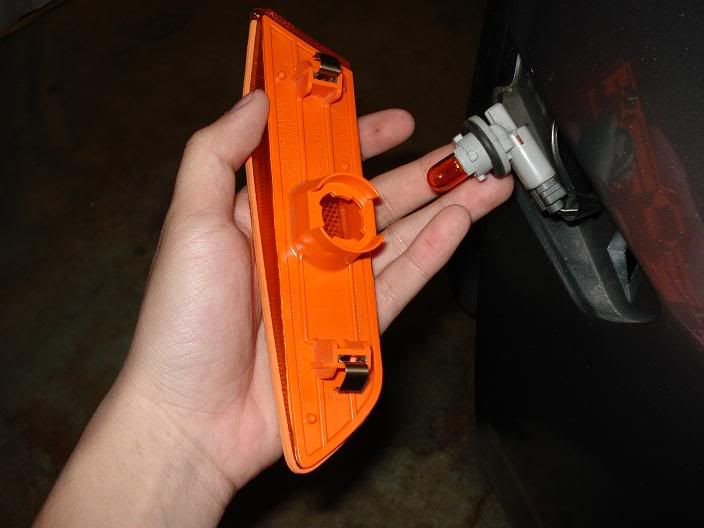
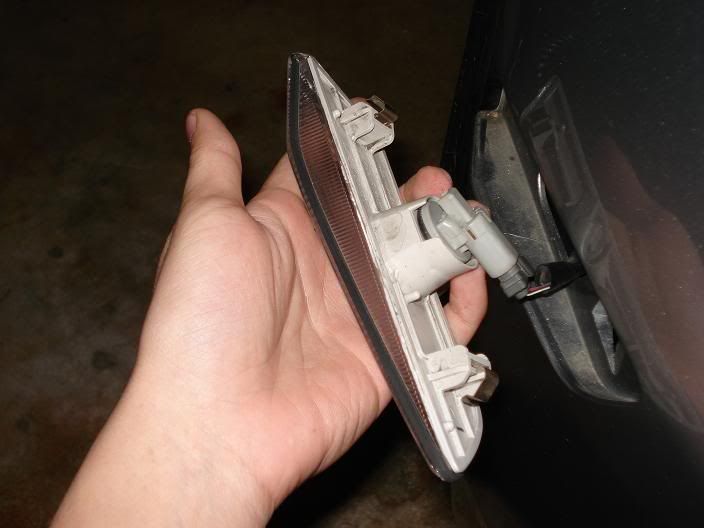
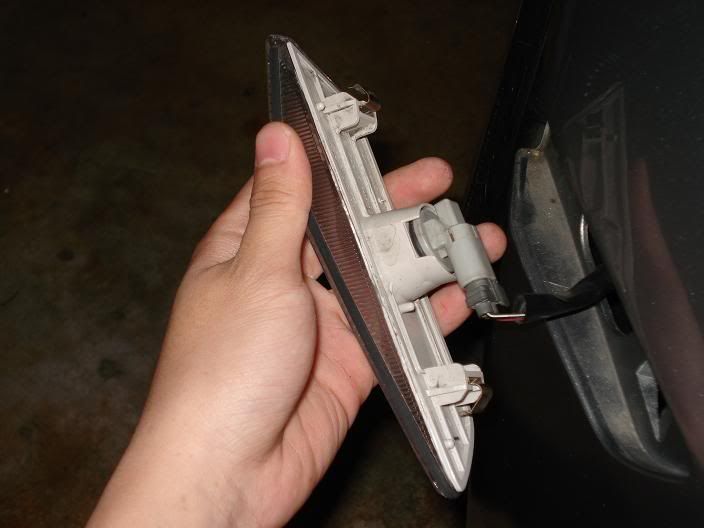
Now you have your lense dangling and ready for the next step. You are going to need to gently push in the little tab on the connector and gently slide the light connector out of the socket on your stock lens

(couldnt get a really clear picture of this part so just be careful; and yes I did clean that area before installing my new ones)
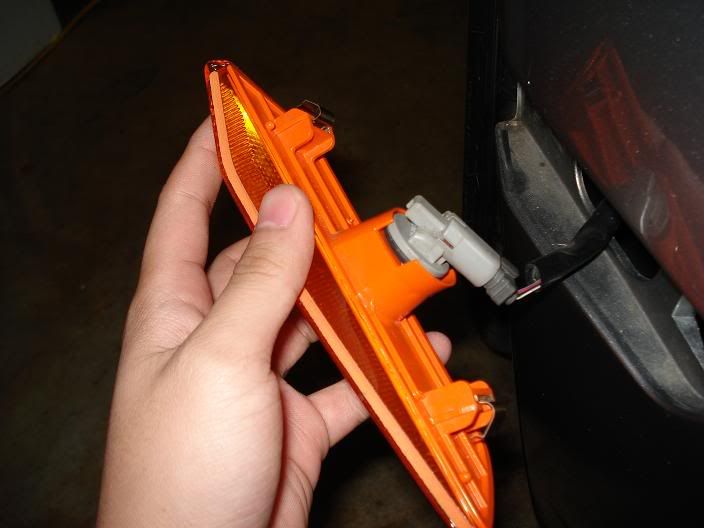
After that, take your new lense, connect the connector to it and reinstall the lens exactly how you pulled the stock one out.

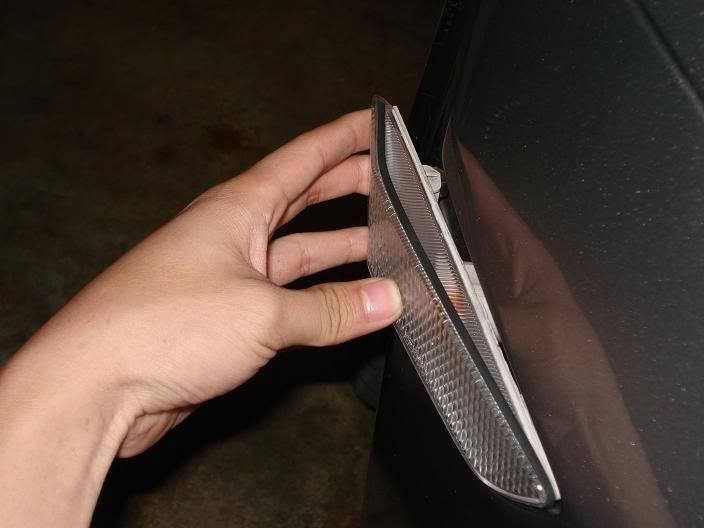
And another shot...

I took a few shots to show the actual jdm "bump" and how far it sticks out from the bumper...


And thats all there is to it!
First, the original canvas... (we want to get rid of those amber ones)
Another shot
Now, this is the main reason these are so easy to steal. To remove your corner lenses you simply gently pull from left to right out and away from the bumper like so...
Now you have your lense dangling and ready for the next step. You are going to need to gently push in the little tab on the connector and gently slide the light connector out of the socket on your stock lens
(couldnt get a really clear picture of this part so just be careful; and yes I did clean that area before installing my new ones)
After that, take your new lense, connect the connector to it and reinstall the lens exactly how you pulled the stock one out.
And another shot...
I took a few shots to show the actual jdm "bump" and how far it sticks out from the bumper...
And thats all there is to it!


#74
08-15-2009, 02:24 AM

Join Date: Mar 2009
Location: Boston MA
Posts: 203
Likes: 0
Received 0 Likes
on
0 Posts
#75
08-15-2009, 02:27 AM