
Budget Modding 101: DIY and Photoshoot Inside (Painting OEM Wheels)


Budget Modding 101: DIY and Photoshoot Inside (Painting OEM Wheels)
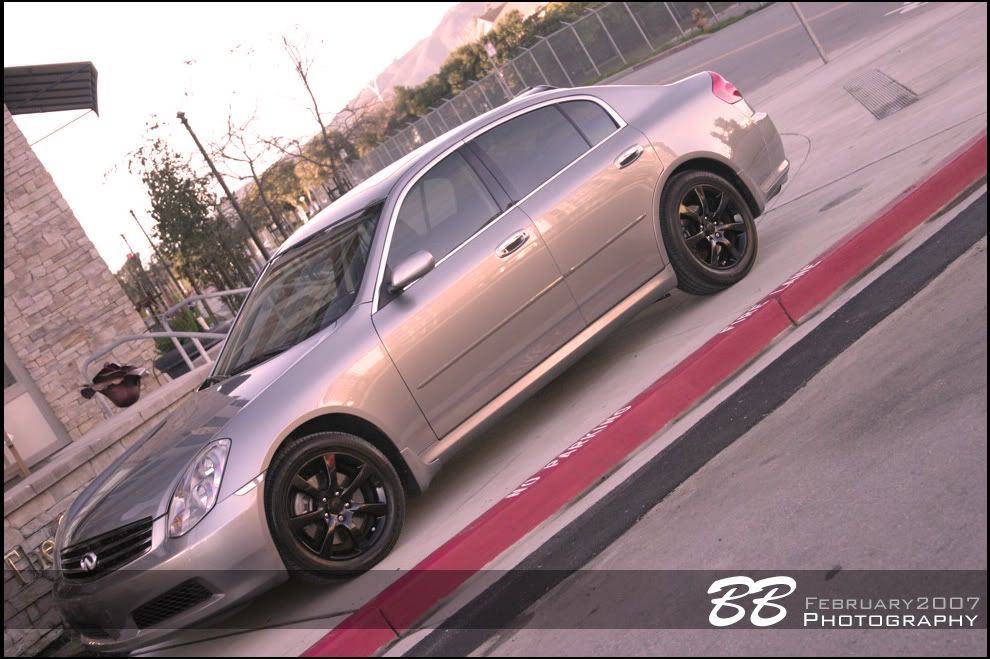
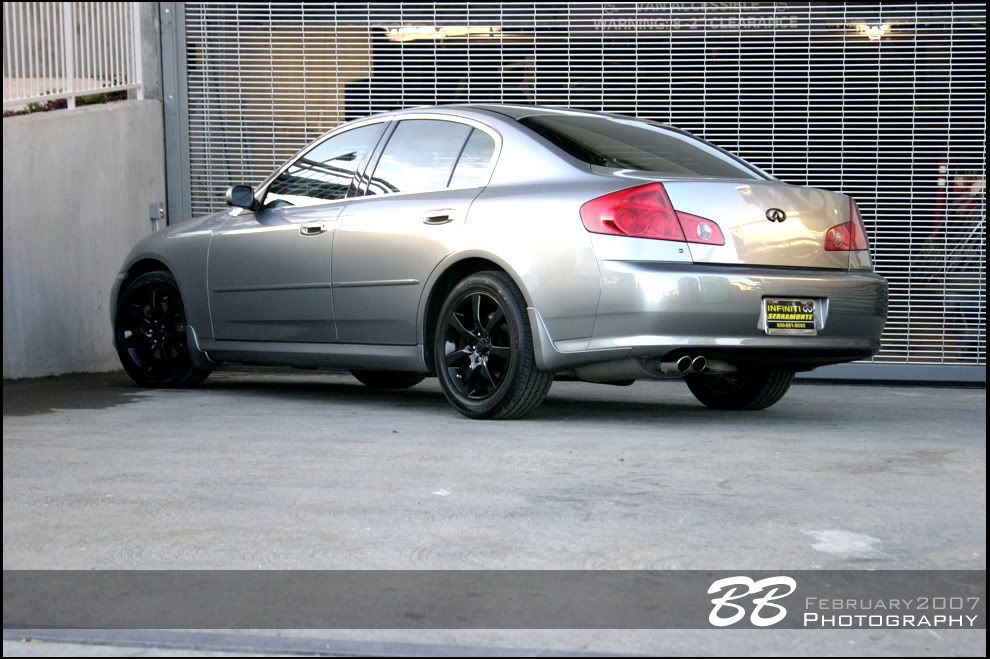
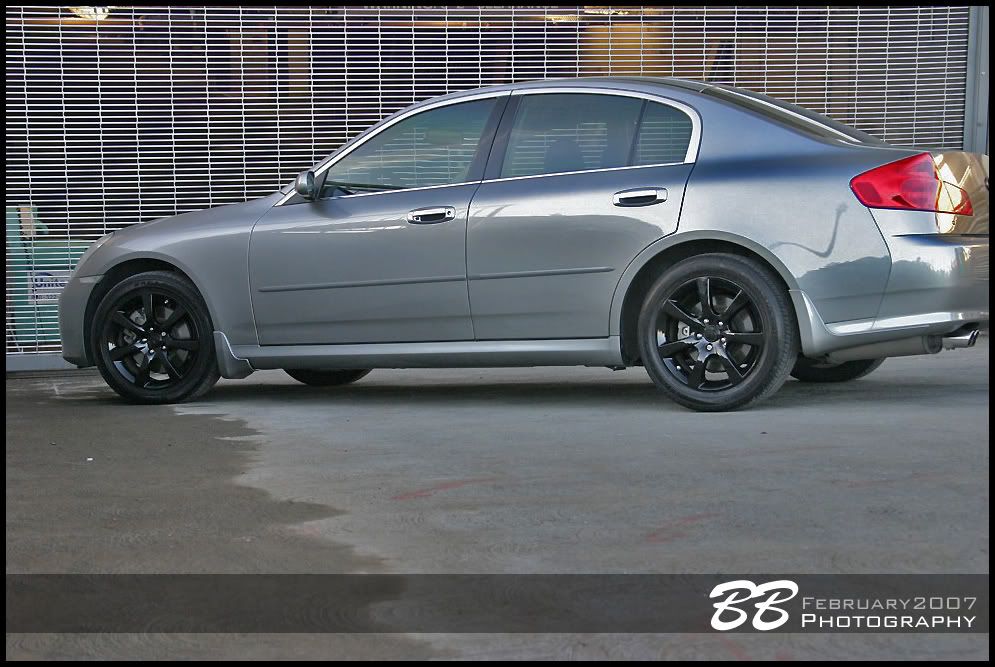
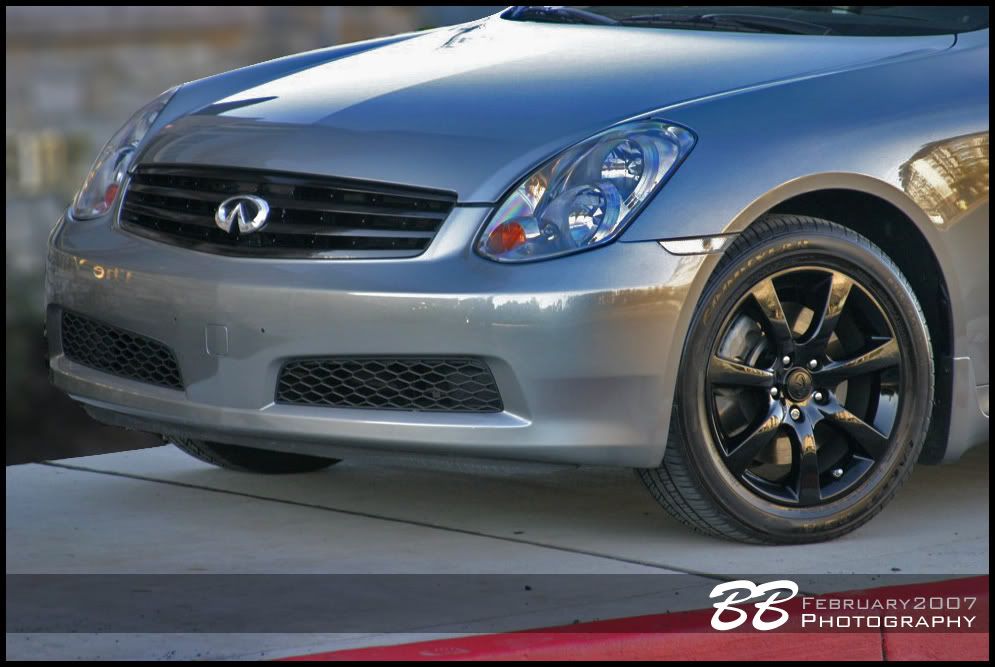
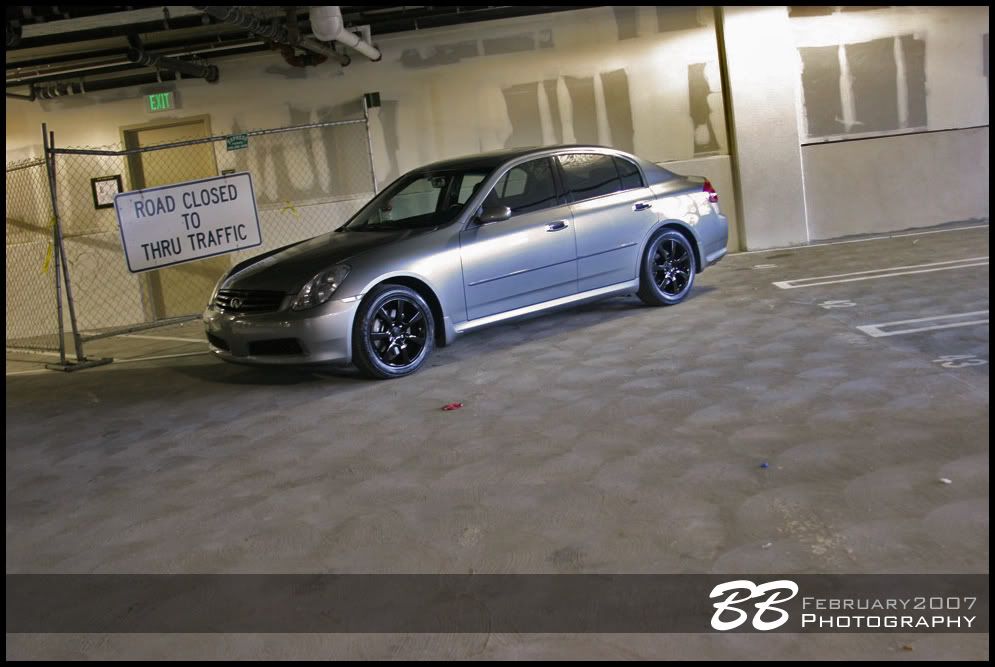
Since I've parted out my G35, I have been having modding withdrawals. So, I decided to peer pressure my cousin Nathan (calcul8) to start modding his car. He said sure, as long as the total cost will be less than $100. Well, $81.44 later, this is what we've come up with.
Space Reserved for DIY Guide
Supplies:
1. 6 spray cans of paint- we went with Dupli-Color Engine Enamel in Gloss Black as it has a high resistance to heat.
2. 4 cans of primer- we went with Dupli-Color Sandable Primer
3. 2 cans of clear- we went with Dupli-Color Clear Coat
4. Spray nozzle with handle- allows you to spray and hold the can more evenly
5. Bondo scratch filler- used to fix light curb rash that the wheels had (not pictured in DIY)
6. Various grades of sandpaper- we went with 320 grit, 400 grit, and 200 grit
7. Masking tape- ours was lime green!
8. Flash cards- proved to be a dumb idea, but maybe you can make it work
9. 1 Sunday paper- you�ll need lots of newspaper to wrap the tires up
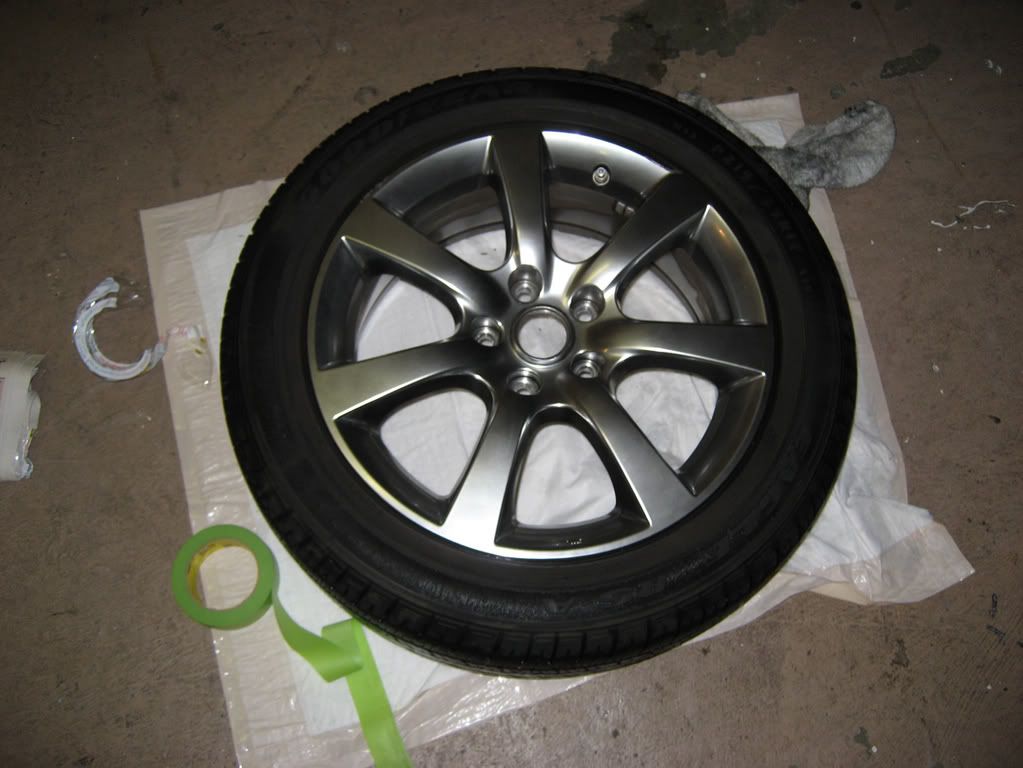
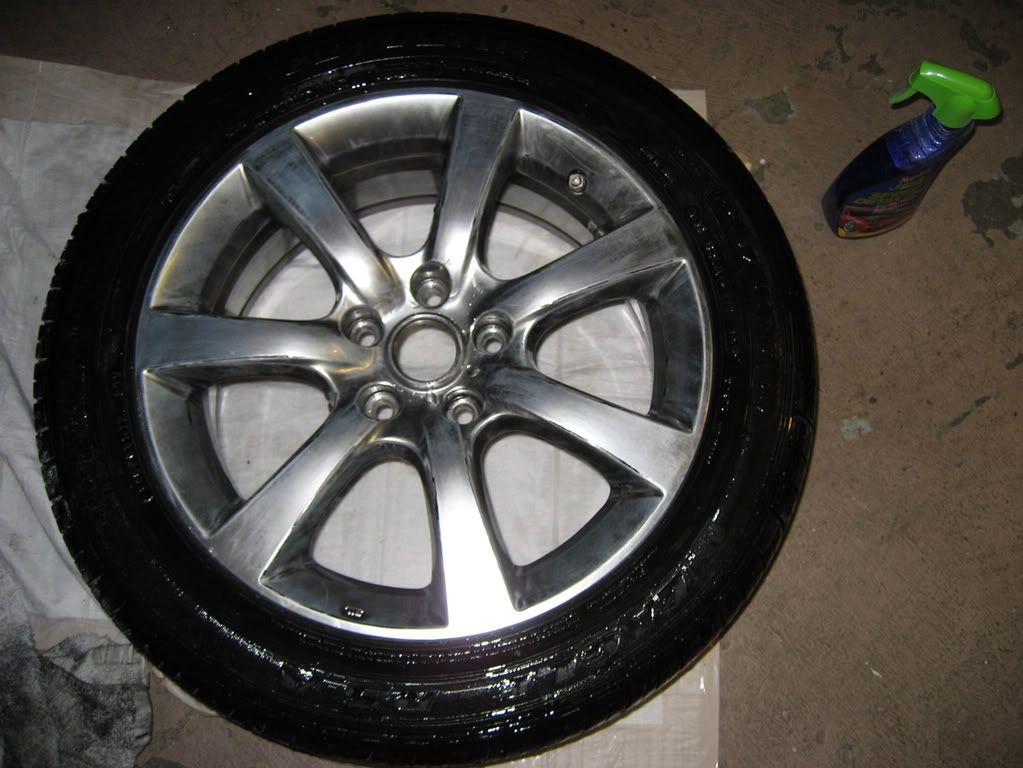
Step One:
After removing the wheels from the car, wash them THOROUGHLY. We washed them twice with our car wash soap (Meguiars Gold), and then once with a heavy duty alloy cleaner. Be sure that there are no chemicals or brake dust remaining on the wheels. Next, dry the wheels COMPLETELY.
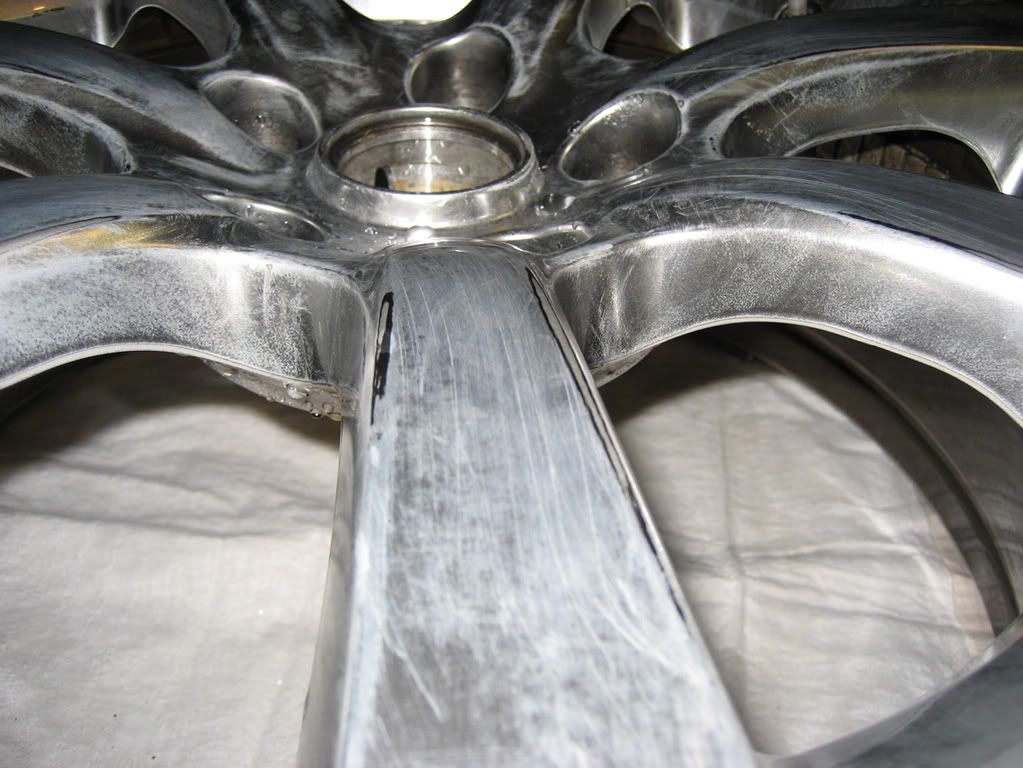
Step Two:
Sand every nook and cranny of the wheel. You want to make sure you have full coverage, so that the surface appears scratched and rough.
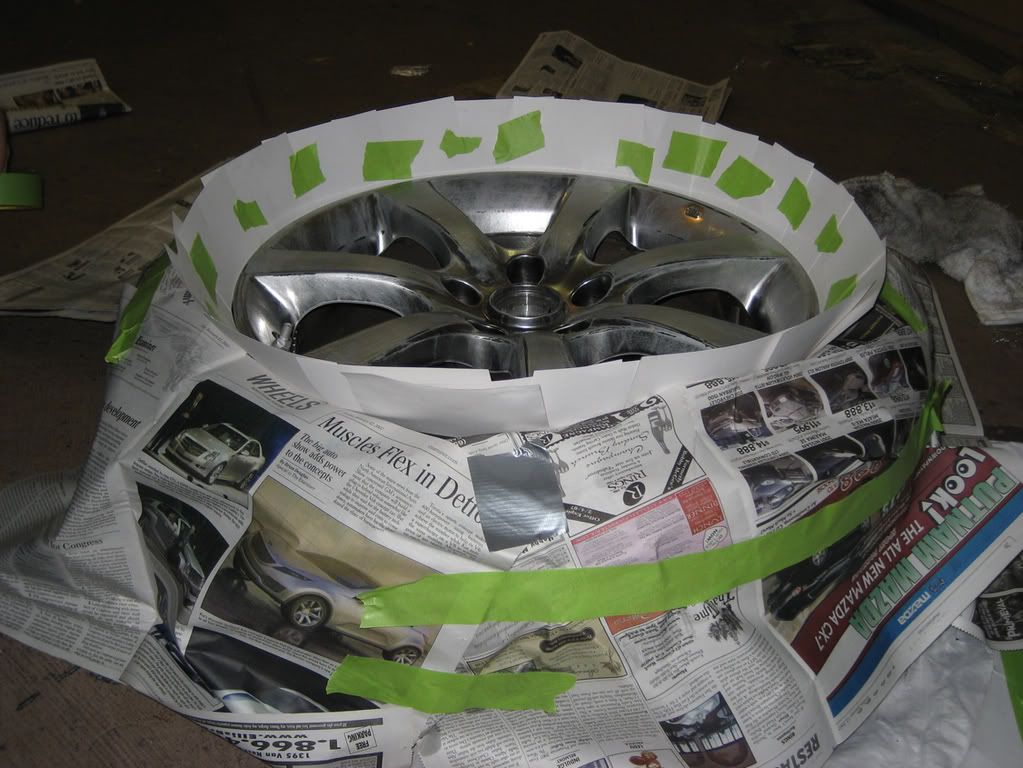
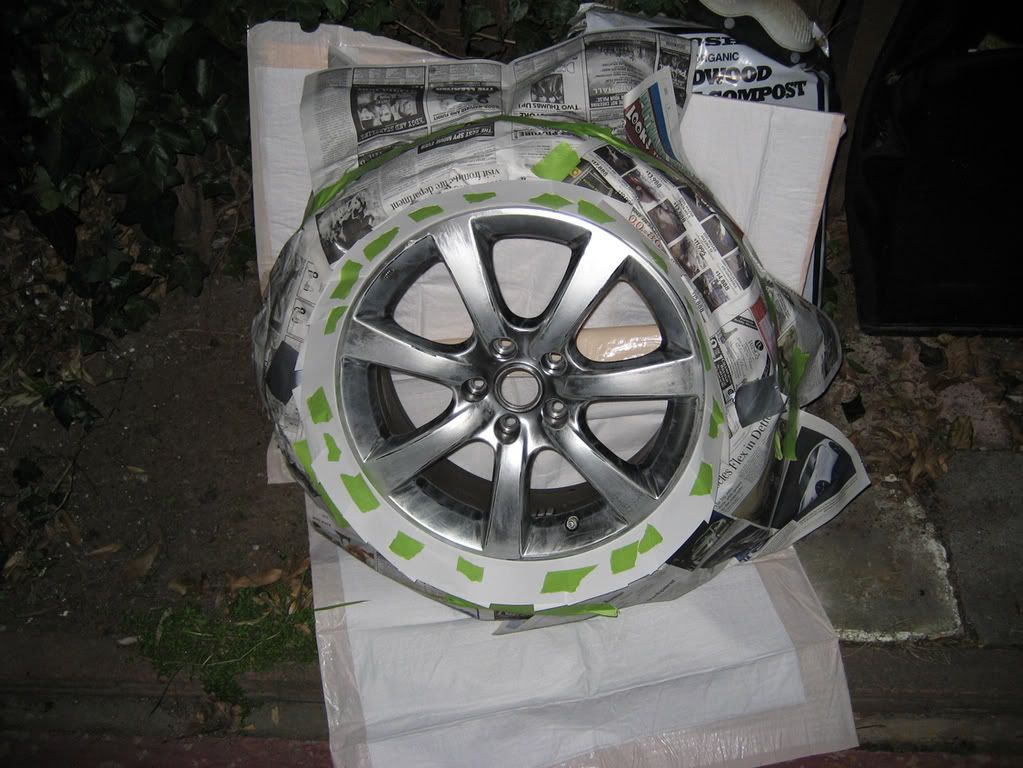
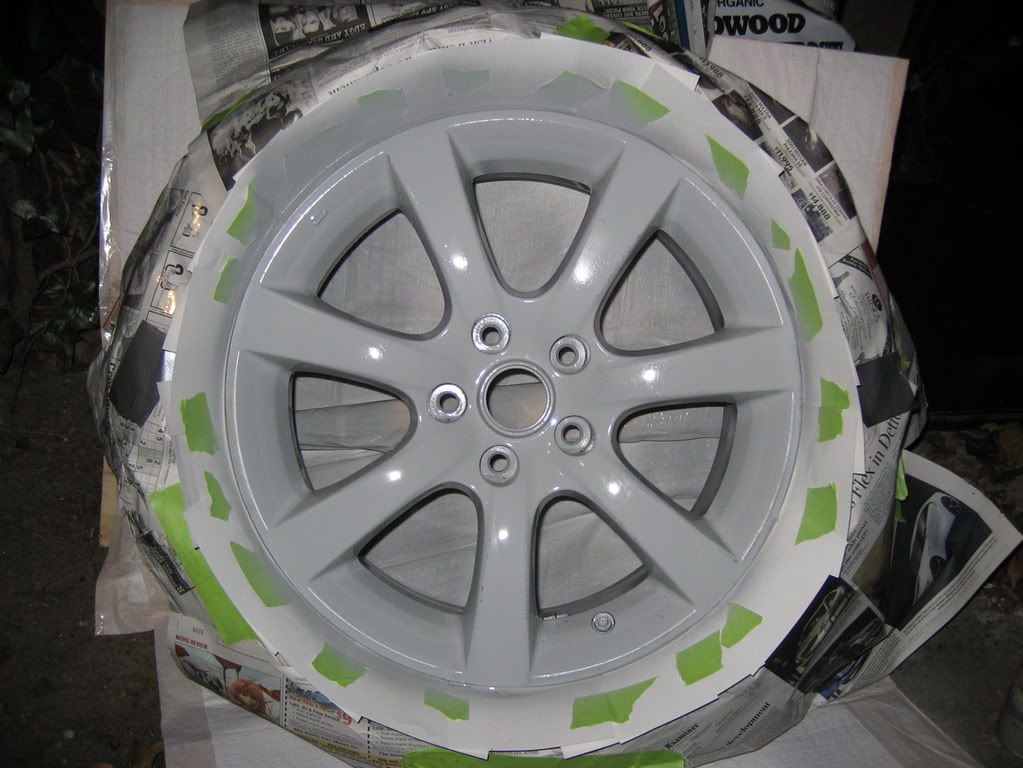
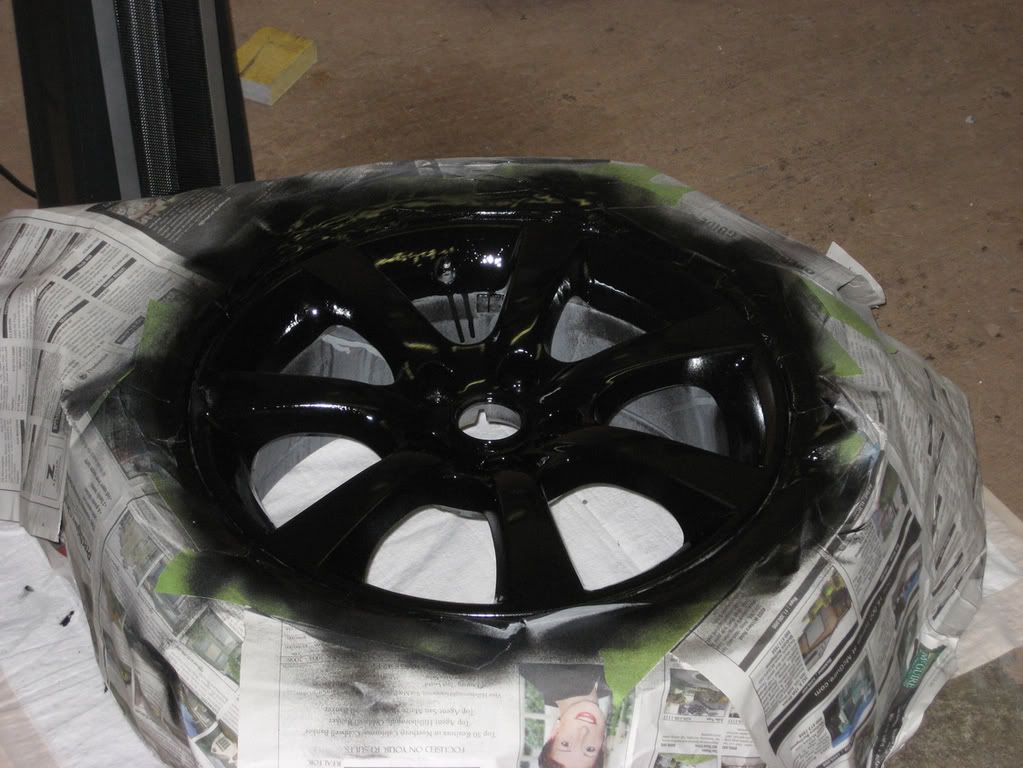
Step Three:
Prep that sh|t! This is a very important step. If you don�t cover your tires fully, might as go with the whitewall look. First, deplete the air, we shoved a flat head screwdriver into the valve and let most of the air out of the tires. For the first wheel, we chose to lay down flash cards thinking we might be slick enough to not have to use newspaper- we weren�t. So, in an attempt to not waste time, we laid down the newspaper around the flashcards. For the remaining wheels, we chose to do without the flashcards, and just securely cover the tires in newspaper.
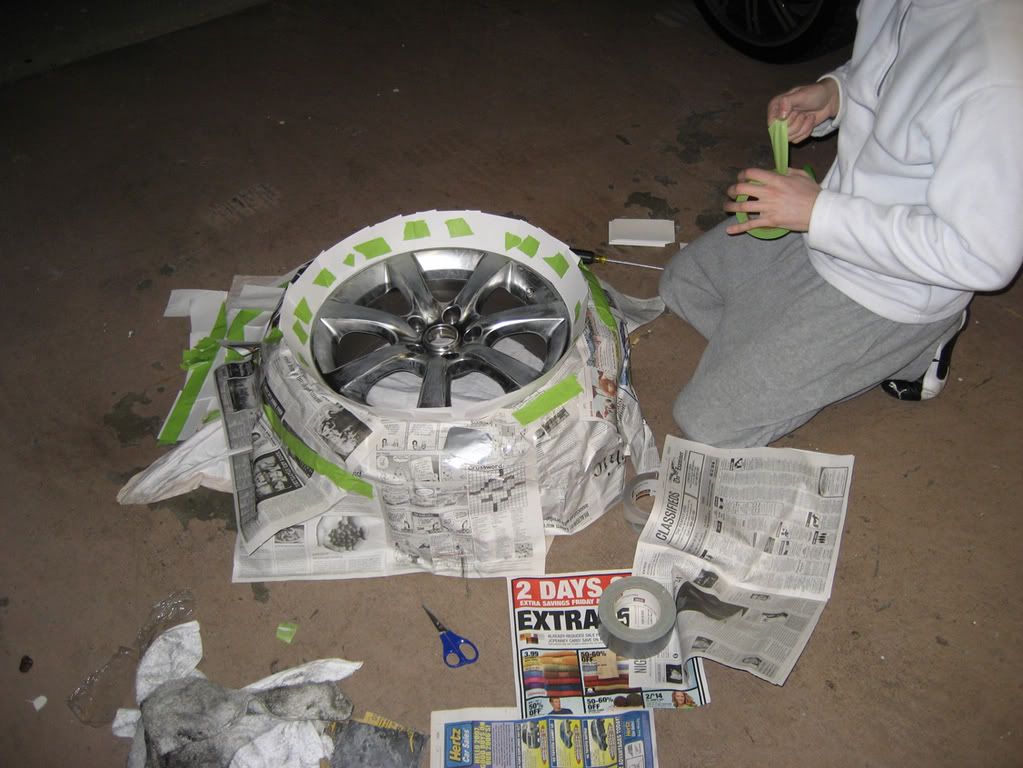
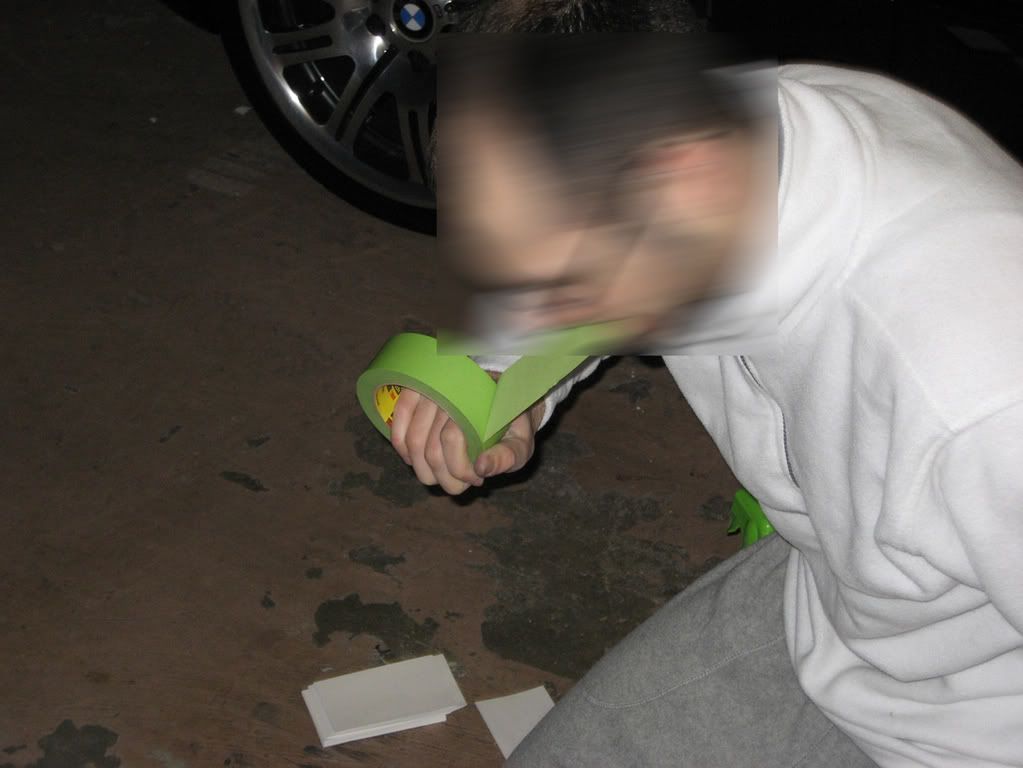
Be sure to use lots of tape to hold everything together. If the cameraman would help, maybe I wouldn�t have to use my teeth.
Step Four:
Find somewhere to spray. We chose to do this against a fence in my backyard. We somewhat covered the area we were spraying with my dogs **** pads. They worked. Next, lay down the primer. We did multiple layers (between 3 and 4 per wheel). You want to do thin, even coats. Don�t go too thick, don�t keep spraying in the same spot, just go slowly and spray evenly. Drying time was about 10 minutes per coat, and if you accidentally have some primer dribble from going on too thick or little bubbles appear, just sand it down after that coat dries.

Find something to do in between drying periods. I decided to wax my M3. In between coats, I was able to wax a panel of my car at a time. Great success!

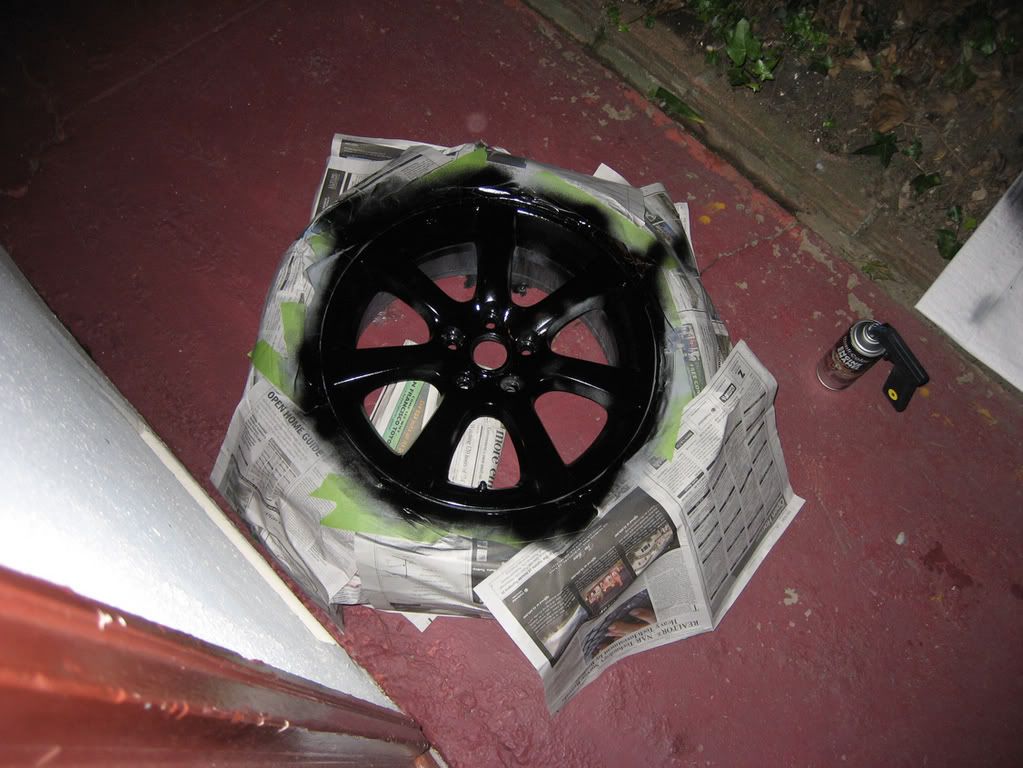
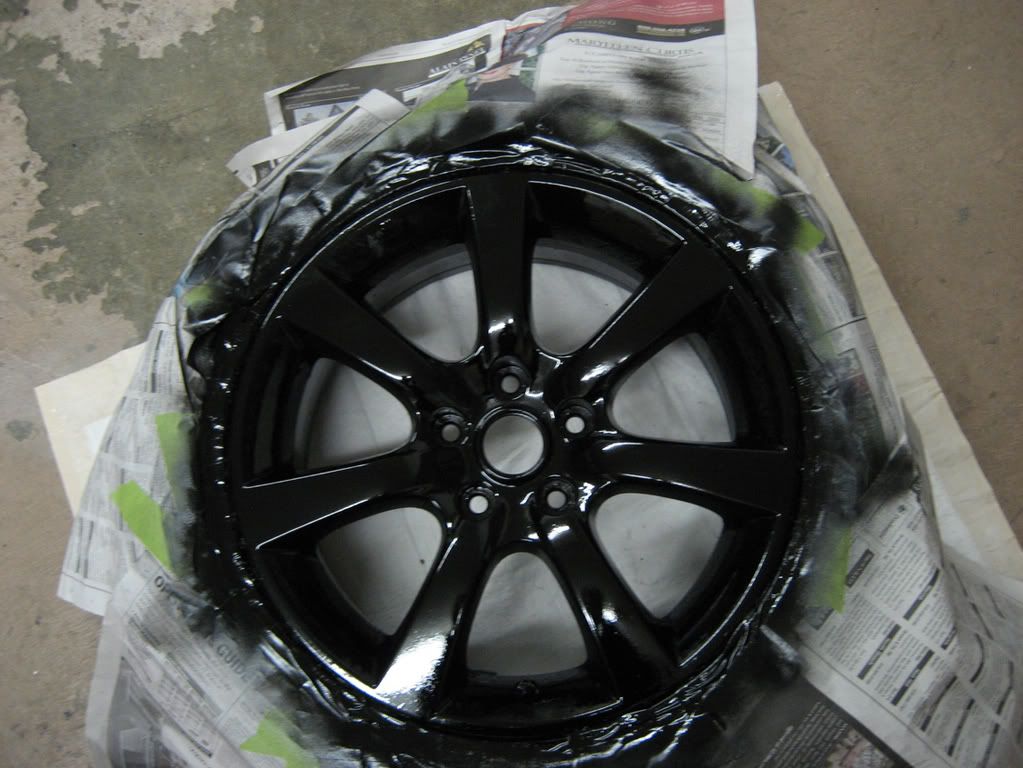
Step Five:
Time to apply paint. The paint needs to be applied the same way that the primer was- in thin, even layers. Give about 15 minutes of drying time per coat. You�ll know the exact amount of time necessary by lightly touching the paint to feel if it�s still wet or not. We applied 5 layers of paint per wheel, making sure we had even coverage at the very end (as you see, the first coat didn�t turn out as well). Be sure to sand down bubbles and paint dribble in between coats (after the paint dries), as they will affect the finish if they�re visible at the end.
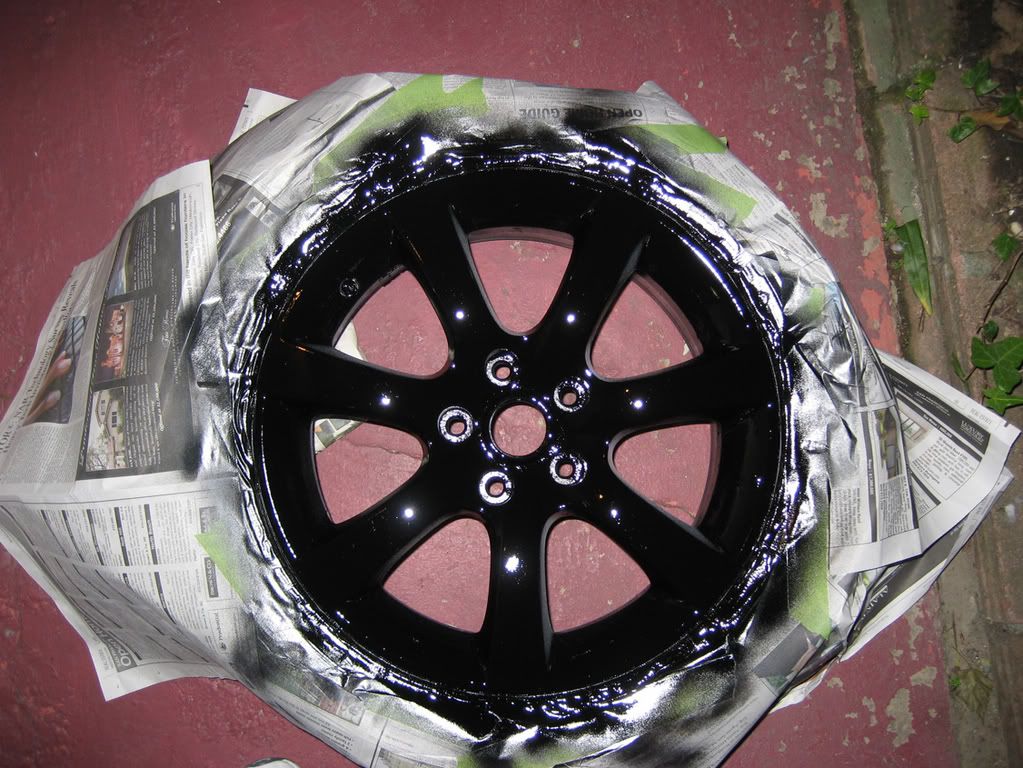
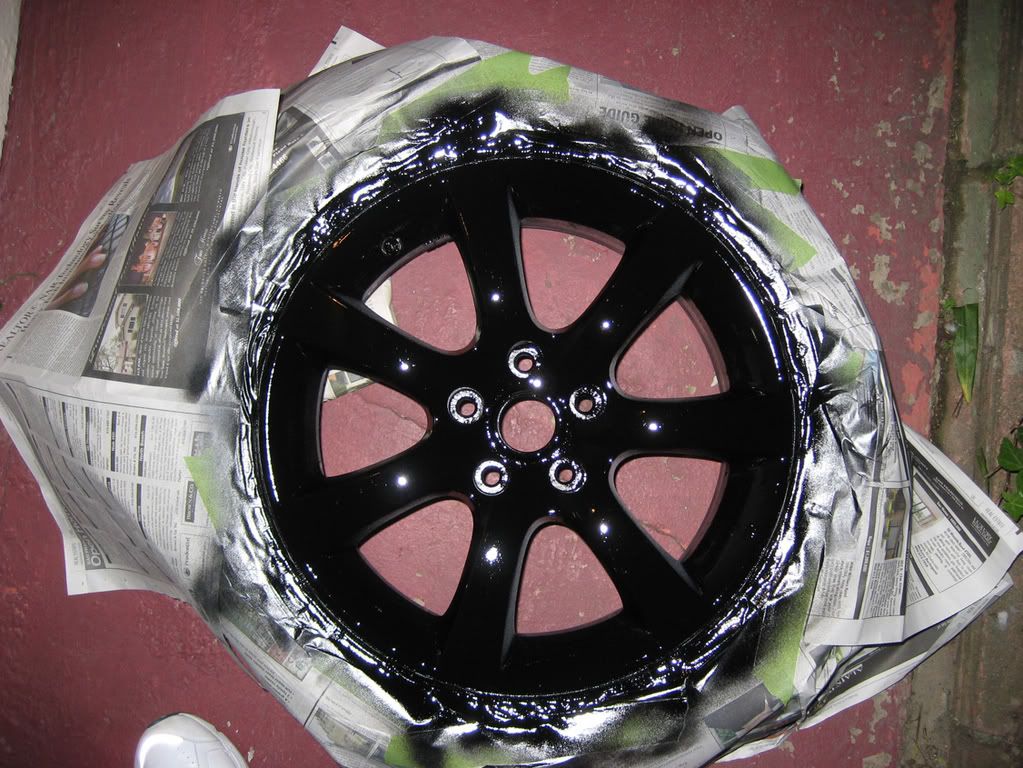
Step Six:
Clear. Apply your clear coat the same way as you applied the paint and primer. We chose to do 3 light coats per wheel. Allow 10 minutes for each layer to dry. After your last layer dries, remove the newspaper/tape/KY jelly/flashcards.
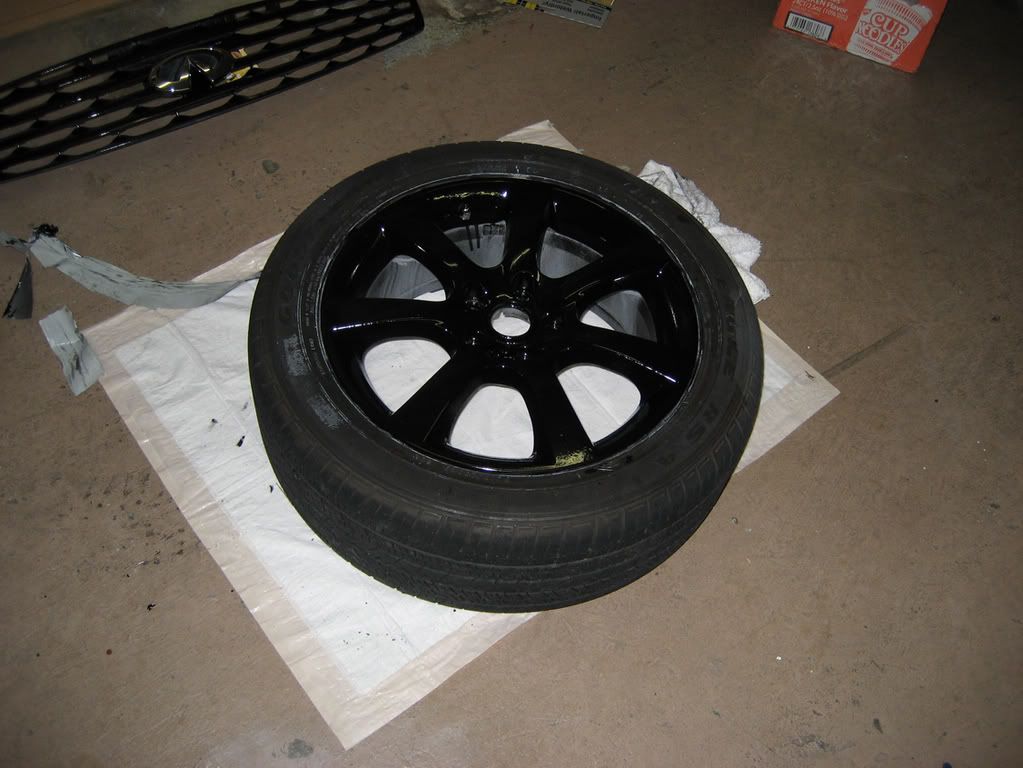
You�re done.
Last edited by vodkarocket; Feb 17, 2007 at 11:57 AM.


ENVautoDetailing.com
iTrader: (47)
Joined: Sep 2005
Posts: 9,257
Likes: 136
From: San Diego/Redondo Beach

Looks alot meaner, i like it. Hey Boris, is that my rear emblem on Calcul8's car??? looks like it, but i cant tell from far away... cuz i know you switched it out for a chrome one on your G so you could be fully stock.
-GP-
-GP-
Trending Topics
Originally Posted by Gdup35sedan
Looks alot meaner, i like it. Hey Boris, is that my rear emblem on Calcul8's car??? looks like it, but i cant tell from far away... cuz i know you switched it out for a chrome one on your G so you could be fully stock.
-GP-
-GP-

I'm going out right now, I'll post the DIY guide and photoshoot tomorrow afternoon.
ENVautoDetailing.com
iTrader: (47)
Joined: Sep 2005
Posts: 9,257
Likes: 136
From: San Diego/Redondo Beach
Originally Posted by vodkarocket
Bingo.
I'm going out right now, I'll post the DIY guide and photoshoot tomorrow afternoon.
I'm going out right now, I'll post the DIY guide and photoshoot tomorrow afternoon.
-GP-


Originally Posted by G35stilez
Boris: You are a nut!
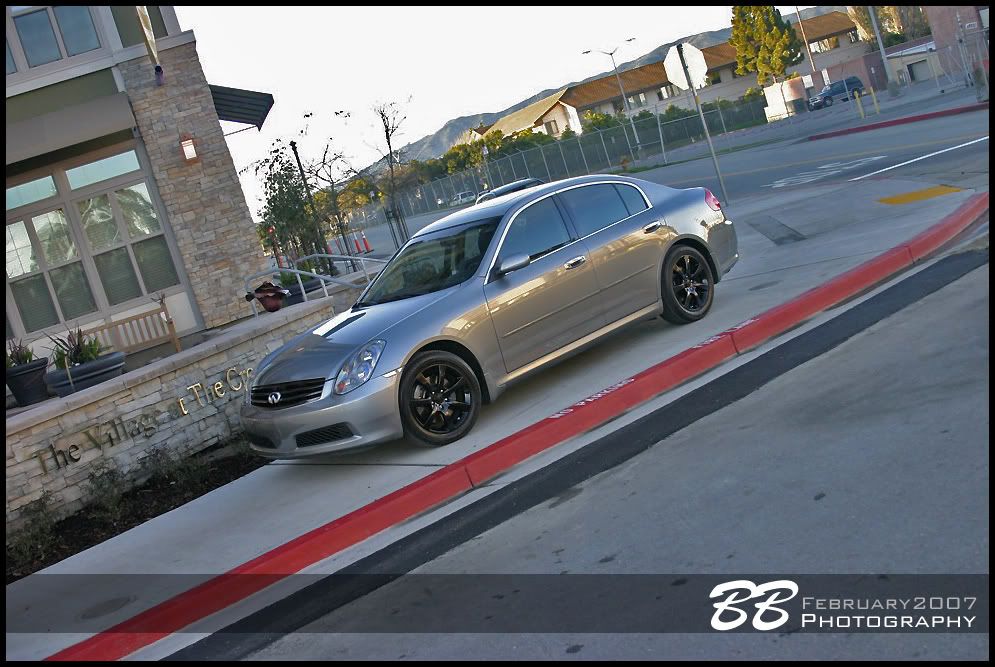
I think it looks great with the rear emblem tying it all in. How about a gloss black front grille?
I think it looks great with the rear emblem tying it all in. How about a gloss black front grille?