
Front passenger wheel bearing install


Thread Starter
|
Registered User
Joined: Jun 2012
Posts: 70
Likes: 0
From: ft washington
Front passenger wheel bearing install
Hope this has not been posted before... New to the forum
Ok step one... The obvious is jack the car up on jackstands and pull the wheels off..
Tool needed are:
Deep 1/2in 17mm socket
14mm 3/8 socket
1/2in 19mm socket
1/2 extension 3"
breaker bar( unless using air tools)
3/8 and 1/2 ratchets and maybe a rubber mallet..
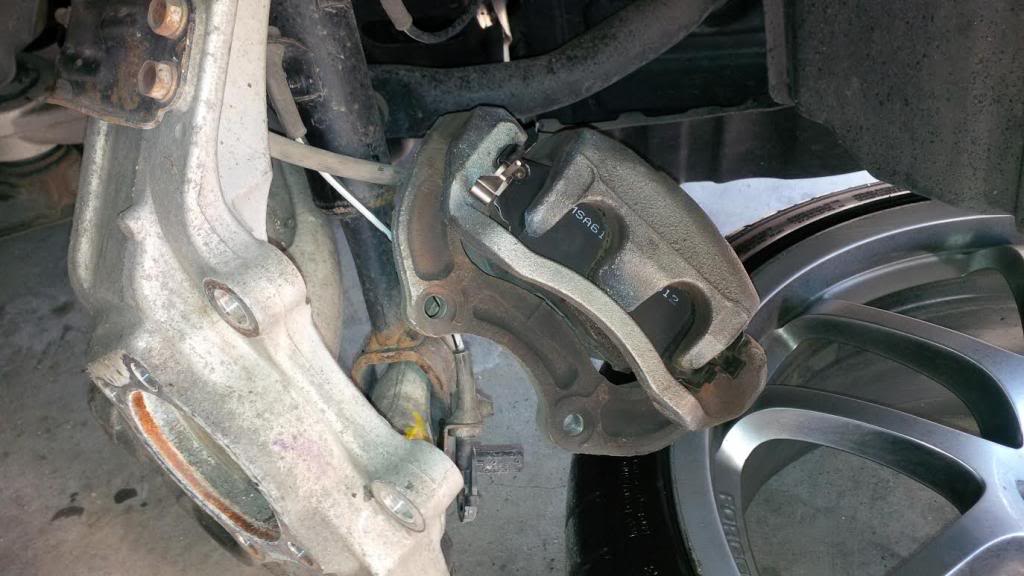
first take the ENTIRE caliper with bracket off... here are the bolts that you need to take the entire caliper off..The big bolts to the left of the picture will pull the ENTIRE caliper with the brake pads and caliper still will still be intacted. No need to disconnect caliper from bracket.
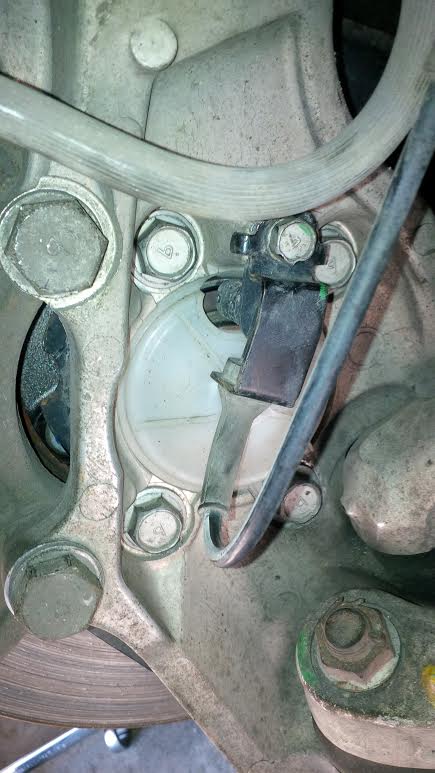
After you have the caliper and bracket set to the side make sure that it is secured as that will be a lot of weight on that brake line so maybe you just zip tie is up. Me i just sat it on my tire of the car.
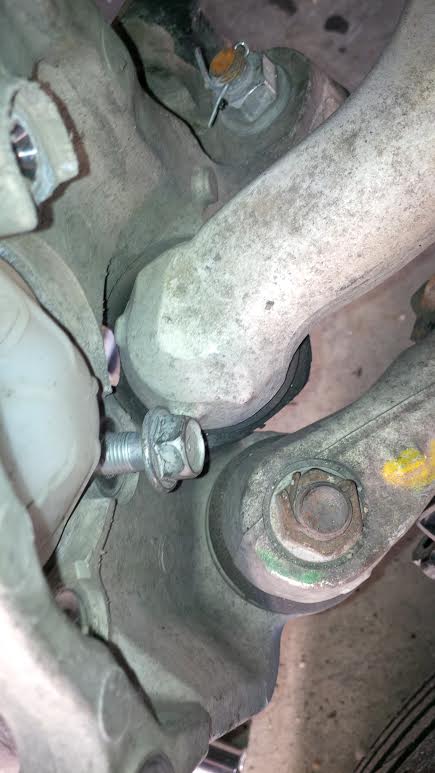
Next take the bolts that hold the hub assembly and ABS sensor. There are 4 17mm that hold that bearing in the spindle. Those four bolts are in the pic around the center of the hub. Once you have gotten the all the bolts loose remember that the lower right one will hit against the control arm. you might have to use a 17mm wrench to do the rest..
Here is the pic i was talking about..Notice how close the bolt is to the control arm?
Now that you have all the bolts out you might have to use the rubber mallet.
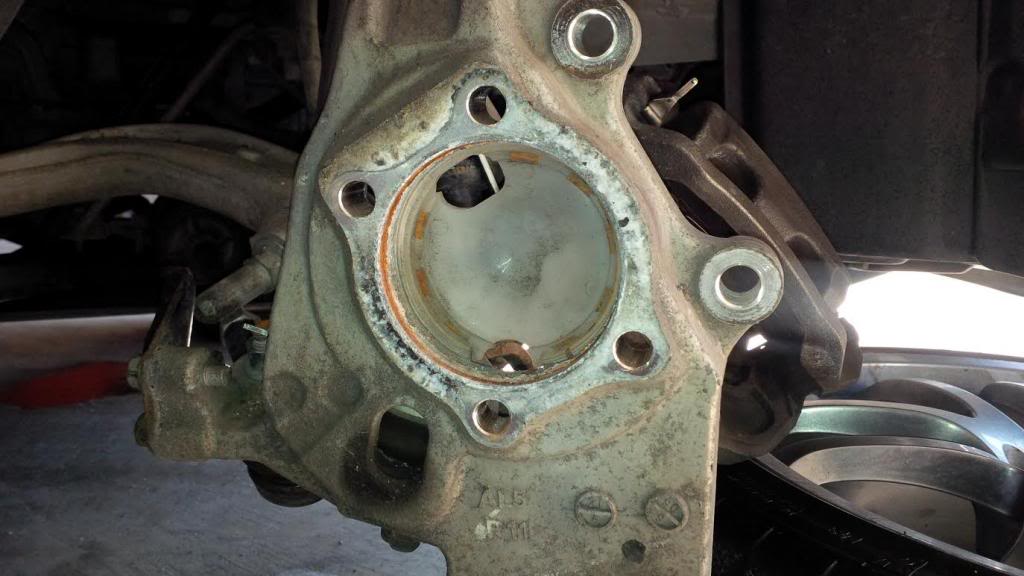
BE CAREFUL ABOUT HOW YOU INSTALL THE BEARING DUST SHIELD AND THE ASSY..
It is not one universal fit for the assy and shield as they have to go on a specifc way.. as you can see in these pics...
Heat shield on backwards,.. look how the shield on the backside of the rotor is going to touch once you put eh wheel back on. Take notice that at how the shield is backwards and will hit the rotor.
Correct way..
Once you have done all this just do everything in reverse... I have to get the torque specs for the bolts though.. Any questions please post and let me know..
Ok step one... The obvious is jack the car up on jackstands and pull the wheels off..
Tool needed are:
Deep 1/2in 17mm socket
14mm 3/8 socket
1/2in 19mm socket
1/2 extension 3"
breaker bar( unless using air tools)
3/8 and 1/2 ratchets and maybe a rubber mallet..
first take the ENTIRE caliper with bracket off... here are the bolts that you need to take the entire caliper off..The big bolts to the left of the picture will pull the ENTIRE caliper with the brake pads and caliper still will still be intacted. No need to disconnect caliper from bracket.

After you have the caliper and bracket set to the side make sure that it is secured as that will be a lot of weight on that brake line so maybe you just zip tie is up. Me i just sat it on my tire of the car.

Next take the bolts that hold the hub assembly and ABS sensor. There are 4 17mm that hold that bearing in the spindle. Those four bolts are in the pic around the center of the hub. Once you have gotten the all the bolts loose remember that the lower right one will hit against the control arm. you might have to use a 17mm wrench to do the rest..
Here is the pic i was talking about..Notice how close the bolt is to the control arm?

Now that you have all the bolts out you might have to use the rubber mallet.

BE CAREFUL ABOUT HOW YOU INSTALL THE BEARING DUST SHIELD AND THE ASSY..
It is not one universal fit for the assy and shield as they have to go on a specifc way.. as you can see in these pics...


Heat shield on backwards,.. look how the shield on the backside of the rotor is going to touch once you put eh wheel back on. Take notice that at how the shield is backwards and will hit the rotor.

Correct way..

Once you have done all this just do everything in reverse... I have to get the torque specs for the bolts though.. Any questions please post and let me know..


Good advice! If I were you I would hit the rotors with my wire wheel and then use high temp paint to keep the rust from reforming.
I almost want this stickied as the old diy guides have no more pictures !
!
I almost want this stickied as the old diy guides have no more pictures
!
Thread Starter
|
Registered User
Joined: Jun 2012
Posts: 70
Likes: 0
From: ft washington
This was my first DIY for this car. I will post more as i start doing more to the car. I usually do all my work just like i did when i fully built my 11sec mazdaspeed6!!!

Registered User
Joined: Apr 2023
Posts: 1
Likes: 0
G35X
Bearing dust shield
Hope this has not been posted before... New to the forum
Ok step one... The obvious is jack the car up on jackstands and pull the wheels off..
Tool needed are:
Deep 1/2in 17mm socket
14mm 3/8 socket
1/2in 19mm socket
1/2 extension 3"
breaker bar( unless using air tools)
3/8 and 1/2 ratchets and maybe a rubber mallet..
first take the ENTIRE caliper with bracket off... here are the bolts that you need to take the entire caliper off..The big bolts to the left of the picture will pull the ENTIRE caliper with the brake pads and caliper still will still be intacted. No need to disconnect caliper from bracket.
Attachment 191075
After you have the caliper and bracket set to the side make sure that it is secured as that will be a lot of weight on that brake line so maybe you just zip tie is up. Me i just sat it on my tire of the car.
Attachment 191076
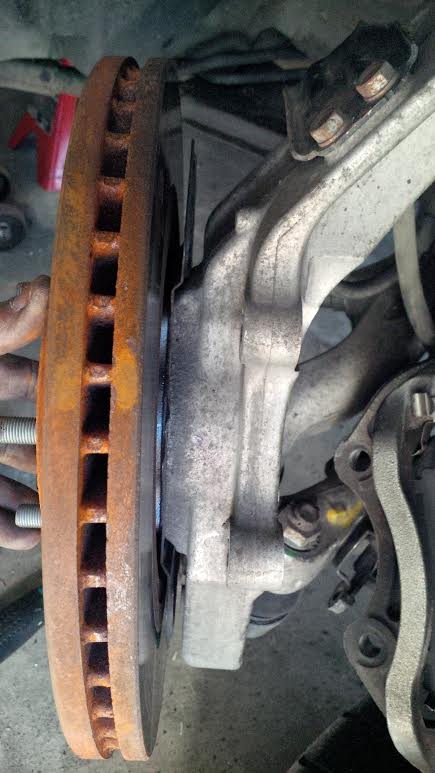
Next take the bolts that hold the hub assembly and ABS sensor. There are 4 17mm that hold that bearing in the spindle. Those four bolts are in the pic around the center of the hub. Once you have gotten the all the bolts loose remember that the lower right one will hit against the control arm. you might have to use a 17mm wrench to do the rest..
Here is the pic i was talking about..Notice how close the bolt is to the control arm?
Attachment 191077
Now that you have all the bolts out you might have to use the rubber mallet.
Attachment 191078
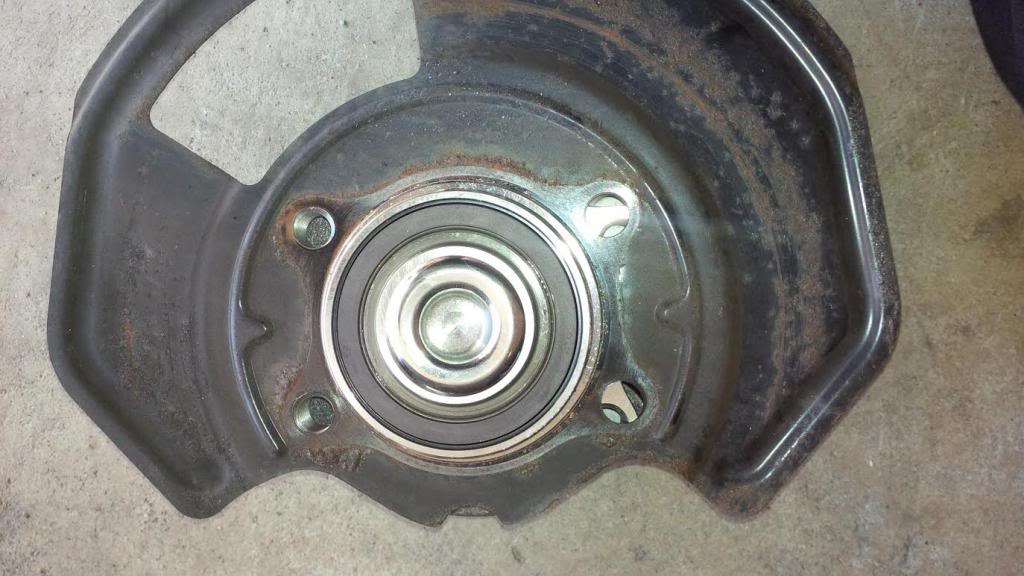
BE CAREFUL ABOUT HOW YOU INSTALL THE BEARING DUST SHIELD AND THE ASSY..
It is not one universal fit for the assy and shield as they have to go on a specifc way.. as you can see in these pics...
Attachment 191079
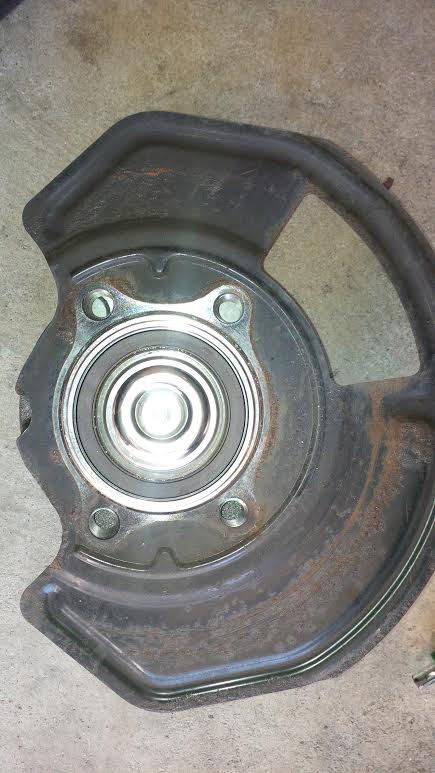
Attachment 191080
Heat shield on backwards,.. look how the shield on the backside of the rotor is going to touch once you put eh wheel back on. Take notice that at how the shield is backwards and will hit the rotor.
Attachment 191081
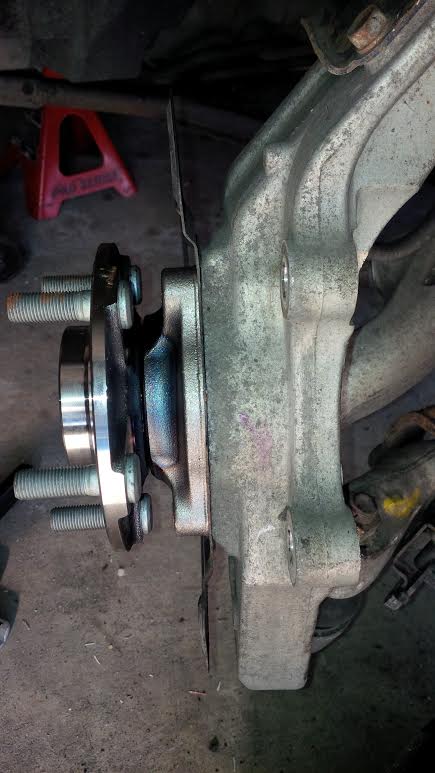
Correct way..
Attachment 191082
Once you have done all this just do everything in reverse... I have to get the torque specs for the bolts though.. Any questions please post and let me know..
Ok step one... The obvious is jack the car up on jackstands and pull the wheels off..
Tool needed are:
Deep 1/2in 17mm socket
14mm 3/8 socket
1/2in 19mm socket
1/2 extension 3"
breaker bar( unless using air tools)
3/8 and 1/2 ratchets and maybe a rubber mallet..
first take the ENTIRE caliper with bracket off... here are the bolts that you need to take the entire caliper off..The big bolts to the left of the picture will pull the ENTIRE caliper with the brake pads and caliper still will still be intacted. No need to disconnect caliper from bracket.
Attachment 191075
After you have the caliper and bracket set to the side make sure that it is secured as that will be a lot of weight on that brake line so maybe you just zip tie is up. Me i just sat it on my tire of the car.
Attachment 191076
Next take the bolts that hold the hub assembly and ABS sensor. There are 4 17mm that hold that bearing in the spindle. Those four bolts are in the pic around the center of the hub. Once you have gotten the all the bolts loose remember that the lower right one will hit against the control arm. you might have to use a 17mm wrench to do the rest..
Here is the pic i was talking about..Notice how close the bolt is to the control arm?
Attachment 191077
Now that you have all the bolts out you might have to use the rubber mallet.
Attachment 191078
BE CAREFUL ABOUT HOW YOU INSTALL THE BEARING DUST SHIELD AND THE ASSY..
It is not one universal fit for the assy and shield as they have to go on a specifc way.. as you can see in these pics...
Attachment 191079
Attachment 191080
Heat shield on backwards,.. look how the shield on the backside of the rotor is going to touch once you put eh wheel back on. Take notice that at how the shield is backwards and will hit the rotor.
Attachment 191081
Correct way..
Attachment 191082
Once you have done all this just do everything in reverse... I have to get the torque specs for the bolts though.. Any questions please post and let me know..

Does this bolt have to come off in order to remove the dust shield?

Thread
Thread Starter
Forum
Replies
Last Post
rezendvous420
G35 Sedan V35 2003-06
10
May 31, 2020 01:26 PM