Beautiful Headlight Restoration!
#1
 01-29-2012, 11:56 AM


Beautiful Headlight Restoration!
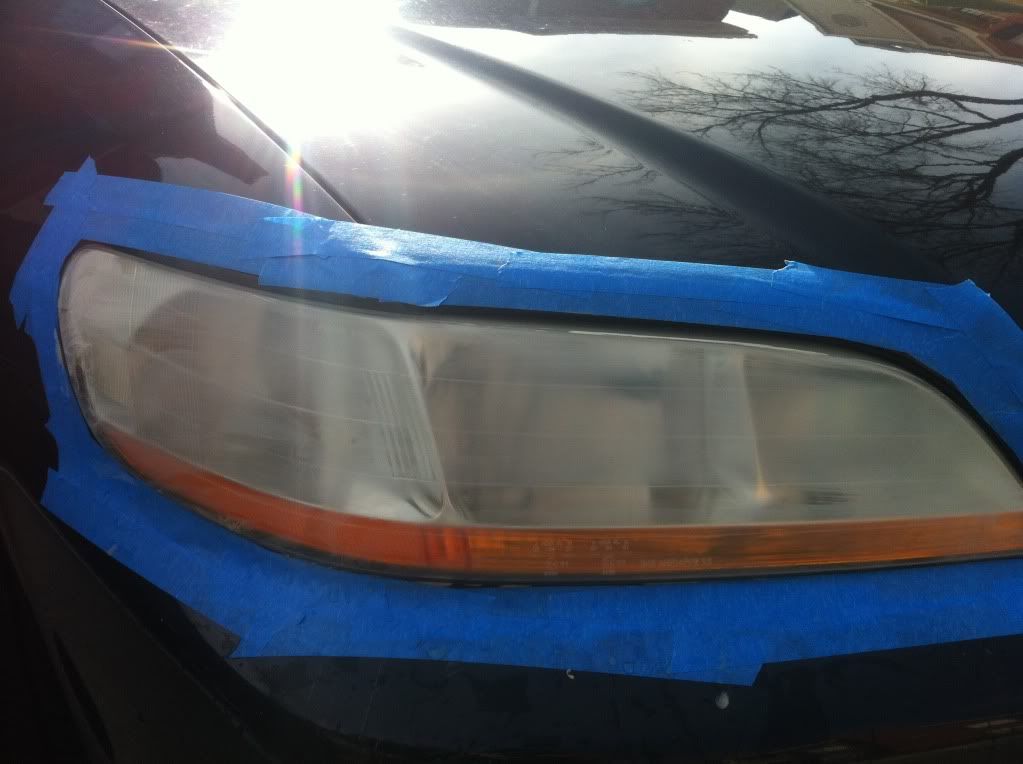
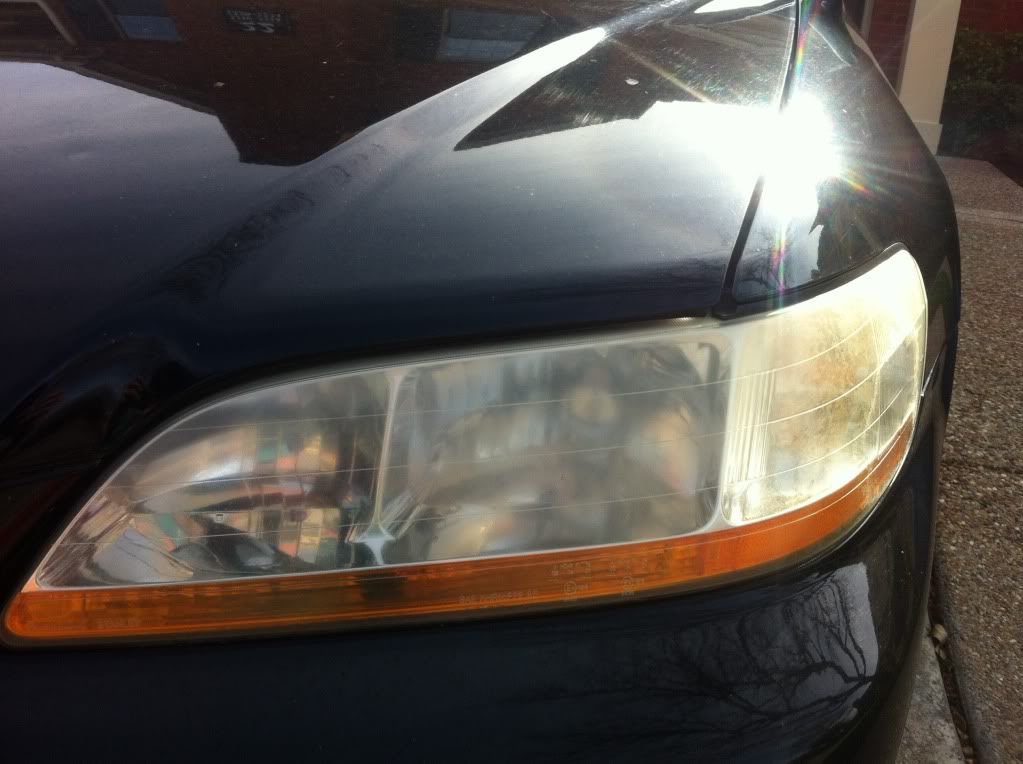
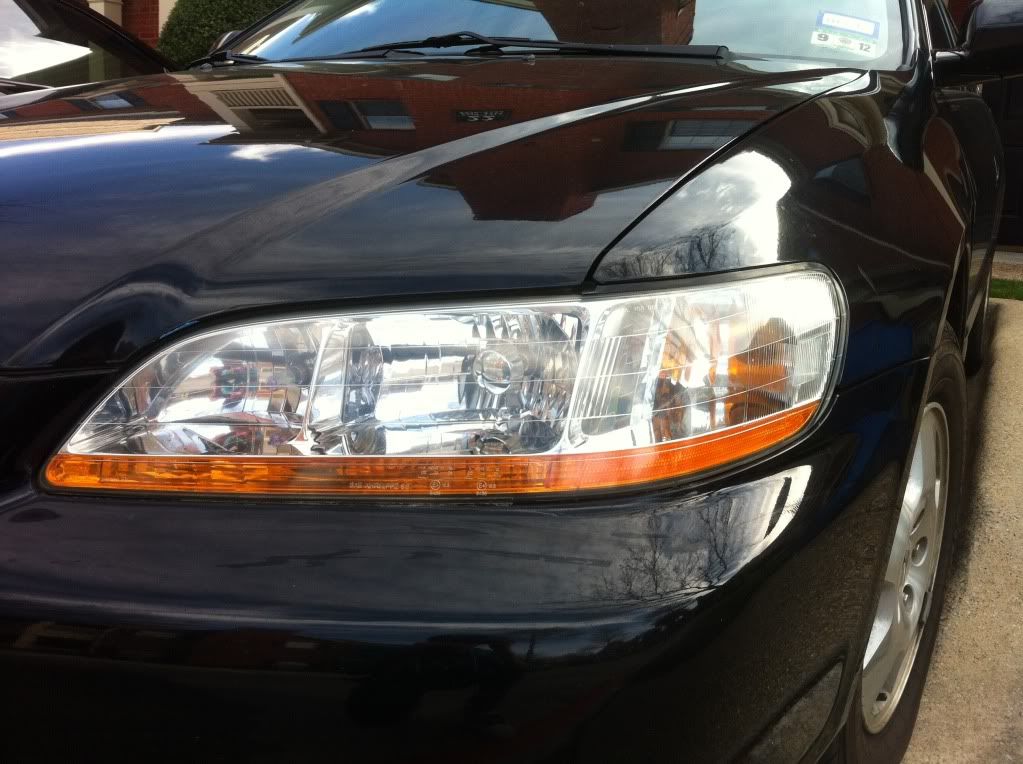
So yesterday, I was given the opportunity to restore very oxidized headlights! A buddy on the forums contacted me and told me his wife's headlights were very dim and oxidized. So I drove down and helped clean them up! Once finished, he was amazed as to how clear his headlights are! So now here is the process used and some pictures! Enjoy and tell me what you guys think! 
Process used:
1. 1000 grit sand paper
2. 1500 grit sand paper
3. 2000 grit sand paper
4. 3000 grit sand paper
5. Repeat Steps 1-4
6. Meguiars Headlight Restoration
7. Wolfgang Paint Sealant
Before
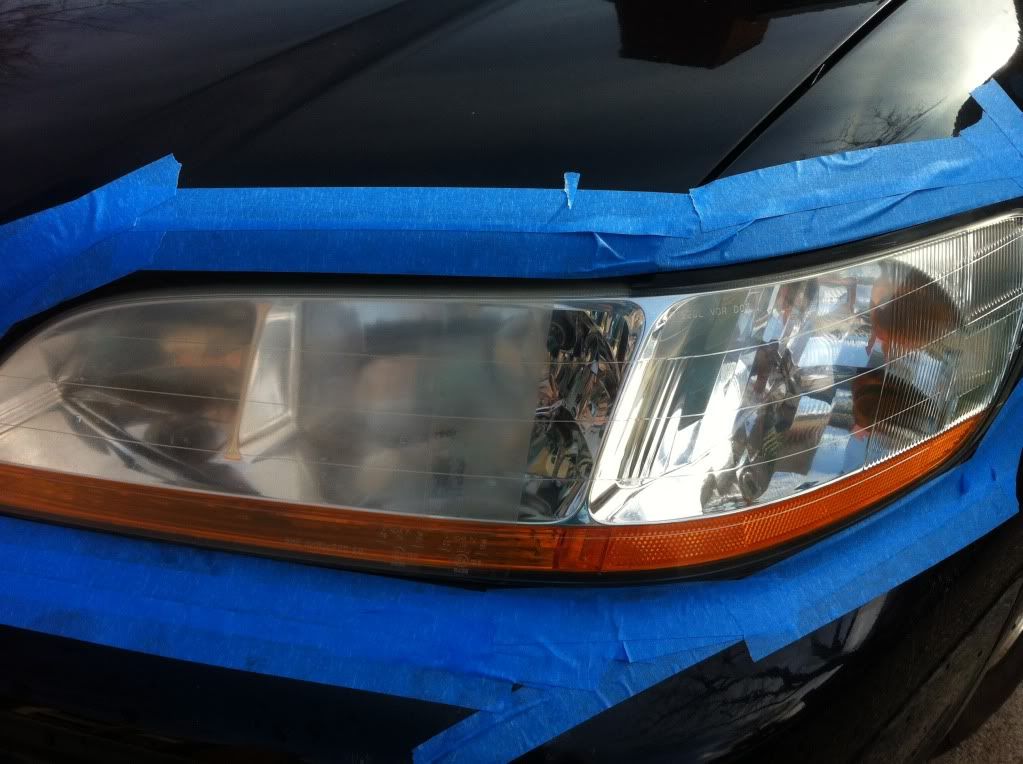
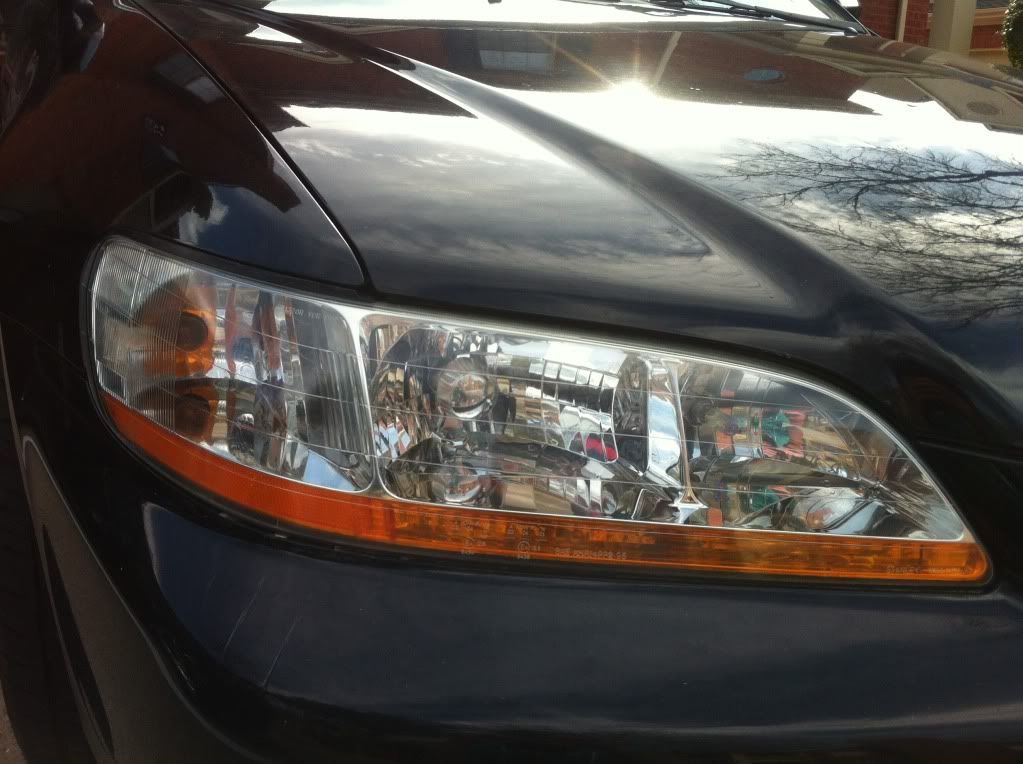
50/50
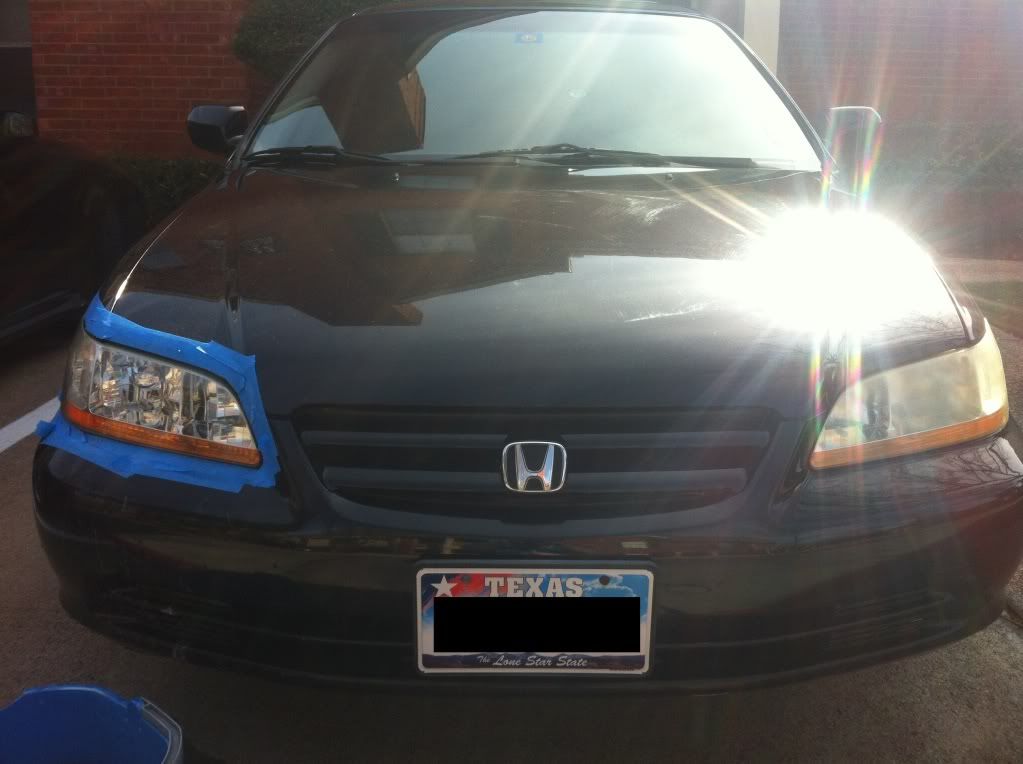
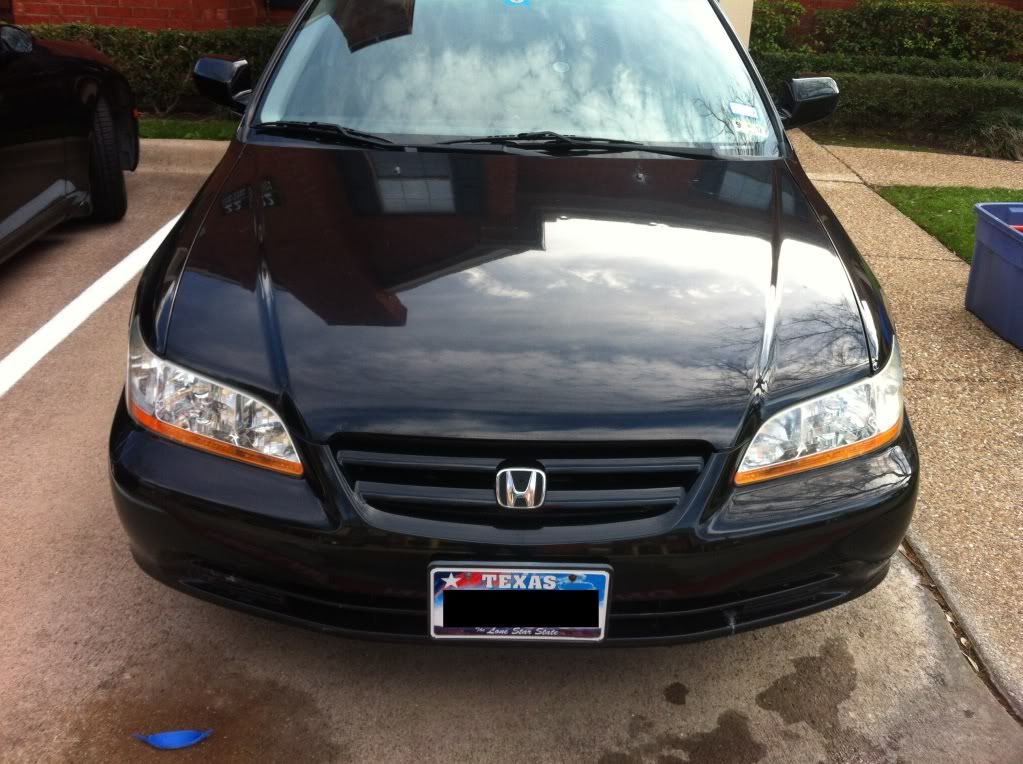
After
Process used:
1. 1000 grit sand paper
2. 1500 grit sand paper
3. 2000 grit sand paper
4. 3000 grit sand paper
5. Repeat Steps 1-4
6. Meguiars Headlight Restoration
7. Wolfgang Paint Sealant
Before
50/50
After
Last edited by CandlestickPark; 01-29-2012 at 09:13 PM.
The following users liked this post:
luger303 (01-31-2012)

#3
01-29-2012, 09:04 PM
 but the sand paper, the 1000 grit will scratch it up, but as you move up the grit scale it starts to even it up. Then once you buff it out, nothing is noticeable under the naked eye! So all in all, use this method ^^^^


#7
01-30-2012, 04:38 AM
Trending Topics
#8
01-30-2012, 10:27 PM
thank you!
thank you! thats exactly what the owner said! He had a choice between buying new headlights for $100 or have me come over and cleaning them up for $40 why not?
thank you! thats exactly what the owner said! He had a choice between buying new headlights for $100 or have me come over and cleaning them up for $40
why not?
#9
01-30-2012, 11:54 PM


#14
02-01-2012, 11:25 AM
Yes! 1000, 1500, 2000, 3000.
Thank You!
Thank you!