Some detailing before/afters feat. Zaino, OCW and the crew
#1
 04-26-2006, 09:57 AM


Some detailing before/afters feat. Zaino, OCW and the crew
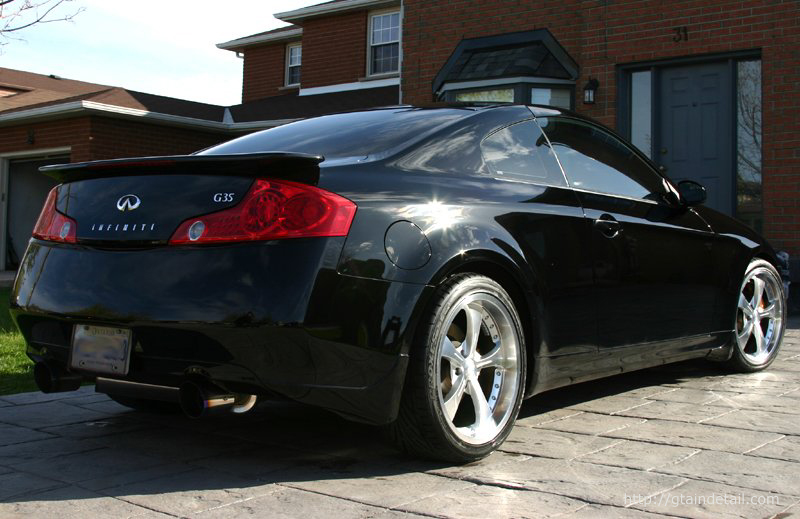
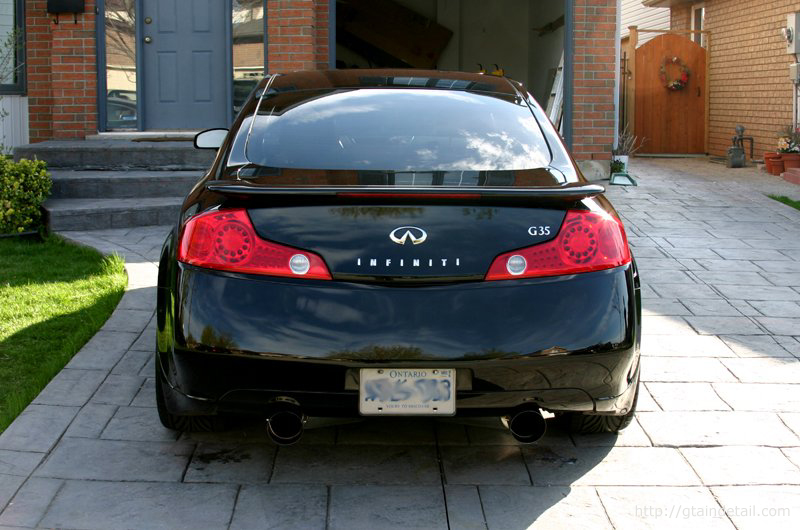
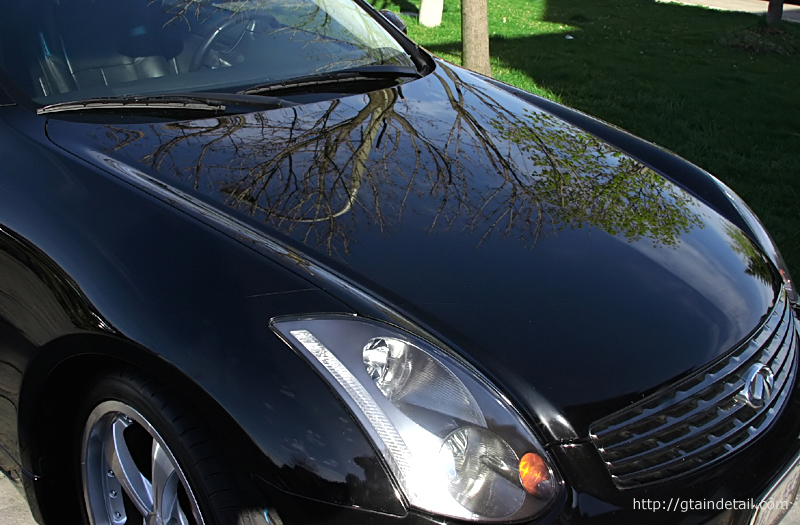
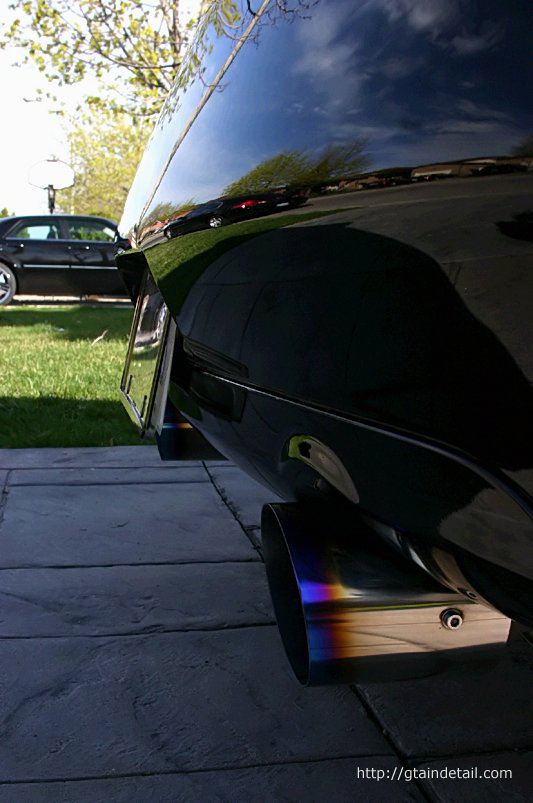
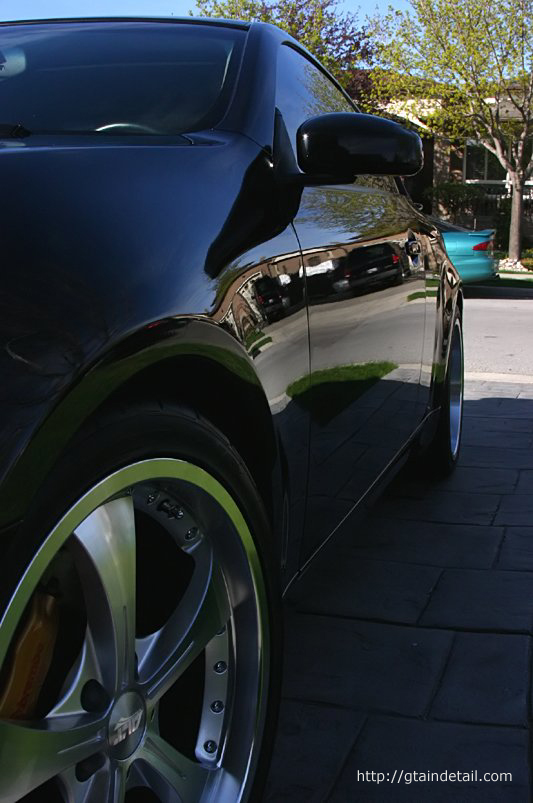
Hey guys - I recently detailed eledins 2004 G35 coupe and thought I'd share the before/afters and process. It definitely helps that his coupe is very tastefully modded. The wheels set it off really well and the exhaust looks and sounds awesome.
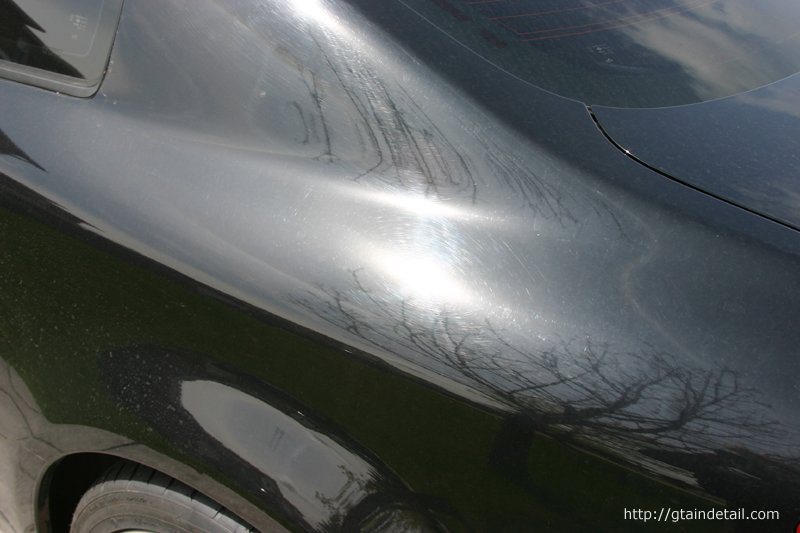
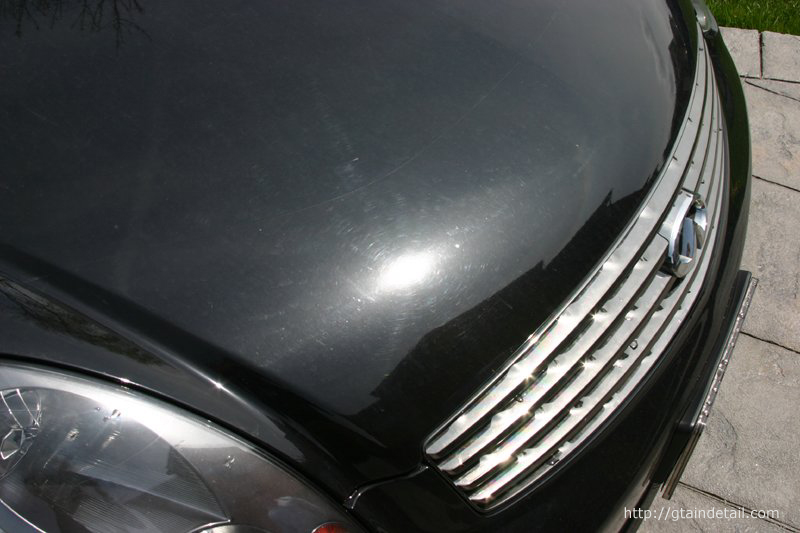
Condition was ok, some tough swirls and a lot of grime. Canadian winters baby.
Process was QEW wash, clay (which took off a lot), SFX-2 via a yellow LC pad, SFX-3 via a white LC pad, Clearkote RMG via a black pad, Z2 pro buffed off with OCW. Poorboys trim restore on trim, EX-P on wheels, Megs Insane shine on tires and Armor All in the wells. Cheers.
Before:

after:

the rest here: http://gtaindetail.com/pics/04g35c042506/index.html
Condition was ok, some tough swirls and a lot of grime. Canadian winters baby.
Process was QEW wash, clay (which took off a lot), SFX-2 via a yellow LC pad, SFX-3 via a white LC pad, Clearkote RMG via a black pad, Z2 pro buffed off with OCW. Poorboys trim restore on trim, EX-P on wheels, Megs Insane shine on tires and Armor All in the wells. Cheers.
Before:
after:
the rest here: http://gtaindetail.com/pics/04g35c042506/index.html


#4
04-26-2006, 11:07 AM


#7
04-26-2006, 12:47 PM
Originally Posted by stylez09
Very nice job! How long did it take you?
Originally Posted by tkman00
hey, how do you like the RMG?
Cheers.
Trending Topics

#10
04-26-2006, 02:49 PM

https://g35driver.com/forums/care-detailing/95437-how-chip-repair-wetsanding-some-obligatory-polishing.html
I actually didn't sand the chips on the coupe, but I am going to next time I see Erik. I don't like sanding if th chips haven't dried overnight, so by the next time I see him they'll be plenty dry and ready to sand/polish. Cheers.
#12
04-26-2006, 03:21 PM
It's in the link I provided. On small to medium chips I use a plastic toothpick/brush (as described in the link) or a paint pen from the dealer. Here is a copy and paste:
"Alright, so filling in the chip/scratch. Two ways to do this, first I will go with my choice for chips and that's using a plastic toothpick. Before I go on, there are good instructions on how to do this here: http://autopia-carcare.com/inf-paint-polish-clinic.html. I basically follow the same process. Dip the toothpick into the paint about half way up, then touch the tip of the pick to the center of the chip and capillary action will pull the paint into the chip. It will take a couple passes to level it out so let the paint dry at least 4 hours in between and be patient.
The other way is good too, but less accurate. It's good for scratches that are larger than chips and would take too long to fill in via the toothpick method. Put a little paint on to your brush (very little, immerse maybe 1/4 of the brushes tip), and touch the tip to the center of the scratch. You'll see the paint pull into the scratch. Depending on the size begin to move the brush in one direction through the scratch. Repeat this every 4 hours until you're level. "


