

Blinder Laser Jammer Install


Joined: Jan 2004
Posts: 1,512
Likes: 7
From: KB town - Kapiolani
Blinder Laser Jammer Install
Hey mods, I hope I don't get in trouble for this, but I tried and could not get my post to comeout, how do you attach multiple pics? anyways, here's a link to my install on G-owners.
http://www.g-owners.com/topic.asp?TO...le+Discussions
http://www.g-owners.com/topic.asp?TO...le+Discussions


Joined: Jan 2004
Posts: 1,512
Likes: 7
From: KB town - Kapiolani
Re: Blinder Laser Jammer Install
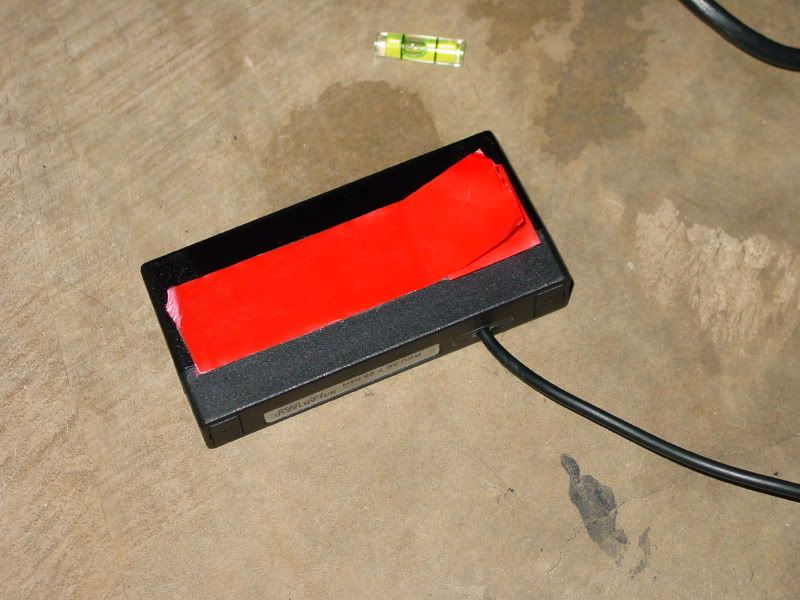
Here's my install of the Blinder Laser Jammer M20-extreem. I had the M10 twin in my last car and it really works, the new units are supposed to be better at jamming the new laser guns. The kit comes complete with every thing you'll need, including all wires and connectors. I added electrical tape and 1/4" and 3/8" spilt loom to make a more factory looking install. This in no way condones speeding, but is used as a friendly reminder incase you do creep over the limit. As any modification do at your own risk and I take no responsibility. Here we go.
first step is to find a good location for the sensors, I was going to do it in the lower grill since it would be less obvious and way simpler to install, but the location is not optimal as it is far away from the headlights. Locating it in the upper grill gives much better coverage since it is close to both the license plate and the headlights. Police will usually target the license first then the headight second. I decided to mount it in the bottom opening of the grill between the license and headlight. The grill needs to be trimed, measure twice (make that 4 times) and cut once. Be precise and make clean cuts since this will be visible. I used a dremel with a reinforced fiber cut off wheel. Use masking tape to mark your cut lines and duct tape to protect the chrome grill incase the cutting tool slips. I used a black sharpie to color the cut end of the grill so it blends a little better.
first step is to find a good location for the sensors, I was going to do it in the lower grill since it would be less obvious and way simpler to install, but the location is not optimal as it is far away from the headlights. Locating it in the upper grill gives much better coverage since it is close to both the license plate and the headlights. Police will usually target the license first then the headight second. I decided to mount it in the bottom opening of the grill between the license and headlight. The grill needs to be trimed, measure twice (make that 4 times) and cut once. Be precise and make clean cuts since this will be visible. I used a dremel with a reinforced fiber cut off wheel. Use masking tape to mark your cut lines and duct tape to protect the chrome grill incase the cutting tool slips. I used a black sharpie to color the cut end of the grill so it blends a little better.
Last edited by DHCrocks; Jan 15, 2007 at 05:58 PM.
Joined: Jan 2004
Posts: 1,512
Likes: 7
From: KB town - Kapiolani
Re: Blinder Laser Jammer Install
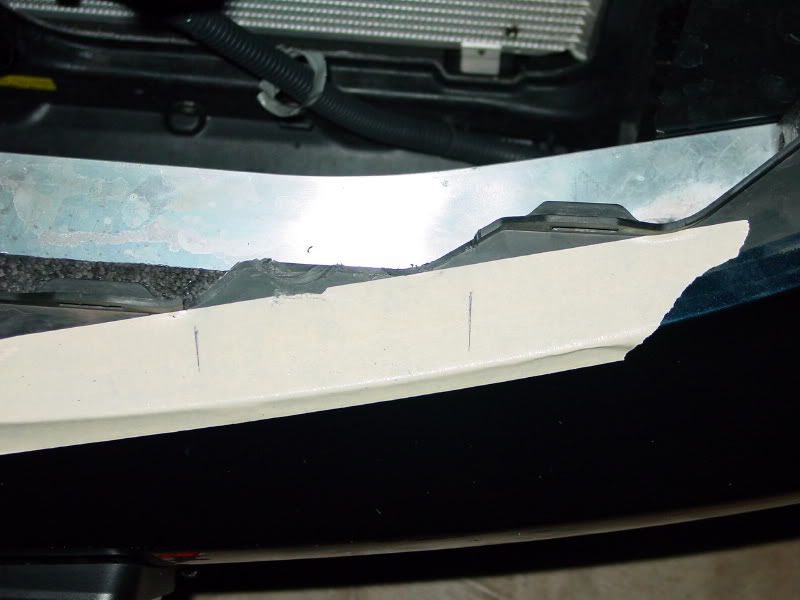
Next step is to trim the bumper to make it fit, I again used the dremel. I reinstalled the grill with and transfered the location of the cutouts to the bumper. Use masking tape to protect the bumper and mark your transfer lines on. The vertical edge on the back of the bumper needs to be cut flush since the sensors will sit on the bumper.
Last edited by DHCrocks; Jan 15, 2007 at 05:59 PM.
Joined: Jan 2004
Posts: 1,512
Likes: 7
From: KB town - Kapiolani
Re: Blinder Laser Jammer Install
Now you can trial fit the sensors with the grill on and trim again if you need more clearence. Once you're satisfied with the fit, get out the bubble level and check it's level (very important for optimal coverage). The sensors should be installed pointing straight ahead and not follow the contours of the grill, may not look as good, but it's all about performance. If it looks good then apply some extra heavy duty exterior double sided foam tape (available at homedepot). I had to double up the thickness in some areas to get the sensor level. Clean all surfaces with rubbing alcohol and apply firm pressure. To make sure I had every thing lined up, I installed the grill and went from behind and tacked the sensor in place. I then removed the grill and applied pressure to the sensor for about a minute to make sure that it had good contact. Reinstall the grill and check level again.
Last edited by DHCrocks; Jan 15, 2007 at 06:00 PM.
Trending Topics

Joined: Jan 2004
Posts: 1,512
Likes: 7
From: KB town - Kapiolani
Re: Blinder Laser Jammer Install
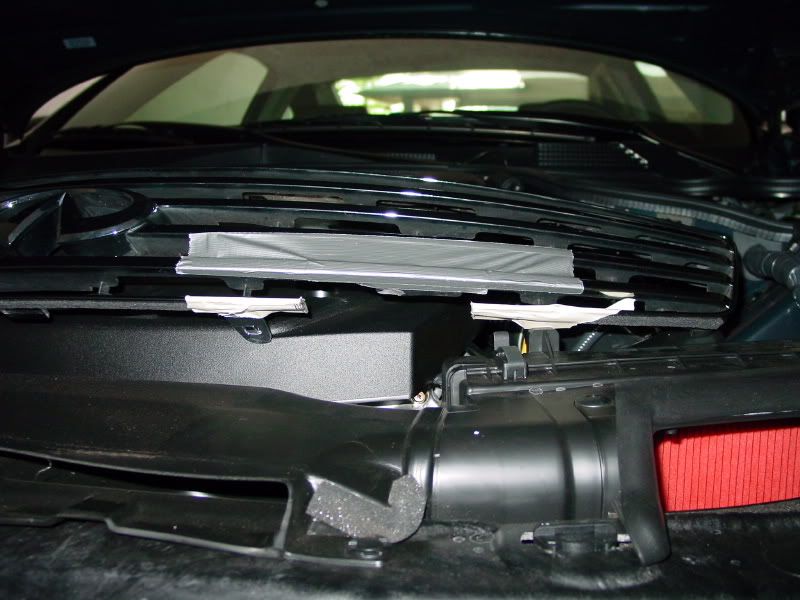
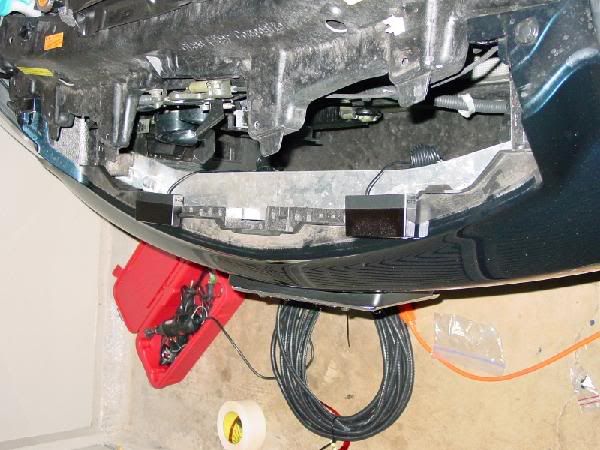
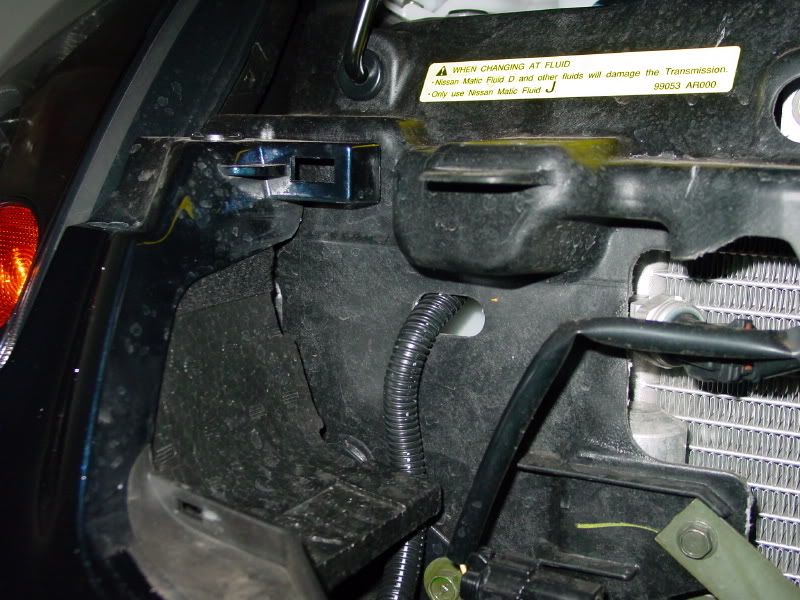
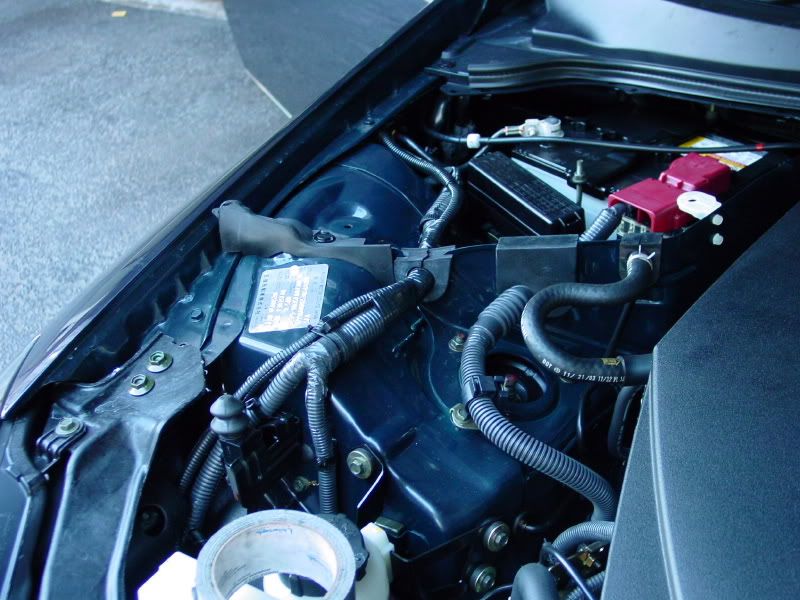
Now it's time to make it pretty and do the wiring. pics are worth a thousand words so here's a few of the wire routing in the engine compartment. I put them in split loom and entered the battery compartment via an existing wire loom, I taped all points of entry to the stock wire loom to ensure a clean install and water resistance. I entered the cabin by the stock harness. Remove the tape and vulcanized tape (stick like you wouldn't believe), apply some lubricant (WD40) and slide the wires into the cabin.
Last edited by DHCrocks; Jan 15, 2007 at 06:01 PM.
Joined: Jan 2004
Posts: 1,512
Likes: 7
From: KB town - Kapiolani
Re: Blinder Laser Jammer Install
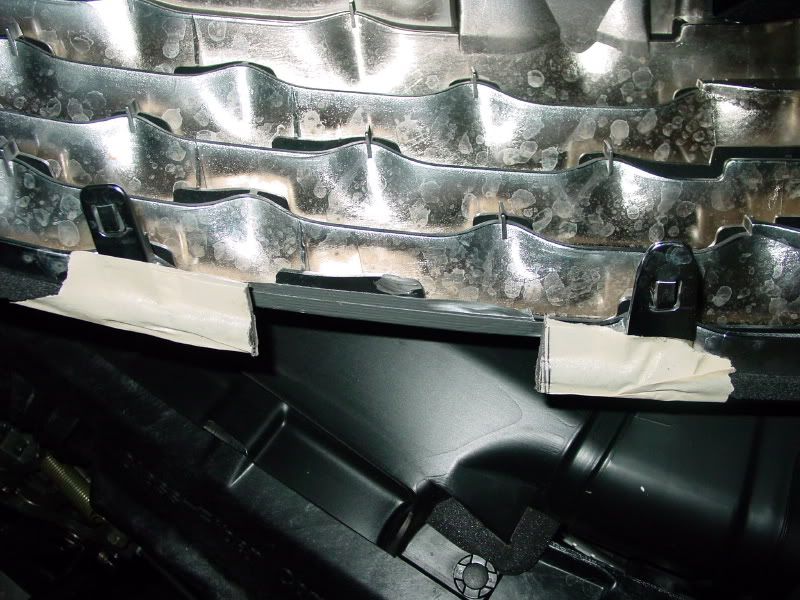
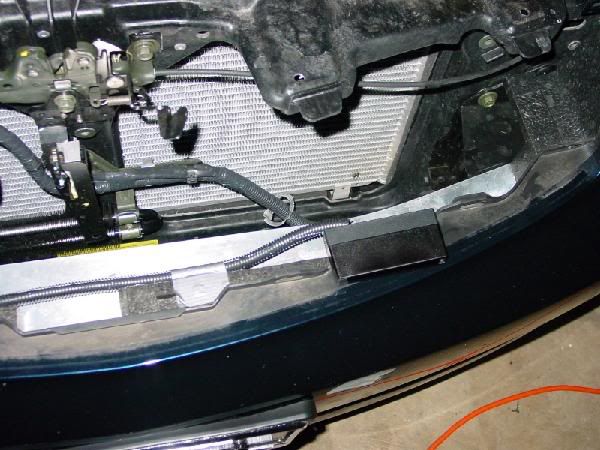
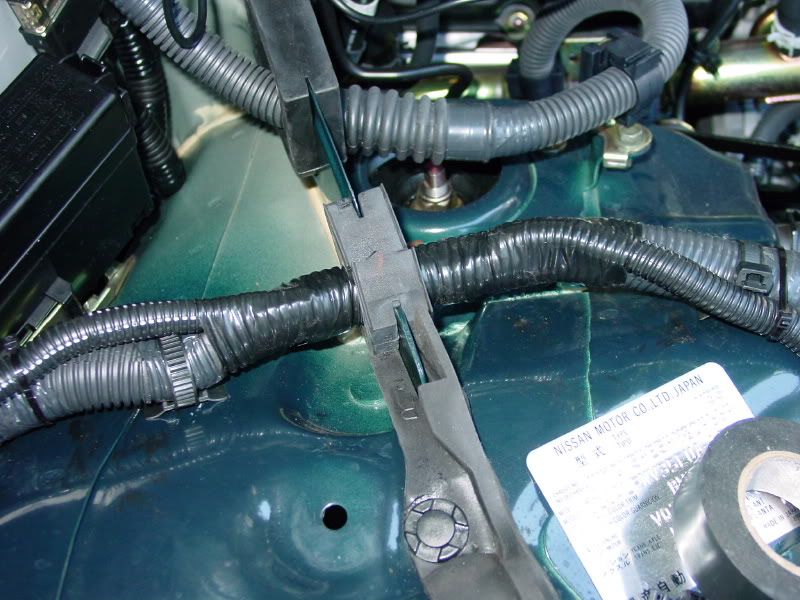
closeup of wire through battery divider using factory loom so no new holes are necessary.
Last edited by DHCrocks; Jan 15, 2007 at 06:03 PM.
Joined: Jan 2004
Posts: 1,512
Likes: 7
From: KB town - Kapiolani
Re: Blinder Laser Jammer Install
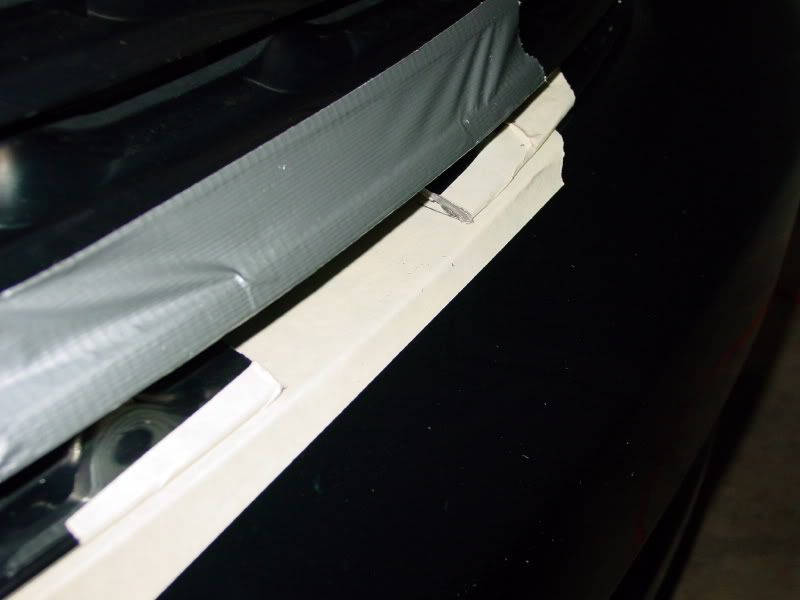
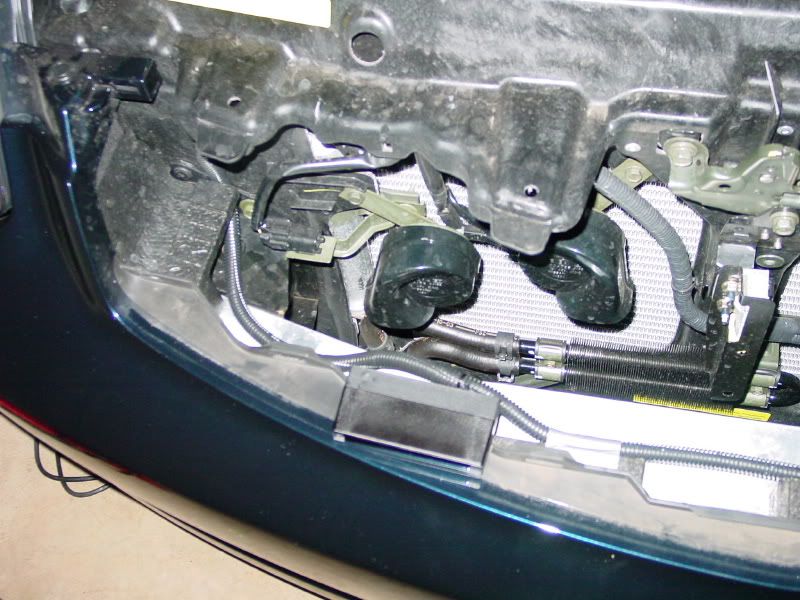
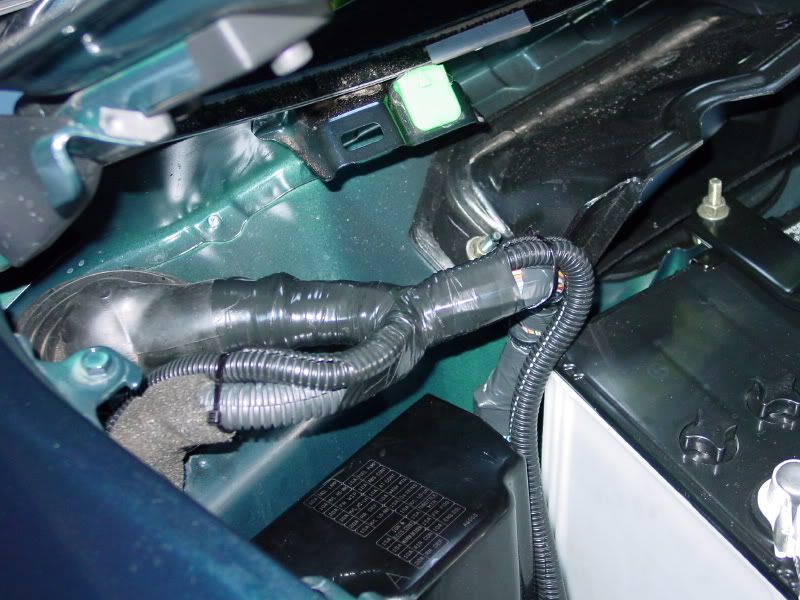
close up of wire through factory grommet into cabin. used existing tube so no new holes were needed again, and taped up to ensure water resistance. (note) extra split loom going to the right is spare wires for future mods, so I don't have to do this again, it's always a good idea to add a few extra wires to save time in the future)
Last edited by DHCrocks; Jan 15, 2007 at 06:03 PM.