
G35 project cage and slam


Registered User
Joined: Nov 2009
Posts: 196
Likes: 1
From: New Jersey
Z tubes and pop chargers? I dont know what to say to that except why would I want z tubes or a pop charger when I already had a greddy twin turbo kit and I am switching to a powerlab single custom turbo setup? I would not do all this to a car only to put parts that would only give 10whp? Whether those are the numbers are not is the the discussion here.


Did you remove the airbag control module (box that is under center console)? I only ask because it looks like you removed some of the airbag wiring and connectors, and I'm curious to know if removing the module will cause any weird BCM issues. My car's gutted and caged too, I'd like to clean up all the excess wiring as well.
Everything looks great btw!
Everything looks great btw!

Joined: Feb 2009
Posts: 335
Likes: 11
From: Queen Creek, Az
^Yo Dude tried to hit you up for those motor mounts. Can you get in contact with me?
Some more goodies...
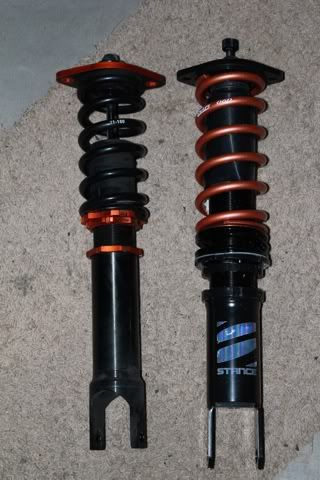
My Stance XR's came in today. Things are crazy. Definitely no regret. First set in the U.S. for Z33/V35 platform sold. You can get these from www.intensepower.com or call Pete and let him know you saw these for my car. Worth every penny.


In case I forgot this... Rods and Pistons.
Many people feel the need to bore the motor cylinders. I did not. Stock bore on Rods that can handle 1000whp.

So i'm going to try to install them tomorrow night (coilovers) and compare them to what I have now. will have pics.
Everything I need for the motor is done and here. We are waiting on my fuel system. Debating E85 if I can come up with the cash. Some surprises with the ProEFI maybe.
Some more goodies...
My Stance XR's came in today. Things are crazy. Definitely no regret. First set in the U.S. for Z33/V35 platform sold. You can get these from www.intensepower.com or call Pete and let him know you saw these for my car. Worth every penny.
In case I forgot this... Rods and Pistons.
Many people feel the need to bore the motor cylinders. I did not. Stock bore on Rods that can handle 1000whp.
So i'm going to try to install them tomorrow night (coilovers) and compare them to what I have now. will have pics.
Everything I need for the motor is done and here. We are waiting on my fuel system. Debating E85 if I can come up with the cash. Some surprises with the ProEFI maybe.
Joined: Feb 2009
Posts: 335
Likes: 11
From: Queen Creek, Az
From the site
Z33 03+ 12K/6K [203mm]
Mine are custom springed and valved.
http://stance-usa.com/sus/products/coilovers/xr#XR-top
Z33 03+ 12K/6K [203mm]
Mine are custom springed and valved.
http://stance-usa.com/sus/products/coilovers/xr#XR-top
Joined: Feb 2009
Posts: 335
Likes: 11
From: Queen Creek, Az
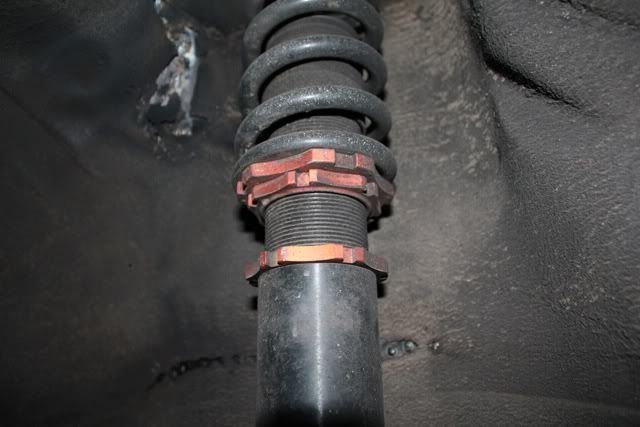
So tonight I took some time to install the rears since the back of the car is already on jack stands. It was a nice quick install. The quality of these XR's are unbelievable. I don't know they can be super slammed but nothing a cut off wheel can't fix to let it drop some more. I want low, side skirt scraping slam.
Here are some pics.
This is what I had before...
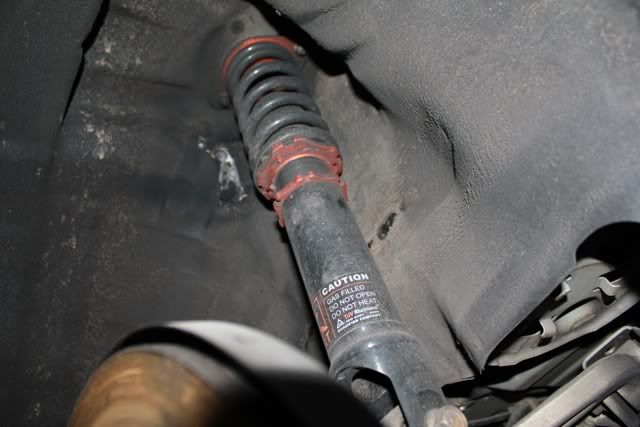
This is what I have now
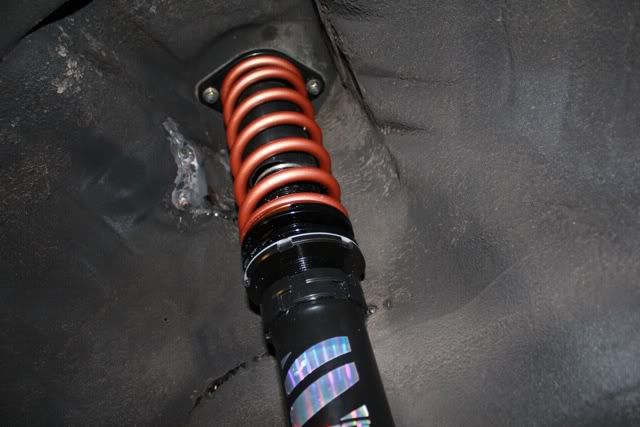
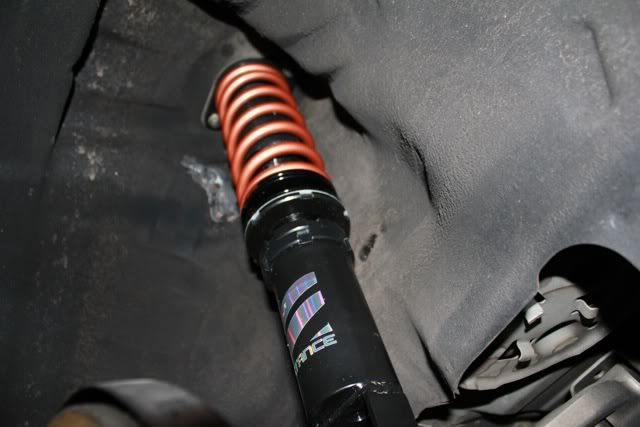
Look at the difference...
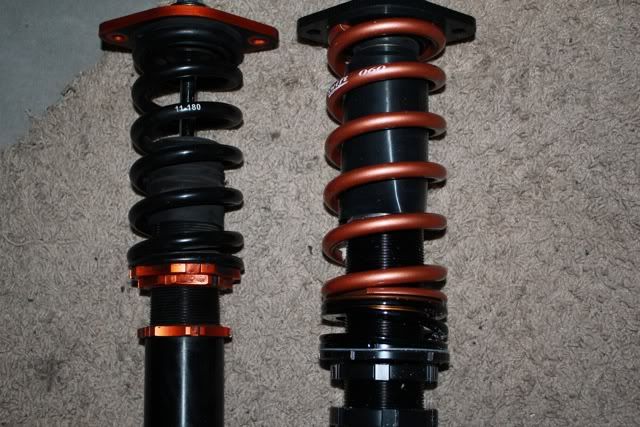
Check them out!!
Here are some pics.
This is what I had before...
This is what I have now
Look at the difference...
Check them out!!
Joined: Feb 2009
Posts: 335
Likes: 11
From: Queen Creek, Az
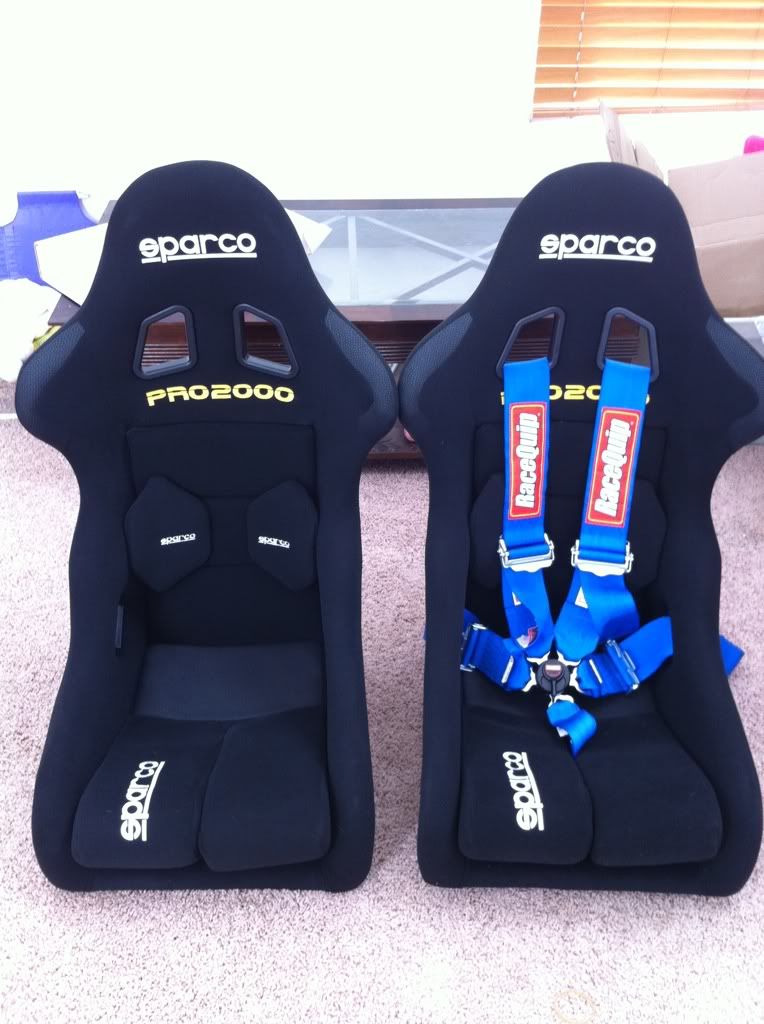
I like them a lot. the good thing is i can buy more padding for them.
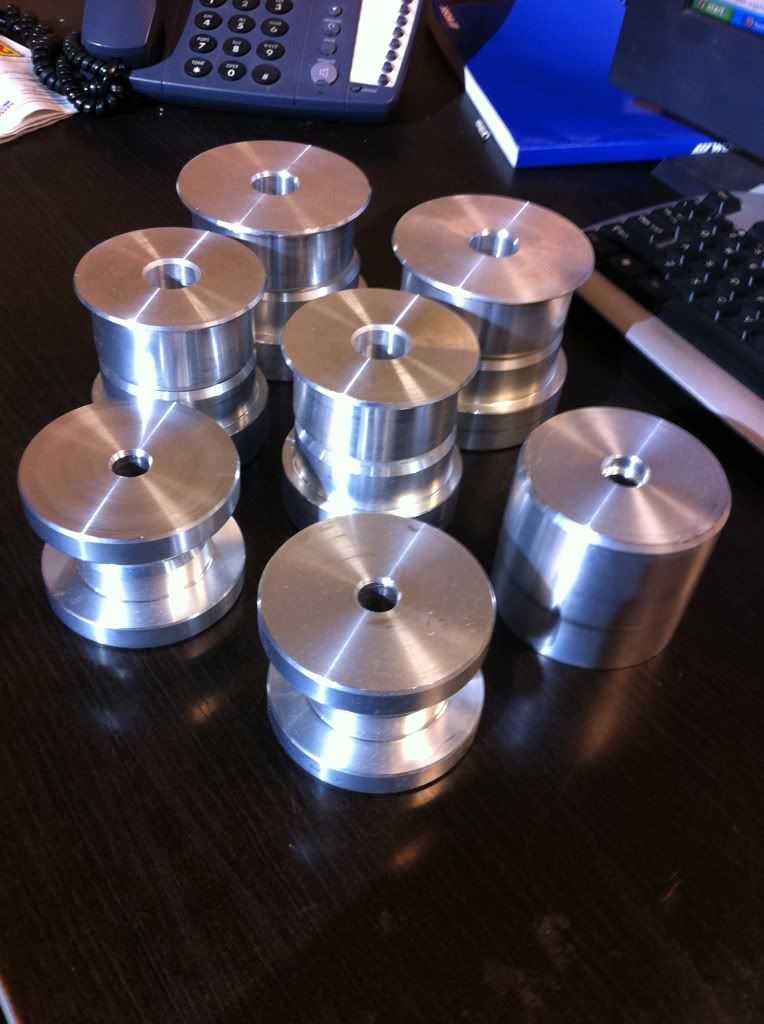
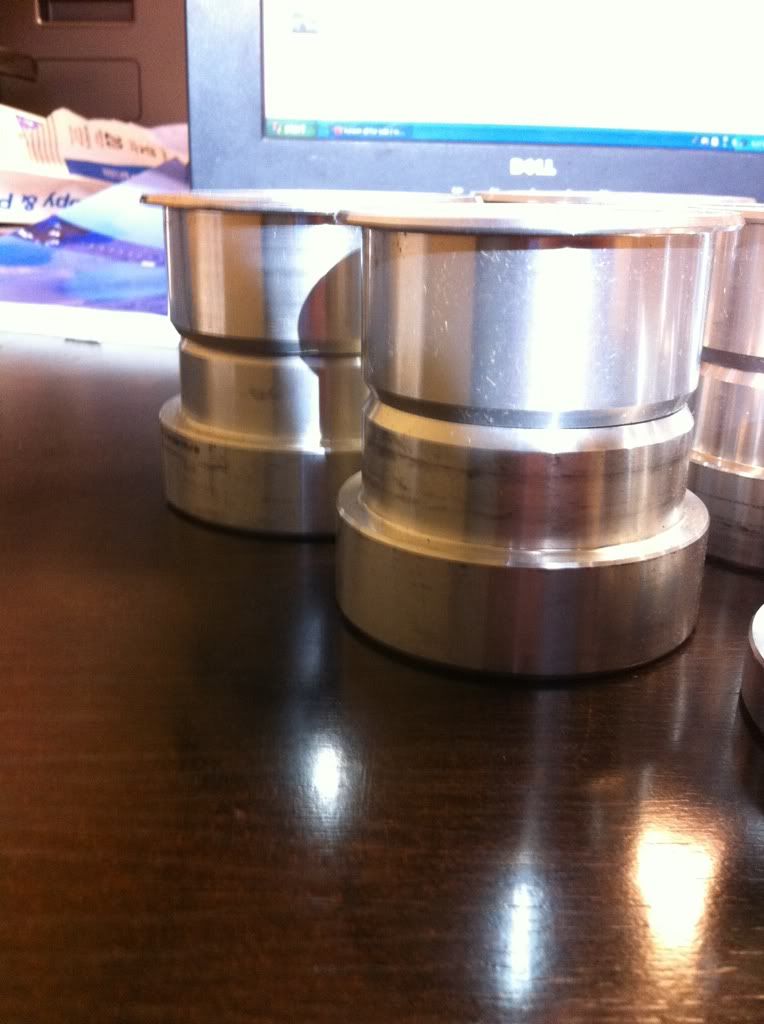
So today was a big movement. The car is finally out of my garage back at Intense. It was weird, it almost felt like I sold the car for a second since it's been sitting in my garage for the last three months getting work done little by little. Now it's time for the real **** to happen. Crunch time. April 16th is the deadline. Hopefully we can make it. We have a lot of work to do. Here are a few more parts that came in. I'm going to try to do the subframe bushings Saturday.
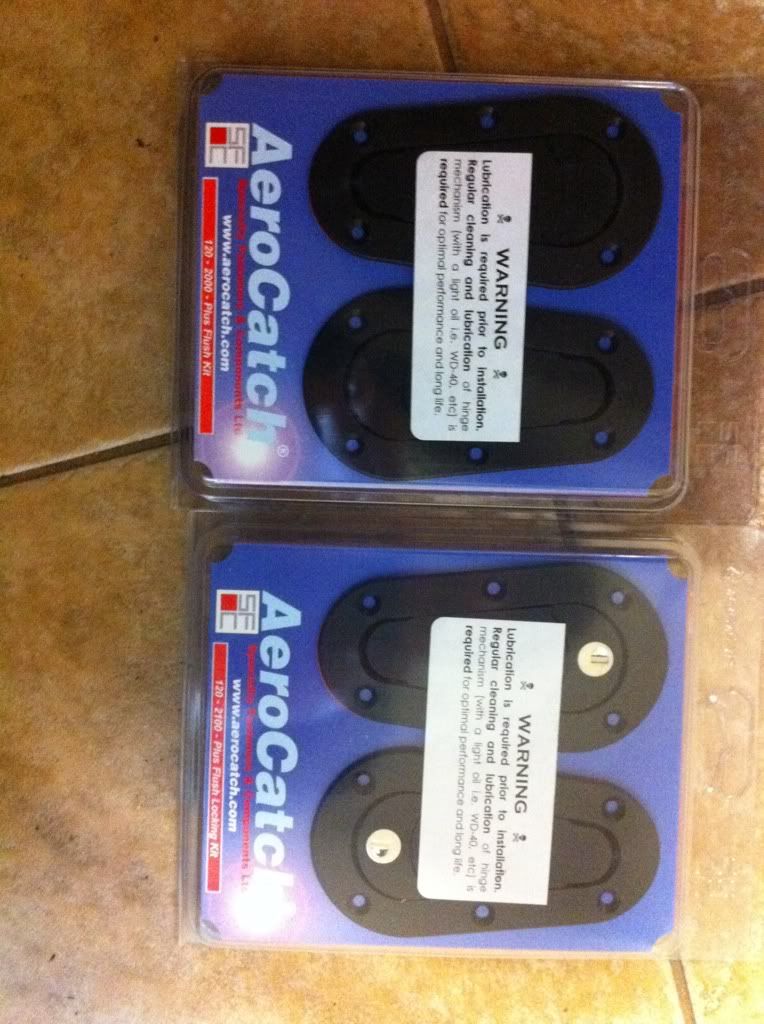
This will be holding down the hood and the trunk. I figure we can do one locking on the front and read on the driver side so I only need one key for them. The fun part if figuring out where to put them.
All this is for the subframe.... ALL of them. Raised .4" so I can slam the car and keep the geometry of the car to some aspect lol. These things are no joke!
So today was a big movement. The car is finally out of my garage back at Intense. It was weird, it almost felt like I sold the car for a second since it's been sitting in my garage for the last three months getting work done little by little. Now it's time for the real **** to happen. Crunch time. April 16th is the deadline. Hopefully we can make it. We have a lot of work to do. Here are a few more parts that came in. I'm going to try to do the subframe bushings Saturday.
This will be holding down the hood and the trunk. I figure we can do one locking on the front and read on the driver side so I only need one key for them. The fun part if figuring out where to put them.
All this is for the subframe.... ALL of them. Raised .4" so I can slam the car and keep the geometry of the car to some aspect lol. These things are no joke!


Joined: Feb 2009
Posts: 335
Likes: 11
From: Queen Creek, Az
This was a few days ago...
I need to get the interior smooth and scuffed for paint. There is residue from the sound dampener all over and the wire wheel is a pain. We tried using media blasting. First we did glass media... Fail. The glass want' cheap and it was useless. I went to home depot for 20 grit sand it was working good for a minute, until the blaster broke. I'm really thinking of paying a local media blaster to do it.
The engine bay is shaved and prepped for paint. I will post pics soon.
This was Saturday...
Didn't outsource! I will not be defeated!
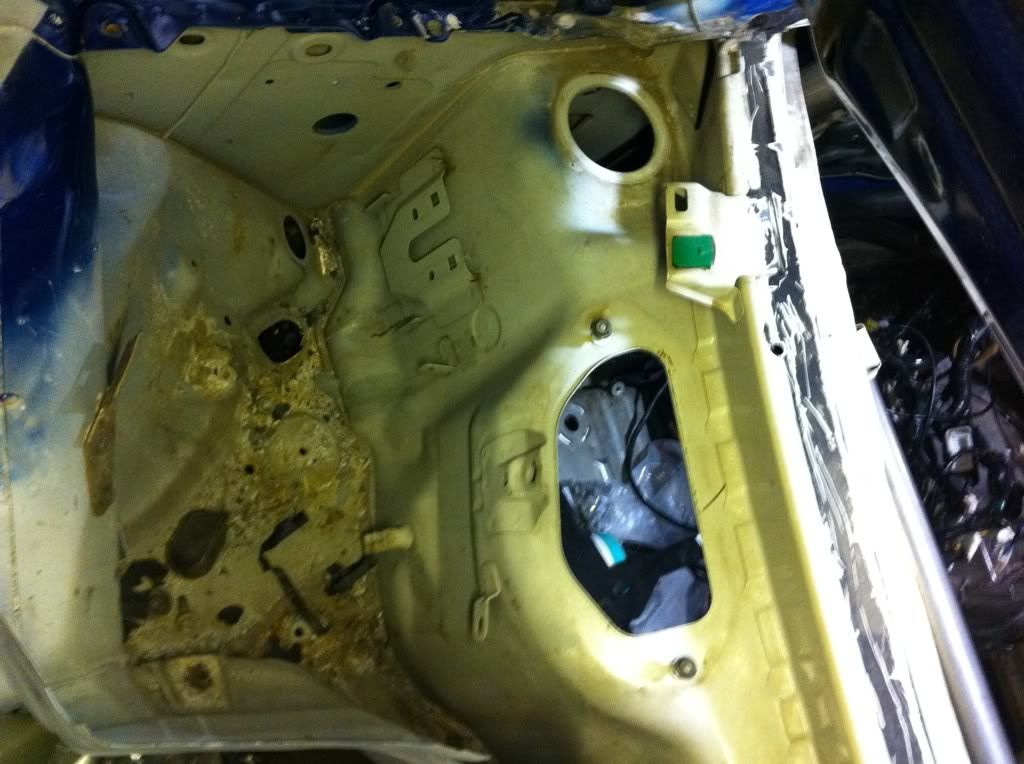
so this weekend i spent some time getting all the McNasty out of the car. Seam Sealer and the rest of the sound dampener residue out to get the car ready for paint. It was a pain and super time consuming. Spent a good 7hours at IntensePower on Saturday with the wire wheel. Thanks to Mr. Han Wong picking up the brush on aircraft stripper.
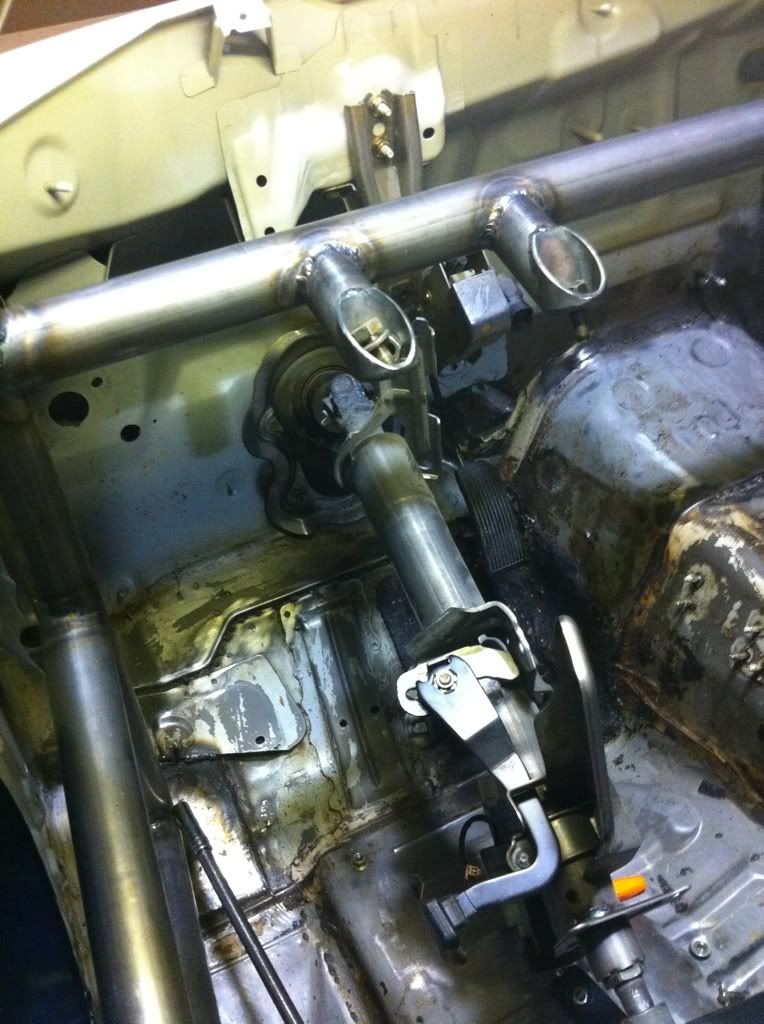
Car went from this...
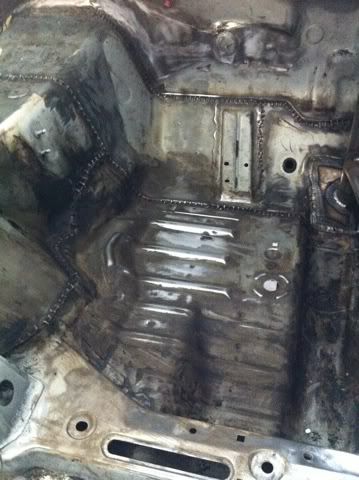
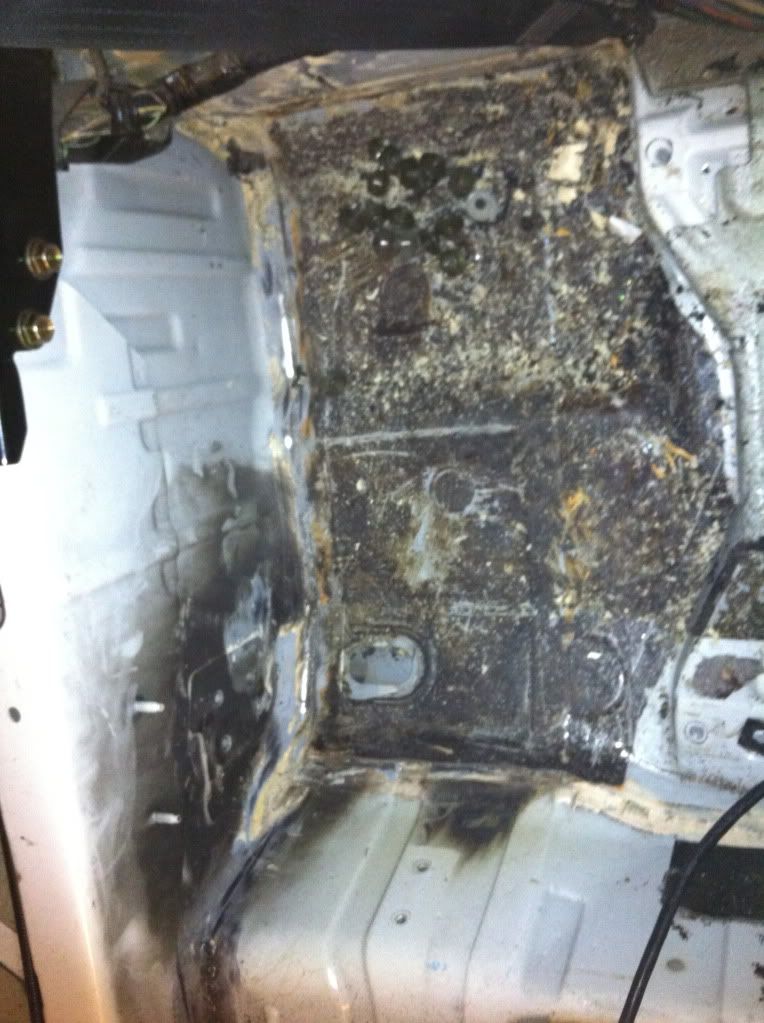
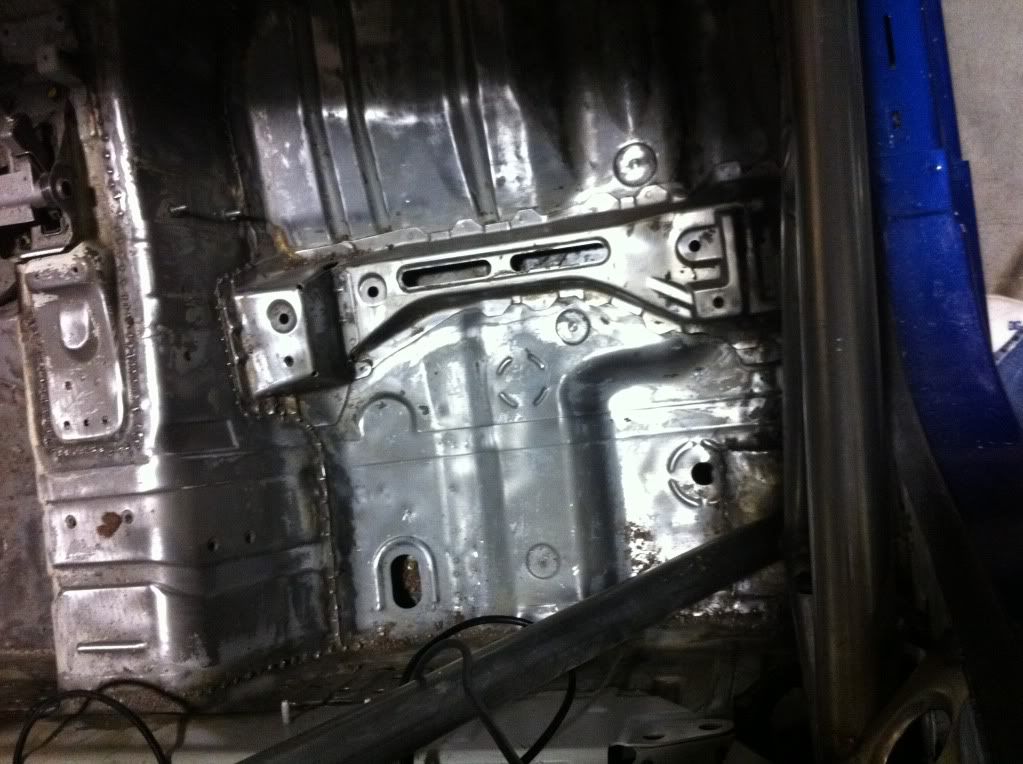
To this...
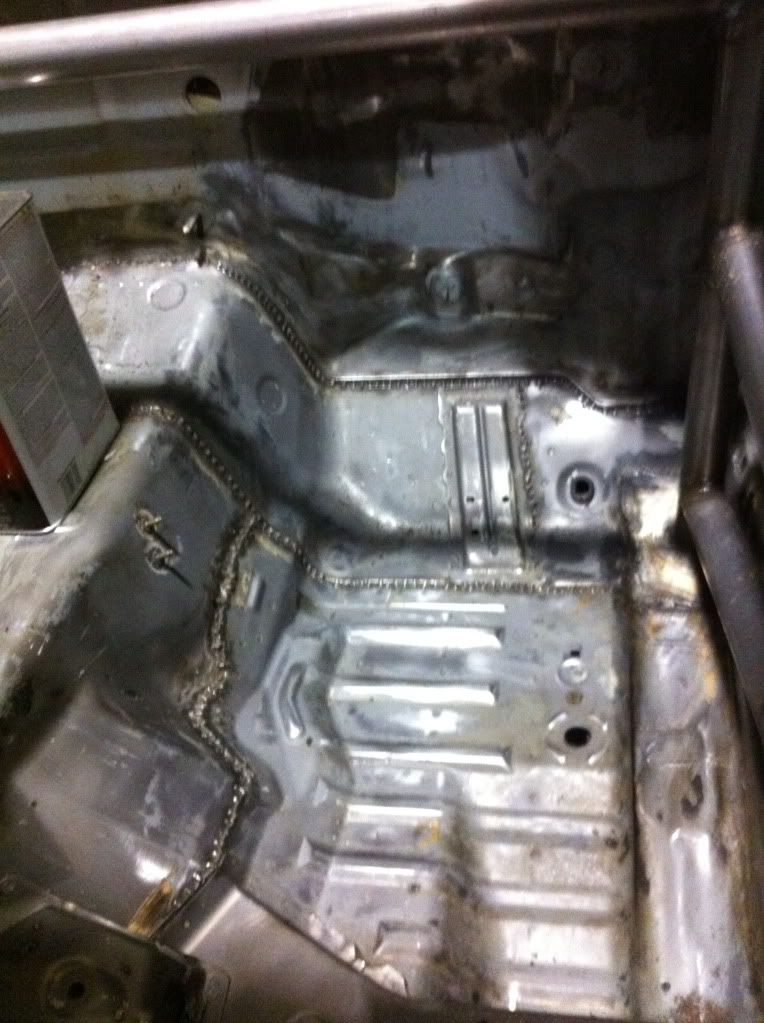
Still have the drivers side to go. The trunk is clean but i'm going to use stripper on it too.
I want everything looking good and since it's not holding anything up it's for the most part. Still waiting on a few things. After XDC the car is going to Mr. Marstanovic for some wiring magic. All MilSpec wiring with gold connectors and pure sickness. His wiring jobs are nothing but phenomenal.
Stay Tuned...
I need to get the interior smooth and scuffed for paint. There is residue from the sound dampener all over and the wire wheel is a pain. We tried using media blasting. First we did glass media... Fail. The glass want' cheap and it was useless. I went to home depot for 20 grit sand it was working good for a minute, until the blaster broke. I'm really thinking of paying a local media blaster to do it.
The engine bay is shaved and prepped for paint. I will post pics soon.
This was Saturday...
Didn't outsource! I will not be defeated!
so this weekend i spent some time getting all the McNasty out of the car. Seam Sealer and the rest of the sound dampener residue out to get the car ready for paint. It was a pain and super time consuming. Spent a good 7hours at IntensePower on Saturday with the wire wheel. Thanks to Mr. Han Wong picking up the brush on aircraft stripper.
Car went from this...
To this...
Still have the drivers side to go. The trunk is clean but i'm going to use stripper on it too.
I want everything looking good and since it's not holding anything up it's for the most part. Still waiting on a few things. After XDC the car is going to Mr. Marstanovic for some wiring magic. All MilSpec wiring with gold connectors and pure sickness. His wiring jobs are nothing but phenomenal.
Stay Tuned...
Joined: Feb 2009
Posts: 335
Likes: 11
From: Queen Creek, Az
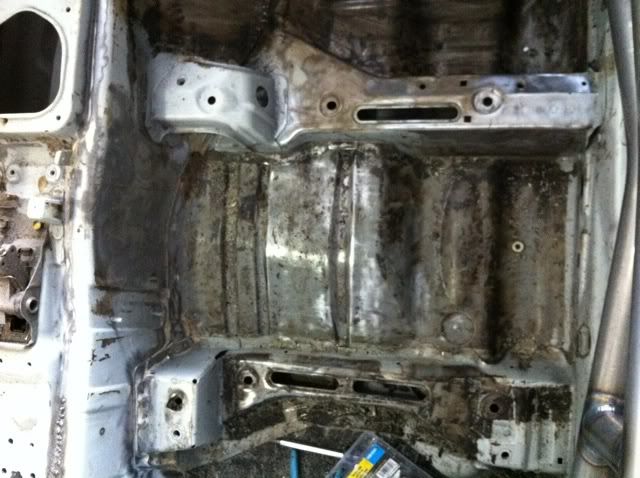
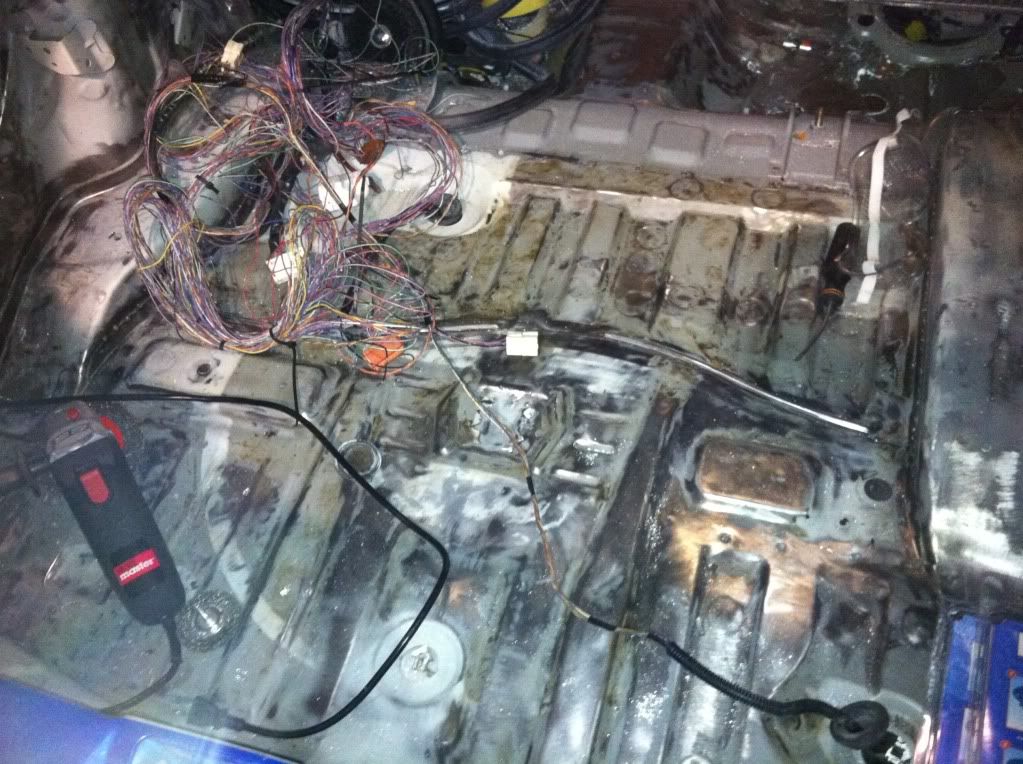
After class I was determined to pull out all of the engine bay wiring. I need to run new brake lines anyway so I pulled that out to. The harness was about 40-50 lbs (a little exaggerated) but then with the break booster and all that garbage. Here are some pics... Now we can completely spray the engine bay.
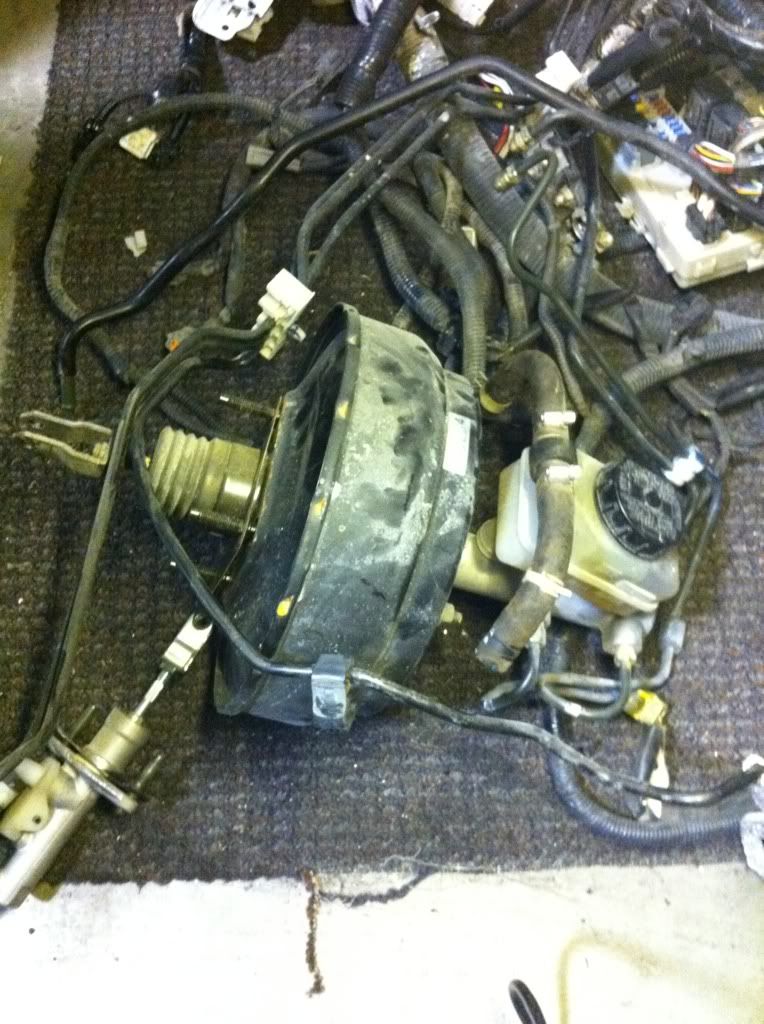
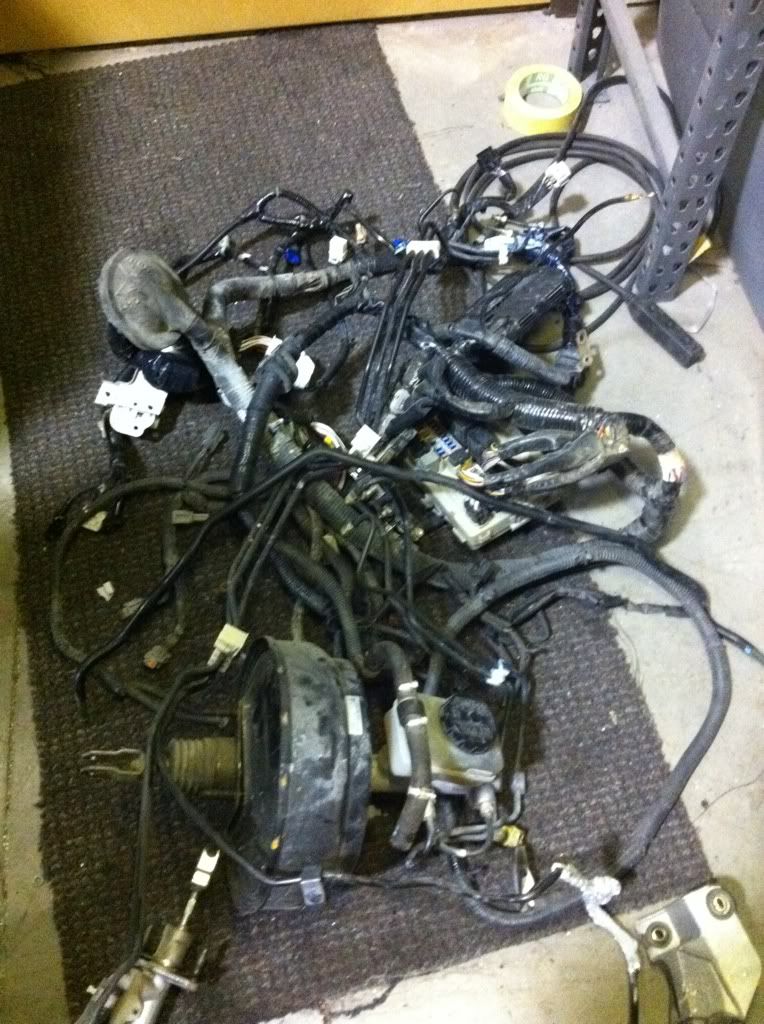
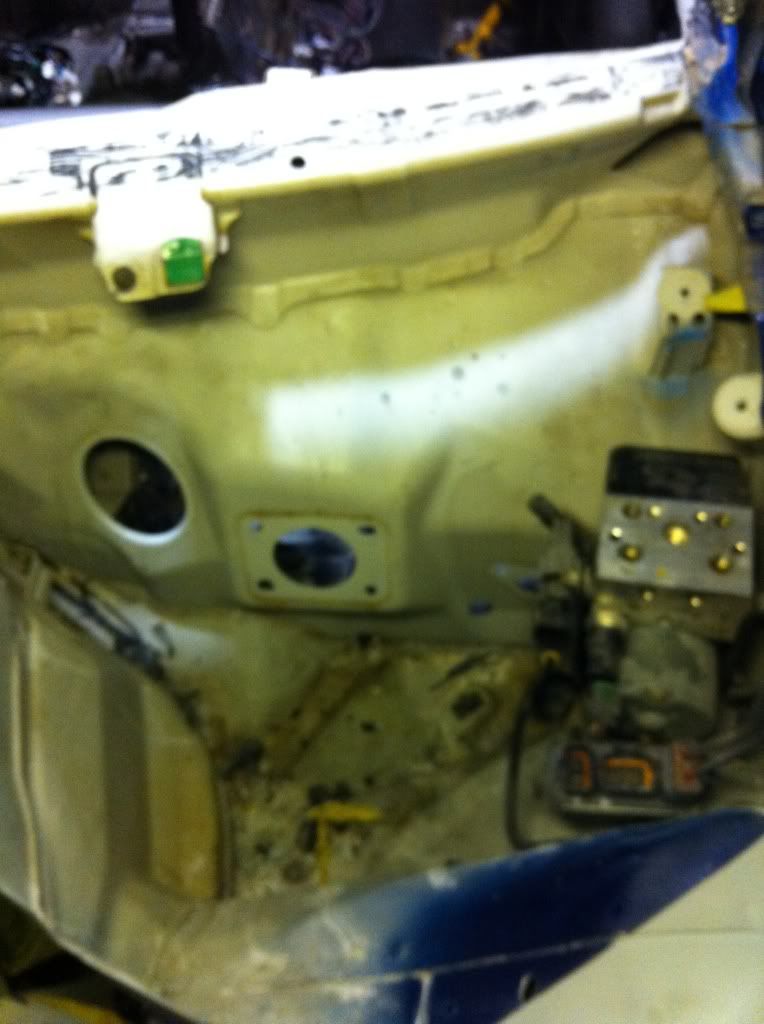
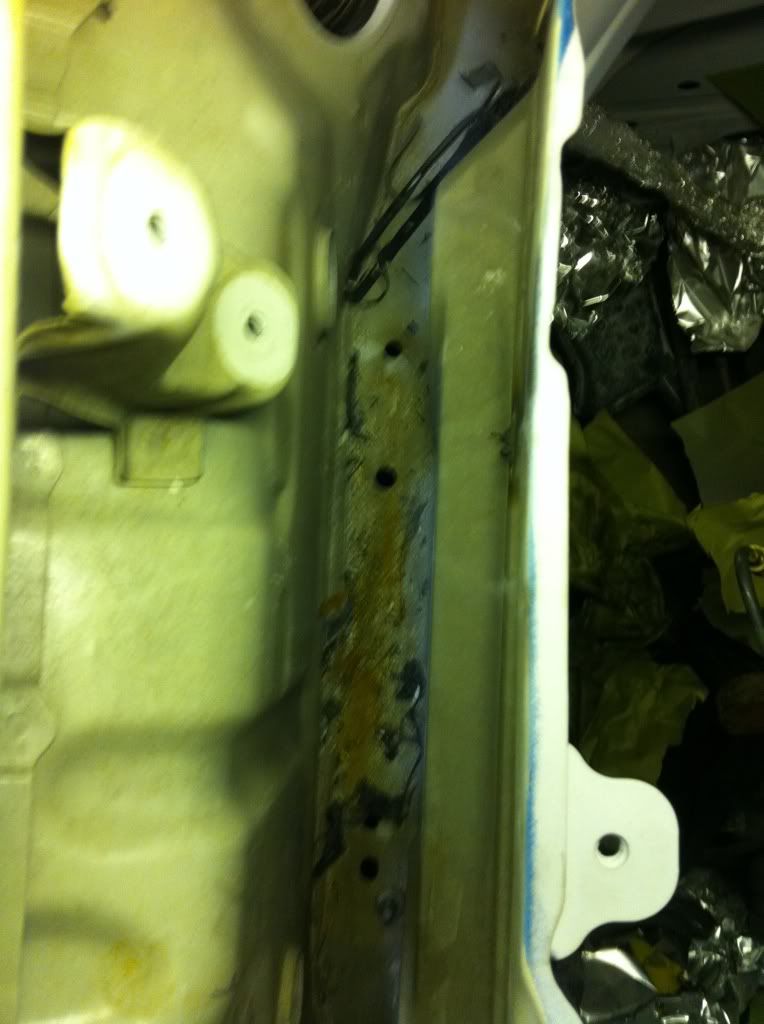

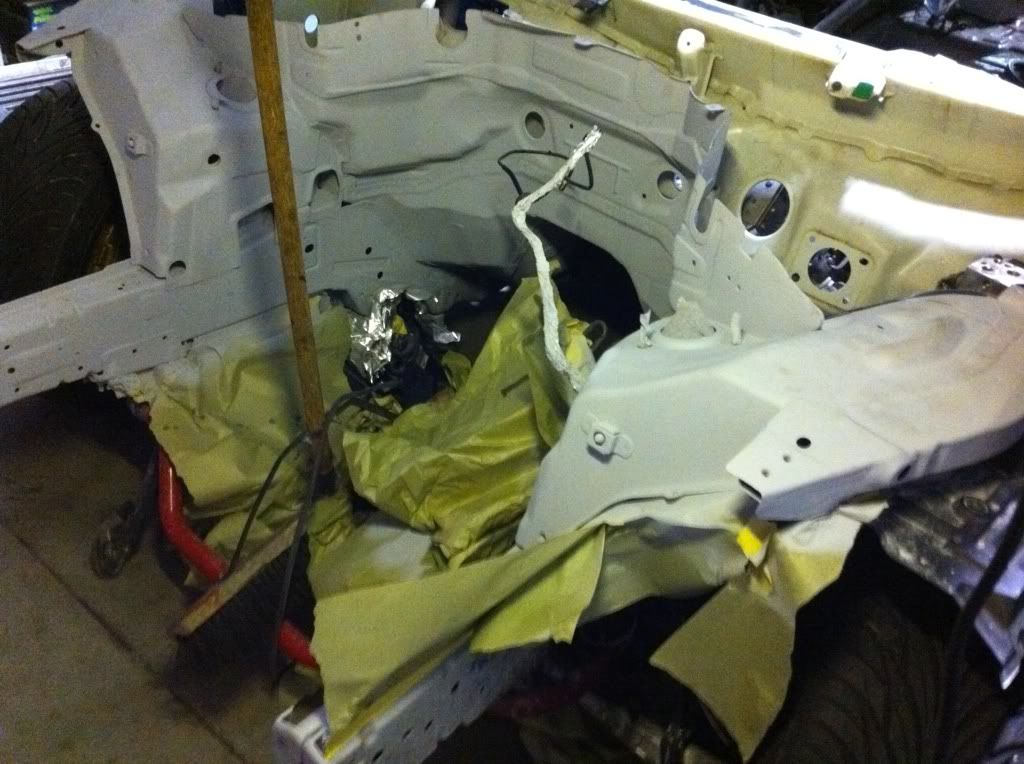
Going to replace all that with wilwood cluch and brake assembly hopefully soon.
Going to replace all that with wilwood cluch and brake assembly hopefully soon.
Looks great man! I know it's a little late, but if you ever need to remove that sound deadening again, go get some dry ice. Break it up over the sound deadening, let it sit for a few minutes, then hit it the sound deadening with a hammer a few times, and it'll pop off in huge pieces. Best of all, it leaves the floor clean. After doing half the car with a chisel and wire wheel I changed to the dry ice method, and finished real quick.
The stitch welding made a noticeable difference in my car, but the addition of the cage made a huge difference! Your going to love the way the car handles once you get it all back together
Also noticed you got Aerocatch hoodpins. Check these backing plates out, they make the install way cleaner/easier and offer a little more bracing on the backside of the hood/trunk. I have these on my hood and definitely recommend em-
http://passwordjdm.com/PasswordJDM-A...P2758C329.aspx
Last edited by zackt69; Apr 8, 2011 at 04:32 AM.