When you click on links to various merchants on this site and make a purchase, this can result in this site earning a commission. Affiliate programs and affiliations include, but are not limited to, the eBay Partner Network.
Going to ditch the gauge hoods when it's done. I am adding 1/4" spacers behind the bezels because one gauge (boost) is just a little too deep for the space.
I had the LCA's done. When I had the a/c repaired last summer, the shop said I'd need to replace the control arm and compression rod (radial arm is what he called it) bushings in the near future. Kind of forgot about it since the car was driving fine. But over the last few weeks, I noticed it dog tracking over rough roads and the steering wheel canted a bit to the left while going straight. Dropped it off this morning, turned out the compression rod bushings were fine, just needed to change the LCA's on both side. Ended up being about $200 less than the original estimate! Car tracks so much better now. I guess as it slowly deteriorates you don't really notice until it gets bad.
Ran into an issue where the roof spoiler I just installed kept lifting up on the edge after a few days. I used 3M genuine mounting tape and their adhesion promoter inside my garage at room temperature. Still wouldn't stick.....
Decided to remove the spoiler and repeat the process but also add a bead of JB weld. I taped the **** out of the spoiler to hold it down and sat some stuff on it over night. ALL GOOD NOW!
Also admiring how nice the roof spoiler complements the duckbill trunk!
Gauges are done (the weird hoods will come off once the 1/4" spacers I ordered arrive).
Prosport gauges. Can be wired to glow white or amber, or white/day and amber/night. I'm leaving them amber 24/7. Discount brand but they're a good match for the rest of the instruments. If they fail I'll go with some Auto-Meters or something.
The instructions were obviously written by someone who doesn't speak English as a first language. The wiring directions were half-wrong.
Anyway, I like the look.
Looks great. Any plans for a write up? I wouldn't mind having a oil pressure gauge
Looks great. Any plans for a write up? I wouldn't mind having a oil pressure gauge
I probably won't do a write-up because the spaces are so confined I didn't take any photos.
It's pretty simple, though:
Get an electronic OP gauge as opposed to a mechanical one. With mechanical gauges they are more accurate but it means having a vacuum tube full of oil attaching to the back of the gauge. If that tube cracks or comes loose it means hot motor oil all over your interior. An electronic gauge comes with a sending unit you attach to an oil line or to a plate between the block and the oil filter. I went with the adapter plate like the one in the photo. The sending unit screws into any of the holes on the side.
Wire the gauge lights as per the instructions. Usually it means one wire to an ACC cor IGN circuit and one to ground. Alternately if you get a white face gauge that doesn't need a light during the daytime you can wire it to your headlight circuit and it will only light up with the rest of your lights.
Then there's a third wire that goes to the sending unit you attach to your engine. Run that wire through the big-*** grommet near the passenger side hood hinge and into the engine bay. That wire attaches to the positive terminal of your sending unit. The negative terminal of the sending unit goes to ground. Be sure o wrap that wire in loom to protect it from chafing in the engine bay.
That's it. You're done. The worst part is getting the danged wire into the engine bay. In my case I had to take out the glove box and use an old coat hanger to fish the wire up and out. Wiring the gauges took about 15 minutes. Getting the wire up into the engine bay took 2 hours because of all the stuff that had to be removed to do it.
**Remember to use silicone or something similar to reseal the grommet when everything is done. You don't want water leaking in!
There are lots of options for locating and mounting your gauges. Look around and see what you like best.
For me I had an extra lower centre console so I took a hole saw and cut two 2 1/4" holes in the ashtray door and glued the door back in the console. The gauges are very slightly larger than than 2 1/4" (they are 1/16" larger than the holes) so I just carefully sanded the rims of the holes until they were a perfect fit.
Last edited by TheIronYuppy; Feb 1, 2017 at 01:26 AM.
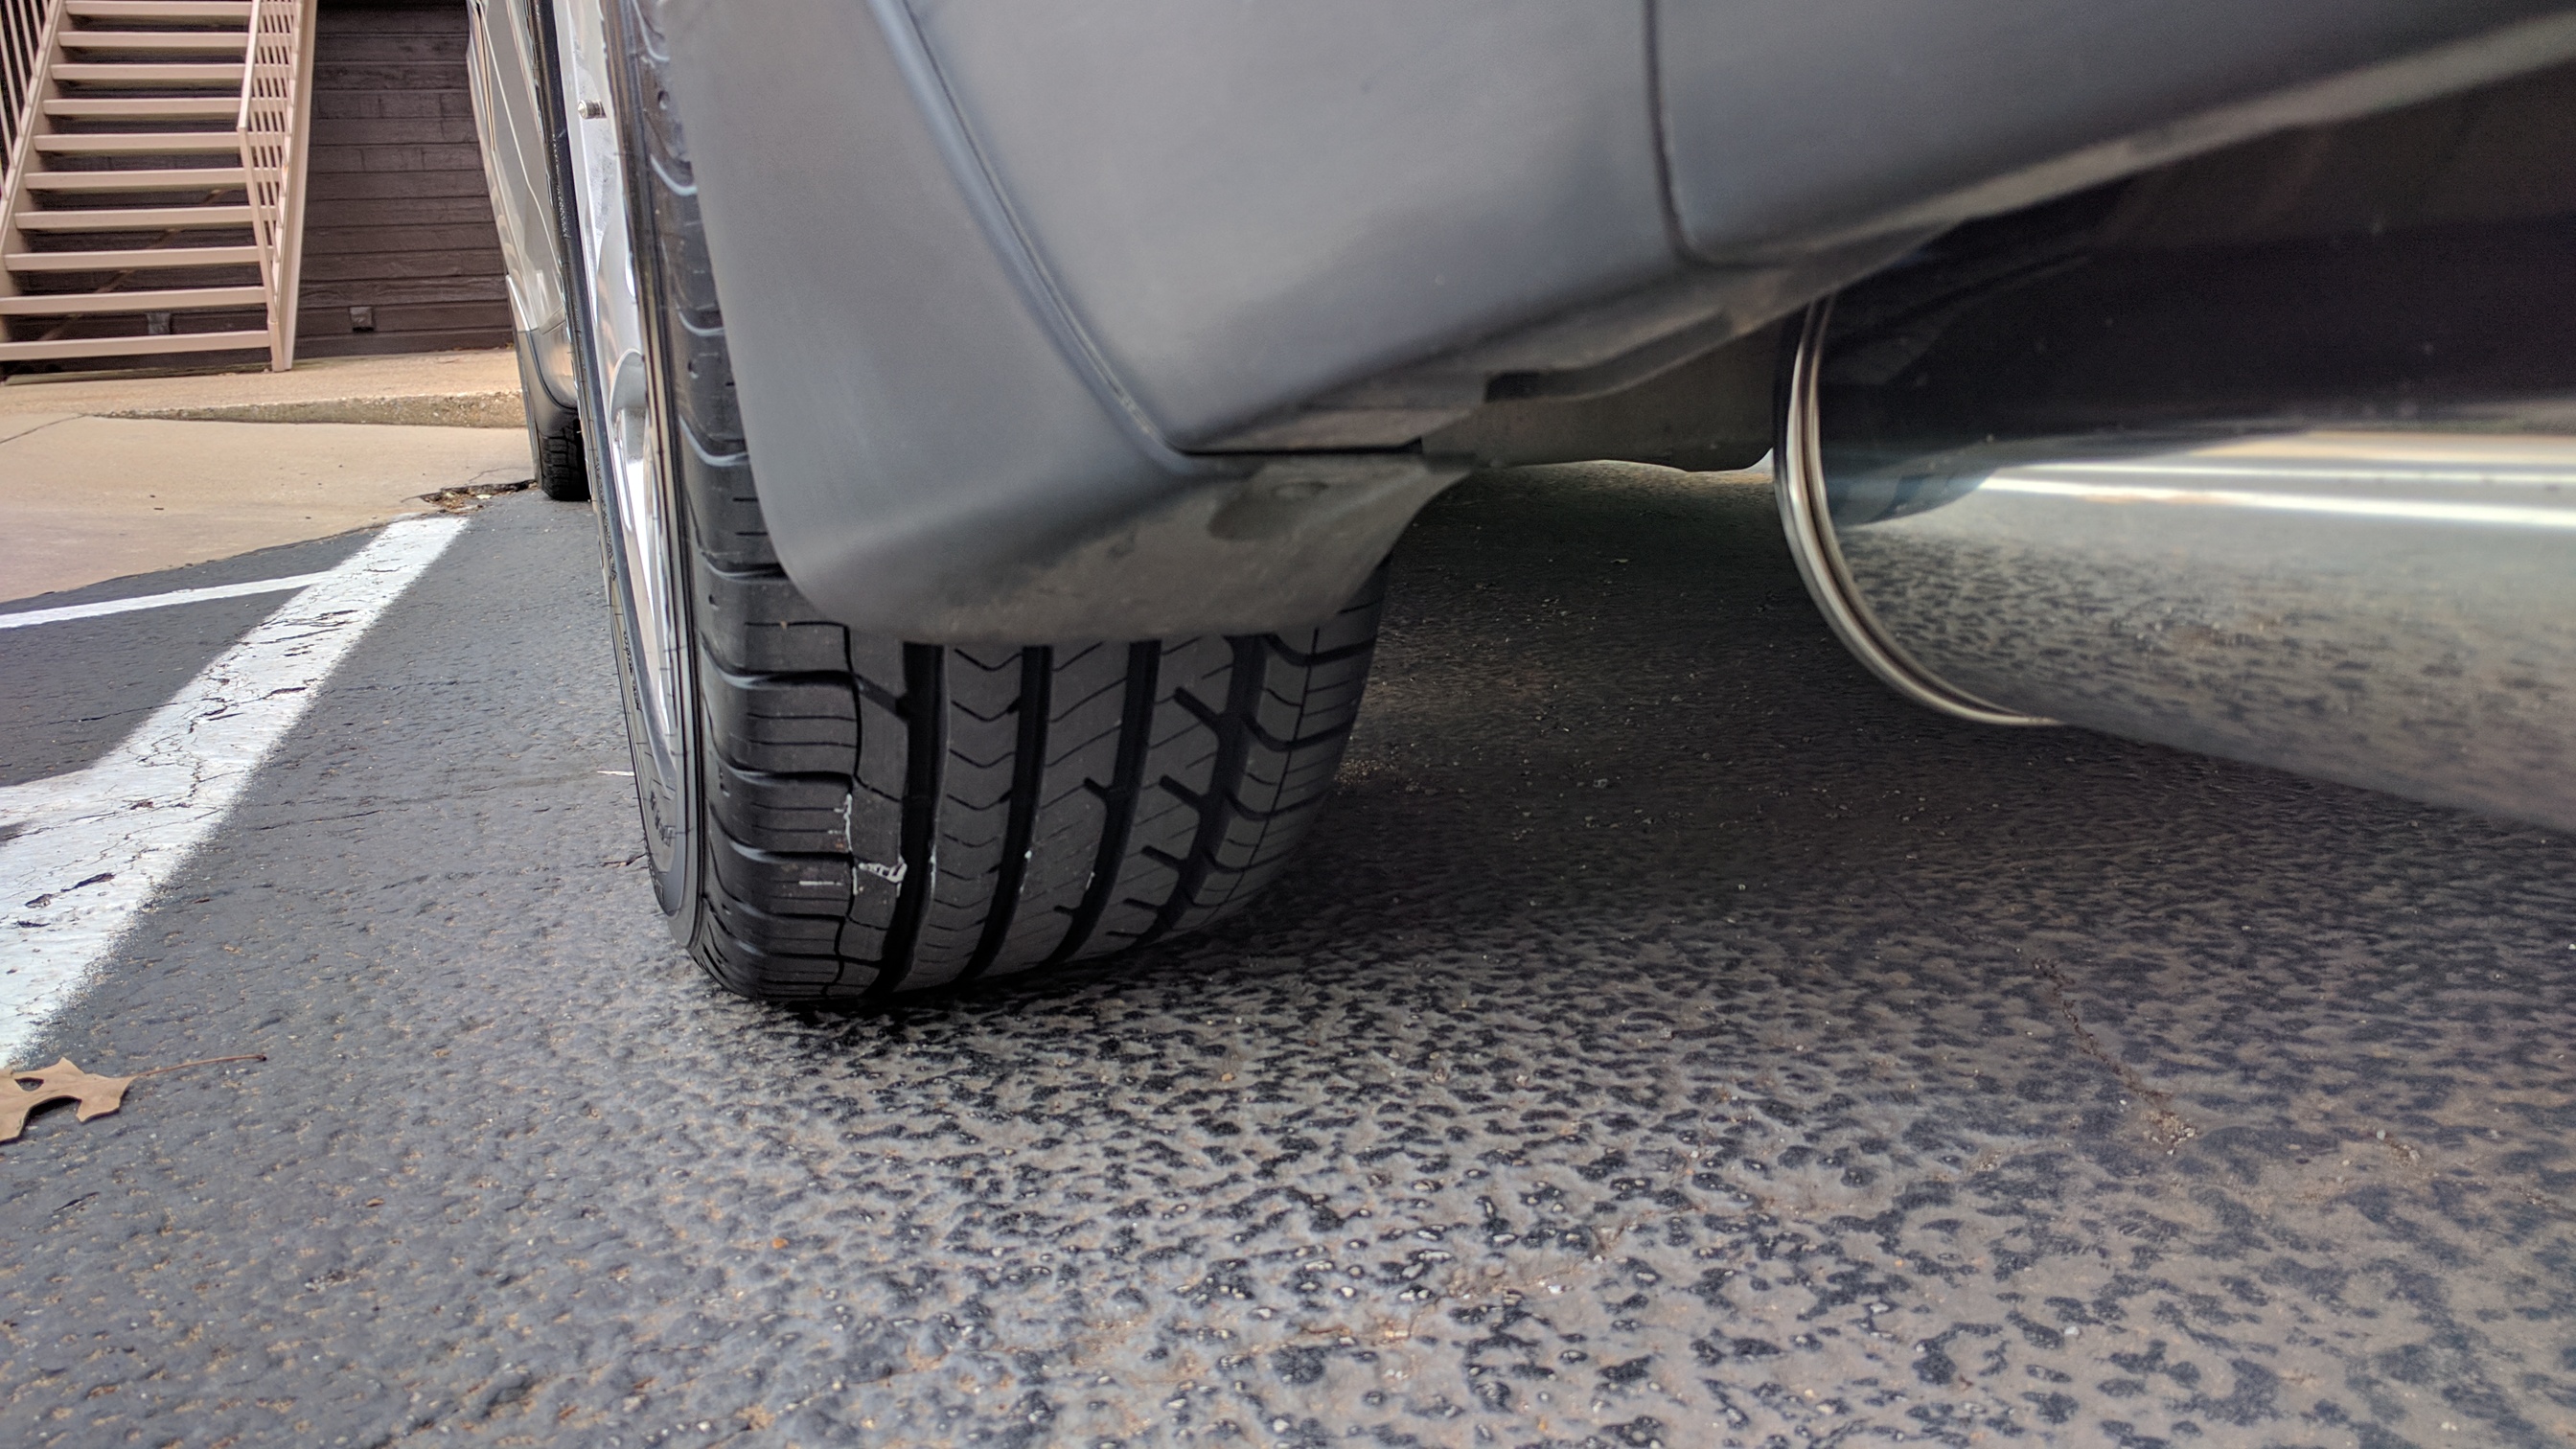
Ordered new tires. Bad LCA bushings ate up the inside thread on the front tires and I really haven't been happy with the tires (Ohtsu 612's) that were on my car when I bought it. Mushy touring tire.
So in a day or two, I'll have a set of four 235/50/17 Goodyear Eagle Sport A/S tires. I have them on my Accord, they were grippy enough on that I ended upgrading the suspension to take advantage of it. Got close to 50k out of the first set too.
New tires are on. What a difference. Changes direction a lot better, the Eagles are very quiet, ride seems better too-and the previous tires weren't worn out (other than the inner edges on the fronts due to the alignment issues), overall as happy so far with them as I am with the same tires on my Honda.
Lmao. So my coworker wanted to race me in his scion tc. Idk if he was serious or joking but he definitely tried. He obviously doesn't know his cars. Got an easy win tonight.