Heater Switch Mod - Pics
#1
 11-10-2007, 08:14 PM


Heater Switch Mod - Pics
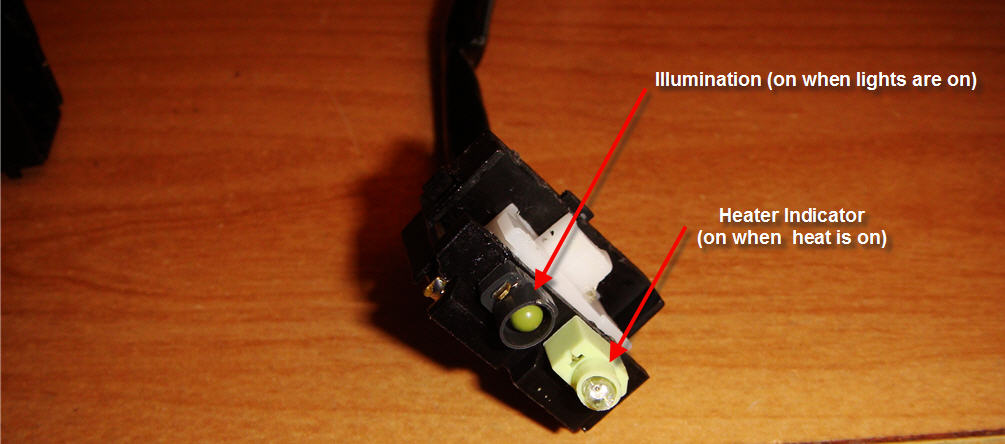
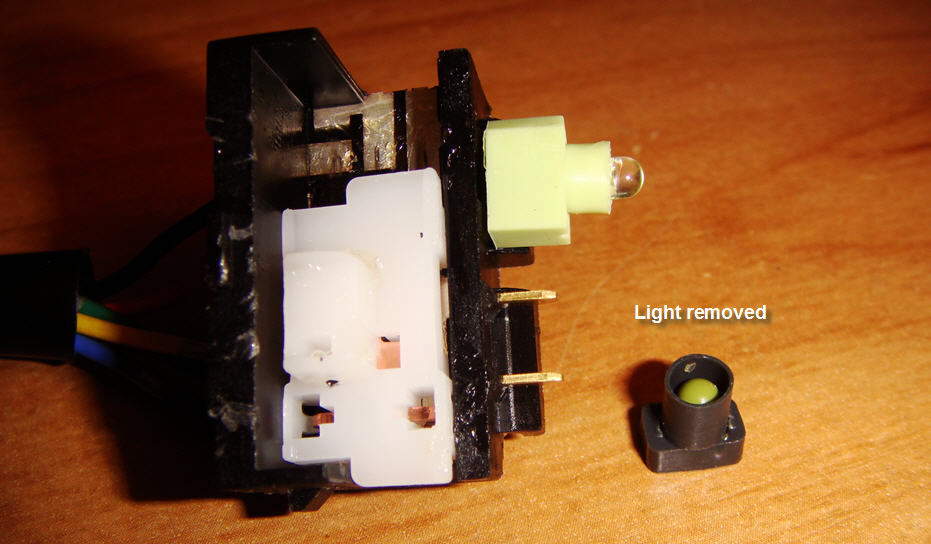
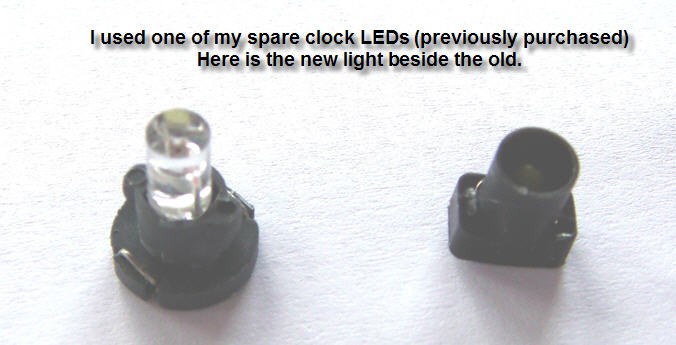
For the second time, the illumination on my driver's seat heater switch failed. Since, I'm no longer under warranty, I wanted to find a different solution than replacing the whole switch (since it will only burn out again anyway). I decided to use the extra LEDs I had previously purchased to replace my clock lights. I wanted a change in look so I used blue LEDs.
I didn't go into detail about removing the switches, but that part is pretty straightforward. The following is a DIY on what I did...
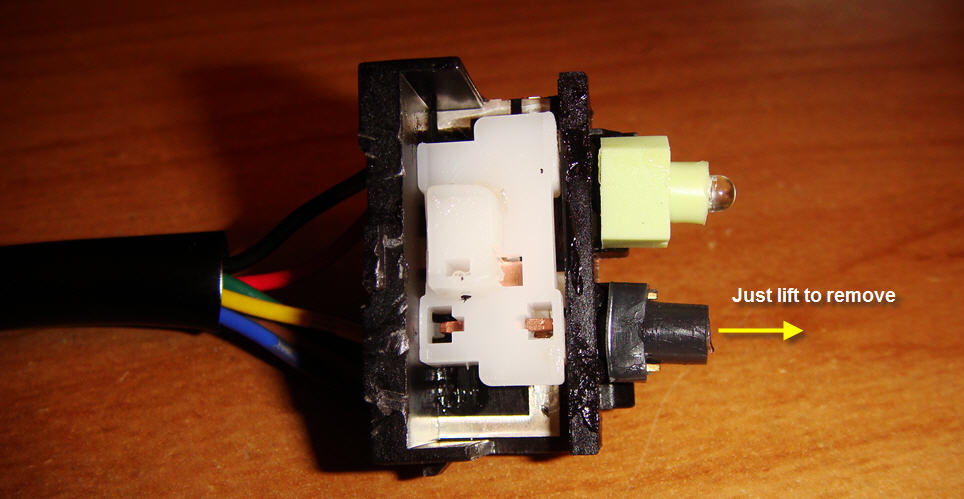
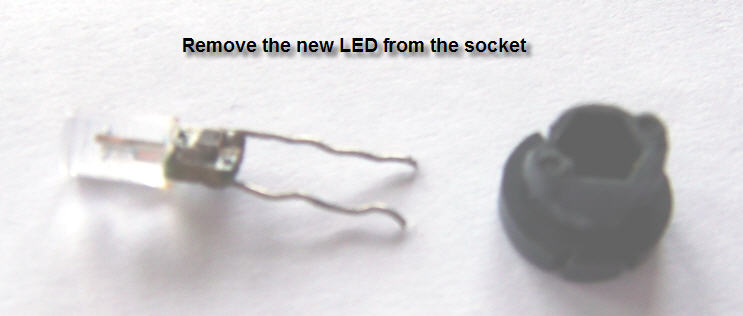
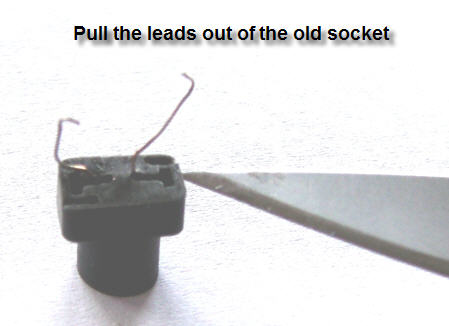
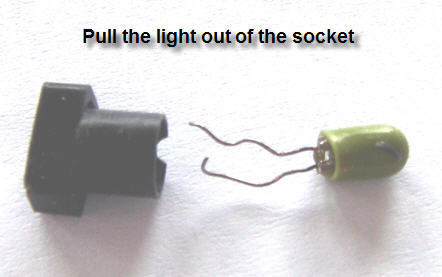
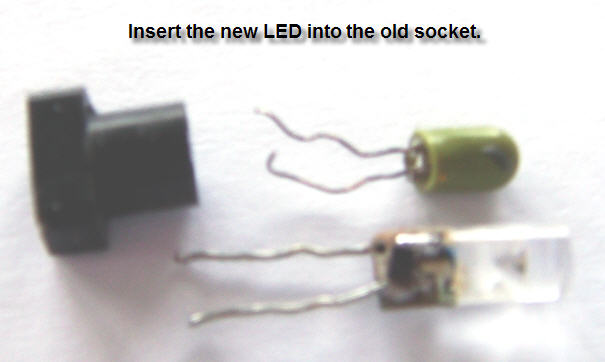
First, remove the switch from the console. Carefully pry the top of the switch off the posts using something pointy (I used a knife). Then pry the contents out of the switch. I pried each side out one at a time and inserted toothpicks to keep the plastic apart until I could pull it all out.
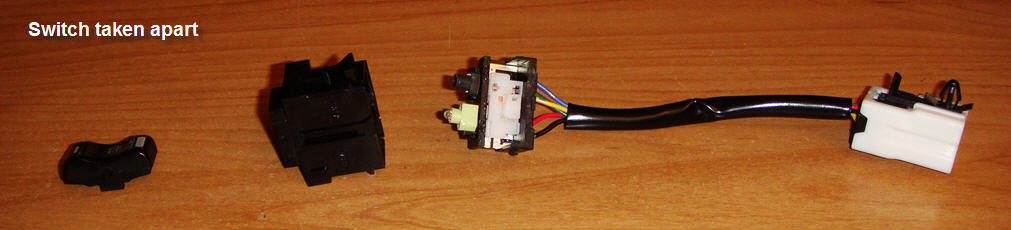
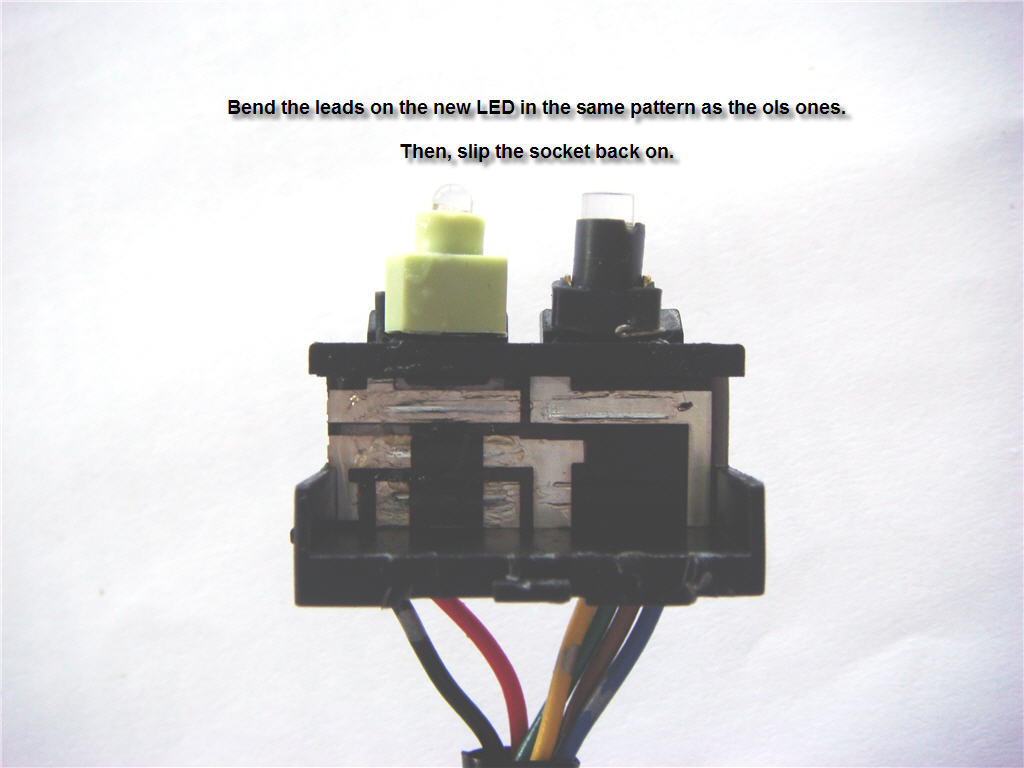
Then out everything back together...
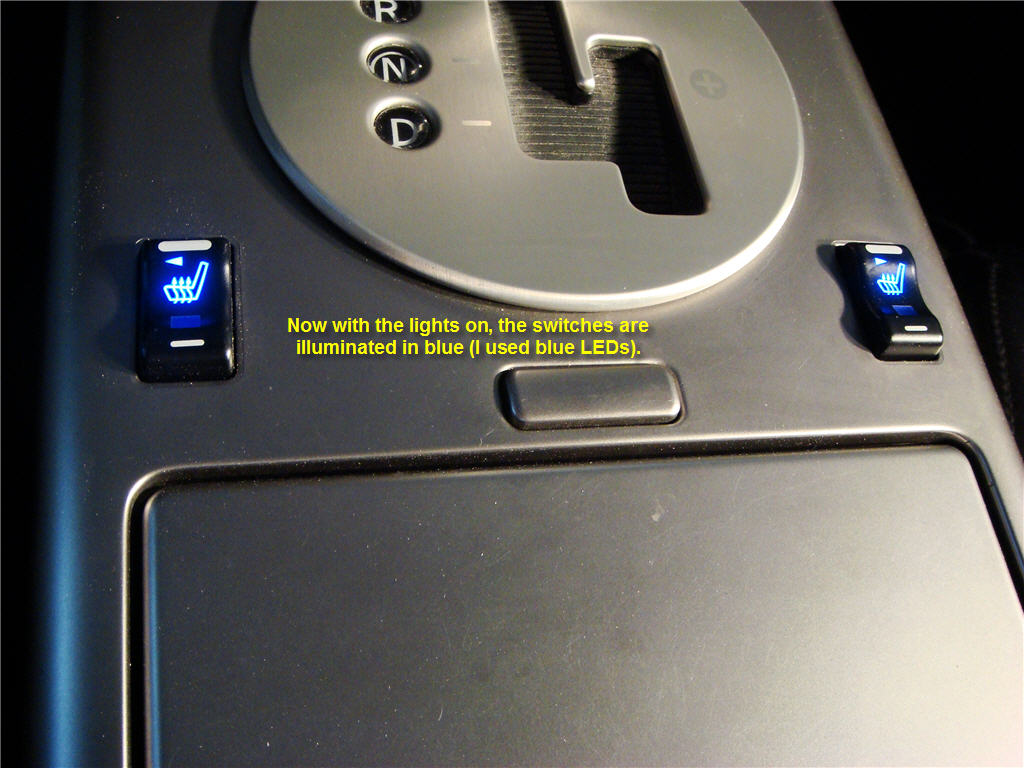
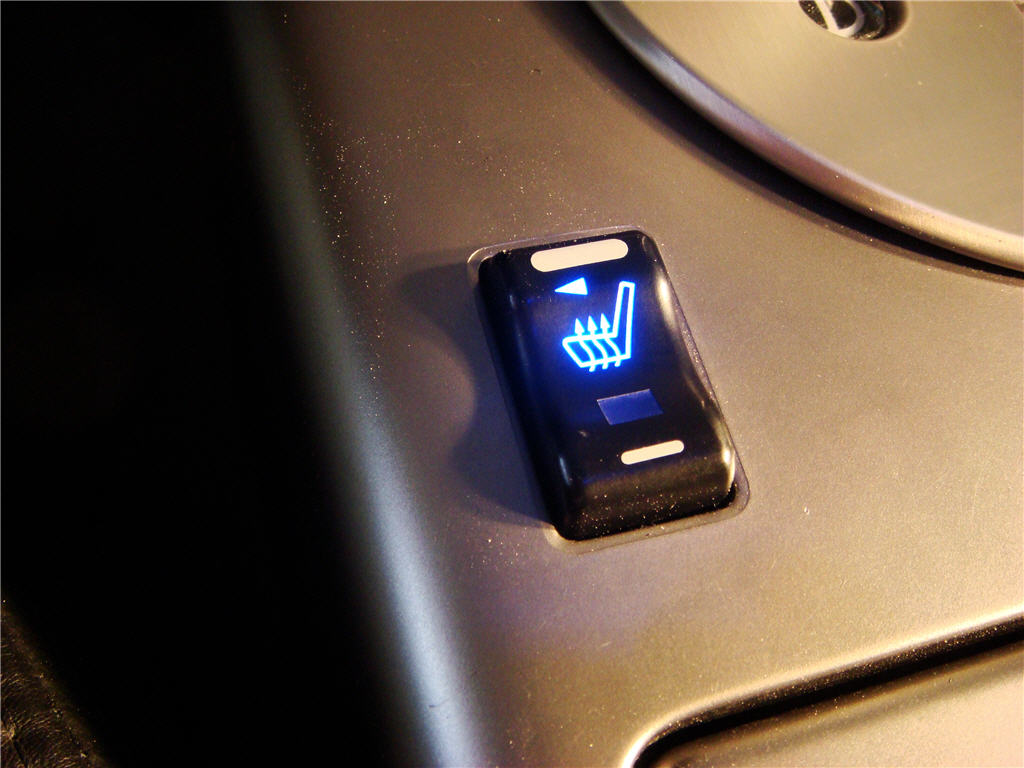
Total time was about an hour for the two switches. It's a lot brighter than it was before. I'm going to do this mod every time another light burns out anywhere inside the car..
I didn't go into detail about removing the switches, but that part is pretty straightforward. The following is a DIY on what I did...
First, remove the switch from the console. Carefully pry the top of the switch off the posts using something pointy (I used a knife). Then pry the contents out of the switch. I pried each side out one at a time and inserted toothpicks to keep the plastic apart until I could pull it all out.
Then out everything back together...
Total time was about an hour for the two switches. It's a lot brighter than it was before. I'm going to do this mod every time another light burns out anywhere inside the car..
Last edited by sliderg35; 11-10-2007 at 08:23 PM.


#5
11-11-2007, 09:29 AM

Join Date: Sep 2006
Location: San Antonio Reppin BGA
Posts: 668
Likes: 0
Received 0 Likes
on
0 Posts
#6
11-11-2007, 01:52 PM
I started with replacement LEDs for our clock lights from http://autolumination.com/74.htm type "B". I bought a few different colours when I needed clock lights. I had these left over - I used the white ones in the clock.
#7
11-11-2007, 02:01 PM
Trending Topics


#11
12-08-2009, 01:09 AM

#13
12-01-2010, 10:03 PM

Registered User
Join Date: Nov 2010
Location: Greenwood, IN
Posts: 1
Likes: 0
Received 0 Likes
on
0 Posts
I really found the article to be very helpful. I followed the steps and had only minor problems. Here are a couple of additional pointers. 1. With the switch body still removed from the outer housing and the slider removed, take the switch to the car and partially plug it in. Then you can turn on the lights to see if the LED lights up. If it does not, turn off the lights and reverse the polarity of the lamp. Try it again to make sure you have good connections on both terminals. After a sucessful test, then fully reassemble the switch and fully plug in the locking connectors. You have a 50/50 shot at getting it right the first time. 2. If you want to get to about the same level of brightness as the other bulbs, you will need to get some grey bulb dye to reduce the light. Left as they come to you, they will be much brighter than the buttons. Not bad, just different. 3. I used white bulbs in the clock and I like that. I never could read the darn thing at night, and this fixxes it. I used the higher power light from www.supperbrightleds.com. They were very responsive and cost was reasonable. Have fun, enjoy your car!

