
DIY - Painting Your Headlights


Nice DIY write-up Chris. Very useful for those looking to paint his/her headlights. I hope to use this sometime in the future (right now I have a set of Batmobile overlays coming in the mail).
Curious question: Will this DIY work effectively on headlights which don't have the nagging yellowing/hazing problem on the lens exterior? I have this issue with my headlights, and I use PlastX once every 2 weeks to treat the problem. However the yellowing continues to come back, so my hope is that the overlays should protect the yellowing from happening on the headlights.
Curious question: Will this DIY work effectively on headlights which don't have the nagging yellowing/hazing problem on the lens exterior? I have this issue with my headlights, and I use PlastX once every 2 weeks to treat the problem. However the yellowing continues to come back, so my hope is that the overlays should protect the yellowing from happening on the headlights.
Joined: Jun 2003
Posts: 14,505
Likes: 451
From: NorCal
Thanks Lexus.
I'm not sure I understand your question. Painting the headlight bezels has nothing to do with the yellowing/hazing on the lense.
Placing a clear overlay over the top of your lense will help prevent the yellowing/hazing but again, thats a different topic.
I might of just misunderstood your question.
I'm not sure I understand your question. Painting the headlight bezels has nothing to do with the yellowing/hazing on the lense.
Placing a clear overlay over the top of your lense will help prevent the yellowing/hazing but again, thats a different topic.
I might of just misunderstood your question.


Evertime I have my friends over now to work on cars my wifes asks "do you need to oven to bake headlights?"
hahaha...thats funny
 shes a good sport about it. lol..


Joined: Jun 2003
Posts: 14,505
Likes: 451
From: NorCal
Thanks guys. Glad to see it helped (great work FishRFun). I've been pretty busy the past few weeks but I promise I'll get pics up to help illustrate the DIY one of these days

Papa, thanks so much for doing this, would you mind PMing me further instructions for the amber turn signal housing removal? It seems like no one wants to post it up, but it's something I want to do. Thanks again!
Joined: Jun 2003
Posts: 14,505
Likes: 451
From: NorCal
There's really nothing special to post. Get a dremel, cut the majority of the orange lense out with a cutting bit. Then take a sanding bit band complete the smooth round circle where the lense was.
Then you fashion a new lense (using a dremel is the best way). I use a flourescent light fixture cover. Cut it out to shape and just keep sanding it down till it fits. Glue it in with some clear epoxy. Just a few drops around the outside of the circle.
Then you fashion a new lense (using a dremel is the best way). I use a flourescent light fixture cover. Cut it out to shape and just keep sanding it down till it fits. Glue it in with some clear epoxy. Just a few drops around the outside of the circle.
Mine came out much flatter than I had intended, so I'm going to do a trial install to see if I like the color, and if not I will probably put a layer of clear on it.
I would like to mention that 14 minutes at 220* wasn't enough for me to get the lens free. I put the second one in for 17 minutes and it came apart MUCH easier... just my .02
Joined: Jun 2003
Posts: 14,505
Likes: 451
From: NorCal
Good stuff Naive. Thanks for sharing your experiences. It's always good to get different variations on modding as it may turn out easier for others or you find an easier way to do things.
Yeah, I can see how the oven temps can vary from one to another. So many models...how old it is, gas vs. electric.
Thanks again
Yeah, I can see how the oven temps can vary from one to another. So many models...how old it is, gas vs. electric.
Thanks again
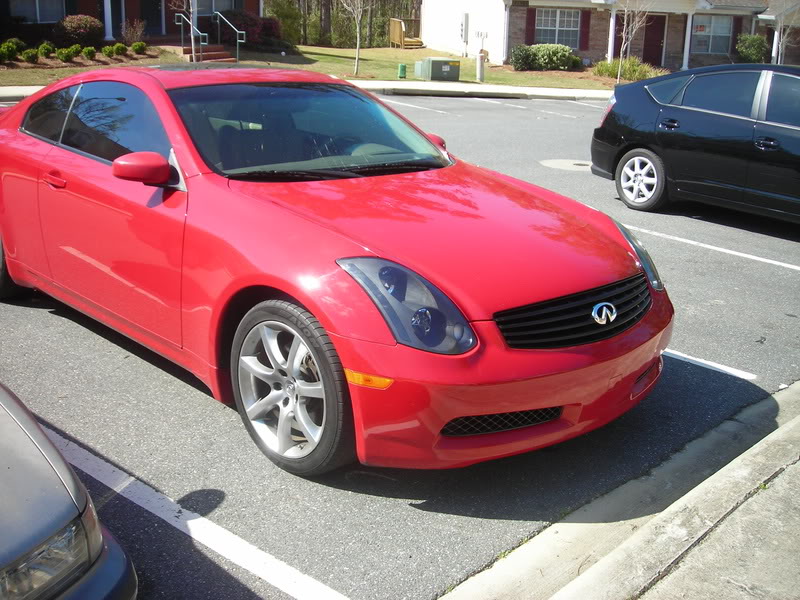
Well I finished everything up this afternoon after I dropped my front lip off at the body shop to be painted 
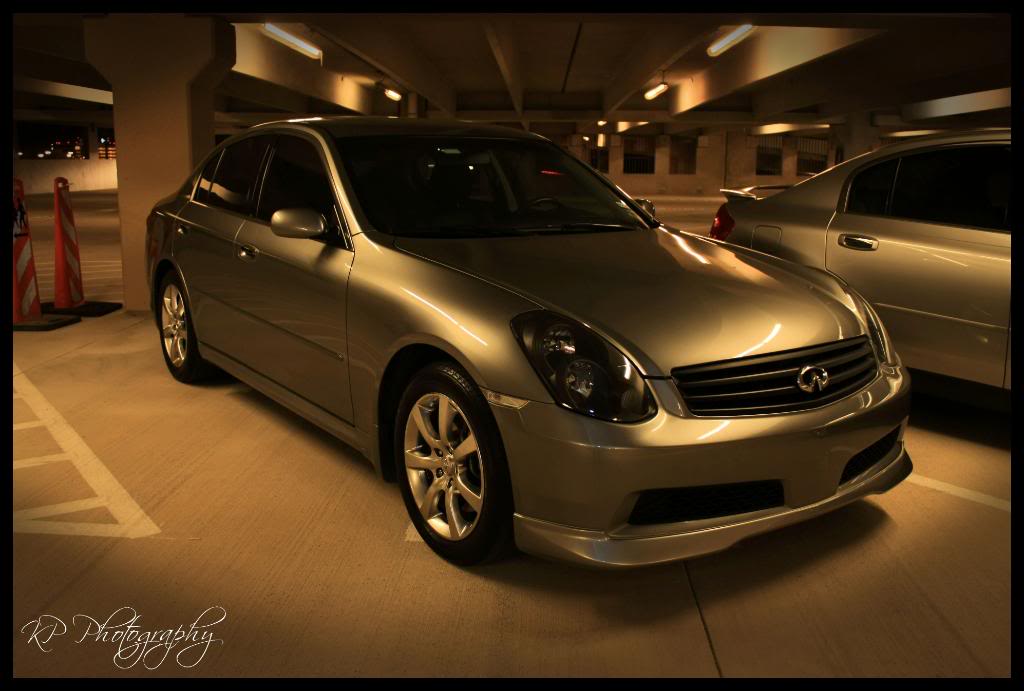
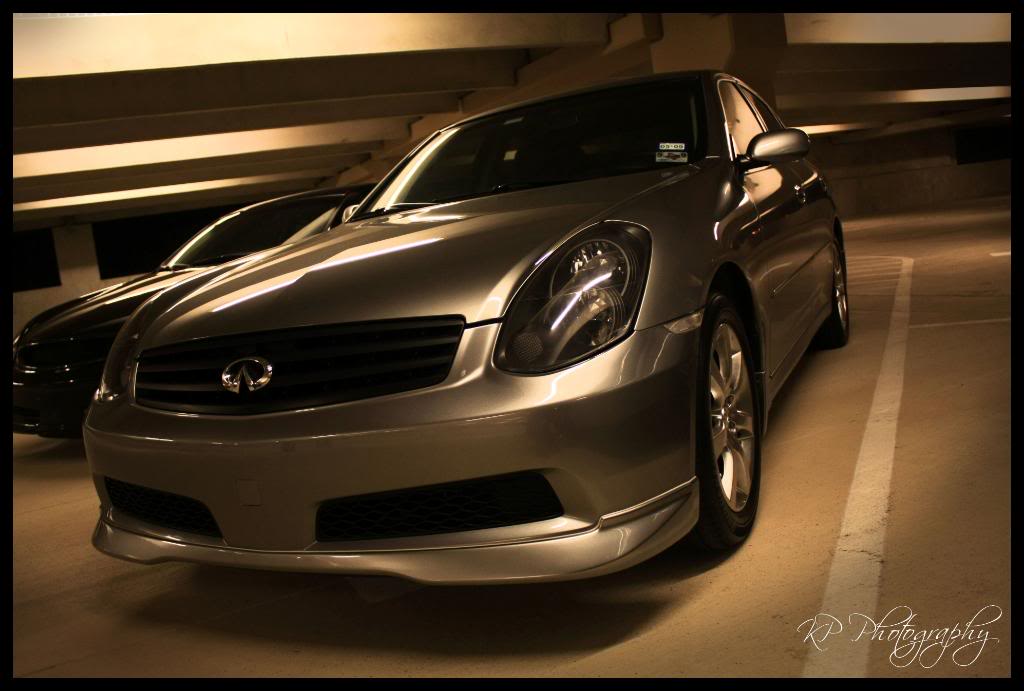
Headlights came out looking like I put smoked lenses on them... which wasn't quite my intention but, it would be too much effort to change them now. I might get some Blue Bat Overlays eventually, which I imagine would give me the desired look. My grill is flat black with clear coat and it's WAY shinier than the headlight's I painted... oh well. My lenses have some strange discoloration and markings which I couldn't get out (I cleaned both sides when I had them apart).
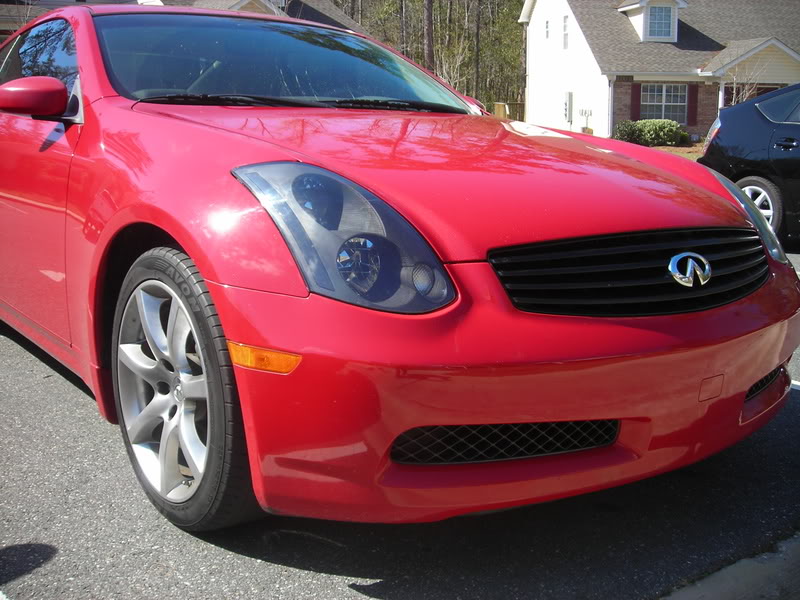
Something to look into if you plan on doing the turn signal lens... The stock bulb is NOT amber, it's a regular halogen bulb, and it will look stupid with a clear lens... ask me how I know.
You might want to order a chrome plated amber bulb, which will function just as the original bulb did, but won't look amber when it isn't illuminated.
According to Discount Auto, the turn signal bulbs are 7440 (plastic base), but the bulbs I pulled out of my housing have glass bases (7443 style). When I look up 7443 Amber Chrome bulbs online, they all have the plastic bases.... Are the two types interchangeable? I'm want to make sure before I order some of these...
Headlights came out looking like I put smoked lenses on them... which wasn't quite my intention but, it would be too much effort to change them now. I might get some Blue Bat Overlays eventually, which I imagine would give me the desired look. My grill is flat black with clear coat and it's WAY shinier than the headlight's I painted... oh well. My lenses have some strange discoloration and markings which I couldn't get out (I cleaned both sides when I had them apart).
Something to look into if you plan on doing the turn signal lens... The stock bulb is NOT amber, it's a regular halogen bulb, and it will look stupid with a clear lens... ask me how I know.
You might want to order a chrome plated amber bulb, which will function just as the original bulb did, but won't look amber when it isn't illuminated.
According to Discount Auto, the turn signal bulbs are 7440 (plastic base), but the bulbs I pulled out of my housing have glass bases (7443 style). When I look up 7443 Amber Chrome bulbs online, they all have the plastic bases.... Are the two types interchangeable? I'm want to make sure before I order some of these...
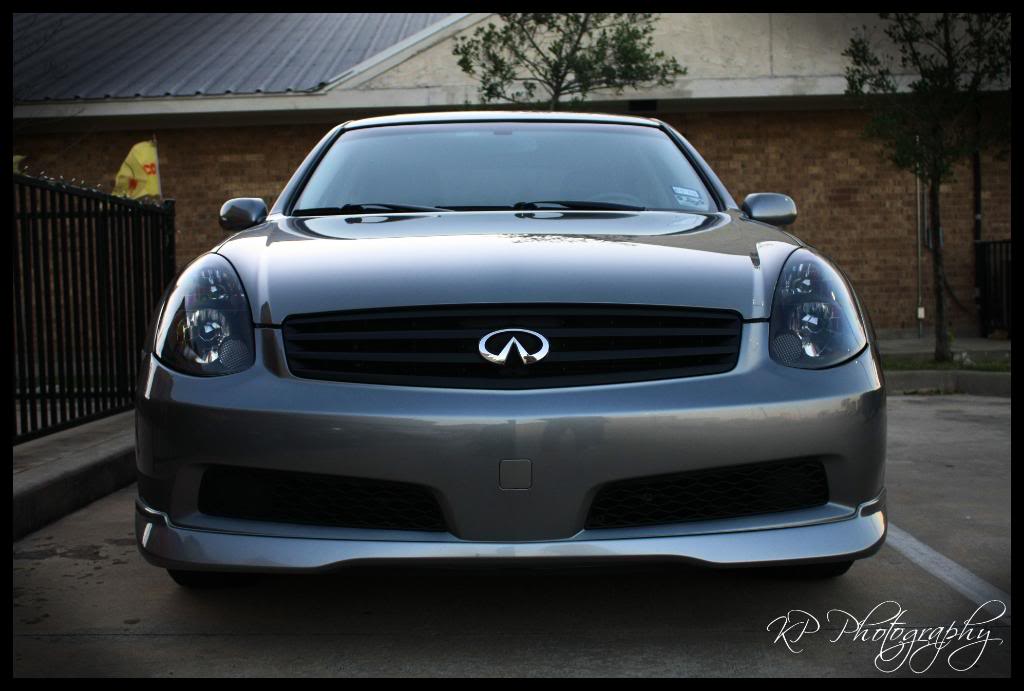
Well here's a couple shots... I painted the backside of the CCFL outside housing so they came out a really glossy black, which I think adds a nice touch. Like I said, they almost look like I have smoked lenses haha.
Oh yeah, and something I noticed... the instructions say to mask off the inside of the turn signal housing (the shiny part) since it's supposed to reflect light... but in a few of the pictures which the OP says he painted, that part didn't get masked off! It's painted the same as the rest of the housing! I didn't notice this until after I had already started painting one of them! I masked mine off and didn't paint that inside part.
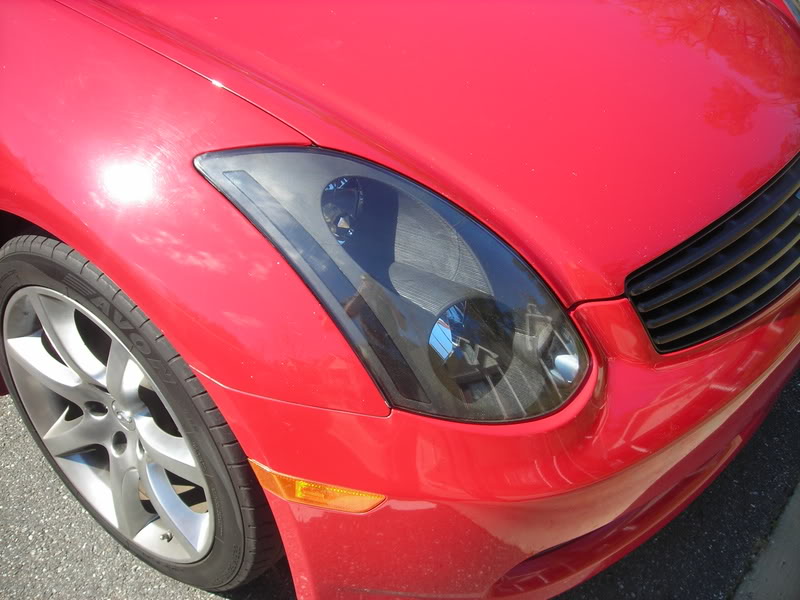
Oh yeah, and something I noticed... the instructions say to mask off the inside of the turn signal housing (the shiny part) since it's supposed to reflect light... but in a few of the pictures which the OP says he painted, that part didn't get masked off! It's painted the same as the rest of the housing! I didn't notice this until after I had already started painting one of them! I masked mine off and didn't paint that inside part.