
~TunerMax's RF Controlled Colour Changing LED Project~ PIC HEAVY

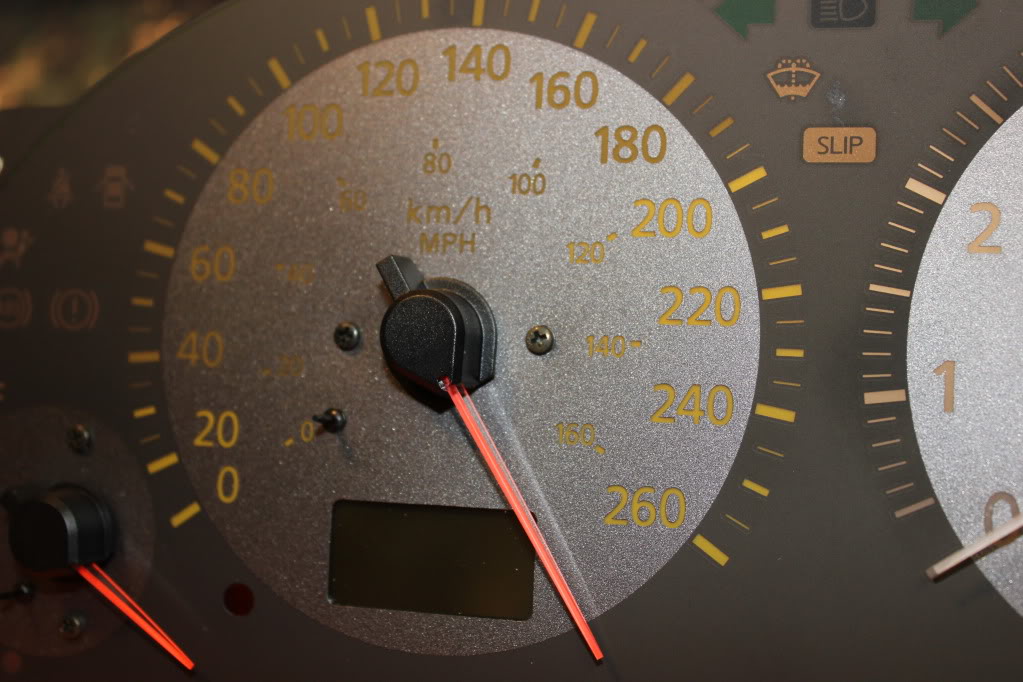
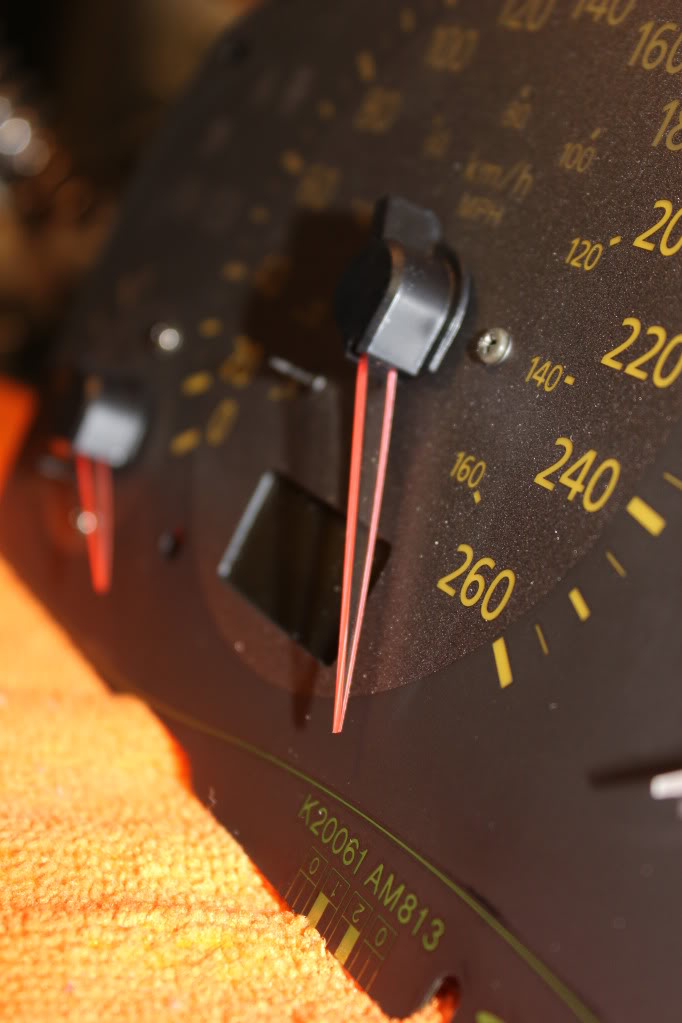
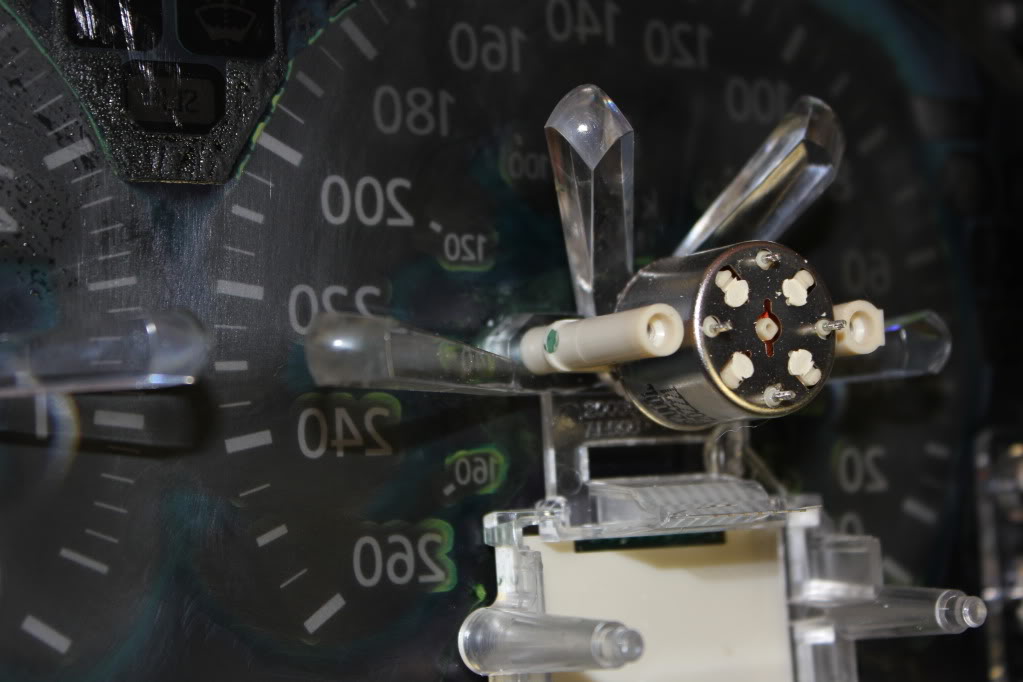
I actually do have LEDs at the end of the prisms if you noticed my neddles have a red glow on them wich is not as would want them to be since I only attached two 3mm LEDs on each of the prisms but hopefully with the 5050 LEDs I will get a better glow on them. I acomplished the different color scheme by adding a lil piece of blue film underneath
Nice to meet someone on a forum that's got some talent at this! I just KNOW we're going to be great friends. BAHAHAHAHA LOLZ
Last edited by TunerMax; Apr 14, 2013 at 04:49 PM.

The actual glow of the needles with white LEDs is more in the orangey side that's why I used the red LEDs on the prisms! By the way have you done any more led stuff to your car like headlights, interior, license plate etc?
Last edited by EDGAR; Jan 21, 2012 at 09:13 PM.
Taken to PM. I have a feeling we can litter this thread up quite quickly. LOL
1-22-12 UPDATE ~ Cluster
Took some time while the little dude napped today to make some more headway on the cluster. I'm pretty upset with the RF controller, it's already not working right, hoping it's just a faulty controller!
Anyways, here come the pictures
SANDING GAUGE FACES & NEEDLES:

TIP: ALWAYS WET SAND PLASTIC. I USED 400 GRIT PAPER FOR THIS
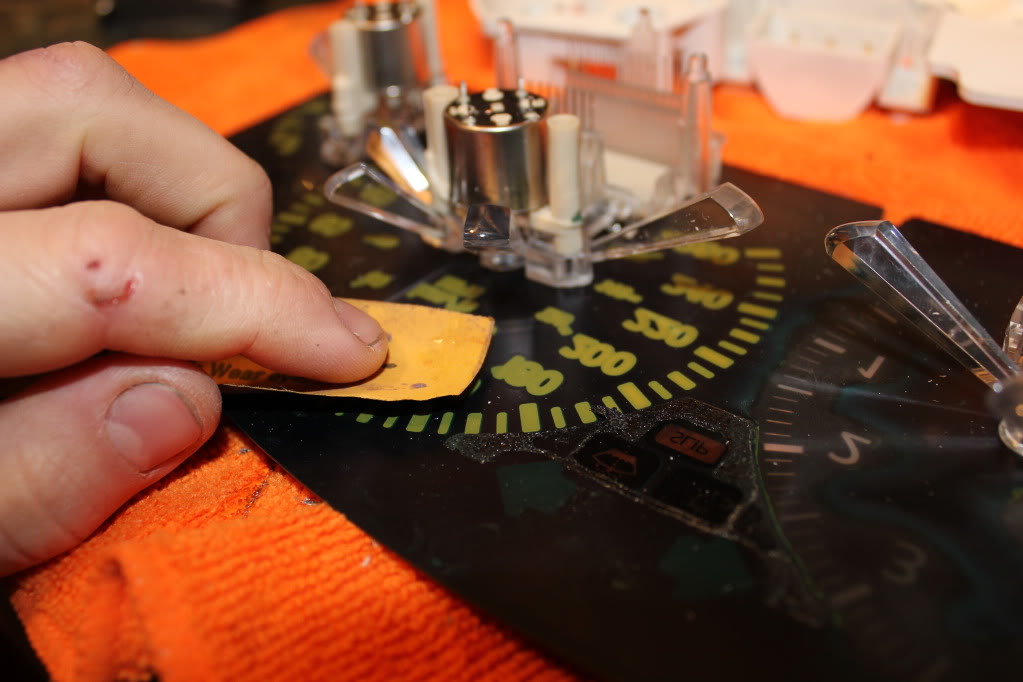
WHEN DONE SANDING WIPE CLEAN WITH DAMP MICROFIBER CLOTH, THEN WIPE MOISTURE AWAY WITH DRY MICROFIBER CLOTH:
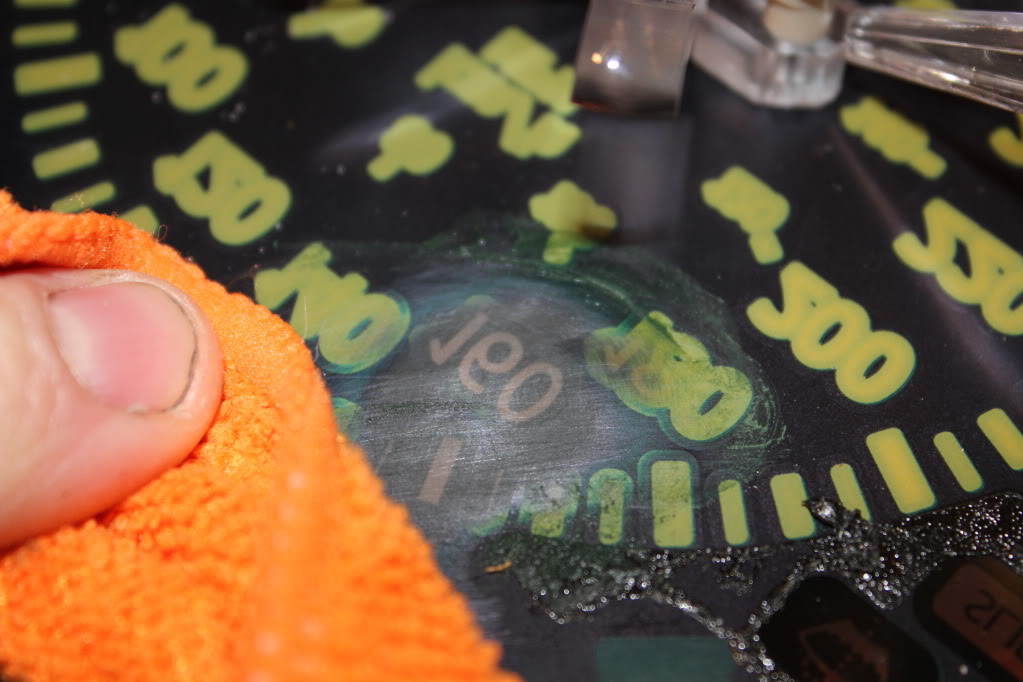
TIP: USE A SMALL SCREWDRIVER OR EQUIVALENT AND FOLD THE SANDPAPER OVER ON ITSELF A FEW TIMES TO ENSURE THE SCREWDRIVER DOESN'T CUT THROUGH INTO THE GAUGE FACE. THIS SHOULD ONLY BE DONE ON THE HARD TO REACH AREAS WHERE YOU CAN'T SQUEEZE YOUR FINGER IN TO APPLY PRESSURE.
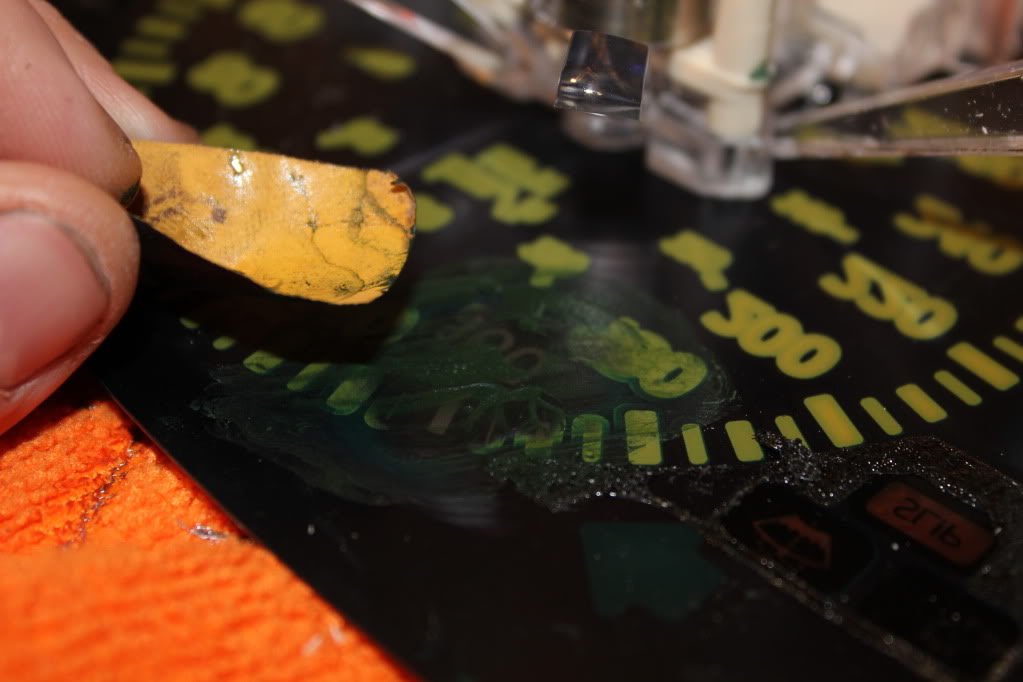
GAUGE FACES ALL WETSANDED:

WIPED CLEAN AND DRY:
I'm going to try something on these, gonna try using a plastic scratch remover/clearcoat similar to what they use on headlight lenses. I don't know what it'll do, but I'm hoping it may make the output better through the gauges. It might actually prove to create hotspotting which I don't want, but I'm going to test it and will post back results.
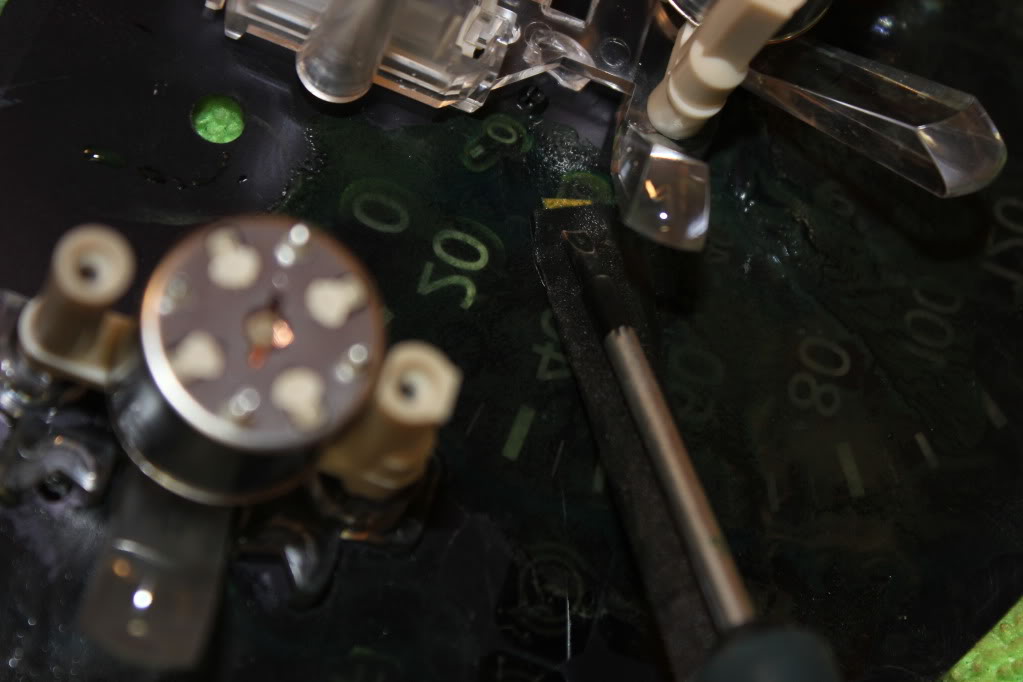
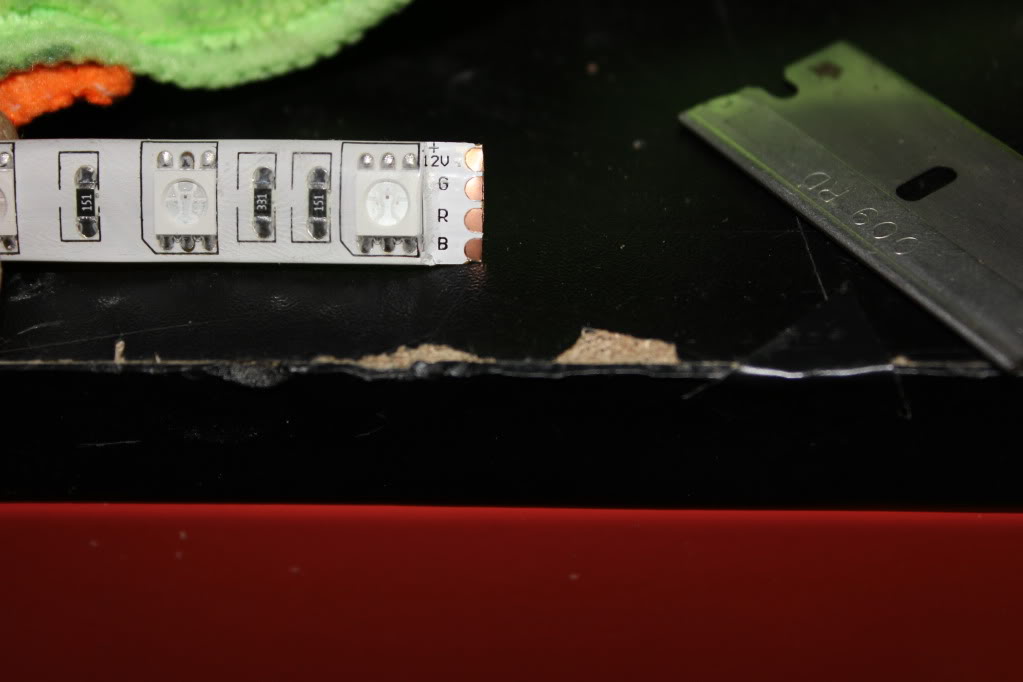
TRIED TO USE THESE QUICK CONNECT PIGTAILS, I WAS HOPING THEY'D WORK WELL BUT I WAS UNHAPPY WITH THE CONNECTION'S INTEGRITY SO I CHOSE TO SOLDER EVERYTHING.
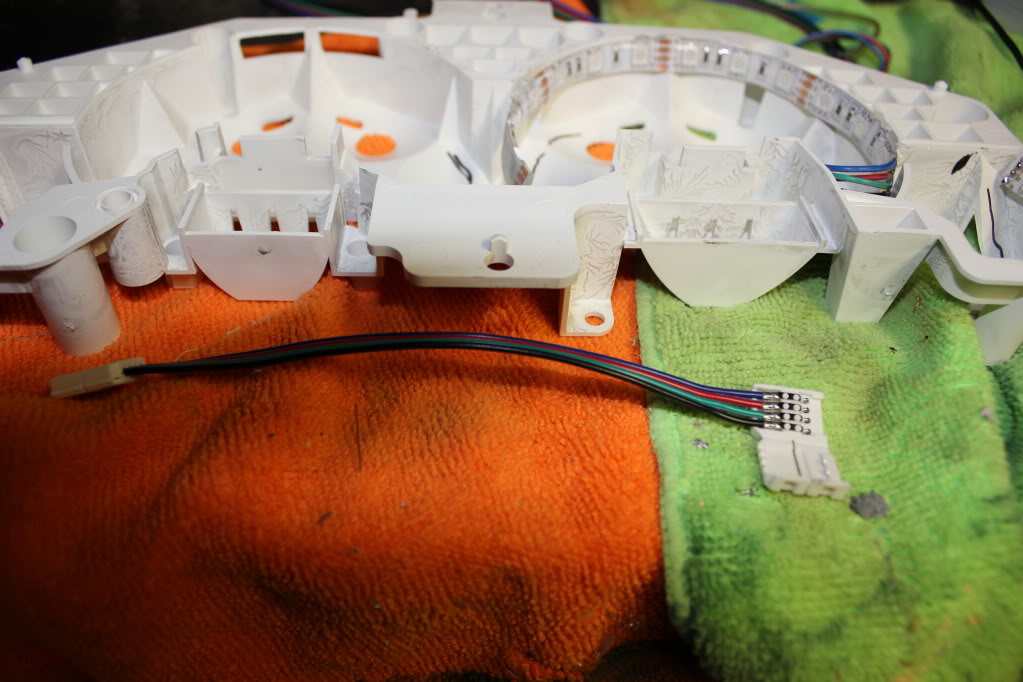
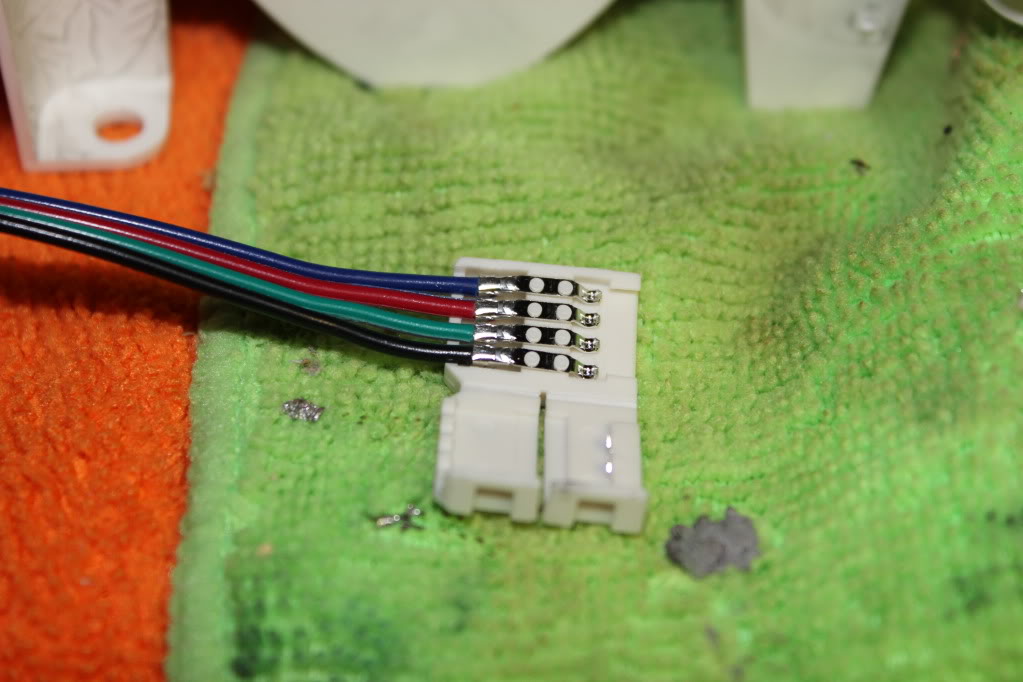
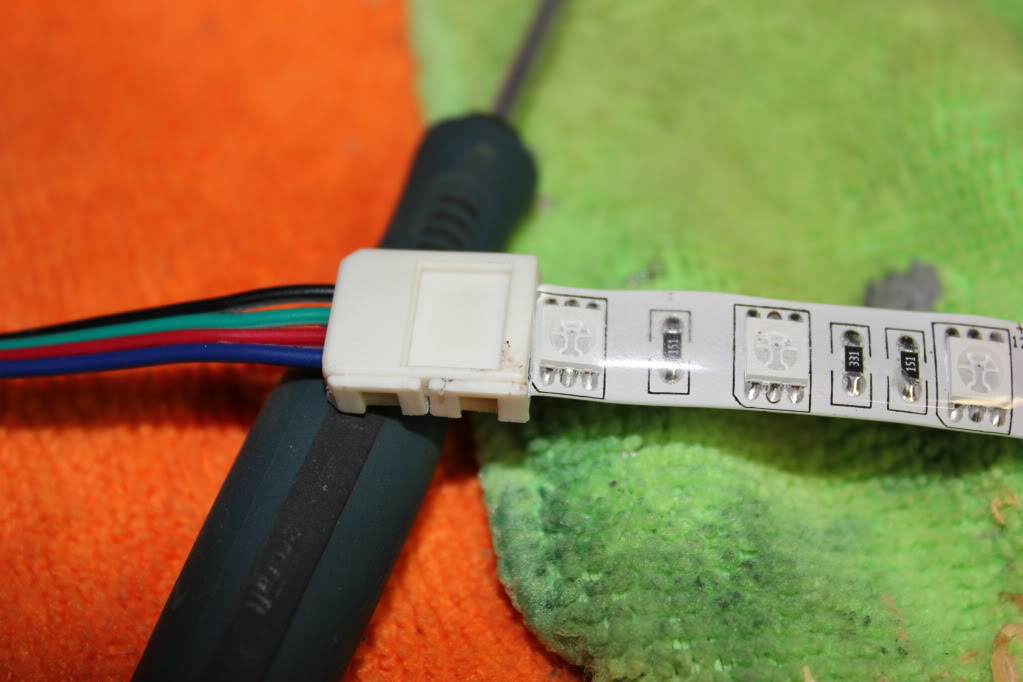

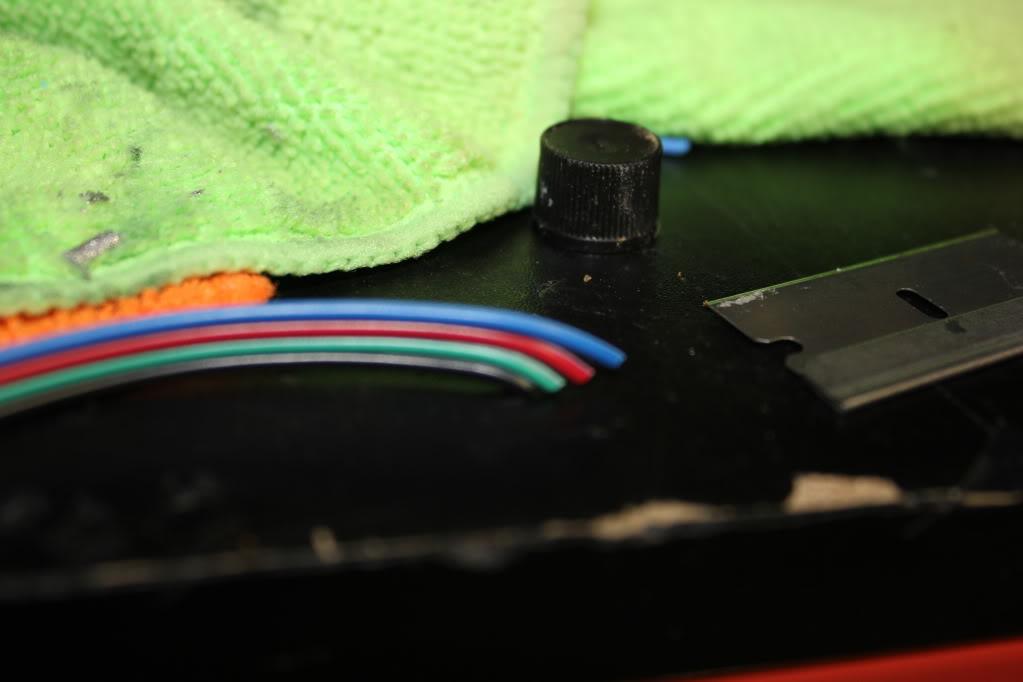
TIP: CUTTING MULTIPLE WIRES ON AN ANGLE LIKE THIS WILL ALLOW YOU TO MAKE CONNECTIONS AT A NEAR 90 DEGREE ANGLE WITHOUT UNEVEN WIRE LENGTHS:
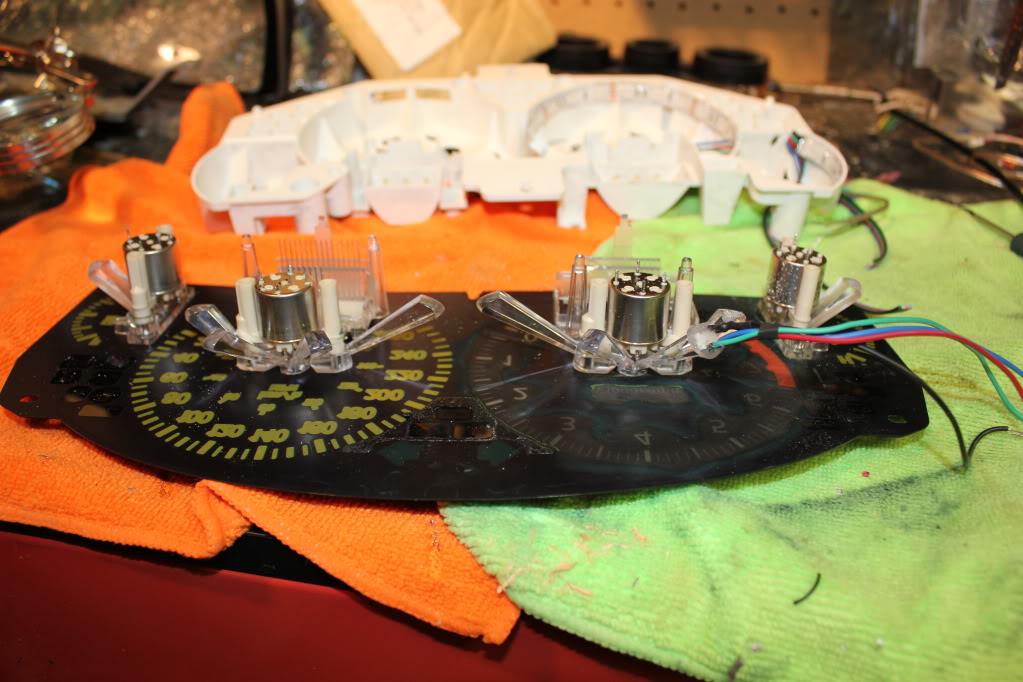
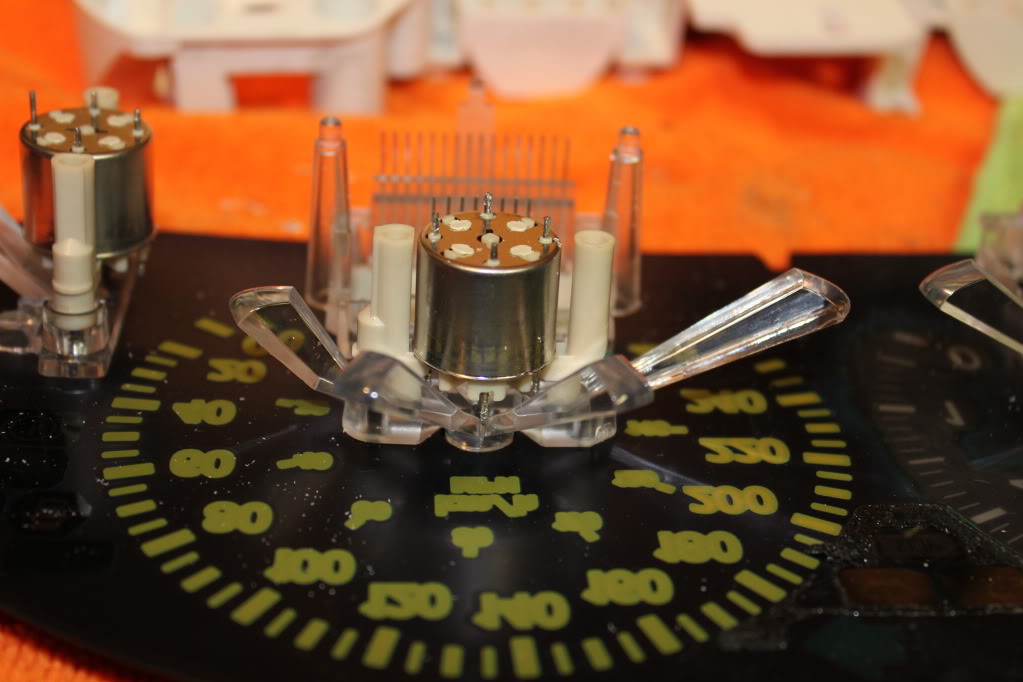
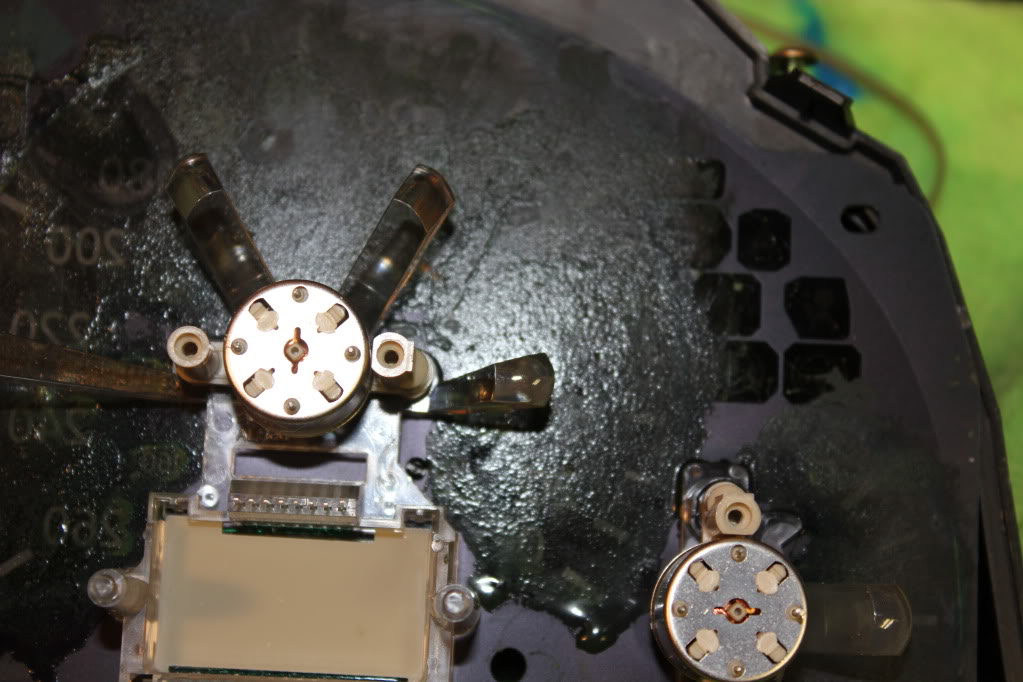
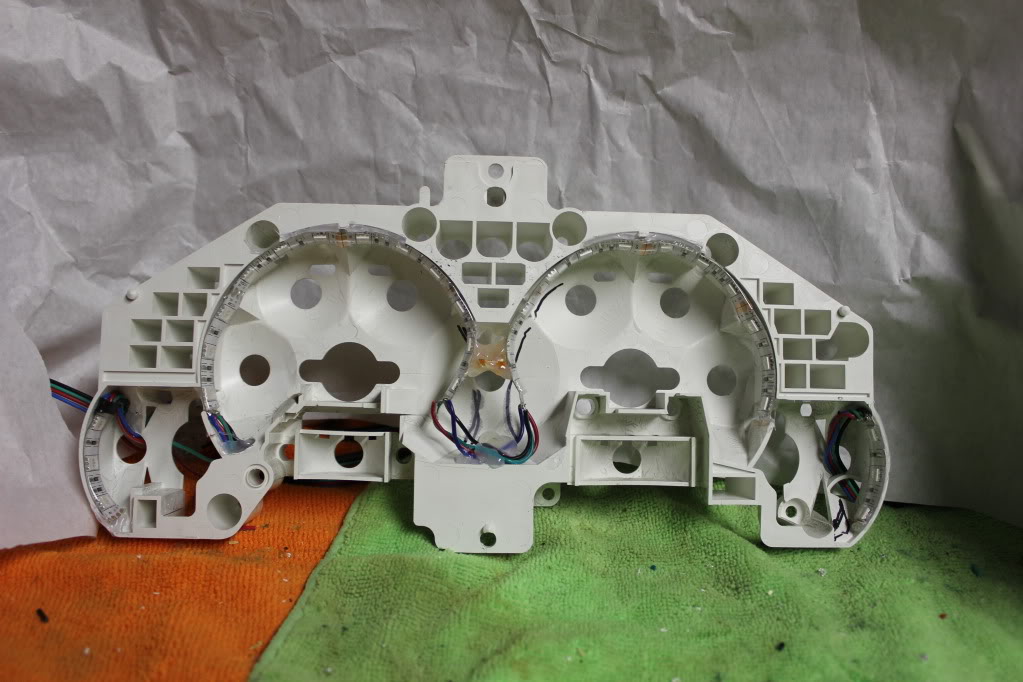
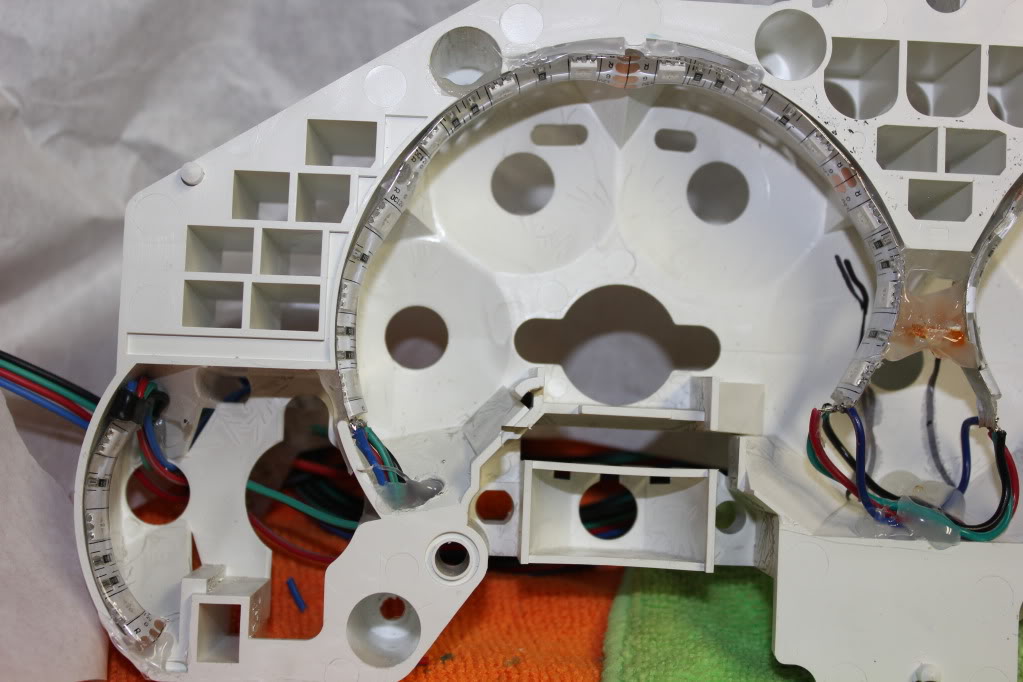
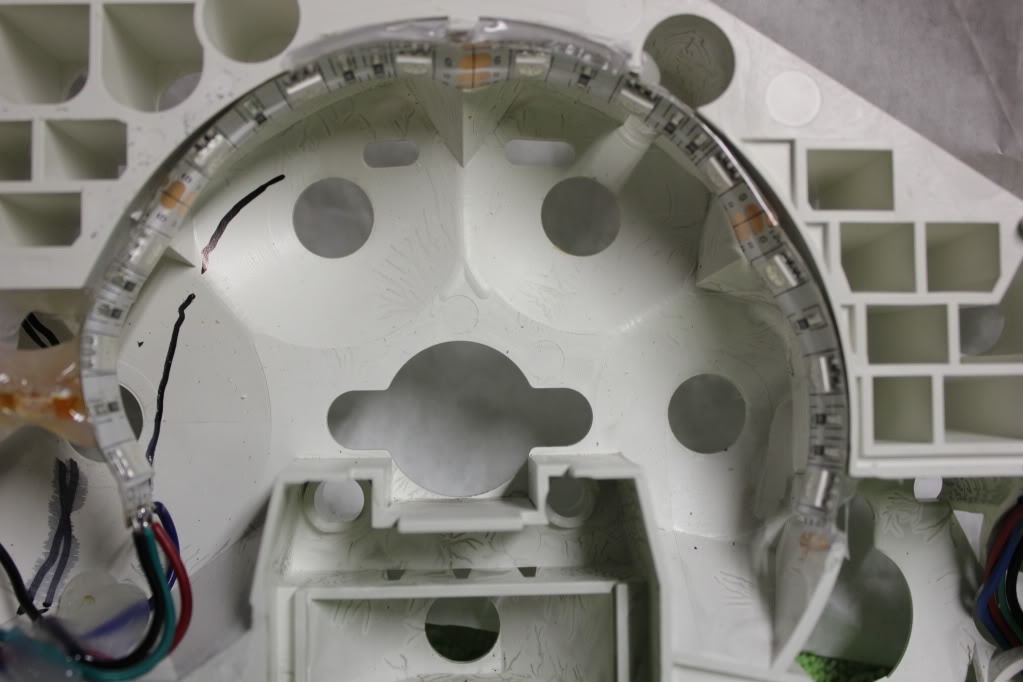
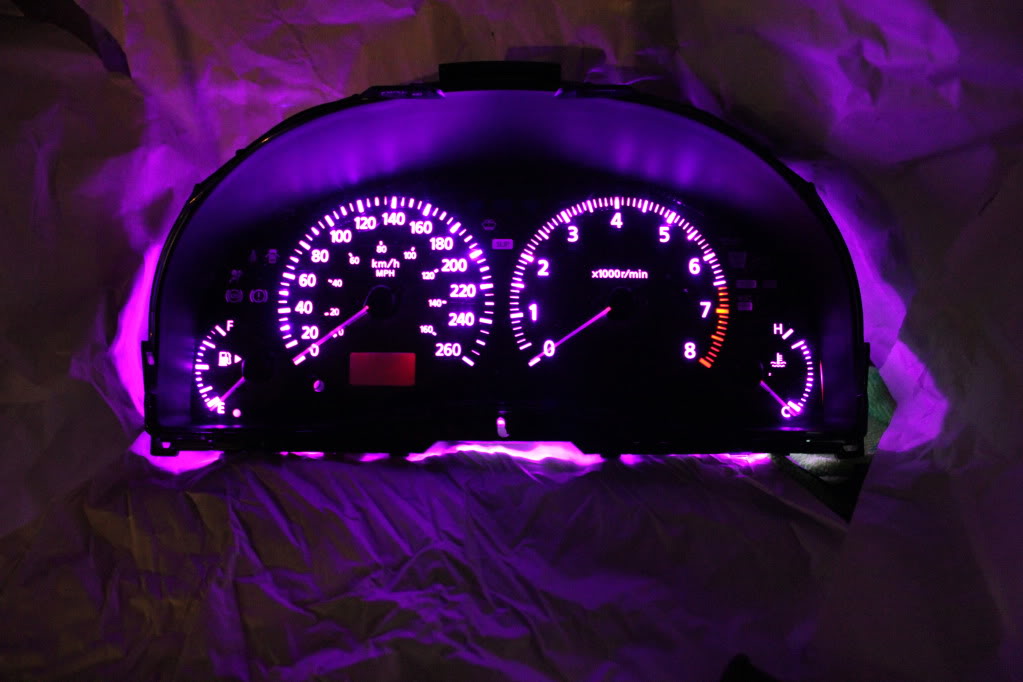
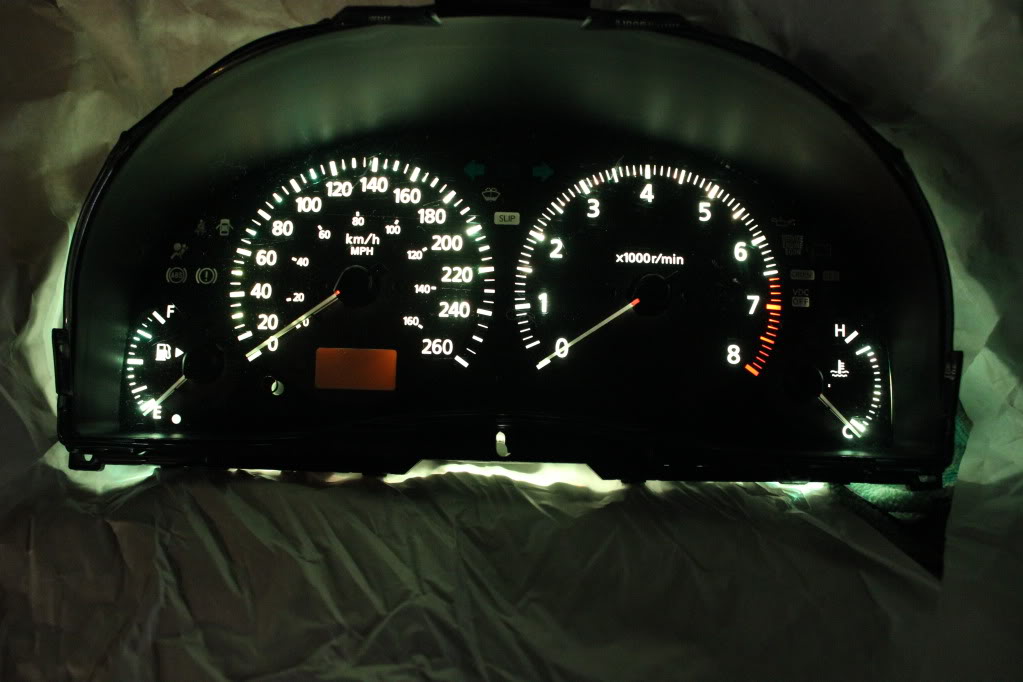
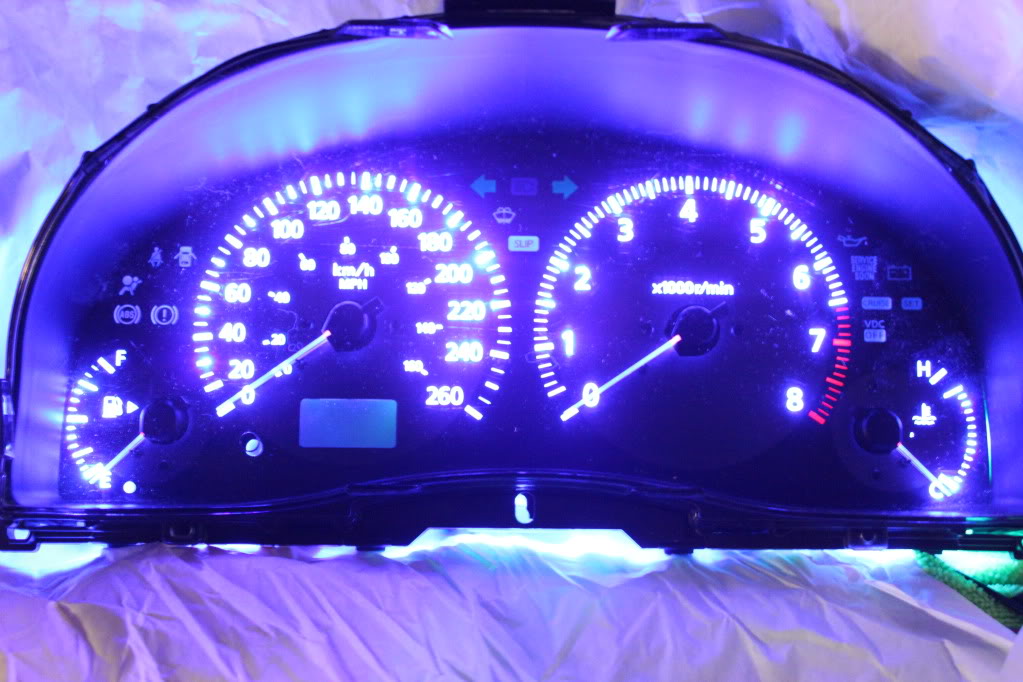
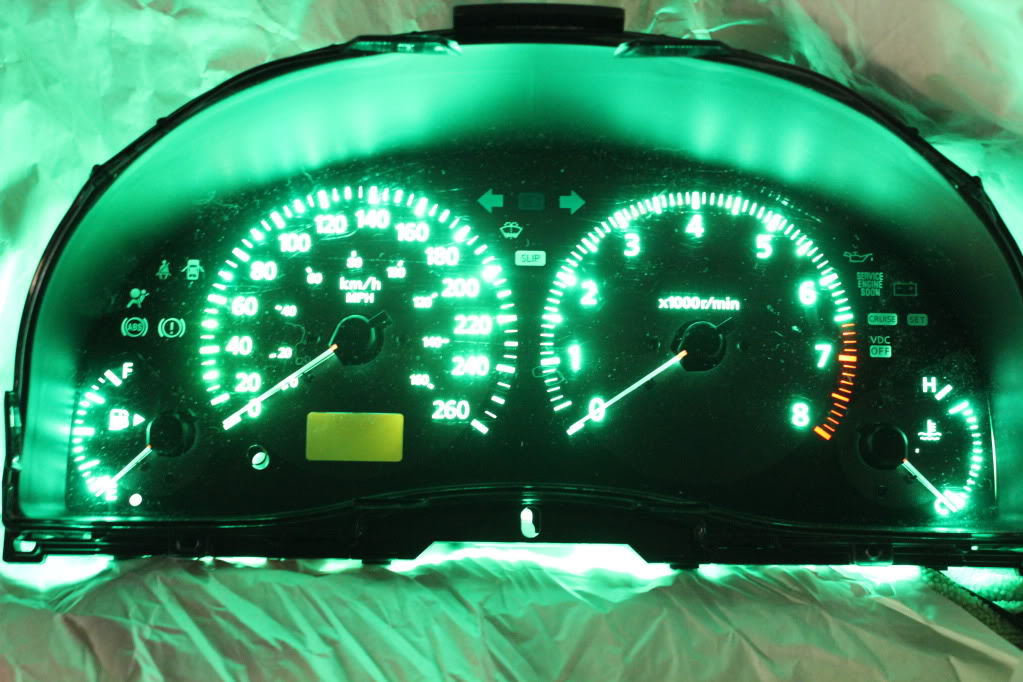
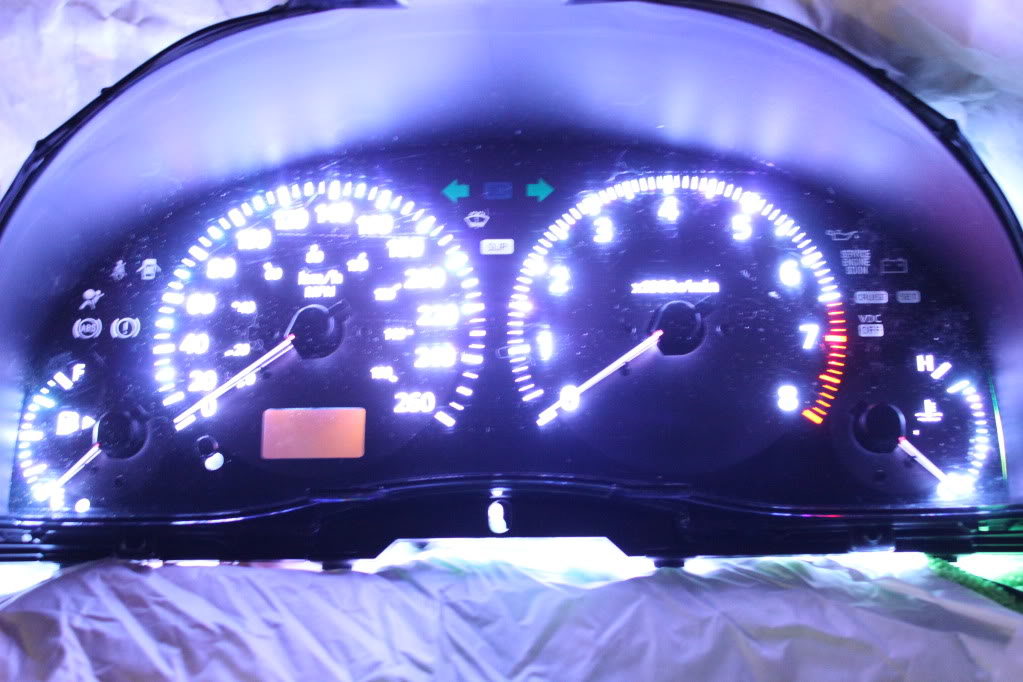
LIGHT STRIPS INSTALLED IN GAUGE CLUSTER HOUSING. NOTE: I MAY BE INSTALLING MORE LIGHTS IF THE SMD'S ON THE END OF THE PRISM'S DON'T BRIGHTEN THE WHOLE HOUSING. THE TOP 1/4 OF THE FUEL GAUGE ISN'T LIGHTING UP 100%, YOU'LL SEE THAT SOON:
THIS VID IS QUITE OVEREXPOSED. I'LL GET A BETTER ONE OF JUST THE HOUSING LATER WHEN I HAVE MORE TIME.
Anyways, here come the pictures
SANDING GAUGE FACES & NEEDLES:
TIP: ALWAYS WET SAND PLASTIC. I USED 400 GRIT PAPER FOR THIS
WHEN DONE SANDING WIPE CLEAN WITH DAMP MICROFIBER CLOTH, THEN WIPE MOISTURE AWAY WITH DRY MICROFIBER CLOTH:
TIP: USE A SMALL SCREWDRIVER OR EQUIVALENT AND FOLD THE SANDPAPER OVER ON ITSELF A FEW TIMES TO ENSURE THE SCREWDRIVER DOESN'T CUT THROUGH INTO THE GAUGE FACE. THIS SHOULD ONLY BE DONE ON THE HARD TO REACH AREAS WHERE YOU CAN'T SQUEEZE YOUR FINGER IN TO APPLY PRESSURE.
GAUGE FACES ALL WETSANDED:
WIPED CLEAN AND DRY:
I'm going to try something on these, gonna try using a plastic scratch remover/clearcoat similar to what they use on headlight lenses. I don't know what it'll do, but I'm hoping it may make the output better through the gauges. It might actually prove to create hotspotting which I don't want, but I'm going to test it and will post back results.
TRIED TO USE THESE QUICK CONNECT PIGTAILS, I WAS HOPING THEY'D WORK WELL BUT I WAS UNHAPPY WITH THE CONNECTION'S INTEGRITY SO I CHOSE TO SOLDER EVERYTHING.
TIP: CUTTING MULTIPLE WIRES ON AN ANGLE LIKE THIS WILL ALLOW YOU TO MAKE CONNECTIONS AT A NEAR 90 DEGREE ANGLE WITHOUT UNEVEN WIRE LENGTHS:
LIGHT STRIPS INSTALLED IN GAUGE CLUSTER HOUSING. NOTE: I MAY BE INSTALLING MORE LIGHTS IF THE SMD'S ON THE END OF THE PRISM'S DON'T BRIGHTEN THE WHOLE HOUSING. THE TOP 1/4 OF THE FUEL GAUGE ISN'T LIGHTING UP 100%, YOU'LL SEE THAT SOON:
THIS VID IS QUITE OVEREXPOSED. I'LL GET A BETTER ONE OF JUST THE HOUSING LATER WHEN I HAVE MORE TIME.
Last edited by TunerMax; Jan 22, 2012 at 08:48 PM.
1-22-12 CONTINUED~ Cluster
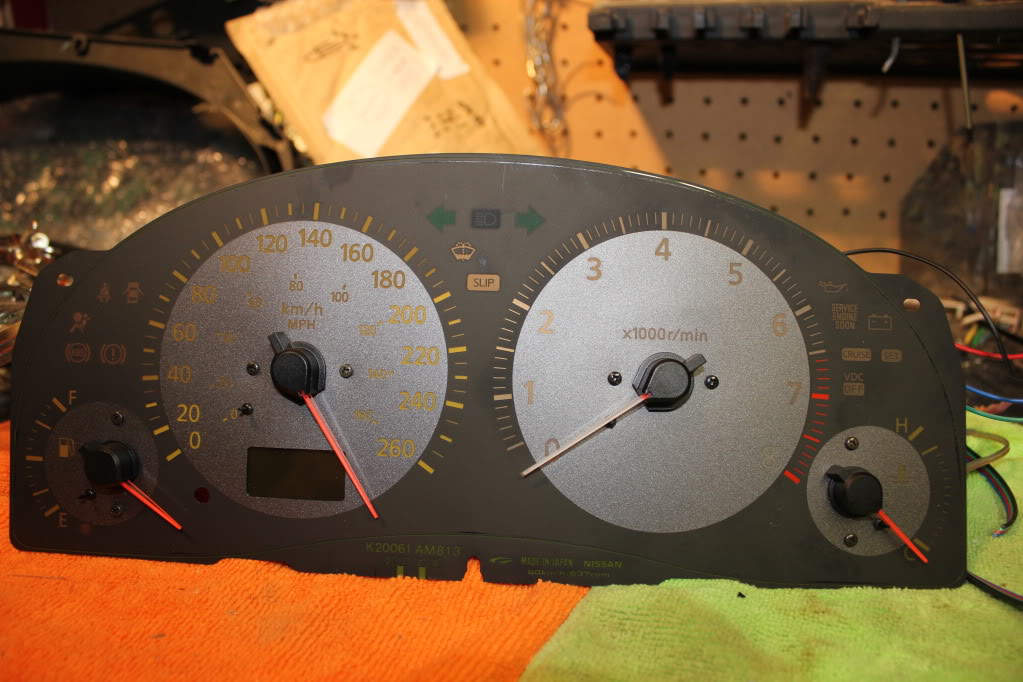
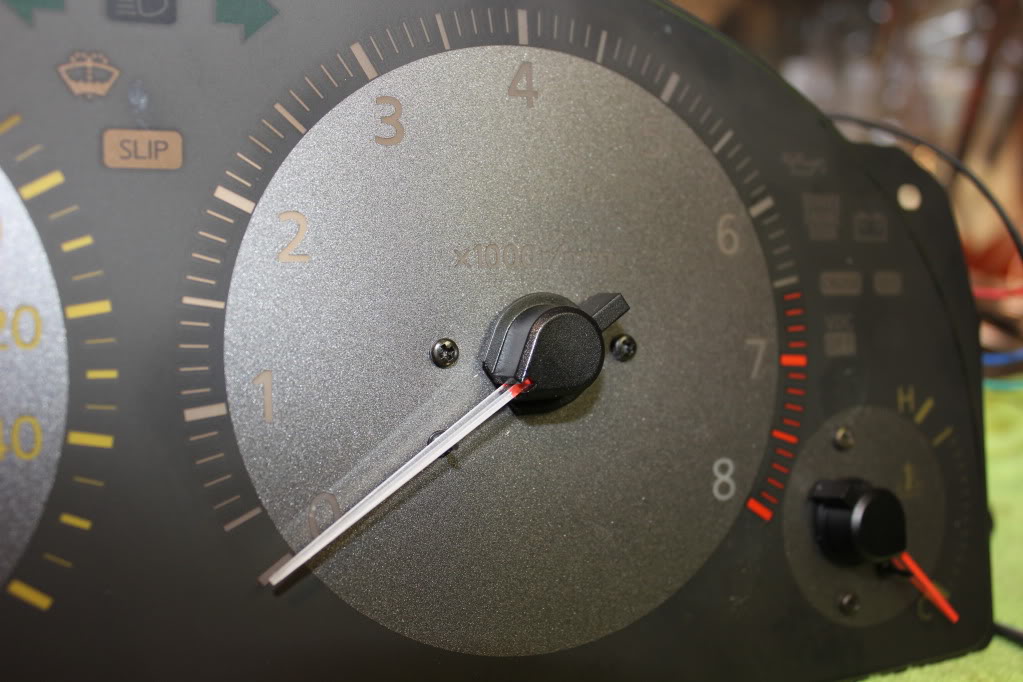
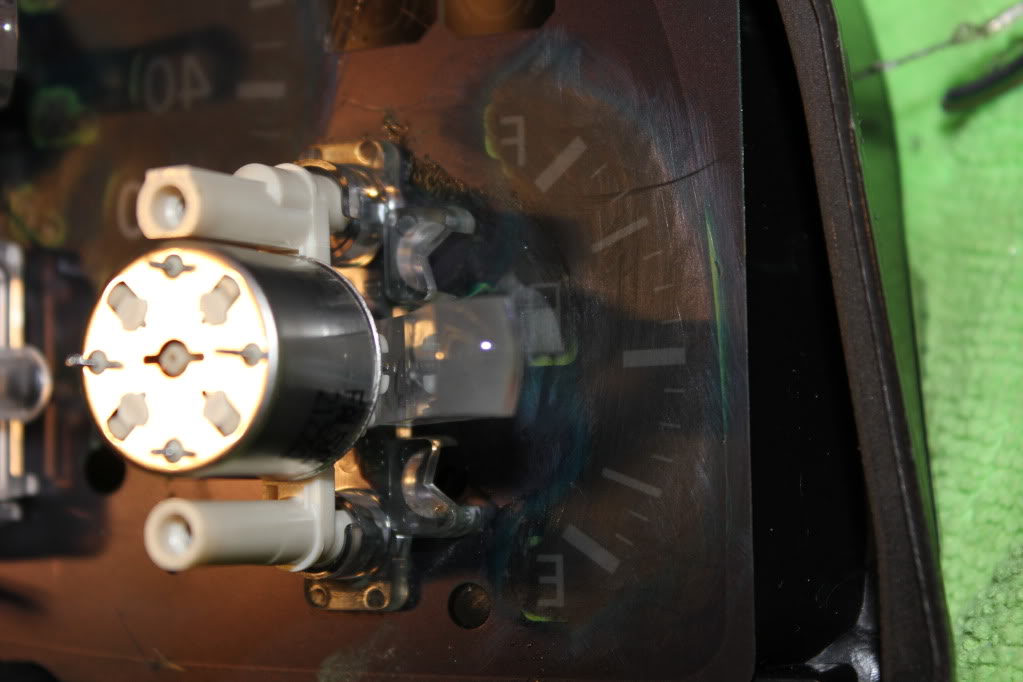
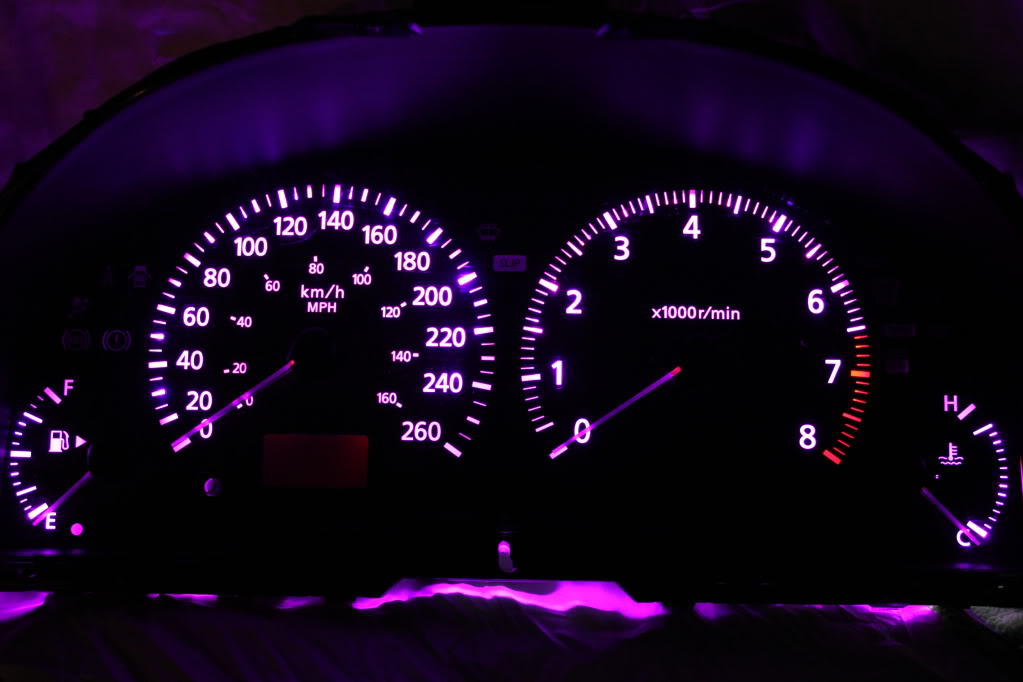
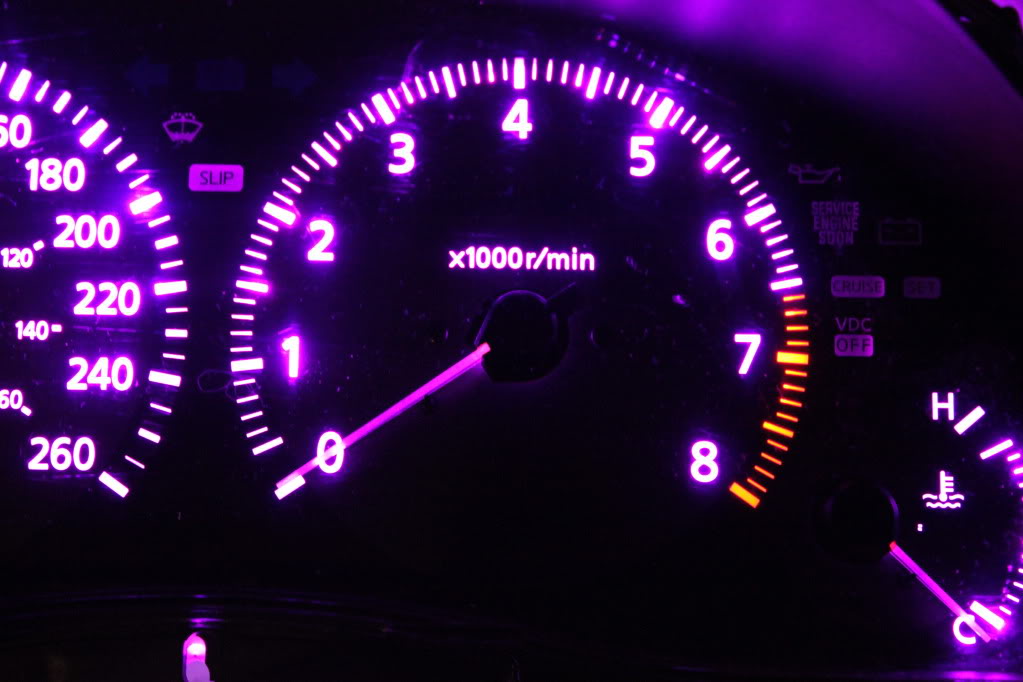
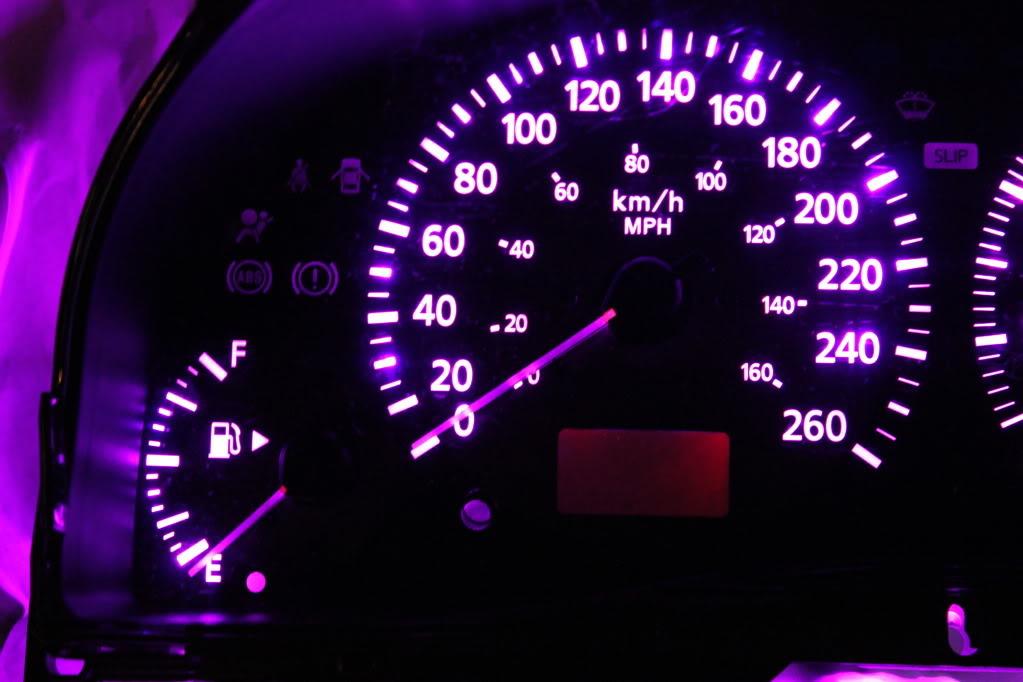
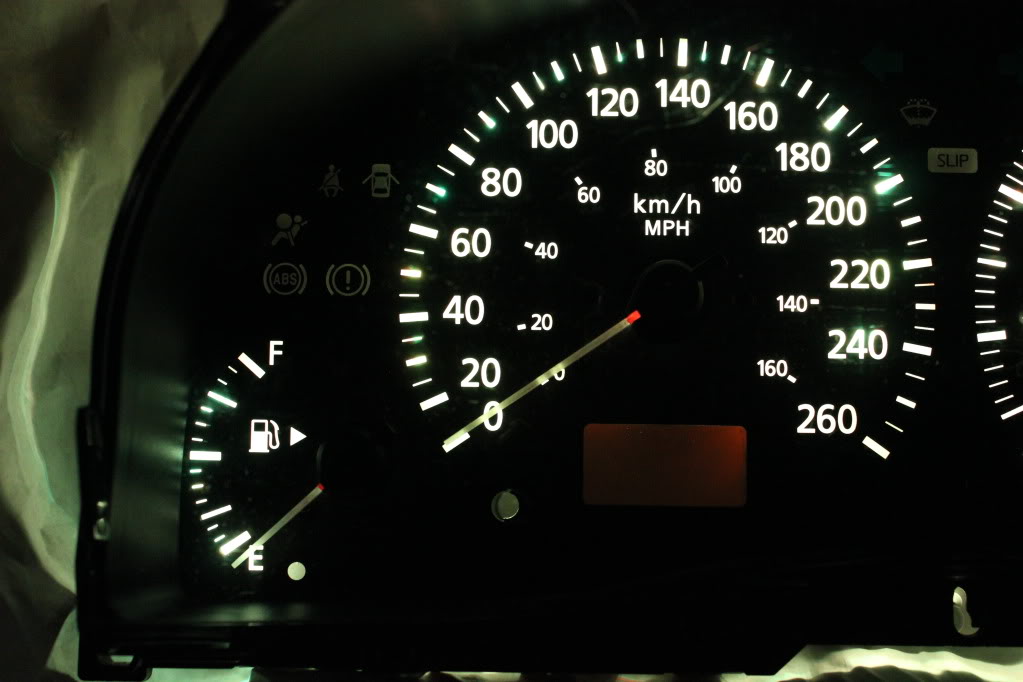
Here's the shots with the needles & gauge faces cleared, on the housing above. Note: None of the needle illumination is on yet, and a few pics are overexposed I was rushing:

Video will be up later the internet is intolerably slow where I am.
Video will be up later the internet is intolerably slow where I am.
Last edited by TunerMax; Jan 22, 2012 at 08:37 PM.


It's almost therapy/meditation for me man, and I never work on it when I'm under time retraints because I know the patience and mindset needed to do this work properly without damaging stuff. It's finicky, the gauges and needles are so sensitive, so are all the prongs and connectors. If I had to guess what I have in the mod so far I'd say 5 hours total including the clock? Complete guess though. I'm over halfway though on the gauges. I will probably have to stall out waiting for more 5050 SMD's, now that I"ve tested them and know they'll work.
Obviously doing it over again I'd be much much faster, but there's no manual for how to do this shyt.
Last edited by TunerMax; Apr 14, 2013 at 04:39 PM.
Update: I think I figured out how to add colourchanging side emitting Fiber-optics to this shenanigans
I'm also going to try some standard fiberoptics to light up the INFINITI on the door sils.
I'm also going to try some standard fiberoptics to light up the INFINITI on the door sils.

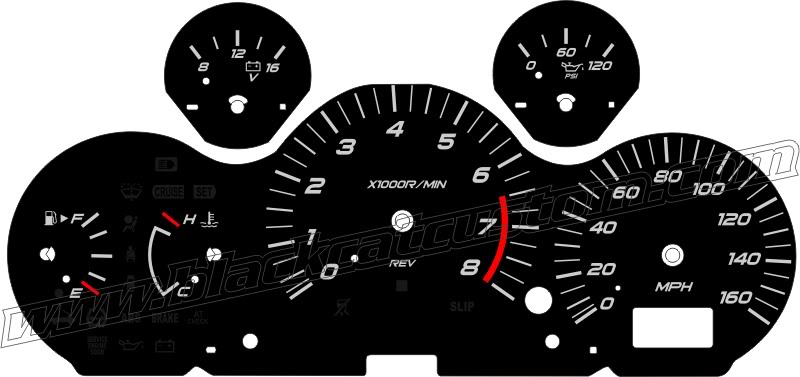
I'm disappointed with the gauges. Even with them fully modded they still only look "good" in mybooks.
It's the gauge faces, they're so plain. Damn you infiniti!! should've stepped it up a notch boys.
I will start hunting to see if there's good gauge faces for these clusters.
It's the gauge faces, they're so plain. Damn you infiniti!! should've stepped it up a notch boys.
I will start hunting to see if there's good gauge faces for these clusters.

Ok I really like the contour of the 05/06. The wiring wouldn't be a big deal either.
The problem is, I don't want to have to re-do the whole thing, this housing is pretty much done, so I'm going to try and ride it out.
I'm working with Al over at Blackcatcustoms.com in Niagara Falls to get a few gauge face options on the go.
one of them is this piano black:
with this font:
I've got a few things starting to cook in my mind, I'll see what Al comes up with first though. I want to change the notch layout on the font above (that's one of his updated faces for the 350Z if you don't recognize it)
I was going to go with white face, but the car's black, everywhere, so white faced gauges may stand out like a sore thumb. Black face is too plain though, so silver or piano black seem to be my options......
Also thinking about getting a decal or NISMO, or TunerMax or something incorporated into the gauge face also........

Registered User
Joined: Jan 2012
Posts: 11
Likes: 1
Wow! All I can say is wow!
I'm sooo glad to see that someone has/is trying this. When I read that the 04's didn't have LED's I was heart broken, but its good to see a clean way to upgrade.
I'm curious though, did you end up using a scratch remover on the reverse of the gauges? And if so, did it cause those dreaded bright spots?
Also, the way it is set up right now, the red line on the tach is going to be lit up with the same color of the gauge. Did you think about separating that portion off and using just white LED's so that the intensity will remain constant as the color changes?