The "Look what I made/installed/modified today" thread.

Thread Tools
 
Search this Thread
 
Rate Thread
 
Old Aug 21, 2010 | 02:36 PM
  #1  
naughty240's Avatar
Thread Starter
|
Registered User
iTrader: (29)
Joined: Sep 2007
Posts: 5,705
Likes: 53
From: Quahog RI
The "Look what I made/installed/modified today" thread.

We have a "Look what I bought thread" so why not a "Look what I made/installed/modified today" thread.

Lots of us have been putting in some wrench time and getting our hands dirty and dusty. Post up you projects you did.

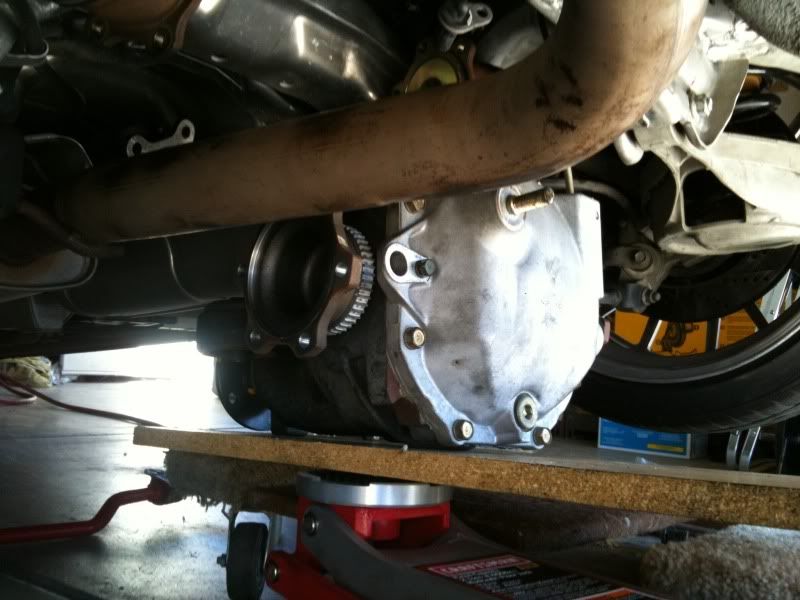
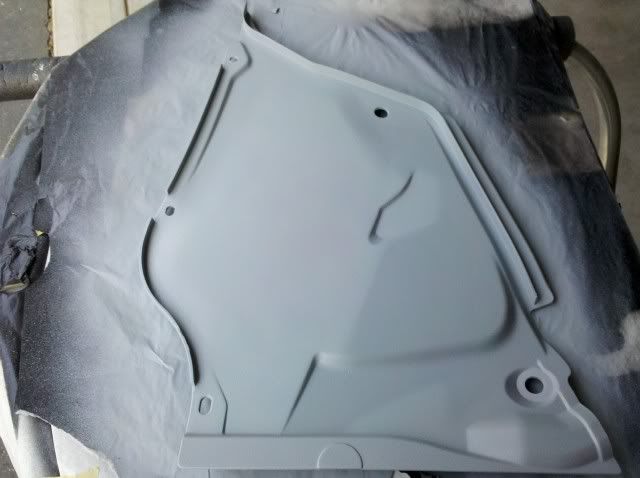
Today I finished up my shaved battery cover. Ill start the next one today.


Last edited by naughty240; Aug 21, 2010 at 11:01 PM.
Reply
Old Aug 21, 2010 | 04:40 PM
  #2  
CandlestickPark's Avatar
ill Sedan
Staff Alumni
iTrader: (87)
Joined: Jun 2007
Posts: 23,261
Likes: 2,688
From: Long Beach, SoCal
Premier Member

Nice work, those are going to be hella clean!
 
Reply
Old Aug 21, 2010 | 05:30 PM
  #3  
GGGUNOT's Avatar
Registered User
Joined: Nov 2009
Posts: 38
Likes: 0
good job!
 
Reply
Old Aug 21, 2010 | 06:50 PM
  #4  
CG4DR's Avatar
Registered User
iTrader: (12)
Joined: Apr 2010
Posts: 3,139
Likes: 36
From: FL
how did you do that? diy?
 
Reply
Old Aug 21, 2010 | 06:52 PM
  #5  
TheDizzle's Avatar
Registered User
iTrader: (6)
Joined: Jan 2008
Posts: 641
Likes: 16
From: Dallas,TX
Damn! Nice work man!
 
Reply
Old Aug 21, 2010 | 06:56 PM
  #6  
naughty240's Avatar
Thread Starter
|
Registered User
iTrader: (29)
Joined: Sep 2007
Posts: 5,705
Likes: 53
From: Quahog RI
Originally Posted by StormTroopa
how did you do that? diy?
its Autobody 101 stuff. I just used a soldering gun to melt the cover to the big cover. Then grind the plactics to prep for epoxy. Sand the epoxy then light coat of polyester putty. Then prime.
 
Reply
Old Aug 21, 2010 | 07:01 PM
  #7  
CG4DR's Avatar
Registered User
iTrader: (12)
Joined: Apr 2010
Posts: 3,139
Likes: 36
From: FL
never had autobody.. but that seems easy enough
 
Reply
Old Aug 21, 2010 | 09:22 PM
  #8  
G35Papa's Avatar
Registered User
iTrader: (85)
Joined: Jun 2003
Posts: 14,505
Likes: 451
From: NorCal
Oh wow....I thought you meant you were just gonna shave the lettering Steve...those are on a whole new level! Sick! Those deserve berrillyum paint next
 
Reply
Old Aug 21, 2010 | 09:51 PM
  #9  
WhosRich's Avatar
Registered User
iTrader: (13)
Joined: Oct 2006
Posts: 1,958
Likes: 6
From: New York, NY
It looks clean. But how are you going to get to the battery/brake fluid now?
 
Reply
Old Aug 21, 2010 | 09:55 PM
  #10  
G35Papa's Avatar
Registered User
iTrader: (85)
Joined: Jun 2003
Posts: 14,505
Likes: 451
From: NorCal
Remove the 4 clips on the battery side and the 2 on the fluid side.
 
Reply
Old Aug 21, 2010 | 10:00 PM
  #11  
WhosRich's Avatar
Registered User
iTrader: (13)
Joined: Oct 2006
Posts: 1,958
Likes: 6
From: New York, NY
I guess its a little more inconvenience. But worth it if it cleans up the engine bay.
 
Reply
Old Aug 21, 2010 | 10:30 PM
  #12  
4drmadness's Avatar
Registered User
iTrader: (60)
Joined: Sep 2008
Posts: 6,877
Likes: 59
From: Orange County
Those look great man!
 
Reply
Old Aug 22, 2010 | 06:04 PM
  #13  
G35Papa's Avatar
Registered User
iTrader: (85)
Joined: Jun 2003
Posts: 14,505
Likes: 451
From: NorCal
Got the hard part done...removal. I was able to cut corners and not remove the middy or drive shaft.

Taking a little break before I start the install of the 3.5

 
Reply
Old Aug 22, 2010 | 06:51 PM
  #14  
CandlestickPark's Avatar
ill Sedan
Staff Alumni
iTrader: (87)
Joined: Jun 2007
Posts: 23,261
Likes: 2,688
From: Long Beach, SoCal
Premier Member

So far, so good Chris.
 
Reply
Old Aug 22, 2010 | 06:54 PM
  #15  
naughty240's Avatar
Thread Starter
|
Registered User
iTrader: (29)
Joined: Sep 2007
Posts: 5,705
Likes: 53
From: Quahog RI
Nice Chris, hey is that just a reg Craftsman lowpro jack? I need one where I dont have to drive onto wood.
 
Reply


You have already rated this thread Rating: Thread Rating: 0 votes,  average.


All times are GMT -4. The time now is 05:56 AM.