Started my headlight retrofit today!!!!!!!!!!!
#136
 05-05-2012, 07:31 PM


Well finally did a bit more progress today! On for pics cause I need some advice Myatery! Lol
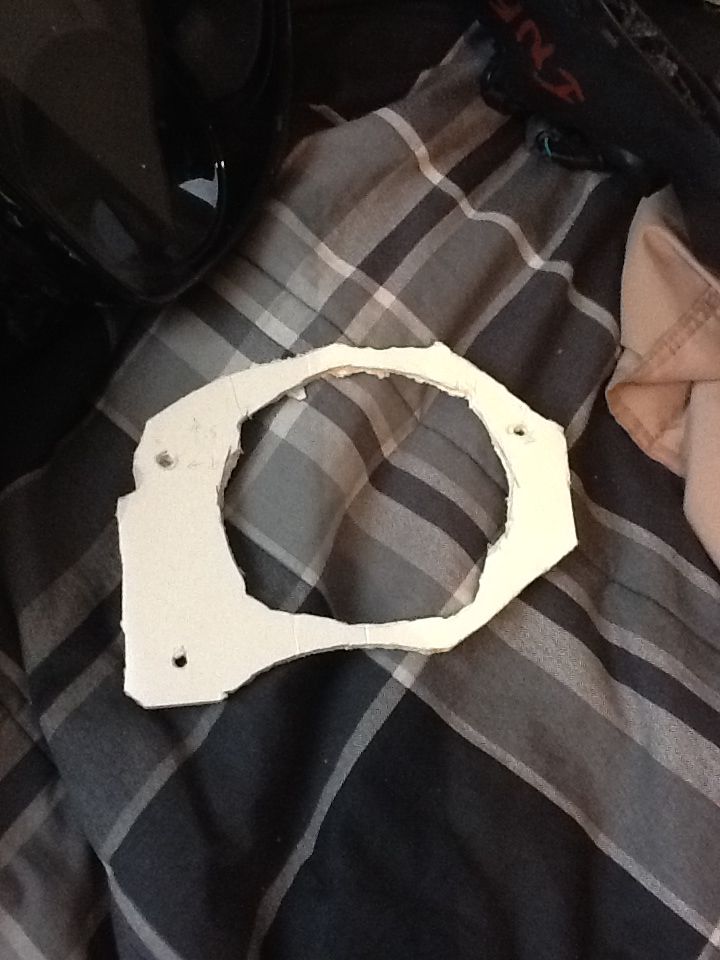
First ever prototype on foam core
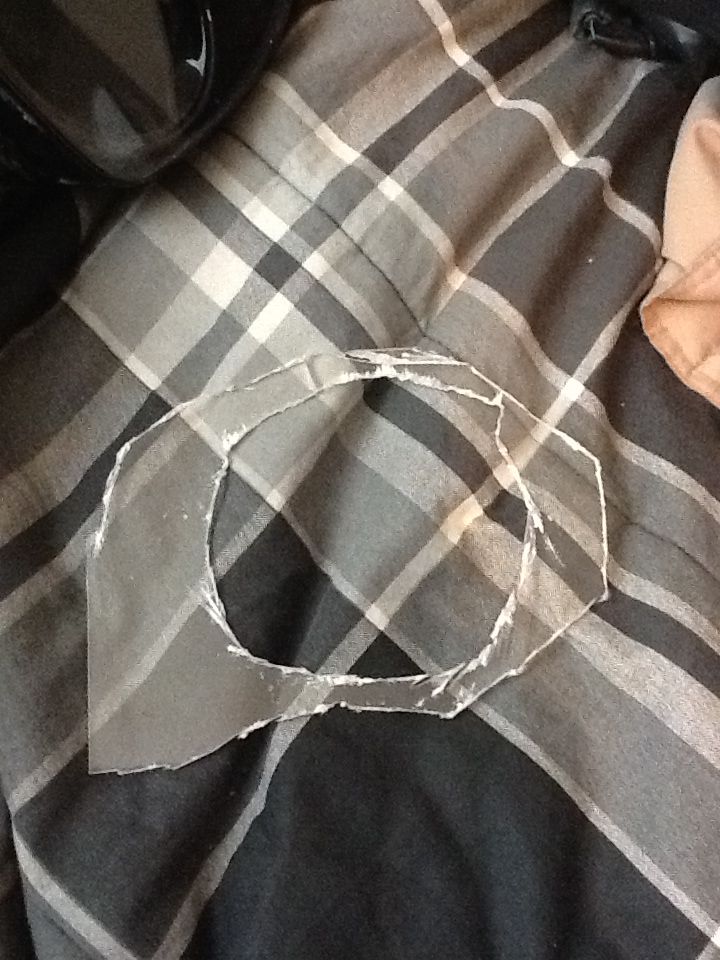
Second prototype on acrylic but horrible cutting job
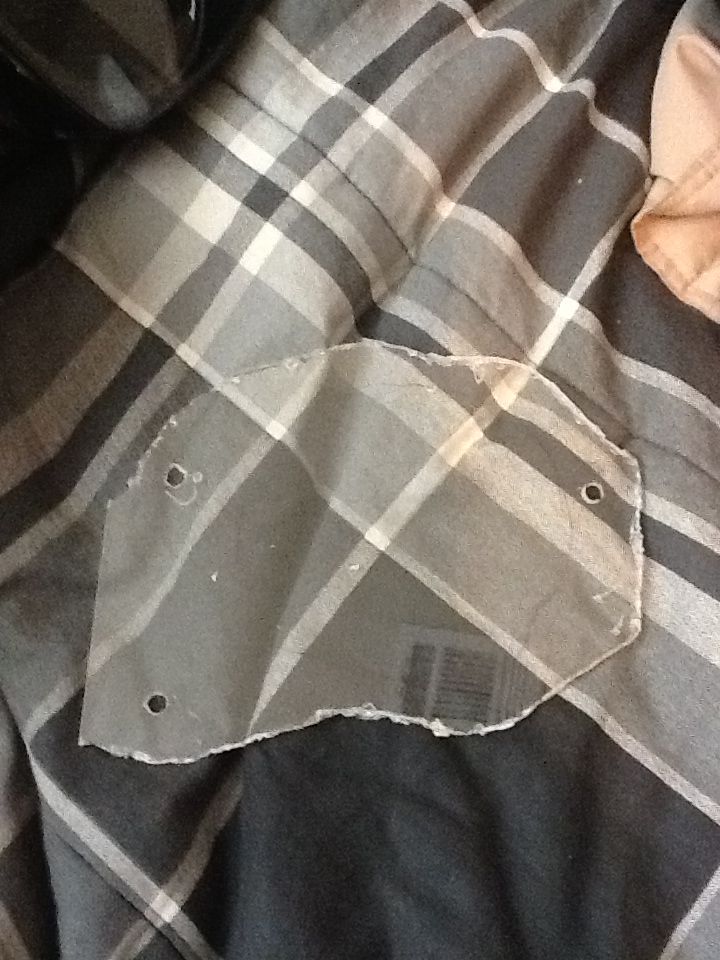
Prettied up another bracket!!
How it fits
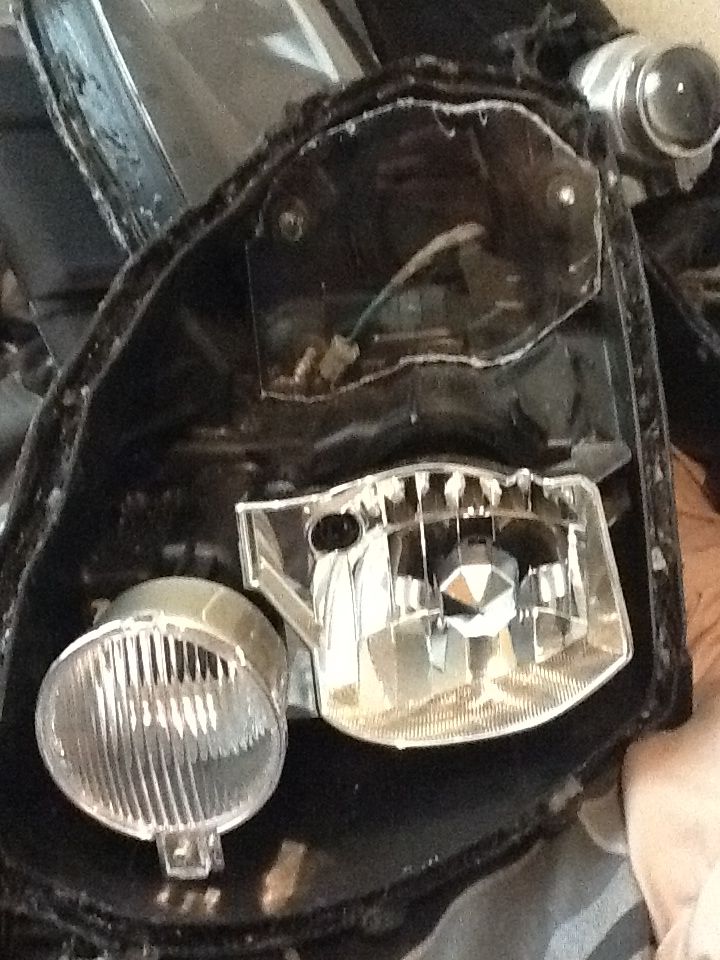
Now here's my question. How do I know if the cutoff is gonna be level or not... I was gonna continue to cut out the inside but didn't wanna start something off and have it be crooked. Is there anyway to test it out without having to rip apart my headlights on the actual vehicle? Or am I just gonna have to do that. If so I'll just finish the other side too then work with it. Also how did you get it so centered to the bezel and how we're you able to adjust yours after you saw that the top projector was a little off. Thanks bud!
First ever prototype on foam core
Second prototype on acrylic but horrible cutting job
Prettied up another bracket!!
How it fits
Now here's my question. How do I know if the cutoff is gonna be level or not... I was gonna continue to cut out the inside but didn't wanna start something off and have it be crooked. Is there anyway to test it out without having to rip apart my headlights on the actual vehicle? Or am I just gonna have to do that. If so I'll just finish the other side too then work with it. Also how did you get it so centered to the bezel and how we're you able to adjust yours after you saw that the top projector was a little off. Thanks bud!
#137
05-05-2012, 11:25 PM

Well finally did a bit more progress today! On for pics cause I need some advice Myatery! Lol
First ever prototype on foam core
Second prototype on acrylic but horrible cutting job
Prettied up another bracket!!
How it fits
Now here's my question. How do I know if the cutoff is gonna be level or not... I was gonna continue to cut out the inside but didn't wanna start something off and have it be crooked. Is there anyway to test it out without having to rip apart my headlights on the actual vehicle? Or am I just gonna have to do that. If so I'll just finish the other side too then work with it. Also how did you get it so centered to the bezel and how we're you able to adjust yours after you saw that the top projector was a little off. Thanks bud!
The way I got them center was to mount them according to where the rear hole is. That is where you put the light in through the back. That scenes to be a good reference point. AS far as leveling I will be able to just drill the holes in a circular way. All four, to be able to spin them. And if it's shooting too high I'm just going to add washers to aim it right.
#138
05-05-2012, 11:31 PM
Hmm ok makes sense. I just really dont want it to end up being too low to where the bezel covers up the bottom of the projector or it sits too far to the right or something. Luckily i have an oem with the projector still on and i can kind of use it as a reference. Kinda nervous to start trimming haha
#140
05-12-2012, 11:34 PM
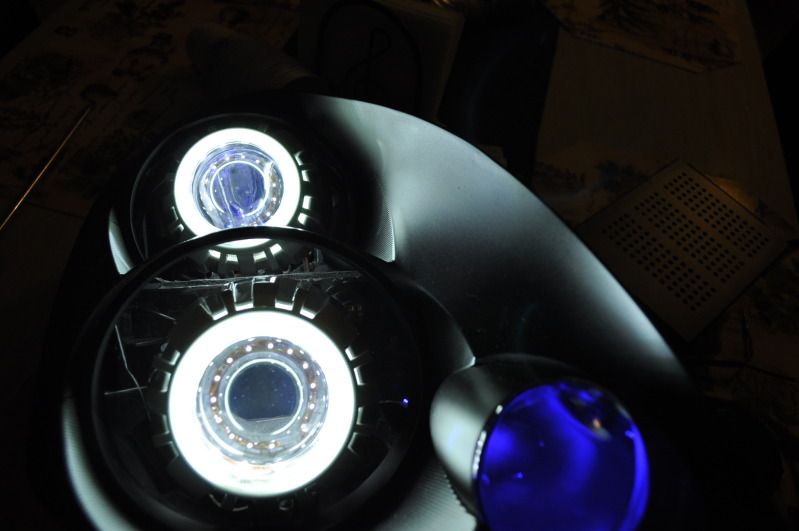
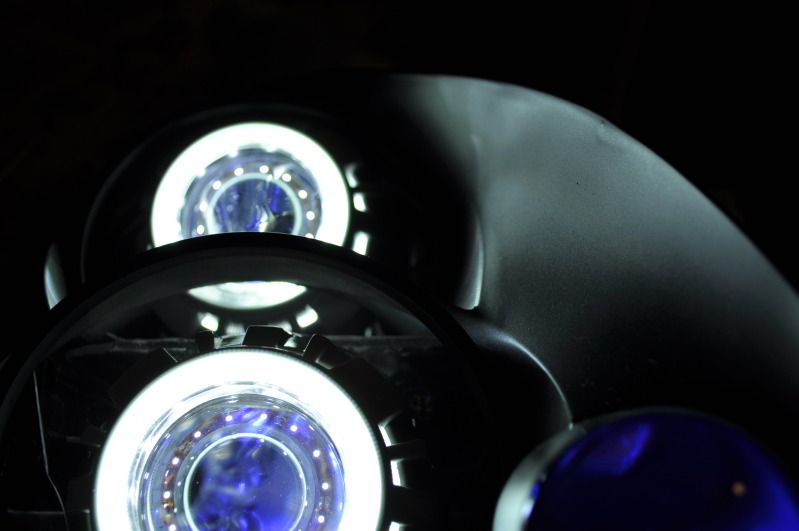
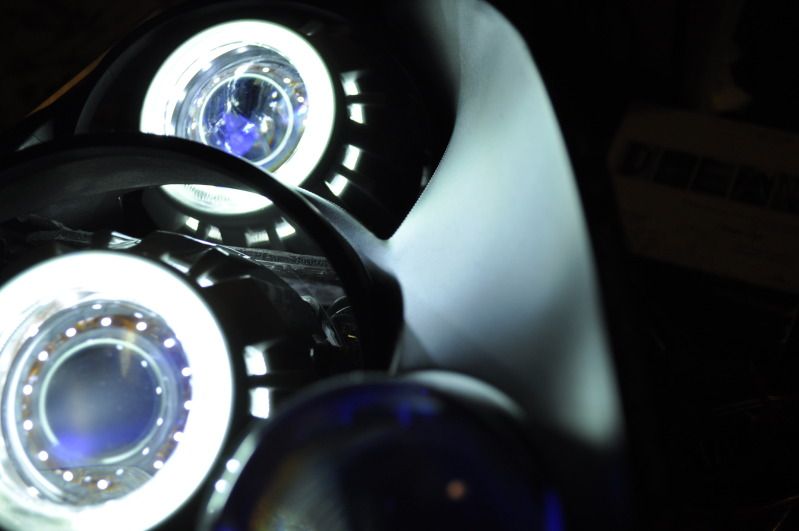
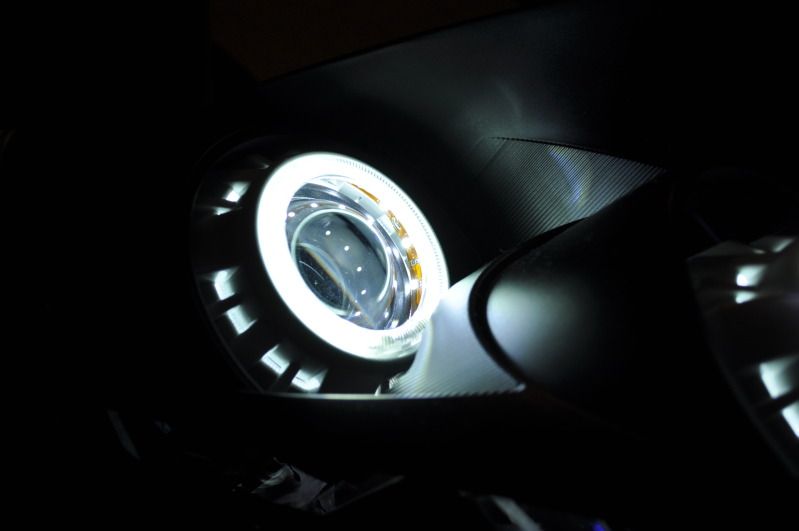
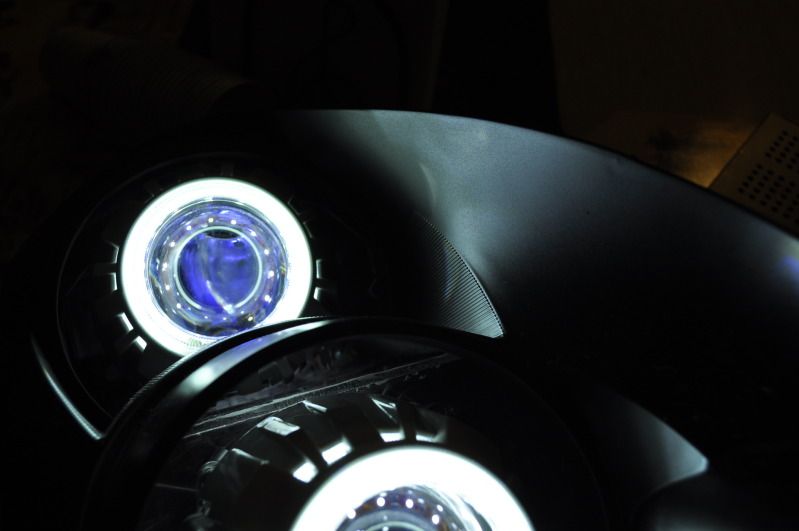
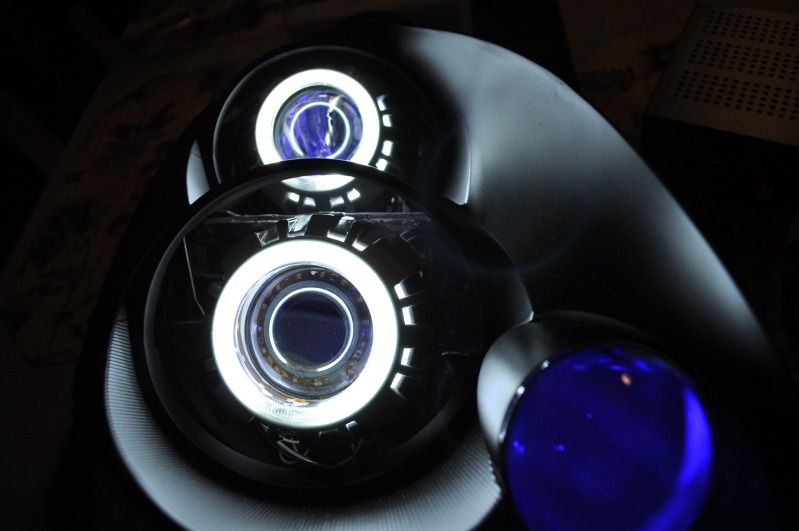
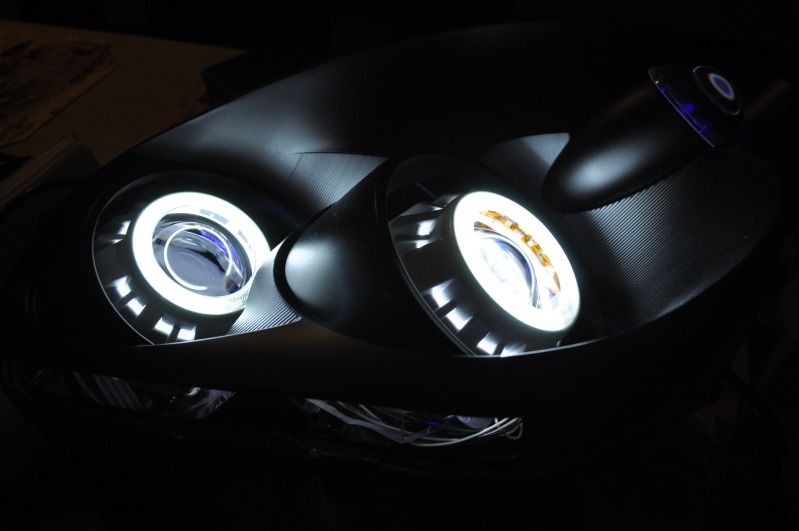
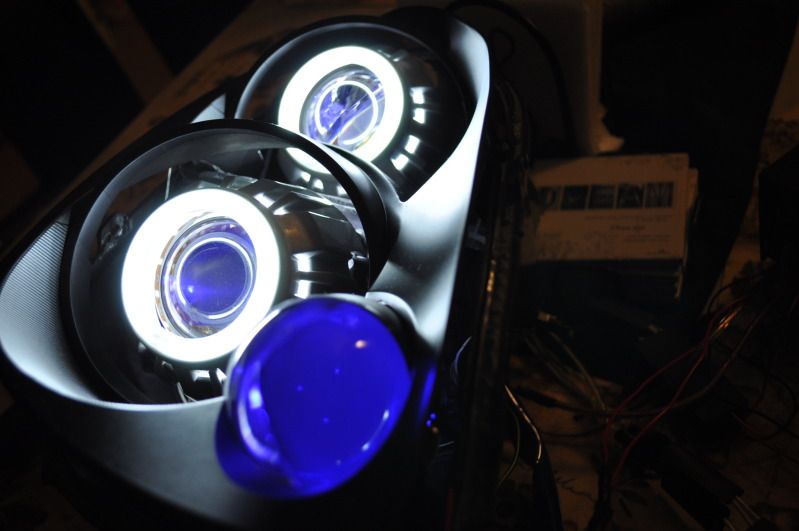
Since I am still waiting on the interior of the lights to be painted I will post up some pics of the demon eye I am doing. They are blue as you can tell by the pics. They are bright. I just finished gluing them into place and hooked them up to make sure they are working. I have 2 blue led's on each projector.
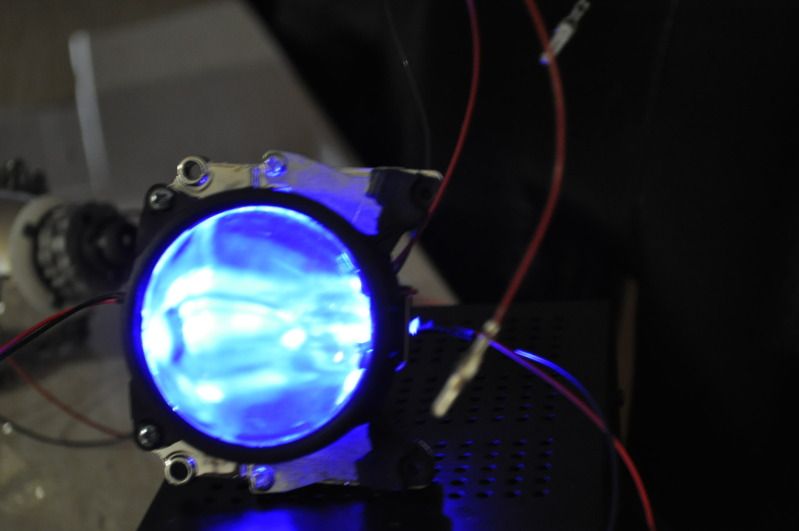
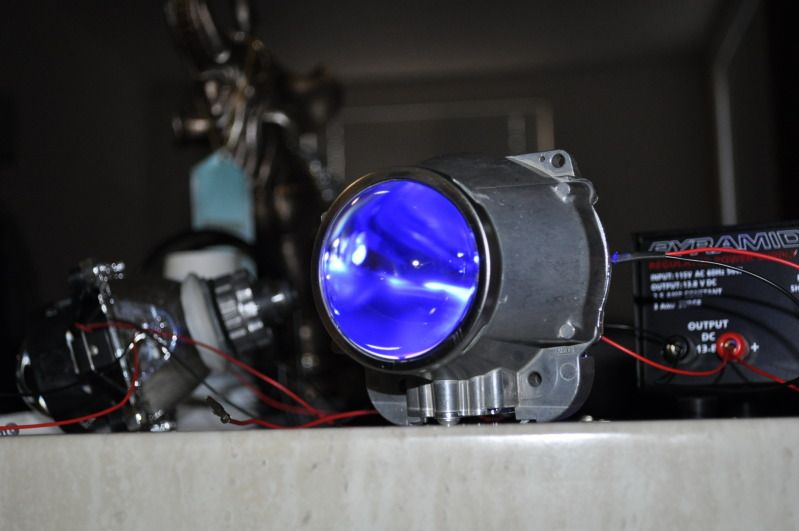
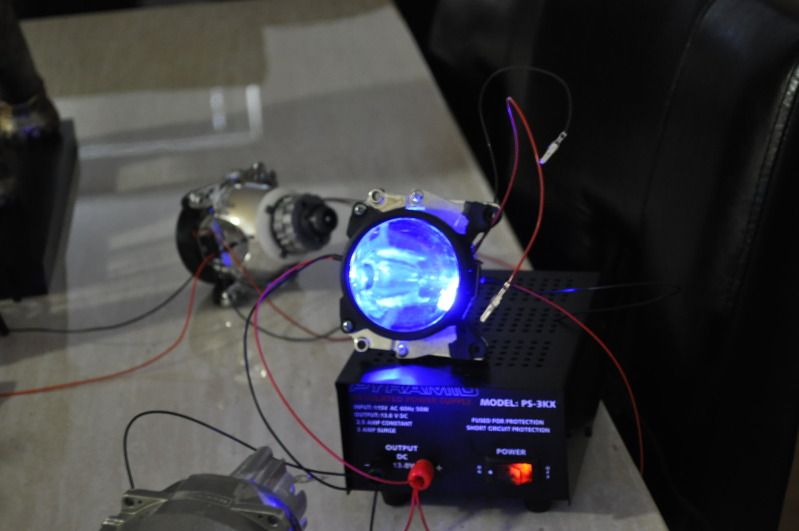
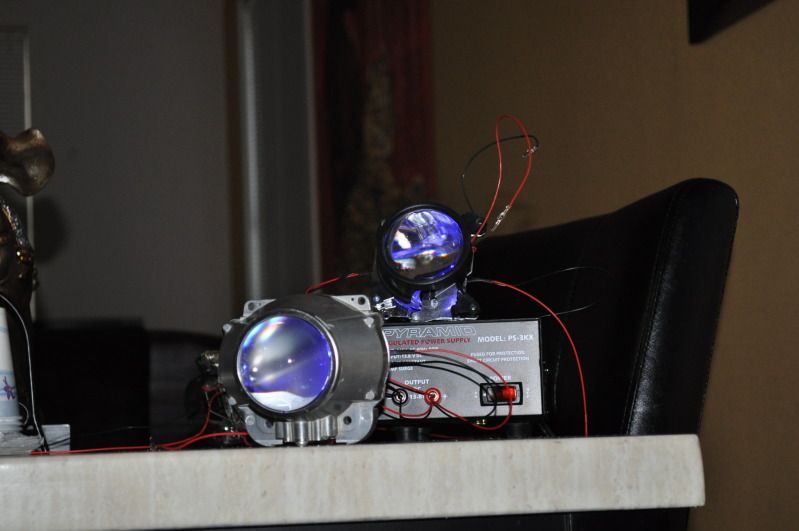
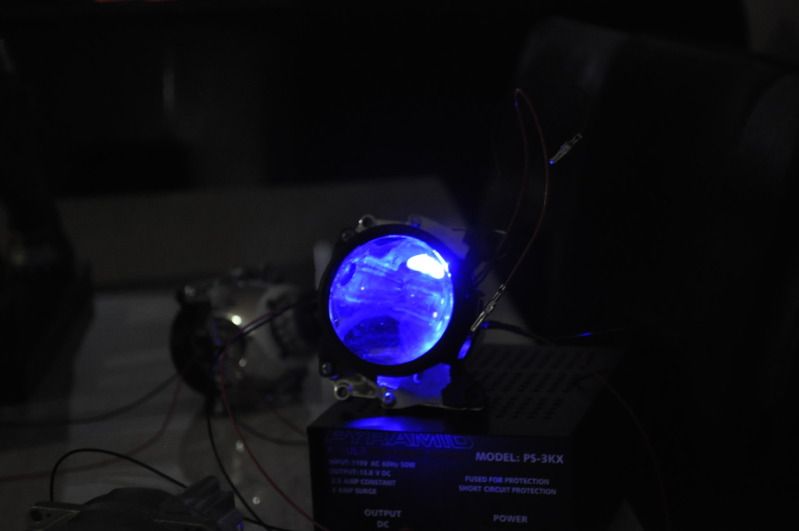
some of the pics its hard to get the amount of light the led's are putting out.
some of the pics its hard to get the amount of light the led's are putting out.

#142
05-12-2012, 11:46 PM


#147
05-19-2012, 10:08 PM
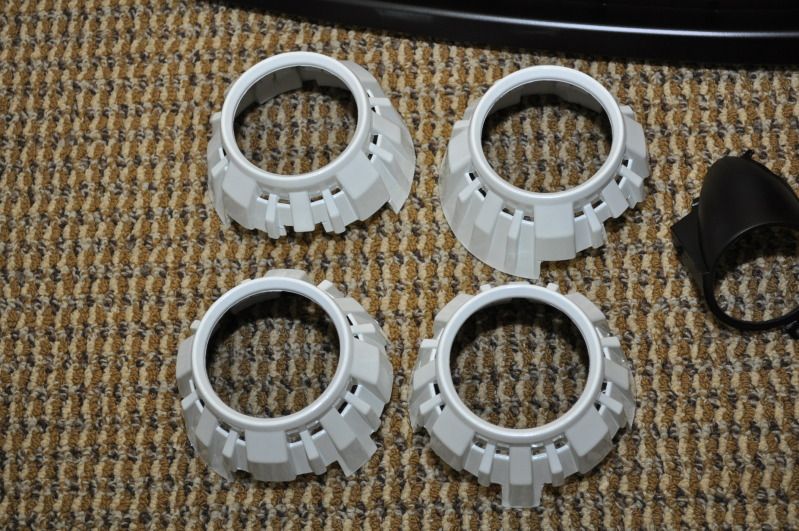
Ok Today I got back my parts from Paint. FINALLY!!!! I will aim my lights tomorrow and close everything up next weekend. I need to wait for the lights to dry fully. They were painted and baked today so I will wait til they are fully dry before I close them up.
What do you think of the color scheme?? And yes the shrouds are color matched IP.
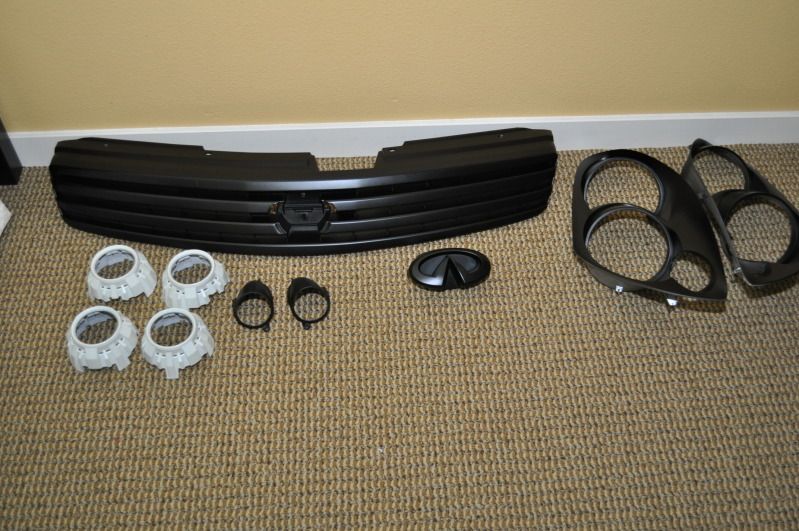
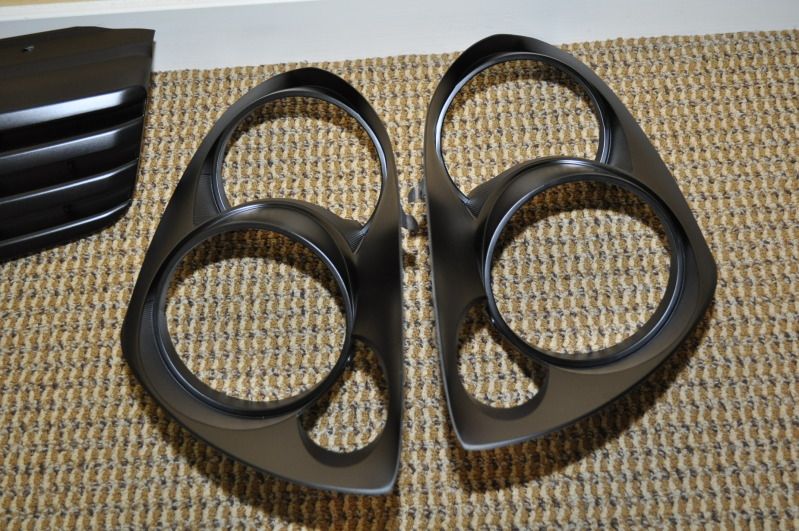
What do you think of the color scheme?? And yes the shrouds are color matched IP.

#149
05-22-2012, 10:23 AM