
2003 Interior Refresh. A Winter Project. Pic Heavy.


Thanks blksedan, that looks cool, unique. Gives me some good ideas and a concept of what the black center console will look like vs. the silver.
in honesty, the look you have there is not for me, just because I want to stay to the 'luxury' feel opposed to a 'racy' feel. It's a hard line, especially since I"m using CF right now....
I dunno, lets see where it goes!! thanks very much for posting though it's a great help!
in honesty, the look you have there is not for me, just because I want to stay to the 'luxury' feel opposed to a 'racy' feel. It's a hard line, especially since I"m using CF right now....
I dunno, lets see where it goes!! thanks very much for posting though it's a great help!

Jan 03/13 Update
So the gauges were a bit of a pain to paint. Being inexperienced meant that the paint got too thick where the tape was against the trim surround, and I didn't cut it with a razor before trying to remove it....
So I ran sandpaper along the raised edge to separate it and peeled the paint off just the inside
^^ I actually wanted to do JUST this to leave an accent ring on it, but the paint peeled from the tape so I had to remove the whole inner ring.
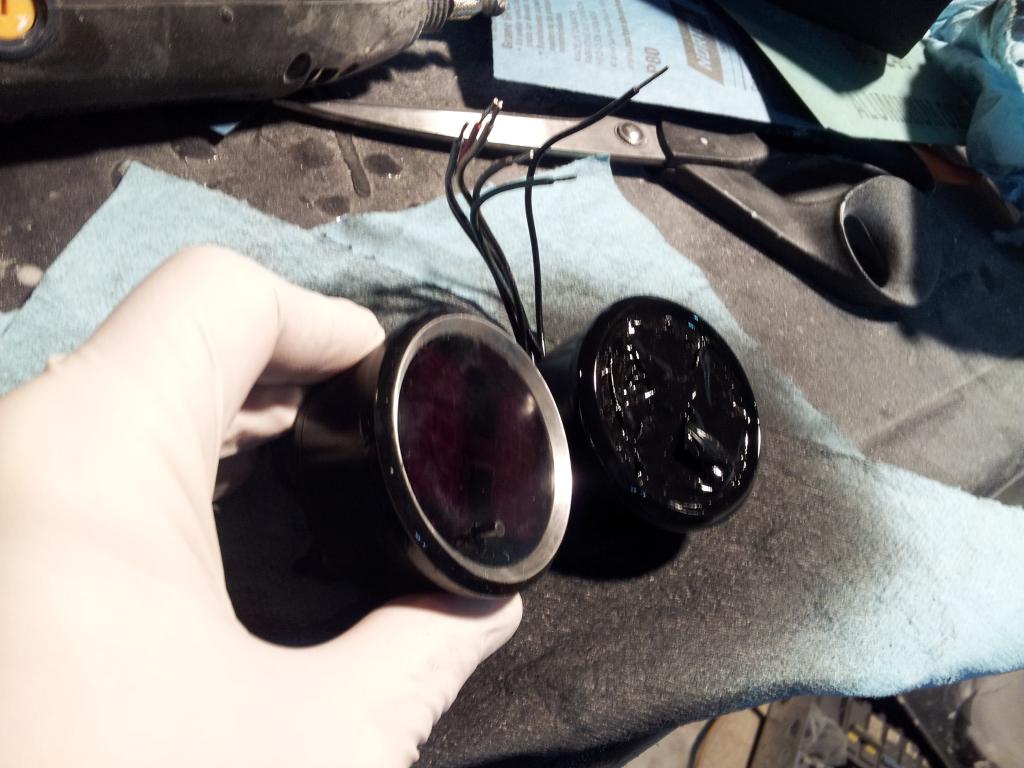
I will probably paint this again, I don't really like the way it turned out . I think it'll end up completely blacked out again. I might try to use a screen protector like the one for your smart-phone instead of tape next time.
----
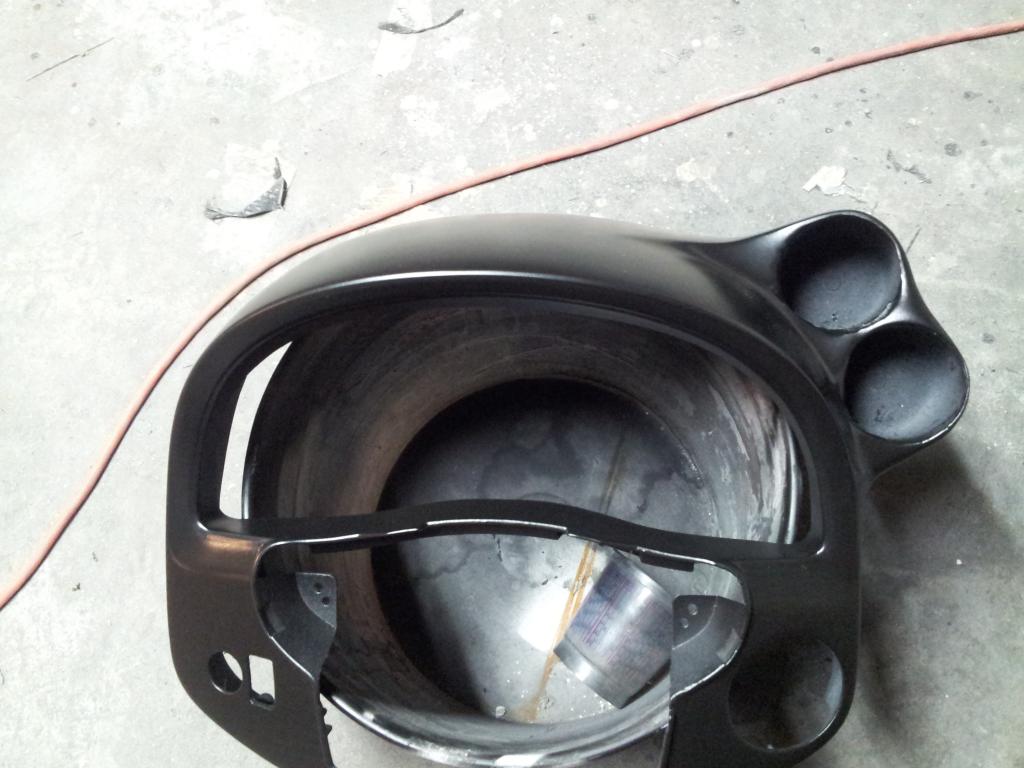
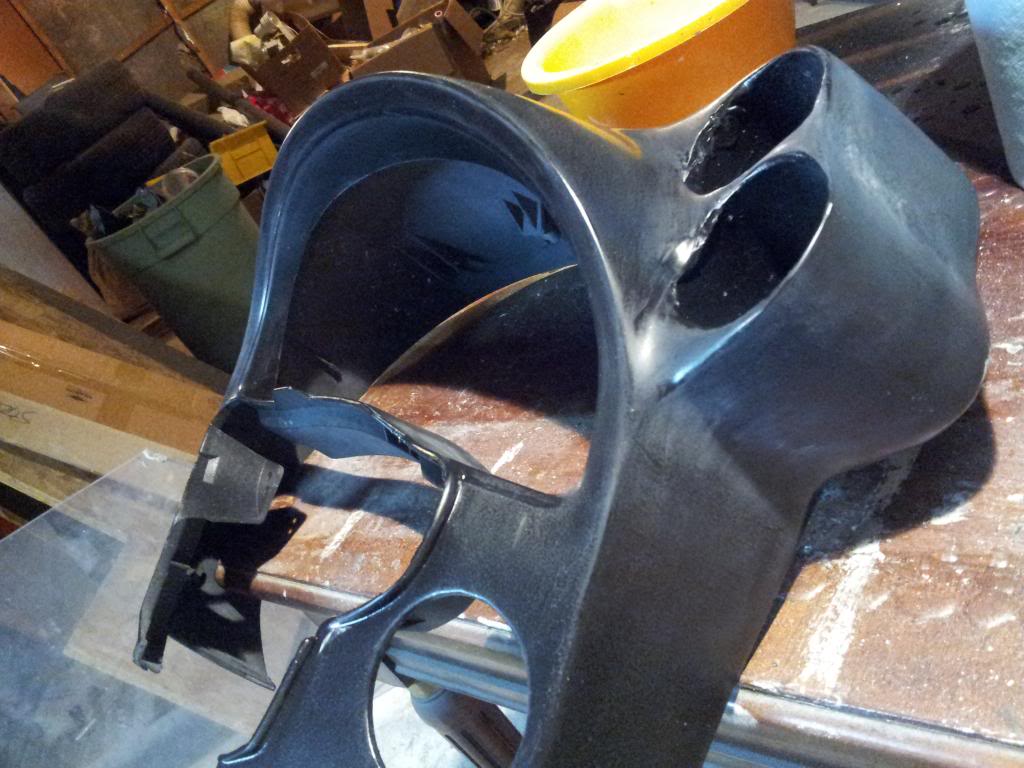
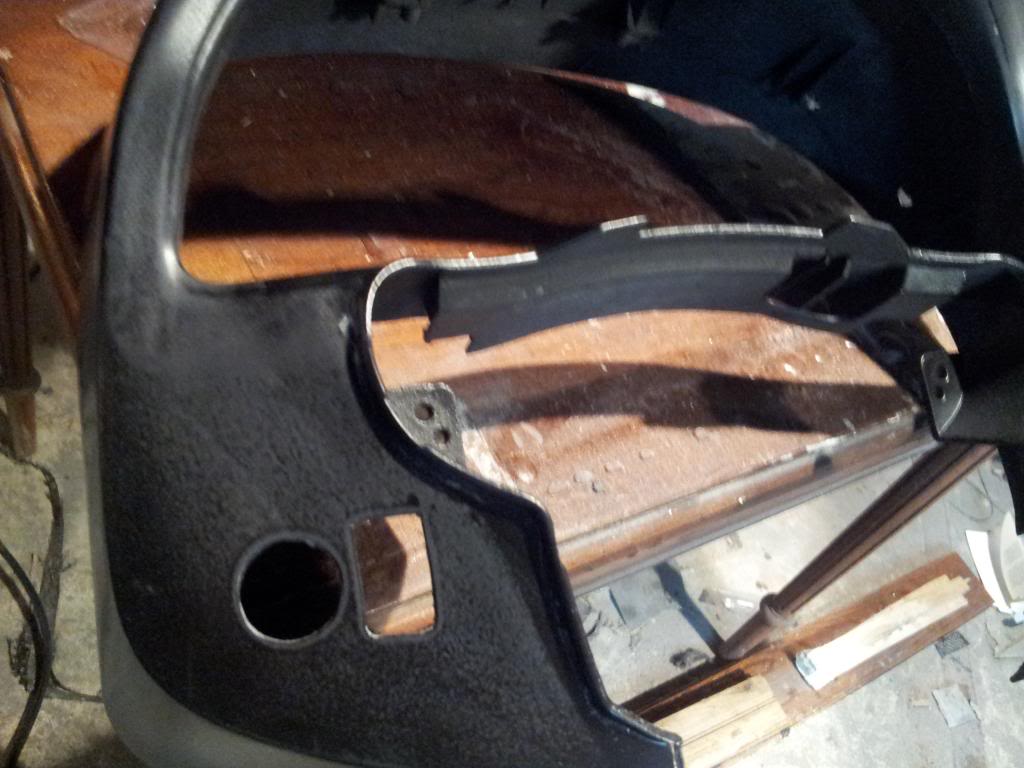
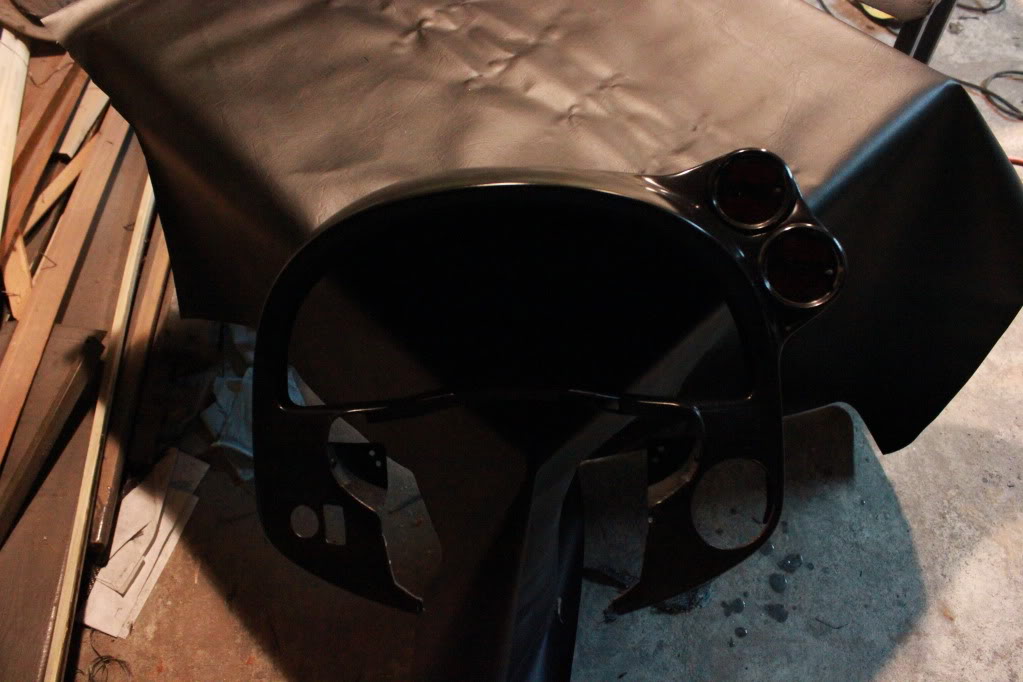
Also, the Gauge cluster trim is pretty much done, just needs clearcoat, wetsand, the little finishing touches. Here's some shots before the final coat, while test-fitting the gauges. You'll notice some rough spots around the gauge where it was trimmed while test fitting, these have been painted and cannot be seen now:

So I ran sandpaper along the raised edge to separate it and peeled the paint off just the inside
^^ I actually wanted to do JUST this to leave an accent ring on it, but the paint peeled from the tape so I had to remove the whole inner ring.
I will probably paint this again, I don't really like the way it turned out . I think it'll end up completely blacked out again. I might try to use a screen protector like the one for your smart-phone instead of tape next time.
----
Also, the Gauge cluster trim is pretty much done, just needs clearcoat, wetsand, the little finishing touches. Here's some shots before the final coat, while test-fitting the gauges. You'll notice some rough spots around the gauge where it was trimmed while test fitting, these have been painted and cannot be seen now:
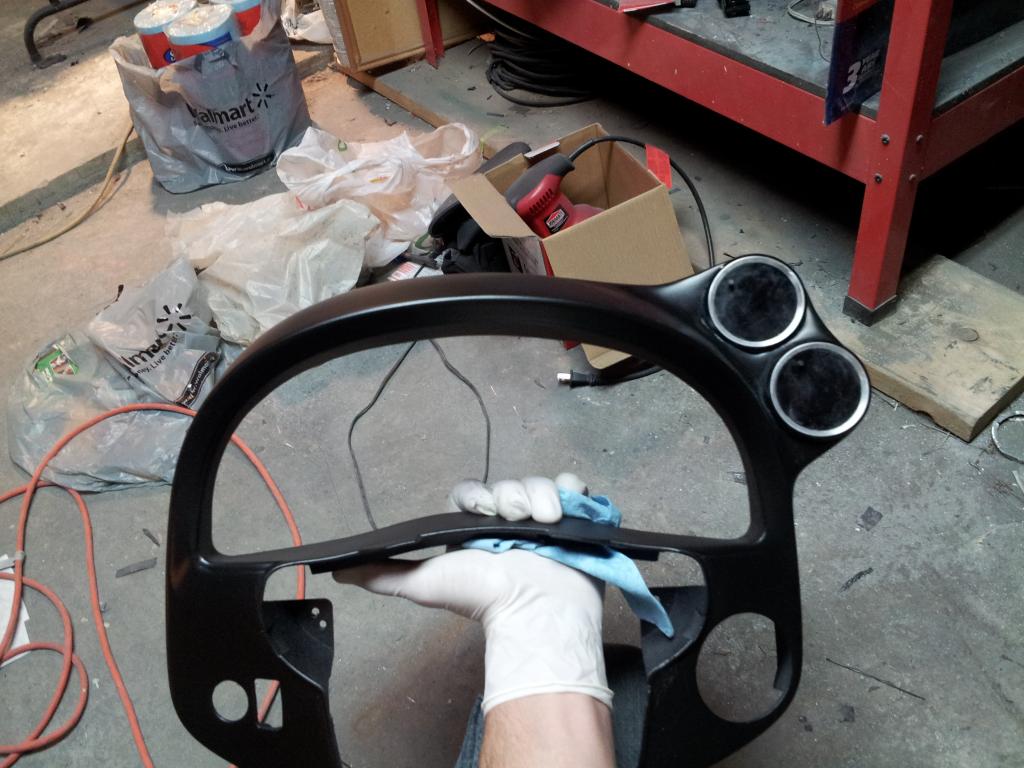
Ok, got the other A pillar all shined up and done.
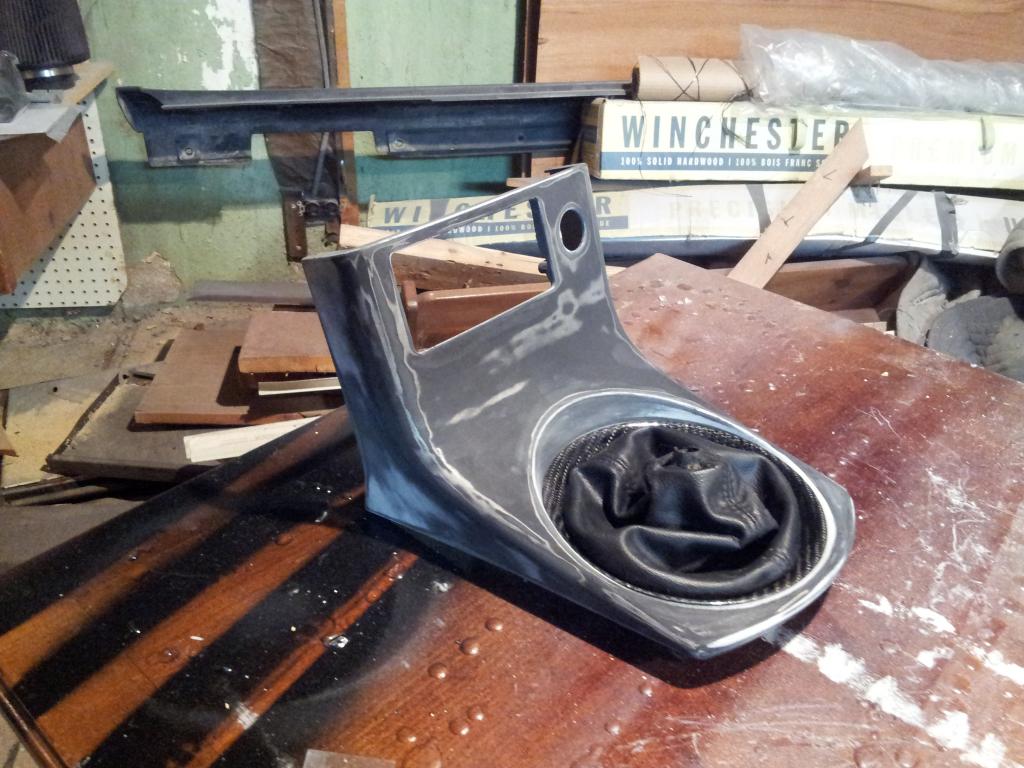
The shifter trim piece in CF is done also.
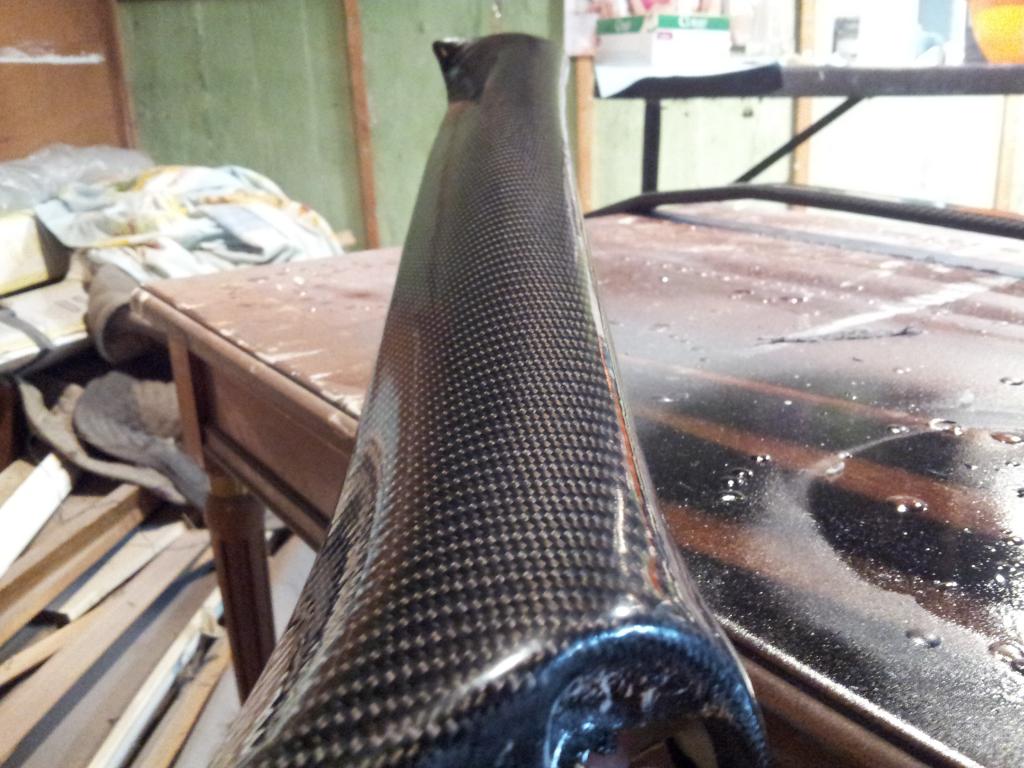
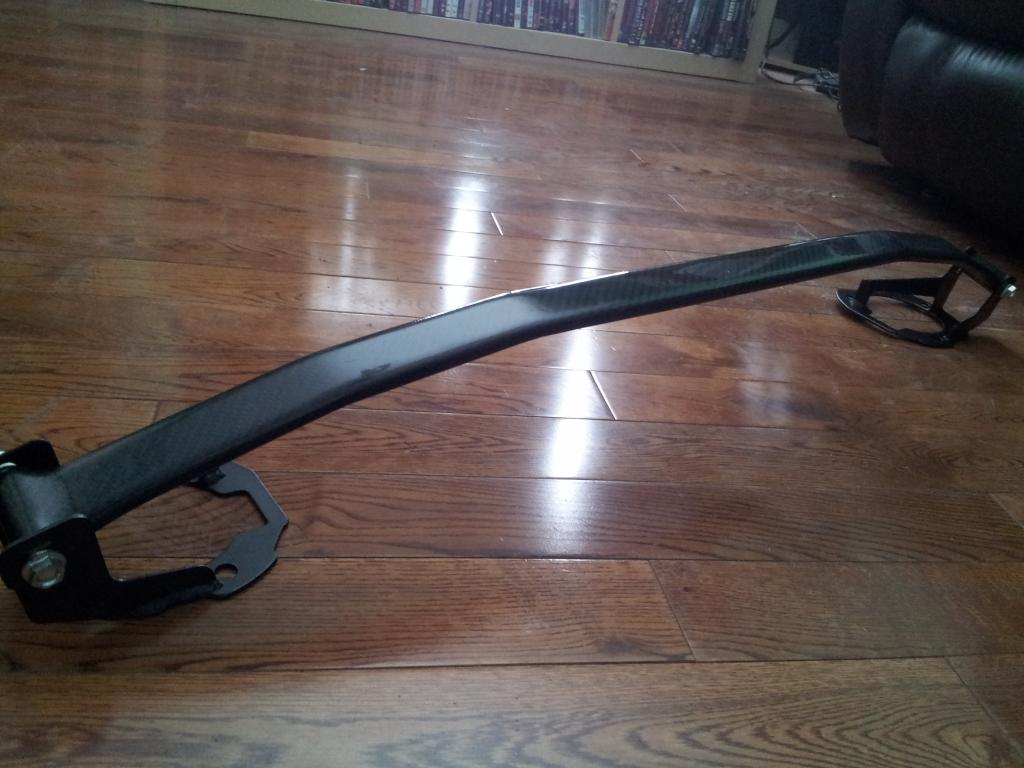
And so is the Strut bar.
Now I just need to install them all after I am done some other stuff and see what it all looks like in place, and then decide if I'm going to keep any of it, lol.
Celly pics are insulting to the finish, good pictures will come after installed. SORRY FOR CRAPPY PICTURES
More to come
The shifter trim piece in CF is done also.
And so is the Strut bar.
Now I just need to install them all after I am done some other stuff and see what it all looks like in place, and then decide if I'm going to keep any of it, lol.
Celly pics are insulting to the finish, good pictures will come after installed. SORRY FOR CRAPPY PICTURES
More to come


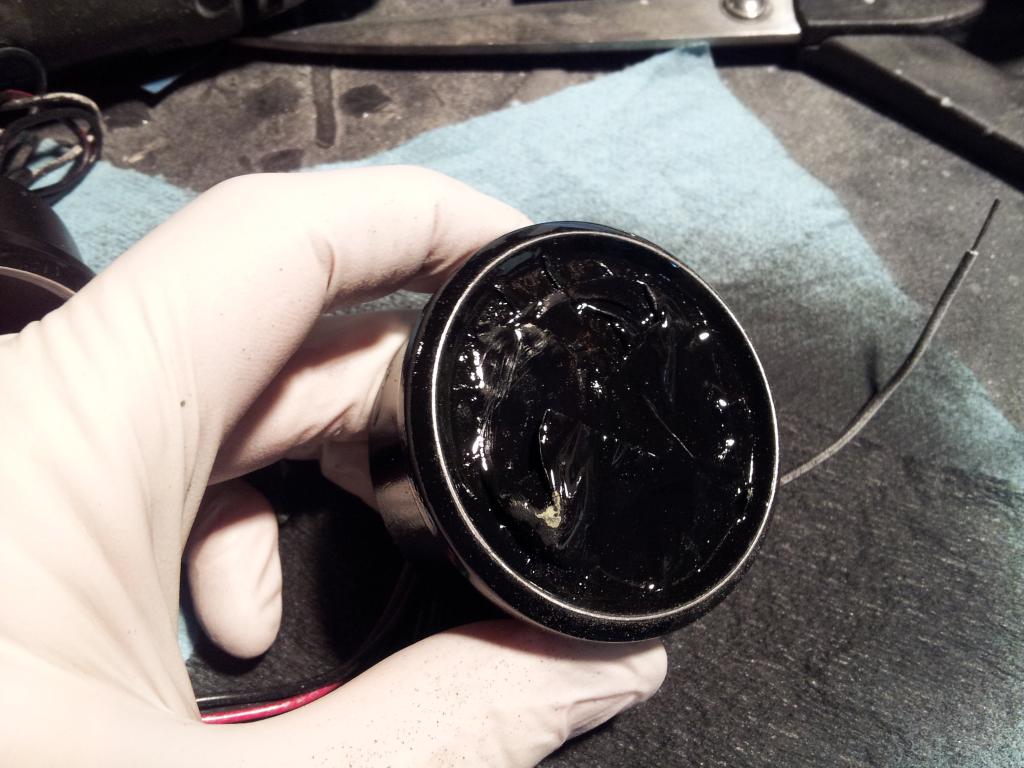
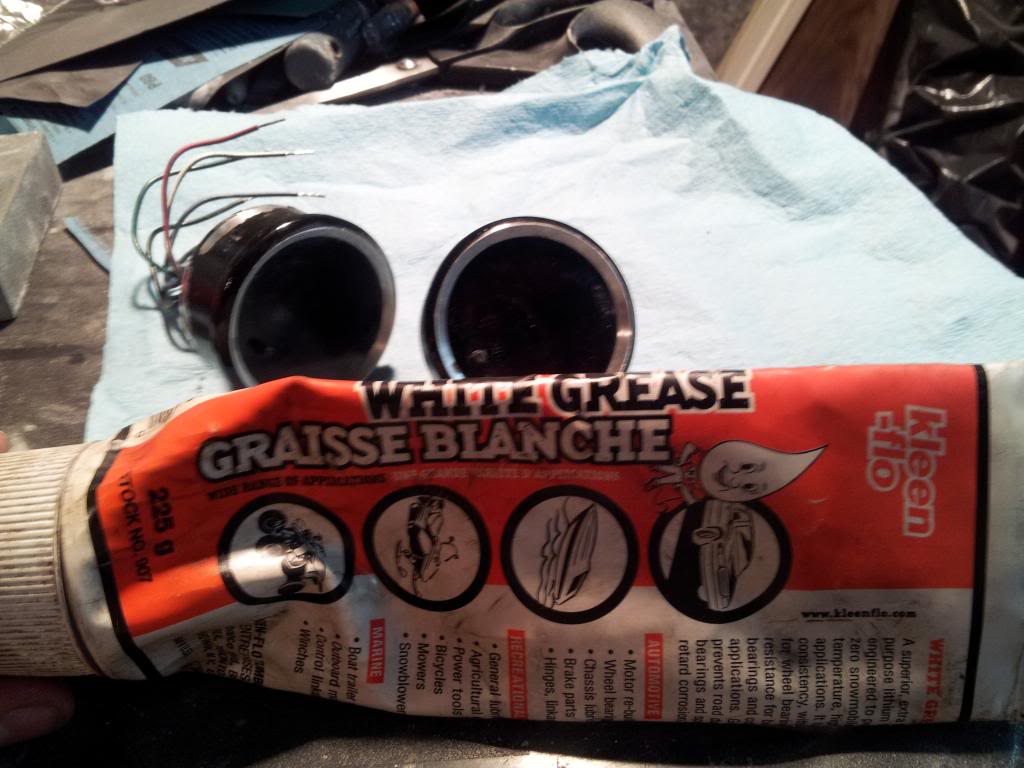
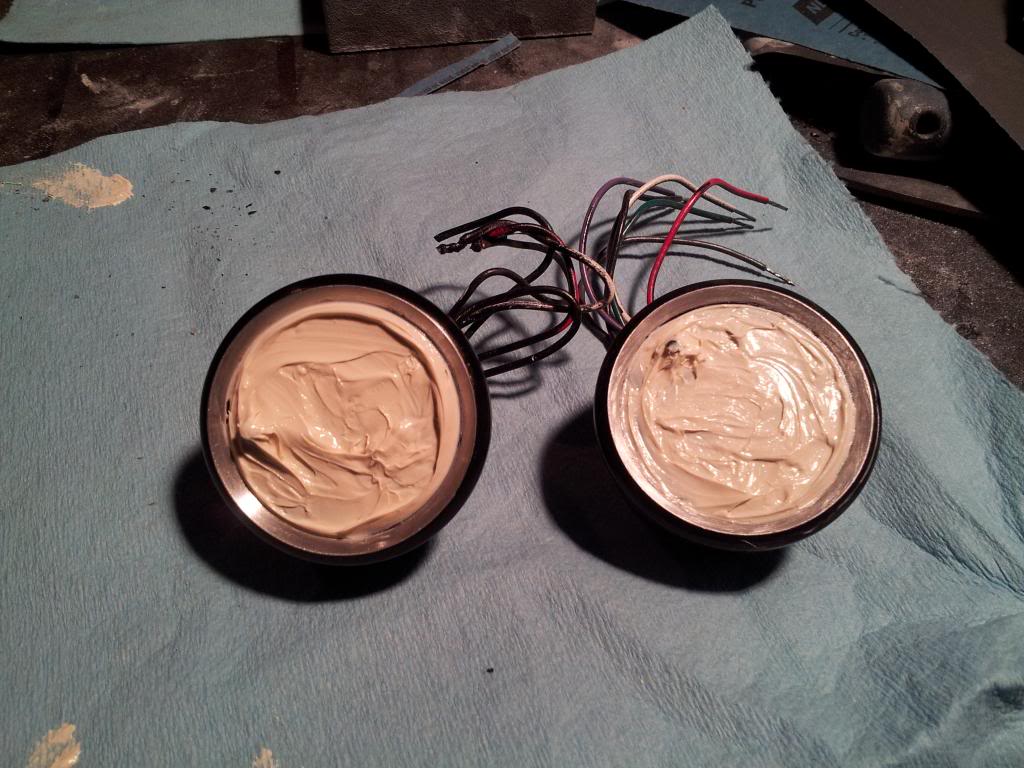
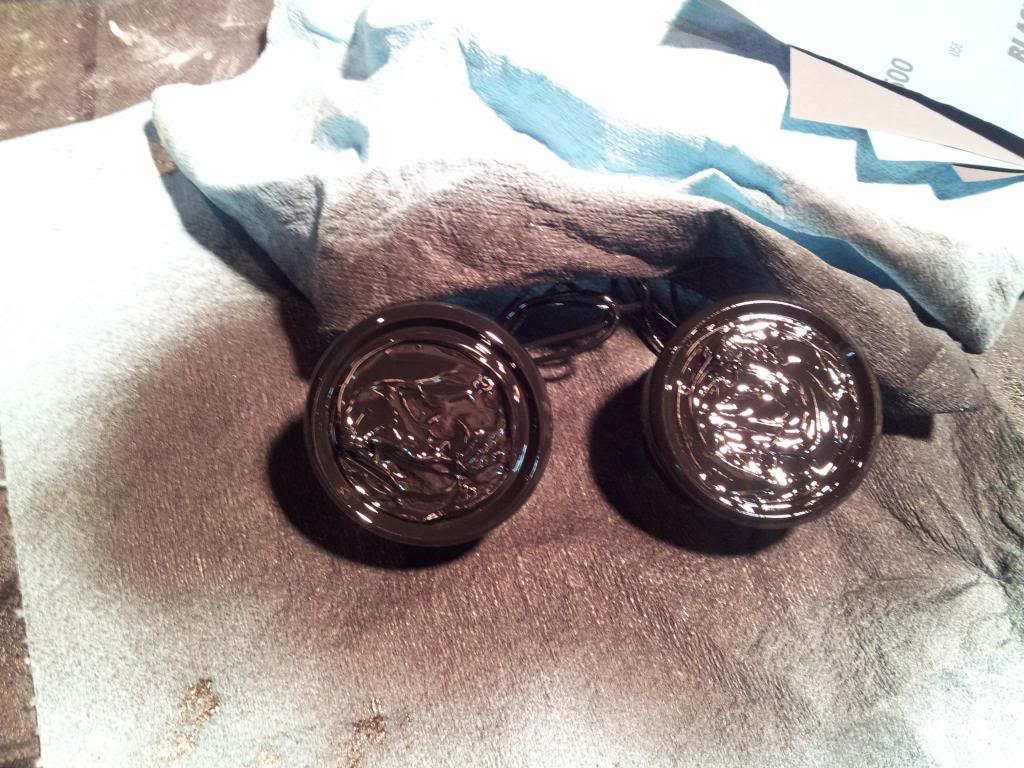
Round II for the Gauges, no more tape!! Let's see how this works......:
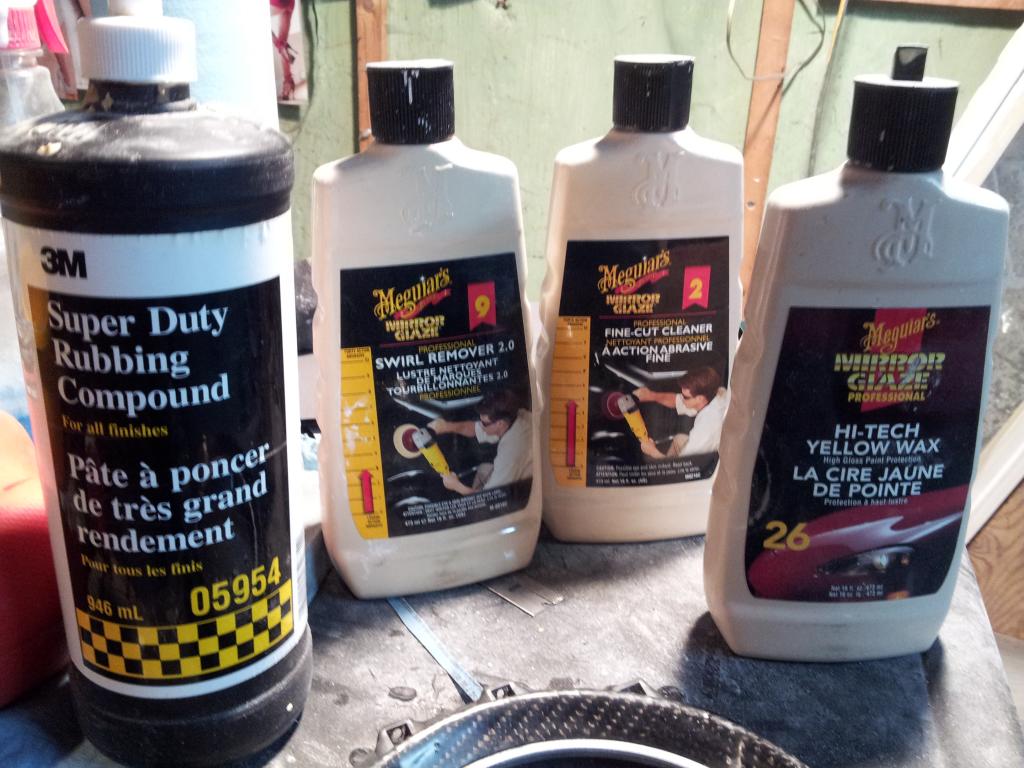
Also, after a few Satin black coats, and a few Satin Clearcoats, it was time to wetsand and start polishing the Cluster trim piece I made, the paint is going to be so nice on this! Dayum!
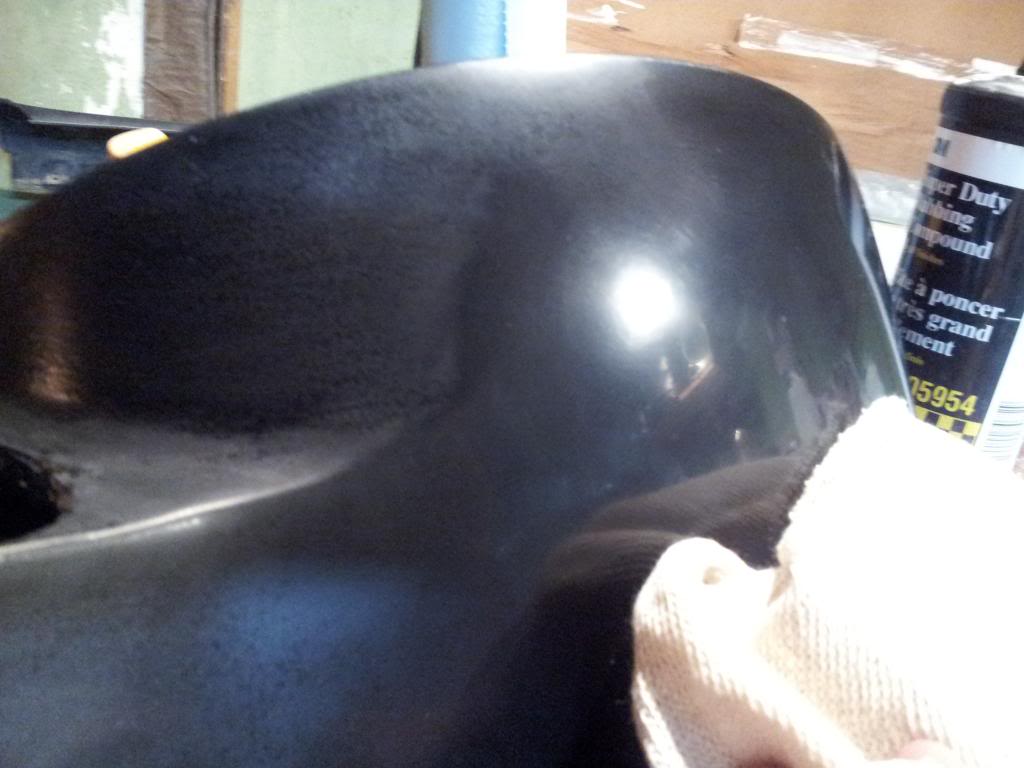
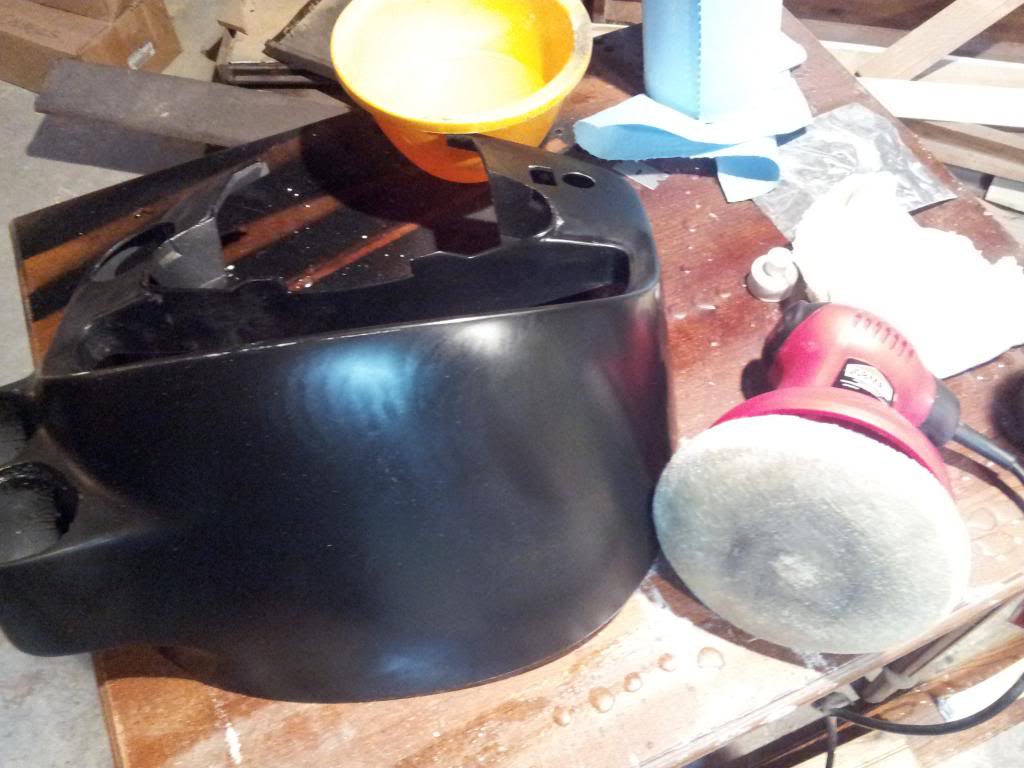
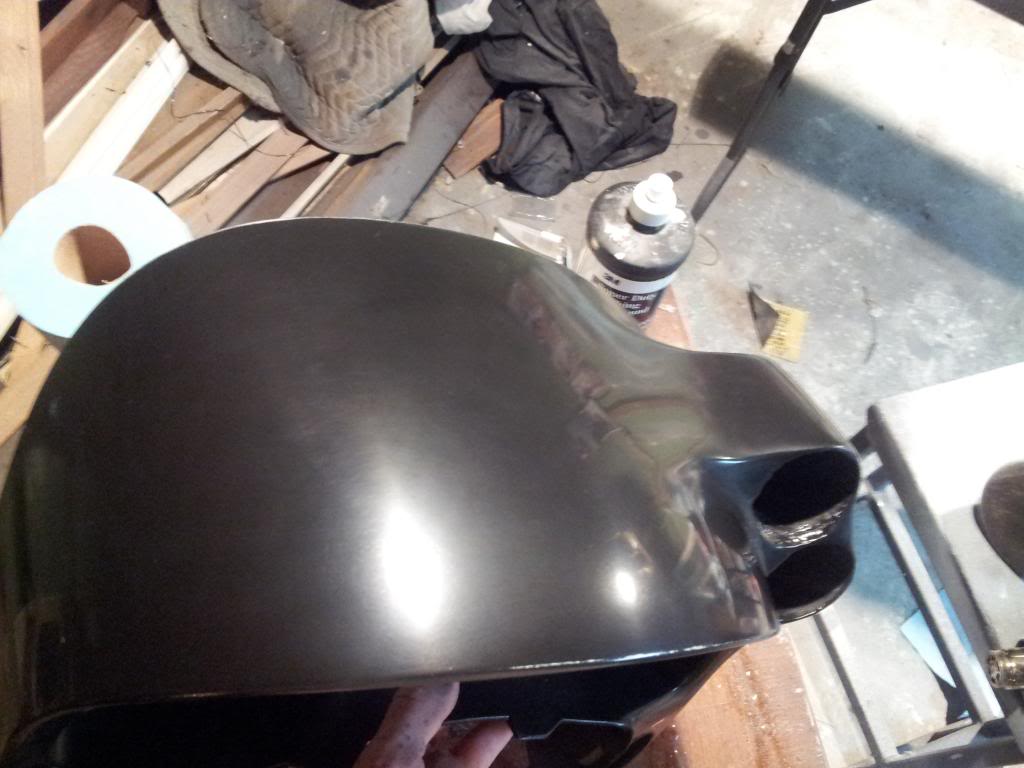
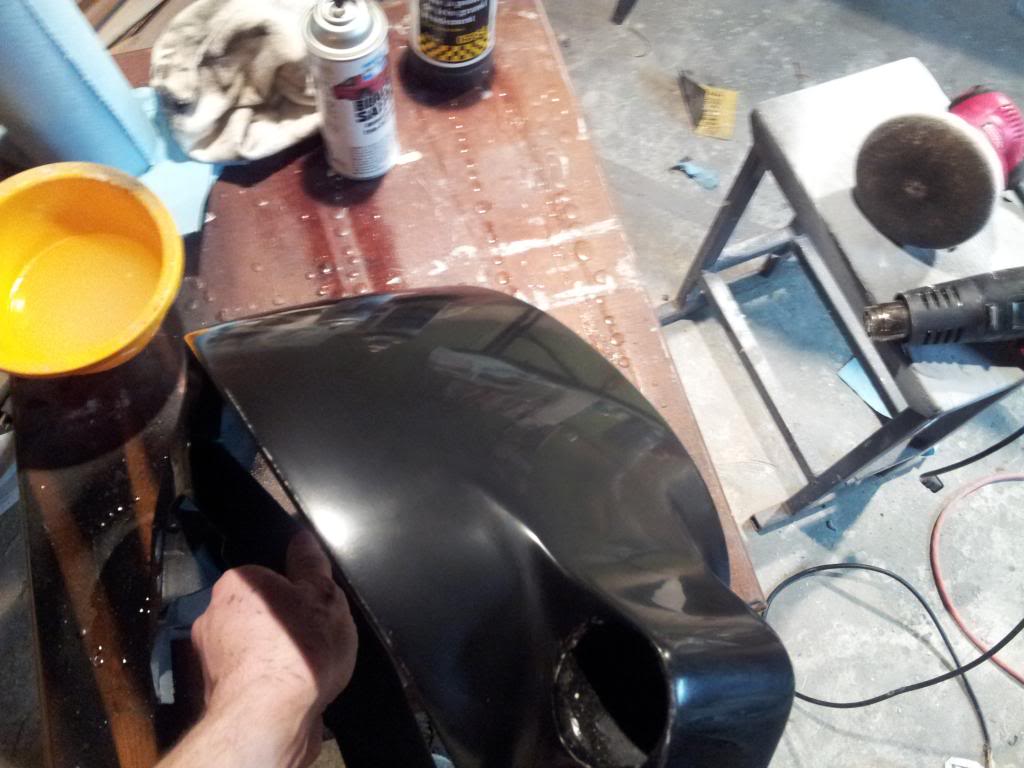
I ended up roughing it again and recoating it due to a few light spots on the edges, but it's wicked to see so much promise out of a piece that has literally been through the mill, and painted in a dusty, sandy basement with spray balm!
Even those nasty spots shown in the first few pics cleared right out with the polish to a buttery smooth surface!

Also, after a few Satin black coats, and a few Satin Clearcoats, it was time to wetsand and start polishing the Cluster trim piece I made, the paint is going to be so nice on this! Dayum!
I ended up roughing it again and recoating it due to a few light spots on the edges, but it's wicked to see so much promise out of a piece that has literally been through the mill, and painted in a dusty, sandy basement with spray balm!
Even those nasty spots shown in the first few pics cleared right out with the polish to a buttery smooth surface!

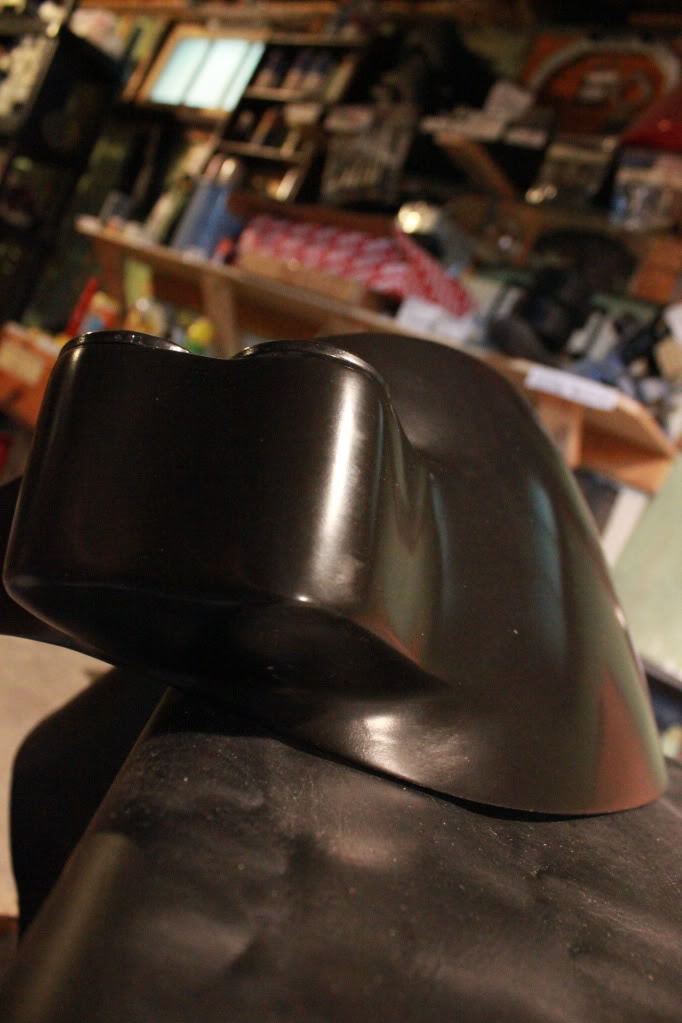

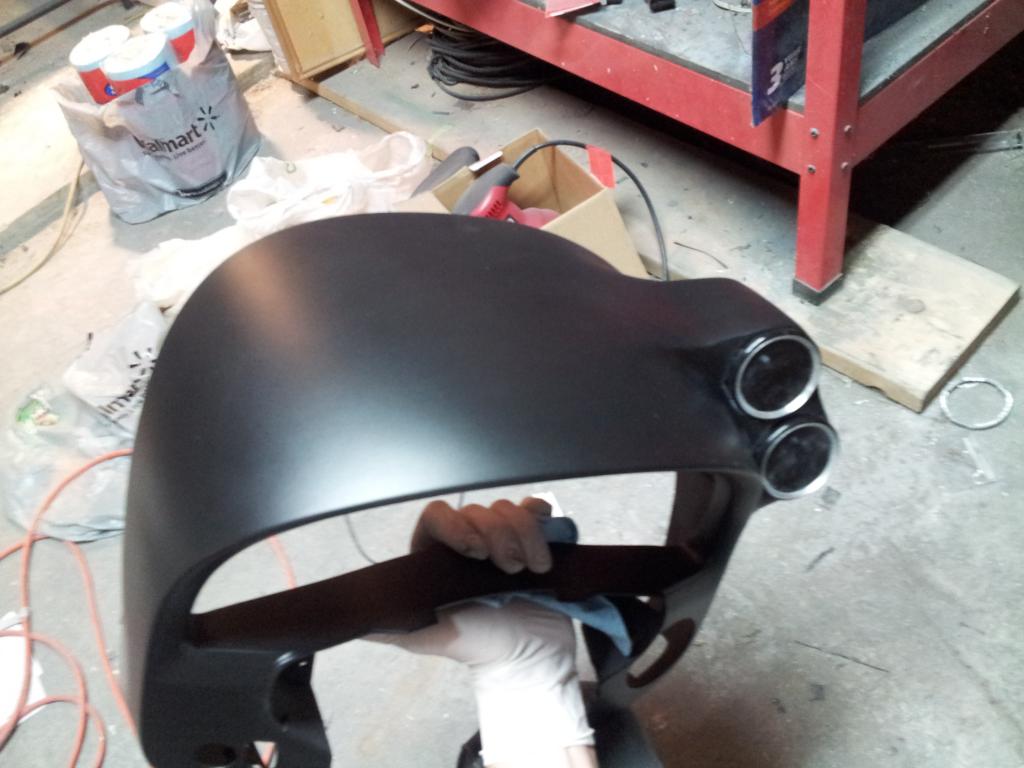
Mostly just reflections from the fluorecent lamps in my basement.
There's only one way to really know for sure, and that's to install it, right!


It looks like it came that way, impossible to tell it was a DIY. Gotta ask though, why did you go this labour intensive route instead of getting say a pillar gauge cluster?
How did grease fare at blocking paint vs tape?
How did grease fare at blocking paint vs tape?