LS1 Drift Build 'Nuff Said'

#406
 06-30-2013, 01:00 AM


So here is a little update on my garage floor project.

Start this off with a nice Dogfish Head "Midas Touch". Now if you can find it this stuff is damn good. I would have to say its my Favorite DogFish Head beer to date.

So this is how the garage started off, Ugly floors... I painted the walls already the color a pictured in my head with the black floors..

Started off by renting this machine from Sun Belt. The reason I had to grind the floors was due to the old epoxy that was on the floor.

Getting there...

This is after I did some cleaning with the acid floor cleaner they provided.. Let that set over night to dry

So the company I went with for the Epoxy floor coating was http://www.originalcolorchips.com/ and bought their 2 car garage kit and other goodies

Clear primer ready to rock and lay down.

So the vision I had in my head was a black floor with gold flakes to it would look like black granite.. So picked a couple of metallic flakes and we are ready to go..

Sorry did not get any pics of laying down the black base coat or flaking it. Was to busy do it...
But time to lay the clear

Before clear

With the clear.. You can tell a big difference.. I think I might lay another layer in a couple of month though..

BAM!! all done,, Pics really do not do this floor justice..

Another angel

I really like this picture, you can really see the gold in the black and the shine of the clear.. I am happy

Here is a nice close up of the flakes, so you get a idea of the gold

Another good pic

So here is a pic with my tool box and bench back in the garage.. My goal is to have nothing on the floor.. I plan on buy a few good things to complete this garage, like two tire racks to hold my spare DPE Wheels, a jack holder that mounts on the wall, and some shelves.. Also so stuff feel up the bare walls..
Well hope you guys like...
Now as for the car, It is still at the Fab shop getting its Oval Exhaust and Intake made, hopefully it will be done next week some time..
Start this off with a nice Dogfish Head "Midas Touch". Now if you can find it this stuff is damn good. I would have to say its my Favorite DogFish Head beer to date.
So this is how the garage started off, Ugly floors... I painted the walls already the color a pictured in my head with the black floors..
Started off by renting this machine from Sun Belt. The reason I had to grind the floors was due to the old epoxy that was on the floor.
Getting there...
This is after I did some cleaning with the acid floor cleaner they provided.. Let that set over night to dry
So the company I went with for the Epoxy floor coating was http://www.originalcolorchips.com/ and bought their 2 car garage kit and other goodies
Clear primer ready to rock and lay down.
So the vision I had in my head was a black floor with gold flakes to it would look like black granite.. So picked a couple of metallic flakes and we are ready to go..
Sorry did not get any pics of laying down the black base coat or flaking it. Was to busy do it...
But time to lay the clear
Before clear
With the clear.. You can tell a big difference.. I think I might lay another layer in a couple of month though..
BAM!! all done,, Pics really do not do this floor justice..
Another angel
I really like this picture, you can really see the gold in the black and the shine of the clear.. I am happy
Here is a nice close up of the flakes, so you get a idea of the gold
Another good pic
So here is a pic with my tool box and bench back in the garage.. My goal is to have nothing on the floor.. I plan on buy a few good things to complete this garage, like two tire racks to hold my spare DPE Wheels, a jack holder that mounts on the wall, and some shelves.. Also so stuff feel up the bare walls..
Well hope you guys like...
Now as for the car, It is still at the Fab shop getting its Oval Exhaust and Intake made, hopefully it will be done next week some time..


#410
06-30-2013, 11:11 PM
Thanks for the kind words
#411
07-03-2013, 10:20 AM

#413
07-03-2013, 11:32 AM


#417
07-21-2013, 05:06 PM
Okay Update time..
[IMG]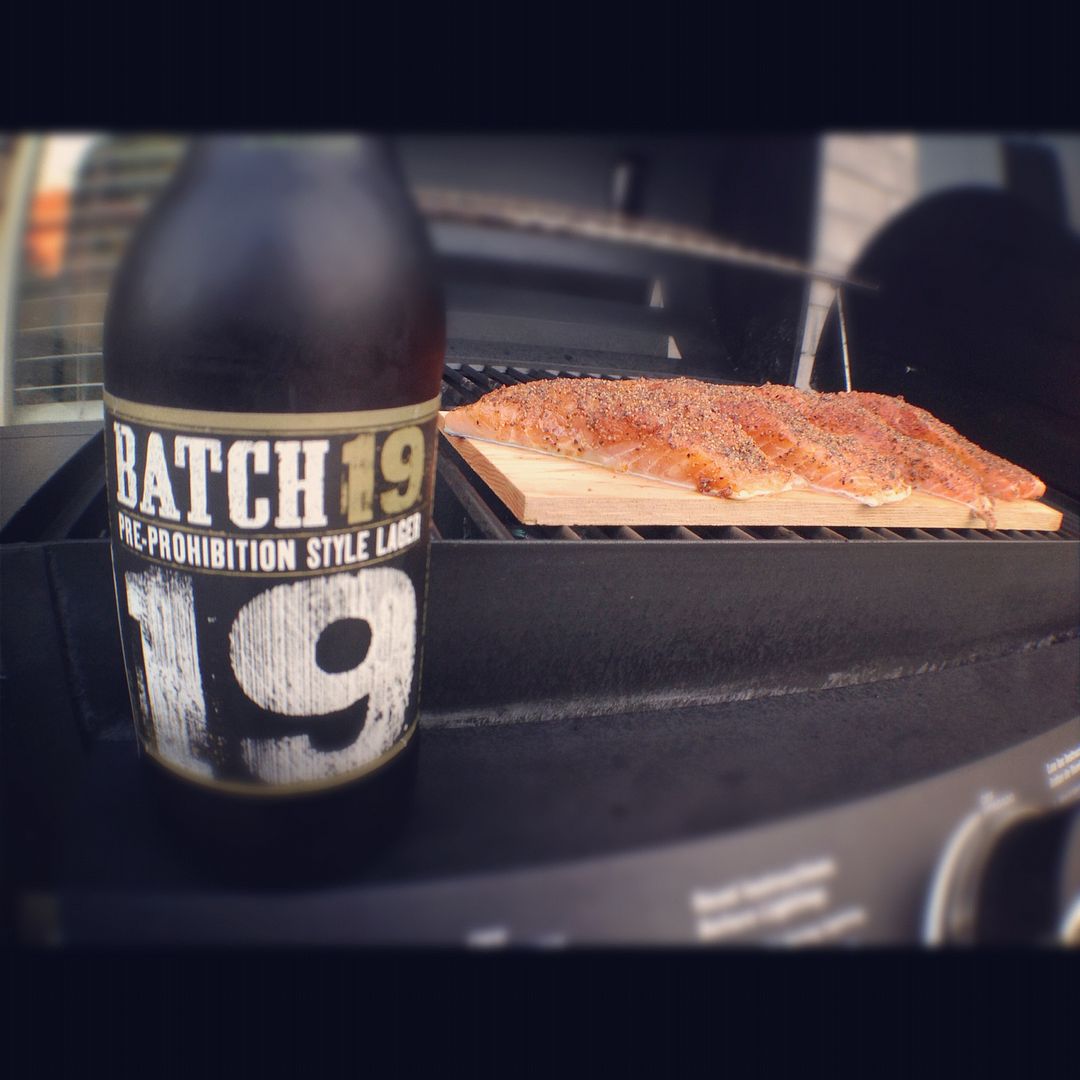 [/IMG]
Start it off with some good beer.. I pick Batch19... Really good beer even though it is made by Coors.
[IMG] [/IMG]
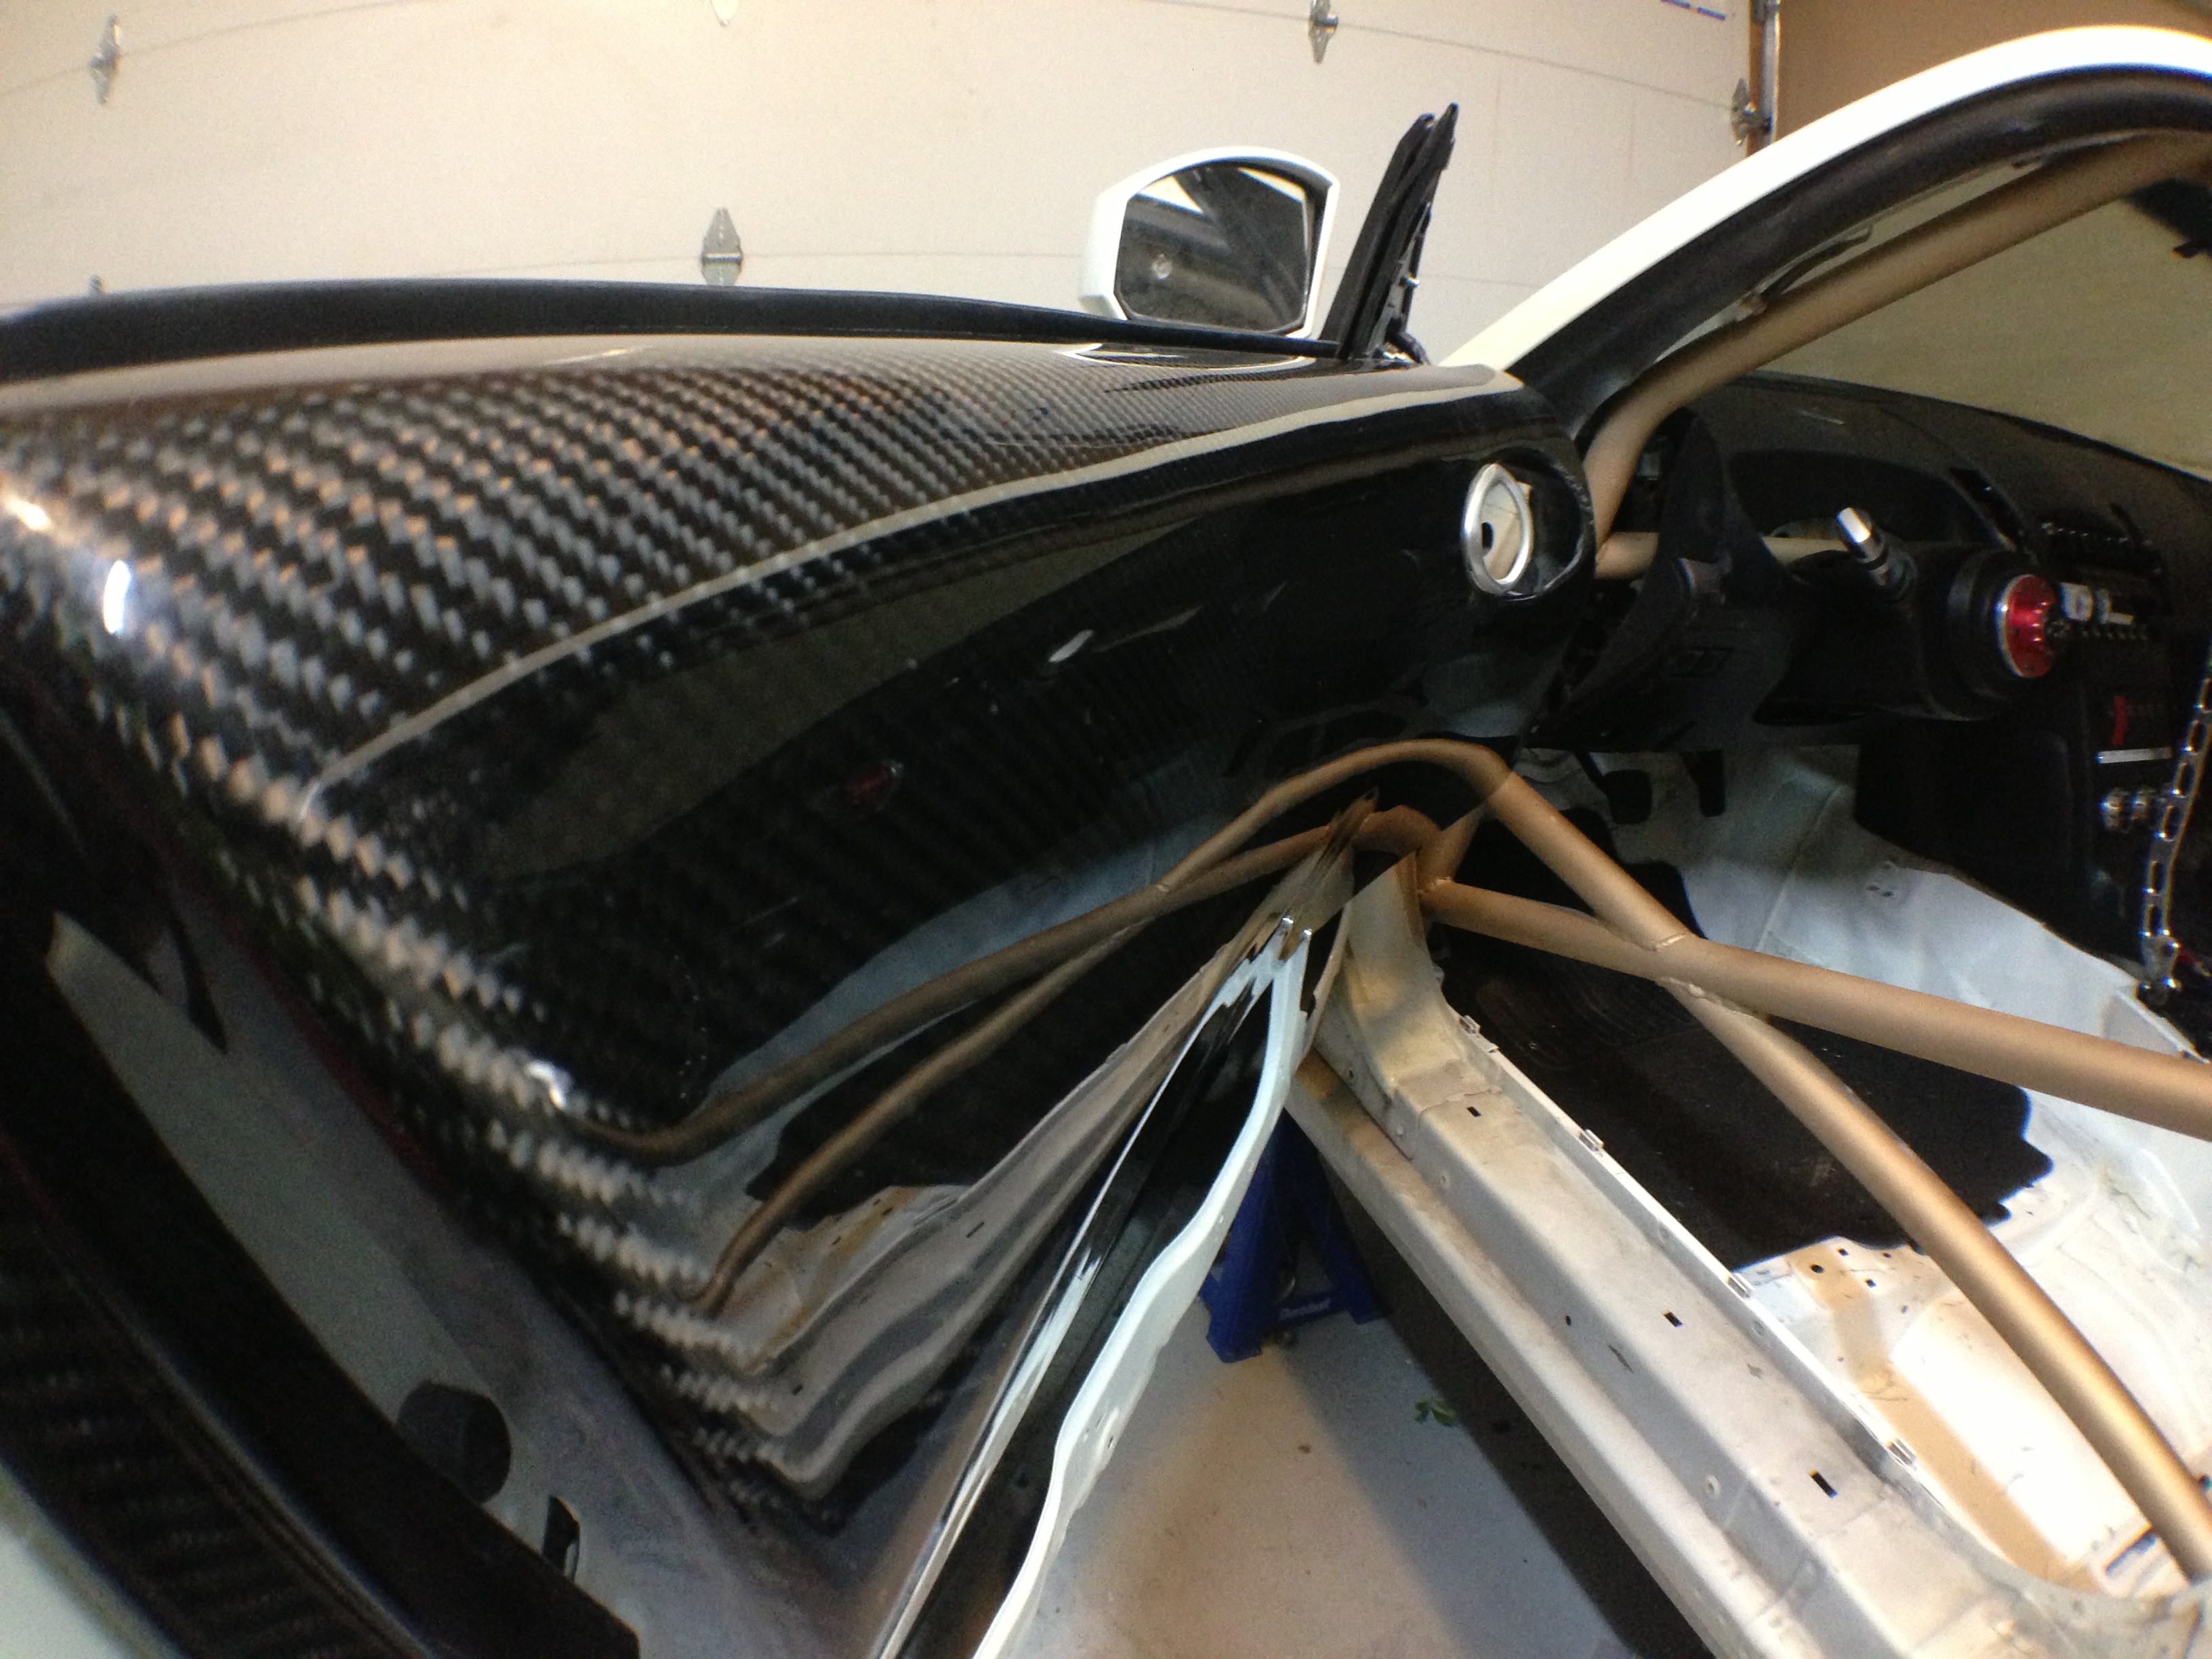
So I realized I forgot to update you guys on doing my door panels and CF hood.. So here it is.. At first I thought I could keep most of the CF panel and just cut out holes where the door bars were going to go.
[IMG]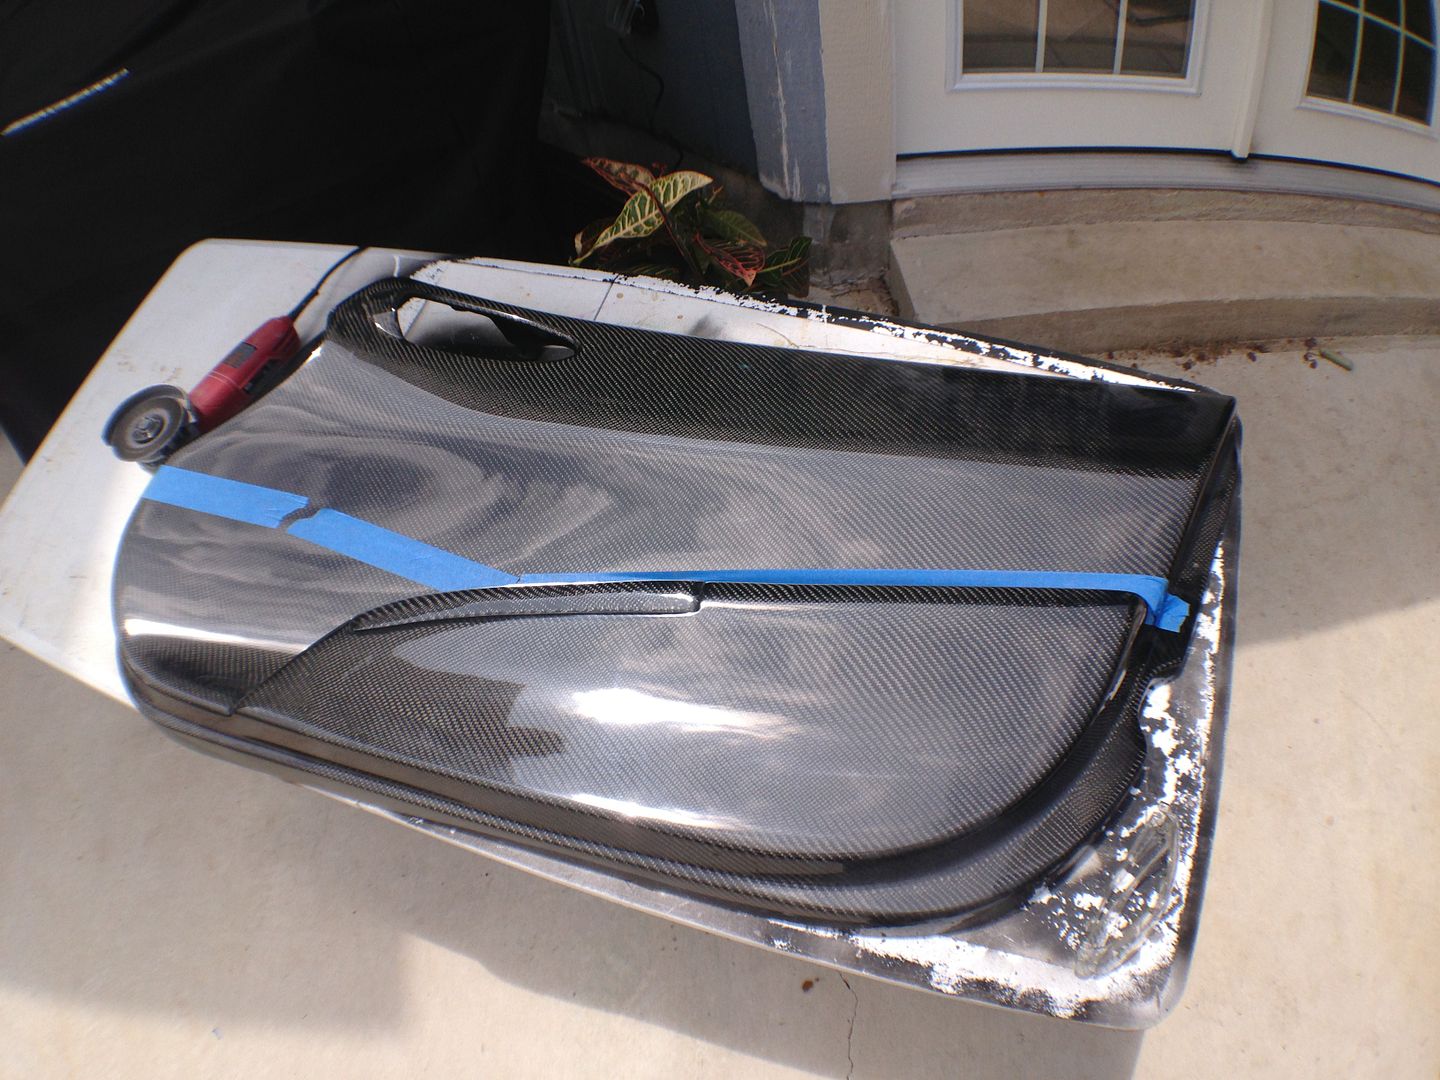 [/IMG]
After making the needed cuts on the other door panel and seeing how chopped up it looked just to fit the panels I decided just to cut them in half..
[IMG] [/IMG]
I know I know, just cut up a **** ton of money.. Not that much but I know what you are feeling right now.. lol
[IMG]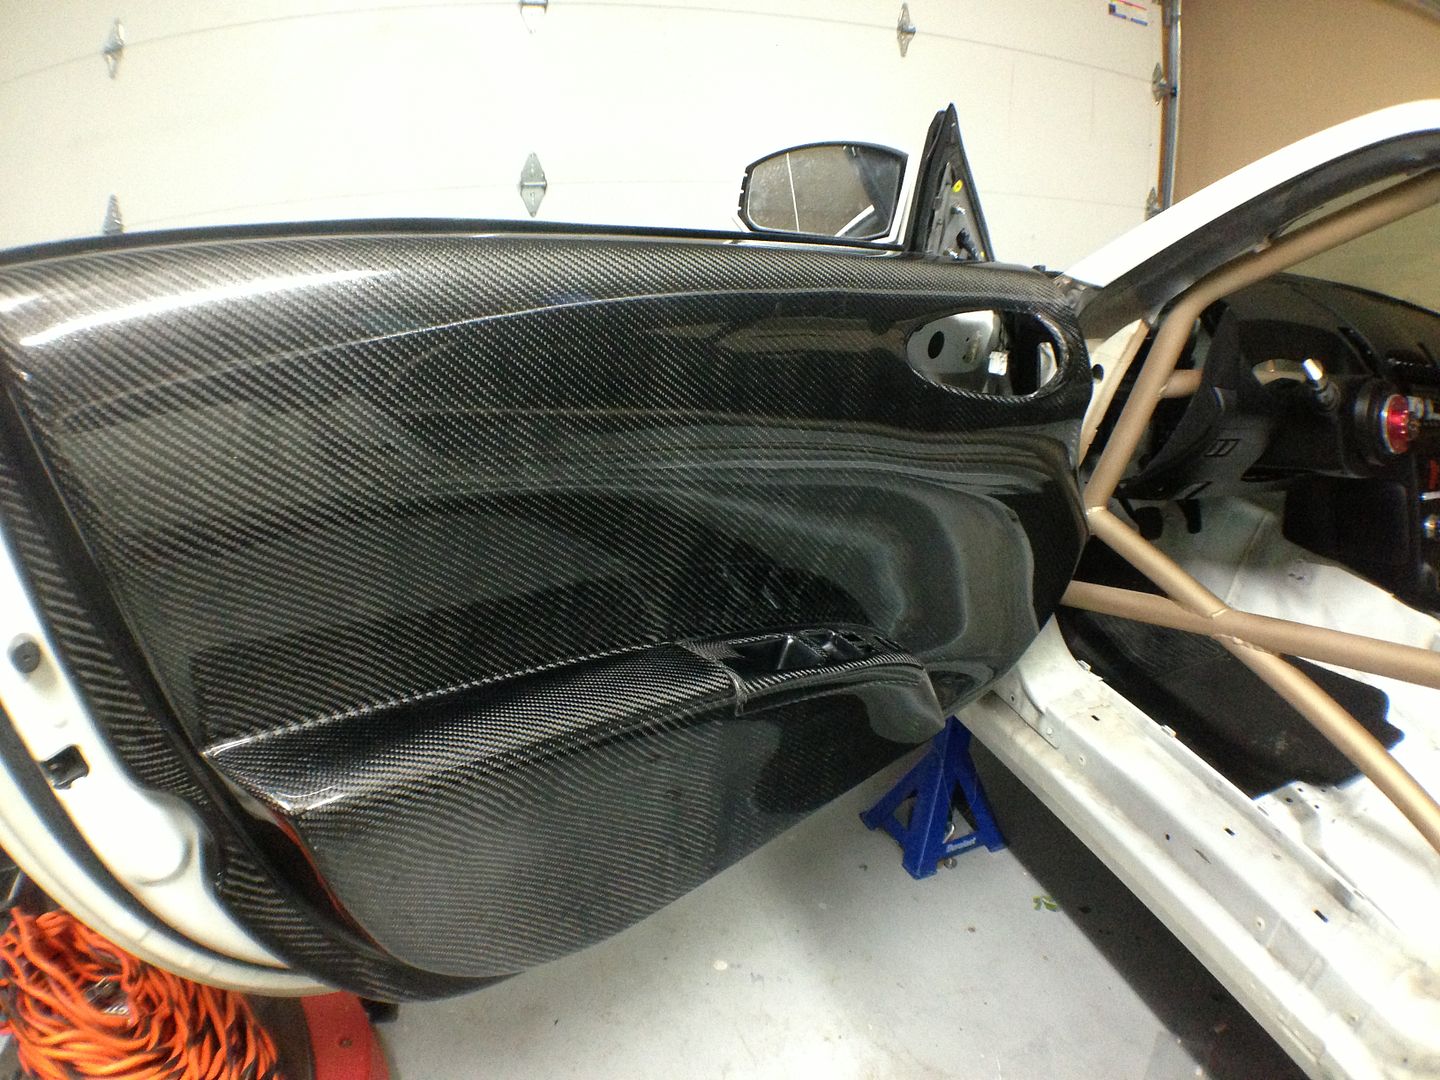 [/IMG]
Before
[IMG]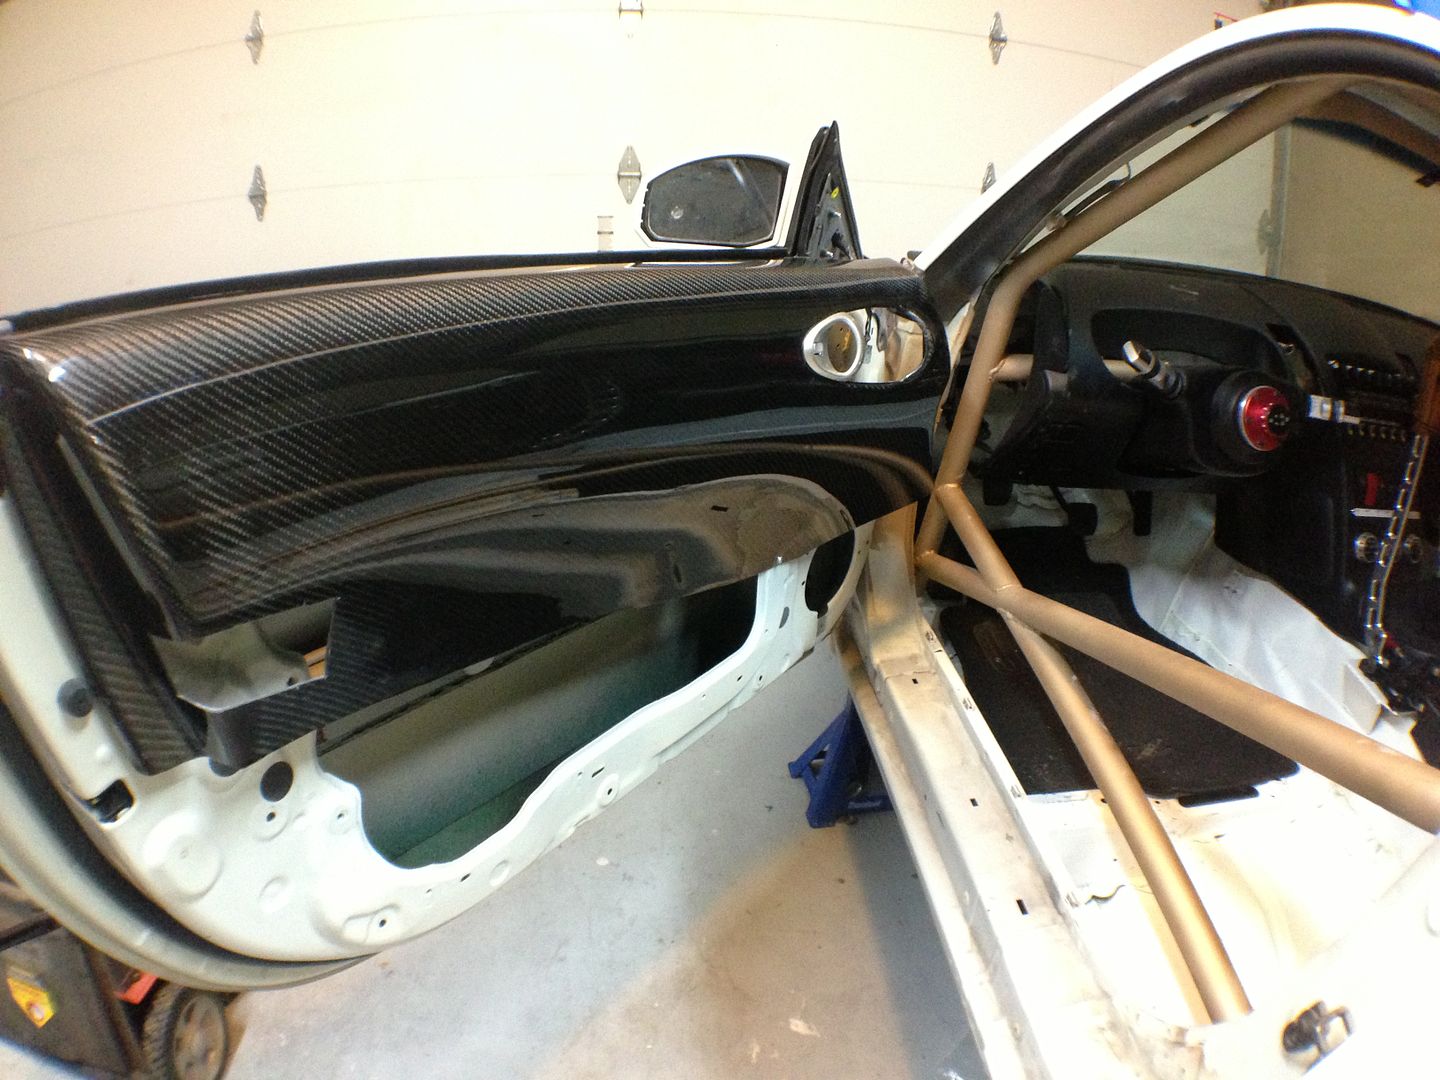 [/IMG]
After...
Love me some CF..
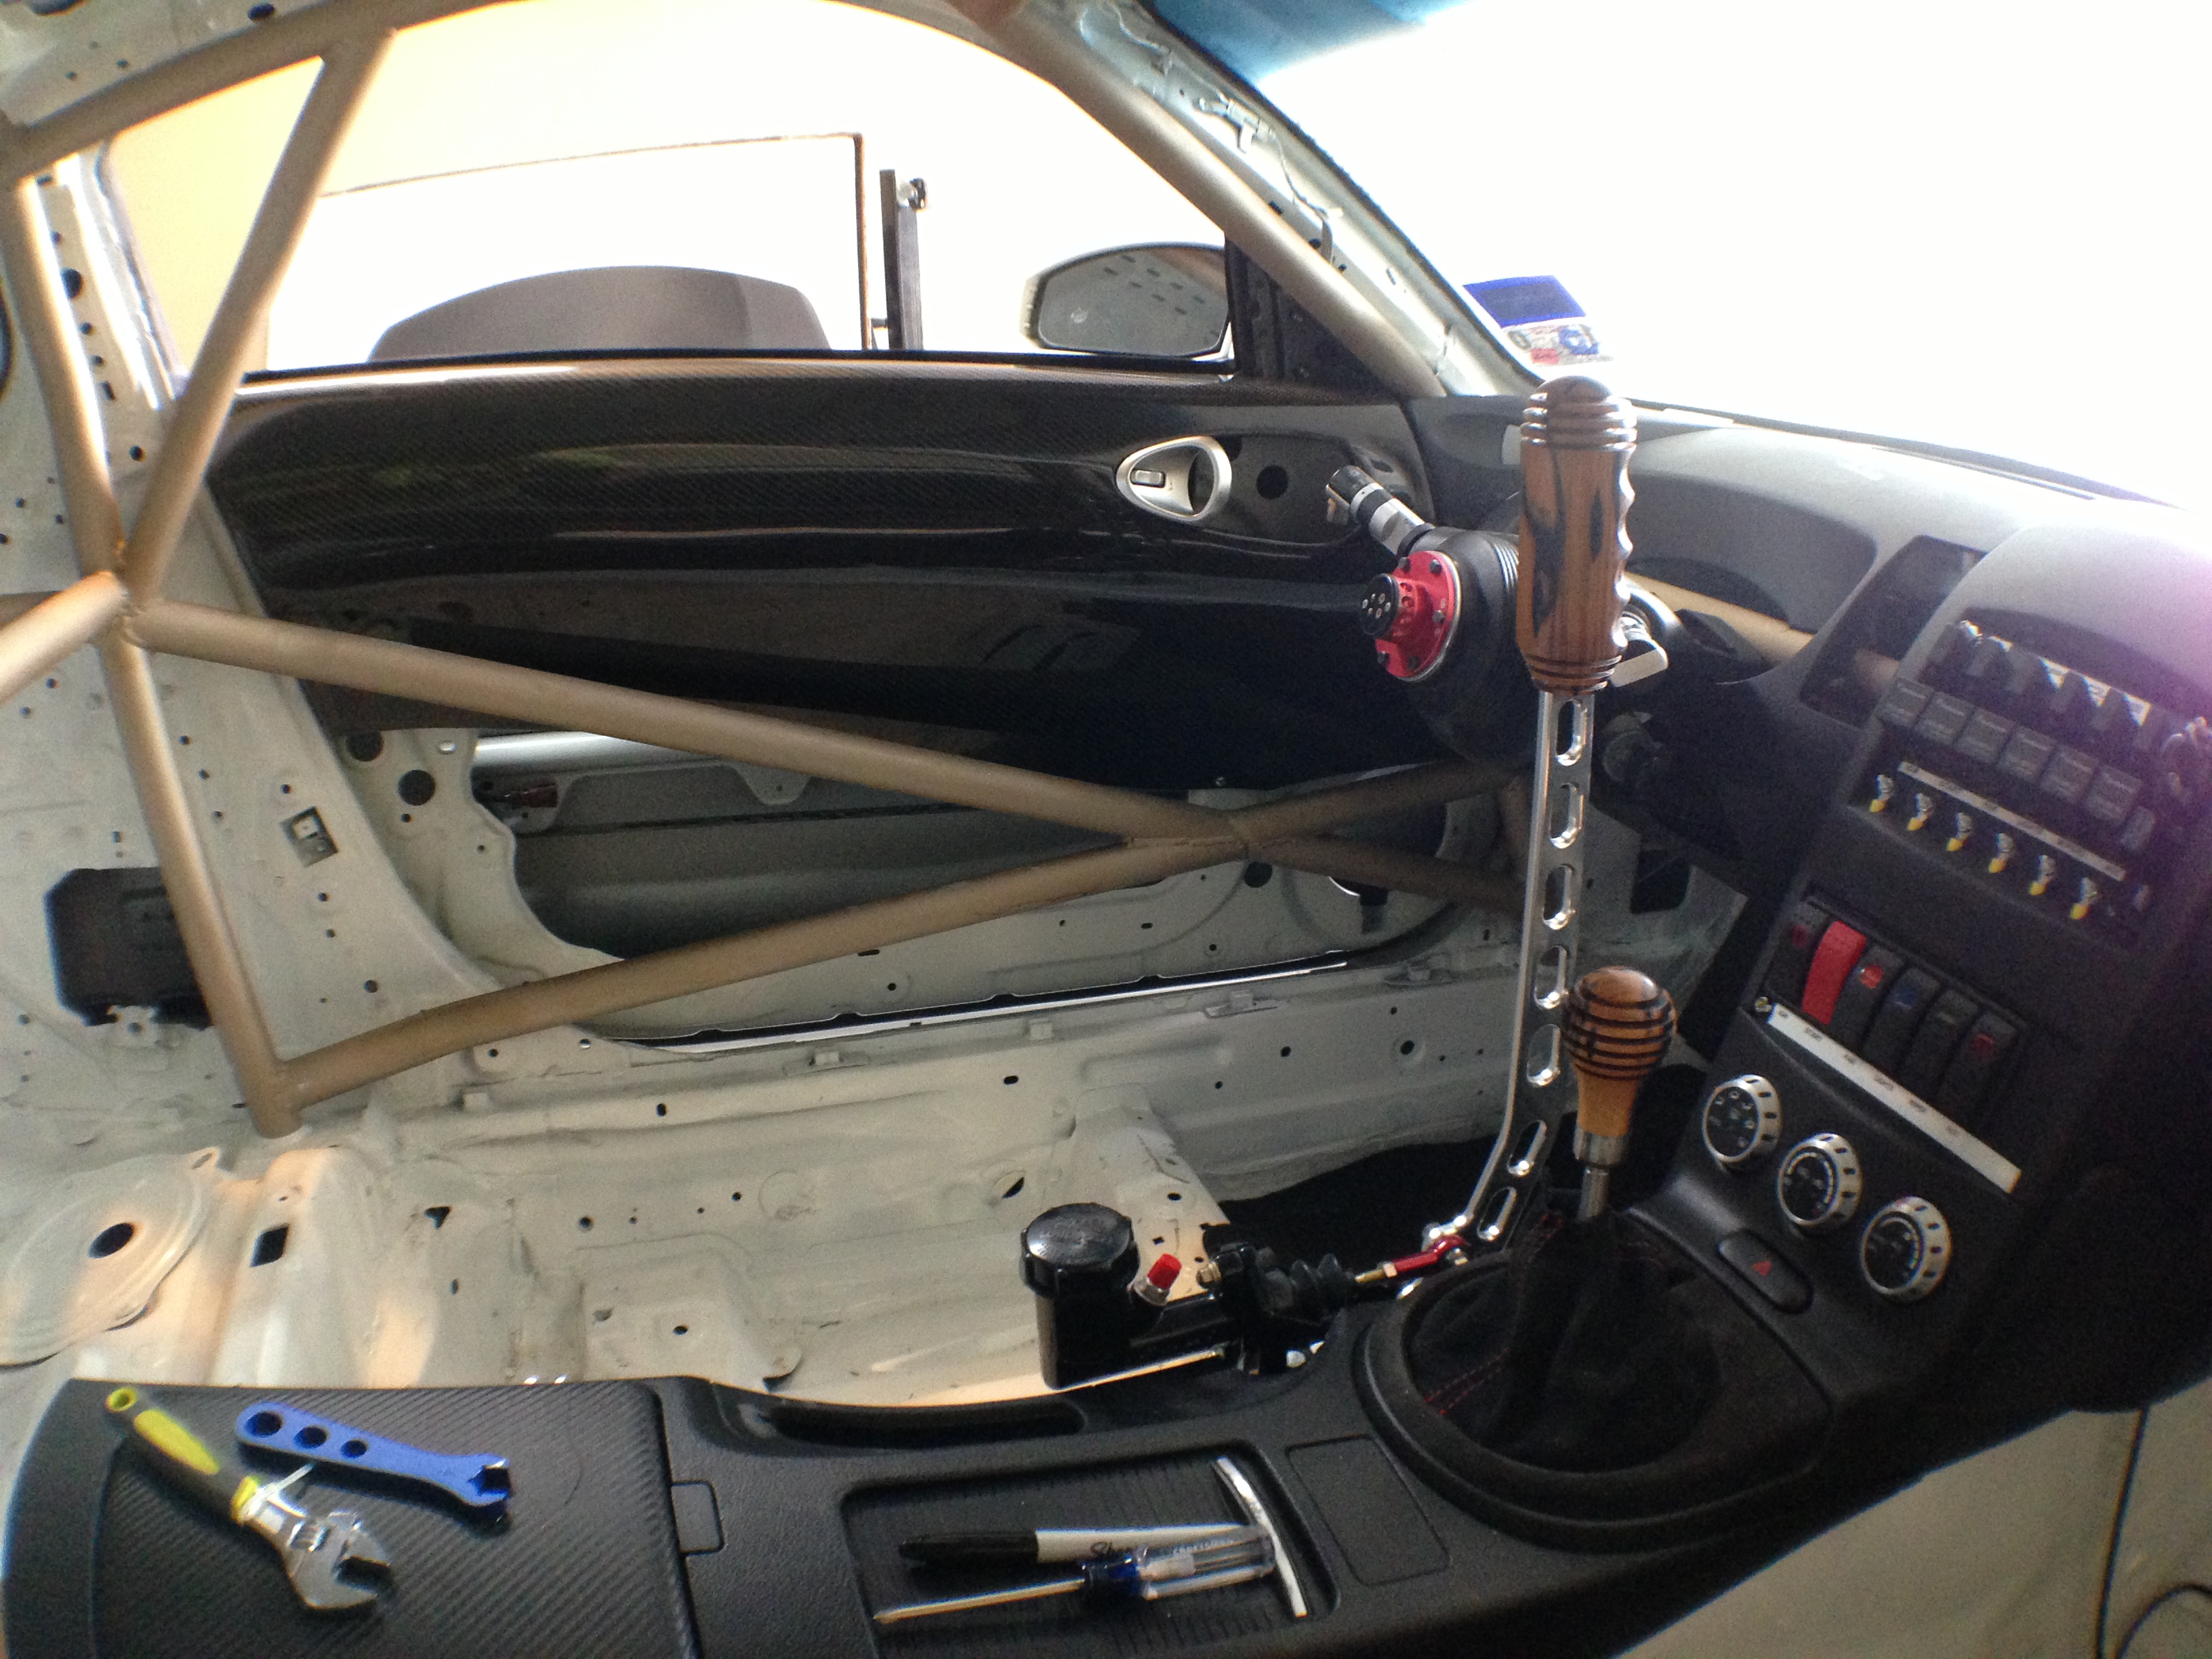
Overall I think they came out pretty good. However I think I will change them later to a flat CF panel and just add the door handle to it. but for now this will do.

A view so you can see both sides
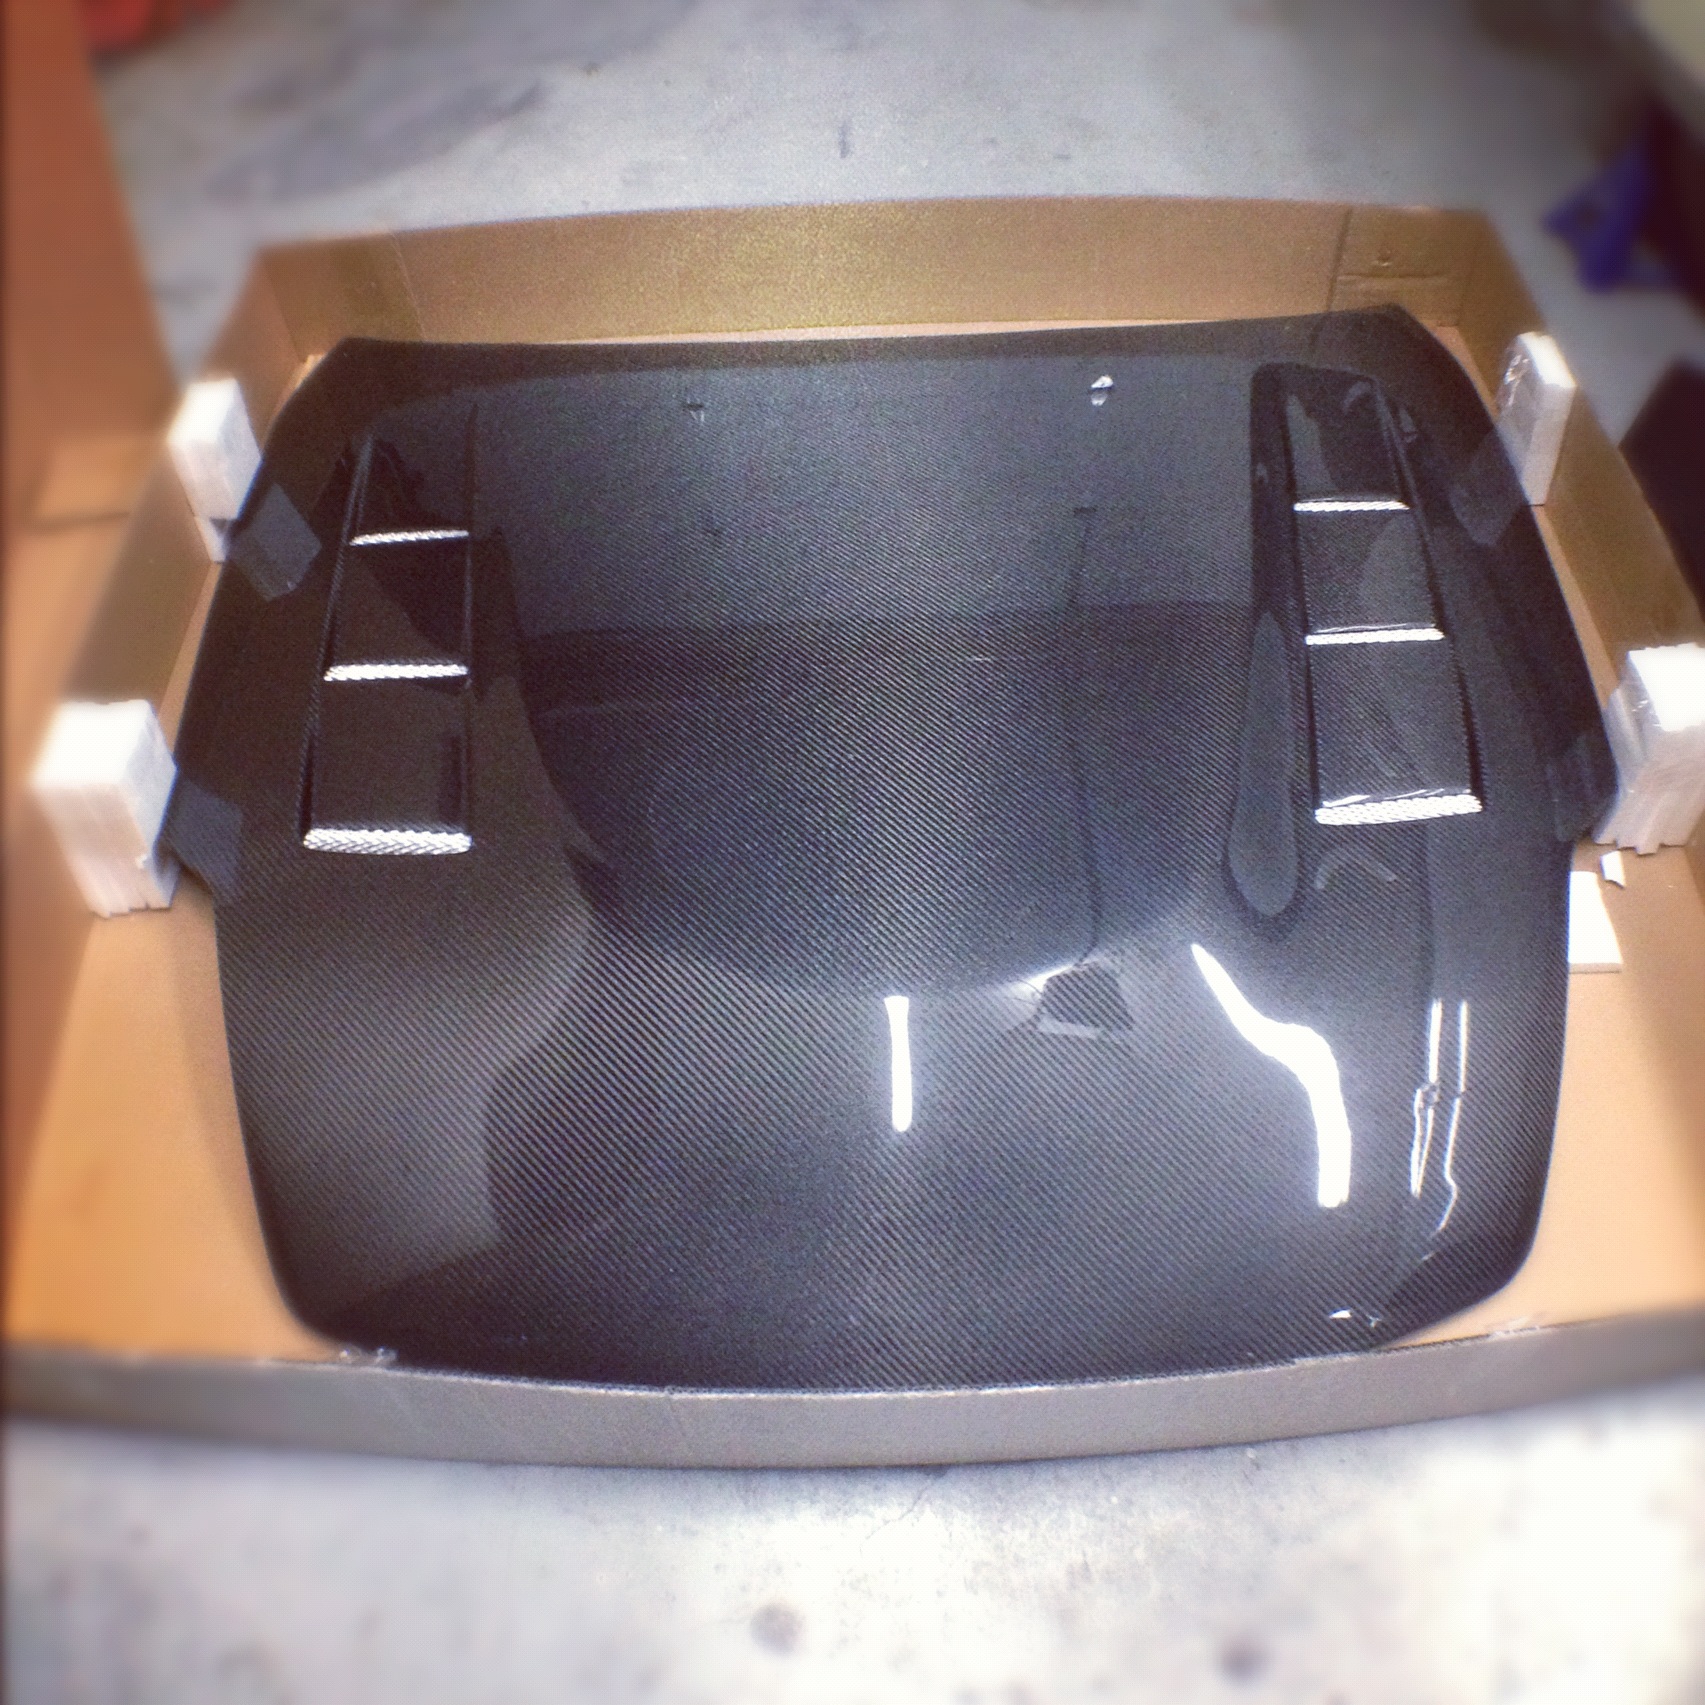
Next was mounting the hood and installing the hood pins
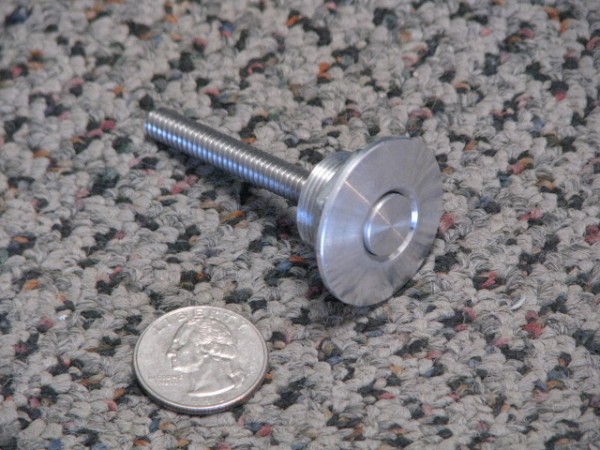
Went with Quik-Latch minis. I love Quik-latch products and tend to use them on the bumpers and rear hatch.
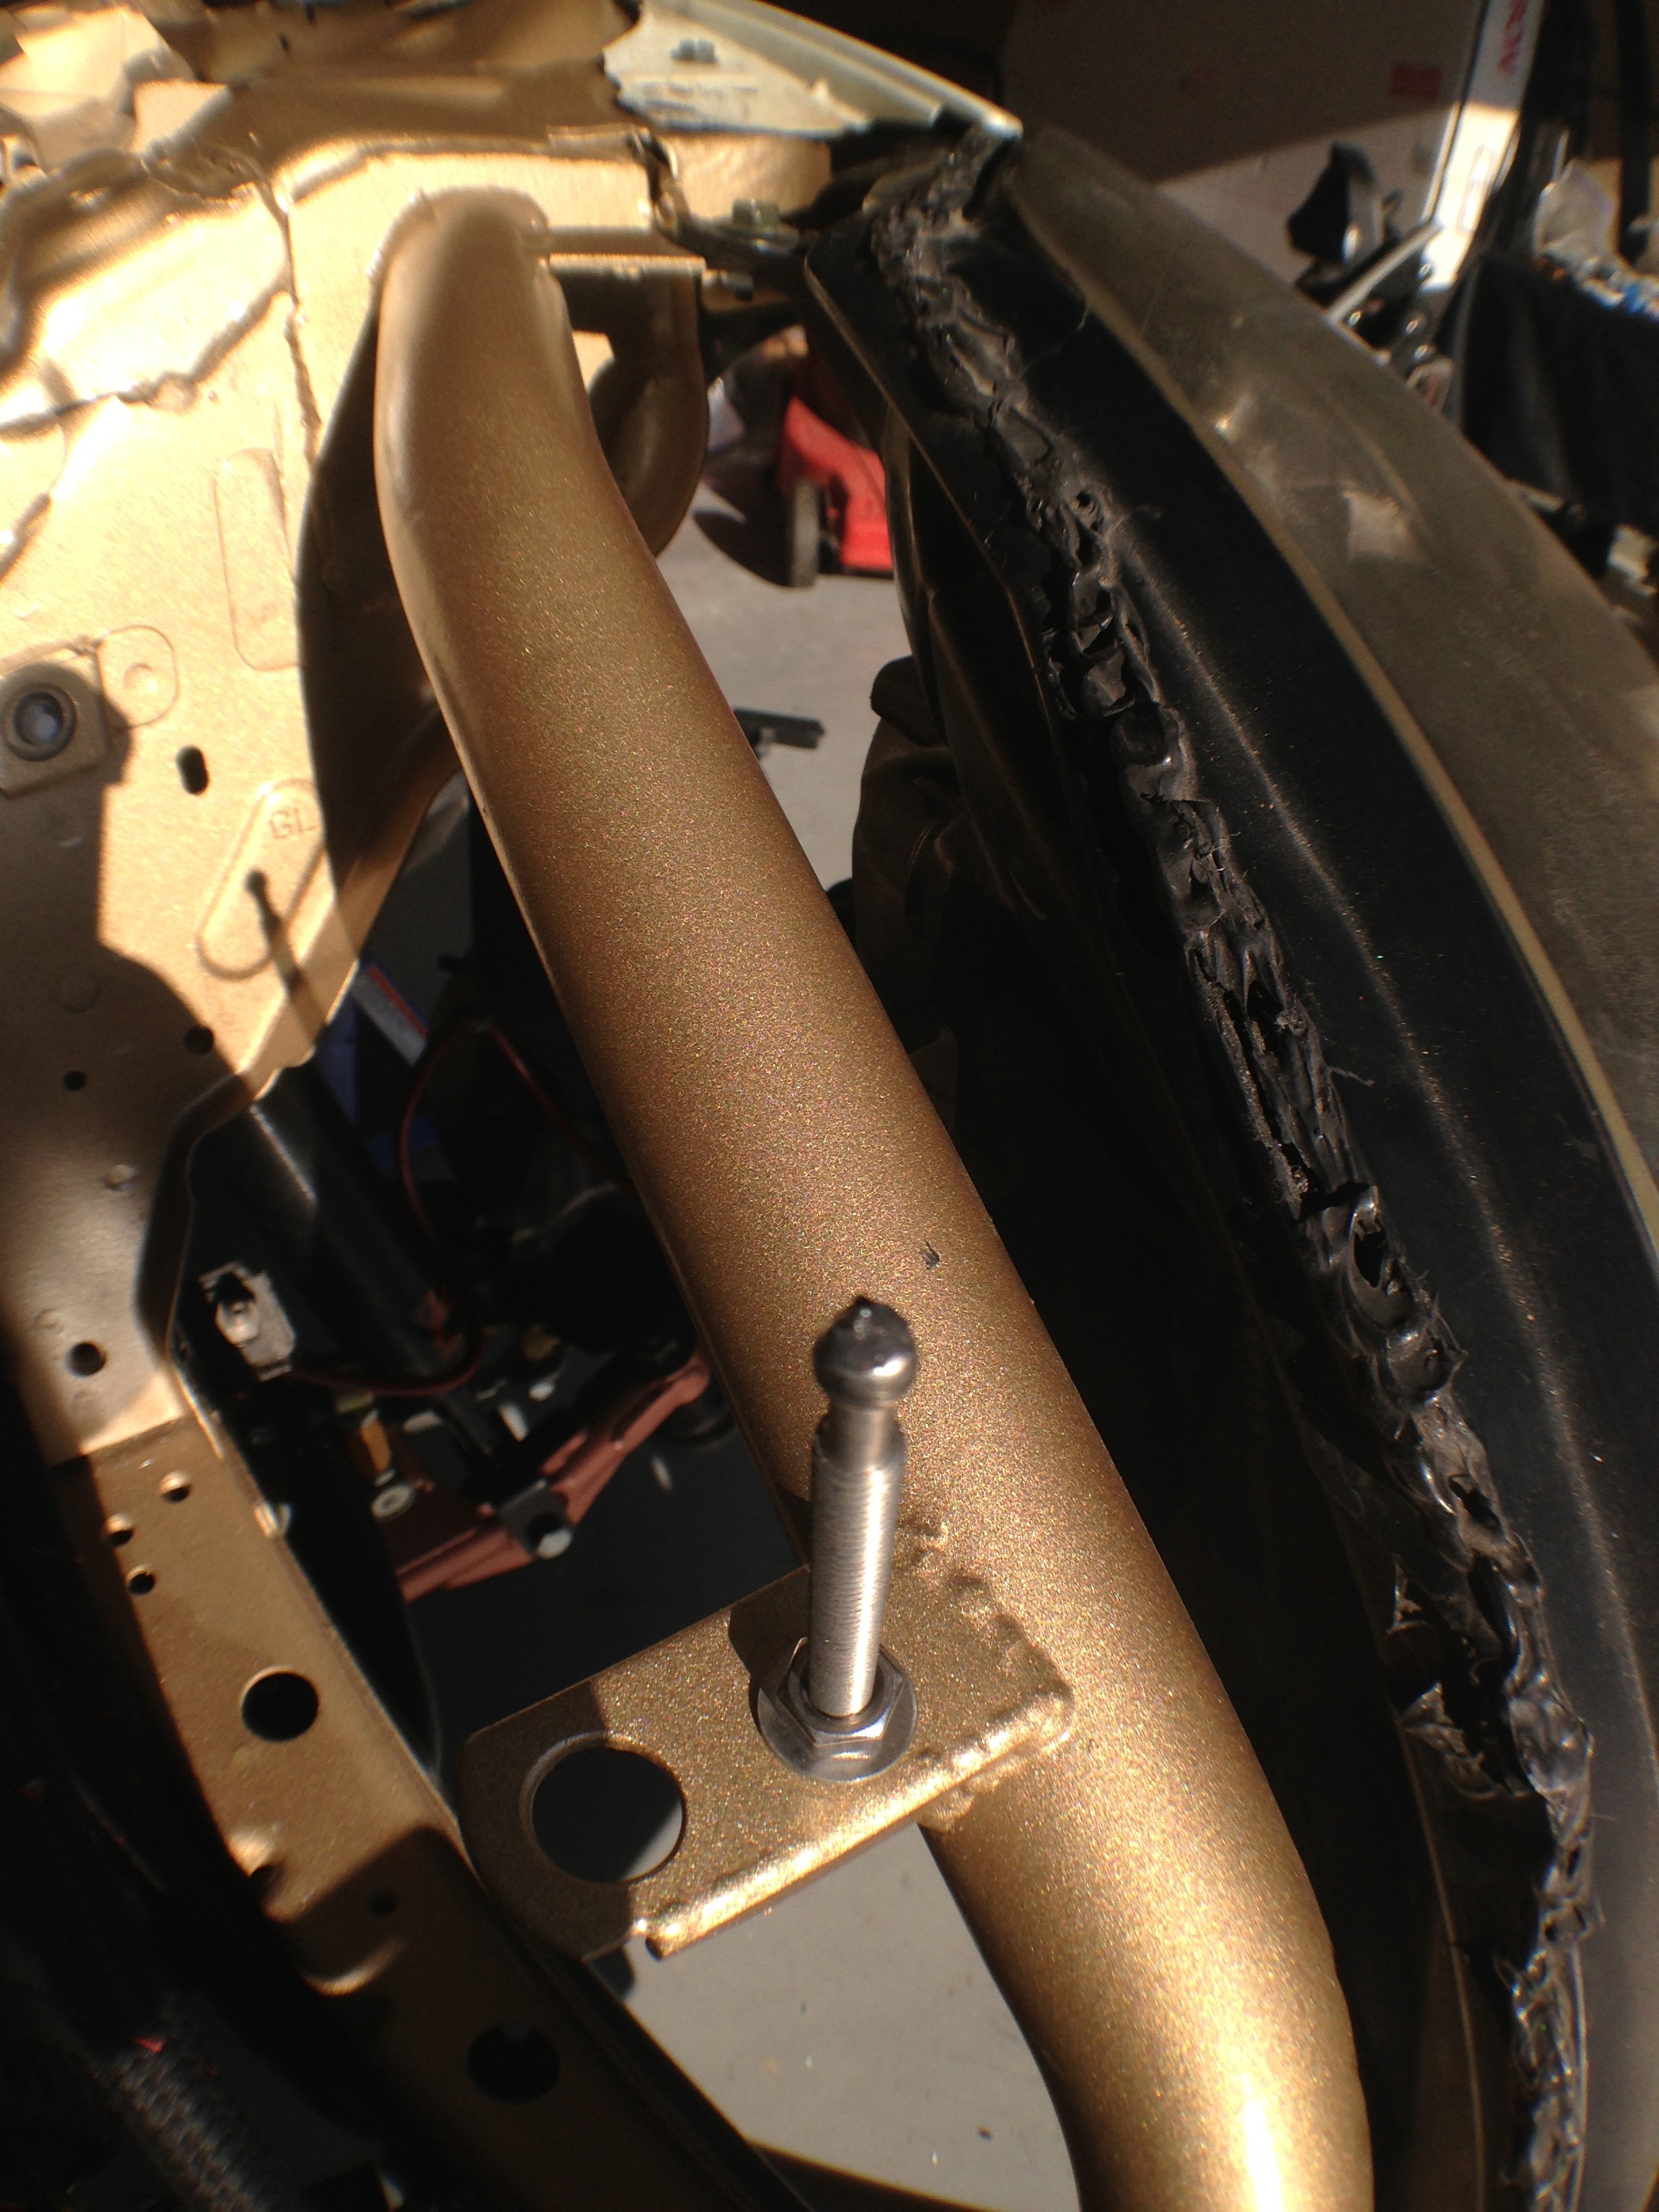
Installed the pins, and put grease on it to mark were to drill for the holes. The hole next to this pin was my old pin setup..
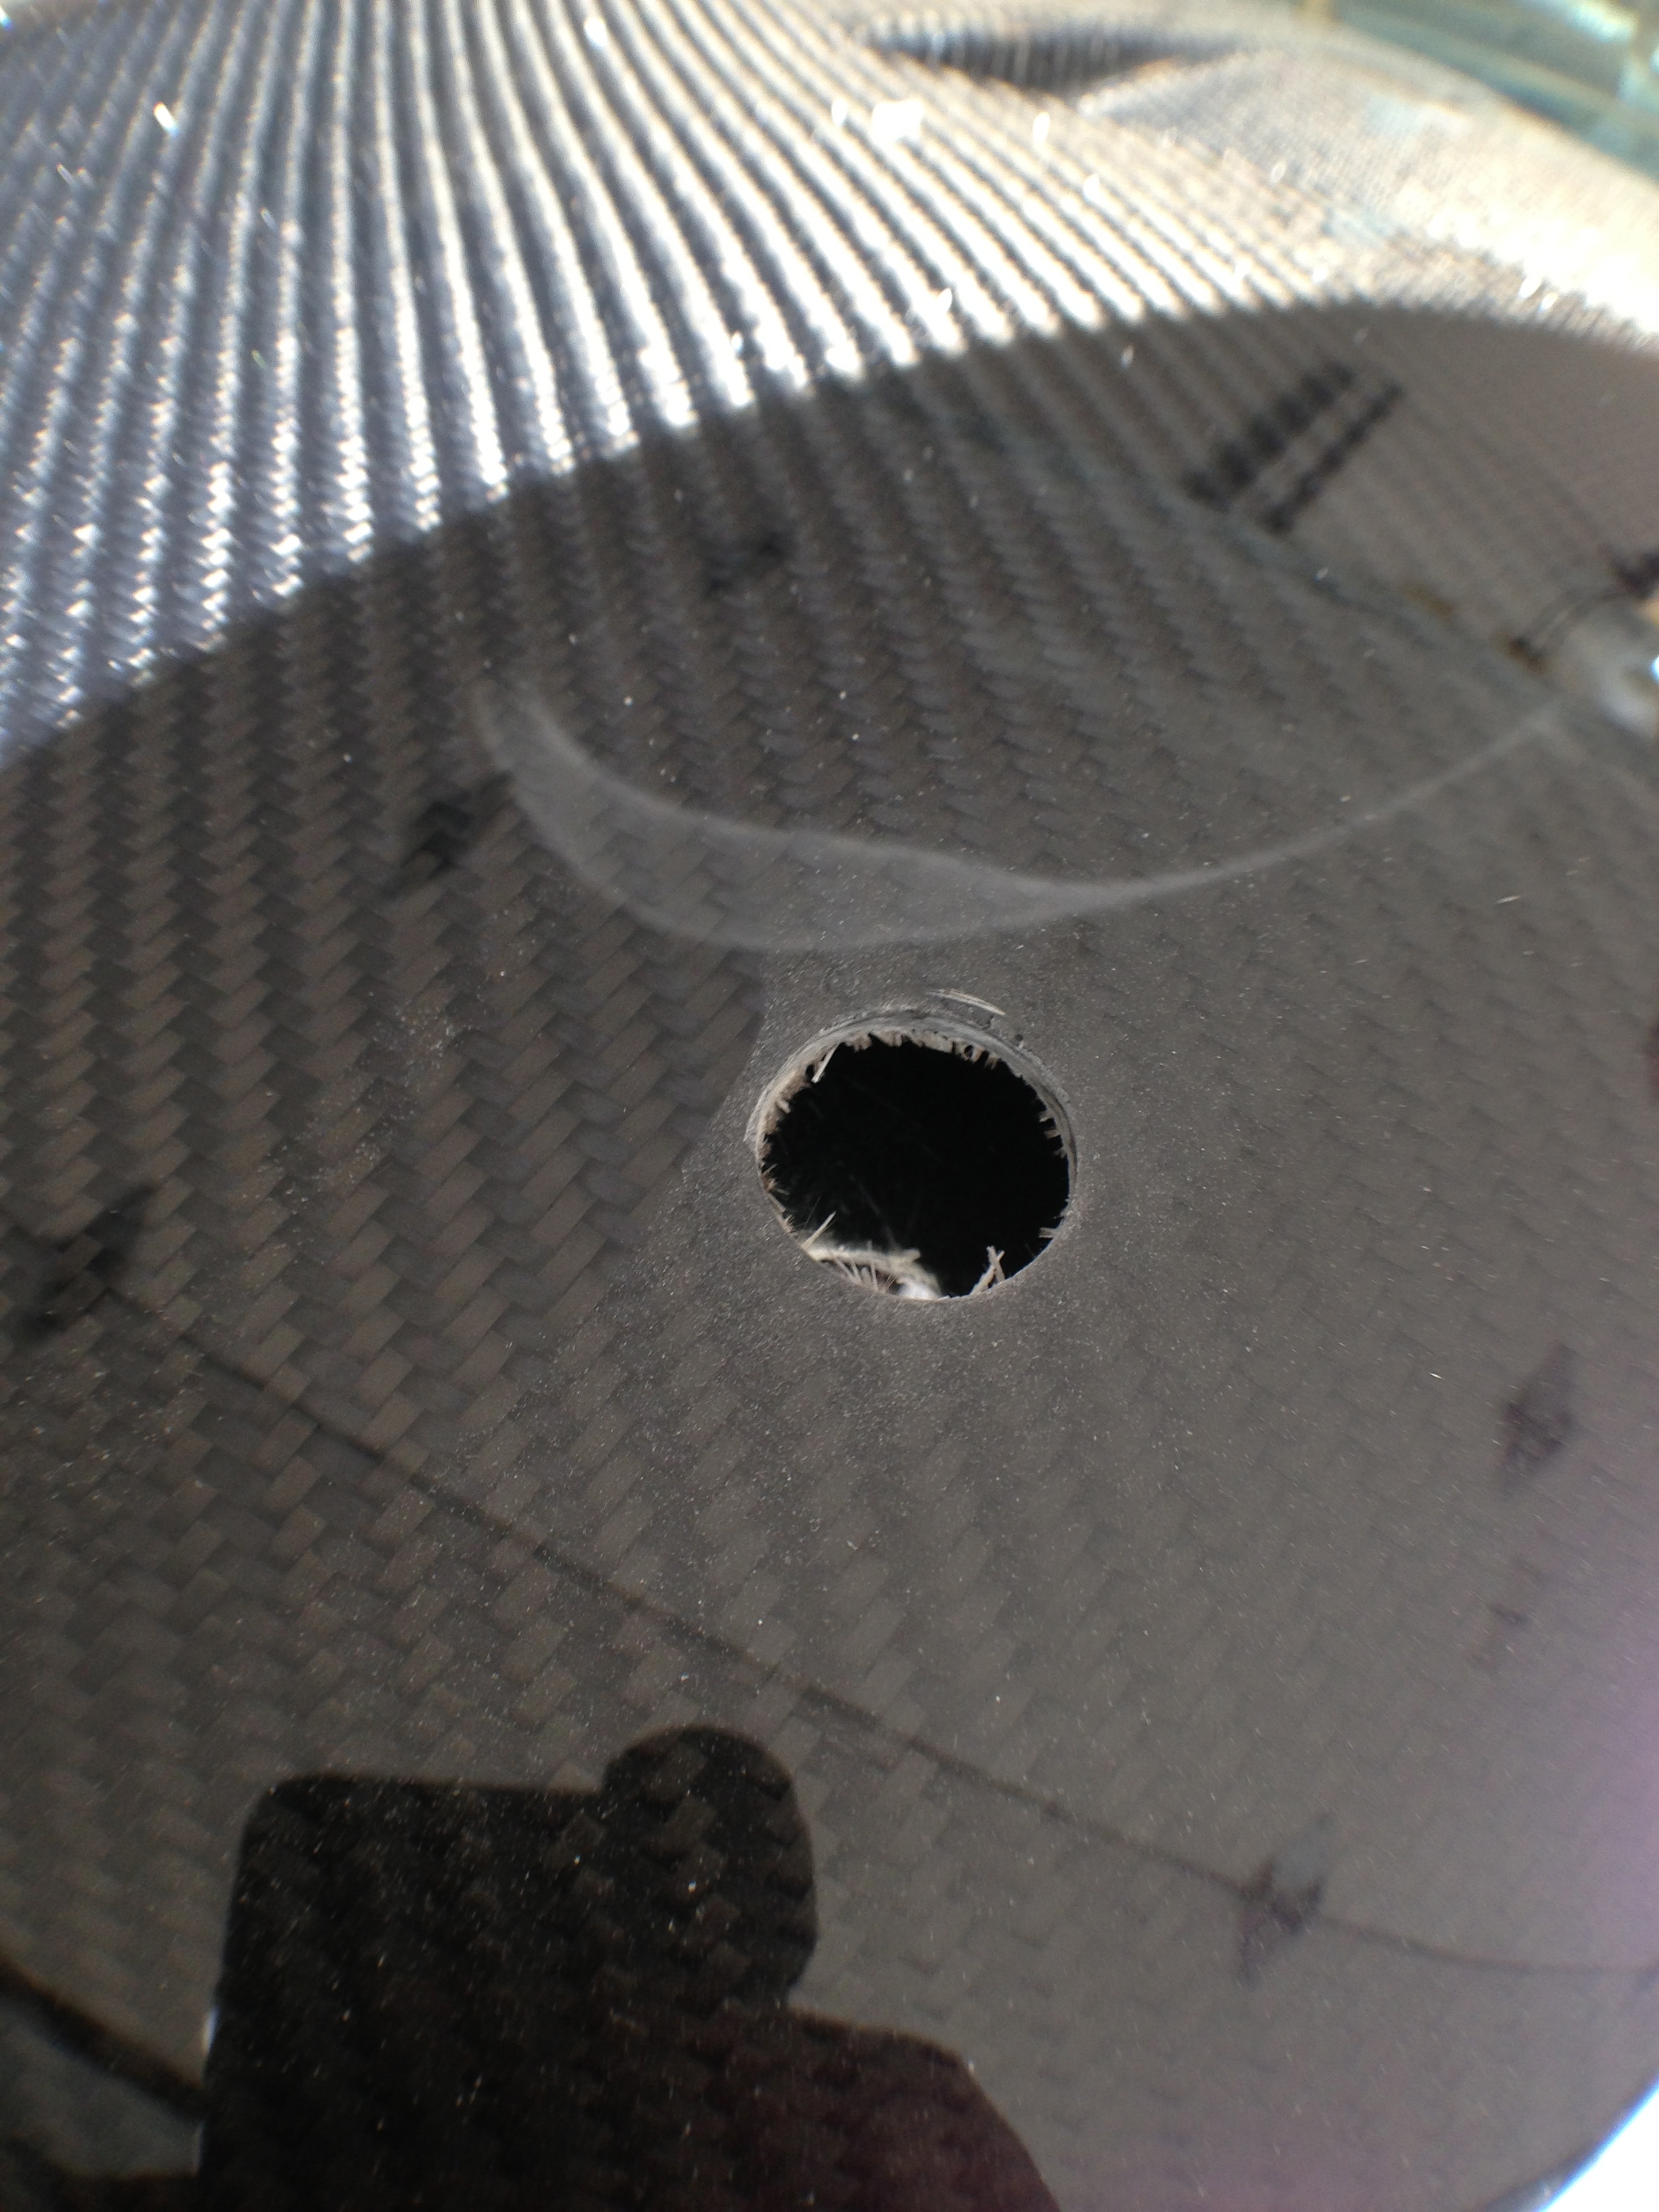
Holes cut
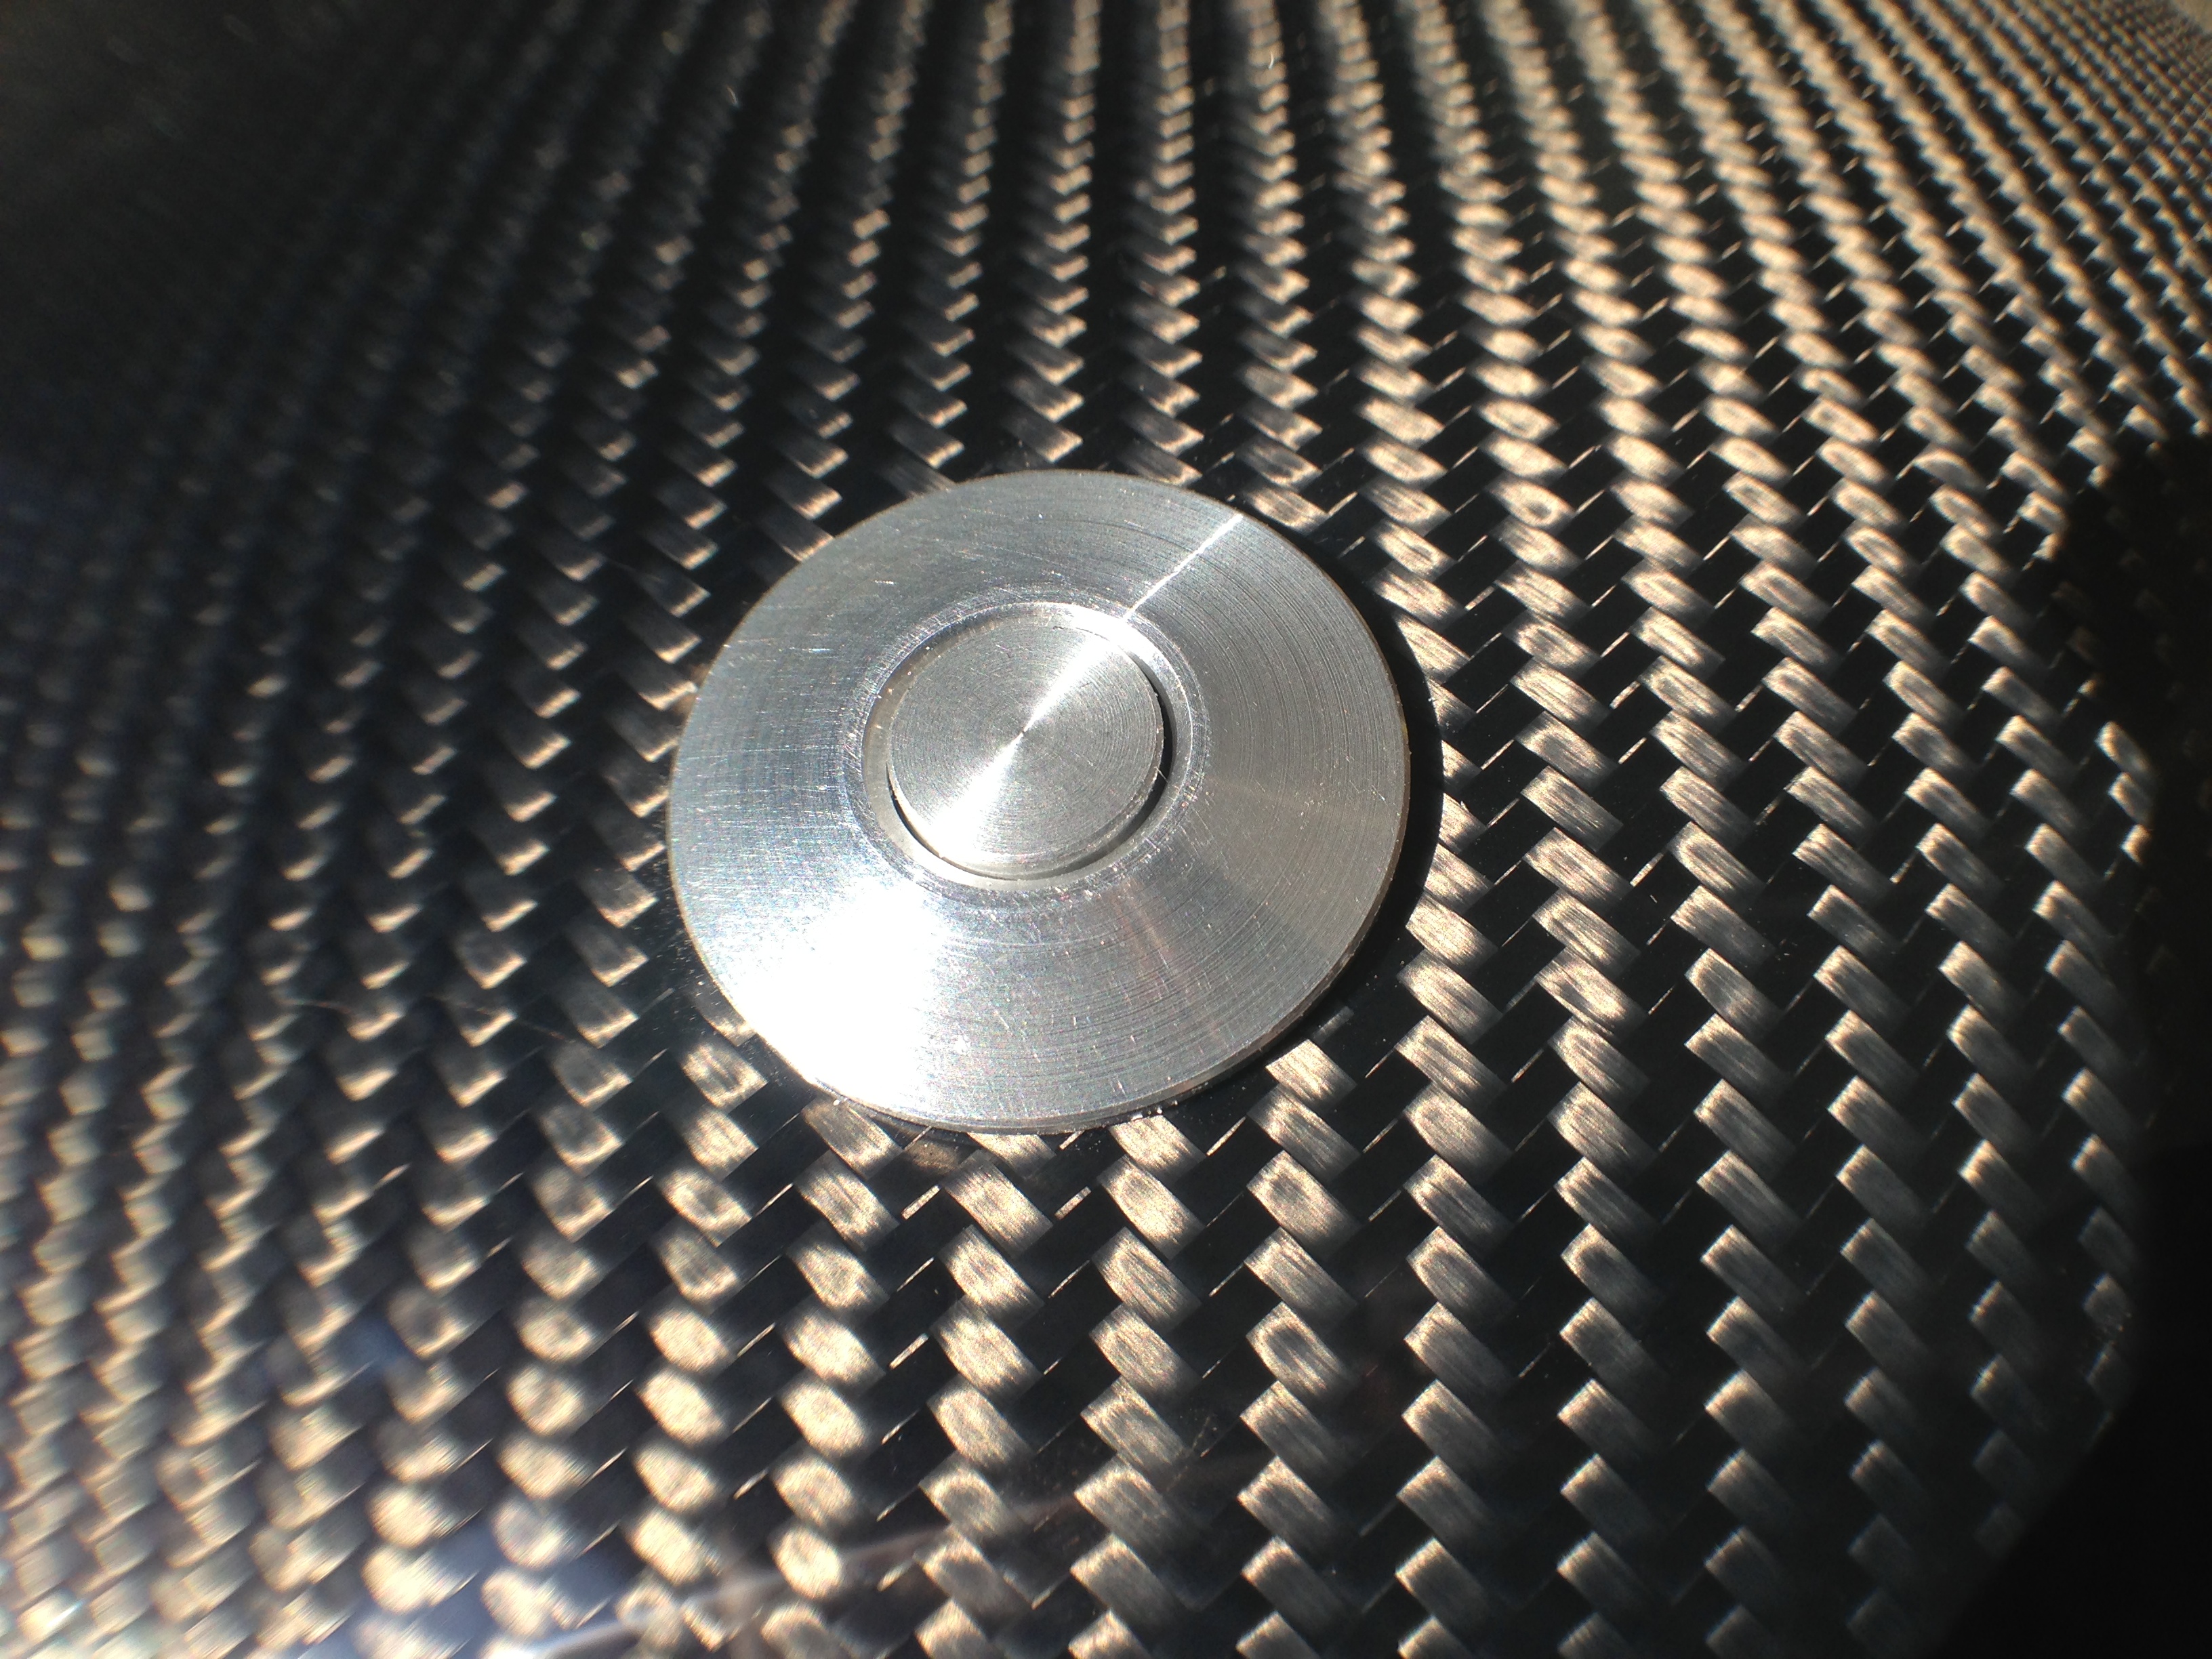
Mounted

Love how small and flush they sit
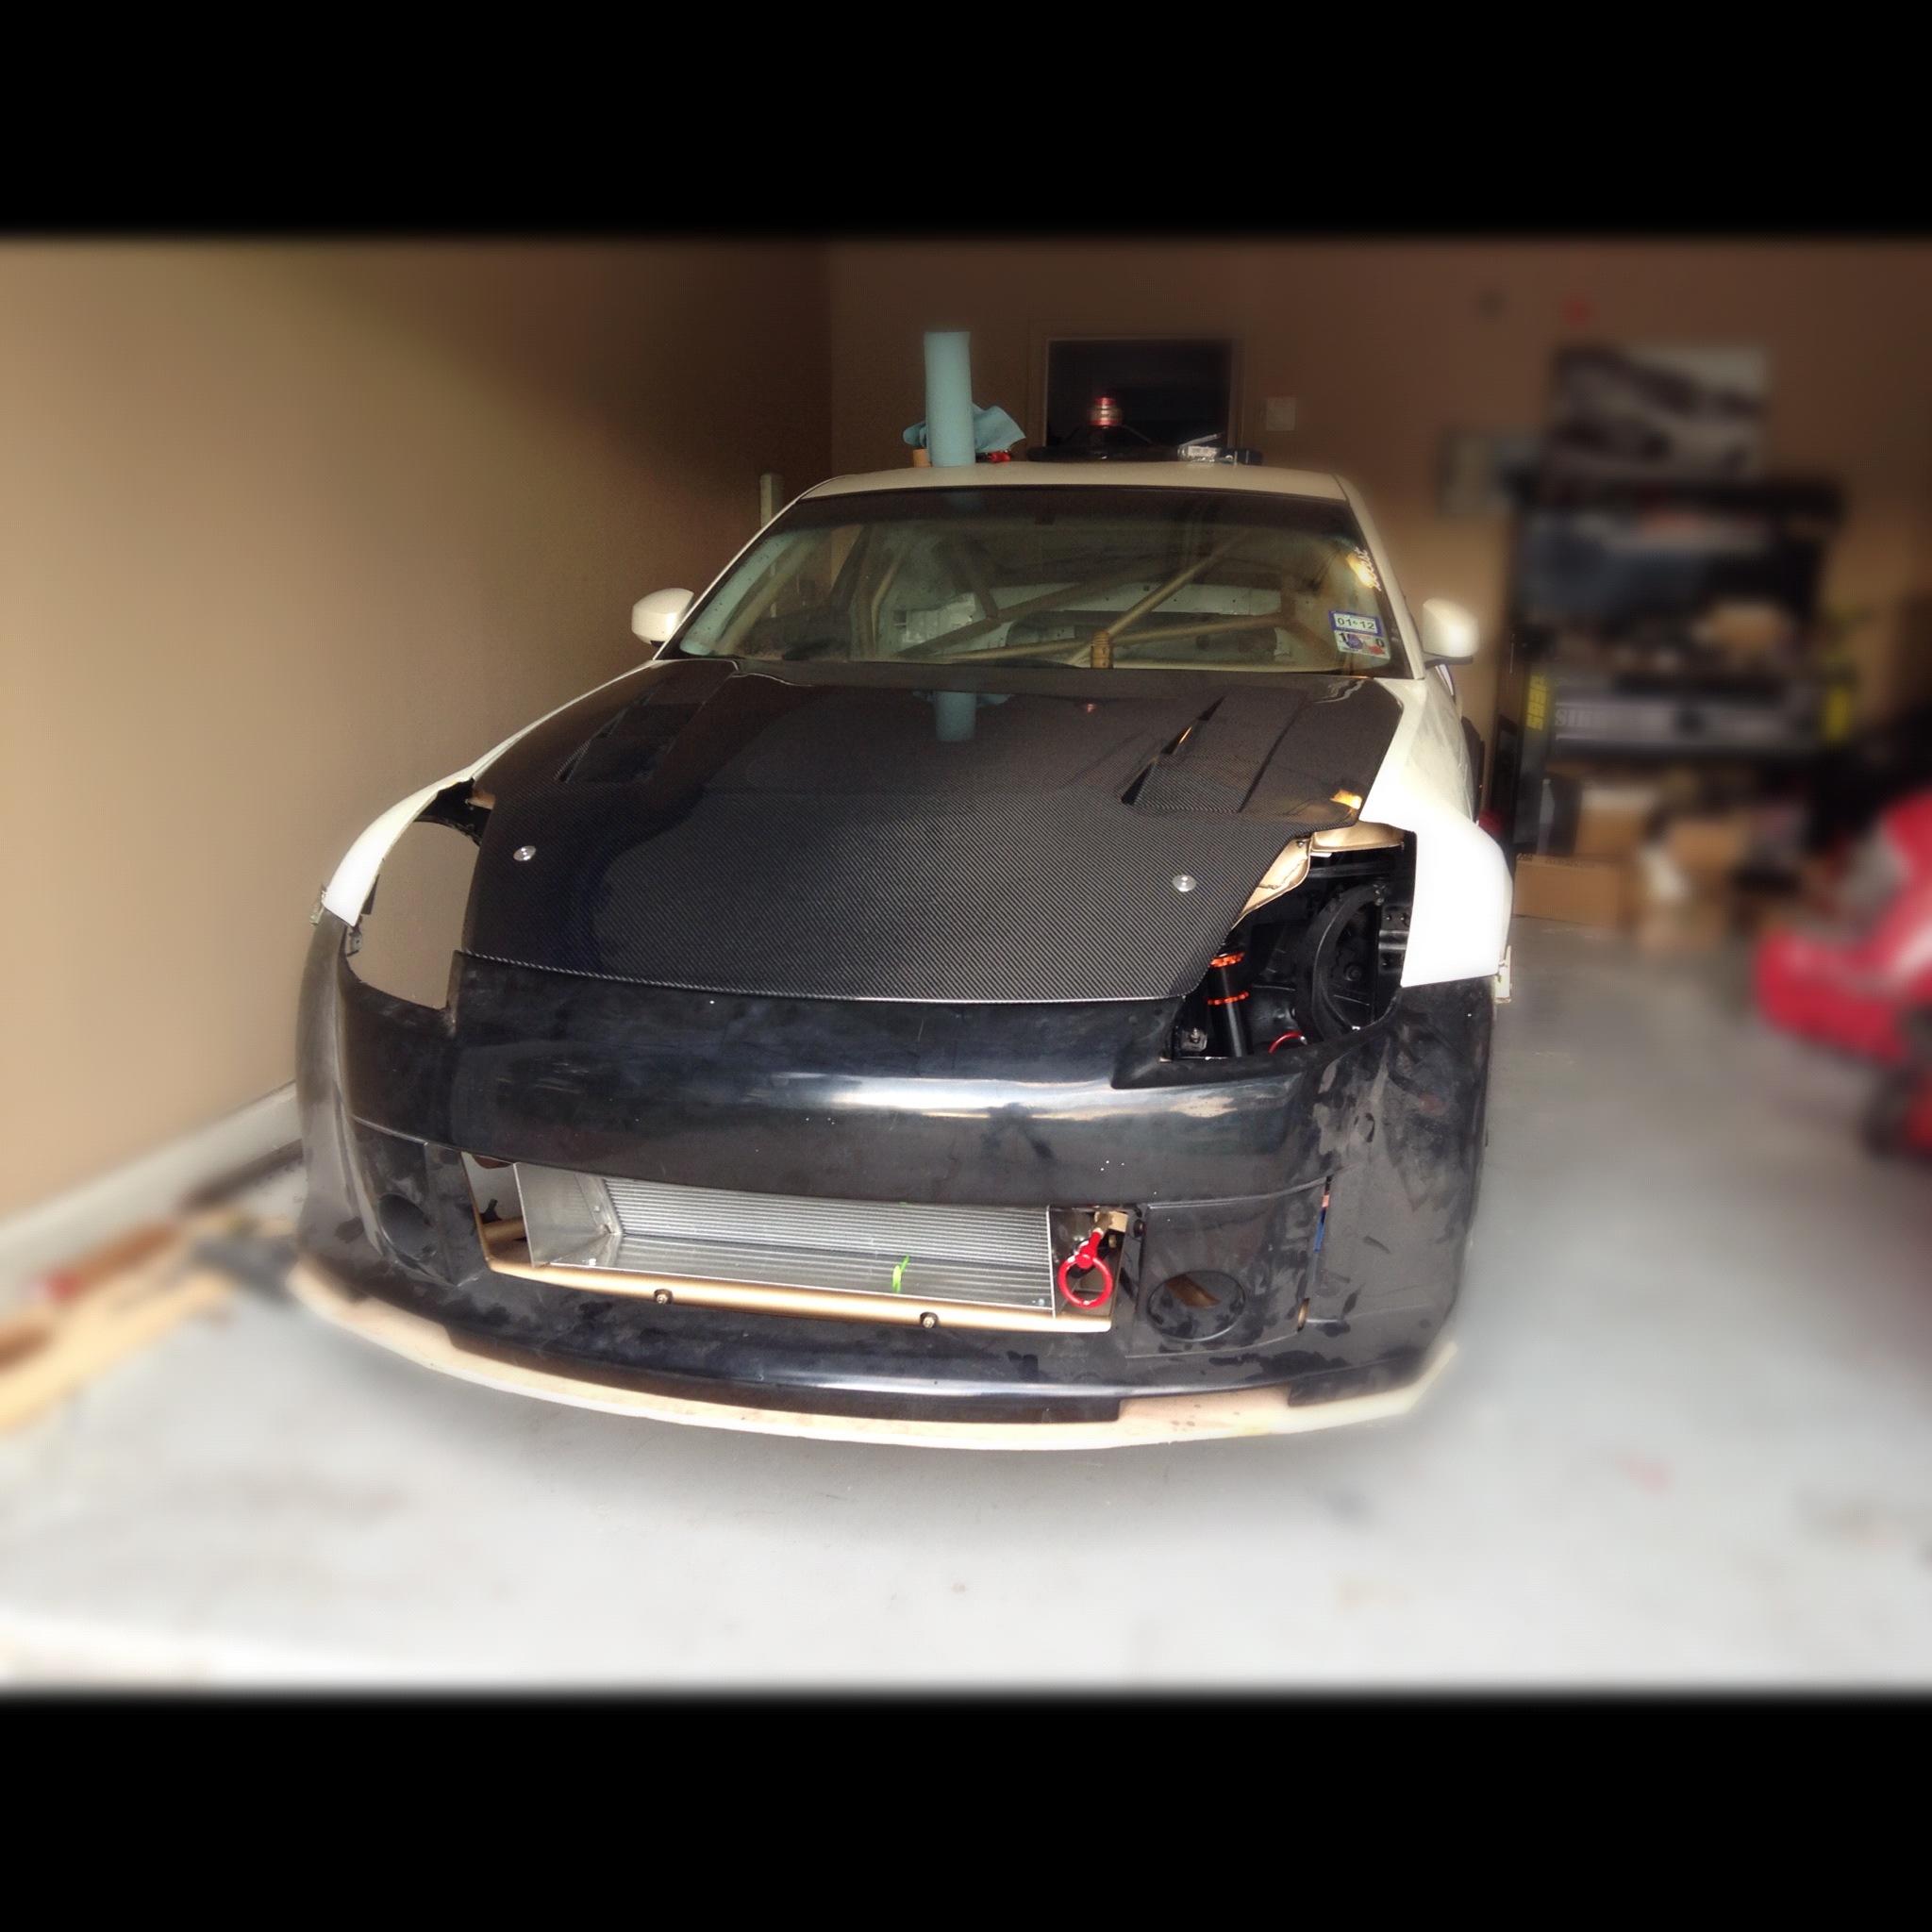
After installing the pins I had to set them so their was no gaps in the front bumper..
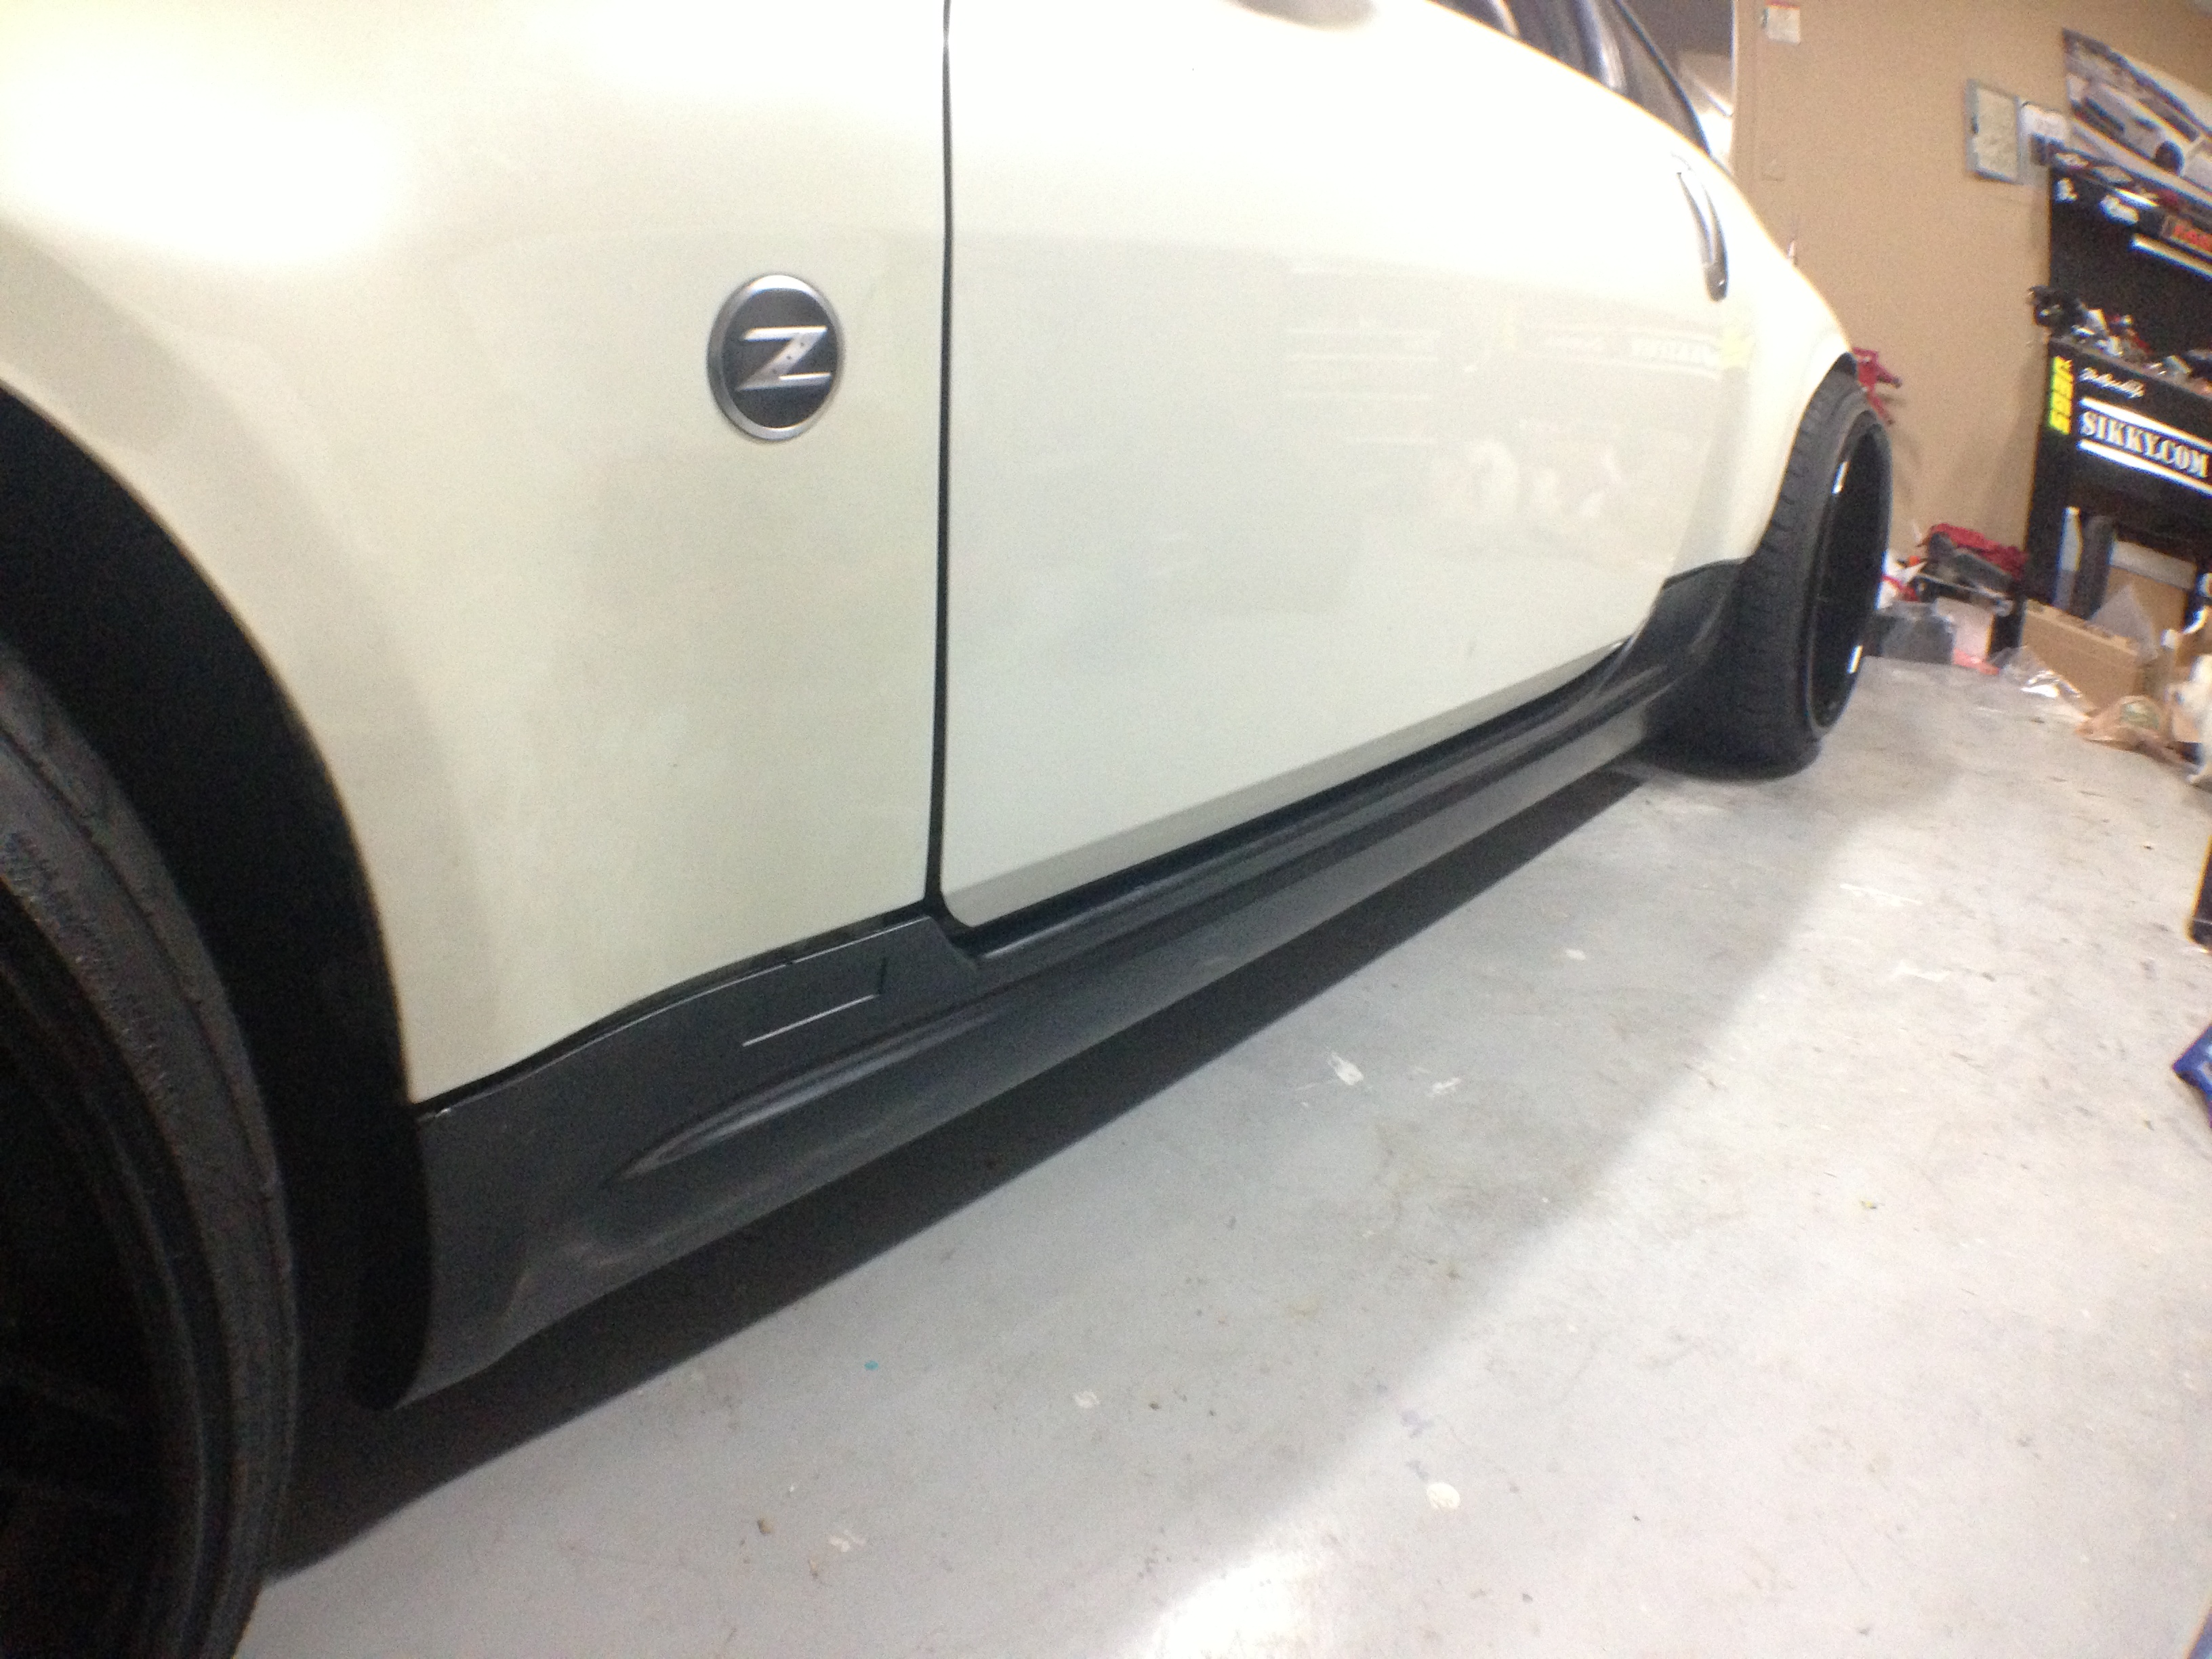
also mocked up my new side skirts.. Love how they look...
So this is where I took my car to Russell to fab up my exhaust and intake
Took my lil brother with me..

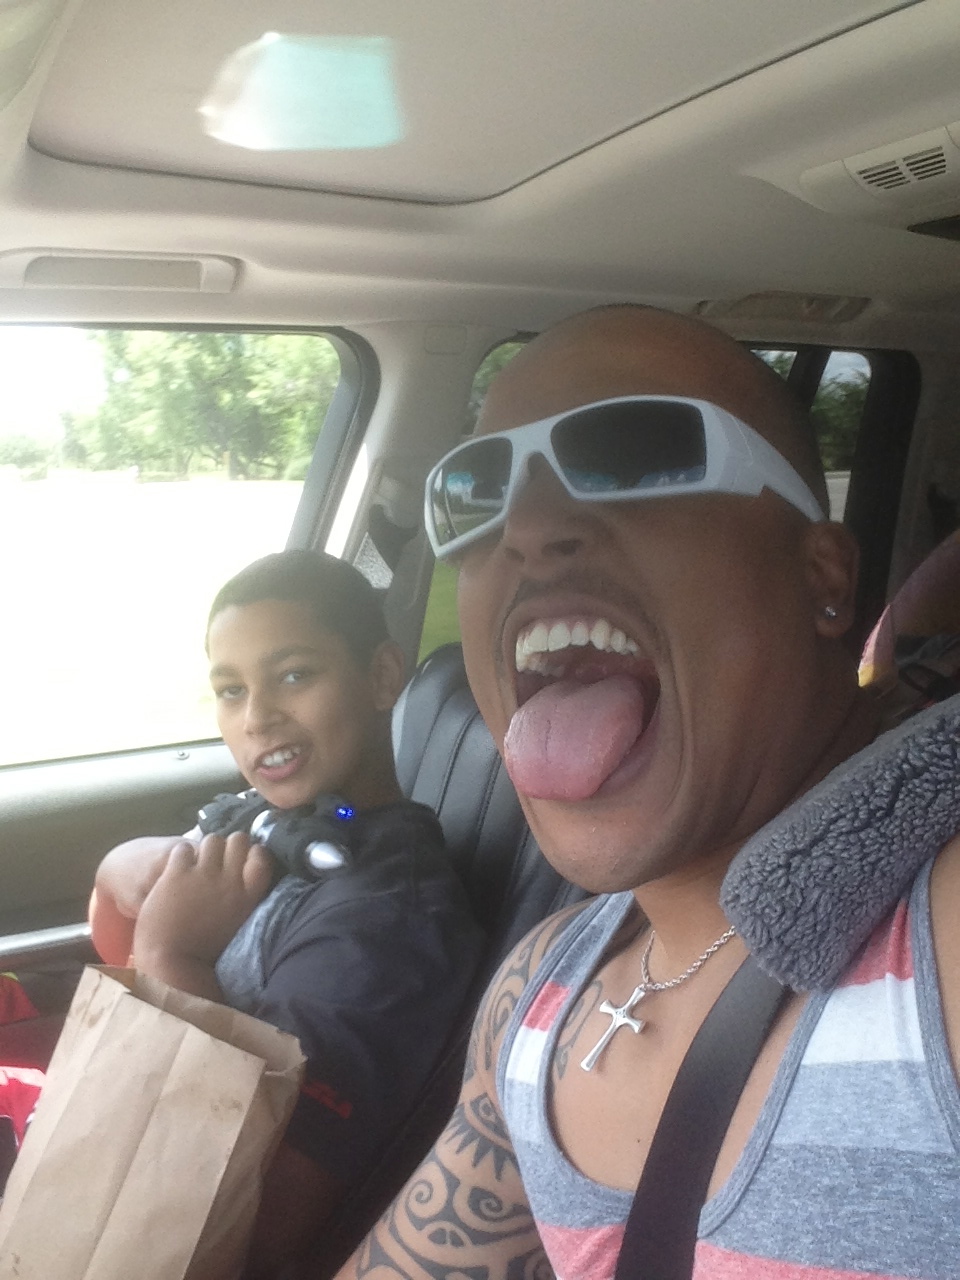
As well as my son.. have to teach him all about this stuff..
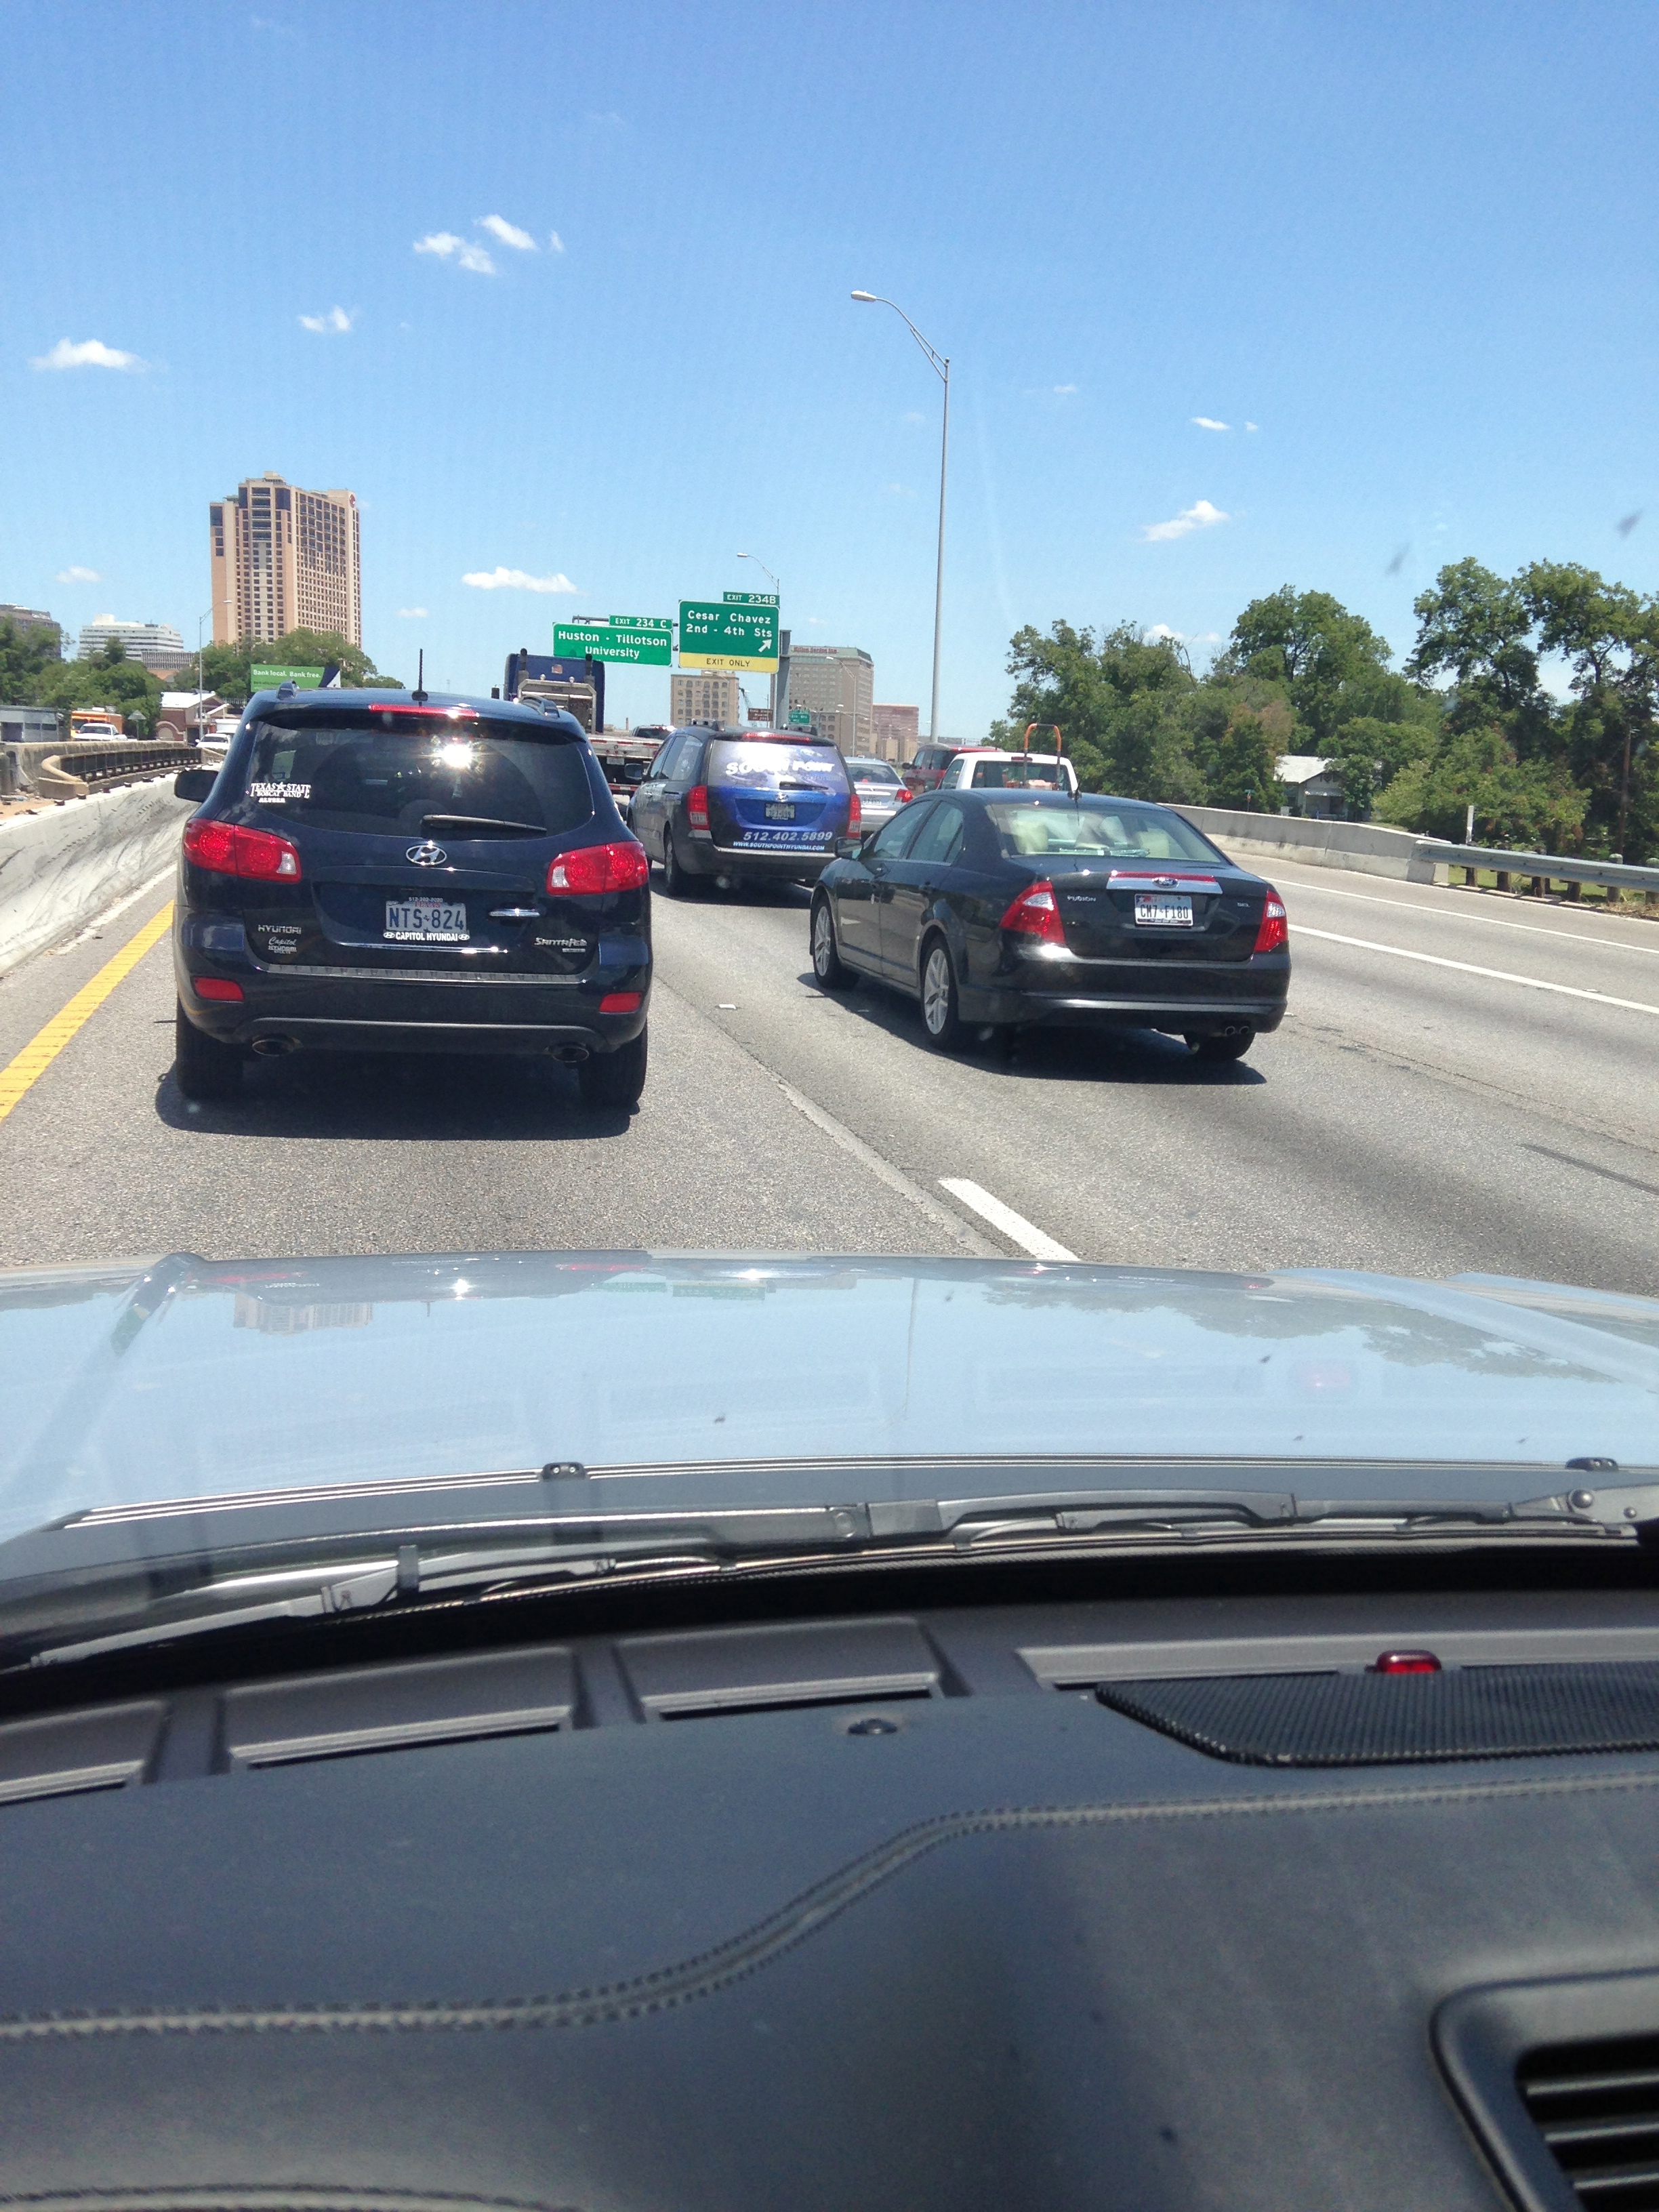
So after a couple of weeks I went to ATX to pick her up and always get stuck in traffic here.. Hate it so much..

First time she got to sleep in her new garage after the floor was done..
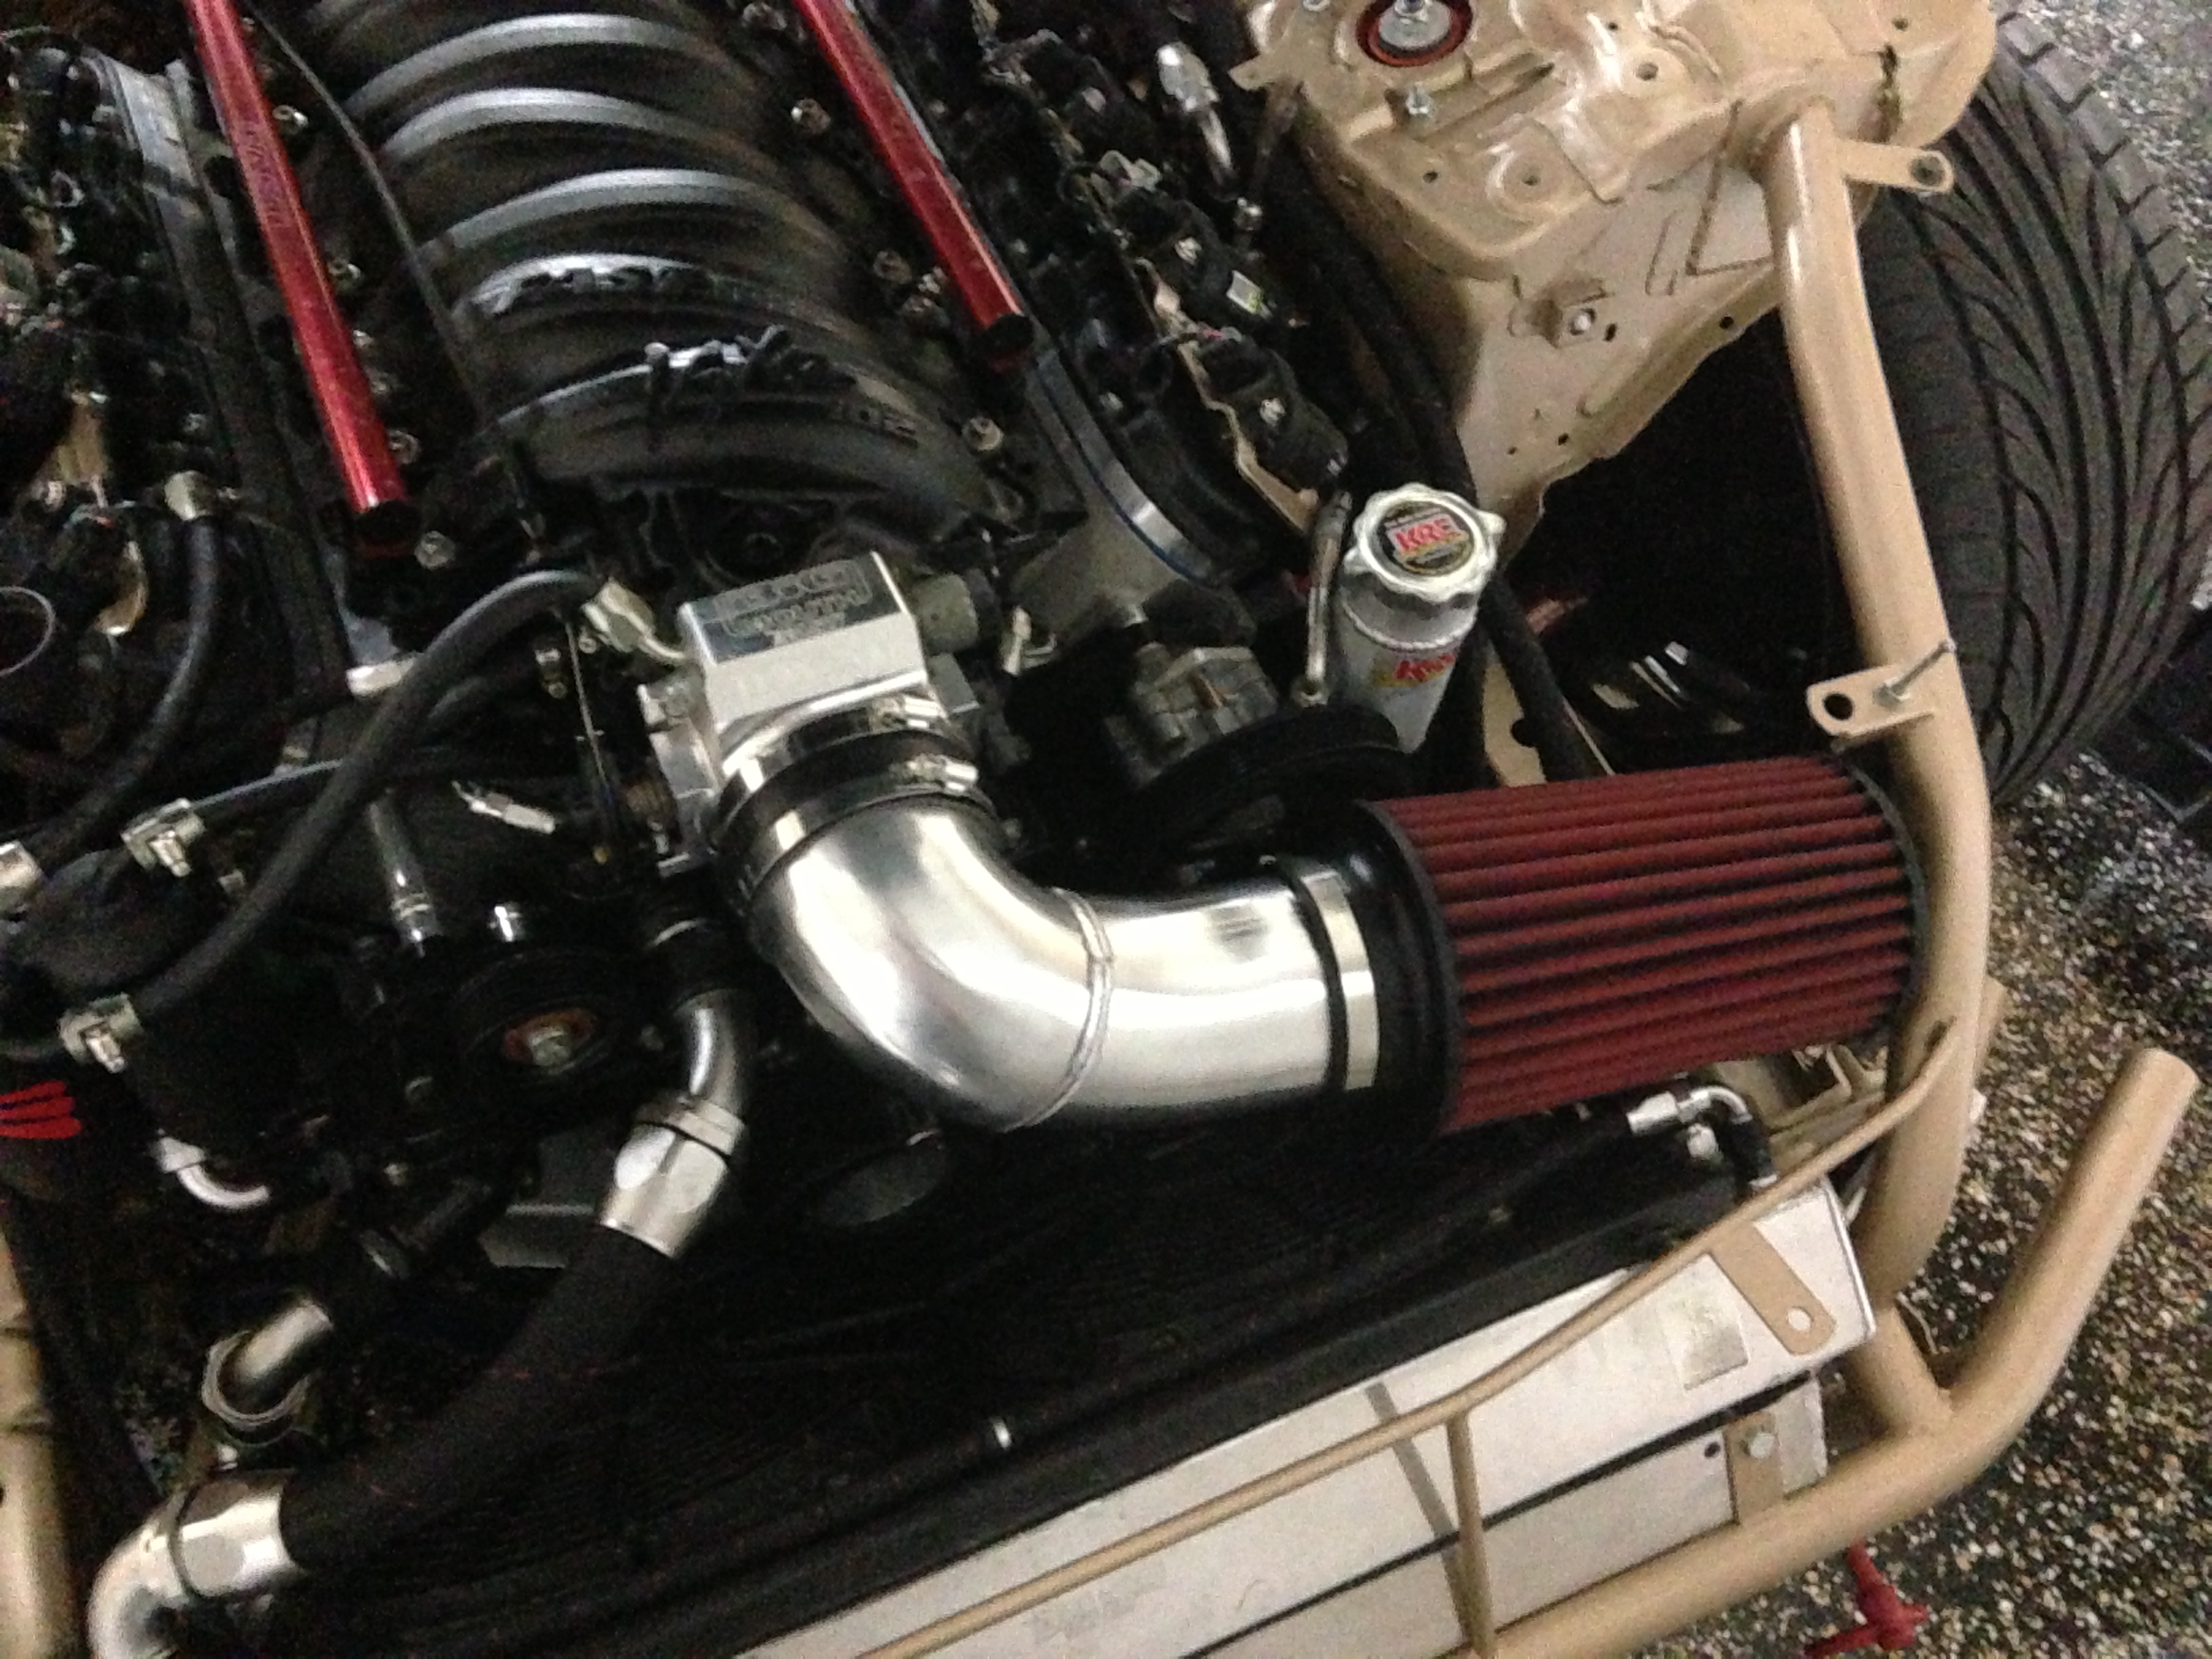
First we have my intake.. Nothing special just your norm intake.. Wanted it to run down to the front wheel well but there was not a good way to route it. So this will do.
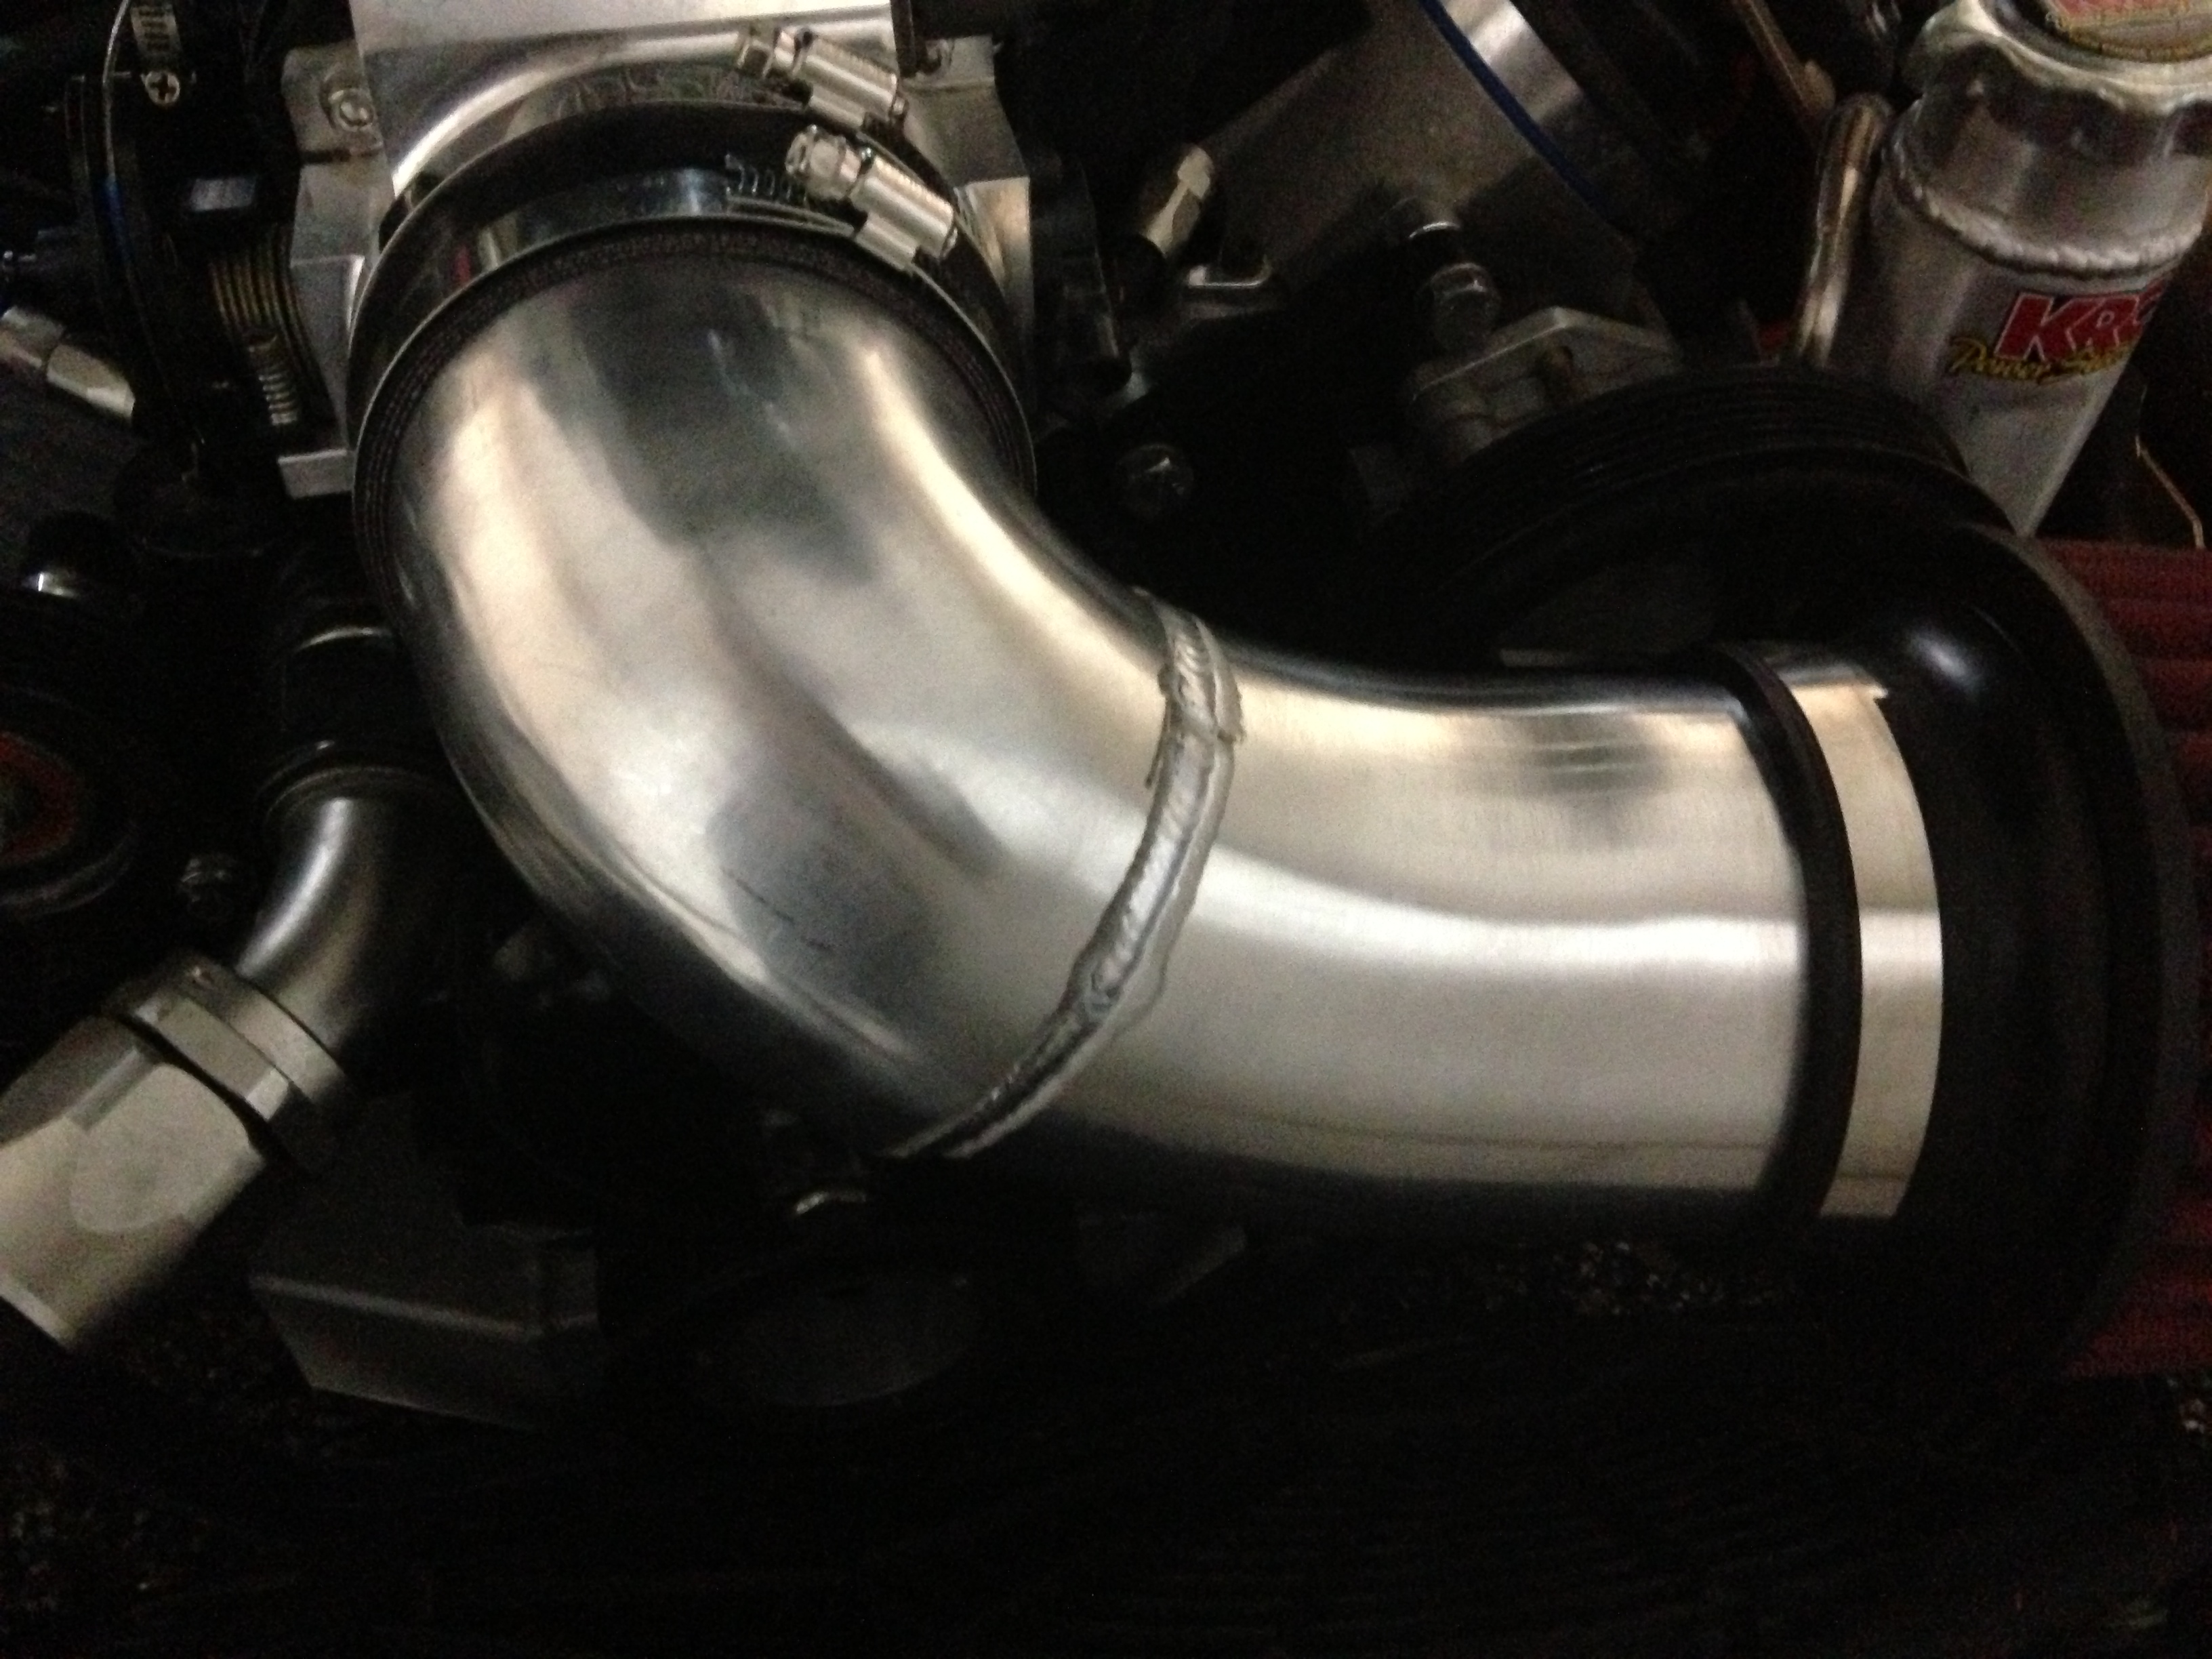
Can't remember the size of the pipe but this thing is huge has to be 4"
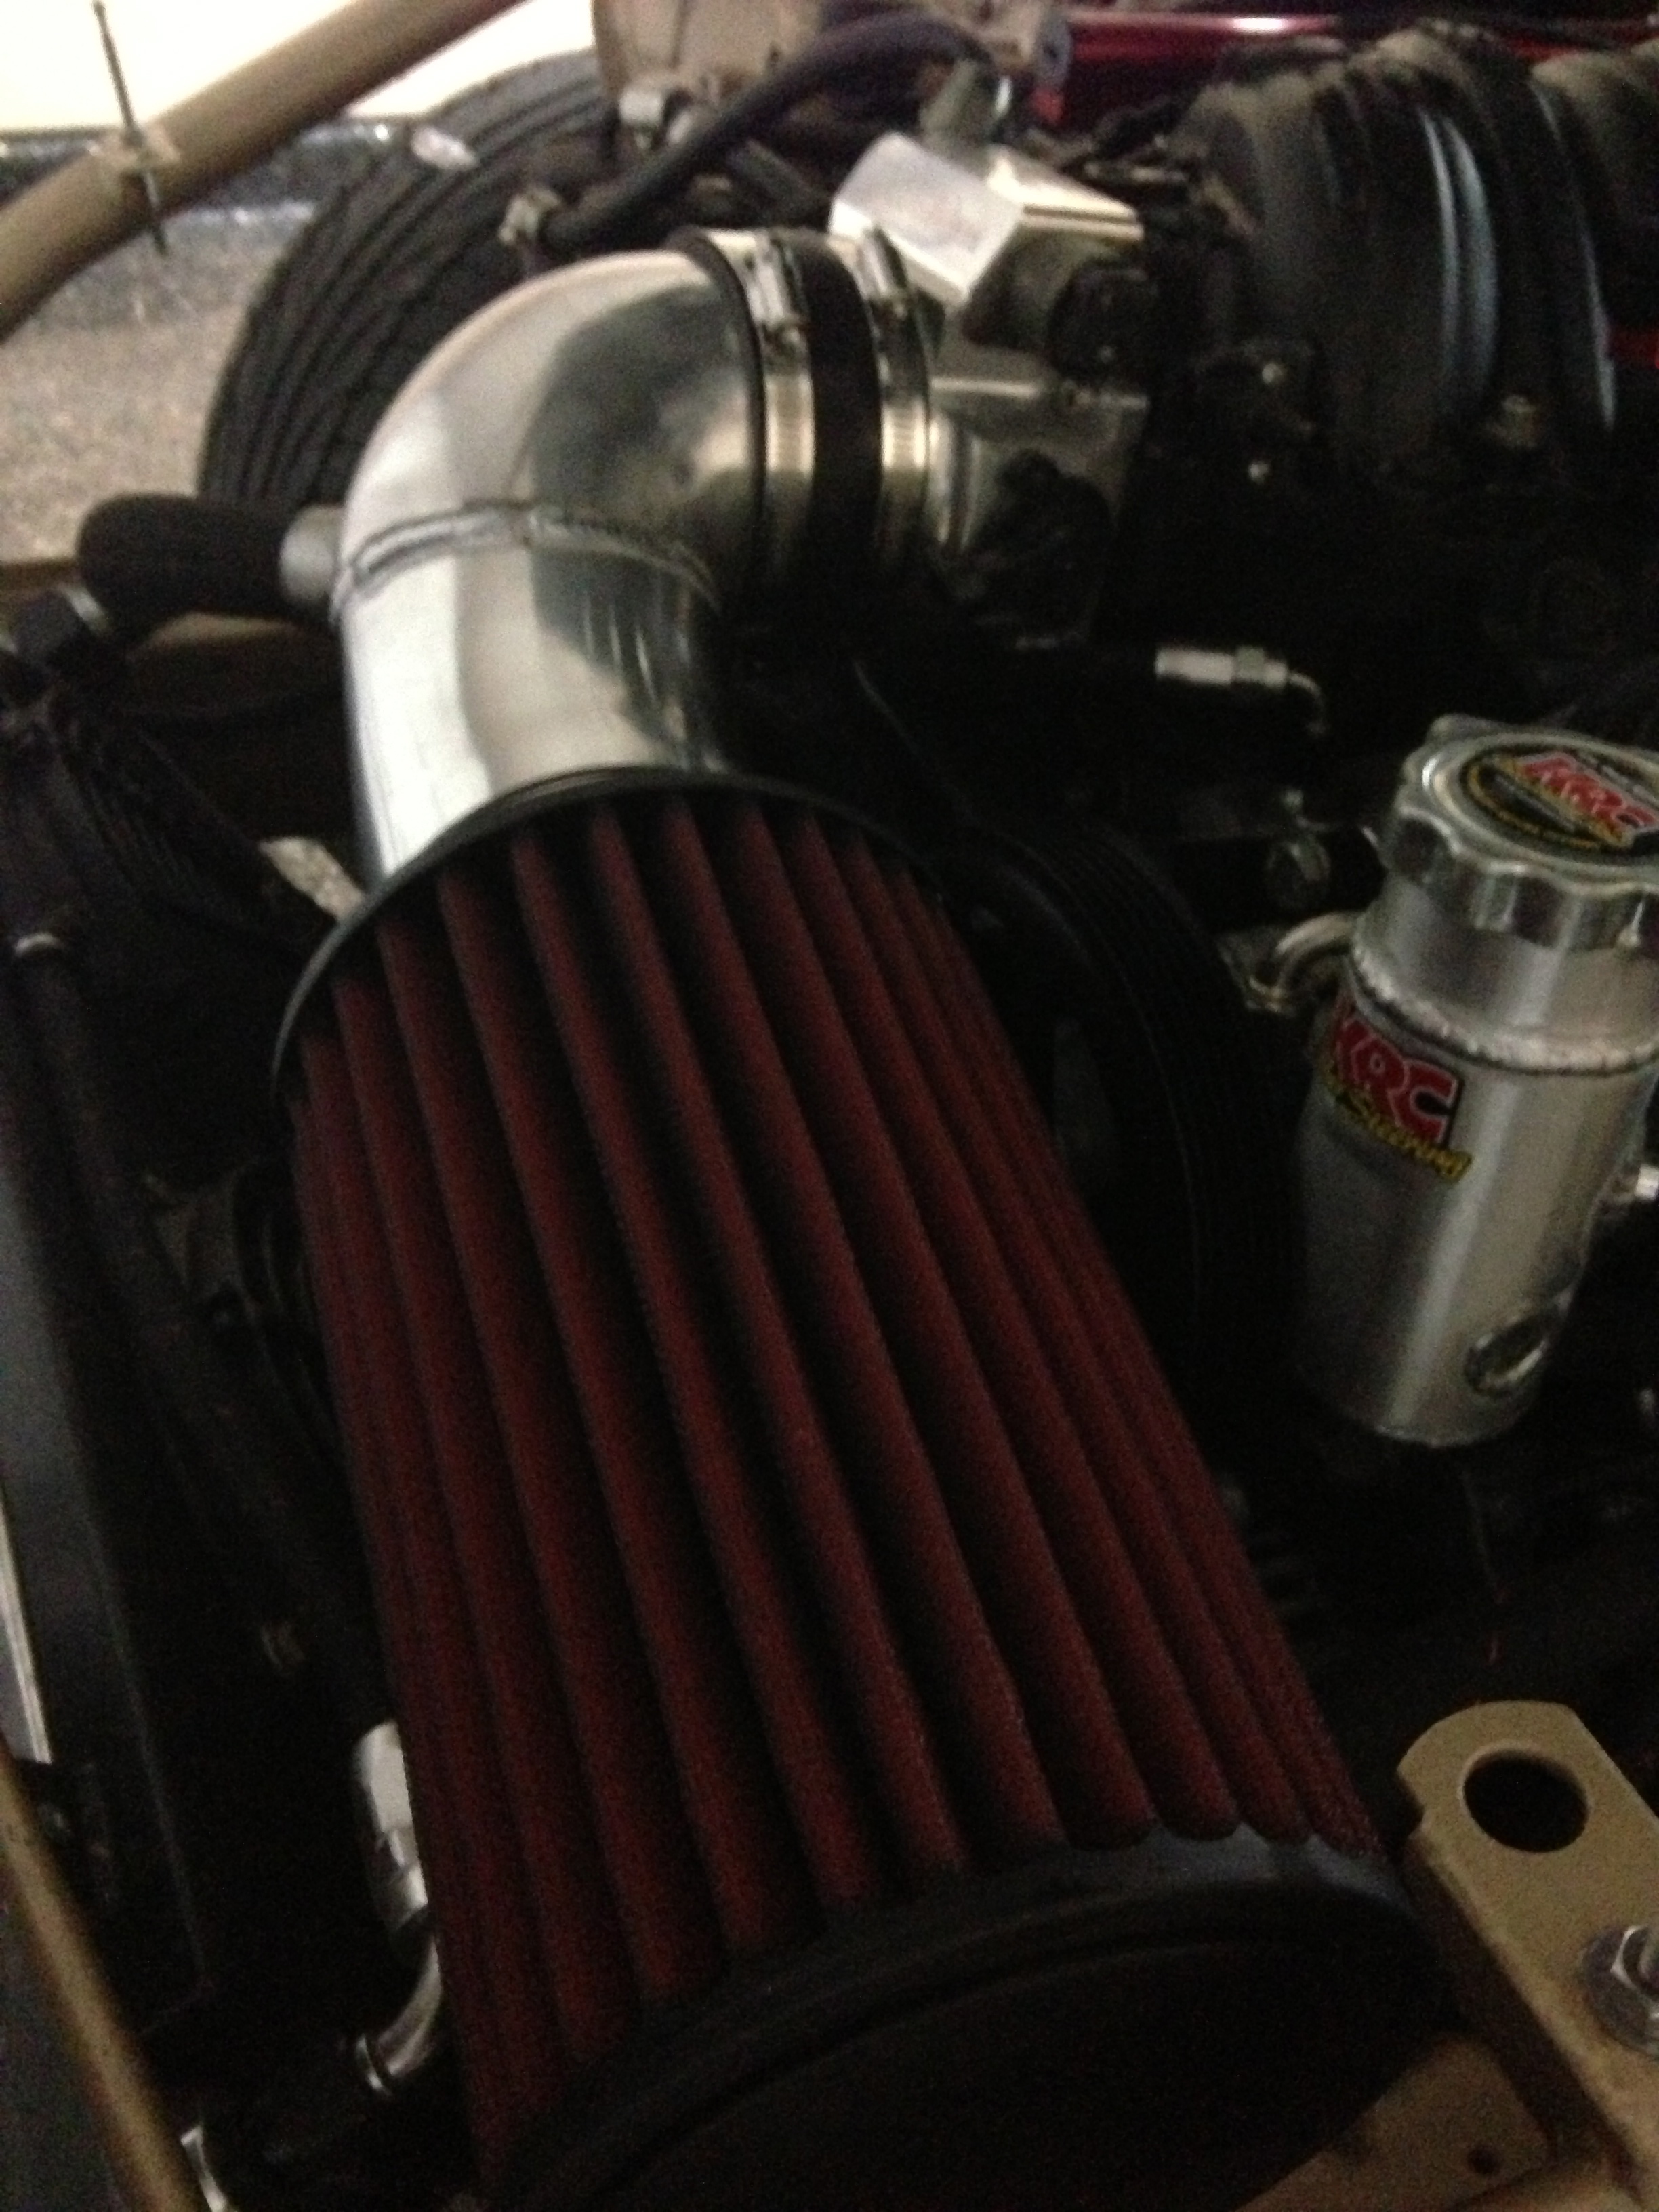
was going to paint the intake black or do black chrome but I love how it looks as is. the contrast works so well.
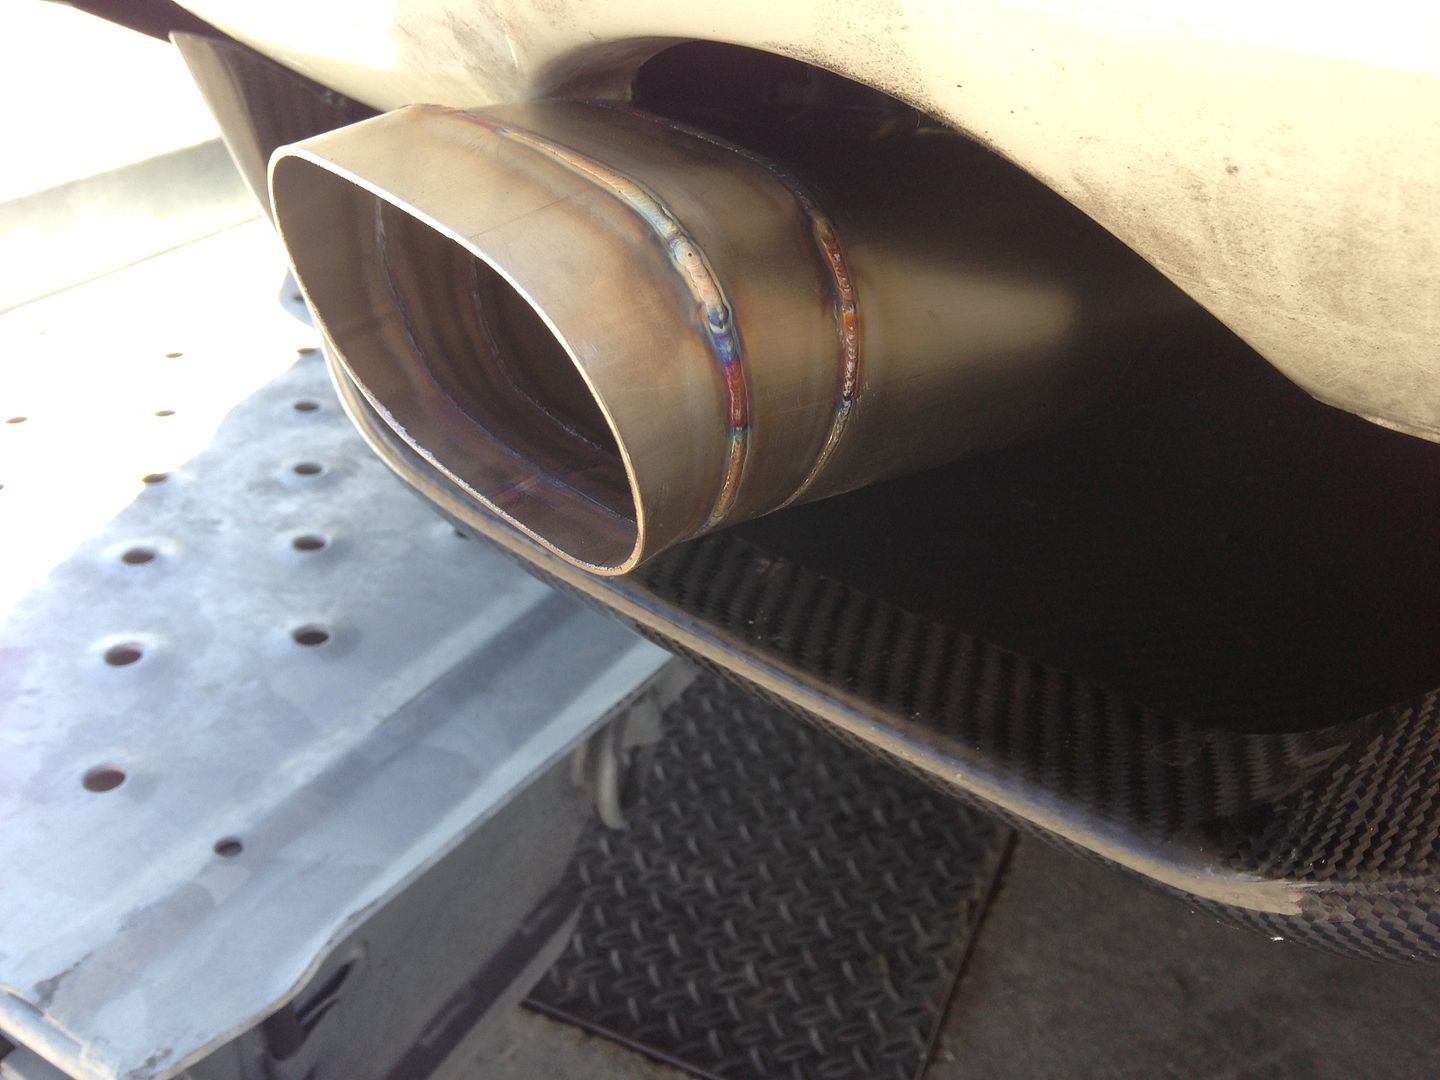
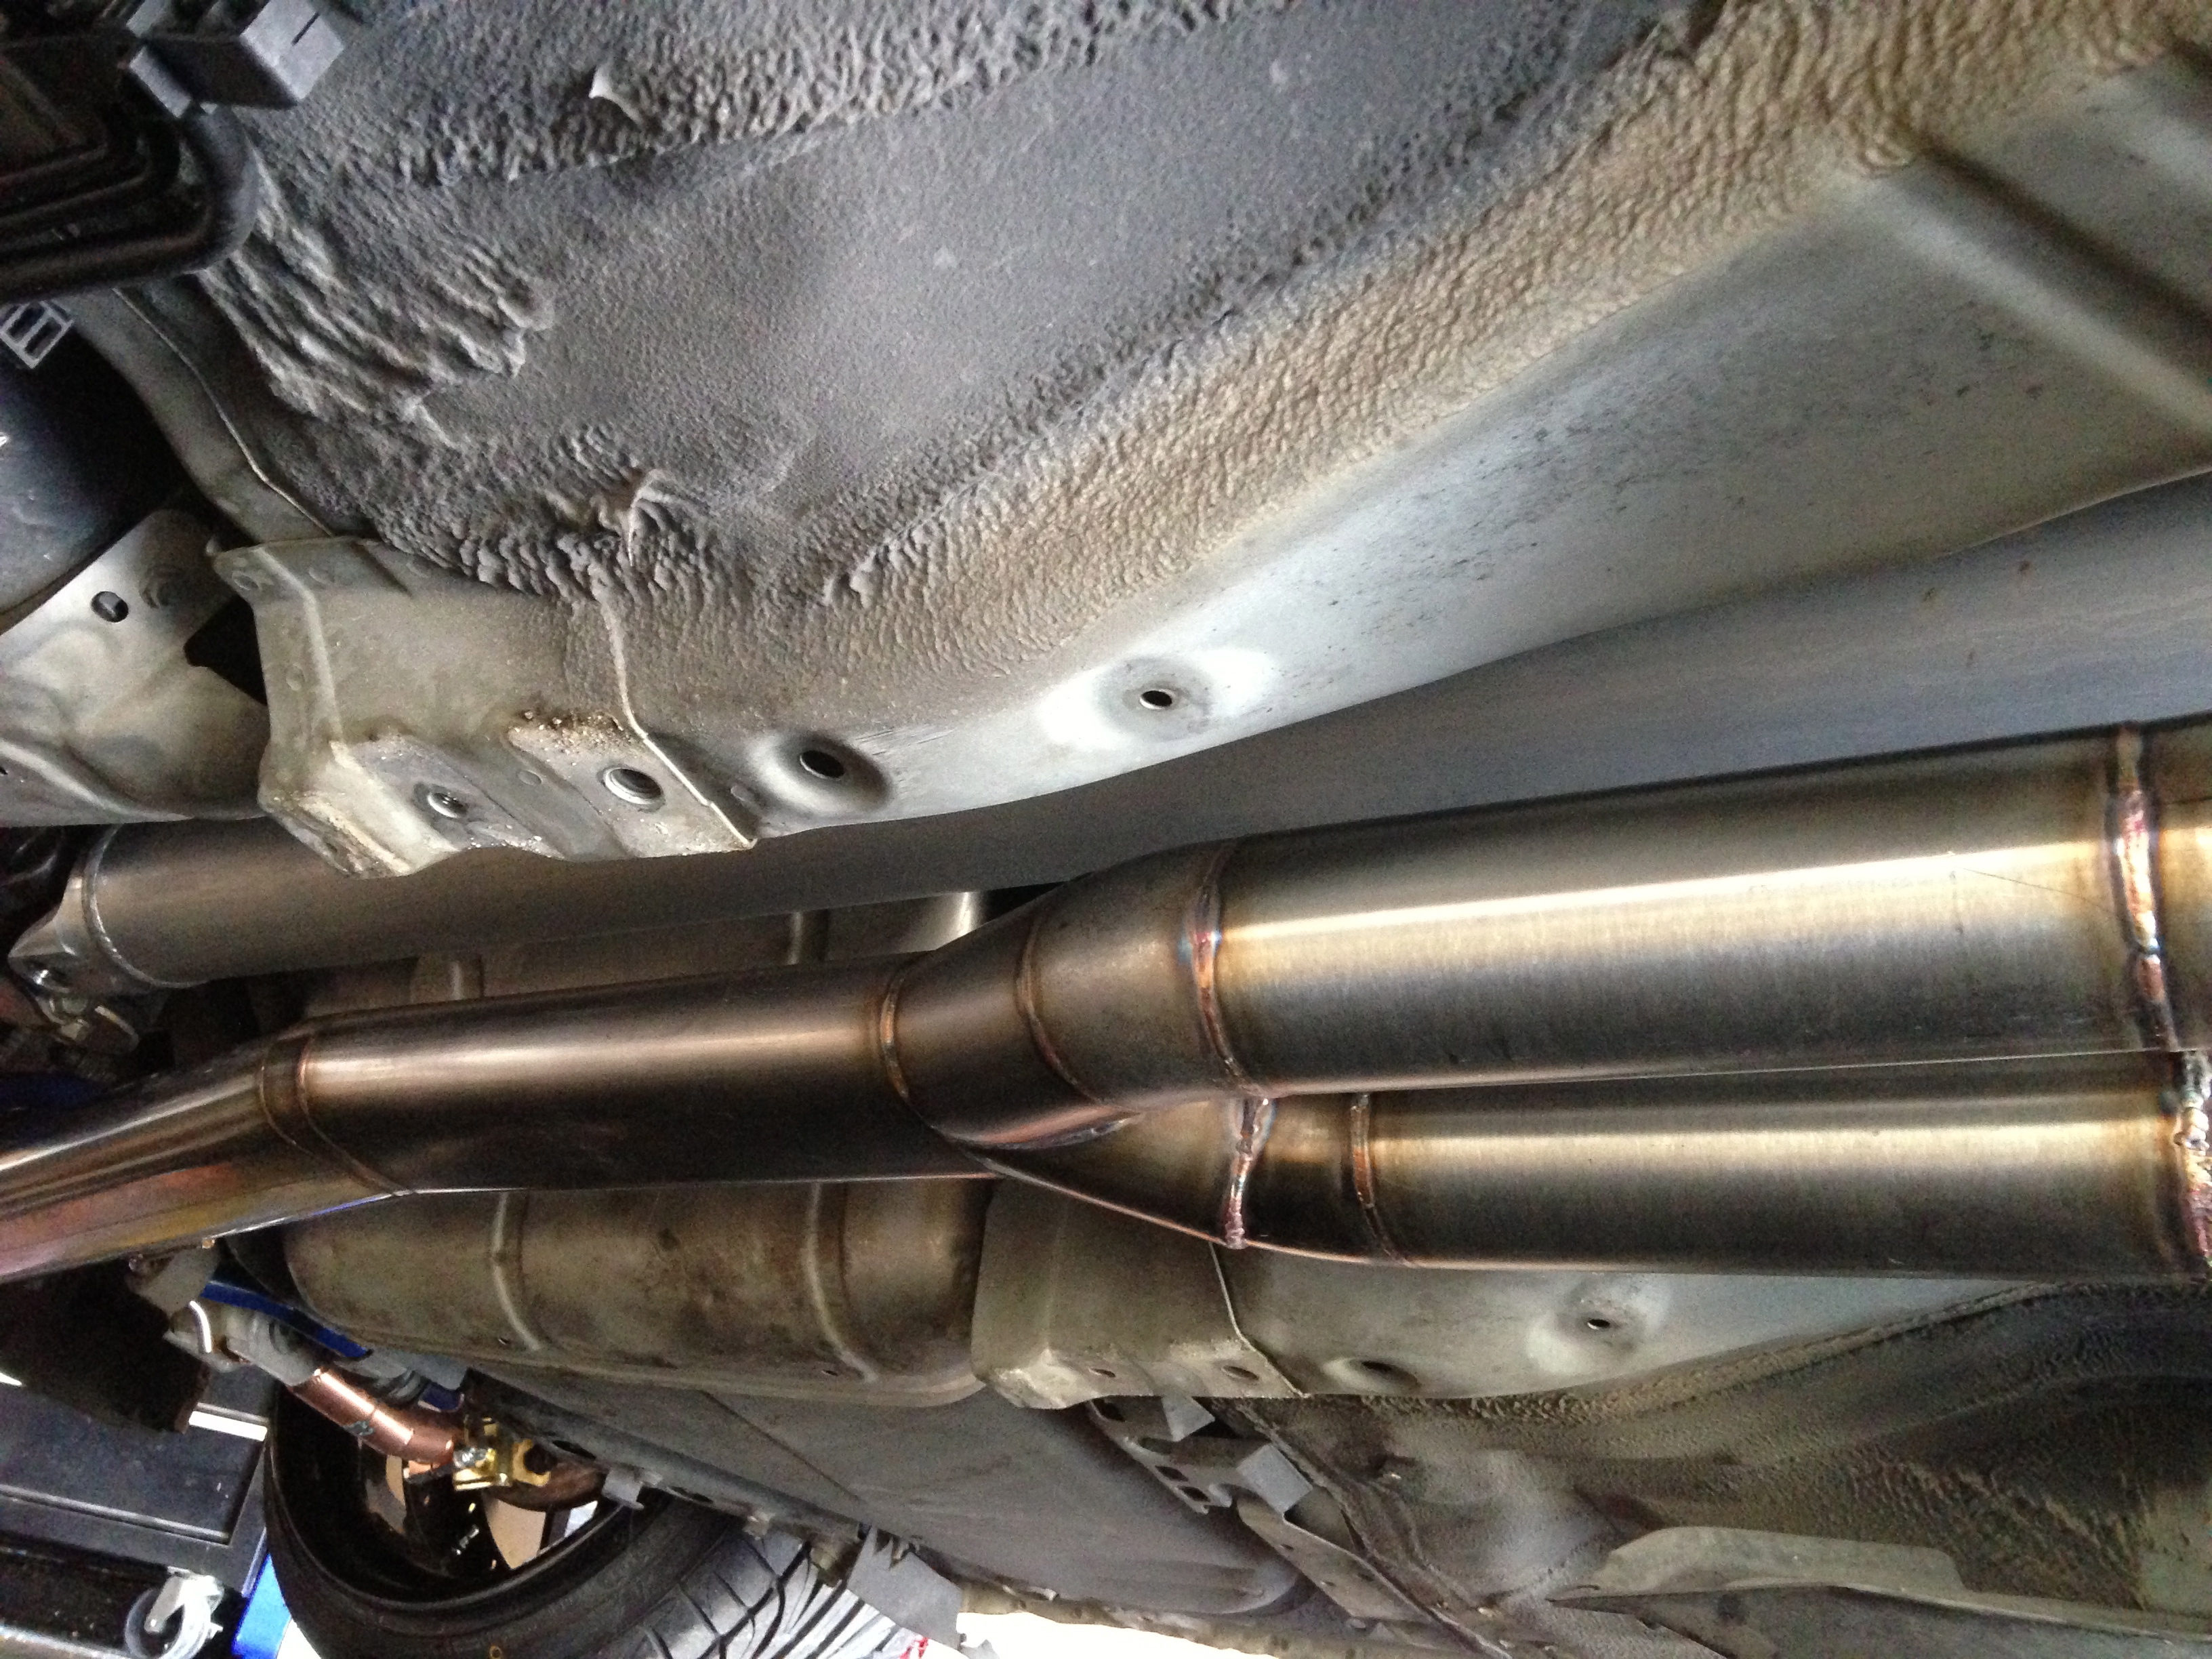
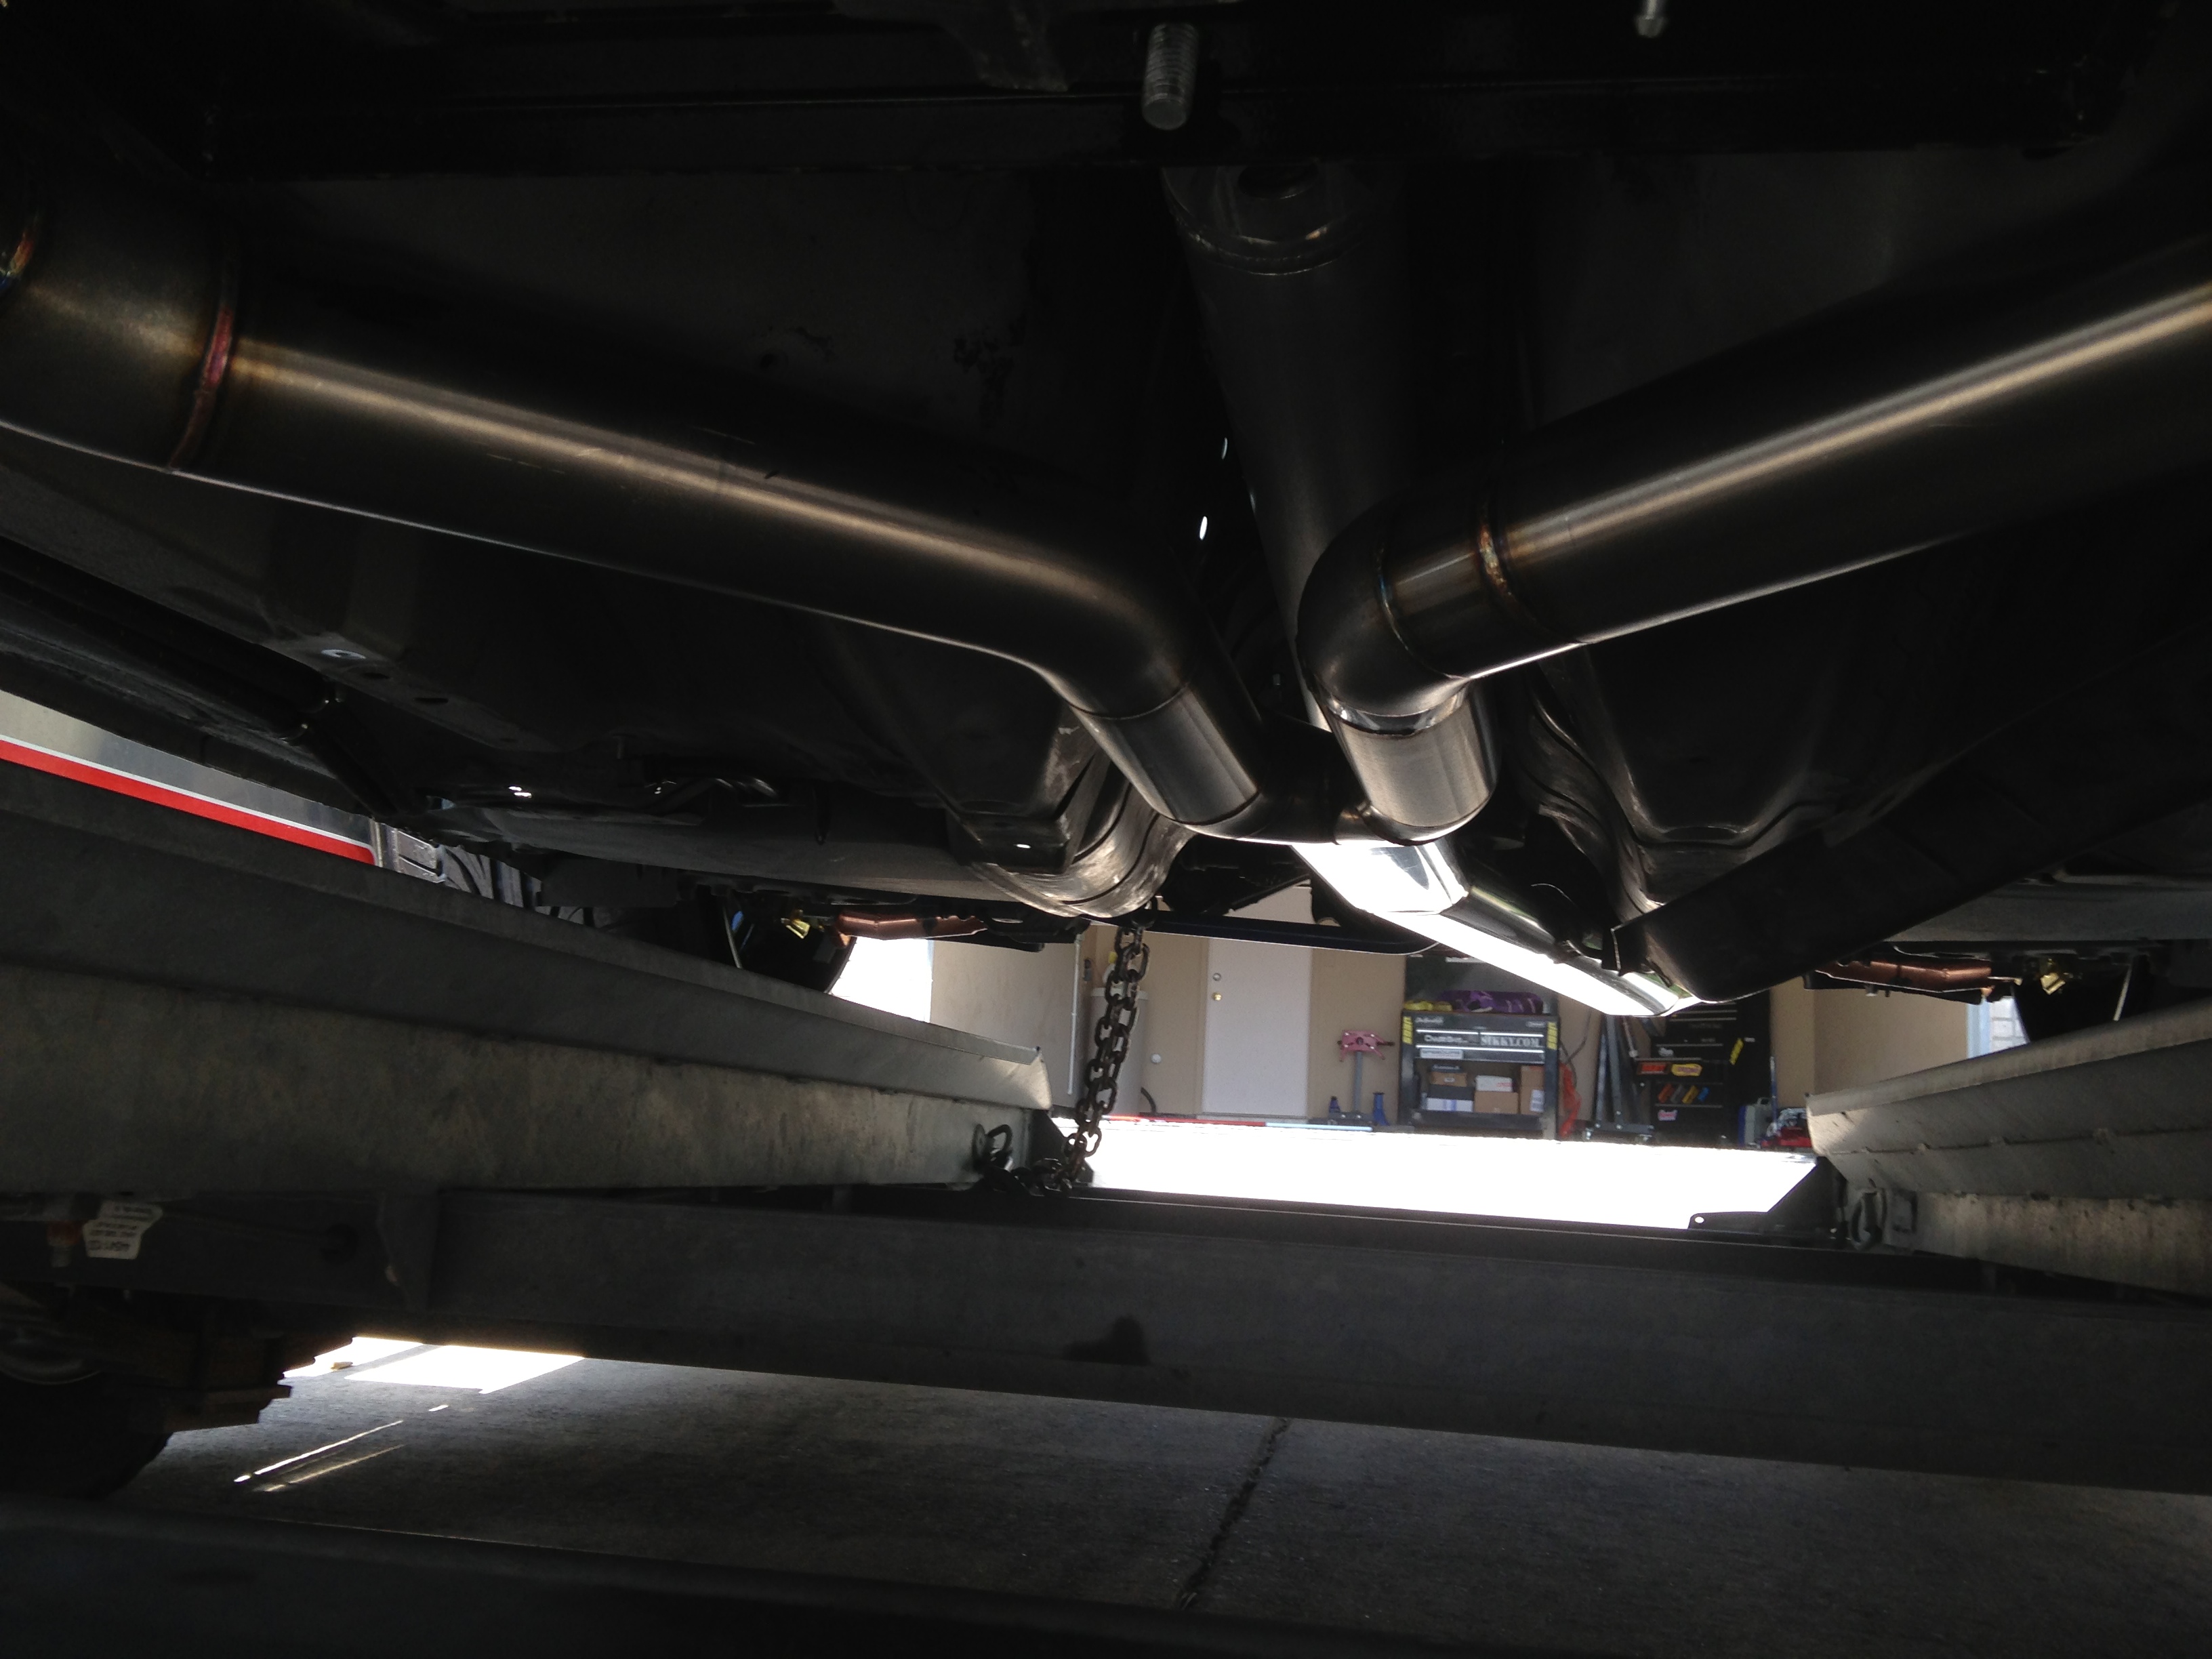
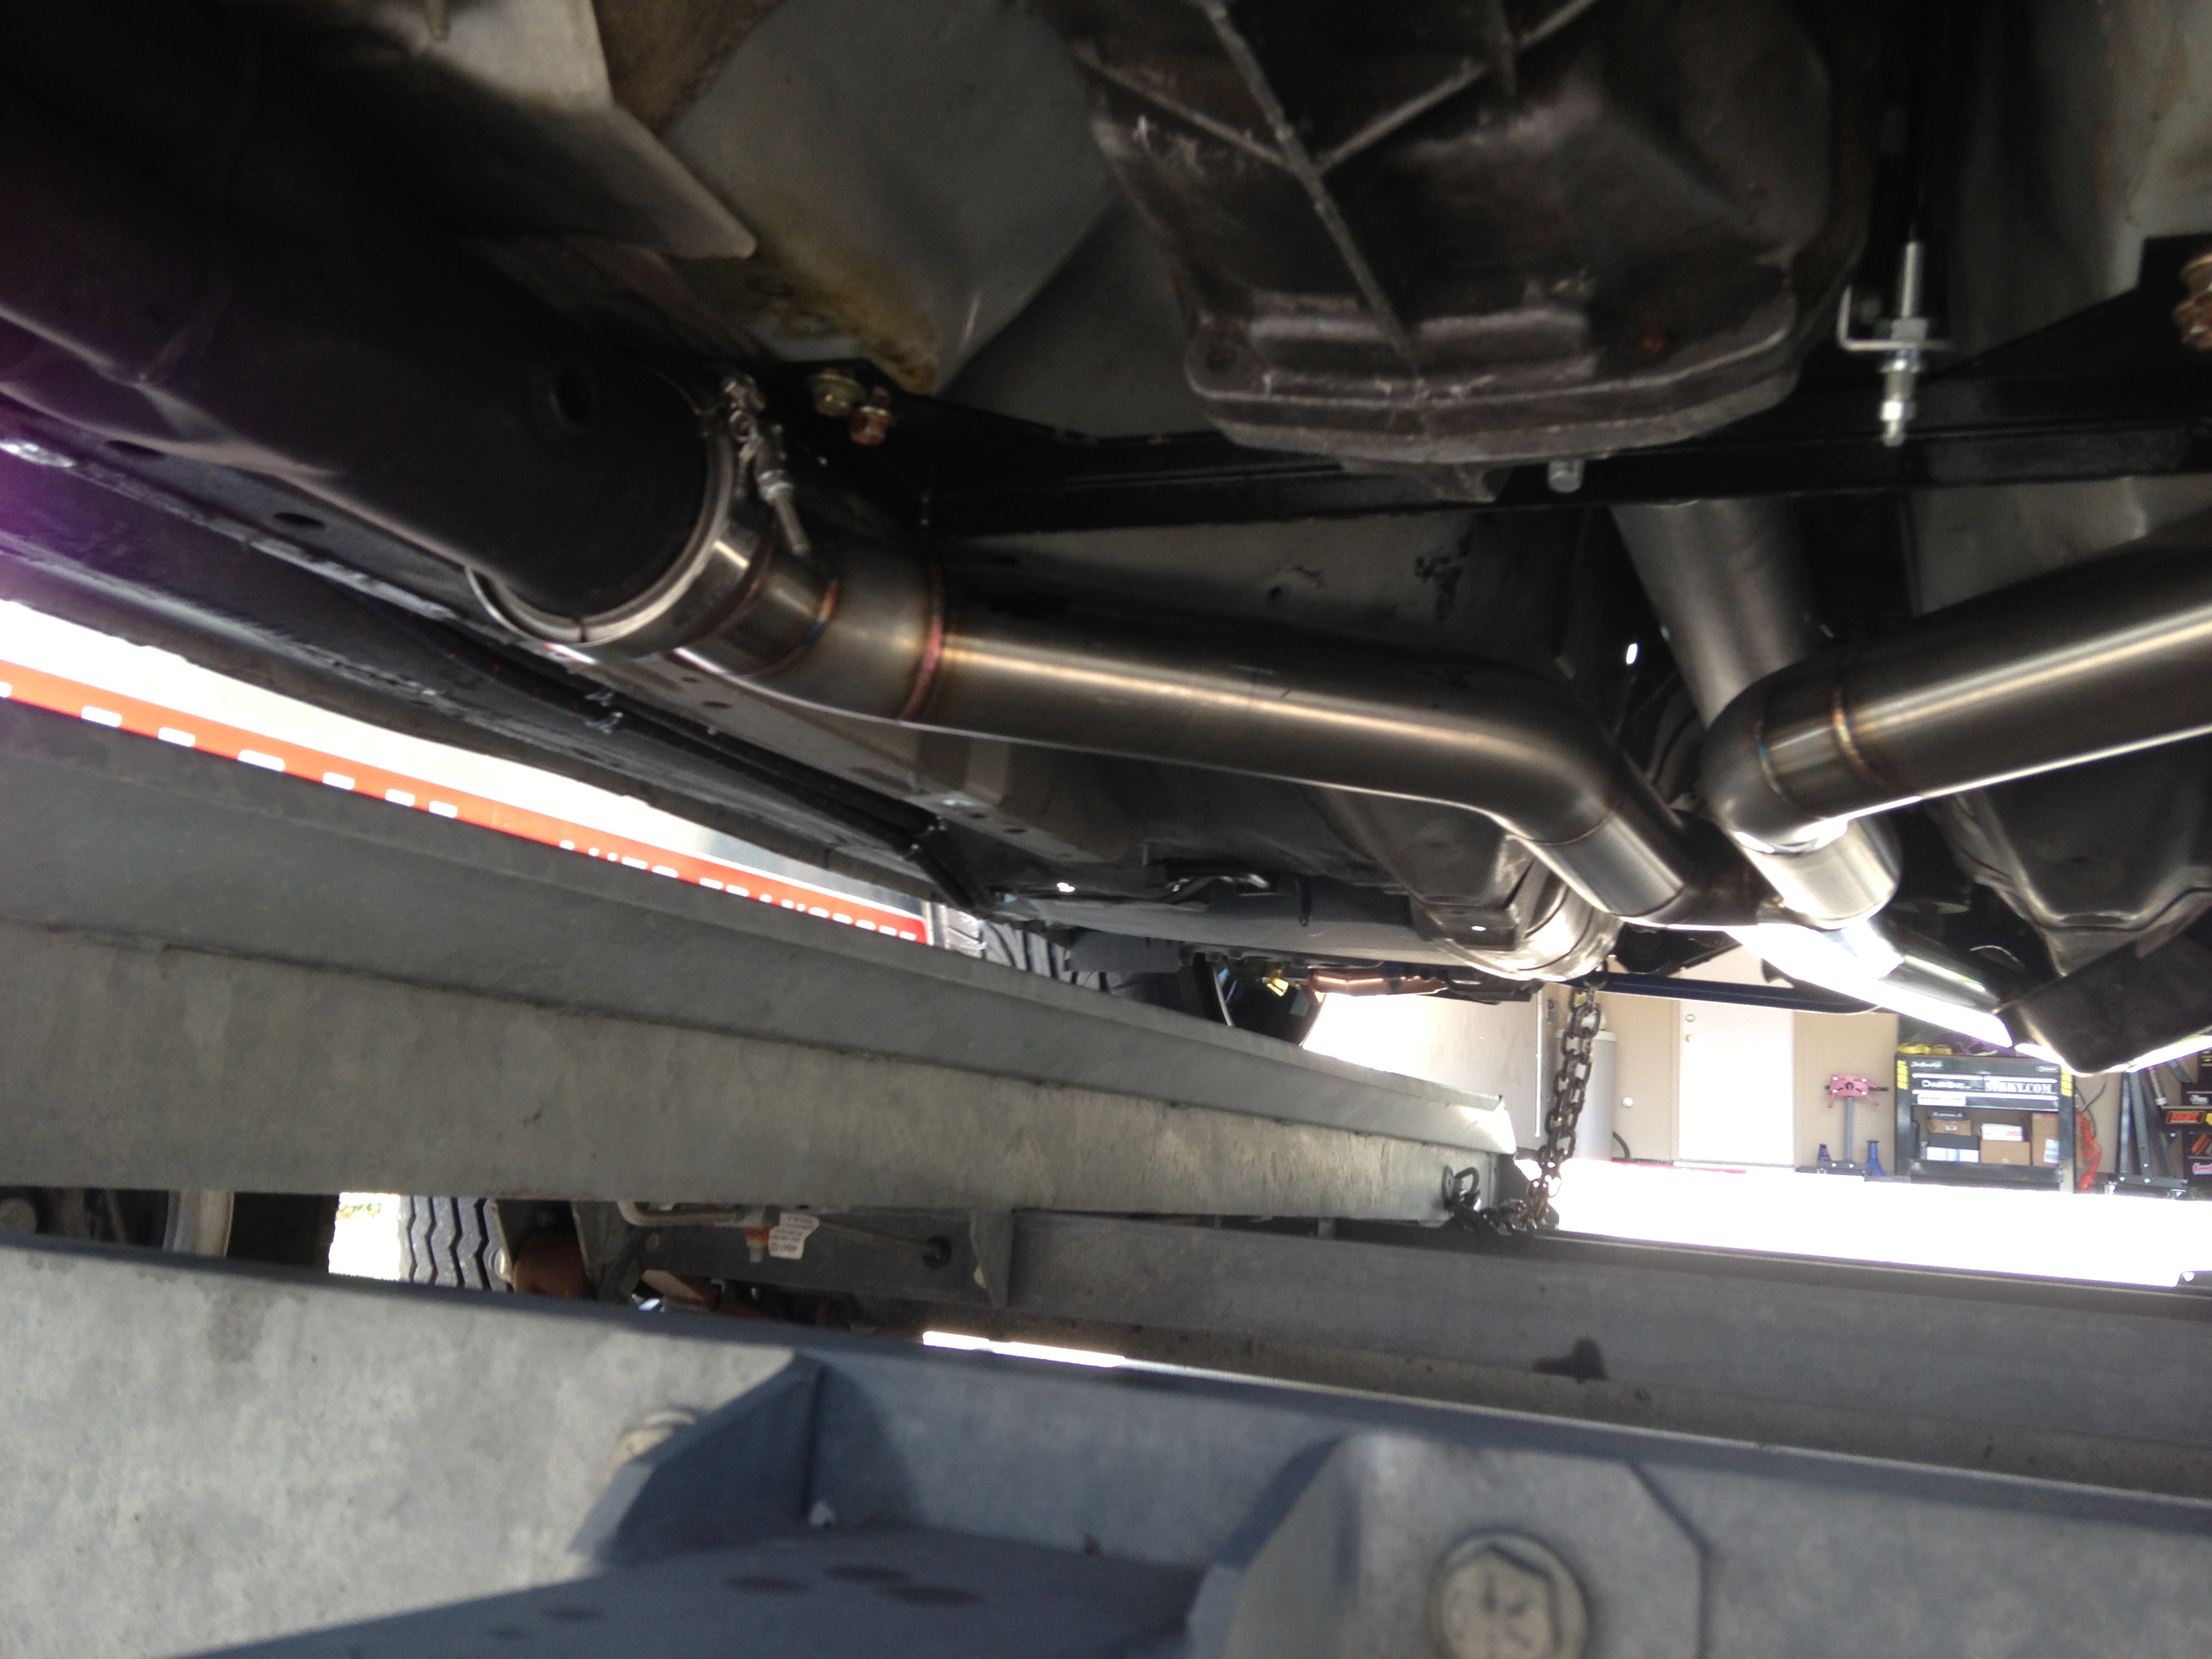
Next we have this bad boy..Russell went with a .065 304 stainless for the pipping
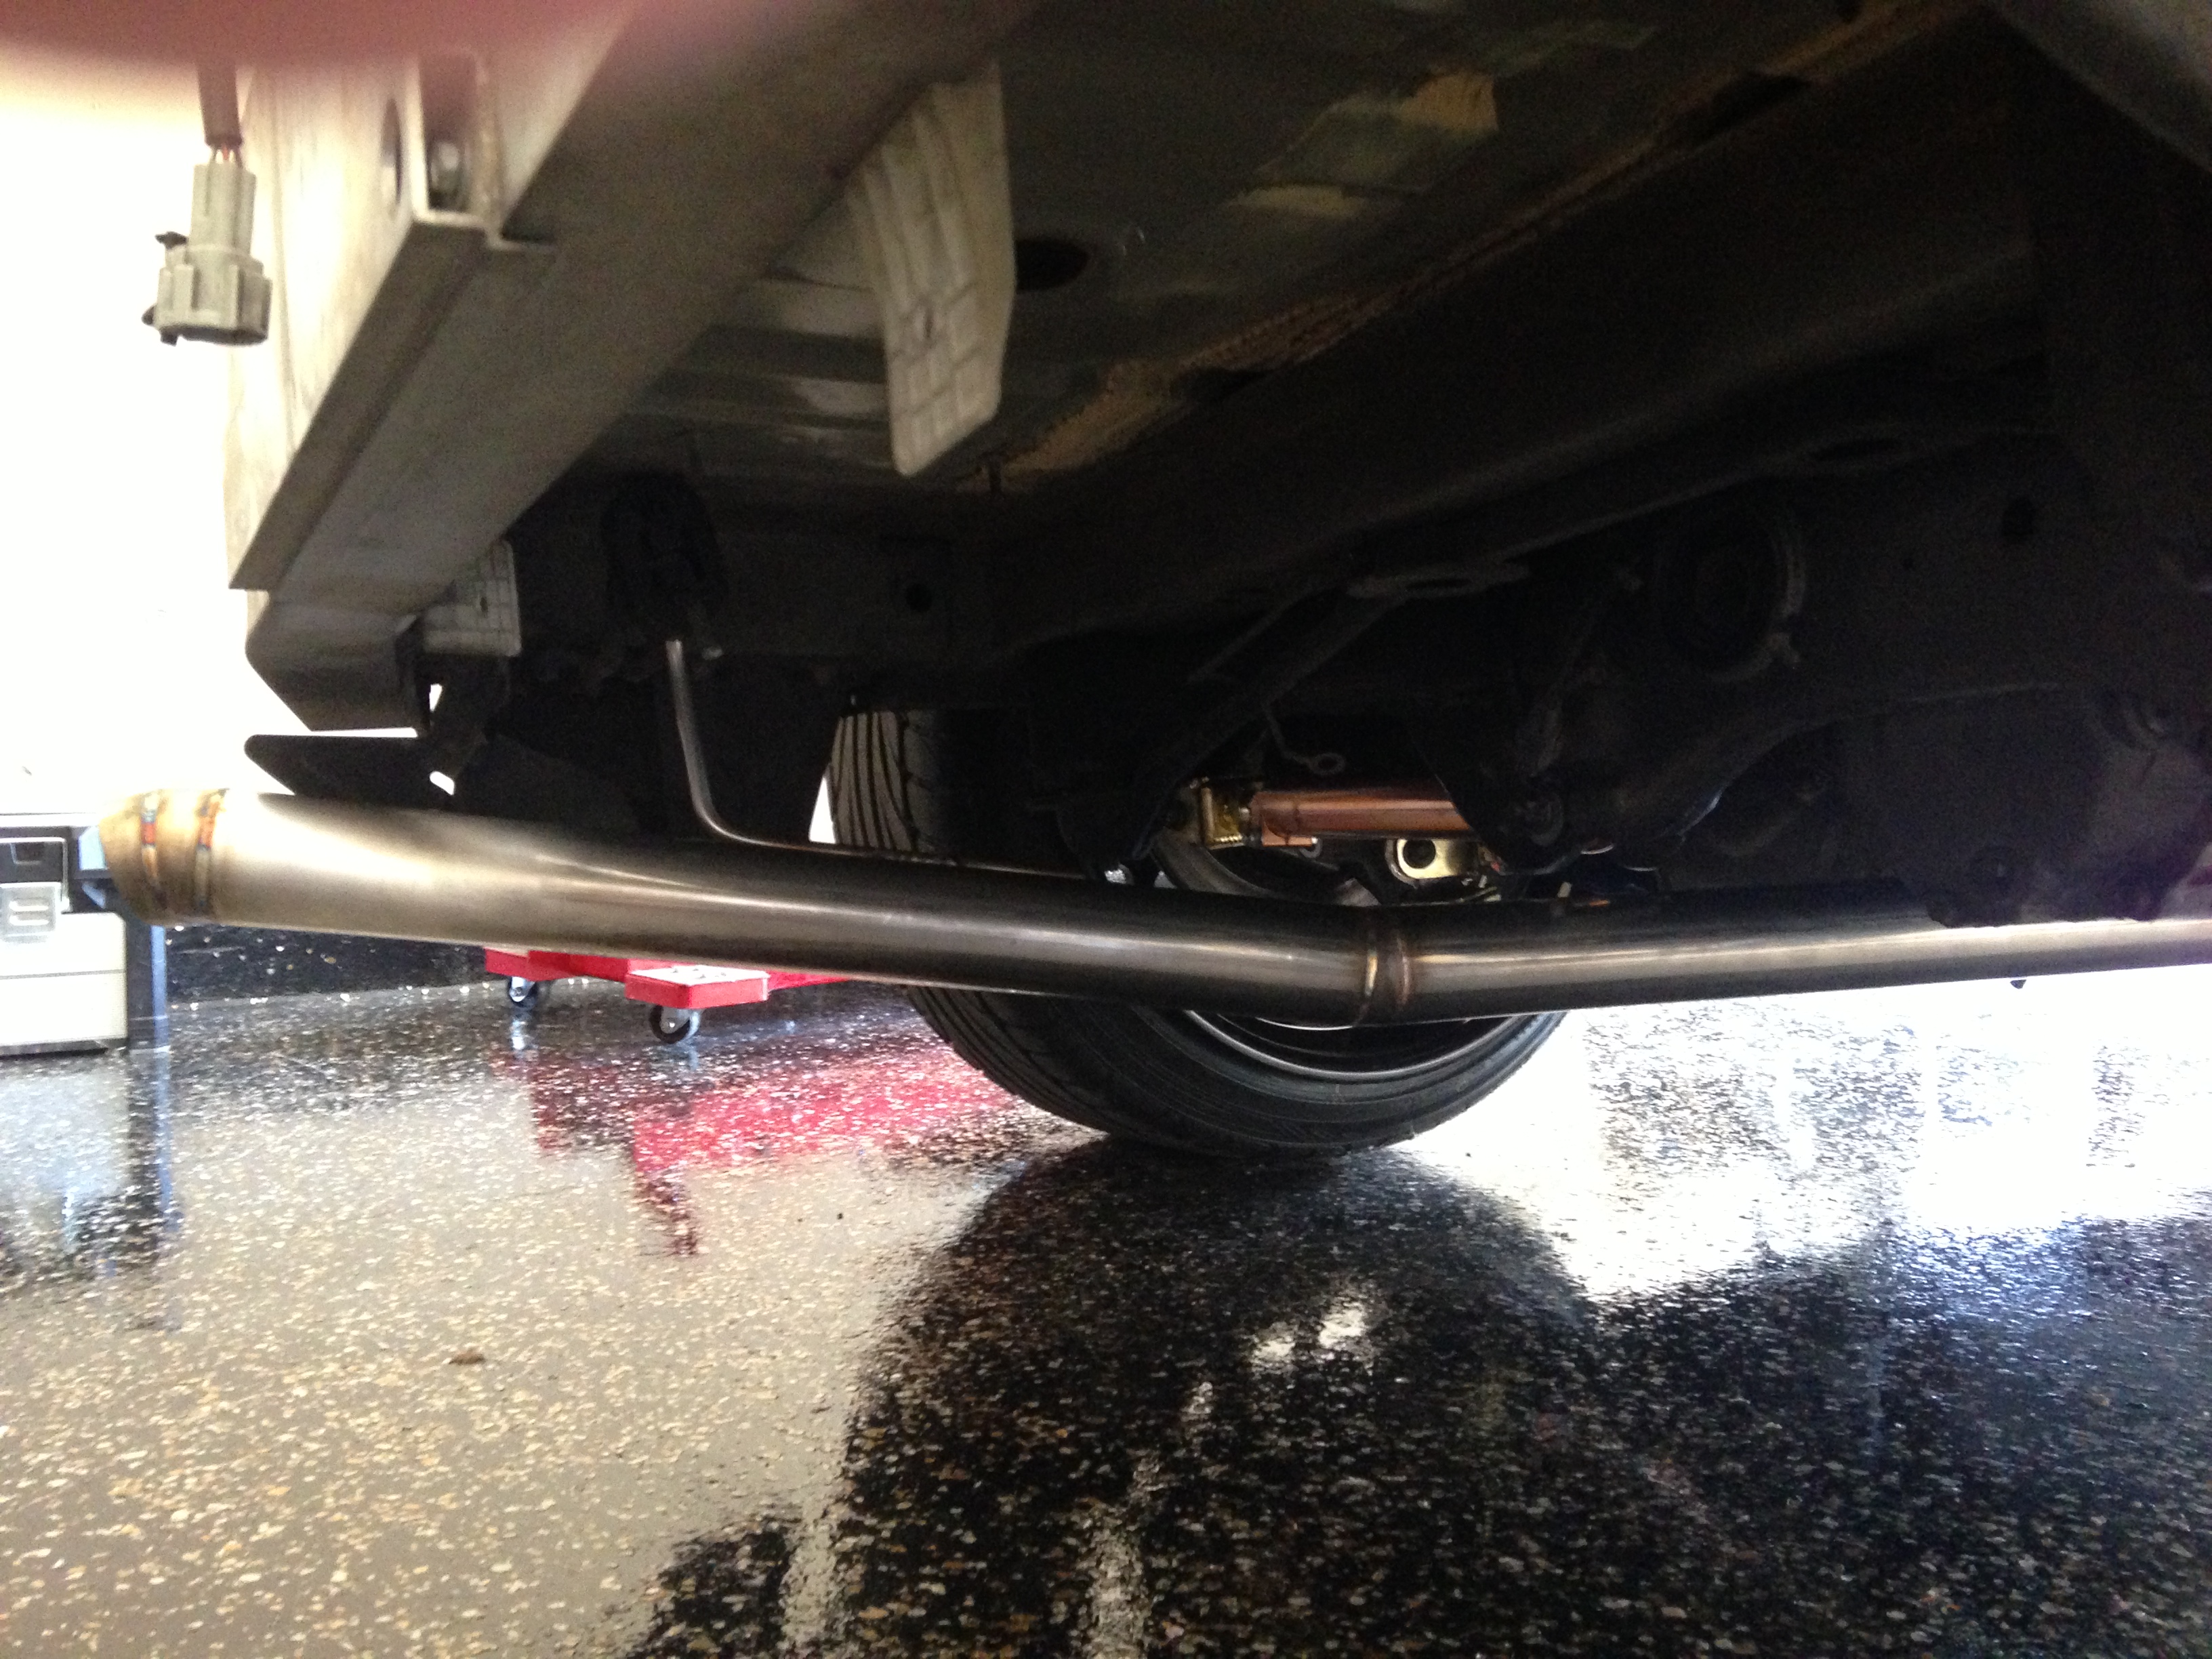
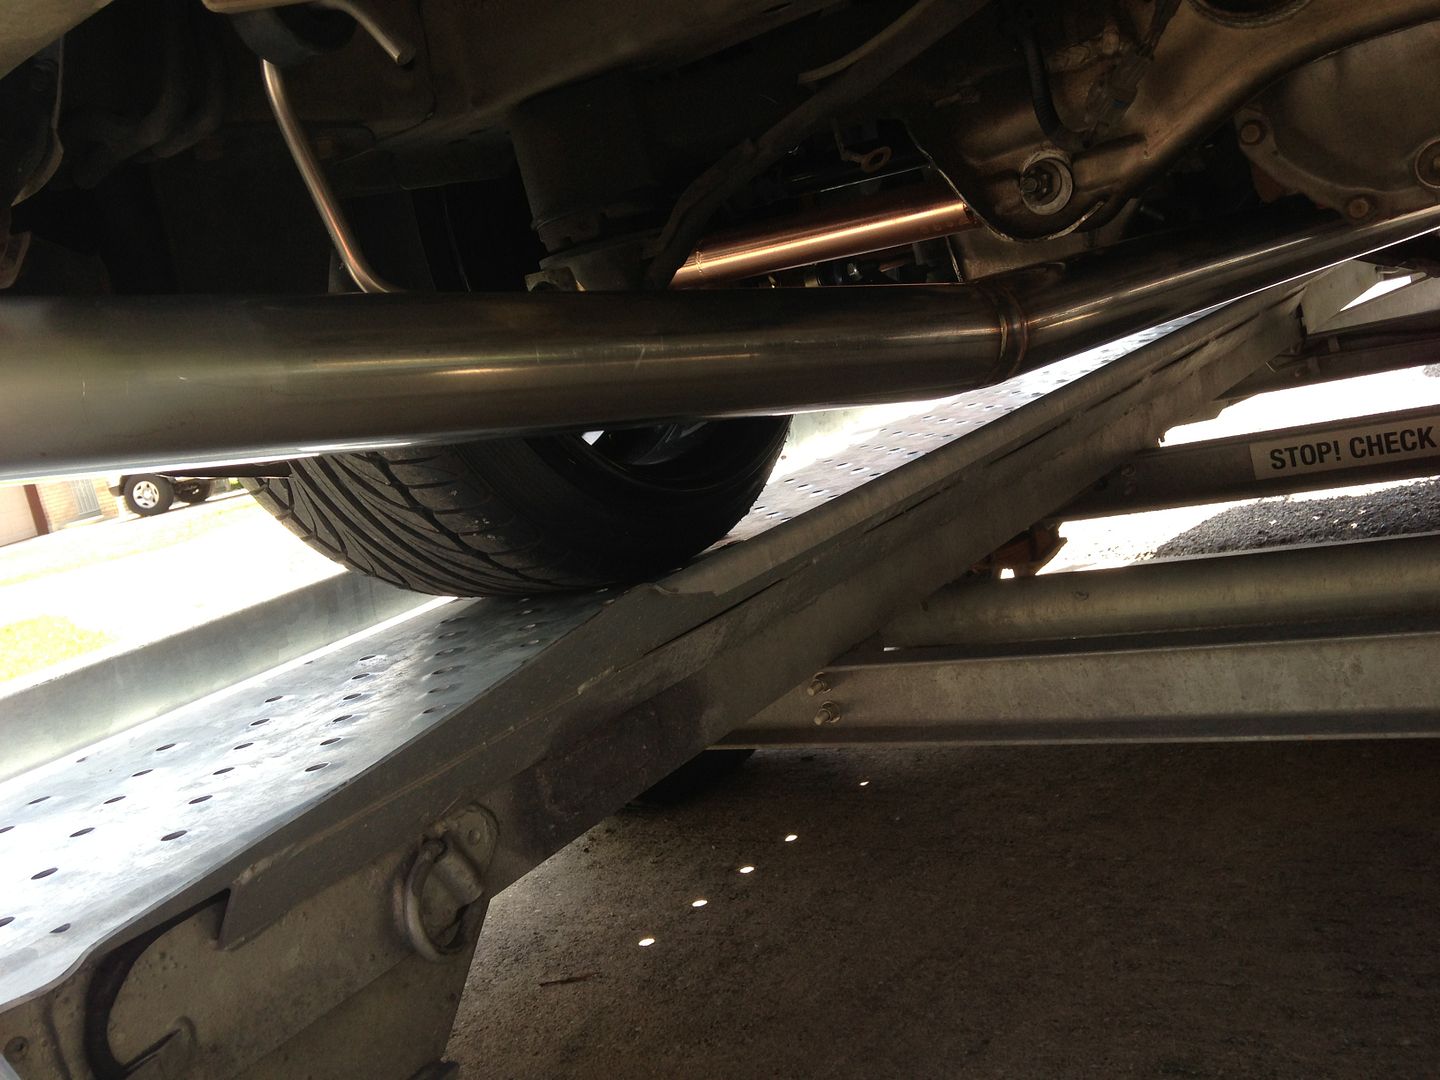
Running a 3.0 dual to a 3.5 oval single to give me more ground clearance.

No mufflers here.. Loud and in your face..
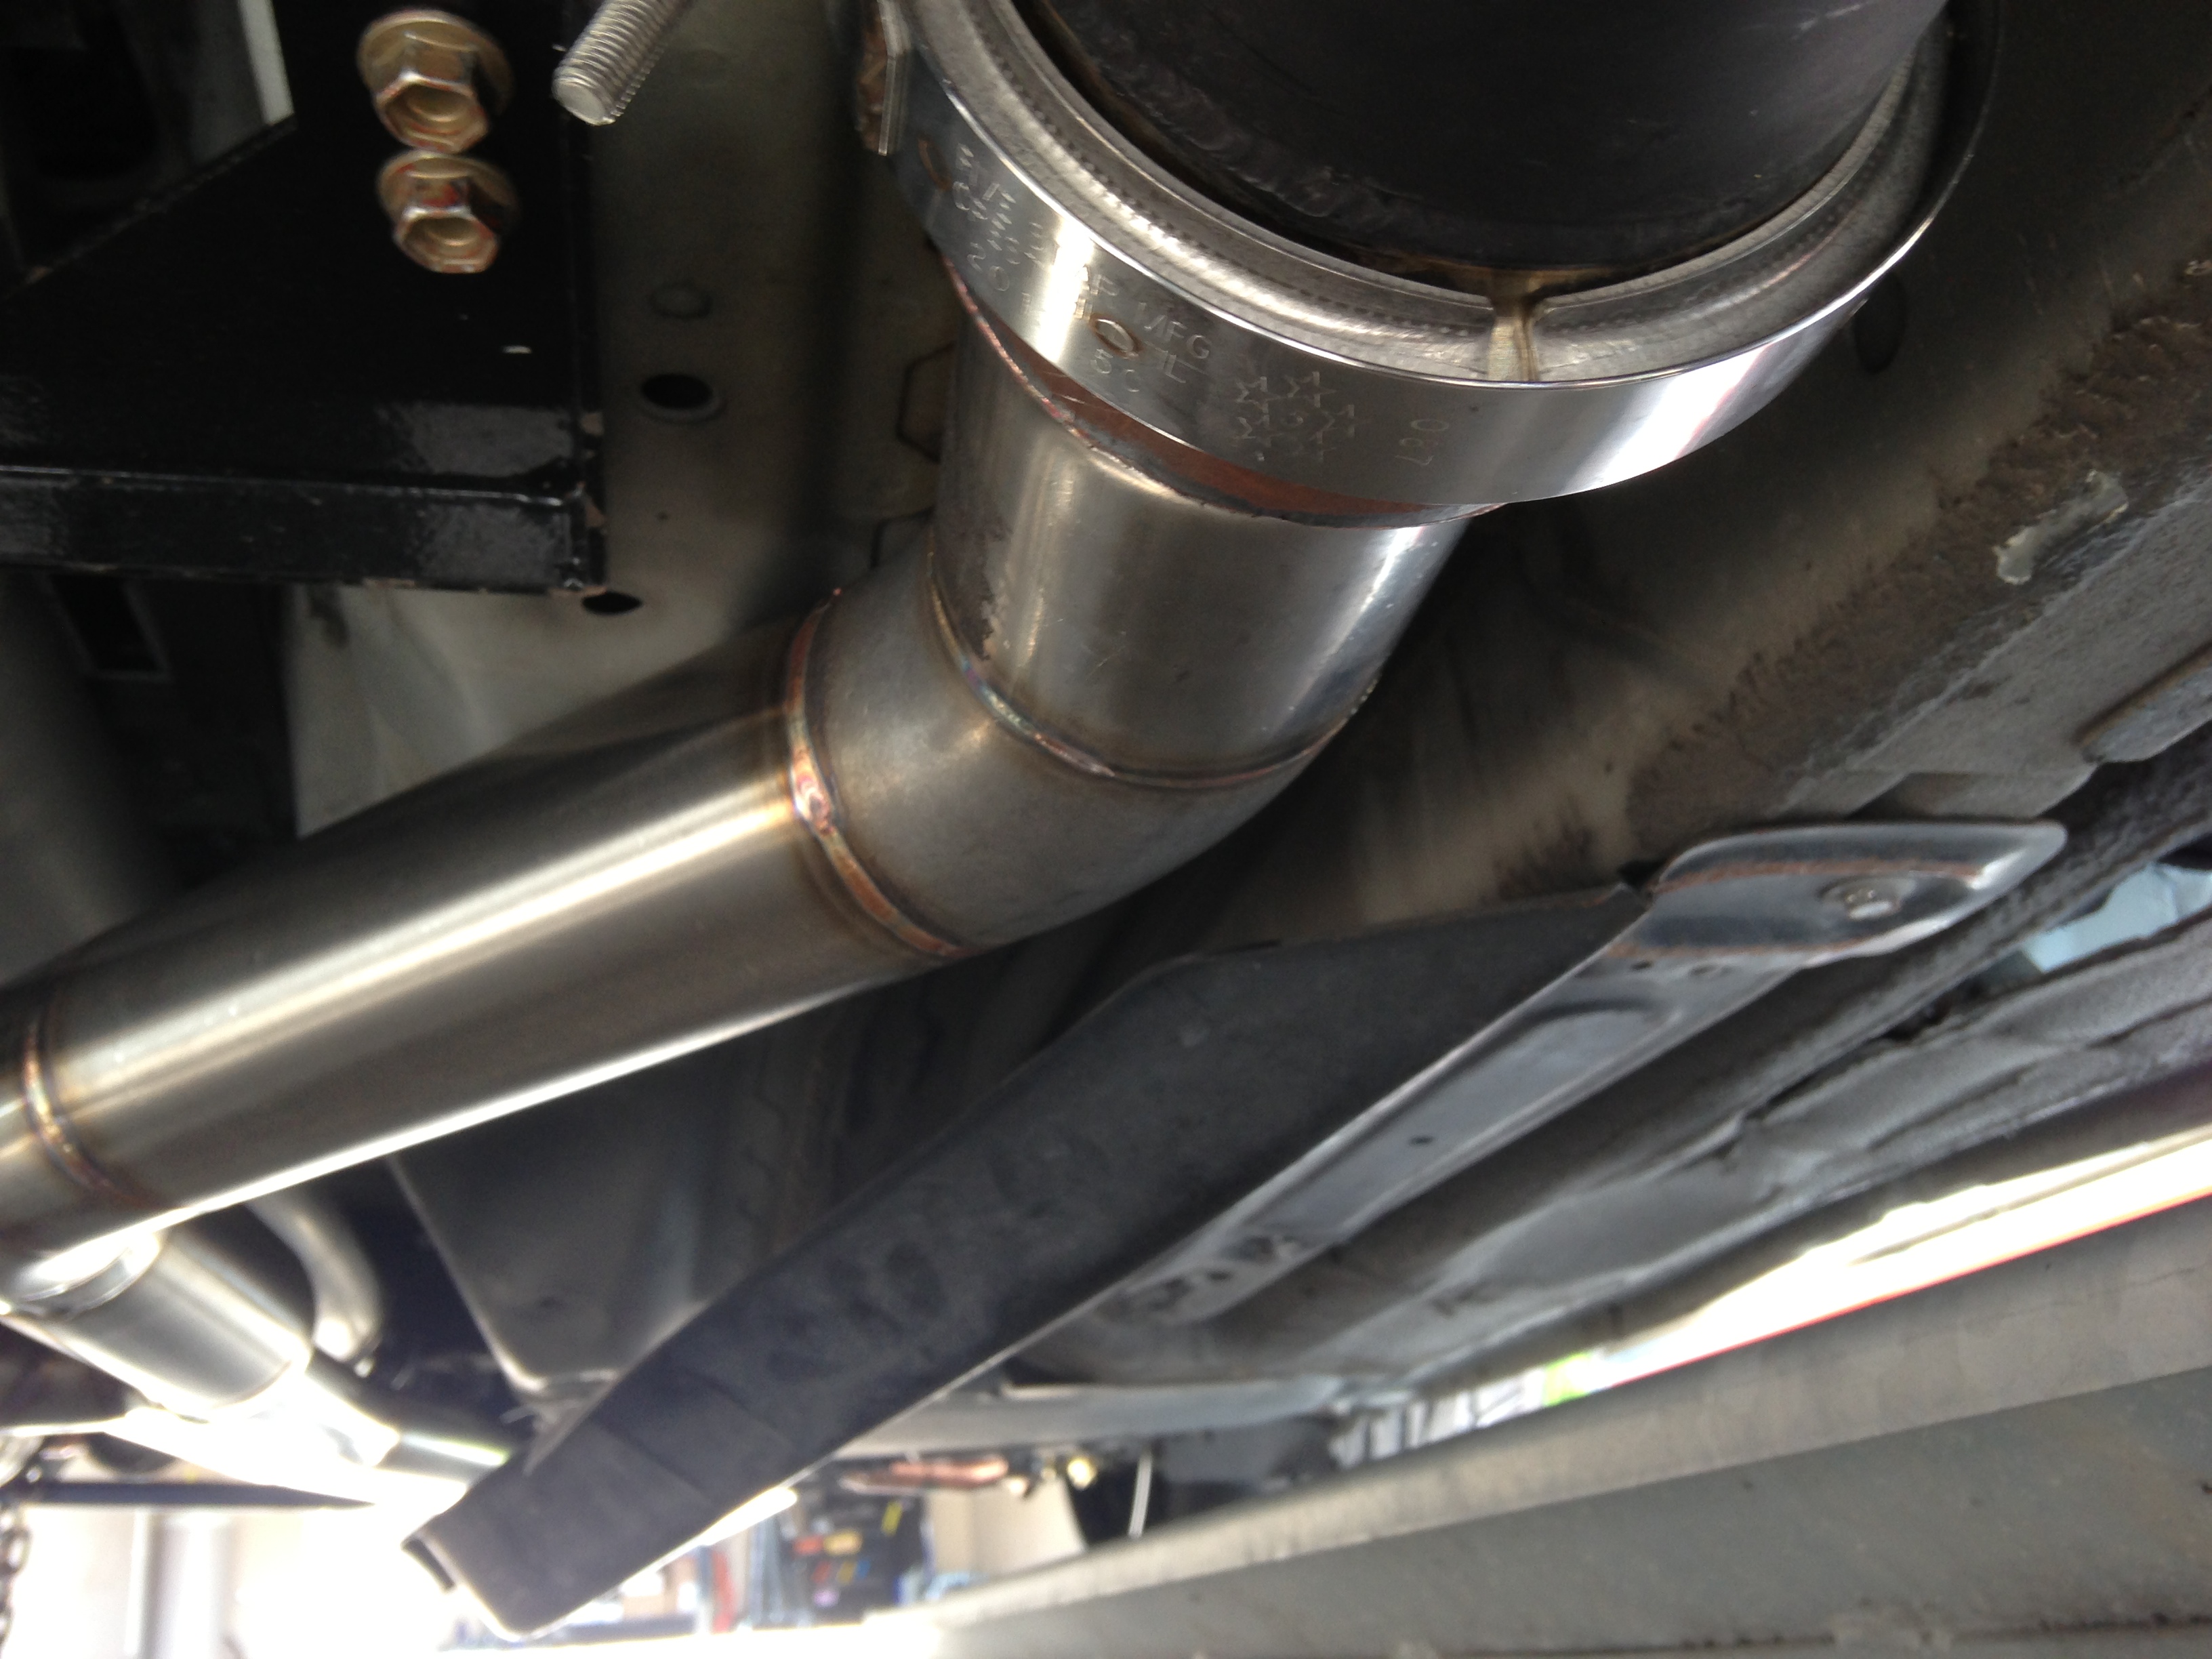
Here is were it changes into a single oval...
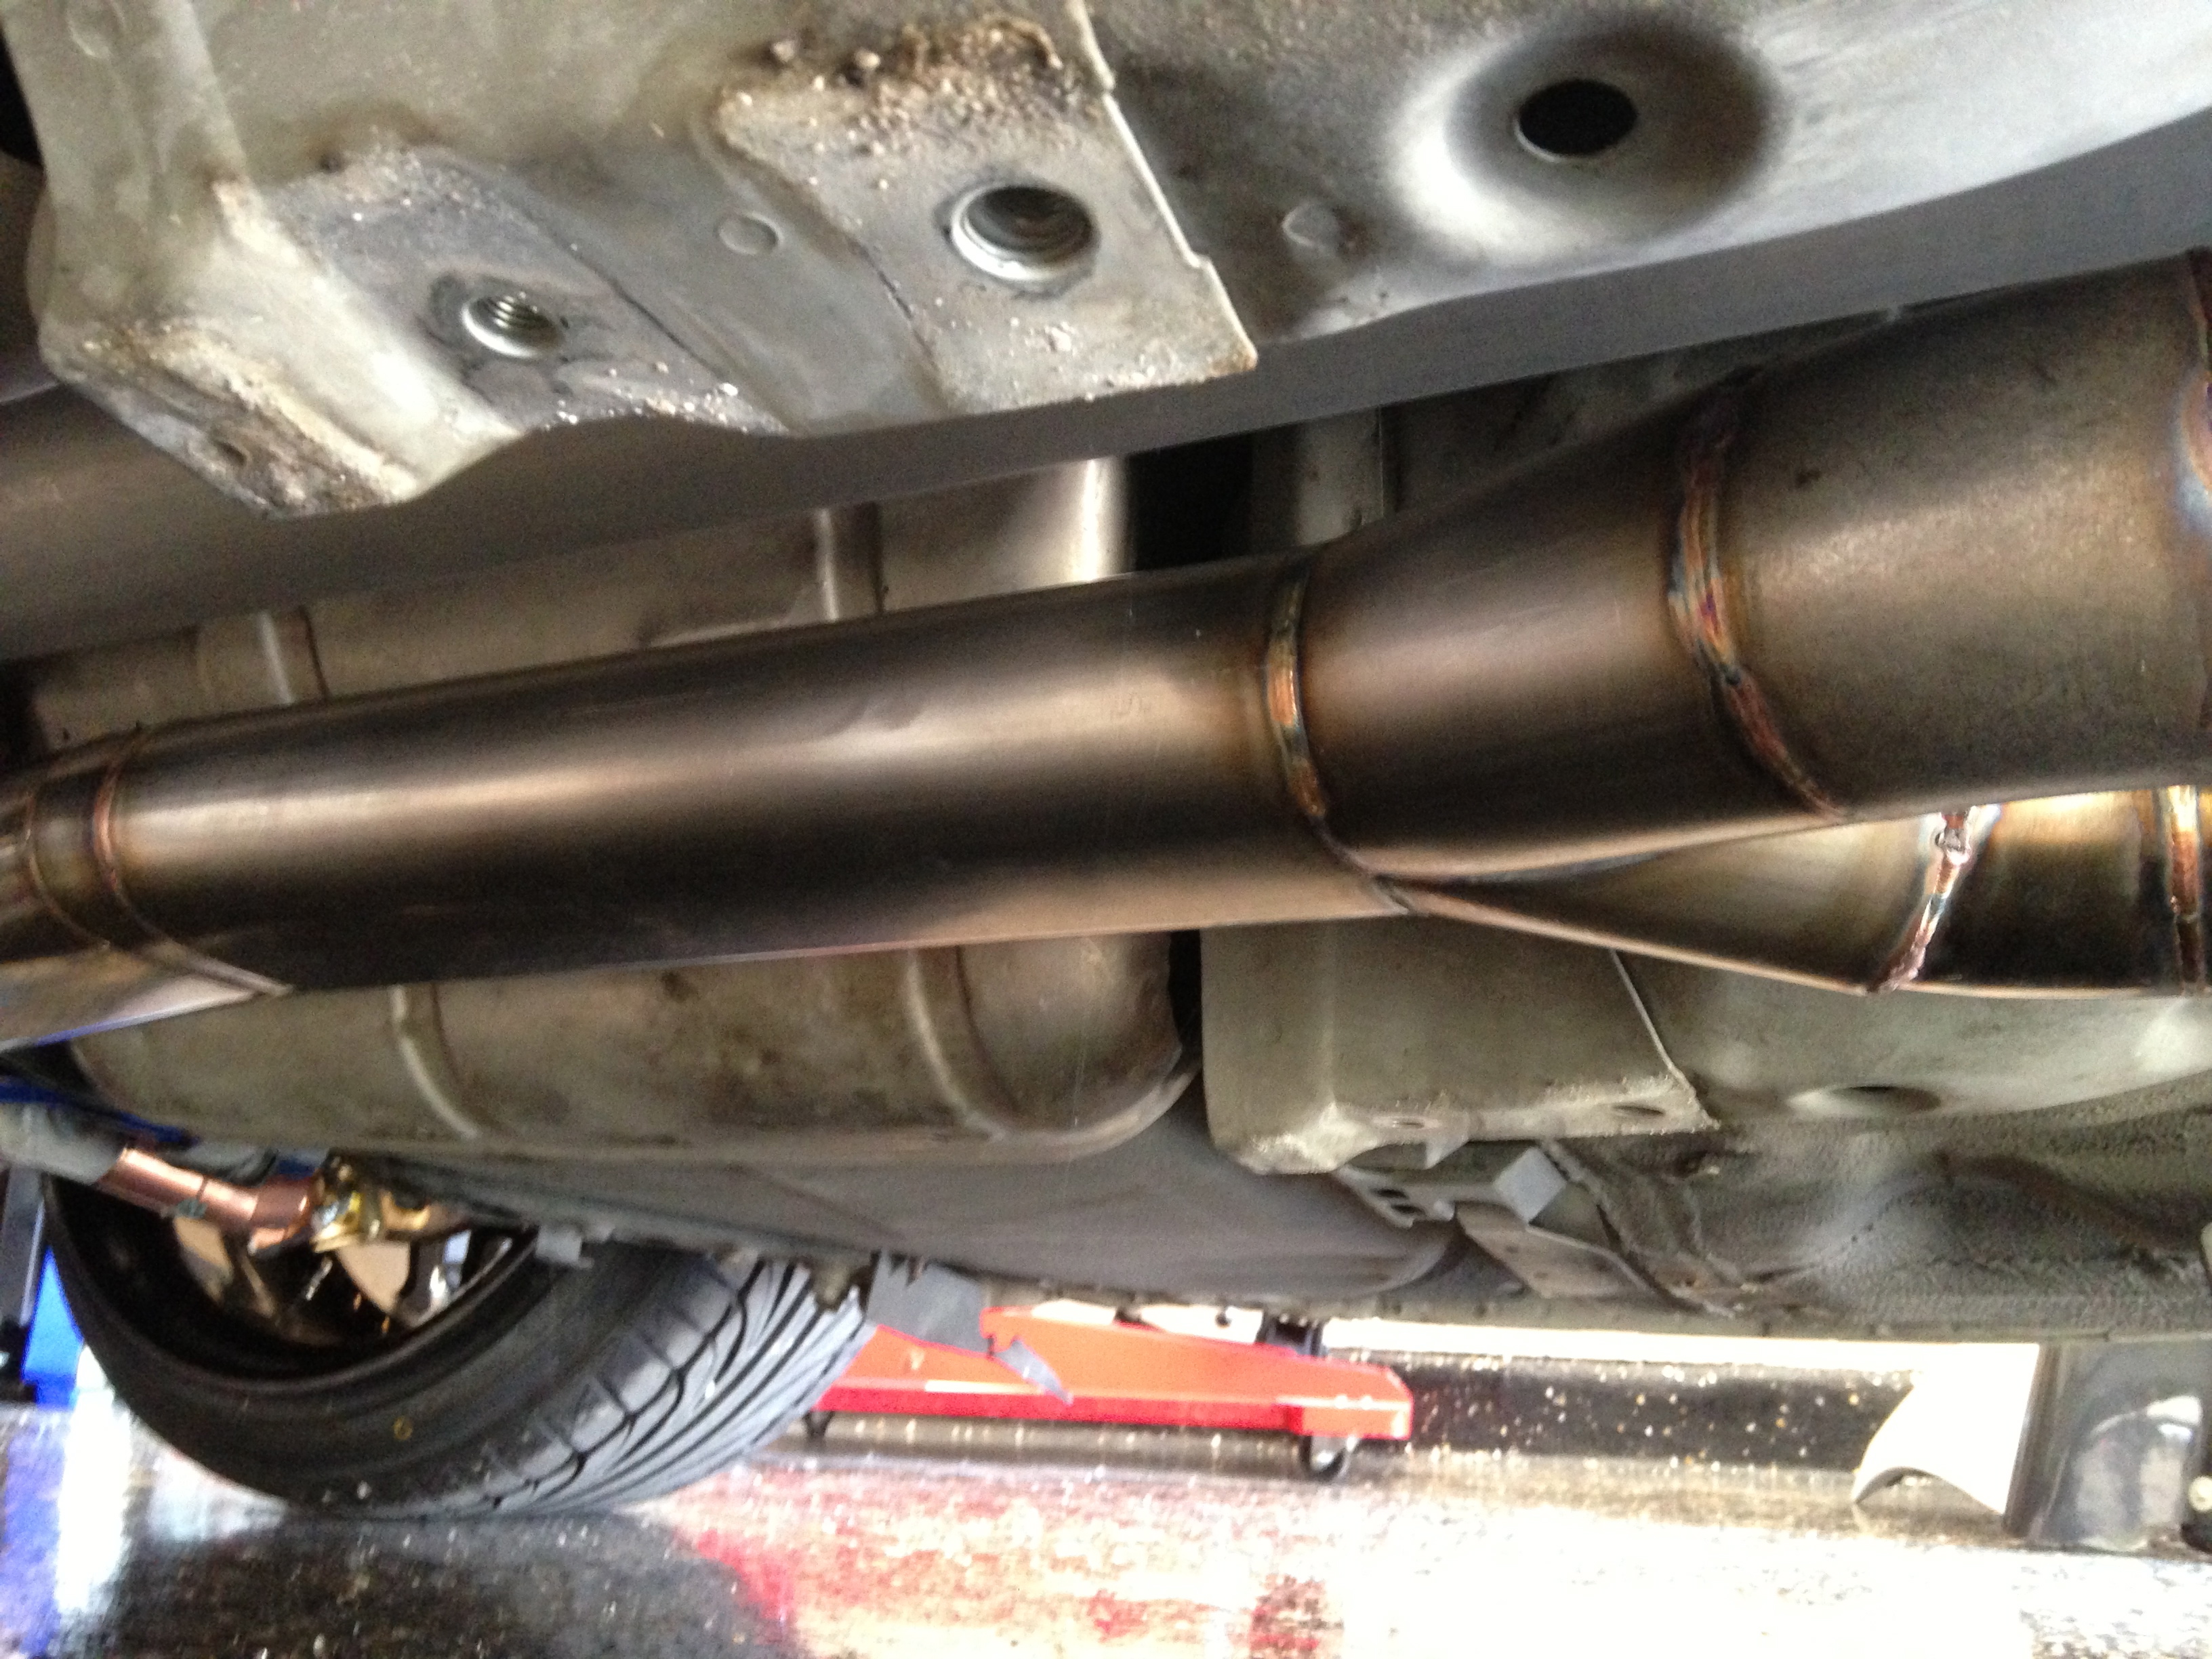
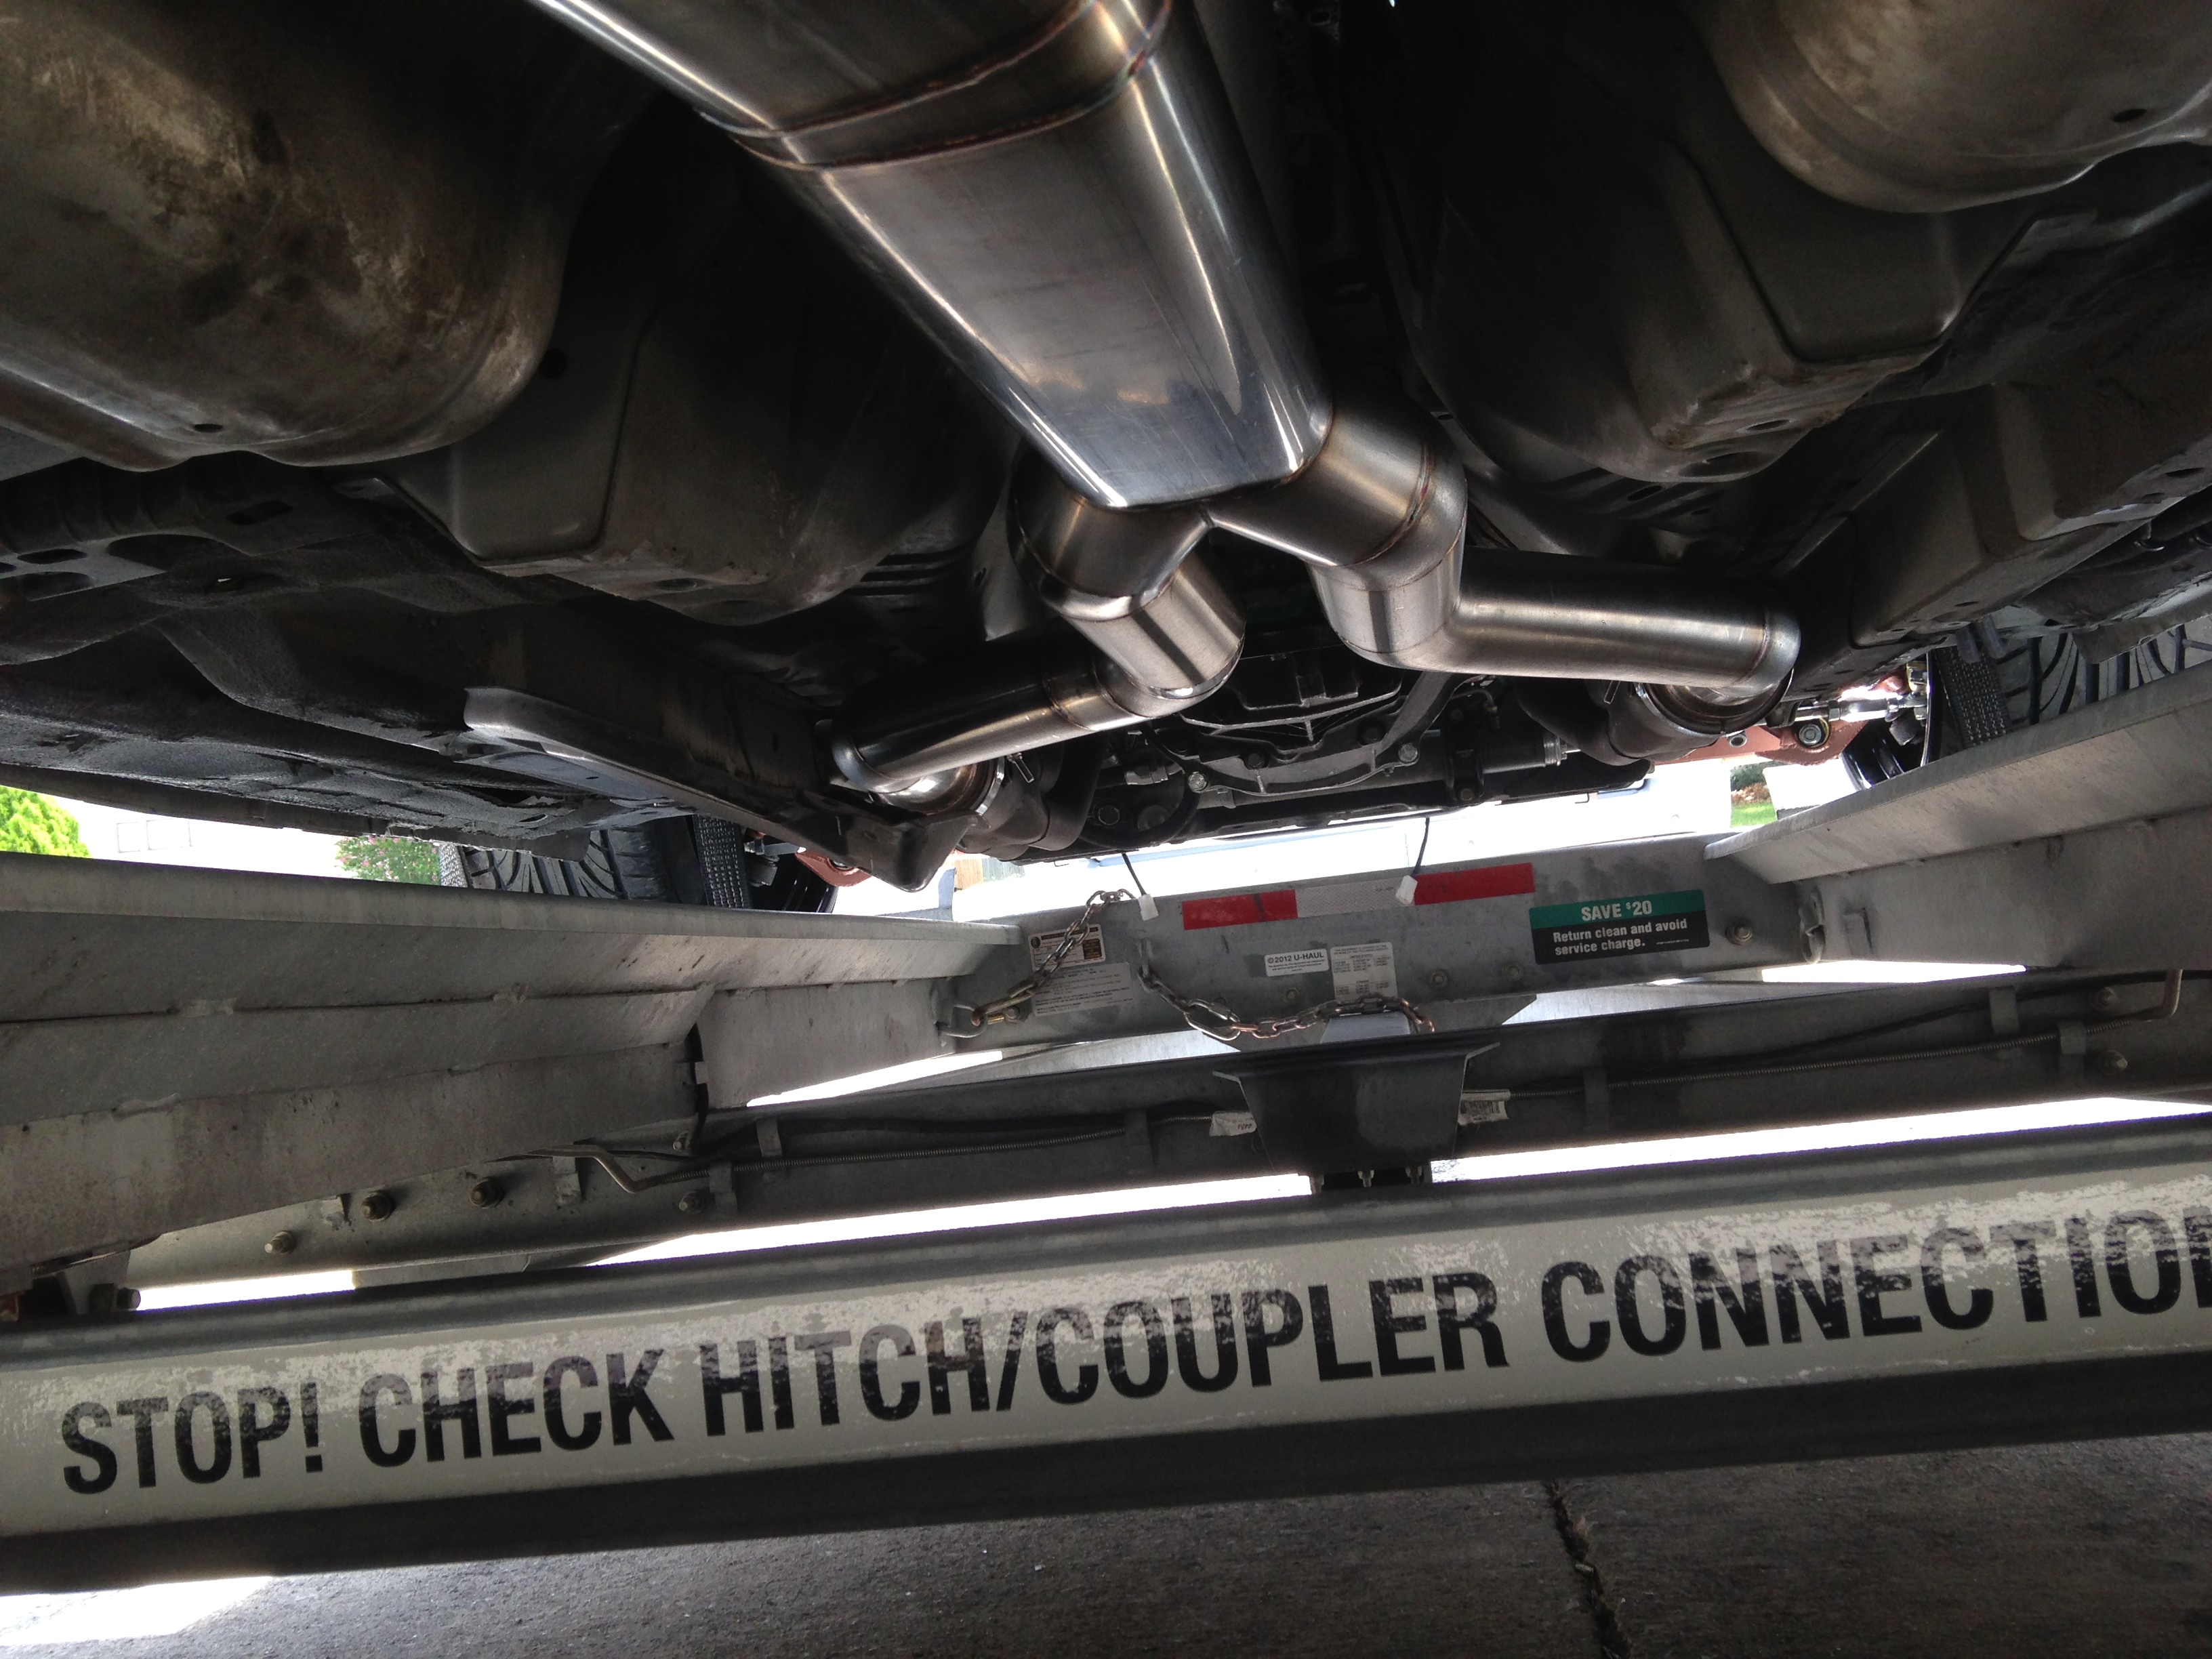
Close up.. I love Russell work so much..
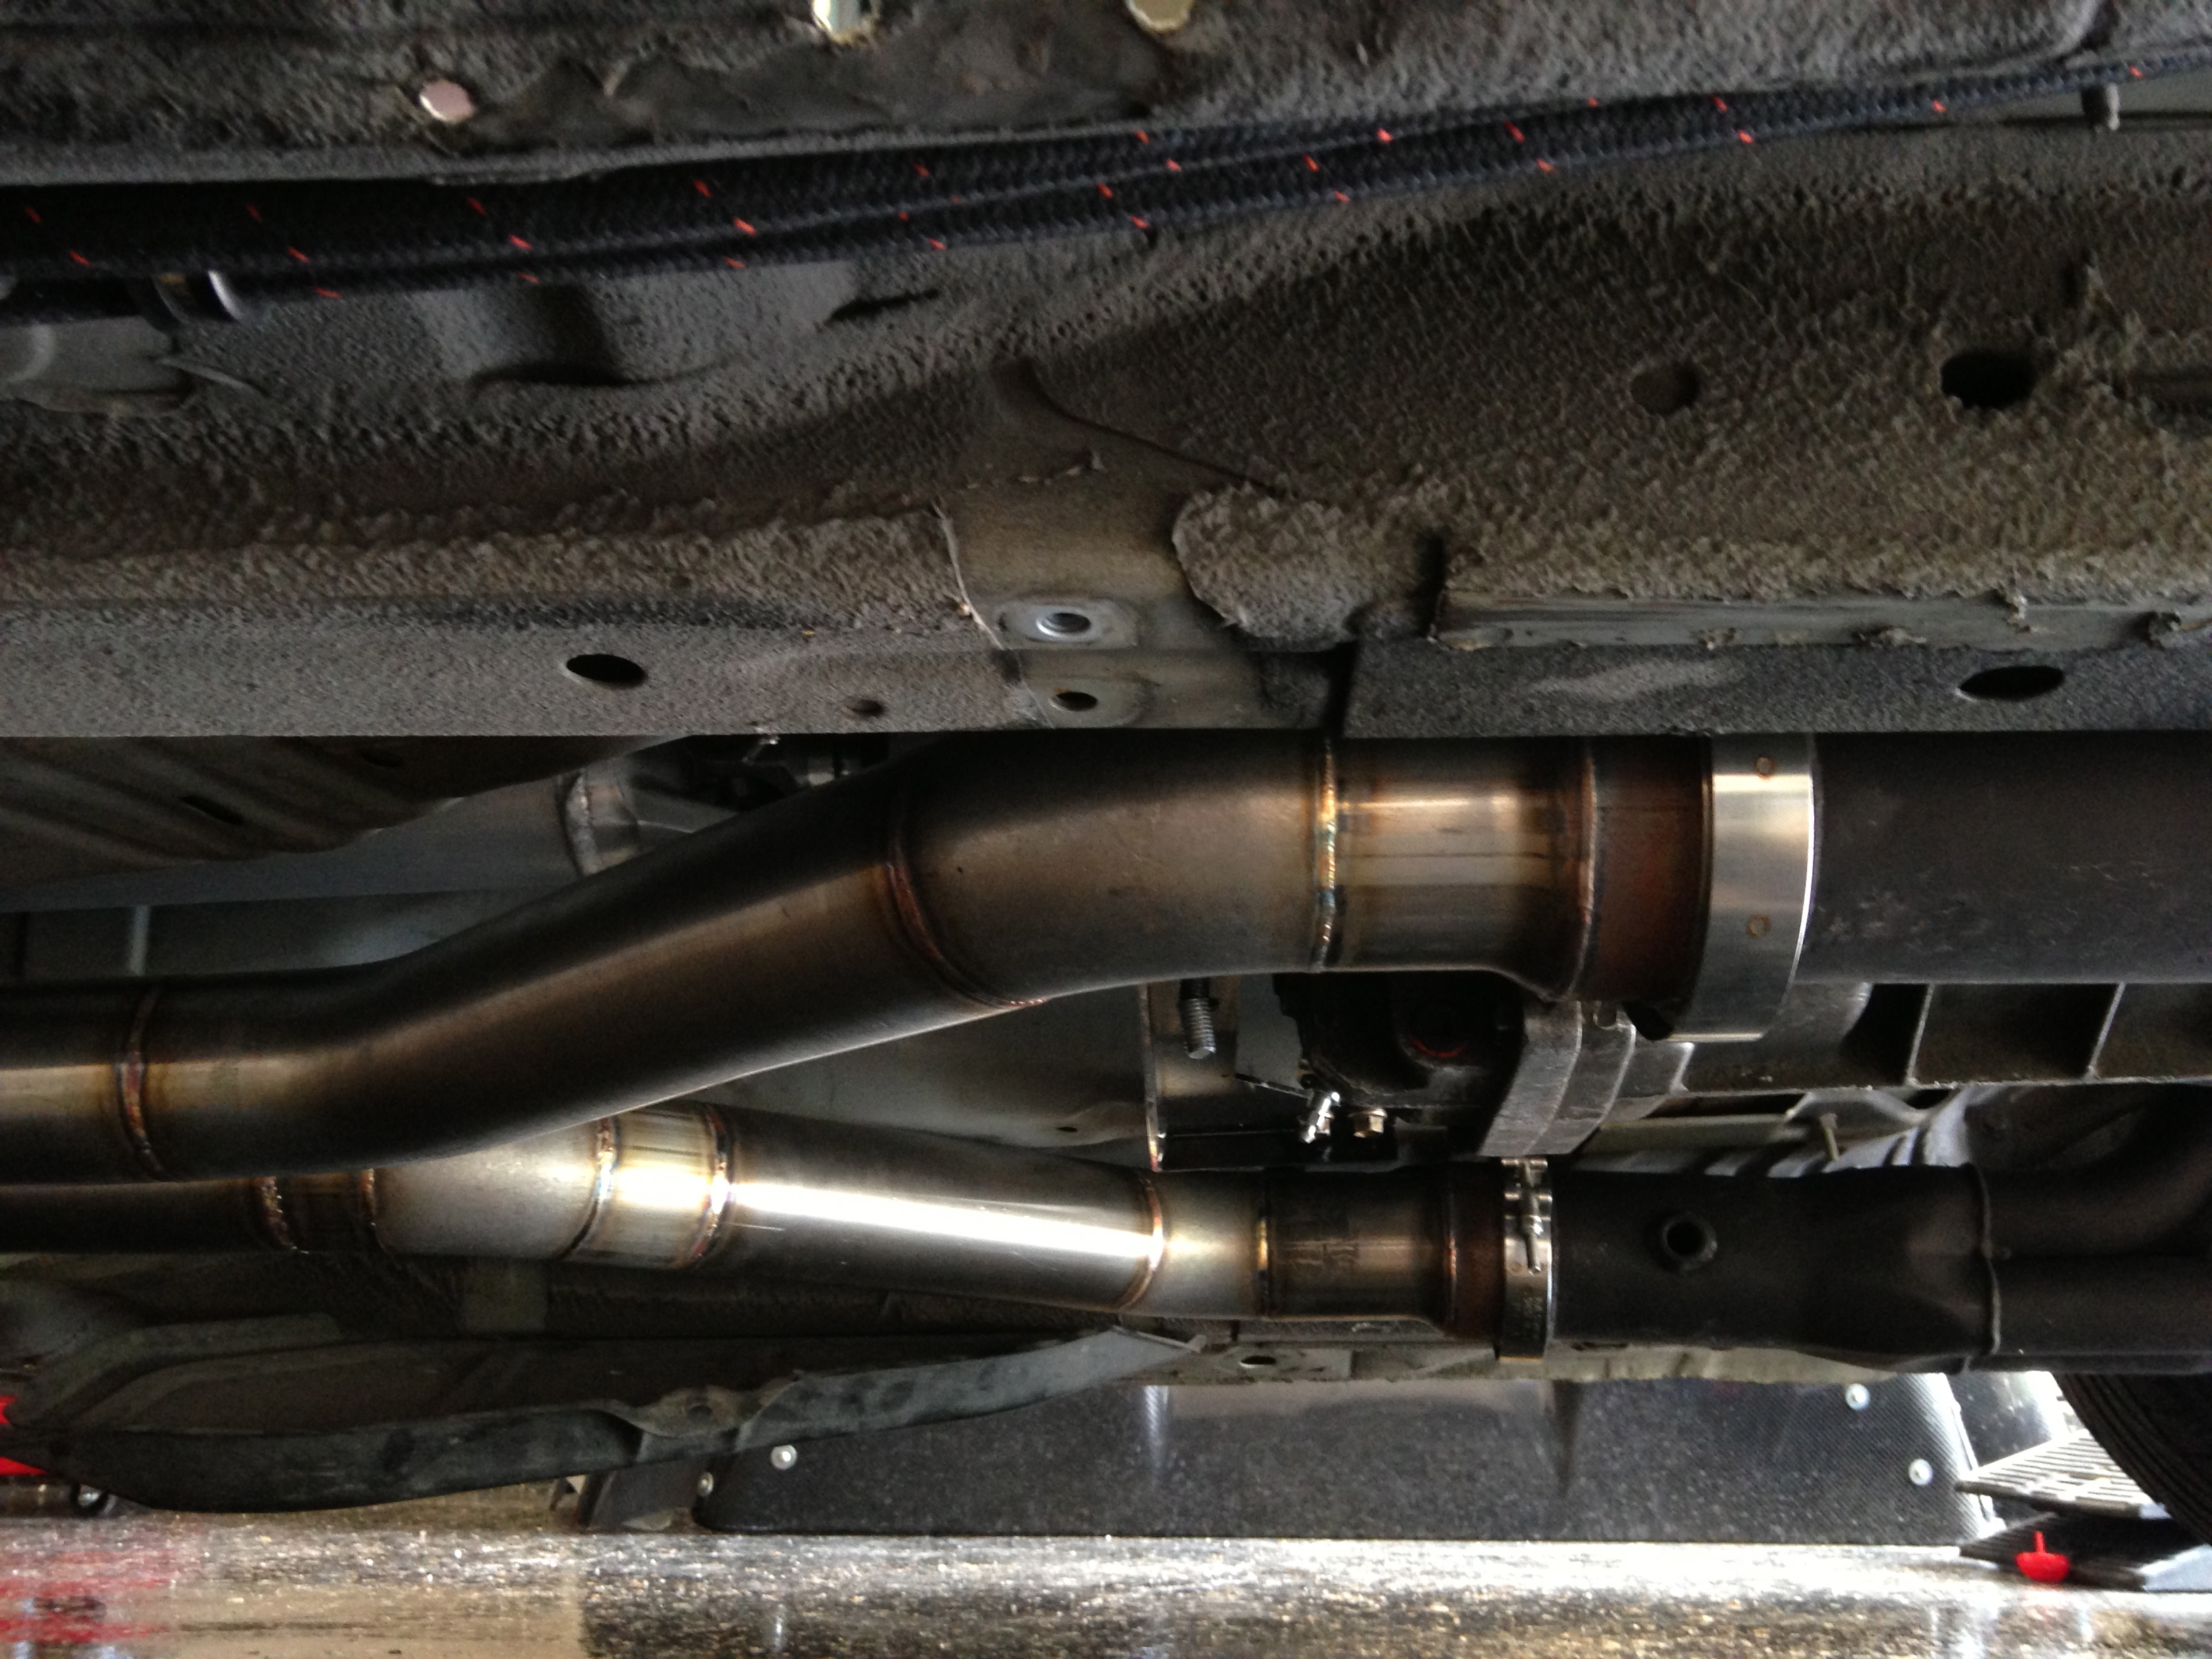
Then they connect to my collectors which are actually 3.5"
Later I will probably change this out when I want more power (turbo) and make it a 3.5" to a single 4" oval.. But thats much later..
For now I am really happy with the work and can't wait to here this thing start up..
Need to add a pic with the bumper on and a full on *** shot..
Next on the list is a couple of little things here and there. (which I will update as I do them). Then its off to Dallas to Stews house to finish up the wiring and do first startUp.
It is getting really close to finishing and I just can't wait.
I will post price later this week for all that wants to know how much this cost.
Also I am going to be selling these 19 DPE wheels, so if you are interested in them hit me up..
[IMG]
 [/IMG]
Start it off with some good beer.. I pick Batch19... Really good beer even though it is made by Coors.
[IMG]
 [/IMG]
So I realized I forgot to update you guys on doing my door panels and CF hood.. So here it is.. At first I thought I could keep most of the CF panel and just cut out holes where the door bars were going to go.
[IMG]
 [/IMG]
After making the needed cuts on the other door panel and seeing how chopped up it looked just to fit the panels I decided just to cut them in half..
[IMG]
 [/IMG]
I know I know, just cut up a **** ton of money.. Not that much but I know what you are feeling right now.. lol
[IMG]
 [/IMG]
Before
[IMG]
 [/IMG]
After...

Love me some CF..

Overall I think they came out pretty good. However I think I will change them later to a flat CF panel and just add the door handle to it. but for now this will do.

A view so you can see both sides

Next was mounting the hood and installing the hood pins

Went with Quik-Latch minis. I love Quik-latch products and tend to use them on the bumpers and rear hatch.

Installed the pins, and put grease on it to mark were to drill for the holes. The hole next to this pin was my old pin setup..

Holes cut

Mounted

Love how small and flush they sit

After installing the pins I had to set them so their was no gaps in the front bumper..

also mocked up my new side skirts.. Love how they look...
So this is where I took my car to Russell to fab up my exhaust and intake

Took my lil brother with me..

As well as my son.. have to teach him all about this stuff..

So after a couple of weeks I went to ATX to pick her up and always get stuck in traffic here.. Hate it so much..

First time she got to sleep in her new garage after the floor was done..

First we have my intake.. Nothing special just your norm intake.. Wanted it to run down to the front wheel well but there was not a good way to route it. So this will do.

Can't remember the size of the pipe but this thing is huge has to be 4"

was going to paint the intake black or do black chrome but I love how it looks as is. the contrast works so well.

Next we have this bad boy..Russell went with a .065 304 stainless for the pipping

Running a 3.0 dual to a 3.5 oval single to give me more ground clearance.

No mufflers here.. Loud and in your face..

Here is were it changes into a single oval...

Close up.. I love Russell work so much..

Then they connect to my collectors which are actually 3.5"

Later I will probably change this out when I want more power (turbo) and make it a 3.5" to a single 4" oval.. But thats much later..


For now I am really happy with the work and can't wait to here this thing start up..

Need to add a pic with the bumper on and a full on *** shot..
Next on the list is a couple of little things here and there. (which I will update as I do them). Then its off to Dallas to Stews house to finish up the wiring and do first startUp.
It is getting really close to finishing and I just can't wait.
I will post price later this week for all that wants to know how much this cost.
Also I am going to be selling these 19 DPE wheels, so if you are interested in them hit me up..


#420
07-21-2013, 09:08 PM