When you click on links to various merchants on this site and make a purchase, this can result in this site earning a commission. Affiliate programs and affiliations include, but are not limited to, the eBay Partner Network.
I have a pair of these and plan to get them pressed in tomorrow. All the threads I've seen are old now and the pictures with orientation are no longer available. I have a single source for how these should be orientated stating the flat side of the bushing needs to face the front of the vehicle found in this thread: https://g35driver.com/forums/g35-sed...ml#post7040396
So my questions:
1. How do I orientate these.
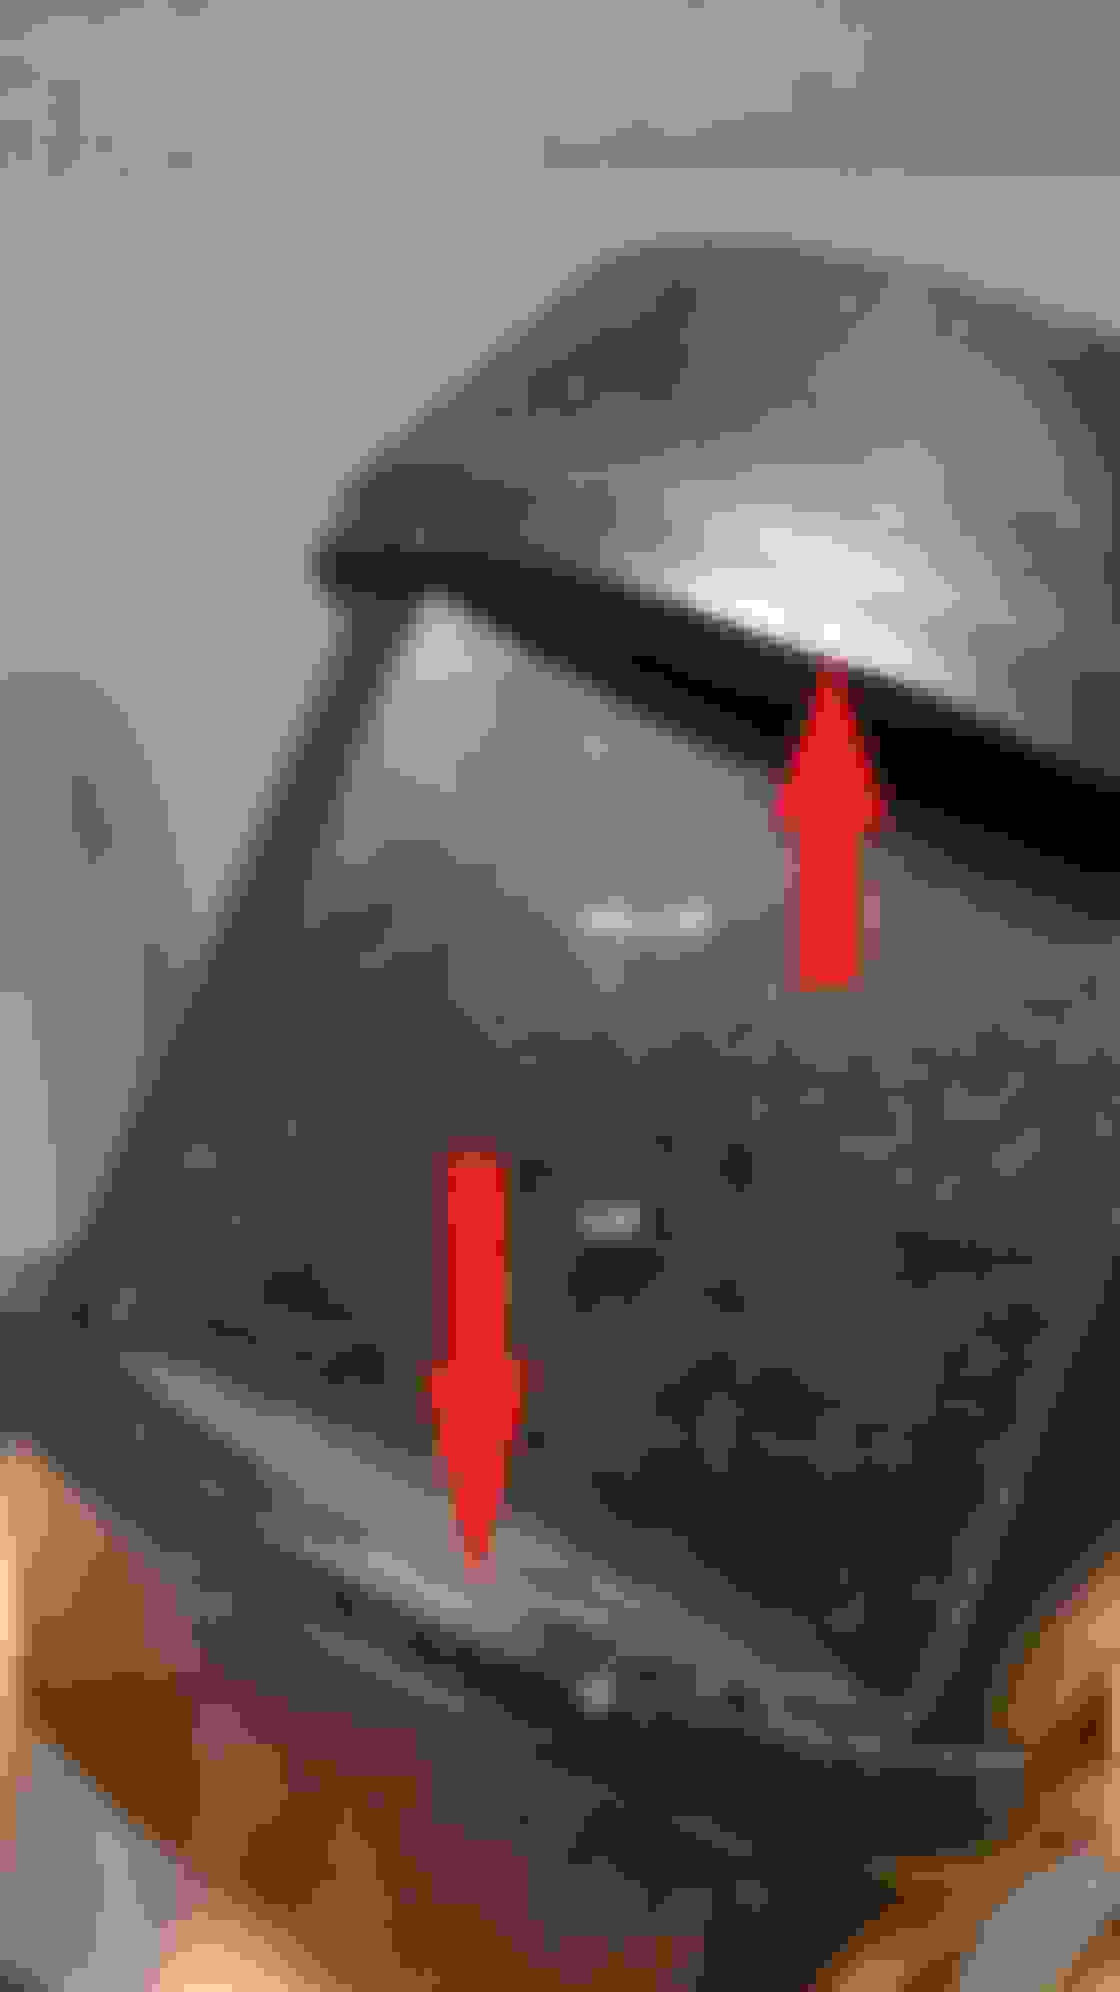
2. Is that lip/edge an issue (it's not on the other end) - Look right where the flash is concentrated and then look at the bottom of the bush.
3. What grease should I use - comes with lithium, link below recommends lithium, every thread I read hear recommends silicone.
4. Where? Everywhere? - Link below also says simply all contact points.
Just called armstrong distributors, great customer service - For anyone unsure.
1. Confirmed that the flat part must face towards the front (and rear) of the car.
2. Still need to question this
3. They say they have had complaints of squeaks from using silicone and they highly recommend lithium. Also mentioned squeaks are usually the result of not cleaning out the comp rod bore properly.
4. Grease the contact surface between bush and comp rod bore. Also remove the metal insert/tube, grease the hole and put the insert/tube back in.
This is the lip in question
Last edited by BradMD_96; Feb 23, 2017 at 06:04 PM.
Either get a press to press them out or burn them out. You'll need a lot of lube and a vice grip to get the bushings in.
You can't just burn them out. You can burn out the rubber, but then you have to use a hacksaw to carefully cut out the race (metal ring) that's left behind.
I sorted this out last week, was very simple.
Luckily found a nice sized piece of aluminium and an appropriately sized bit of pvc tubing.
The lithium grease supplied with the bushings was more than enough.
For future reference, the flat part should be oriented to that it faces the ball joint. I guess that's technically the front of the car, but it's a more specific focal point for orientation. If you draw a line between the ball joint and the bushing, the line should hit the center of the flat spot. The flat spot is there to allow the arm to articulate up and down. On the stock bushings, there's a little tab, that should point directly at the ball joint. Source: the TSB (ITB08-013a) for replacing the compression rod bushing has a handy picture.
Well, it is once there's no hickups like broken bolts or studs.
6 bolts and 2 nuts and the A-frame is off.
2 nuts for each ball joint + some mallet action and the arms are off.
Press bush out, lube new one, press bush in.
Putting the arm back in can be tricky because of the whole susp leg is pressed down with the spring in place. I loose fitted the ball joint, used a jack to compress the suspension a little at a time whilst tapping the comp rod bush up along the stud till it's seated.
Then bolts/nuts back in, torque and cotter pin where needed.
Originally Posted by LoSt180
For future reference, the flat part should be oriented to that it faces the ball joint. I guess that's technically the front of the car, but it's a more specific focal point for orientation. If you draw a line between the ball joint and the bushing, the line should hit the center of the flat spot. The flat spot is there to allow the arm to articulate up and down. On the stock bushings, there's a little tab, that should point directly at the ball joint. Source: the TSB (ITB08-013a) for replacing the compression rod bushing has a handy picture.
That image works for the OEM bushing. Without any research I would have followed something like that for the Armstrong bushings just by observing how the bush should be allowed to pivot and where it should stay constrained. But after calling Armstrong/PSB I got the instructions as mentioned above.


rwBQkMw68G8w~~60_35.JPG)