
DIY: dual ac button


DIY: dual ac button
hey guys and gals i have always wanted to do a diy so this is my first try so give me a break. i am not to blame if you mess anything up
1:first take out your head unit and place it on a table or floor cause you will be all over the place.
2: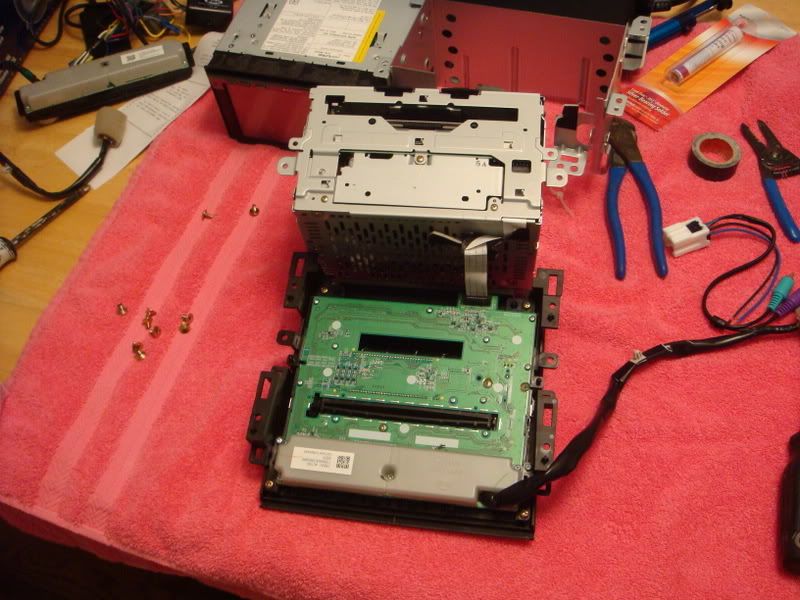
take off the face just a couple screws i think 2 i did not count when i took it all apart. on the back of the board is like 15 screws some silver some gold mark where they go you will have to put them back and they are not all the same. the grey cover comes off as well 5 screws in that.
3: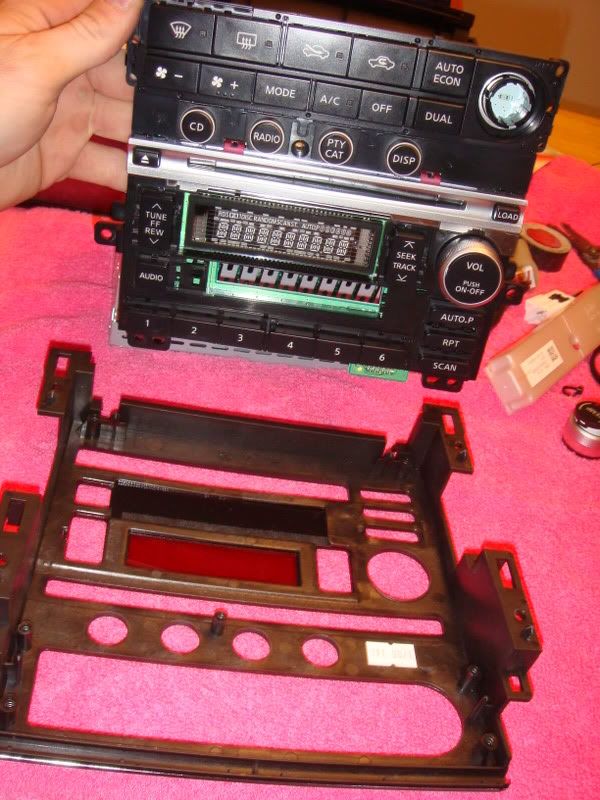
now the face has come off. take the volume and hot cold button off just pull up and twist
4: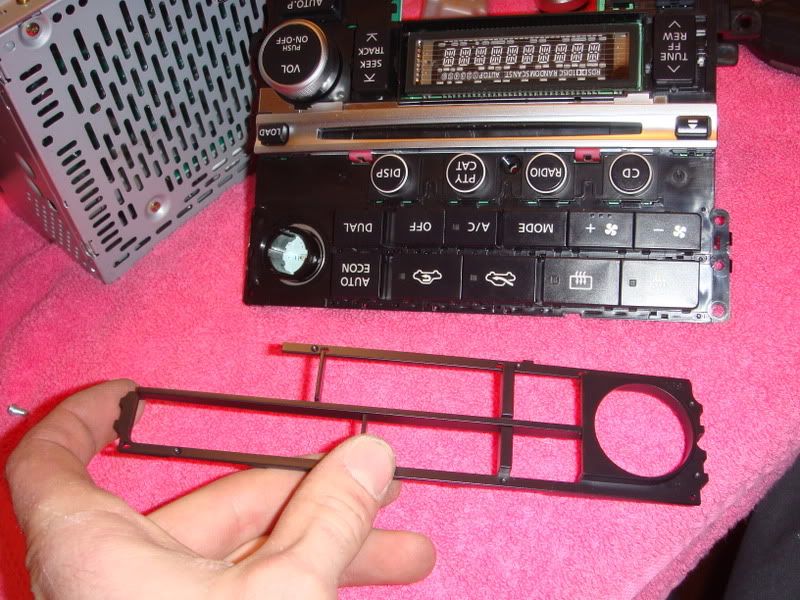
take the plastic trim off around the ac controler. there is 2 clips on one side and one on the other. take a small screw driver and pop it up.
5:now the board if off.it is still connected to the radio. and the face is off of the curcit board.
6: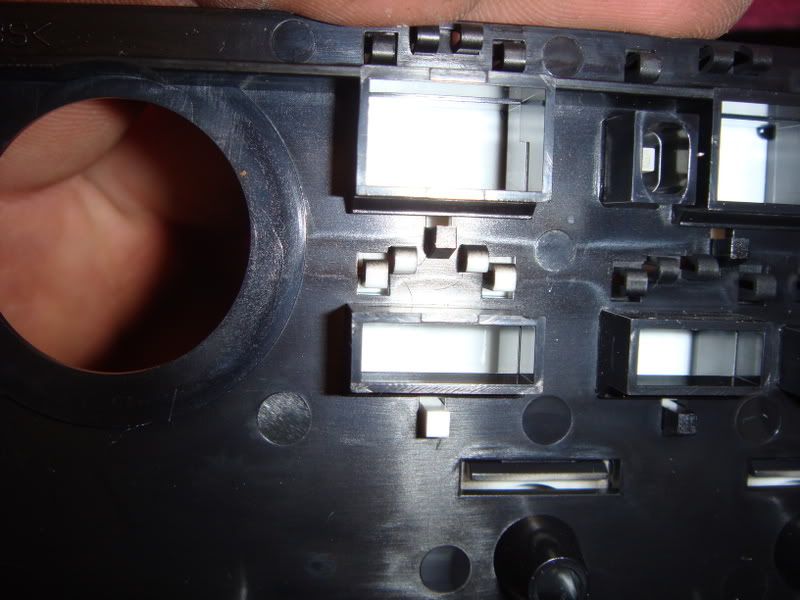
this is the back of the ac controler where the dual button is. there is five white prongs holding it in. take a small screw driver and push it out from the backside. might have to pry from the front.
7:now the button is out take the blank out of the new dash kit the same way as this one.
8: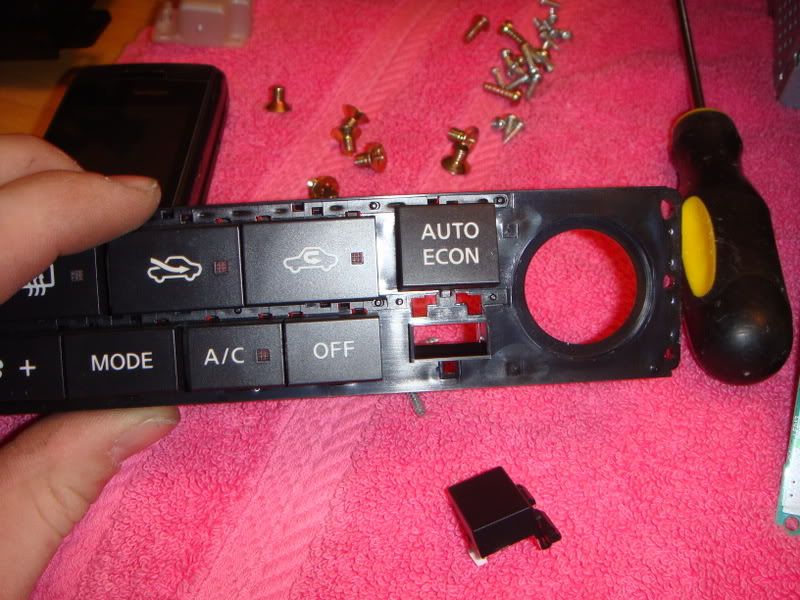
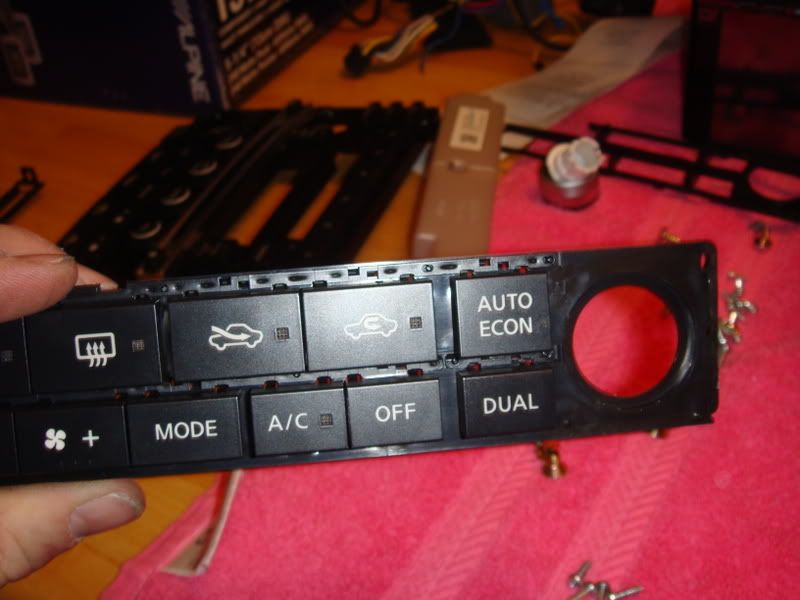 out with the old and in with the new
9: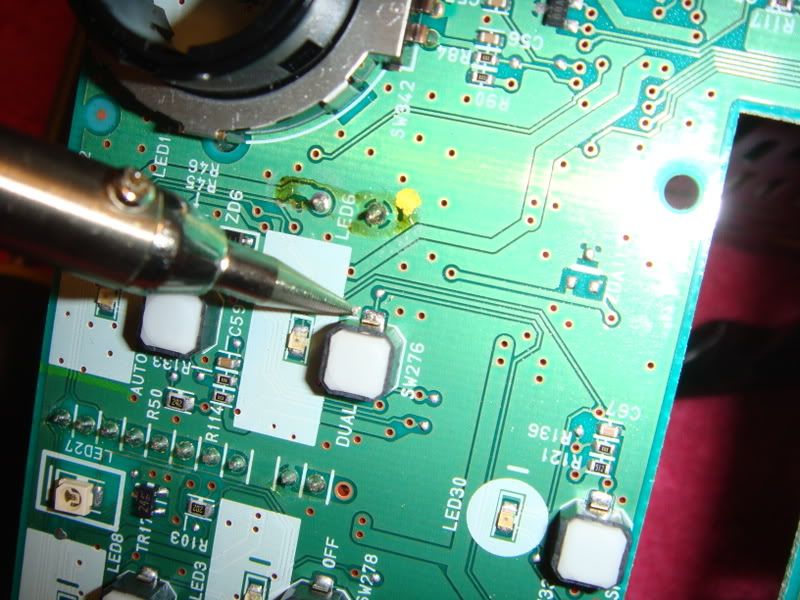
now on the board find where the button is for the dual control
10: heat up the two silver spots on the each side of the button. do one at a time and pull up while it is hot.
11: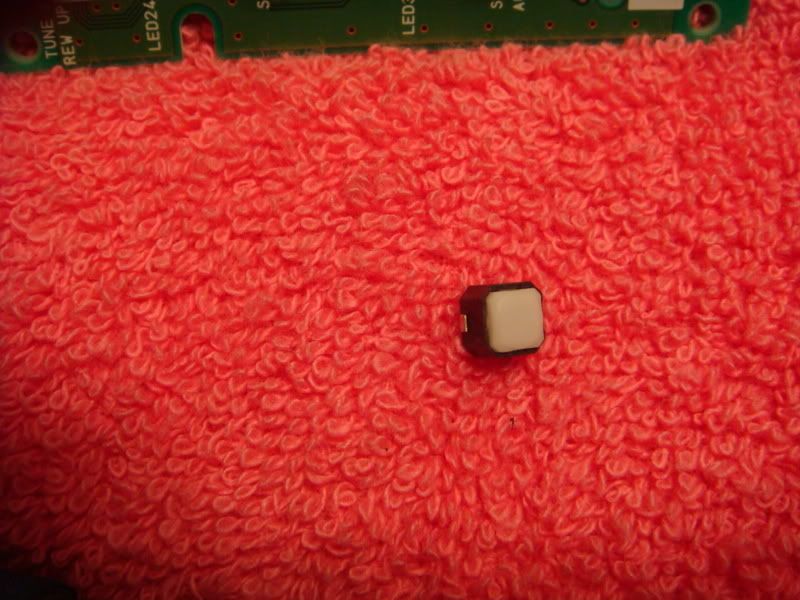
now the button is ready to go onto the new board.
12: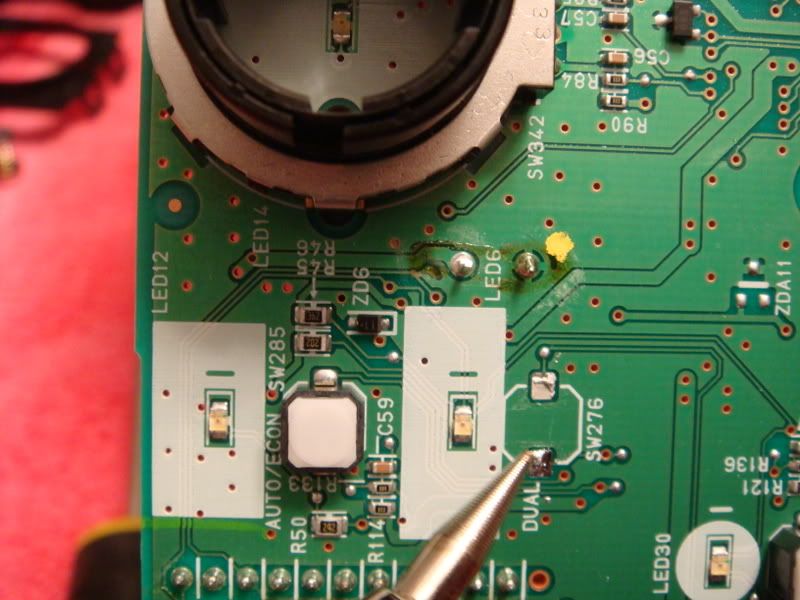
find out where the button goes on the new board. place the button in the same spot heat up the silver spots one at a time and it cool down.
13: now put it all back together the way you took it apart
I hope i have enuff pics. if you need to ask anything dont be shy. dont hate on me eather if i forgot something please just add to it and make it better. if you f things up i am not going to pay for a new one for you sorry.
1:first take out your head unit and place it on a table or floor cause you will be all over the place.
2:
take off the face just a couple screws i think 2 i did not count when i took it all apart. on the back of the board is like 15 screws some silver some gold mark where they go you will have to put them back and they are not all the same. the grey cover comes off as well 5 screws in that.
3:
now the face has come off. take the volume and hot cold button off just pull up and twist
4:
take the plastic trim off around the ac controler. there is 2 clips on one side and one on the other. take a small screw driver and pop it up.
5:now the board if off.it is still connected to the radio. and the face is off of the curcit board.
6:
this is the back of the ac controler where the dual button is. there is five white prongs holding it in. take a small screw driver and push it out from the backside. might have to pry from the front.
7:now the button is out take the blank out of the new dash kit the same way as this one.
8:
out with the old and in with the new9:
now on the board find where the button is for the dual control
10: heat up the two silver spots on the each side of the button. do one at a time and pull up while it is hot.
11:
now the button is ready to go onto the new board.
12:
find out where the button goes on the new board. place the button in the same spot heat up the silver spots one at a time and it cool down.
13: now put it all back together the way you took it apart
I hope i have enuff pics. if you need to ask anything dont be shy. dont hate on me eather if i forgot something please just add to it and make it better. if you f things up i am not going to pay for a new one for you sorry.


Nice work. This DIY is for the 05-07 boards. The 03-04 boards are similar, but a little different.
Also, with the 05-07 boards, you also need to desolder and resolder the LED for the dual button if you want it to work. The LED is already on the board for 03-04.
These DIY's need to be stickied.
Also, with the 05-07 boards, you also need to desolder and resolder the LED for the dual button if you want it to work. The LED is already on the board for 03-04.
These DIY's need to be stickied.


