
DIY: Easy&Cheap LED Side marker mode...:)


Originally Posted by darren03
Instead of cutting the marker housing open with a dremmel is it possible to open the housing by heating it up(in the oven) then placing the LED inside? Then using silicone to seal the original hole up. Basically opening it up like you do with headlights.


Registered User
Joined: Dec 2007
Posts: 10
Likes: 0
From: michigan
led lights
Originally Posted by chanycrazy
Actually water went in there first time when I used glue to secure the back side of housing..so I tried silicone..It worked really good..No problem at all..
Here are daytime pics
Here are daytime pics
hi could u tell me the part no. on the leds u got in superbrightleds.com and the wires please

I'm planning on doing this same thing to my sidemarkers and also to my clearance strip, however I want to see if I can Isolate the LED's somehow to give it a more defined appearance so it looks like individual LED's not one long bar, because once you step back you cant really tell that much. I want more of an R8 kinda look.


Registered User
Joined: Dec 2008
Posts: 25
Likes: 0
From: Lansing, MI
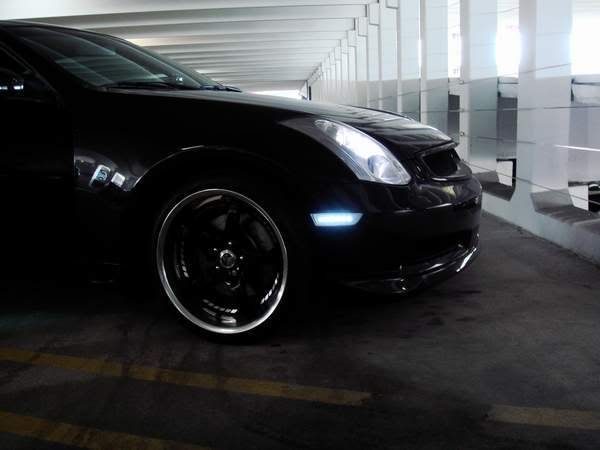
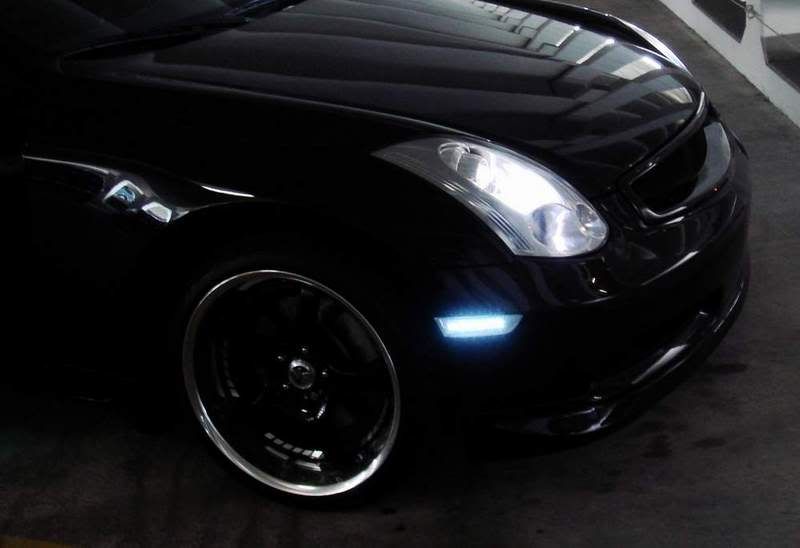
I just did this cheap LED mod and it looks pretty awesome. However, the LEDs (cool white from superbrightleds.com) don't quite match the stock '05 HID low beams, but it still looks good.
The installation was fairly easy. After getting by the learning curve with some trial and error on the first clear corner the second was pretty easy to dremmel out in order to fit the light bar. To connect the wires to the plugs on the car I simply spliced the wires off the LEDs and fed them into the female connecters of the corner light and secured with electrical tape. I also used the silver marker to color the light bar and waterproofed everything with silicone.
I'll try and post some pics tomorrow.
FYI: I did blow one fuse and the fuse box is located behind the battery. I believe it was the top left one. To get to it, just pop off the plastic molding underneath the windshield wipers and the molding around the battery.

The variation in level of the light bar is due to the angled corner light in the sedan model. I am going to try and get one side in further to adjust it so it looks as straight as possible


Registered User
Joined: Oct 2008
Posts: 117
Likes: 0
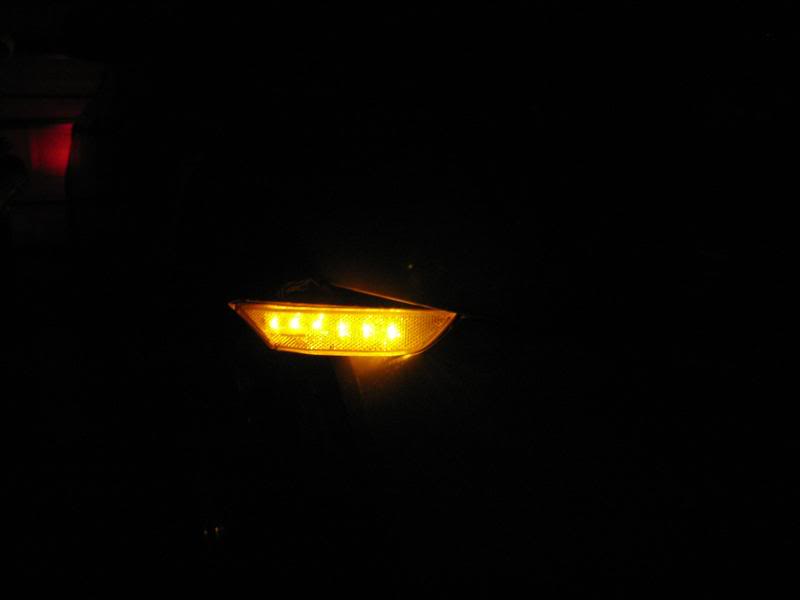
Will be doing a set of these in the next week provided parts arrive, then when I have pics, will be offering to do these for people if they do not want to attempt, although it is fairly easy. Will post more info when completed and I will also be working on the flashing in dual colors as well.
