
DIY: OEM Emblem-less Grill


a little tip on the bumps that randy told me to do when i was making mine, all you do is flip over the grill and bam perfect replica bumps, just take a piece of flex board or whatever and use is as a sealer so it doesnt drip out, tape it up then fill in between the board and the grill itself and the pieces pop right out, shape them up then epoxy them down throw a fresh coat of epoxy on top of that to seal it down and get a better shape, sand down and bam your done
yep yep ooo and one more thing, when your making the molds, for each row you do so like the one that needs 2 bumps, make the molds out of the back side on that row, then on the next row that needs the 1 bump, make that one bump out of a bump/mold on that row....sorry kinda hard to explain....
--------- <-first row, make the molds out of that row for the top row
--------- <- second row, make the molds out of that row
ugh frustrating to explain
--------- <-first row, make the molds out of that row for the top row
--------- <- second row, make the molds out of that row
ugh frustrating to explain


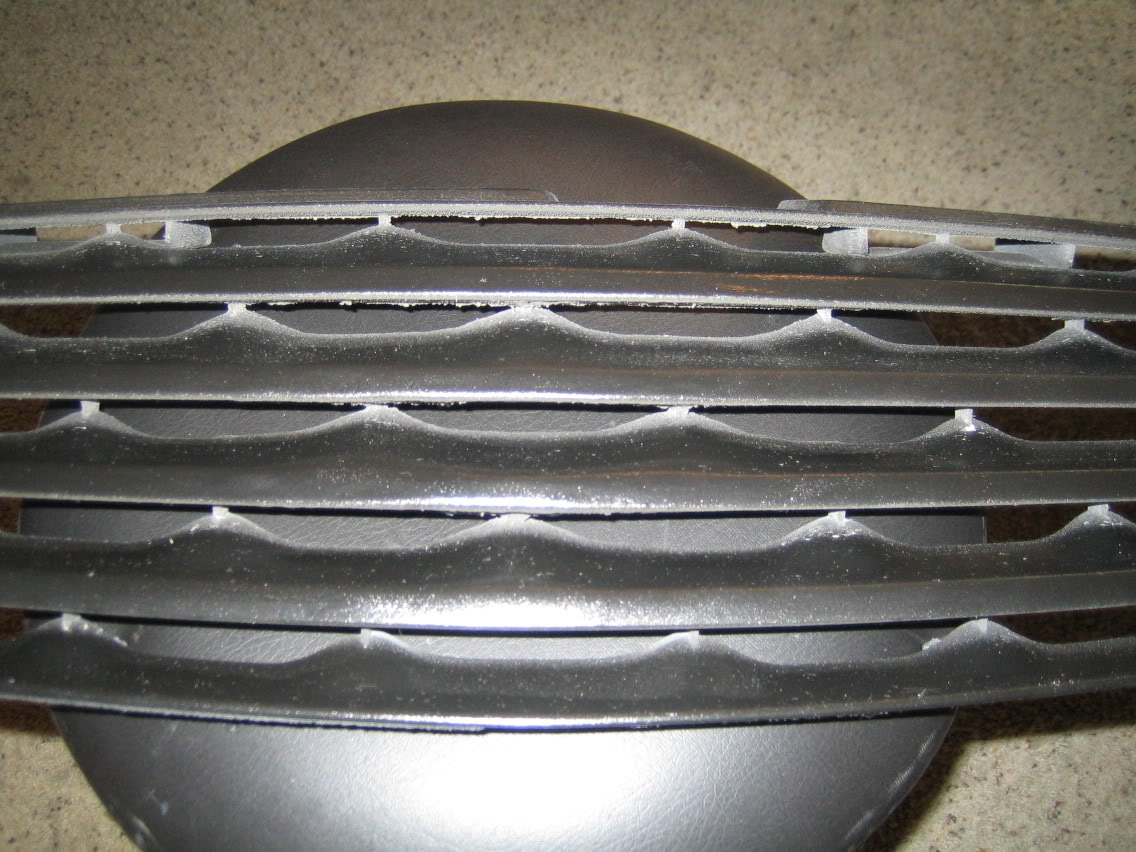
accually the sizes don't really vary from row to row more so from the center to the edge.....if you look at your grill again you'll all the bumps in the center of the grill are about the exact same size and get smaller as you move to either edge!
the ones on the last row you have to fill are more steep and not as wide....you can see on the 4th row of bumps, the mistake i did, i made the mold out of one bump and the 4th row it wider and not as slanted or steep as the other ones
 and i forget...am i painting your or are you???
