
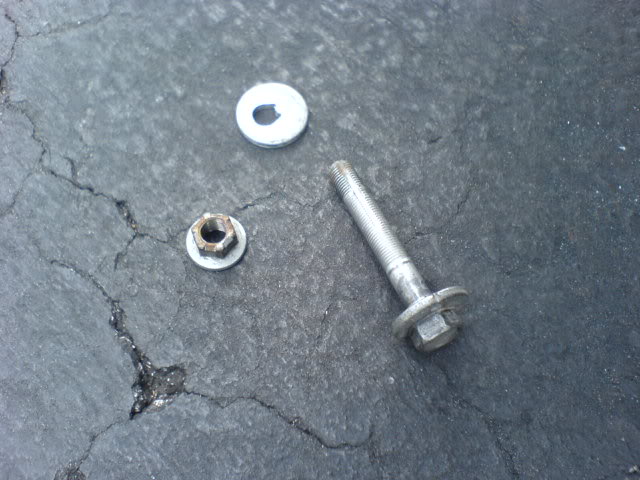
Install rear camber, toe arms, toe bolts, and rotors too!


Joined: Jun 2008
Posts: 200
Likes: 0
From: pemBROKE pines
Install rear camber, toe arms, toe bolts, and rotors too!
Well as stated due to my previous adventure of having my Ichiba camber arms fail on me I discovered this after purchasing Wicked Tuning Toe arms.
I finally purchased the Wicked Tuning Camber arms and redid the Toe bolts as well.
You do NOT have to remove the Exhaust to dremel out the TOE bolt pill hole. I did not even use a template (didn't have one)I just removed a little material at a time unitl the toe bolt completed a full cycle sitting flush between the points. The trick to using the dremel is using the wand extension (flex shaft for the dremel).
I figured since I was already stuck doing this train wreck I might as well replace my rotors and pads all the way around even though they did not need it but what the hell its only money right.
Well follow the pictures and I will try to add more explaination later on since I am in a bind of time.
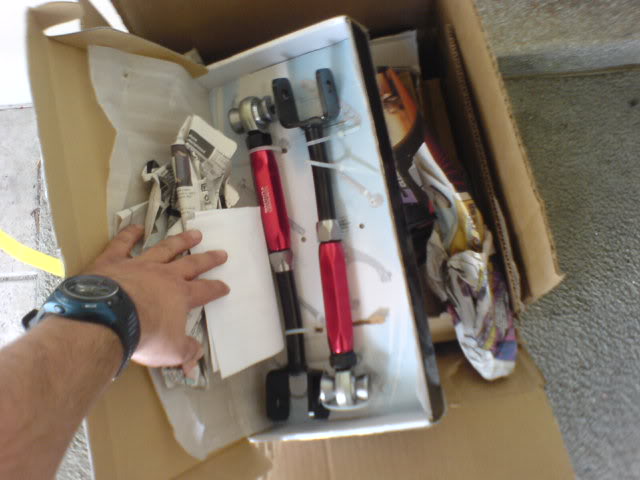
The shipments
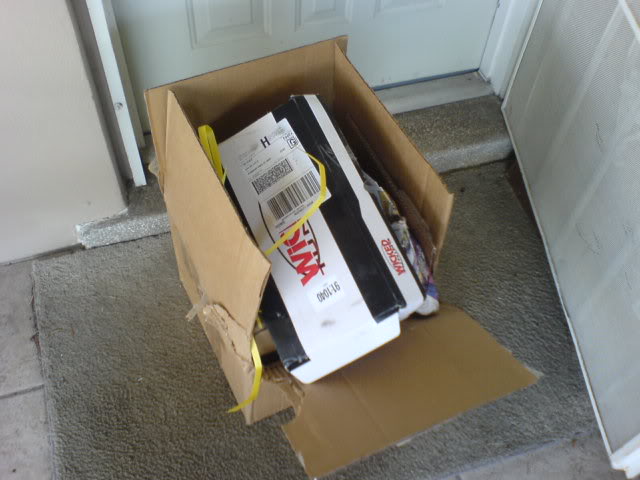
The removal process yea I had these installed (myself) and now have to uninstall and reinstall everything.
I finally purchased the Wicked Tuning Camber arms and redid the Toe bolts as well.
You do NOT have to remove the Exhaust to dremel out the TOE bolt pill hole. I did not even use a template (didn't have one)I just removed a little material at a time unitl the toe bolt completed a full cycle sitting flush between the points. The trick to using the dremel is using the wand extension (flex shaft for the dremel).
I figured since I was already stuck doing this train wreck I might as well replace my rotors and pads all the way around even though they did not need it but what the hell its only money right.
Well follow the pictures and I will try to add more explaination later on since I am in a bind of time.
The shipments
The removal process yea I had these installed (myself) and now have to uninstall and reinstall everything.
Joined: Jun 2008
Posts: 200
Likes: 0
From: pemBROKE pines
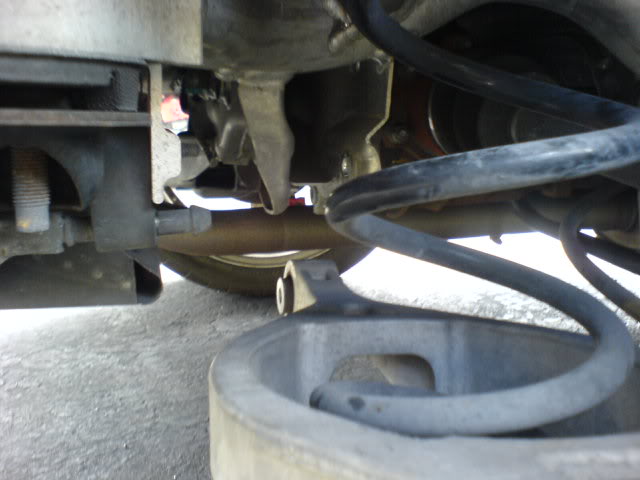
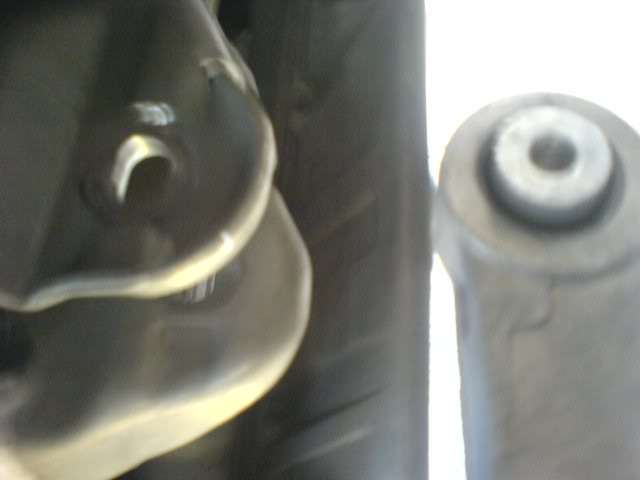
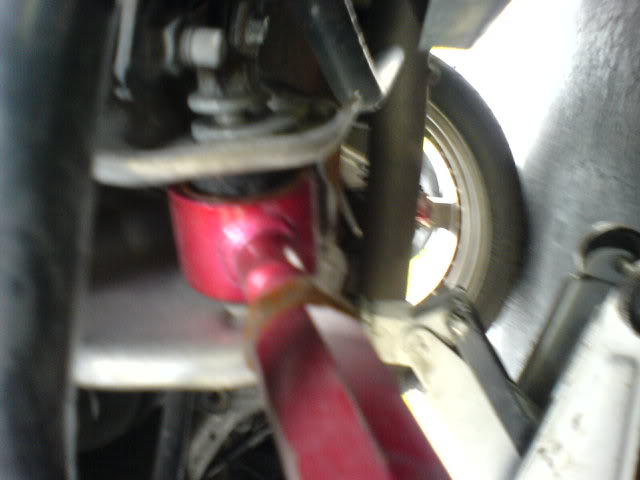
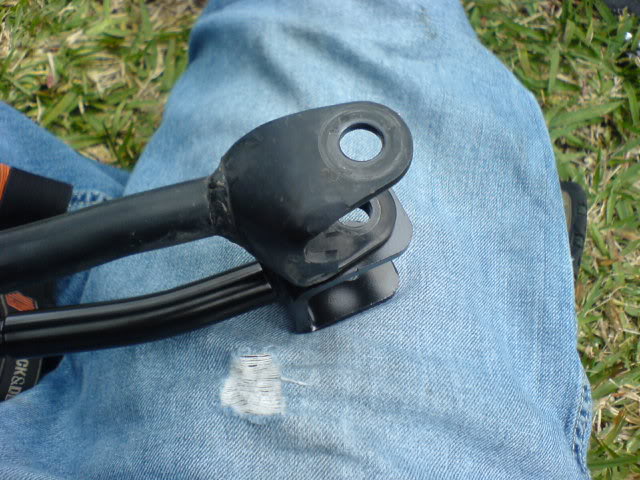
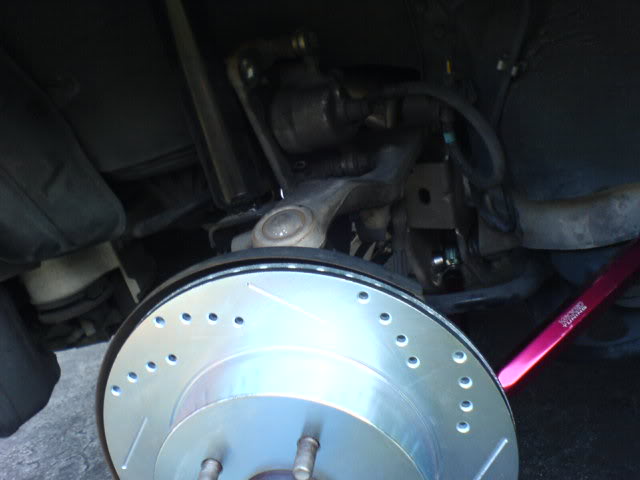
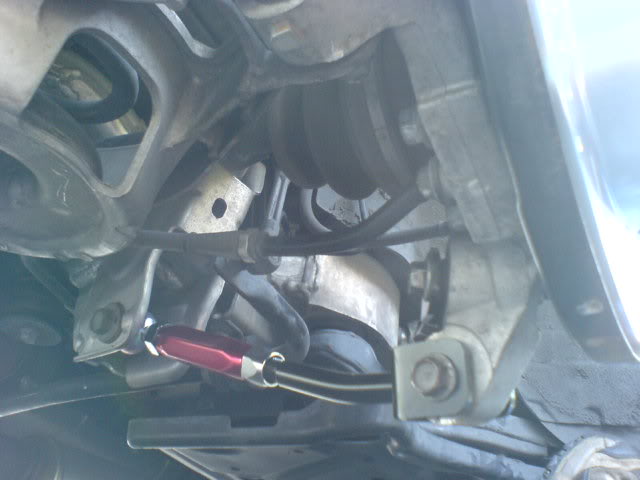
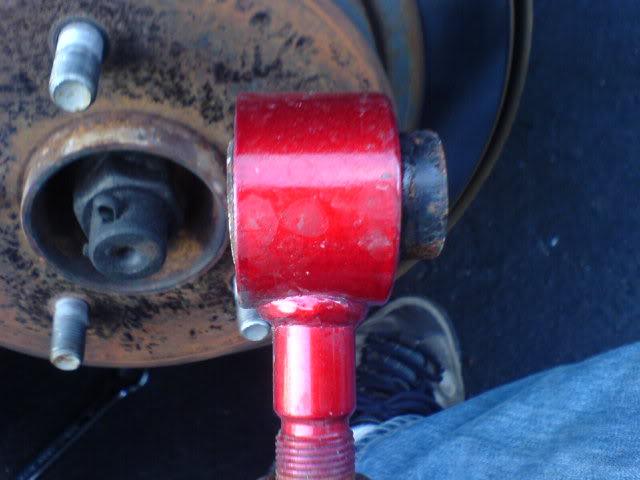
Yes you have to completely disengage the lower control arm you do NOT have to remove it from the spindal. Also if you notice where this spring is setting in. This is the bucket that the coil over will use. If you have the coil over system seperate from the strut. If the coil over system is part of the strut this bucket will be empty. This lower bucket can be replaced with an adjustable arm if you are using a coilover that is part of the strut.
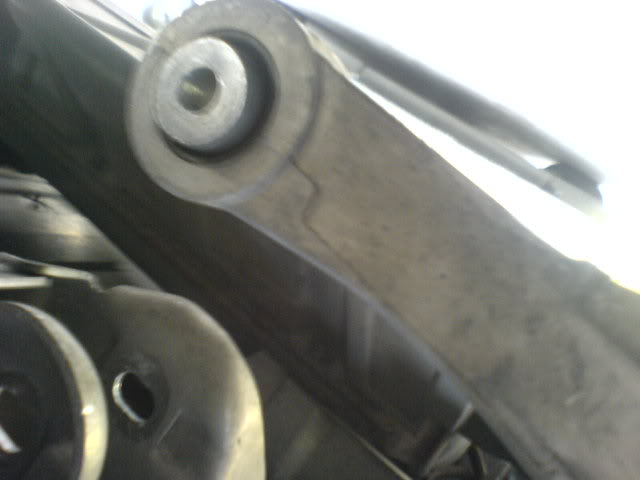
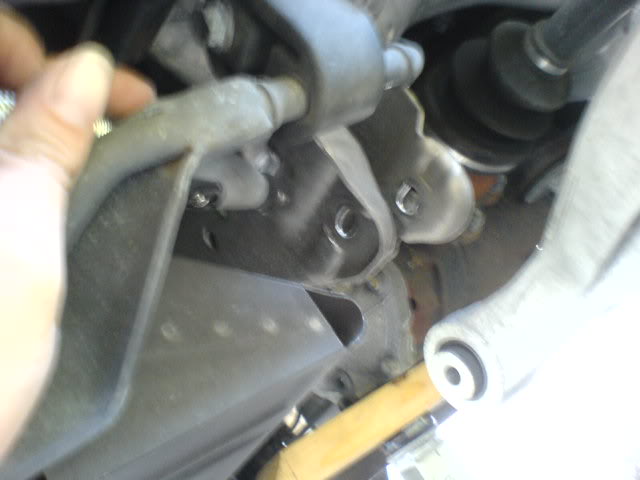
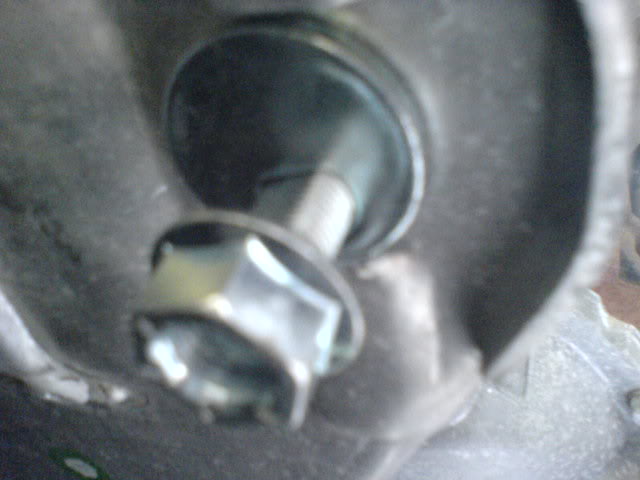
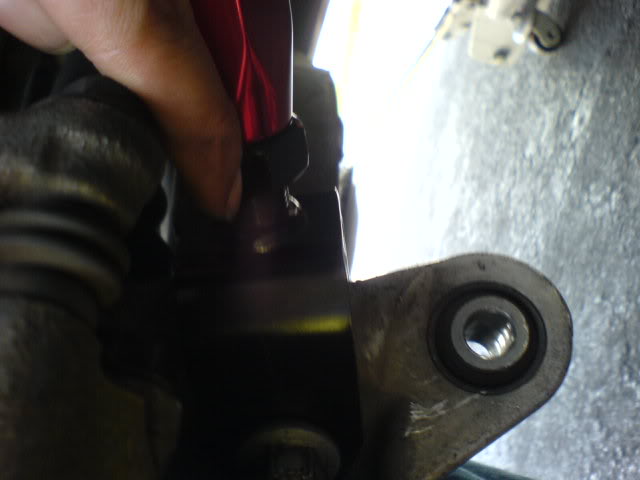
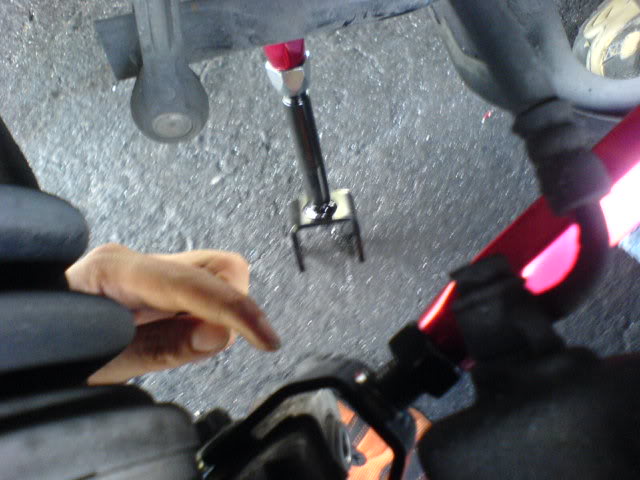
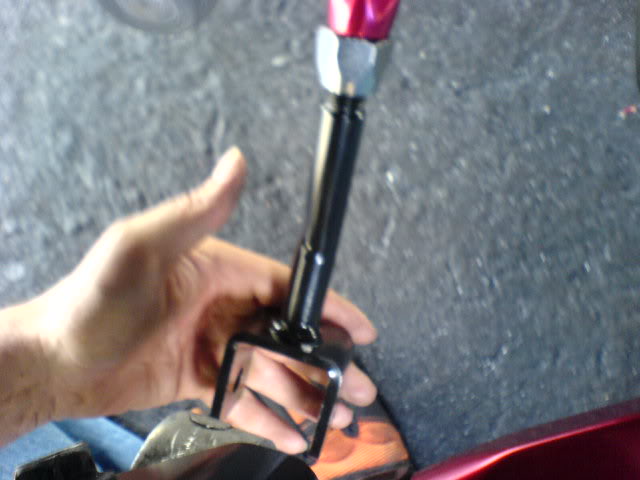
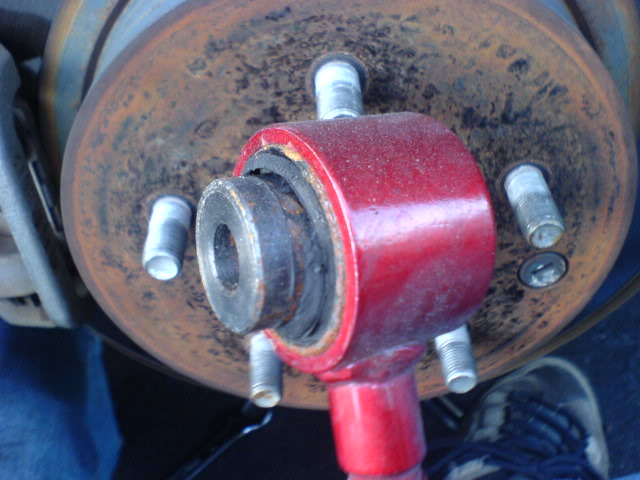
In this picture these are the slots that the toe bolts resides in. These are the ones I elongated I only elongated the back half of the slot (If you were viewing from the back of the car it would be the left side of the slot).
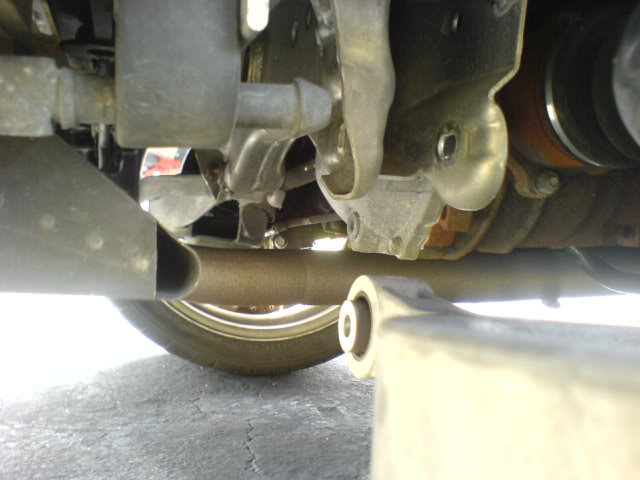
I am using the Dremel with the Flex shaft no exhaust drop and I have stock exhaust aftermarket exhaust does not get in the way.
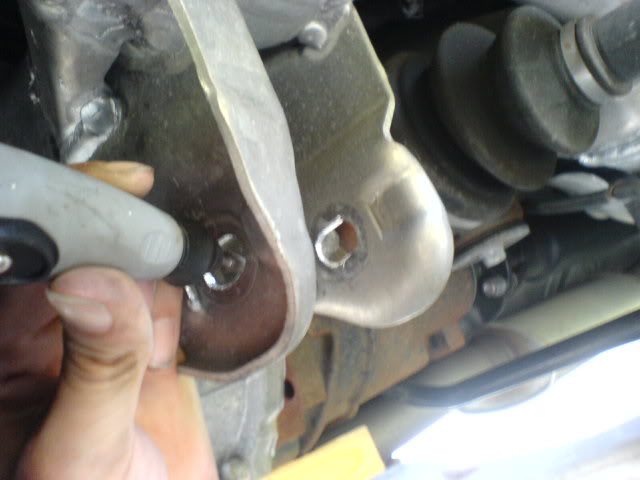
Like I said I just kept cutting away at the material until it made a full cycle in the spot. I did NOT use a template.
In this picture these are the slots that the toe bolts resides in. These are the ones I elongated I only elongated the back half of the slot (If you were viewing from the back of the car it would be the left side of the slot).
I am using the Dremel with the Flex shaft no exhaust drop and I have stock exhaust aftermarket exhaust does not get in the way.
Like I said I just kept cutting away at the material until it made a full cycle in the spot. I did NOT use a template.
Last edited by obex26; Apr 19, 2011 at 11:06 PM.
Joined: Jun 2008
Posts: 200
Likes: 0
From: pemBROKE pines
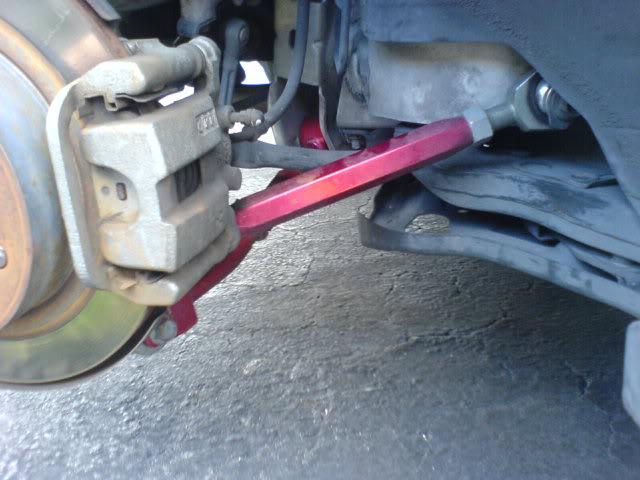
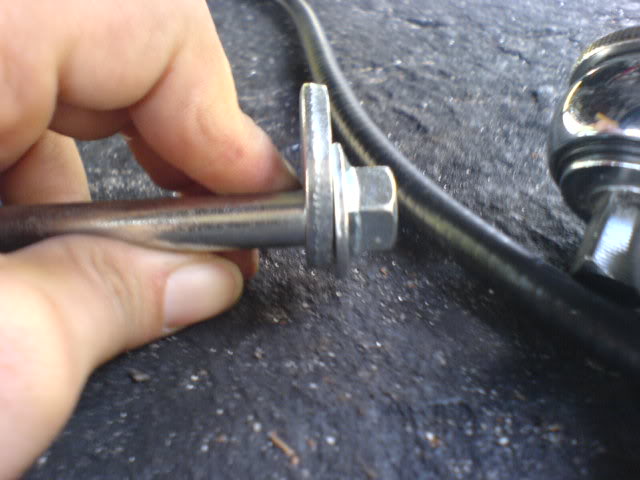
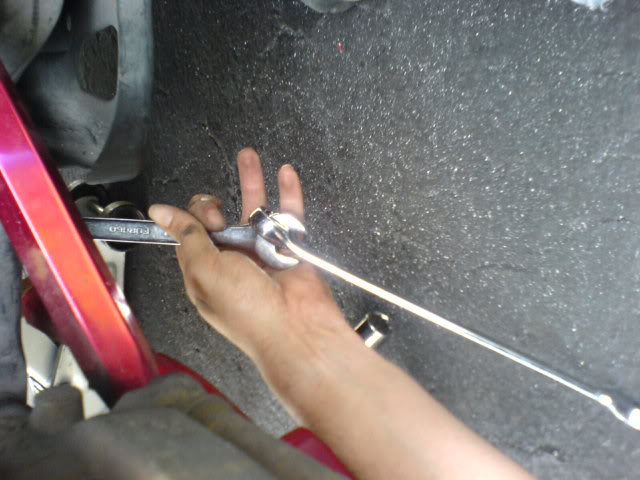
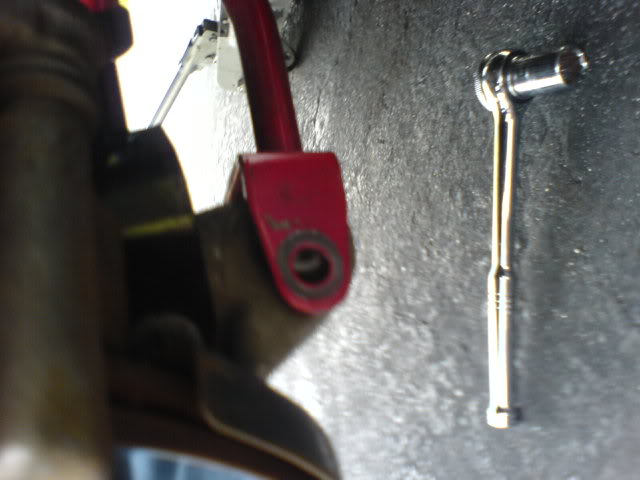
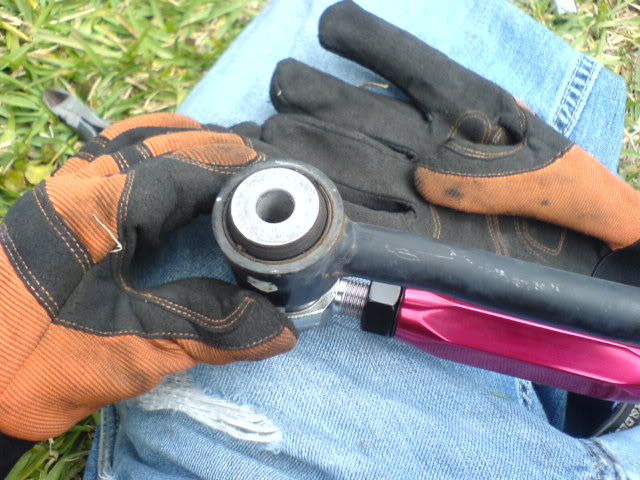
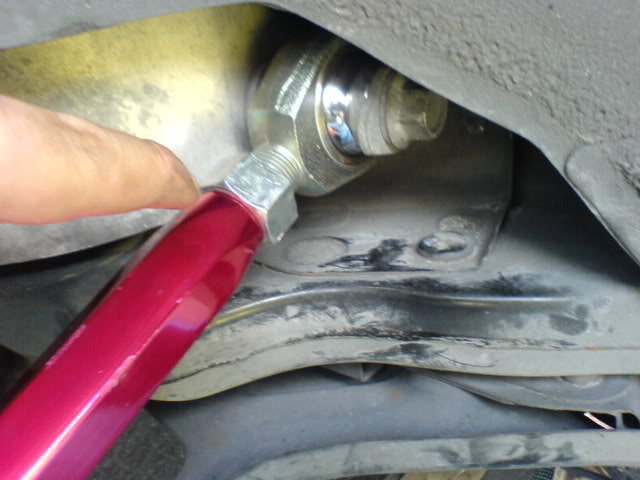
Use two wrenches for leverage when breaking the bolts free on the camber arms.
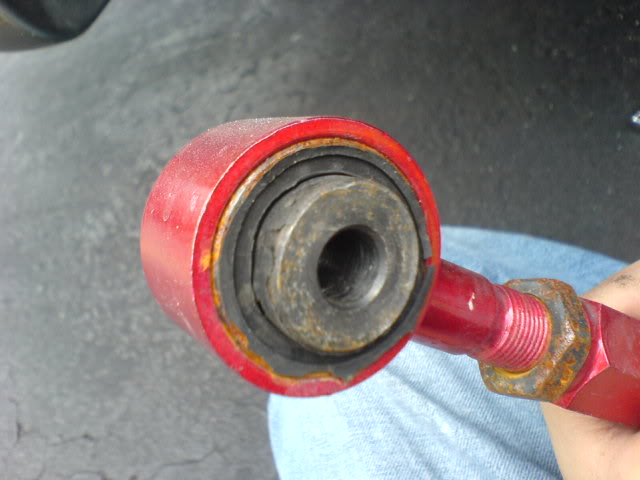
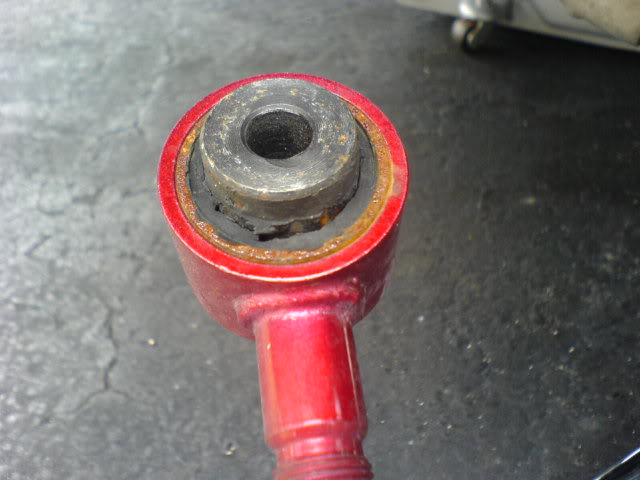
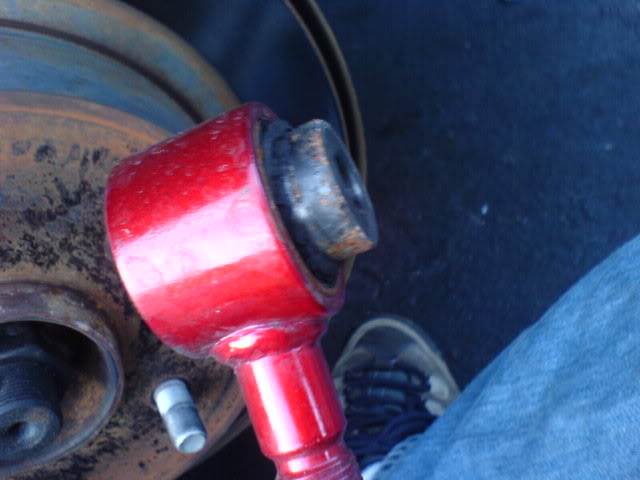
The failed arms.
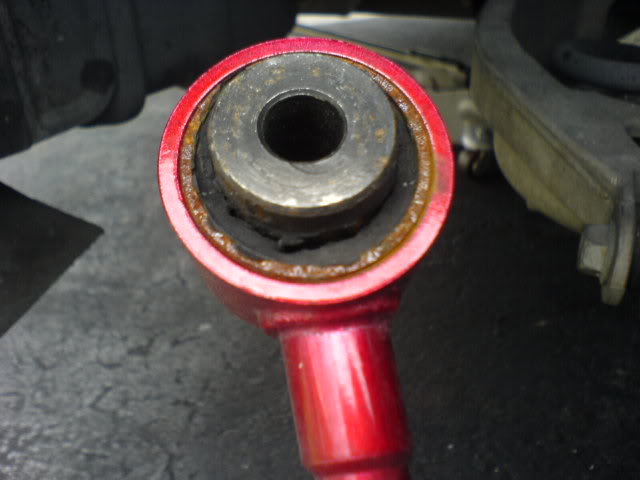
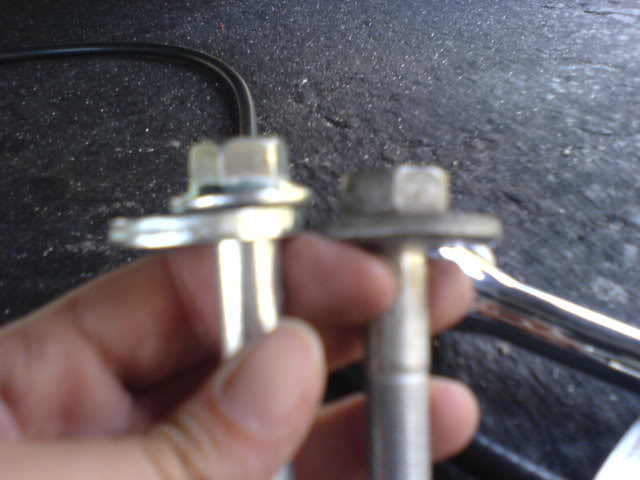
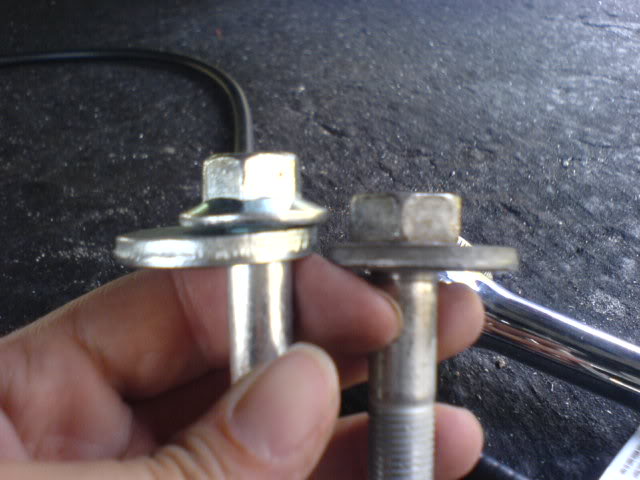
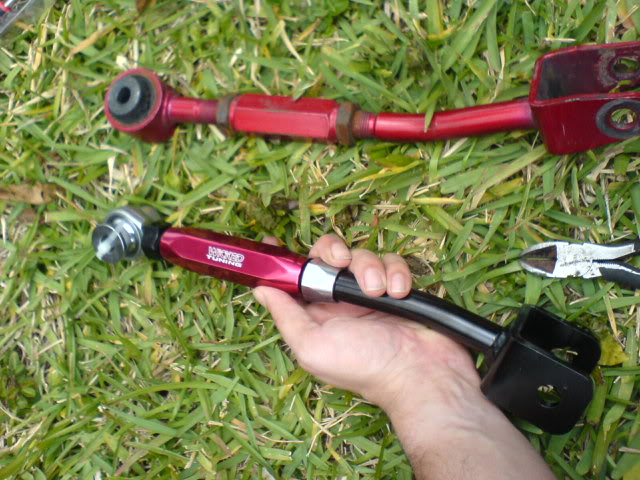
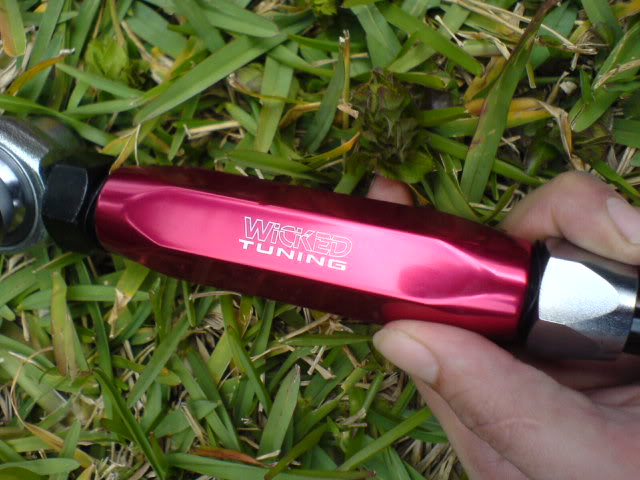
Side by side comparison of new and old. The Wicked Tuning are made of Aluminum way high quality and design and cheaper then Ichiba too.
I used the stock arms to get a rough idea of length for alignment just to get me to the alignment shop. I bought the lifetime alignment at firestone.
The failed arms.
Side by side comparison of new and old. The Wicked Tuning are made of Aluminum way high quality and design and cheaper then Ichiba too.
I used the stock arms to get a rough idea of length for alignment just to get me to the alignment shop. I bought the lifetime alignment at firestone.
Joined: Jun 2008
Posts: 200
Likes: 0
From: pemBROKE pines
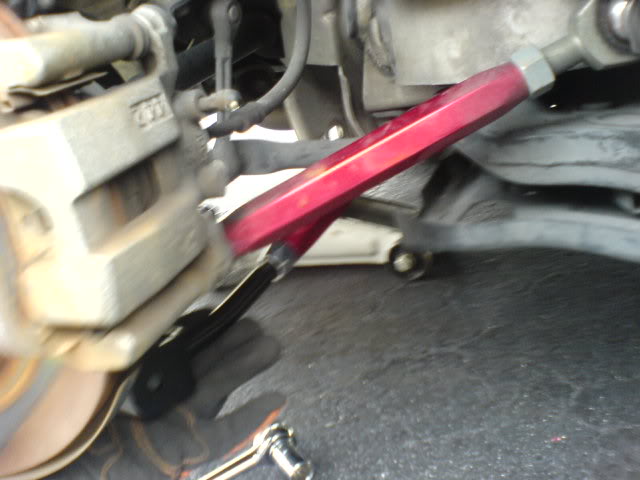
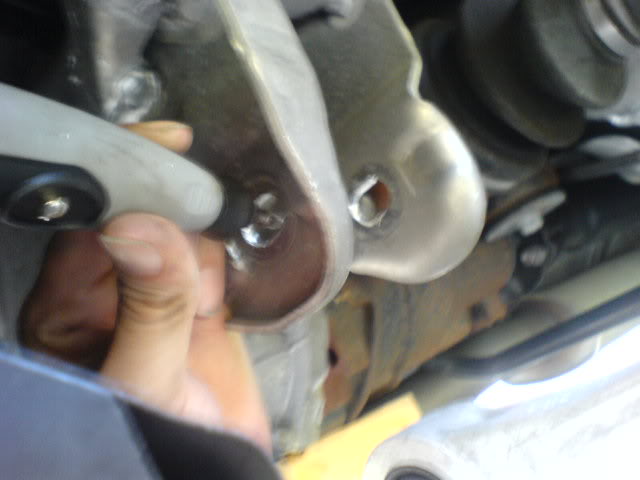
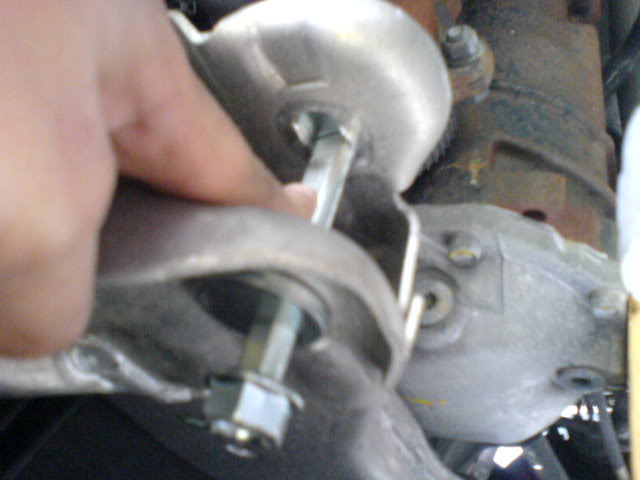
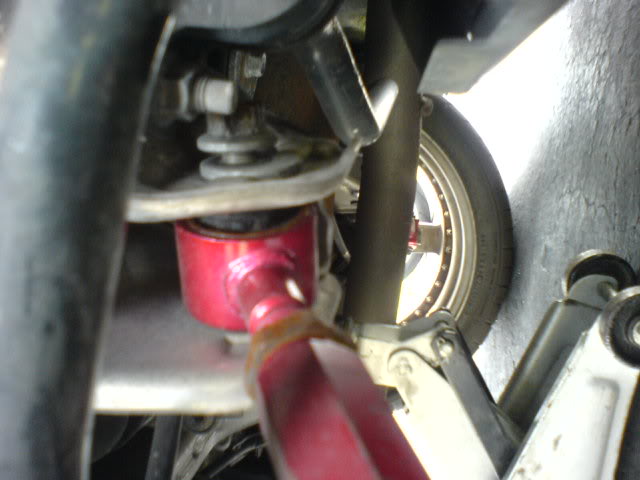
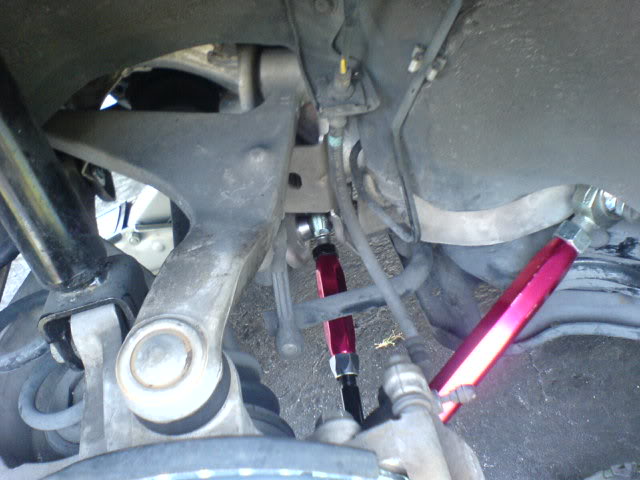
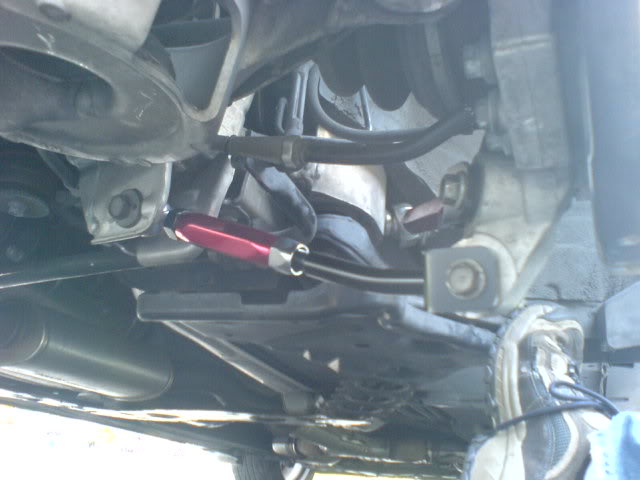
The camber arm is almost in line with the spring bucket. Since the spring bucket is not adjustable itself since it houses a coil that is why there is a toe bolt. That is what allows for the adjustment at that point. The camber arm allows for a second point of adjustment. So if you think in the process of you staring directly at the spindle you can now allow for adjustment that brings the lower portion of the suspension inwards or outwards (positive / negative camber).

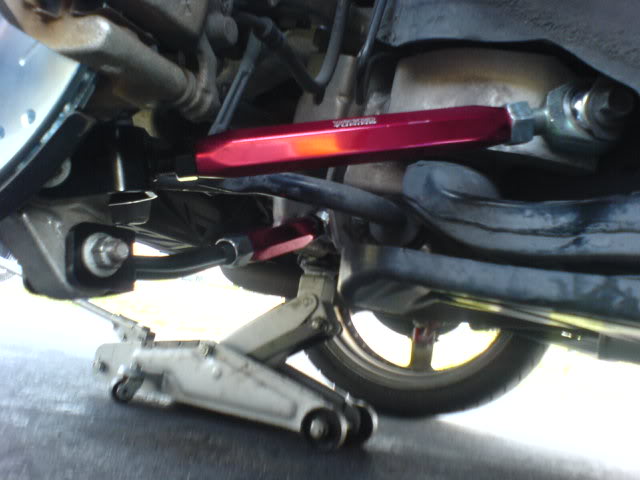
The toe arm allows for adjustment to the left and right. This is where the 3 points of adjustment allow you to pull the lower portion of the suspension inwards. When you pull inward to neutralize camber it also causes toe (left to right) in the case of trying to neutralize the camber it creates a shift towards the rear of the car. Having a second point of toe adjustment helps to recenter the suspension.
Last edited by obex26; Apr 19, 2011 at 11:15 PM.
Joined: Jun 2008
Posts: 200
Likes: 0
From: pemBROKE pines
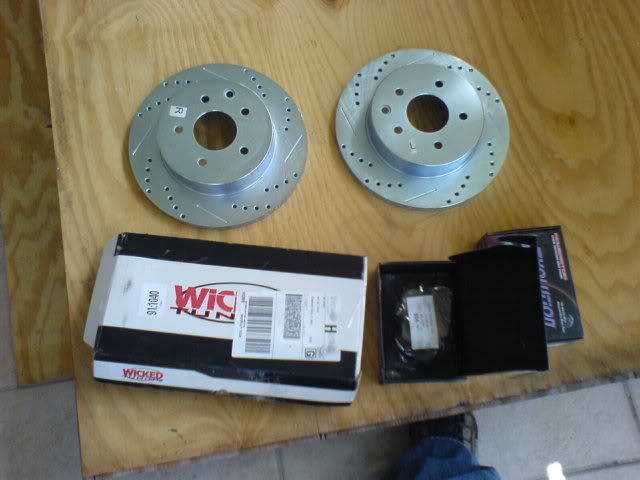
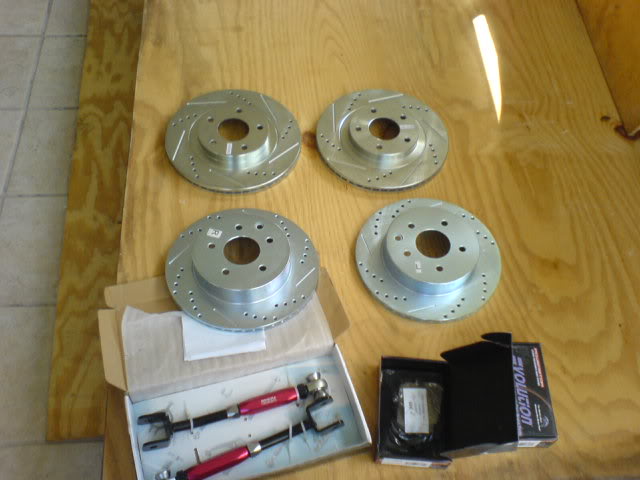
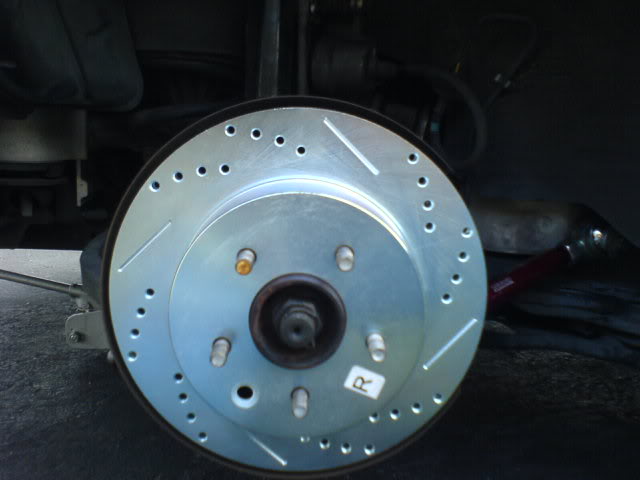
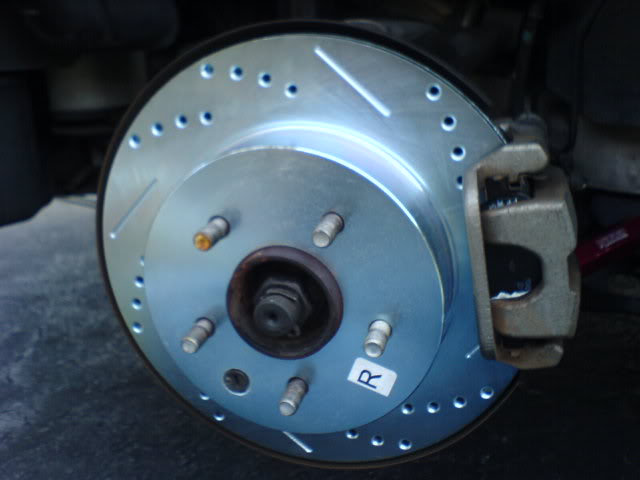
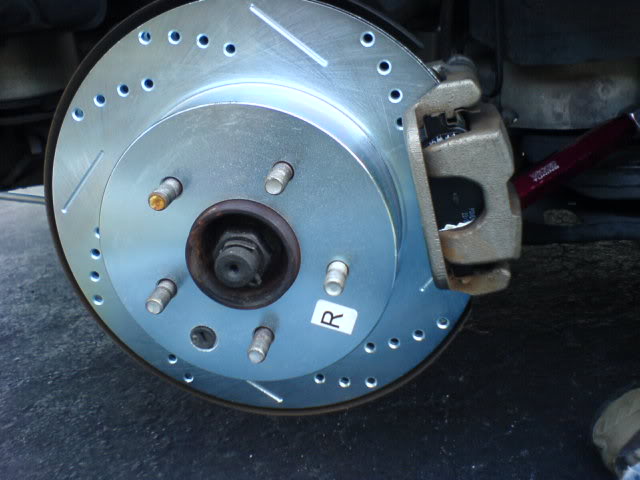
New Brakes...
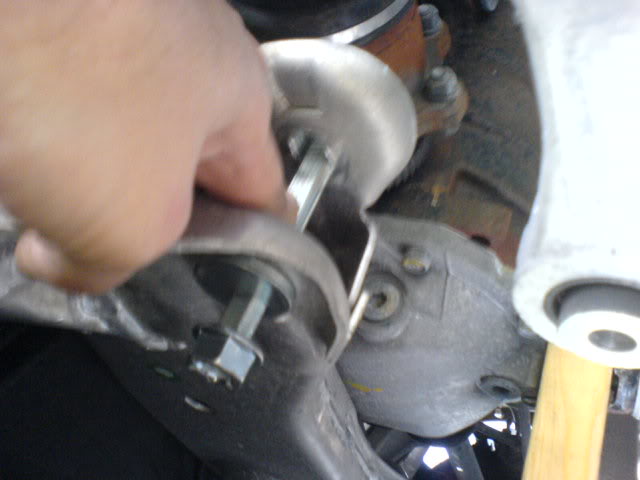
This picture allows for viewing of the spring in the left the camber arm center and the toe on the right. I will also let you know there is potentially a 4th point of adjustment. Its just that no one has designed an arm to tackle this yet. This would allow for even greater adjustment for those cars running with only 1-3 inches of ground clearance. The same goes for the front. Yes they have designed upper control arms I am waiting for someone to assist me with designing lower control arms.

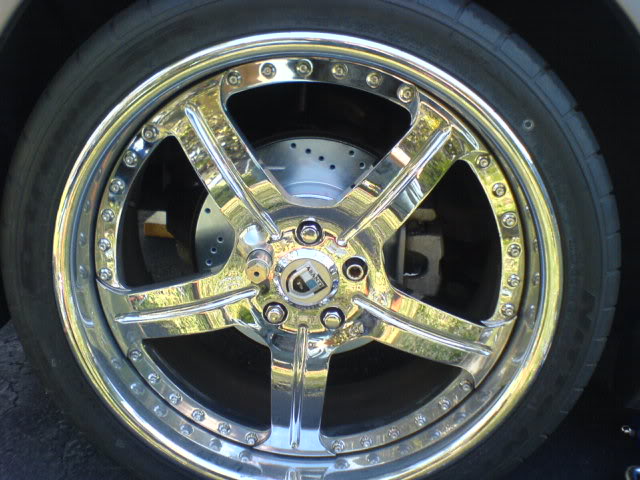
My rear tires are 235 65 R 20 and after having the car aligned it fits well in the space there is no huge gap anymorethe outer diameter of the tire comes in at 27 1/4 inches and the front tires are 245 35 R20 and come in at 26 1/4 inches strange I know but it works for me.
Any questions on specific pictures please ask and I will try to provide more detail but I figure pictures can do alot of talking for themselves.
Failed arms
This picture allows for viewing of the spring in the left the camber arm center and the toe on the right. I will also let you know there is potentially a 4th point of adjustment. Its just that no one has designed an arm to tackle this yet. This would allow for even greater adjustment for those cars running with only 1-3 inches of ground clearance. The same goes for the front. Yes they have designed upper control arms I am waiting for someone to assist me with designing lower control arms.
My rear tires are 235 65 R 20 and after having the car aligned it fits well in the space there is no huge gap anymorethe outer diameter of the tire comes in at 27 1/4 inches and the front tires are 245 35 R20 and come in at 26 1/4 inches strange I know but it works for me.
Any questions on specific pictures please ask and I will try to provide more detail but I figure pictures can do alot of talking for themselves.
Failed arms
Last edited by obex26; Apr 19, 2011 at 11:21 PM.

Dang...link to the ichiba thread. I've got a set sitting in my basement waiting to be put on with my drop. Looking like those may get sold. Also... what toe bolts did you use???
Joined: Jun 2008
Posts: 200
Likes: 0
From: pemBROKE pines
http://my350z.com/forum/brakes-and-s...eck-yours.html
I put it on the 350Z forum I thought I had it on both. (In fact I know I had it on both but I think a Forum sponsor might have made a complaint about destroying business) Well a crappy product deserves exploitation. I think the Ichiba group needs to retool and eliminate the rubber bushing and go with a Heim Joint. Its a simple mod that could correct the camber arm but I am a firm and convinced believer that the rubber bushing with crushed metal sleeve is not a good choice.
I put it on the 350Z forum I thought I had it on both. (In fact I know I had it on both but I think a Forum sponsor might have made a complaint about destroying business) Well a crappy product deserves exploitation. I think the Ichiba group needs to retool and eliminate the rubber bushing and go with a Heim Joint. Its a simple mod that could correct the camber arm but I am a firm and convinced believer that the rubber bushing with crushed metal sleeve is not a good choice.
Trending Topics
Joined: Jun 2008
Posts: 200
Likes: 0
From: pemBROKE pines
Originally Posted by HenryLee
Hey,
I saw your chamber thread. I have SPC fronts and Rears but never did the toe bolts b/c I didnt have a dremel. But Did you dremel only the back portion on the aluminum structure? I have it circled in red in your picture.
Henry

I saw your chamber thread. I have SPC fronts and Rears but never did the toe bolts b/c I didnt have a dremel. But Did you dremel only the back portion on the aluminum structure? I have it circled in red in your picture.
Henry

how much camber do these adjust -3 degrees? also where did you buy the camber and toe arms from and how much? If you don't mine me asking..I need a set but I need some thing that can adjust -3 degrees camber or so.


Joined: Jun 2008
Posts: 200
Likes: 0
From: pemBROKE pines
Hey sorry about the failure to follow up with your past couple of posts.
As for the camber as previously stated I never lowered my car.
I did replace the rear struts and am still sitting on factory springs.
My front a-arms are litterally maxed out on positive. I had debated about opening them up a bit more to see about getting a little more distance but it is not necessary.
The rear arms that I replaced (Ichiba are sh** for rears) Are from wicked tuning. I bought them and the toe arms off of ebay. I did all of the work and repairs and realignment at 56K miles. I just went in for an oil change. I just turned 69K miles this morning.
My review so far. About 4k miles ago I had all four tires unmounted and cross rotated so that I would not wear out the insides of the tires only.
The front tires look as if they are maybe a couple weeks old. Front tires are Achilies 245 35R20's The treadwear rating is a 400 I swear its as if there was zero wear since installing the front arms. The rear tires are Nitto 555 265 35R20 and I will say If I am lucky I have about 4-6K miles left on them thanks in part to my bipolar right foot. If it were not for me I would bet they would look like the front tires as for wear.
All four tires have worn evenly across I went I think mid Februray back to Firestone to have them align the car again. I purchased a lifetime alignment and I feed the alignment guy lunch. Only one corner passenger front was out of wack I had ran over a edge of a curb thankfully on the tire and not rim going about 5 MPH so it knocked it out of wack a bit. Other then that I have not been back between 56K to 69K for any alignment issues. Overall specs were only in the .00 range for adjustment all around.
If I were to do it again. The rear camber arms and toe arms from wicked tuning rank very high on my list mainly due to the heim style joints instead of rubber bushing. And I would probably go with the front A- arms Green Goblin did on his current rebuild.
If you looked at my car the rear stance appears to look as if it is about 3/4 to an inch lower but I am sitting on factory coils and struts. I will probably be replacing the rear tires with Achilies brand because the tread wear is 400 and the Nitto 555 are only 300. I can not tell you how close the specifications would be if your car is lowered but if your only goal is to eliminate tire wear and not slam it to the ground. I am very satisfied with my investments this far. I can say handling is all around the same response I am not a drifter or a track type person but I know performance has not been impeeded in any way or fashion.
I am still at a serious debate for doing an air ride suspension. I do know the downfall would be guaranteed tire wear but its the choices I shall make.
Hope this helps.

Im about to install my front and rear Megan camber kit, where the Ichiba failed to help prevent that from happening im coating the rubber inserts with polyshore 80, ill make a write up asap because this prolongs the life of these kits, nice write up bro!