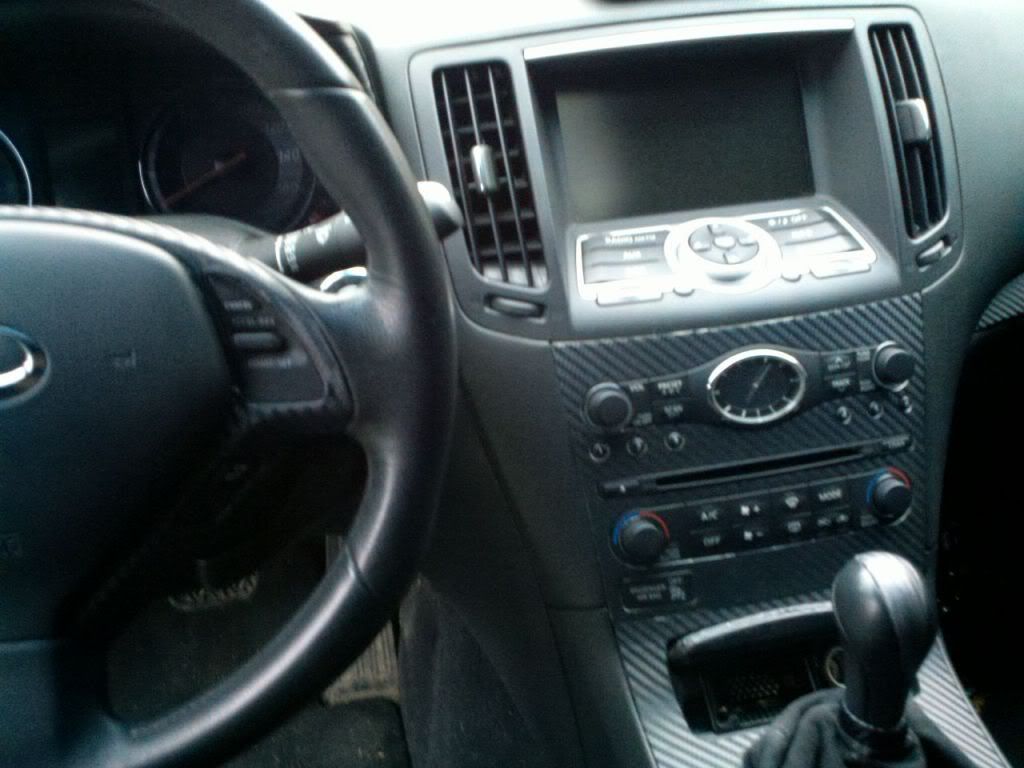
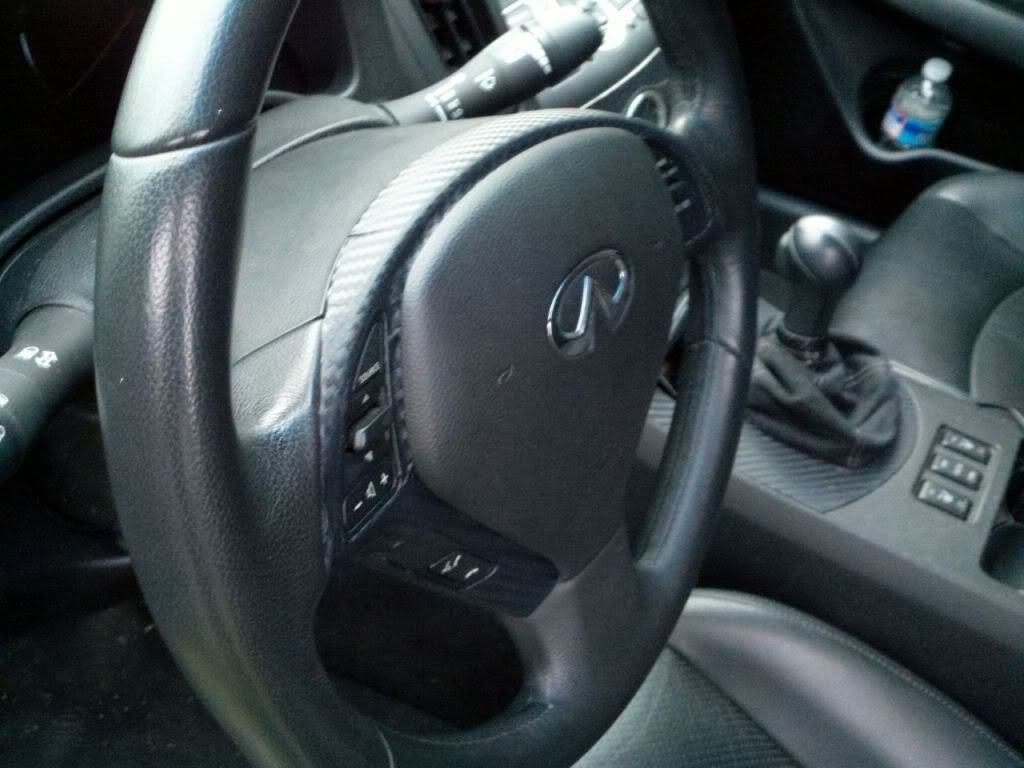
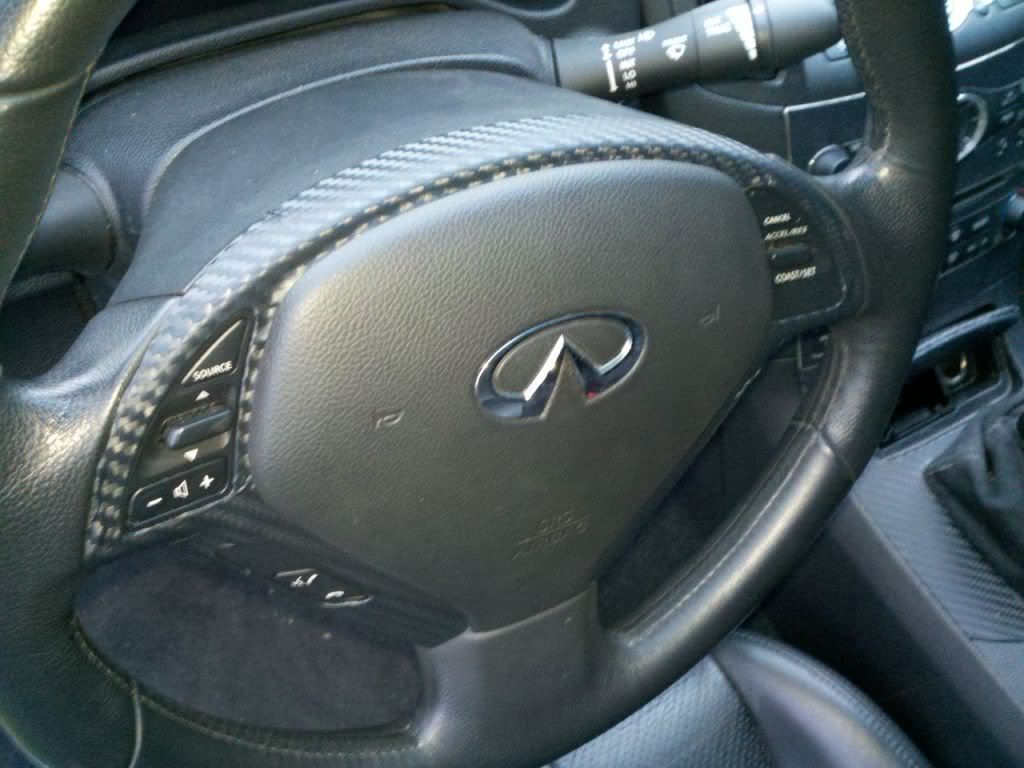
CF wrap interior trim
#76
^ there is a DIY for the paddles install in the DIY section where it also shows how to remove the entire steering wheel which is required to remove the trim piece... once you have the steering wheel off there are a few tiny screw on the back that hold the trim piece in place, take those off and your done
#77
Joined: Mar 2011
Posts: 1,600
Likes: 66
From: Pittsburgh
i just wrapped my steering wheel a couple days ago...looks great but i accidentally put the steering wheel back off center haha im like steering left to go straight lol but yeah just like kool yaar said, i used the paddle shifter DIY to get the steering wheel off, then switched over to the steering wheel trim removal DIY i think on myg37, but you dont really need that its only a few screws here and there
#80
^ there is a DIY for the paddles install in the DIY section where it also shows how to remove the entire steering wheel which is required to remove the trim piece... once you have the steering wheel off there are a few tiny screw on the back that hold the trim piece in place, take those off and your done
i just wrapped my steering wheel a couple days ago...looks great but i accidentally put the steering wheel back off center haha im like steering left to go straight lol but yeah just like kool yaar said, i used the paddle shifter DIY to get the steering wheel off, then switched over to the steering wheel trim removal DIY i think on myg37, but you dont really need that its only a few screws here and there
#81
i just wrapped my steering wheel a couple days ago...looks great but i accidentally put the steering wheel back off center haha im like steering left to go straight lol but yeah just like kool yaar said, i used the paddle shifter DIY to get the steering wheel off, then switched over to the steering wheel trim removal DIY i think on myg37, but you dont really need that its only a few screws here and there
#82
Joined: Mar 2011
Posts: 1,600
Likes: 66
From: Pittsburgh
The dealership did the same to my wheel when they fixed the chipping paint issue. It was pointed at like 2 o'clock when driving straight, god that was annoying. They moved it over the other way, but moved it just a little too far. Now its sitting at like 11 o'clock...still annoying.
#84
ok I got some of my stuff wrapped up today! This is the 3M 1080 black CF scotch print.
Gotta say what a time consuming process! Not easy at all if you want to make it look really nice! When you use a heat gun it really helps in the corners. The tape is flexible but to an extent. The deep concave parts like the little trash holder in the windows buttons trim is very hard to tape!!!
I still want to clear coat them to make it more durable and more shiny, will try getting it done on Monday hopefully if I get a chance.
Well here are some of my pics of what I got done today.
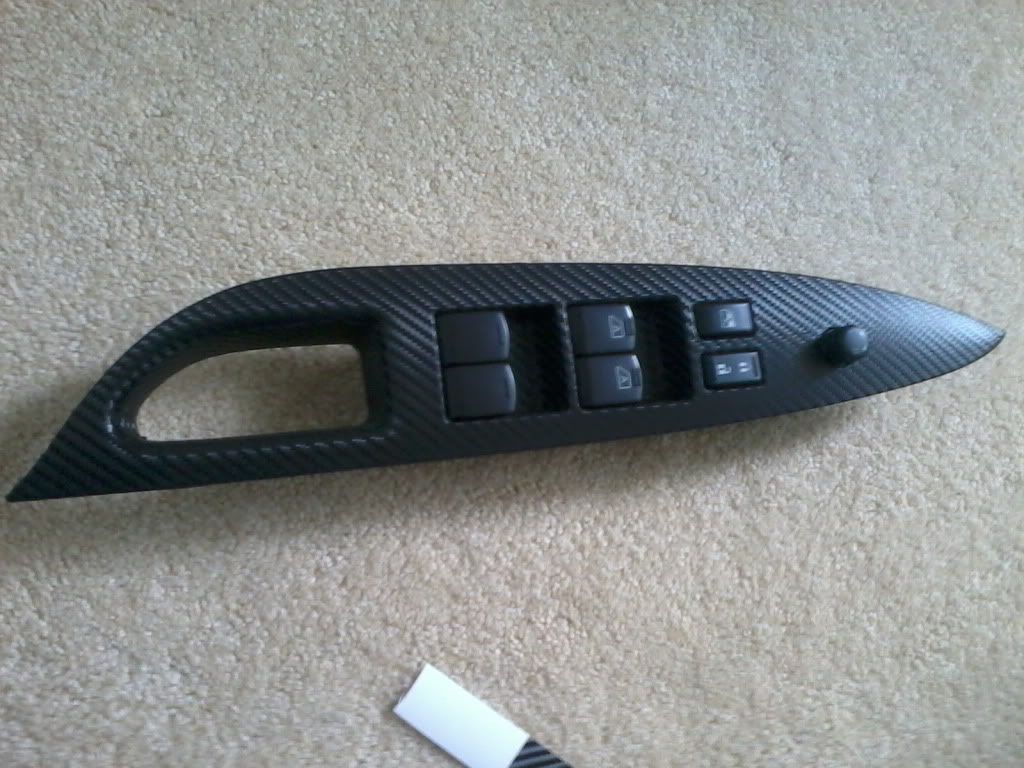
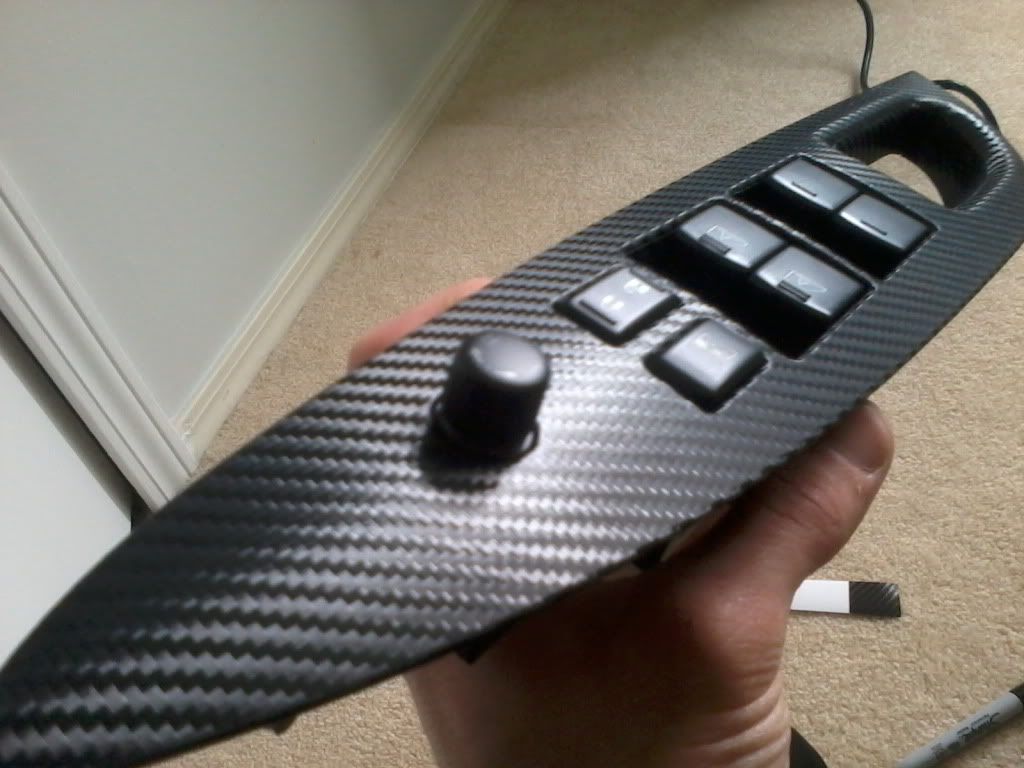
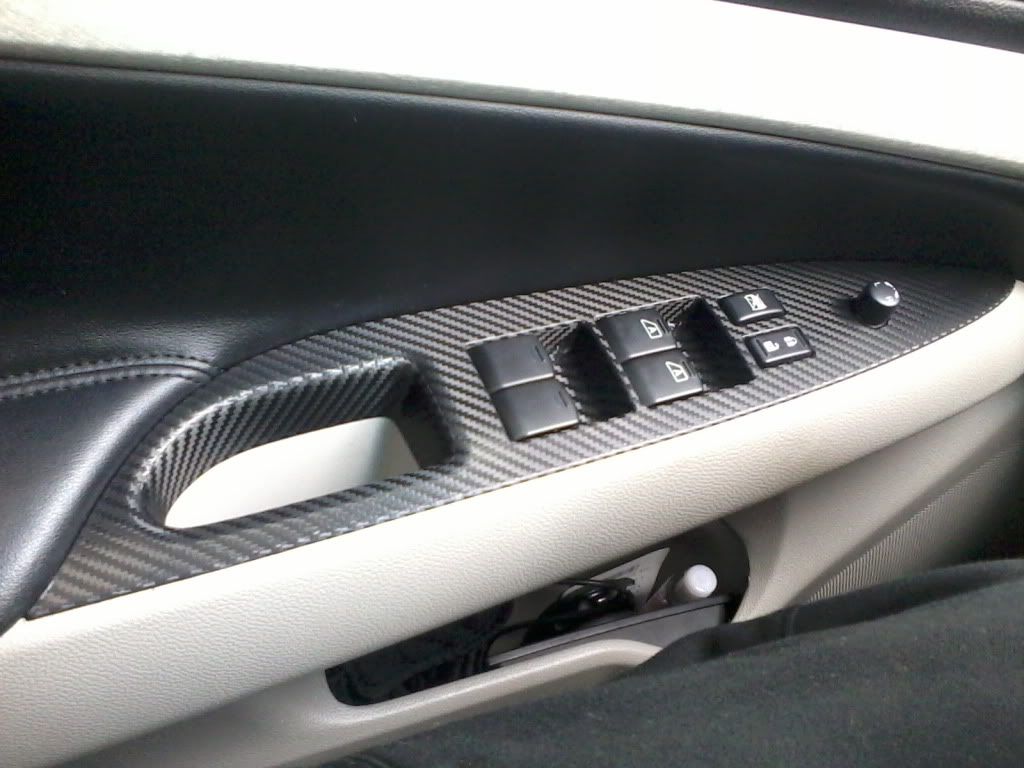
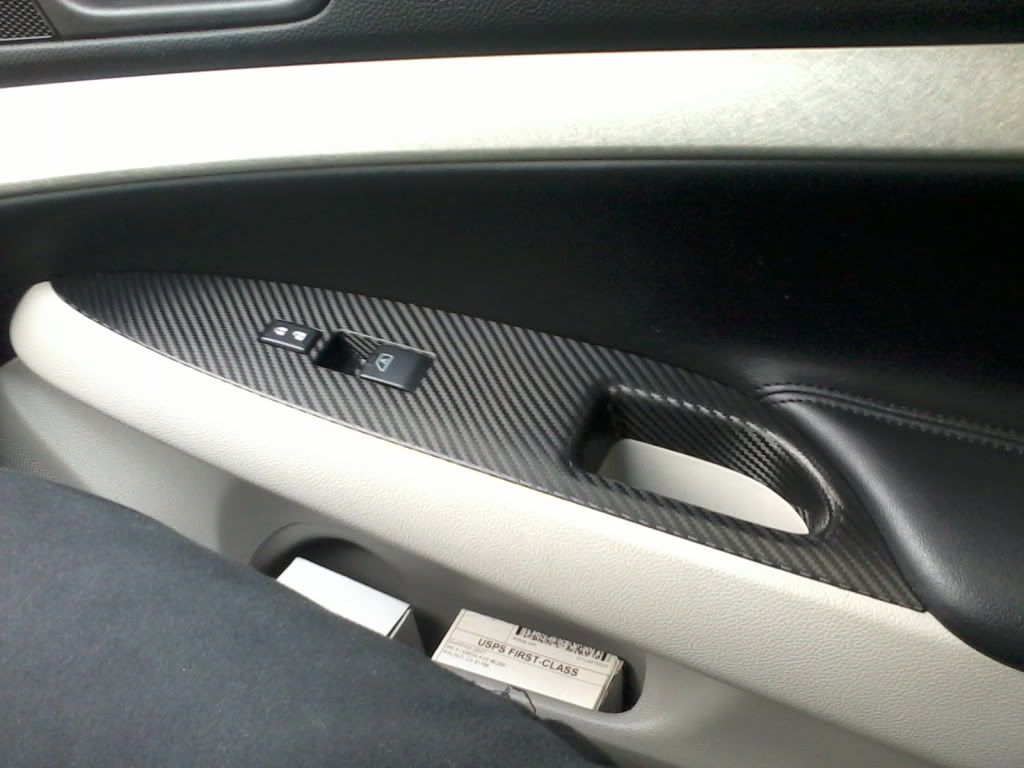
will take more pics of the dash in the car during day cause it got dark outside.
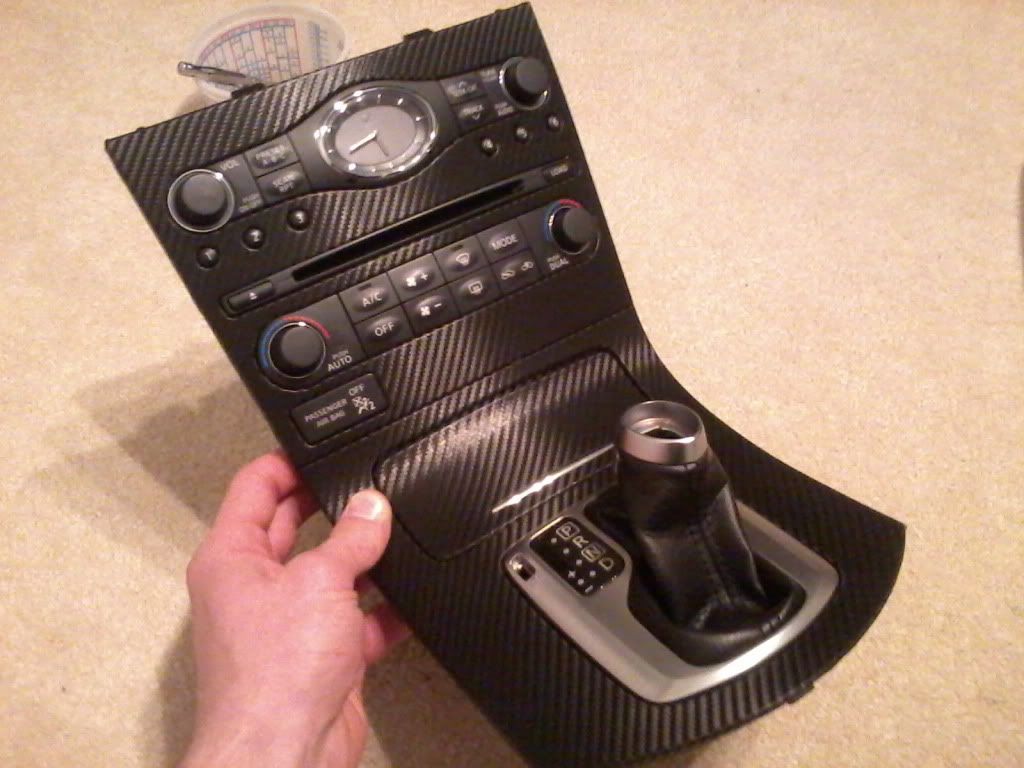
Gotta say what a time consuming process! Not easy at all if you want to make it look really nice! When you use a heat gun it really helps in the corners. The tape is flexible but to an extent. The deep concave parts like the little trash holder in the windows buttons trim is very hard to tape!!!
I still want to clear coat them to make it more durable and more shiny, will try getting it done on Monday hopefully if I get a chance.
Well here are some of my pics of what I got done today.


will take more pics of the dash in the car during day cause it got dark outside.

Last edited by Shurik355; 04-01-2012 at 12:50 AM.
#85
Also have anyone used this CF film stuff??? The Carbon 2 CF film already cleared glossy by DecalFX.com ???? I wonder how good is it compare to 3m film. I like it how glossy it is, no need to clear coat it.
http://www.decalfx.com/carbon_2_sheets.html
http://www.decalfx.com/carbon_2_sheets.html
#86
Joined: Mar 2011
Posts: 1,600
Likes: 66
From: Pittsburgh
#87
wow yeahh the steering wheel is a must for me as well especially because there is pealing going on there. I see your is a little wrinkely on the left side of the buttons where the volume is up and down. But still looks nice!!!
BTW those window buttons is PITA!!! not easy! I don't think there's a chance of getting the whole thing with just one continuous film. I had to cut and continue on some curves. But if you get it right it's hard to see that seam there. I had to redo my driver trash holder twice. messed it up and got it wrinkly the 1st time.
BTW what are you using? Di-NOC or 1080???
#88
Joined: Mar 2011
Posts: 1,600
Likes: 66
From: Pittsburgh
wow yeahh the steering wheel is a must for me as well especially because there is pealing going on there. I see your is a little wrinkely on the left side of the buttons where the volume is up and down. But still looks nice!!!
BTW those window buttons is PITA!!! not easy! I don't think there's a chance of getting the whole thing with just one continuous film. I had to cut and continue on some curves. But if you get it right it's hard to see that seam there. I had to redo my driver trash holder twice. messed it up and got it wrinkly the 1st time.
BTW what are you using? Di-NOC or 1080???
BTW those window buttons is PITA!!! not easy! I don't think there's a chance of getting the whole thing with just one continuous film. I had to cut and continue on some curves. But if you get it right it's hard to see that seam there. I had to redo my driver trash holder twice. messed it up and got it wrinkly the 1st time.
BTW what are you using? Di-NOC or 1080???
i think i used dinoc, i kinda wanted it to be more subtle so i got the less shiny of the two
#89
Hey I wanna see pictures in day light without the flash! Flash kinda takes away the true look how the pieces look!
I already ordered my 1080 CF 3M! gonna do the same thing, because I always wanted to just never had enough motivation lol.
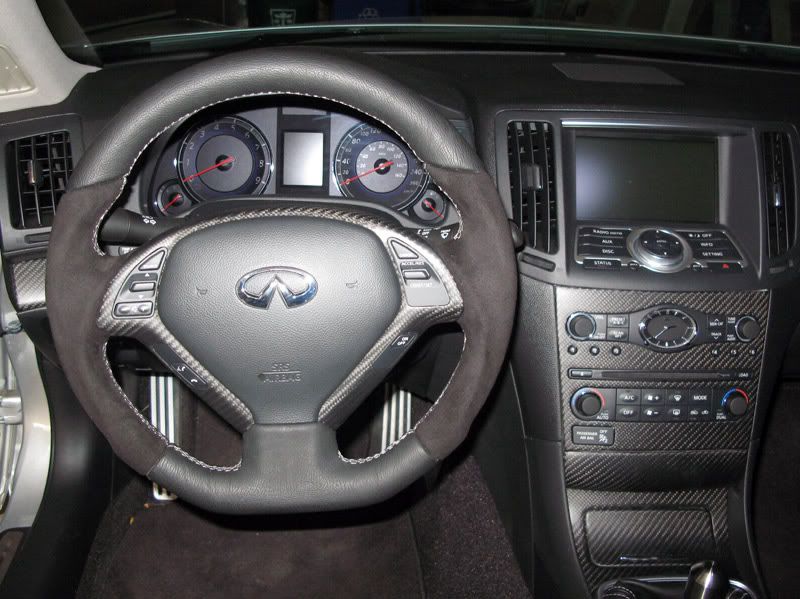
This picture was my 1st motivation to do the CF interior.
I wonder if 3M 1080 has the same glossy finish as the pic above or little less? If not I might end up clear coating my CF pieces.

#90
Thread
Thread Starter
Forum
Replies
Last Post


