
New Carbon Wrapping Project


Thumbscrews attach it.
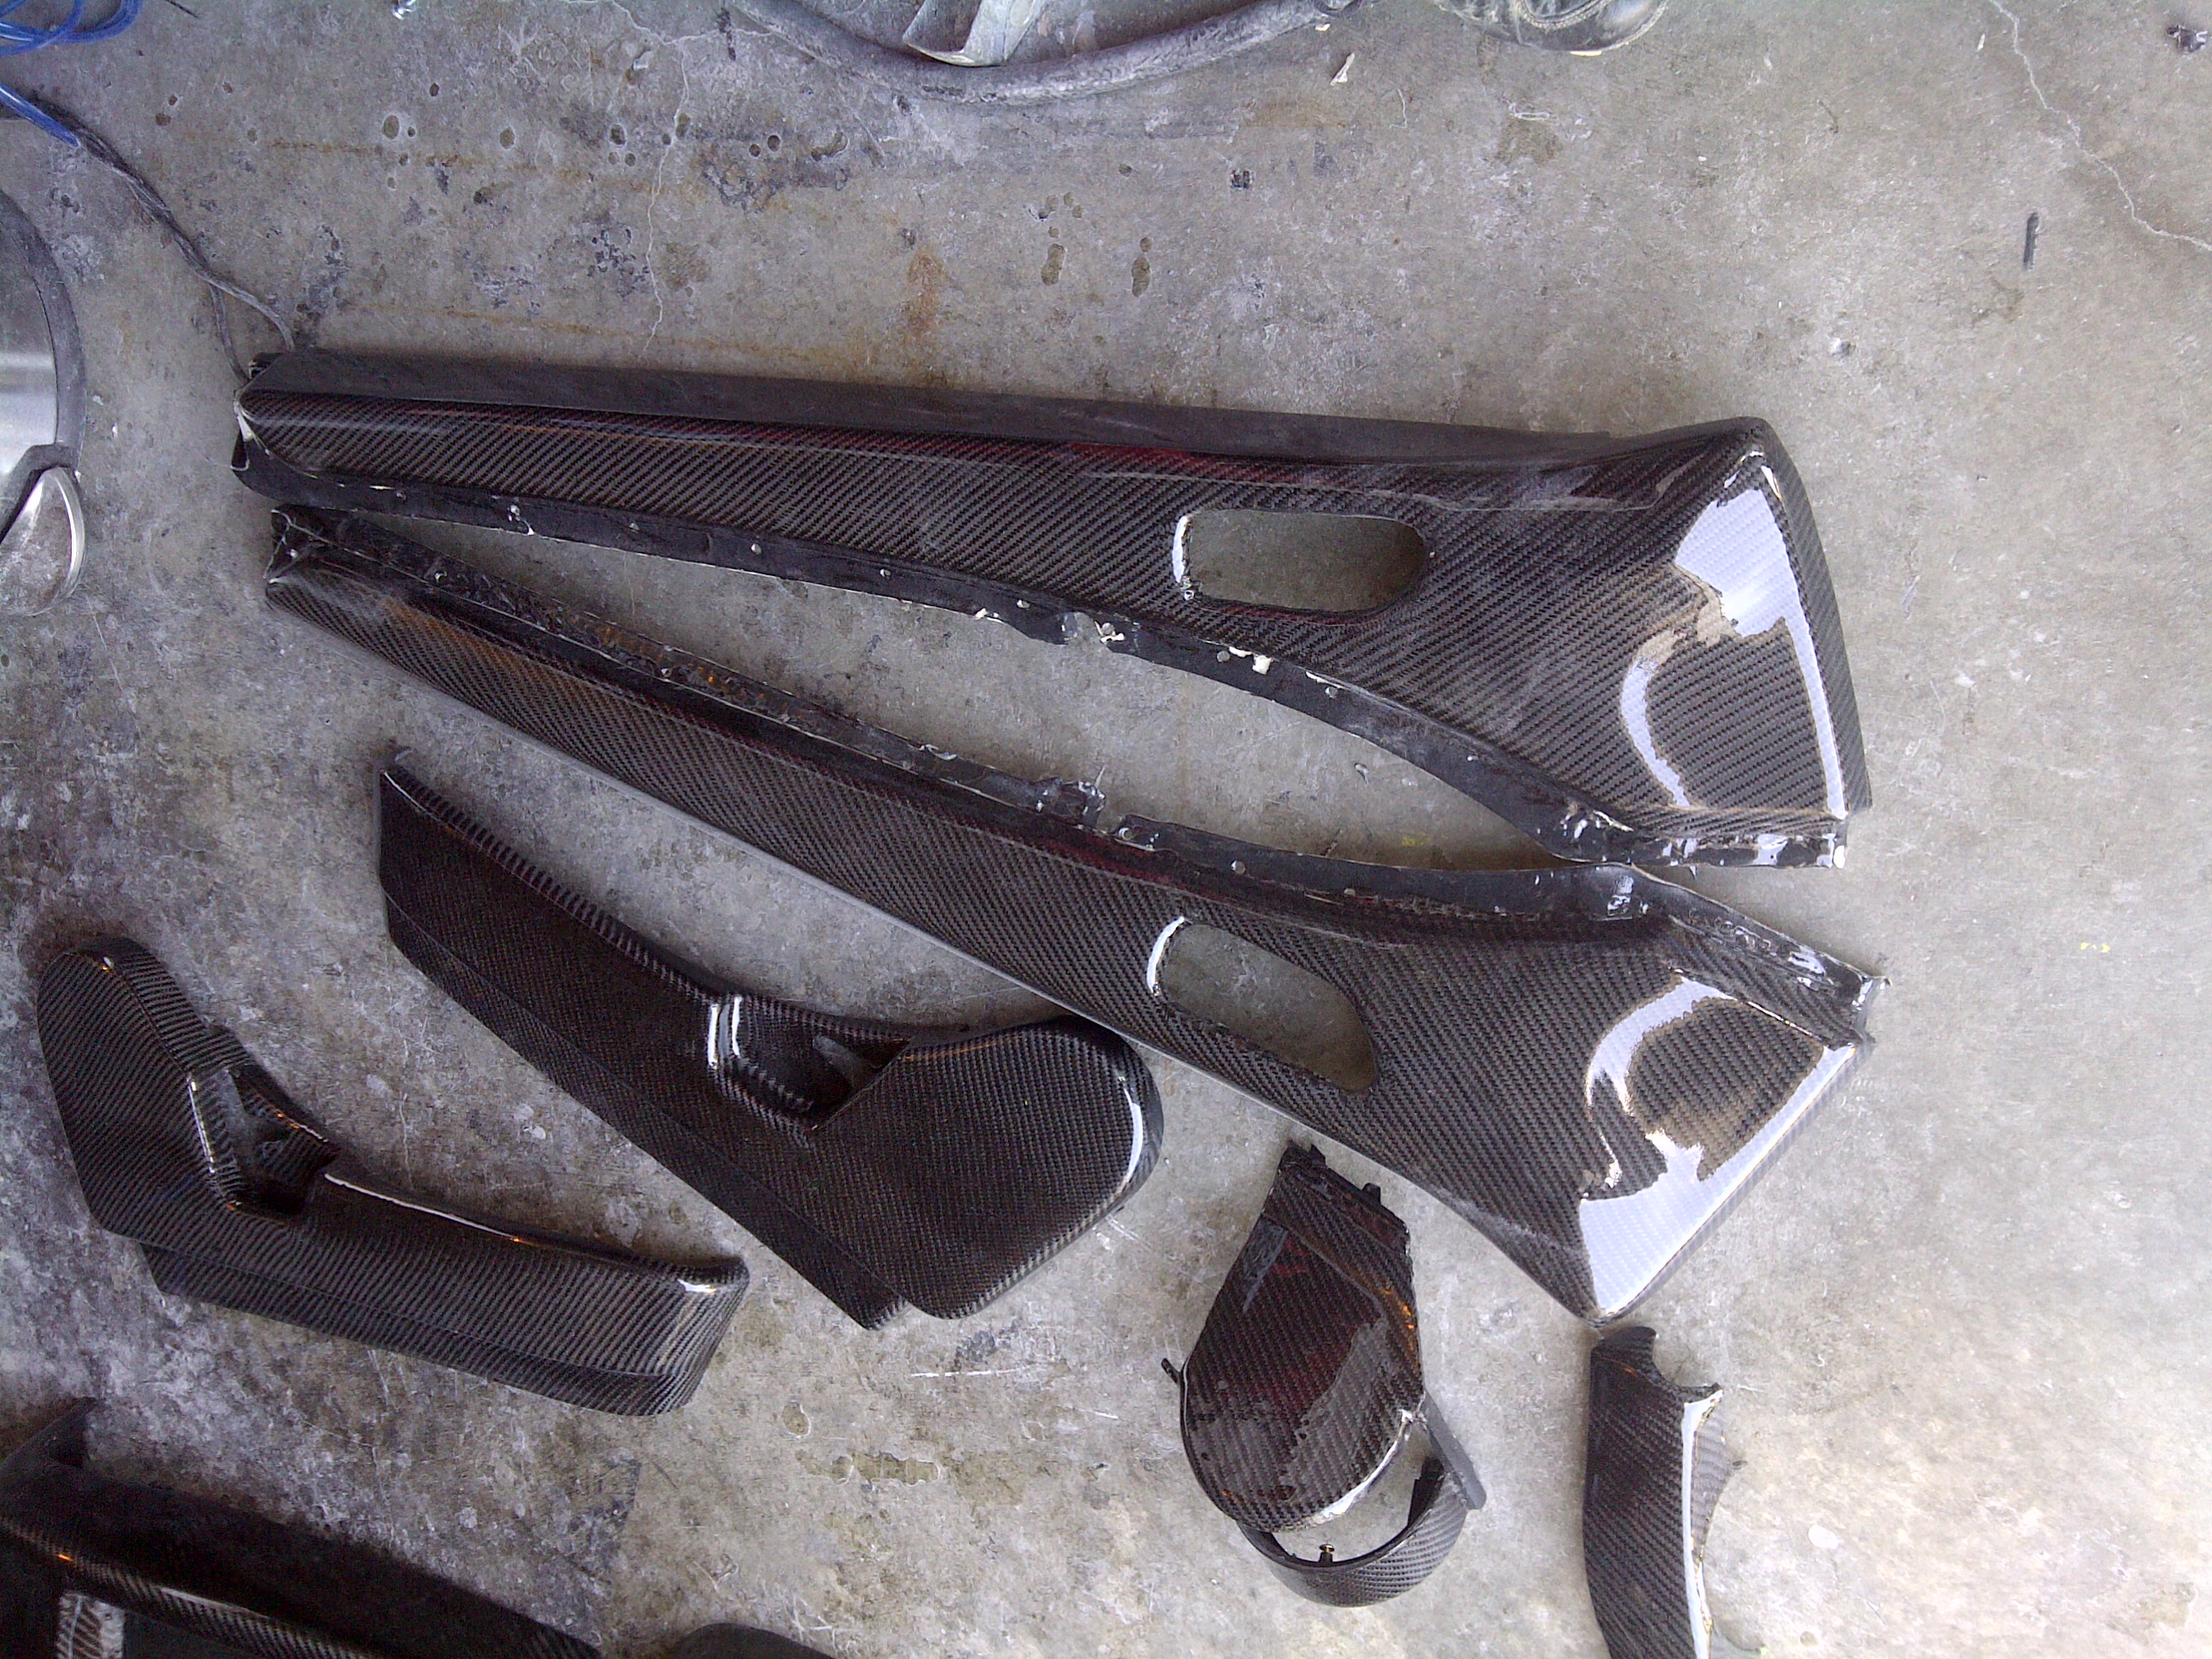
And after re-assembly. Handles were completed, but not installed yet in the picture below.


The resin and sanding is pretty straight forward. I used SystemThree's SB-112 (Surf-board) resin applied in thin coats and lightly heated with a heat gun at low speed after each application. Light sanding with 120 (1st coat), 180 grit (2nd and 3rd coats) and 240 after 4th coat. More complex pieces require additional coats. I final sanded to 320 and then finally 400 grit as it was the best for adhesion of the clear coat. I used commercial DuPont Snap dry clear coat (have to look up that code). Dispensed through a HVLP gravity spray gun.
Final sanding of the clear coat was wet sanding (dry sanding for resin, wet sanding for clear coat) at 1500 then 2000 and then power buffing using a mid-cut and then finishing polish.
The reason i didn't mention the application of the cloth is because its the most critical step and the one that most people have difficulty mastering... Too many little tricks to fully explain... Precut the cloth with maybe an inch to spare (I usually cut squares or rectangles and further cut once applied; not a good idea for novices.) and I use 1/4" green automotive tape to outline where I'm cutting. Cut the cloth down teh middle of the tape to leave both side with tape so it won't unweave itself.... I prep the surface by sanding and chemical agents to remove any finish and polish, dirt, oil, etc on the part.... prime black.
When applying first coat make sure to brush on with a nice layer over the part. You will embed (lay) the cloth into this resin.... Once the part is covered in resin slowly place the cloth onto the part. do not press down at this point...position the cloth as you'd like it to lay and once in rough position take a sponge roller (like those used for painting) and roll the cloth into the resin. The entire surface of the cloth should be a dark colour and be wetted... dry spots will appear lighter..... Make sure the cloth is layed tight to all surfaces.... Use your hands (I recommend buying blue nitrile gloves for the resining) to gently smooth and press down the cloth without leaving impressions...Find a way to suspend the part so it won't touch any surface with the freshly resined cloth. You can trim excess cloth away if you chose at this point (I do if it's impacting the cloth adhering to the part; otherwise I leave till later)..... once happy with the cloth, put aside for 4.5 hrs.... This is a critical step... At 4.5hrs (mid-way through the curing process), you will trim off the excess cloth and trim away any openings/cutouts and switch holes, etc... At 4.5 hrs the resin is hard enough to handle without gloves although I always do use gloves) and the cloth is quite easy to cut and make any final adjustments to the edges and the way the cloth lays..... Trim, use green tape to secure any spots that wierd angles, etc and let dry.... Once dry, lightly sand, and start your coats of resin...
Enjoy. Hope this was helpful
Good luck
Bill

Thanks!!!!! Wish you would still do it... Sell me your parts??? hahaha I have some pieces done that look like SHIZ, but they were my beginners... I decided to do it myself. Should have some work done in a few months and your advice is SOLID!!!!


Thread
Thread Starter
Forum
Replies
Last Post

