
DIY - Painting Your Headlights


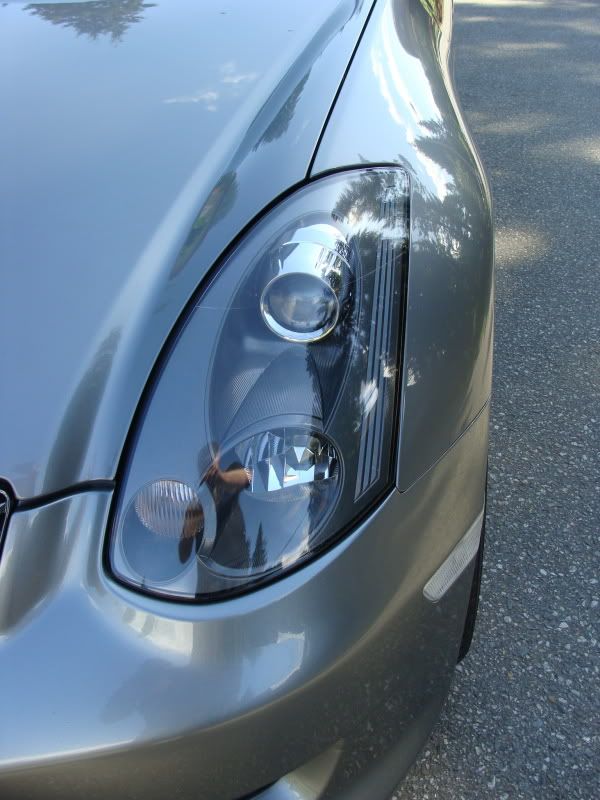
just did my buddy's headlights color matched to his car which is pretty close to gunmetal
DSC00194.jpg?t=1274657607


Registered User
Joined: Feb 2008
Posts: 63
Likes: 0
I just pryed an extra set of the same headlights apart, i was considering leaving the little tray in the middle the silver colour and painting the rest black. But now i may just reconsider and copy your style :P
something to think about before i paint tomorrow..
yea there's a few different ways to do it, I wasn't the first one to leave the projector part chrome, a lot of other guys did it first. But I think I was the first guy who did this though, these are my headlights by the way


Registered User
Joined: Feb 2008
Posts: 63
Likes: 0
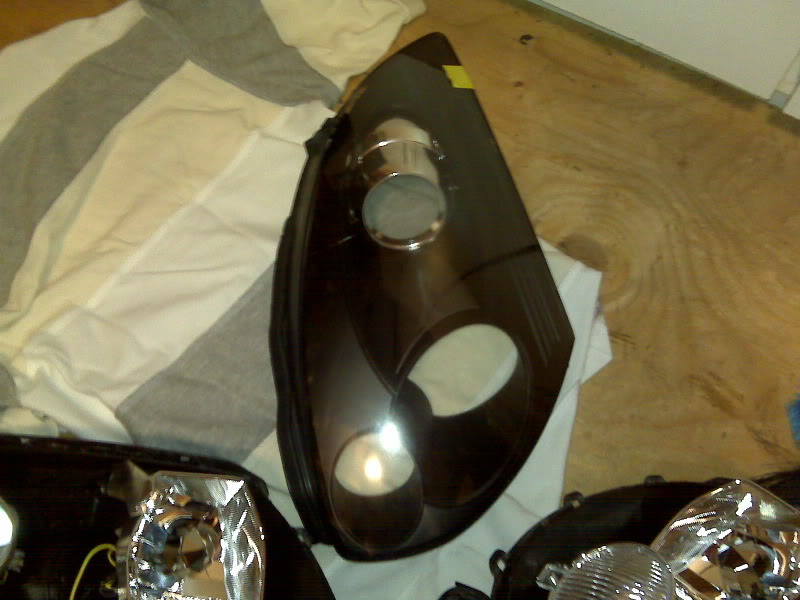

here's a quick of the final paint job, still have to assemble them tomorrow
I left the projector housing chrome and also left that little triangle thing the same stock gunmetal colour.
Now i need some help.... how did you guys secure the painted headlight cover to the plastic housing? That stupid clip broke on both sides when i was taking them apart, i tried superglue but it didn't hold. Any ideas?


Registered User
Joined: Apr 2010
Posts: 12
Likes: 1
From: Niagara Falls Ontario
I'm getting ready to take my lights apart to clear out the orange plastic turn signal. I was just wondering if you have to put a clear diffuser type thing where the orange one used to be? I have the chrome finished orange bulbs and would be happy leaving the space around the bulb chrome (if thats what color it is behind the orange diffuser). Anyone have any ideas?
Joined: Jun 2003
Posts: 14,505
Likes: 451
From: NorCal
^If I'm understanding your question, you will definately want to put something in place of the orange lense after you cut/sand it out. Most people use a piece of fluorescent light fixture cover. When you paint the bezels, leave the inside of the turn signal bezel alone (chrome), it will help with reflecting the light more.
^ +1
It will also hide the imperfections from cutting the orange out. If you leave it with no lens it will look stupid, be a yellow bulb and people will laugh at you.
It will also hide the imperfections from cutting the orange out. If you leave it with no lens it will look stupid, be a yellow bulb and people will laugh at you.
Registered User
Joined: Apr 2010
Posts: 12
Likes: 1
From: Niagara Falls Ontario
Thanks guys, I was just wondering what it actually looked like under the orange plastic. If the edge the orange lens is glued to isn't chrome as well maybe I could sand down the imperfection to look like a black plastic ring or something. If it doesn't look right then I will be covering it with the clear plastic fluorescent light covers (cut to the right shape) just like everyone else.

Registered User
Joined: Jun 2010
Posts: 43
Likes: 0
Just checking Back before I do mine. Has anyone had problems with the paint flaking or distorting after long usages? or paint particles transferring to the bulb and causing failure?
And where can I get clear turn indicator lens with amber bulb behind?
And where can I get clear turn indicator lens with amber bulb behind?