~TunerMax's RF Controlled Colour Changing LED Project~ PIC HEAVY
#16
 01-17-2012, 01:06 AM


Good work man. I love good personalization like this. Can't wait to see it all finished.
One thing: it looks like hairs got into your clock (lint?) as well as some dust? I know when I split my headlights I had frickin cat hairs in one side on the lense. I should have used a quick blast of air from my compressor or a computer duster can. I will have to take it apart again this summer to correct my error.
Just my .02
#17
01-17-2012, 01:13 AM
Good work man. I love good personalization like this. Can't wait to see it all finished.
One thing: it looks like hairs got into your clock (lint?) as well as some dust? I know when I split my headlights I had frickin cat hairs in one side on the lense. I should have used a quick blast of air from my compressor or a computer duster can. I will have to take it apart again this summer to correct my error.
Just my .02
One thing: it looks like hairs got into your clock (lint?) as well as some dust? I know when I split my headlights I had frickin cat hairs in one side on the lense. I should have used a quick blast of air from my compressor or a computer duster can. I will have to take it apart again this summer to correct my error.
Just my .02
Last edited by TunerMax; 04-14-2013 at 04:37 PM.
#18
01-18-2012, 07:25 PM
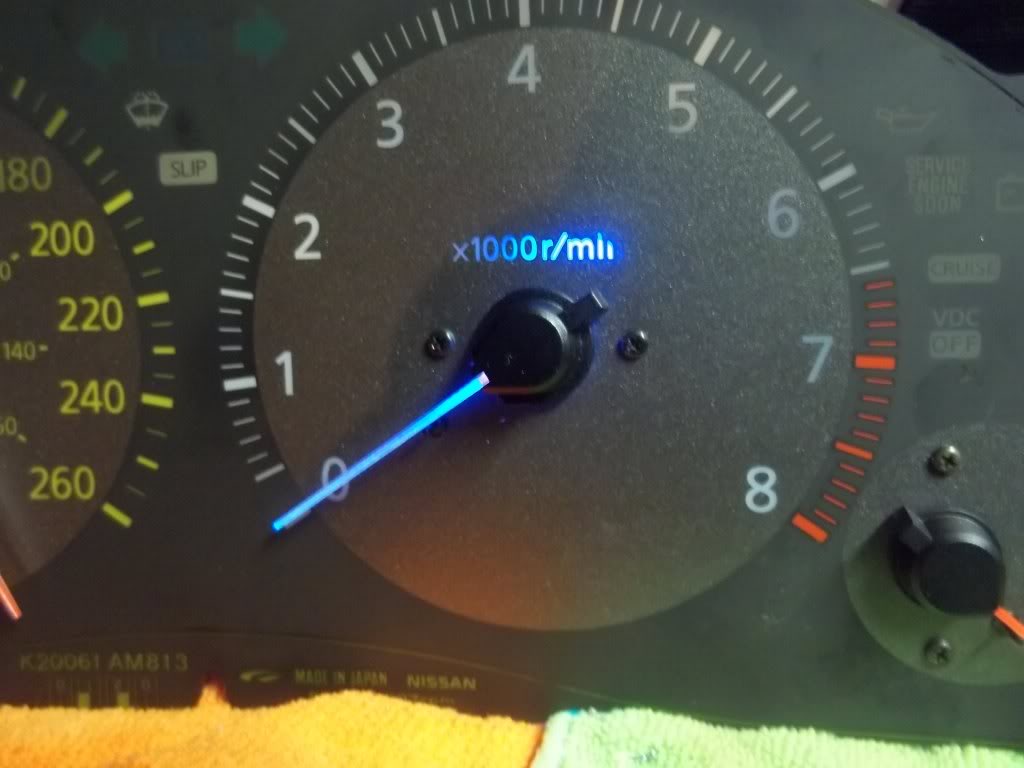
Needle Illumination Testing cont.
Abandoned the inner LED ring idea for illuminating the needles more:
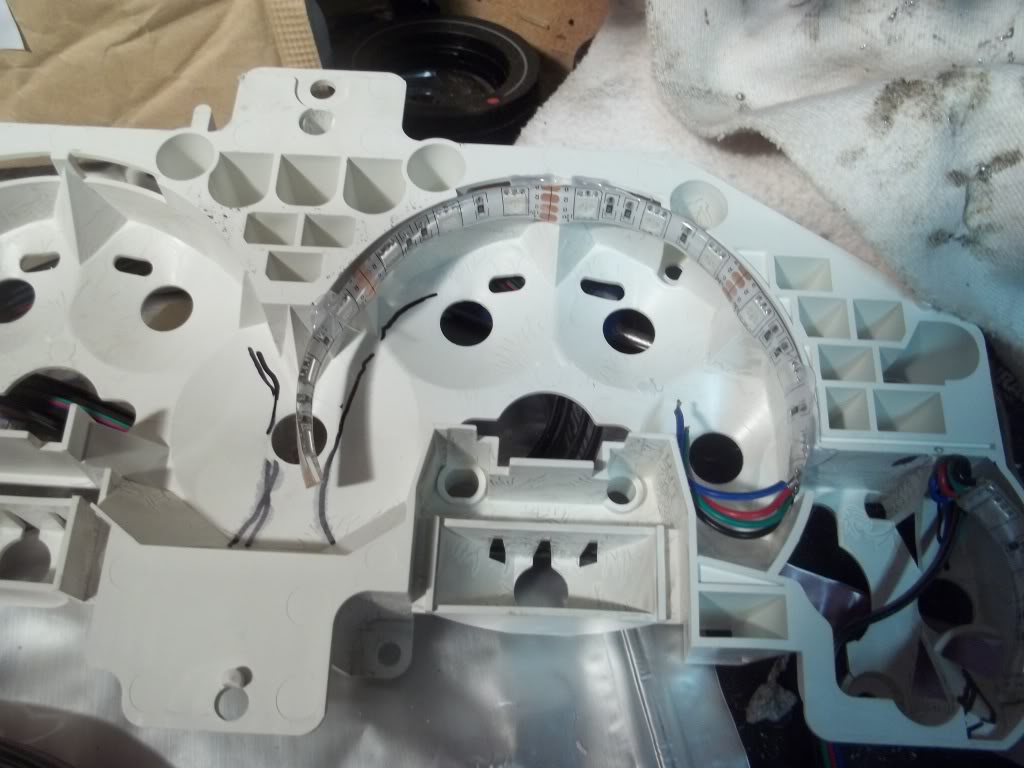
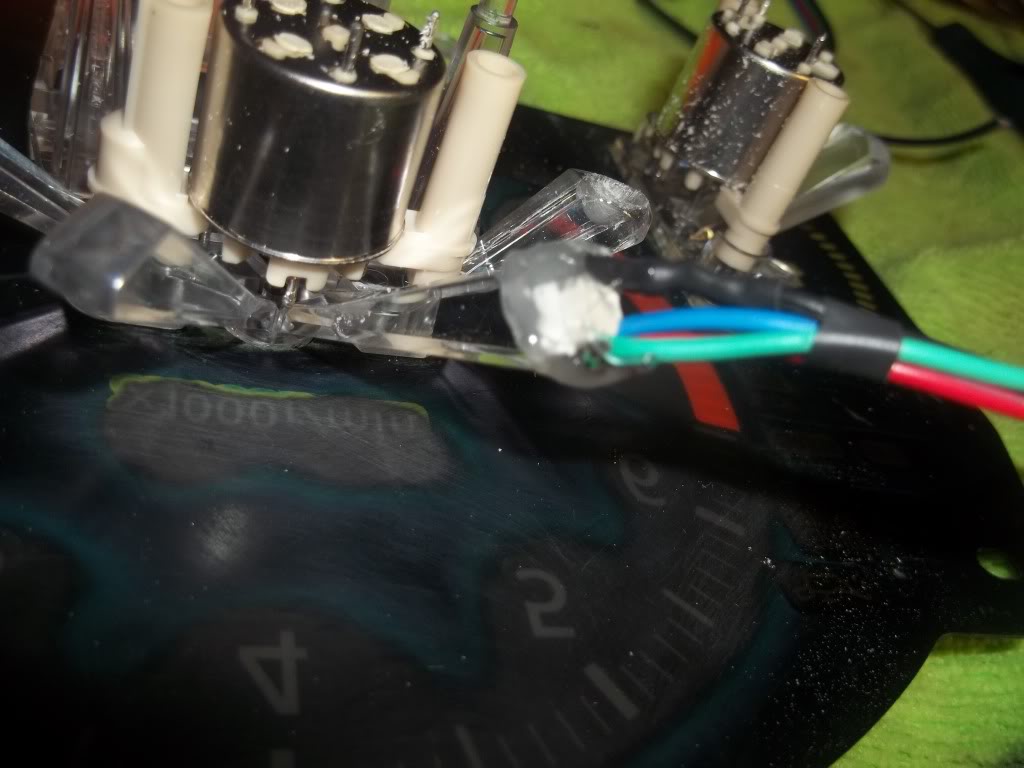
Going back at using the OEM prisms for this, more testing:
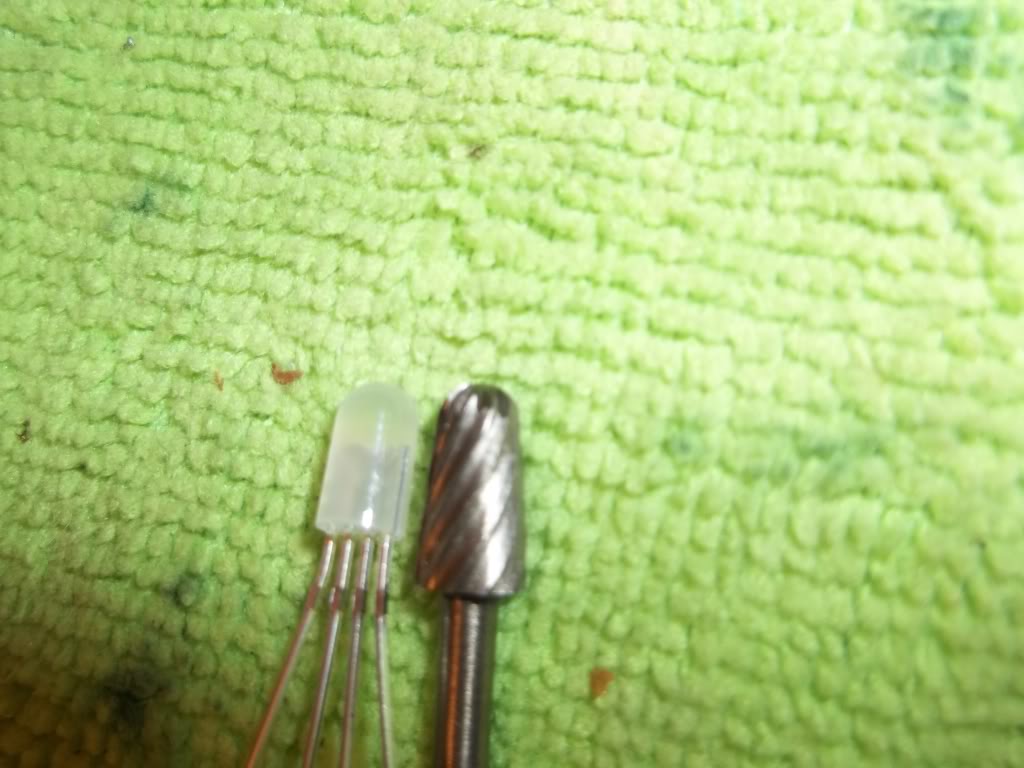
Plan B: Drill hole in end of Prism and insert 5mm LED:
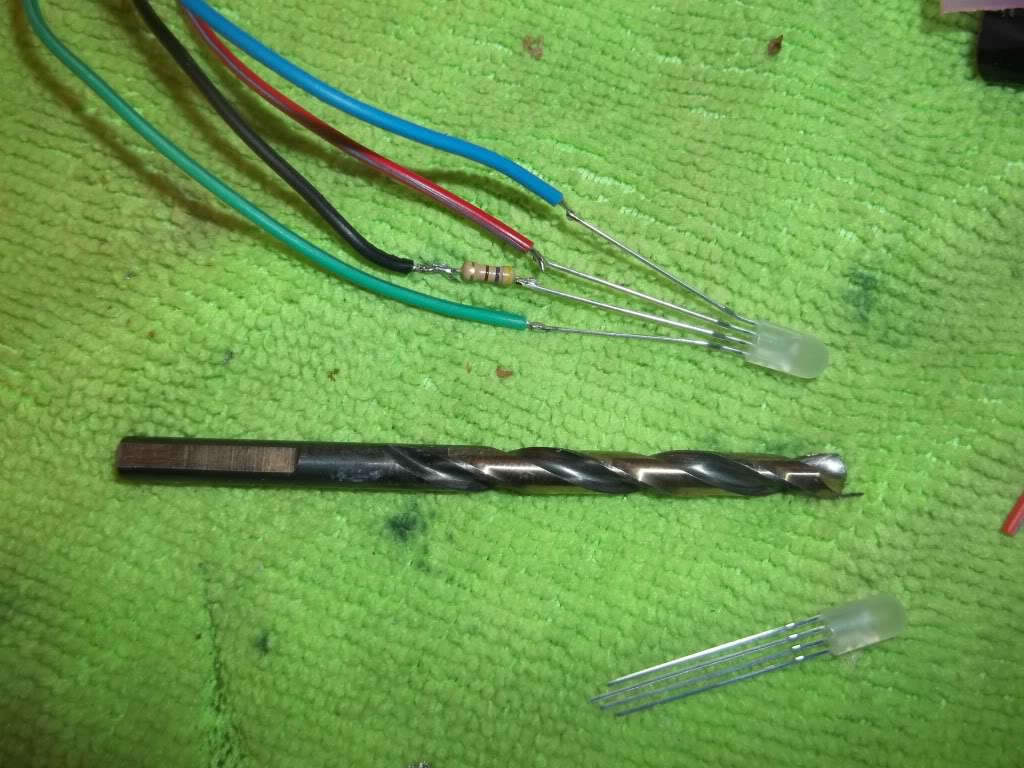
Depth set:

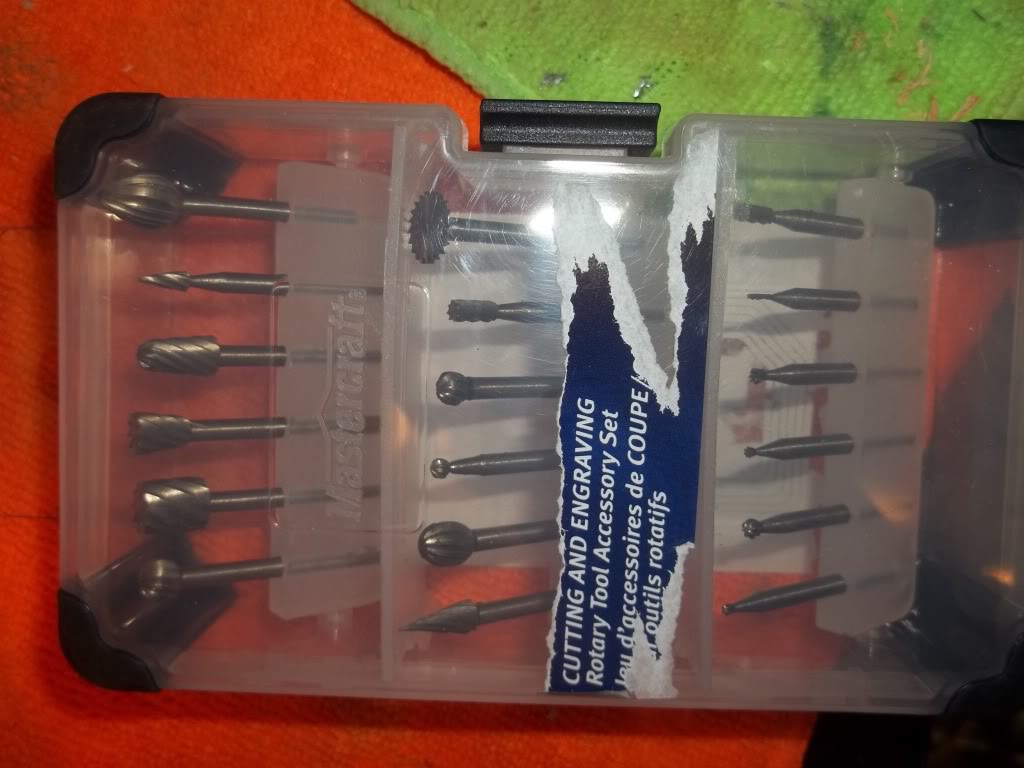
Ok drill bit does'nt work, too coarse, enter Dremel:
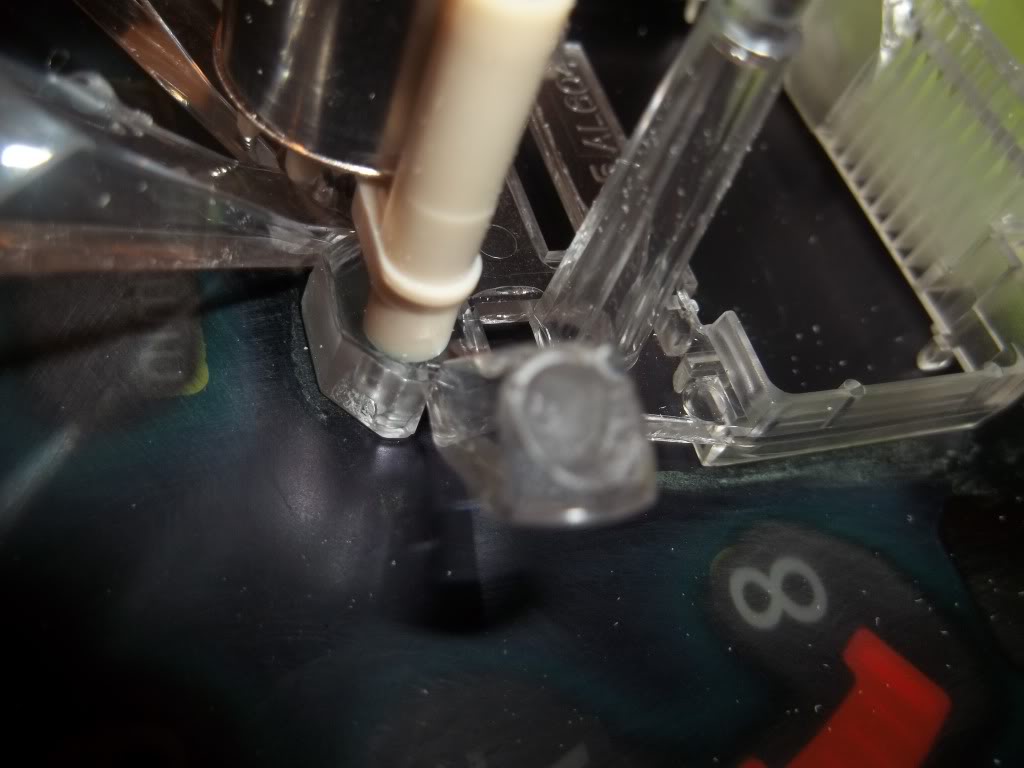

Well, the idea was good. Turns out as soon as you touch the end of the prism, it doesn't do it's job anymore. I essentially blocked the flow of light through the prism. Oh well good thing I tried the one that doesn't matter much first
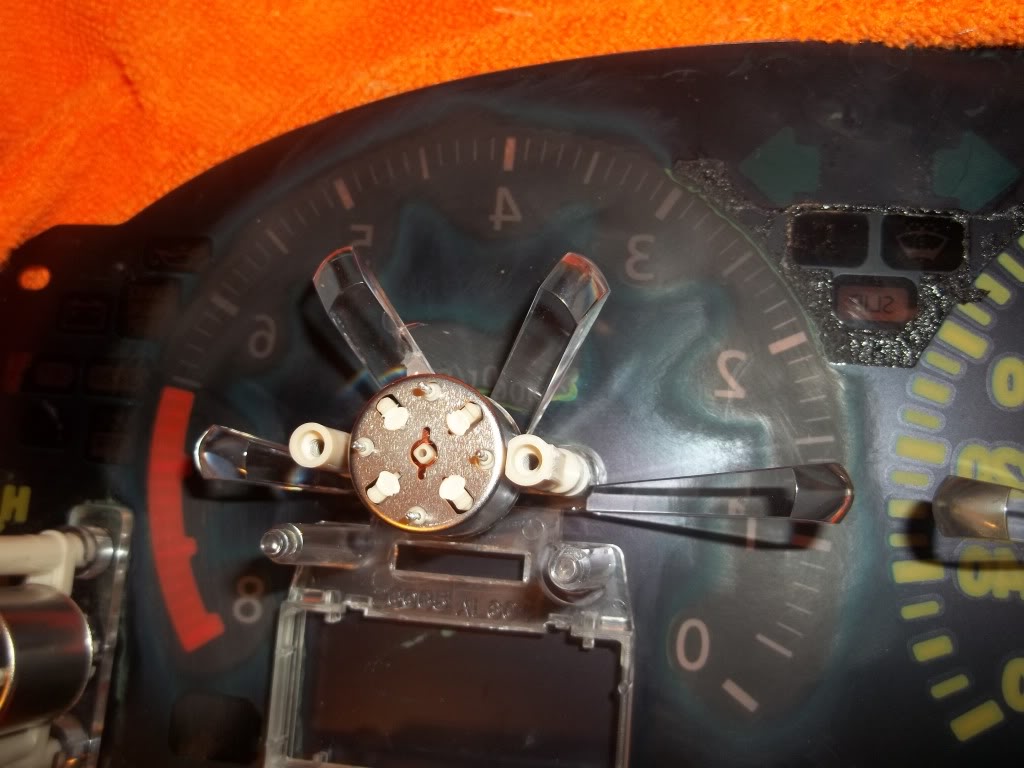
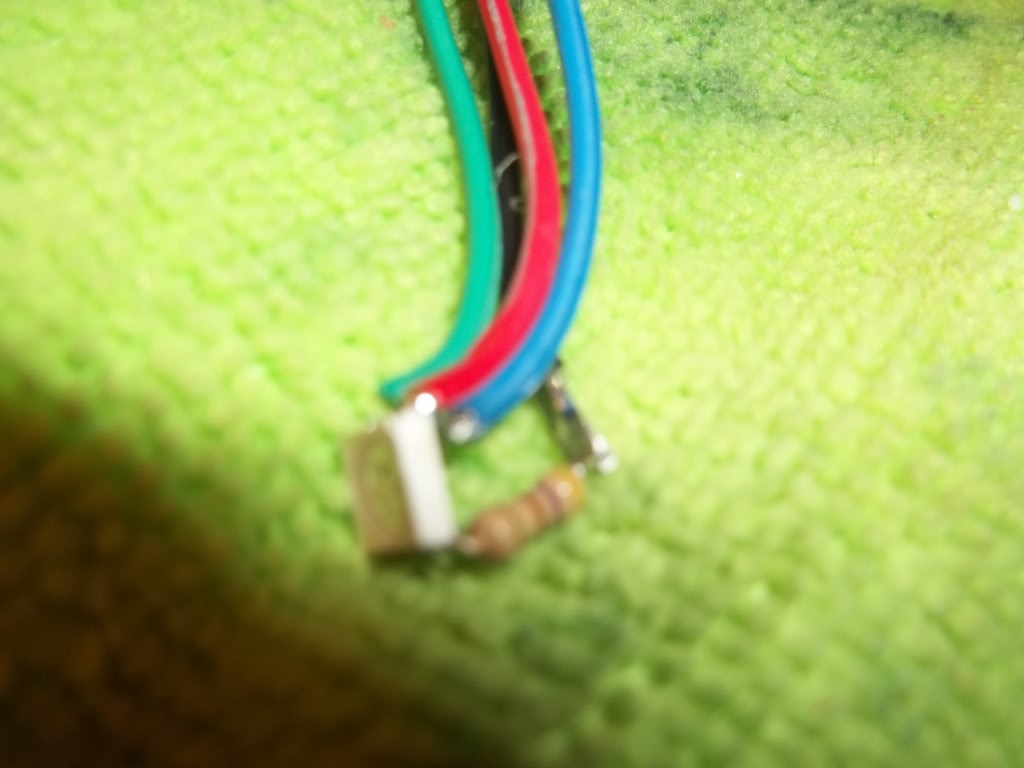
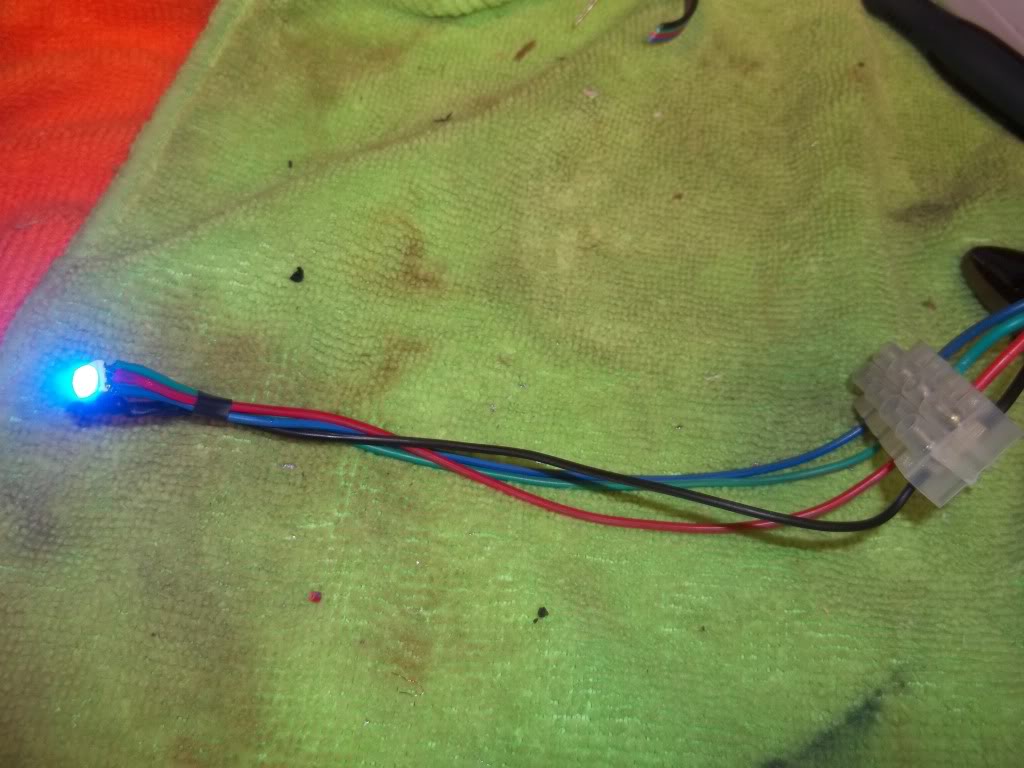
So.... I'll put a 5050 RGB chip on the end, prep/test:


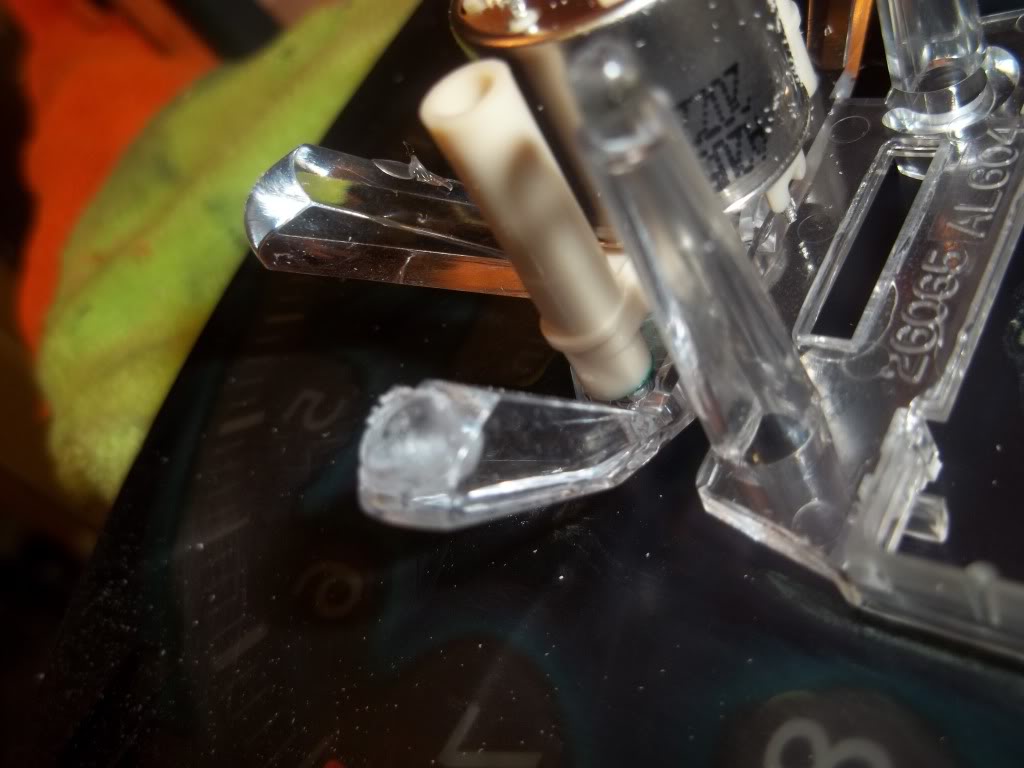
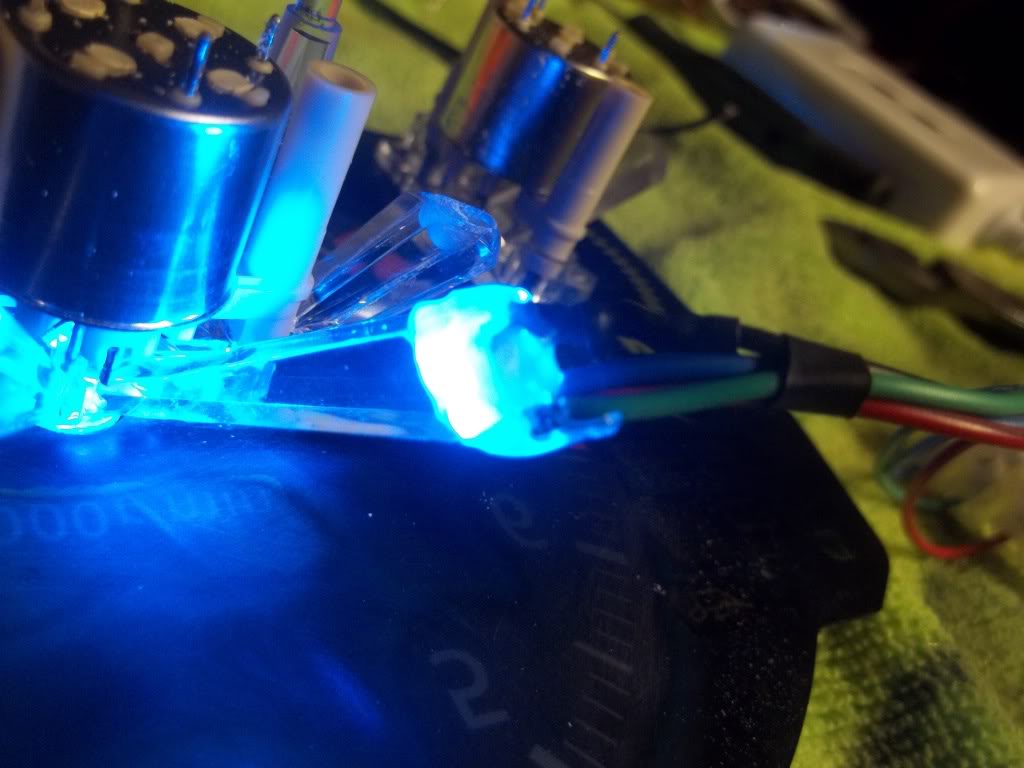
Thought I'd try encasing the outer portion of the prisms, it made no real notable difference. Would work great if you wanted to make the needle colour different from the rest though, as it completely isolates the center of the gauge from the face:

Test shot and test mount ONE of 4 SMD's:
Right now it's hot glued directly to the prism. I'm going to let it sit for 12 hours and make sure nothing roasts, if it's good I'll mount the others. I took a video or two but I'm at work and can't post I'll put it up tonight.
Going back at using the OEM prisms for this, more testing:
Plan B: Drill hole in end of Prism and insert 5mm LED:
Depth set:
Ok drill bit does'nt work, too coarse, enter Dremel:
Well, the idea was good. Turns out as soon as you touch the end of the prism, it doesn't do it's job anymore. I essentially blocked the flow of light through the prism. Oh well good thing I tried the one that doesn't matter much first
So.... I'll put a 5050 RGB chip on the end, prep/test:
Thought I'd try encasing the outer portion of the prisms, it made no real notable difference. Would work great if you wanted to make the needle colour different from the rest though, as it completely isolates the center of the gauge from the face:
Test shot and test mount ONE of 4 SMD's:
Right now it's hot glued directly to the prism. I'm going to let it sit for 12 hours and make sure nothing roasts, if it's good I'll mount the others. I took a video or two but I'm at work and can't post I'll put it up tonight.


 Very Nice
#24
01-21-2012, 03:35 PM
That's a tricky one. I'm going to pop the lense off it and see what colour the LCD is. if it's white, I'll be quite happy. If that's the case I'll try and get somewhere to make a clear lense for it to replace the orange tinted one. I'll explore clear materials that would work good like fiberoptic sheets such as plexiglass, and run RGB leds all around the outside of the lense.

#27
01-21-2012, 04:28 PM
And Usually it's that light green or white, I was hoping for white, DO'H!!!
Guess I'll have to put a film on it as well as clear it out.. I'm thinking white is the best route to go anyways. I'll have to check the colour chart to see, perhaps I can just tint the lense may be easier then tinting the actual screens.
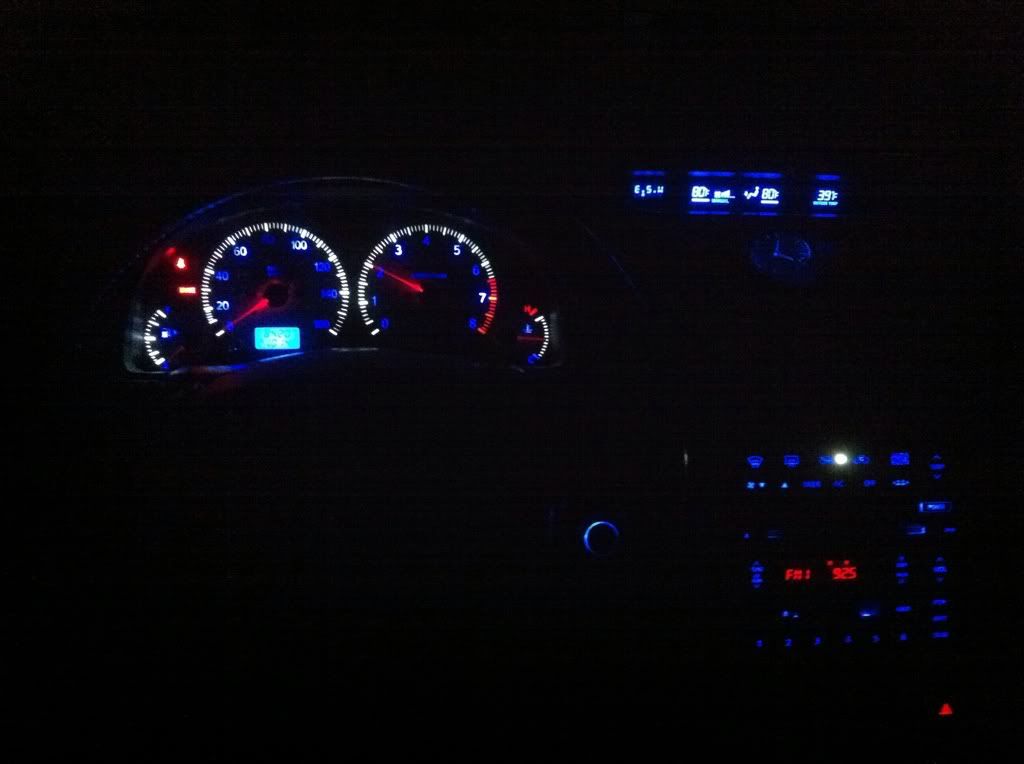
Nice bud that's your set up? I saw that in my hunting. Like the creativity with the different colours i'm quite sure that wasn't straightforward on our gauges. That's where the 05/06 gauges would be amazing to mod.
#28
01-21-2012, 05:27 PM
Try to find a 2 or 3 mm piece of plexiglas that would work great! I used a shield from an industrial mask I had laying around, and yea that's my set up right now but after seeing yours I think I am going to replace the led bulbs in the cluster, with led strips to eliminate hot spots
Last edited by EDGAR; 01-21-2012 at 05:38 PM.
#29
01-21-2012, 06:19 PM
Try to find a 2 or 3 mm piece of plexiglas that would work great! I used a shield from an industrial mask I had laying around, and yea that's my set up right now but after seeing yours I think I am going to replace the led bulbs in the cluster, with led strips to eliminate hot spots
Good idea with the mask, I think I'll be stuck using something thicker though, at least the thickness of the 5050 SMD so I can have it on there perfect. OAN< how did you accomplish the different notch/number scheme anyways, any pics?
Last edited by TunerMax; 04-14-2013 at 04:39 PM.
#30
01-21-2012, 07:21 PM
I actually do have LEDs at the end of the prisms if you noticed my neddles have a red glow on them wich is not as would want them to be since I only attached two 3mm LEDs on each of the prisms but hopefully with the 5050 LEDs I will get a better glow on them. I acomplished the different color scheme by adding a lil piece of blue film underneath
The following users liked this post:
TunerMax (04-14-2013)