When you click on links to various merchants on this site and make a purchase, this can result in this site earning a commission. Affiliate programs and affiliations include, but are not limited to, the eBay Partner Network.
DIY- Parking Lights as DRL's / DRL's for Aftermarket Headlights
This mod will use your front parking lights as daytime running lights without using a relay. If you're not sure which lights those are, go to your car at nighttime and turn your light switch to the first click. Stand in front of your car and observe those lights! If you have the same headlights as mine, the pic below is how it will look. I have confirmed this mod will work with any year G35 coupe or sedan. Why am I doing this?? Because I have aftermarket headlights with Halos and LEDs on them which I would like to stay on during the daytime. Yes, I can use just my light switch...but that would also dim all my dash lights, and annoy the crap out of me if I had to do that everytime I got in my car. I am assuming this will work the same with most other aftermarket lights with halos or LEDs since they all have pretty much the same circuitry inside.
After this mod, your front parking lights will turn on ONLY when the key is turned to the ON position, regardless of the light switch! Your rear parking lights, low beam and high beam will not be affected by this mod. Before proceeding, go ahead and read the whole DIY to ensure you are capable of the work involved. Do this at your own risk if you feel comfortable. I'm not responsible for anything that gets messed up or goes wrong. Alright......Let's rock!
First of all things, pop open your hood and disconnect your car battery.....just for extra safety!!!!
Remove the battery cover and the windshield trim piece.
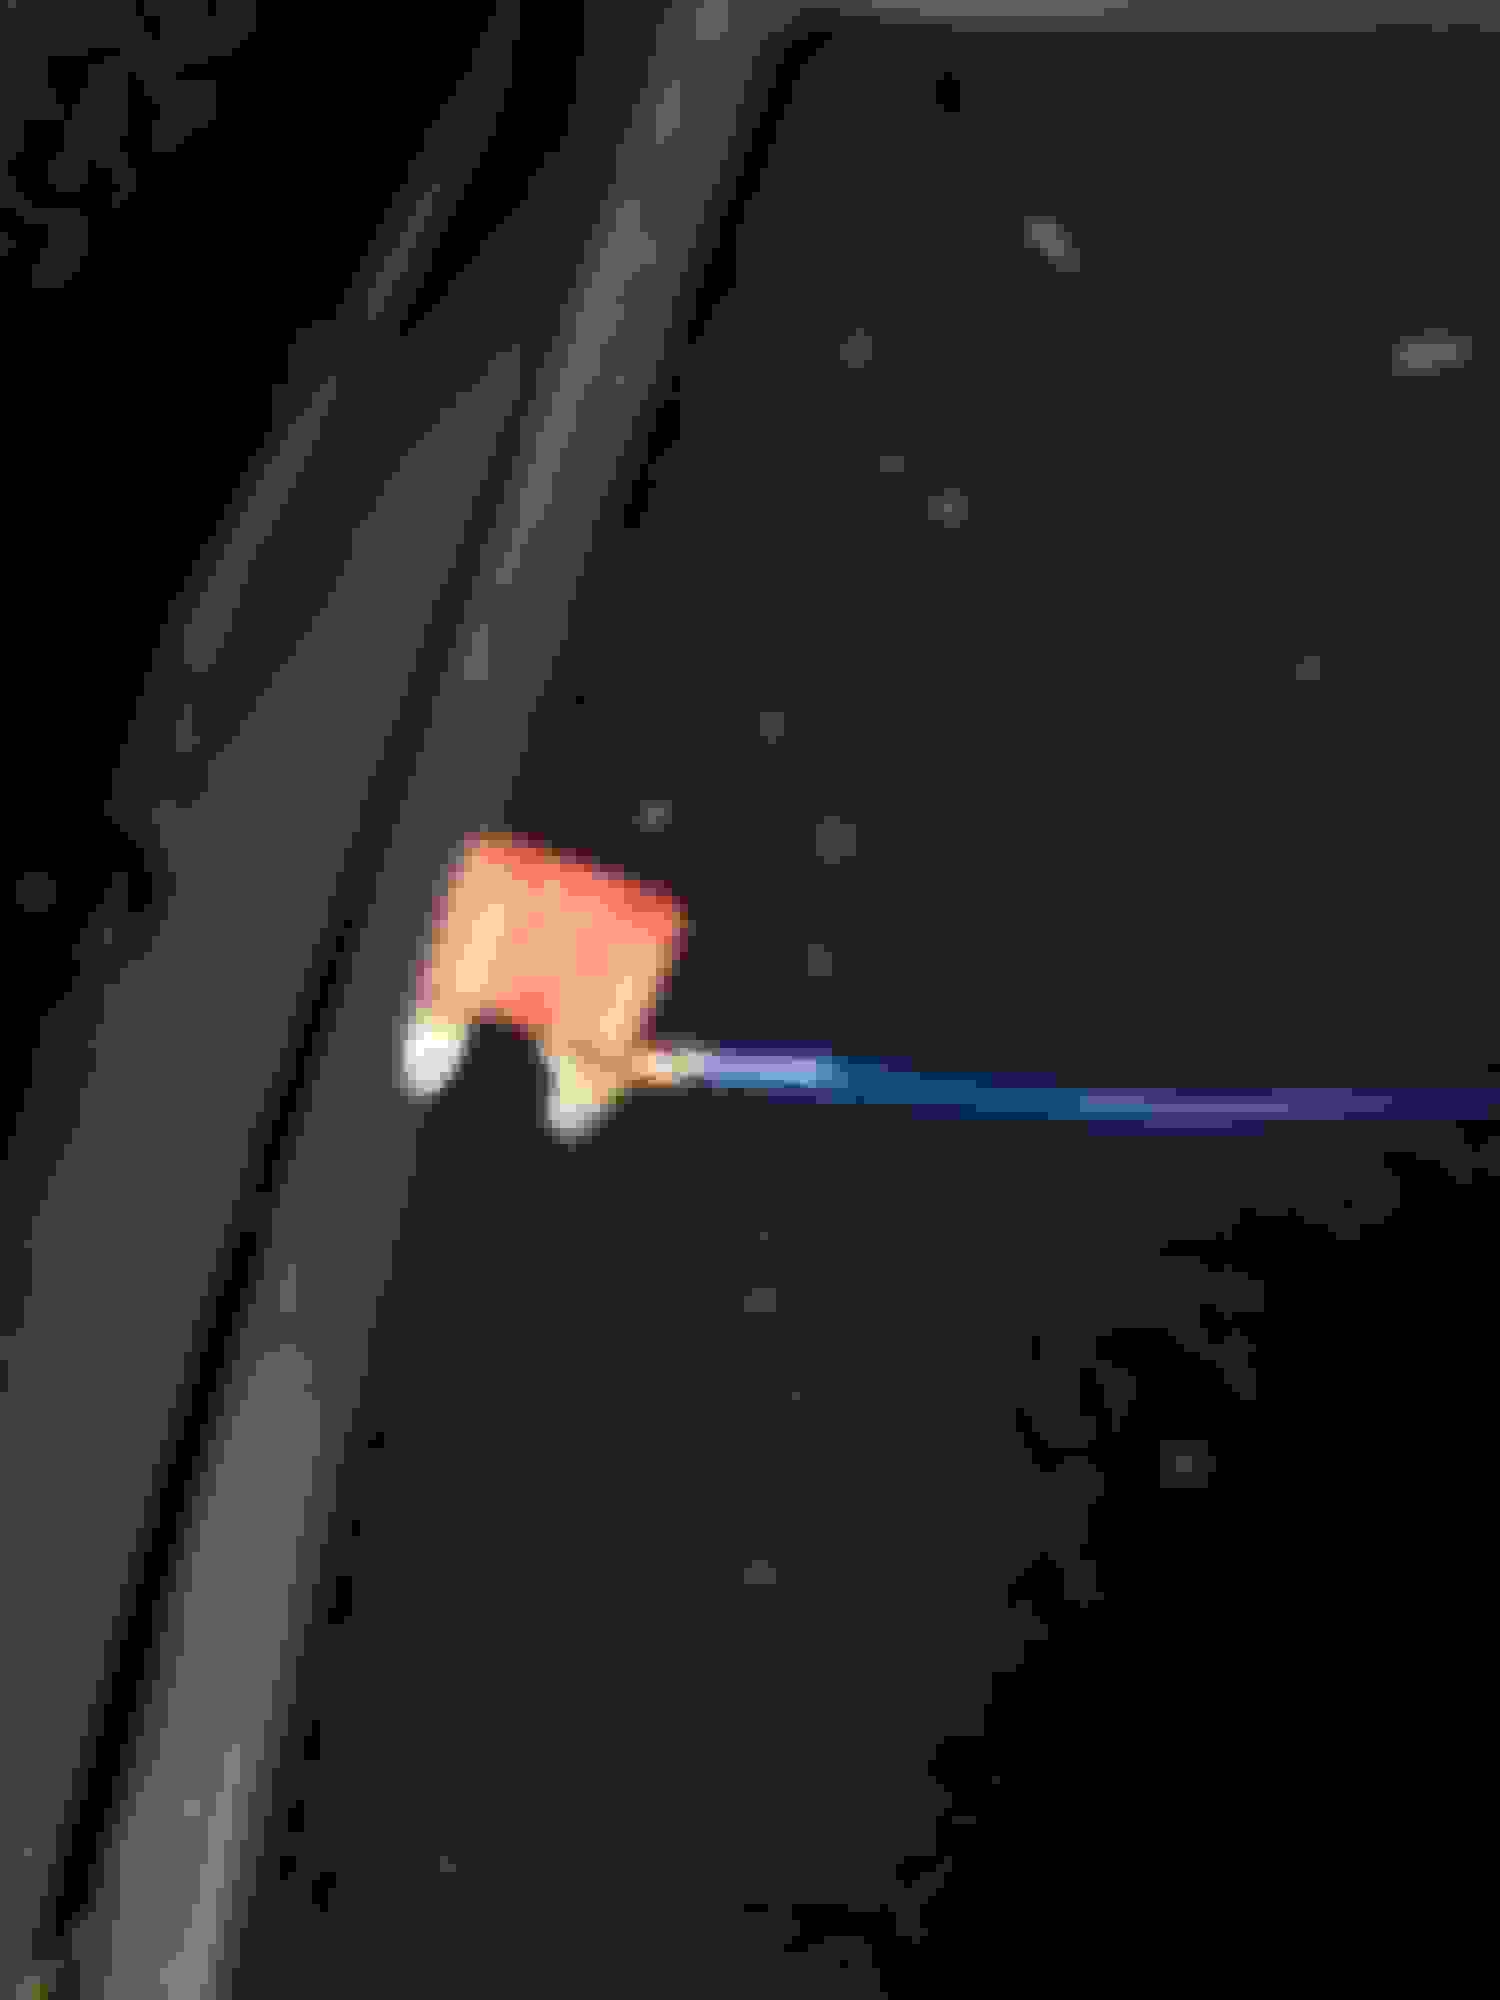
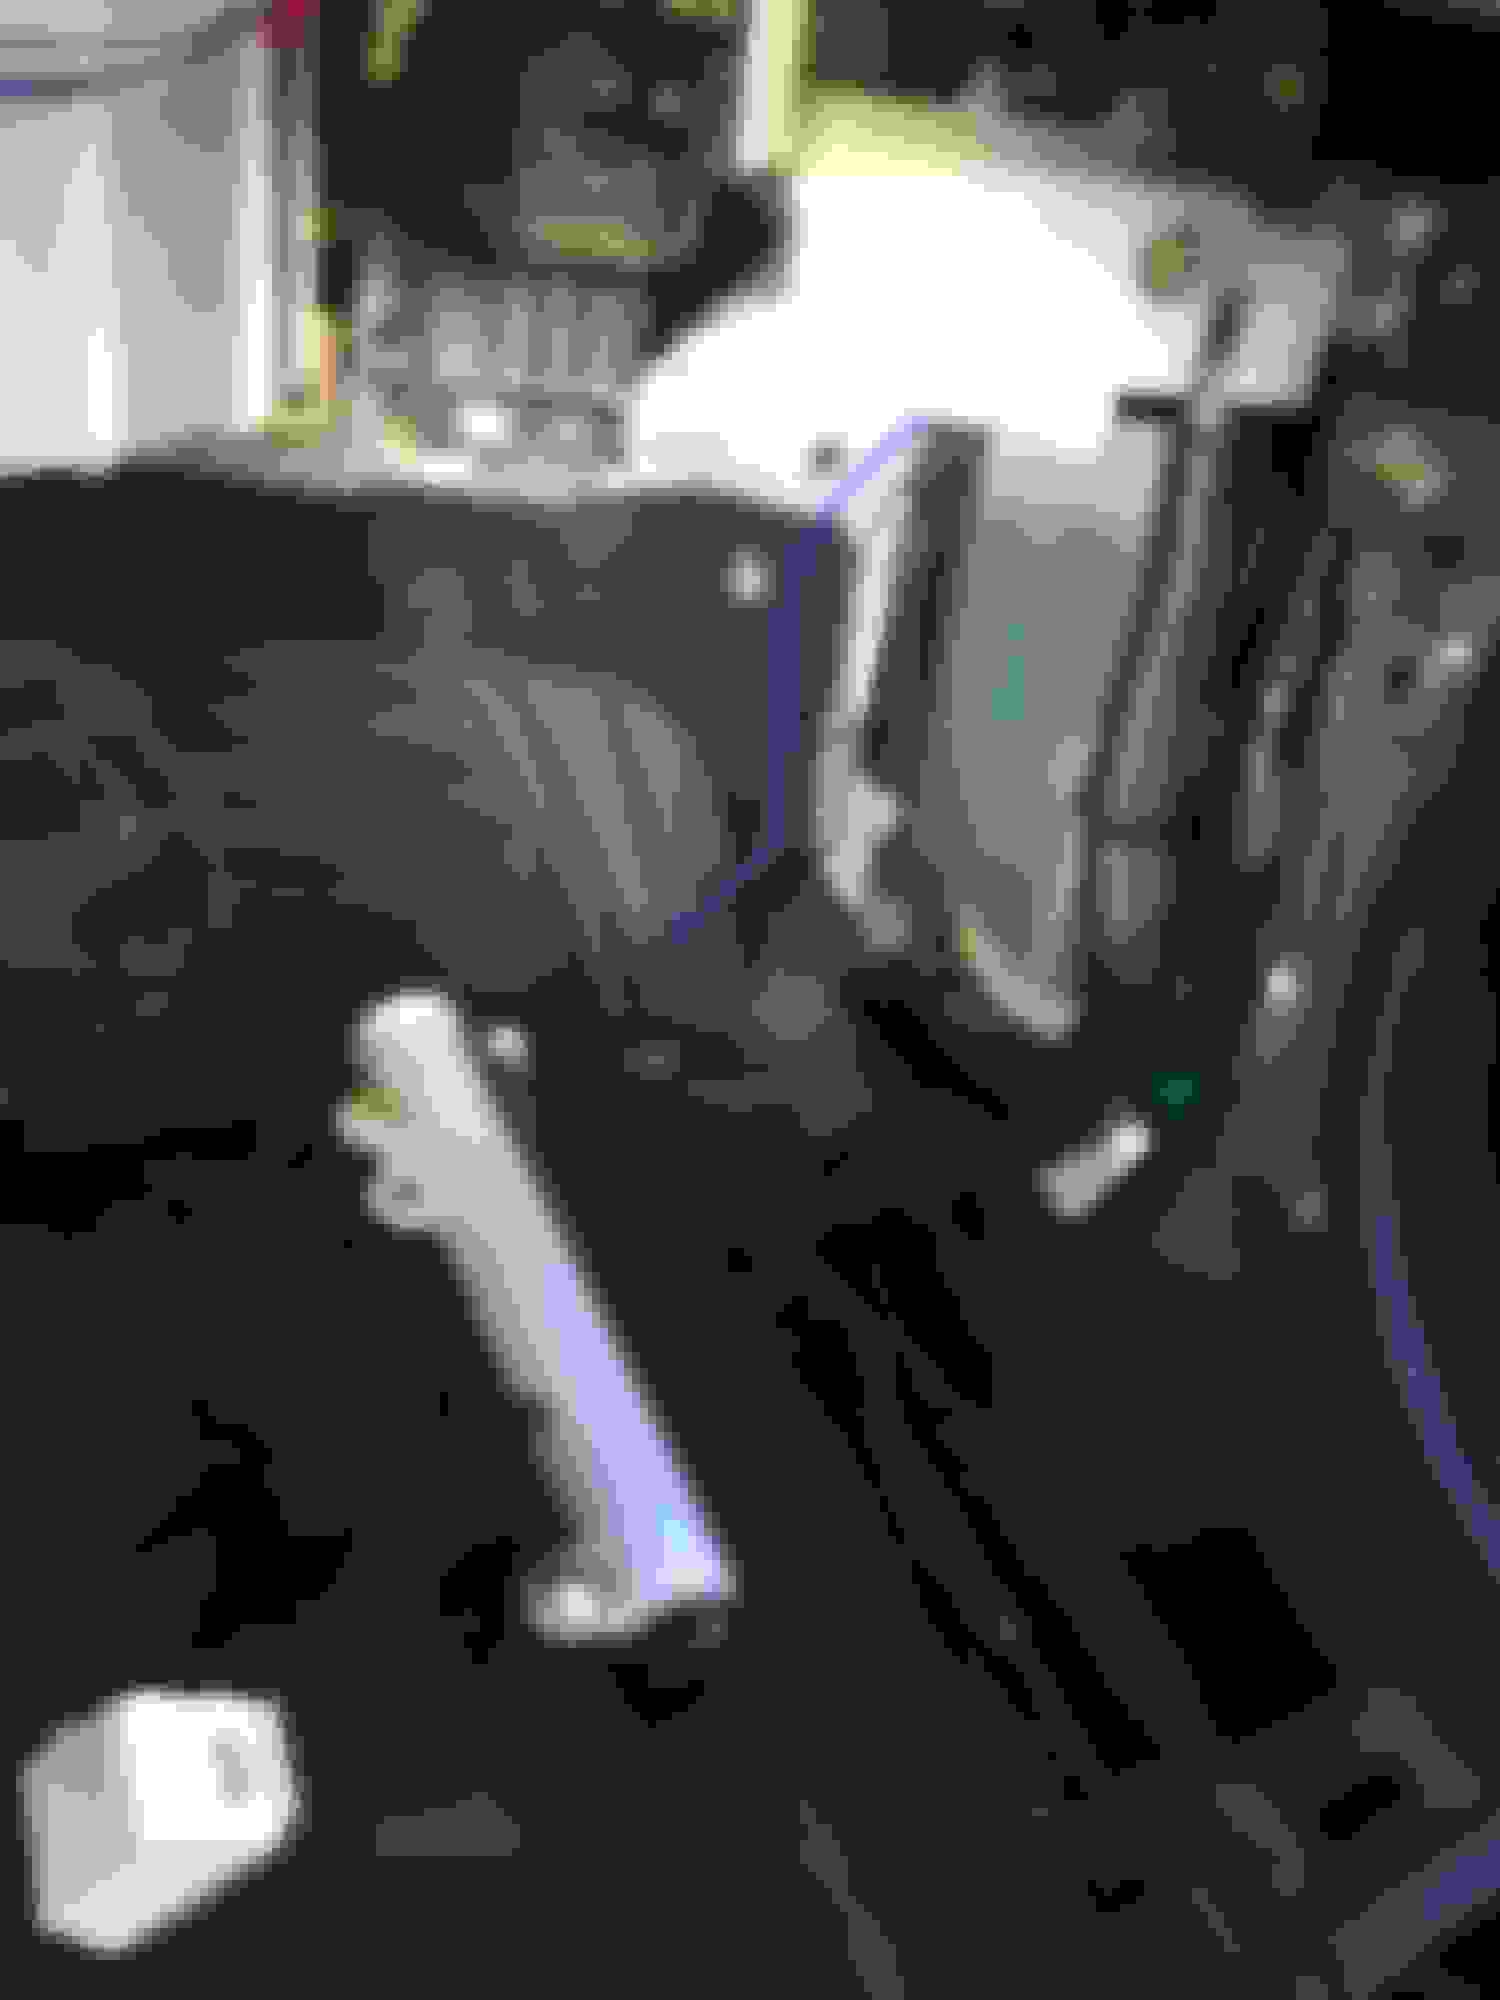
Go to the left side of your car, by the intake. Locate this harness, cut open the conduit and find the Red/blue striped wire. Cut the wire in half and trim off the insulation ONLY on the forward section of the wire. The aft section of the wire will not be used.
Now go to the right side of your car. Same harness, same location....open it up and look for the Red/bluestriped wires. There will be 2 of them on this side. Cut both of them and again, trim off the insulation ONLY on the forward section of the wires. The aft sections will not be used.
Grab 2 pieces of electrical wire....about 10 feet in length each, just to be safe.
Connect all your wires together. I decided to solder mine but my soldering iron wasn't doing the job...so I had to use a torch instead (Excuse my crappy job). Anyway, connect em all together. Insulate all your open wires (including the 2 aft sections we don't need), wrap everything up and put it back in the conduit.
Ok, one of these wires you just connected is gonna go to the fuse box in the driver side kickpanel. The other one is gonna get routed to the red/blue wire you cut earlier, on the left side.
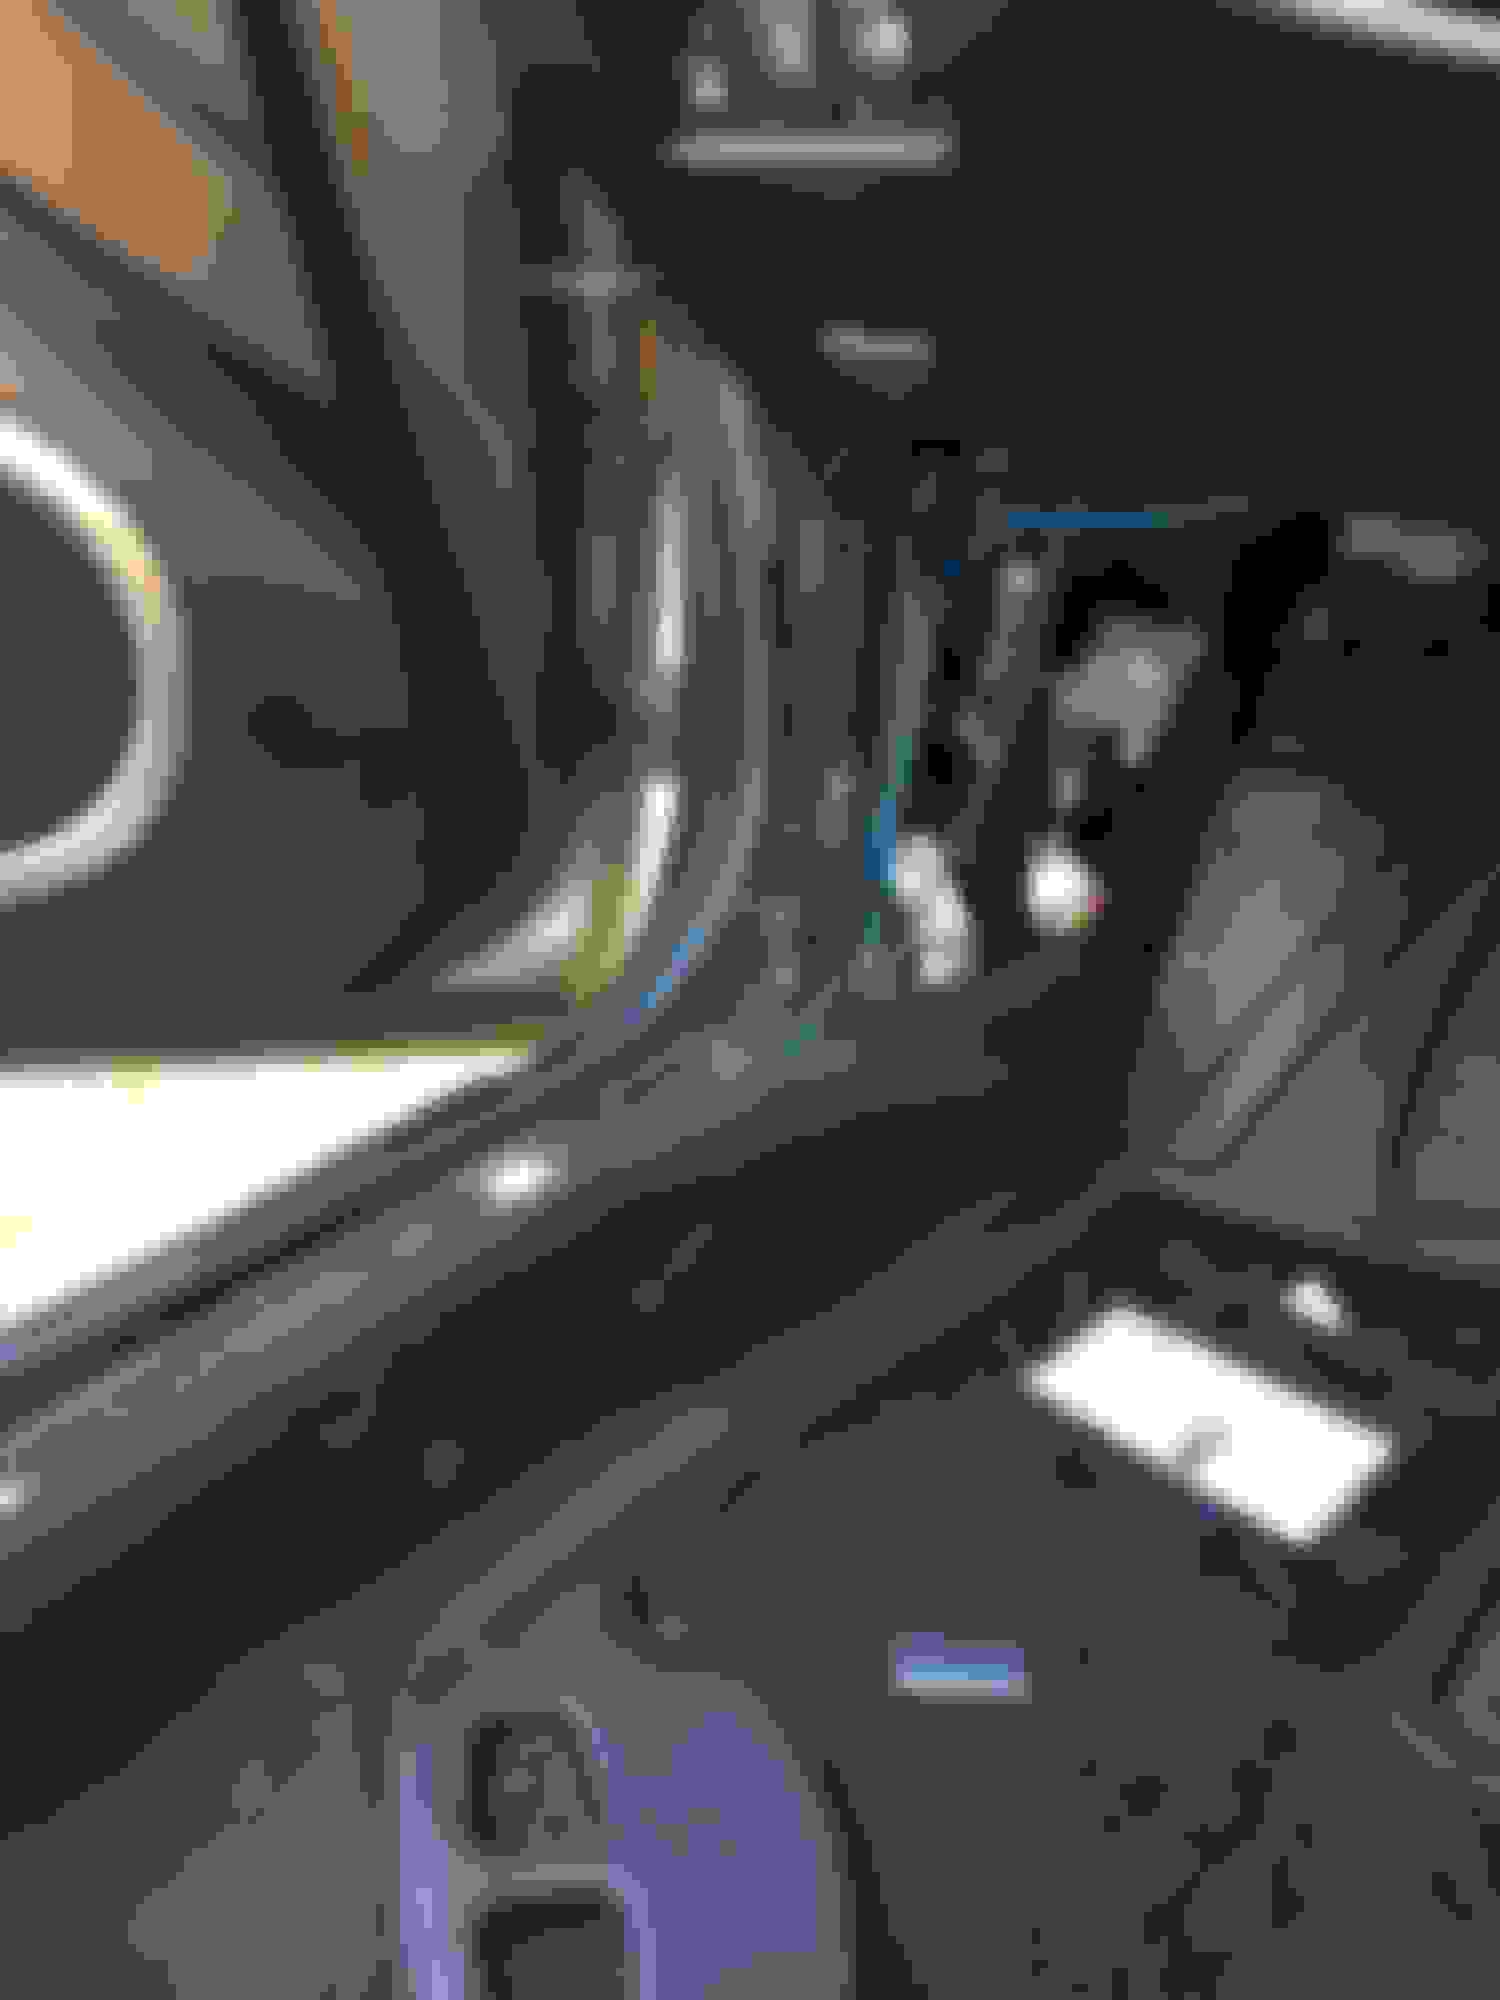
Let's start with the wire going to the left side. You can route this wire from wherever you prefer. I chose to route it from behind the engine firewall since it seemed like the easiest path.
OK...route it through and cut off the excess length of wire. Connect it to the red/blue wire. Insulate your open wires, put it back in the conduit and seal it up.
Now, lets do the other wire. This is gonna go to your fuse box in the driver kickpanel.
I chose to route mine through the rubber boot with all the other wires, and into the cabin. This can be done using a metal clothes hanger. Grab your hanger, straighten out a piece about 2 feet long, tightly tape the wire to the tip of the hanger. Poke a tiny hole in the rubber boot and slowly wiggle/push your hanger into the hole.
I removed my glovebox and passenger side kickpanel to make it easier to catch the wire from the inside. Once you have fished the wire through, you will need to route it through all the way to the driver's kickpanel fusebox. I found the easiest path to route the wire through is just forward of the lower/foot AC vent. Just remove the cover on the vent. Peel the carpet back and fish your wire through again using the clothes hanger. Go over to your driver's side and pull all the wire through. (Don't forget to leave a bit of slack in all your wires).
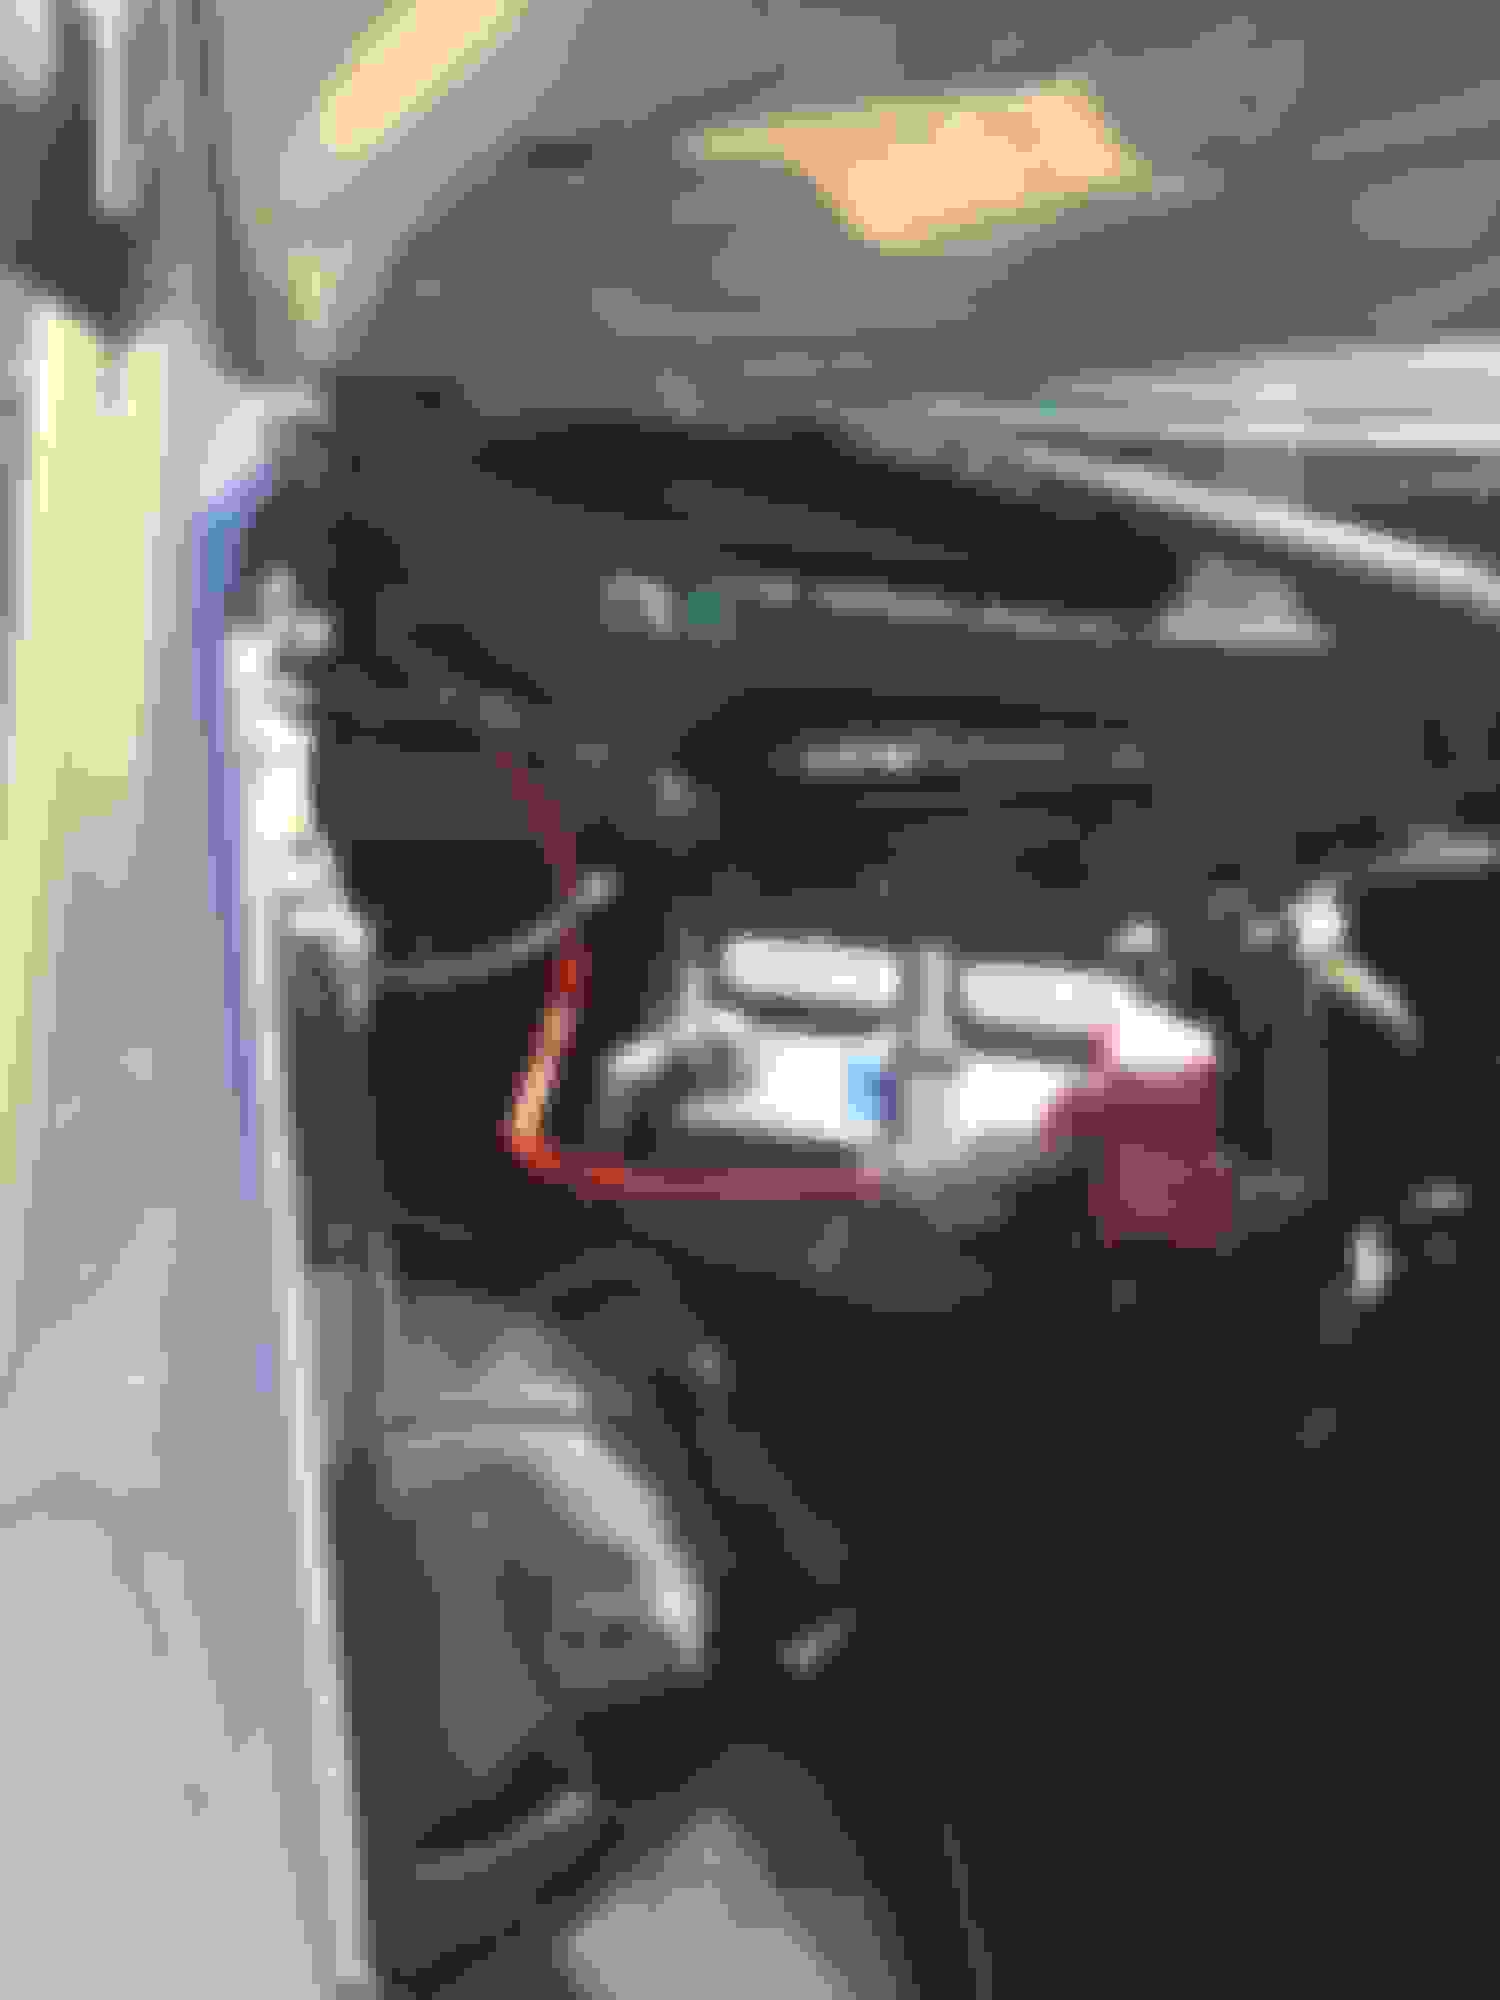
Alright...remove the driver side kickpanel to get access to the fusebox area.
We will be using one of those 3 empty slots on the bottom row of the fusebox (Slots 4,5, and 6). My car had a fuse in one of those spots...I dunno if the previous owner put it in there or if it came from factory like that. But as you can see, those 3 slots aren't used for anything....so we will use one of them to power our DRLs. I decided to use the one in the center.
Now for this next step, you can do it the proper way and use a fuse tap. Or if you're too lazy to drive to the store, just do it the ghetto way like I did . Grab a 10 amp fuse, and wrap/twist the wire you just pulled through to one of the legs of the fuse. When you insert the fuse into the box, make sure you insert the leg with the wire wrapped around it toward the bottom of the fusebox. This is very important and will ensure the power actually runs through the fuse. If you insert it the wrong way, the power will bypass the fuse and you will risk frying expensive electronics if you ever had a short in your wiring.
Anyway...the fuse will probably not go all the way in since the wire is wrapped around it....but thats ok. It'll still work. Just press it in and make sure it's not too loose.
Go ahead and add DRL to your fuse cover diagram for future reference. Close everything back up, hook up your battery and you're done!
Crack open a beer, start your car, and if you wired up everything correctly then you should now have DRL's. If you messed up and your car catches fire, then use your beer to put it out.
I know this an old thread, but I just wanted to thank the OP for this fantastic content. Just wired up my Spec D lights with this method and piggy backed the ACC 12v for my switchback marker lights at the same time to minimize wiring and keep everything clean.
Wrapped everything up and it looks totally factory.
Fantastic post! Thanks
Hey, glad I could help! It�s not the clearest write-up, but it�s accurate. Just gotta read it a few times as to not get confused haha.


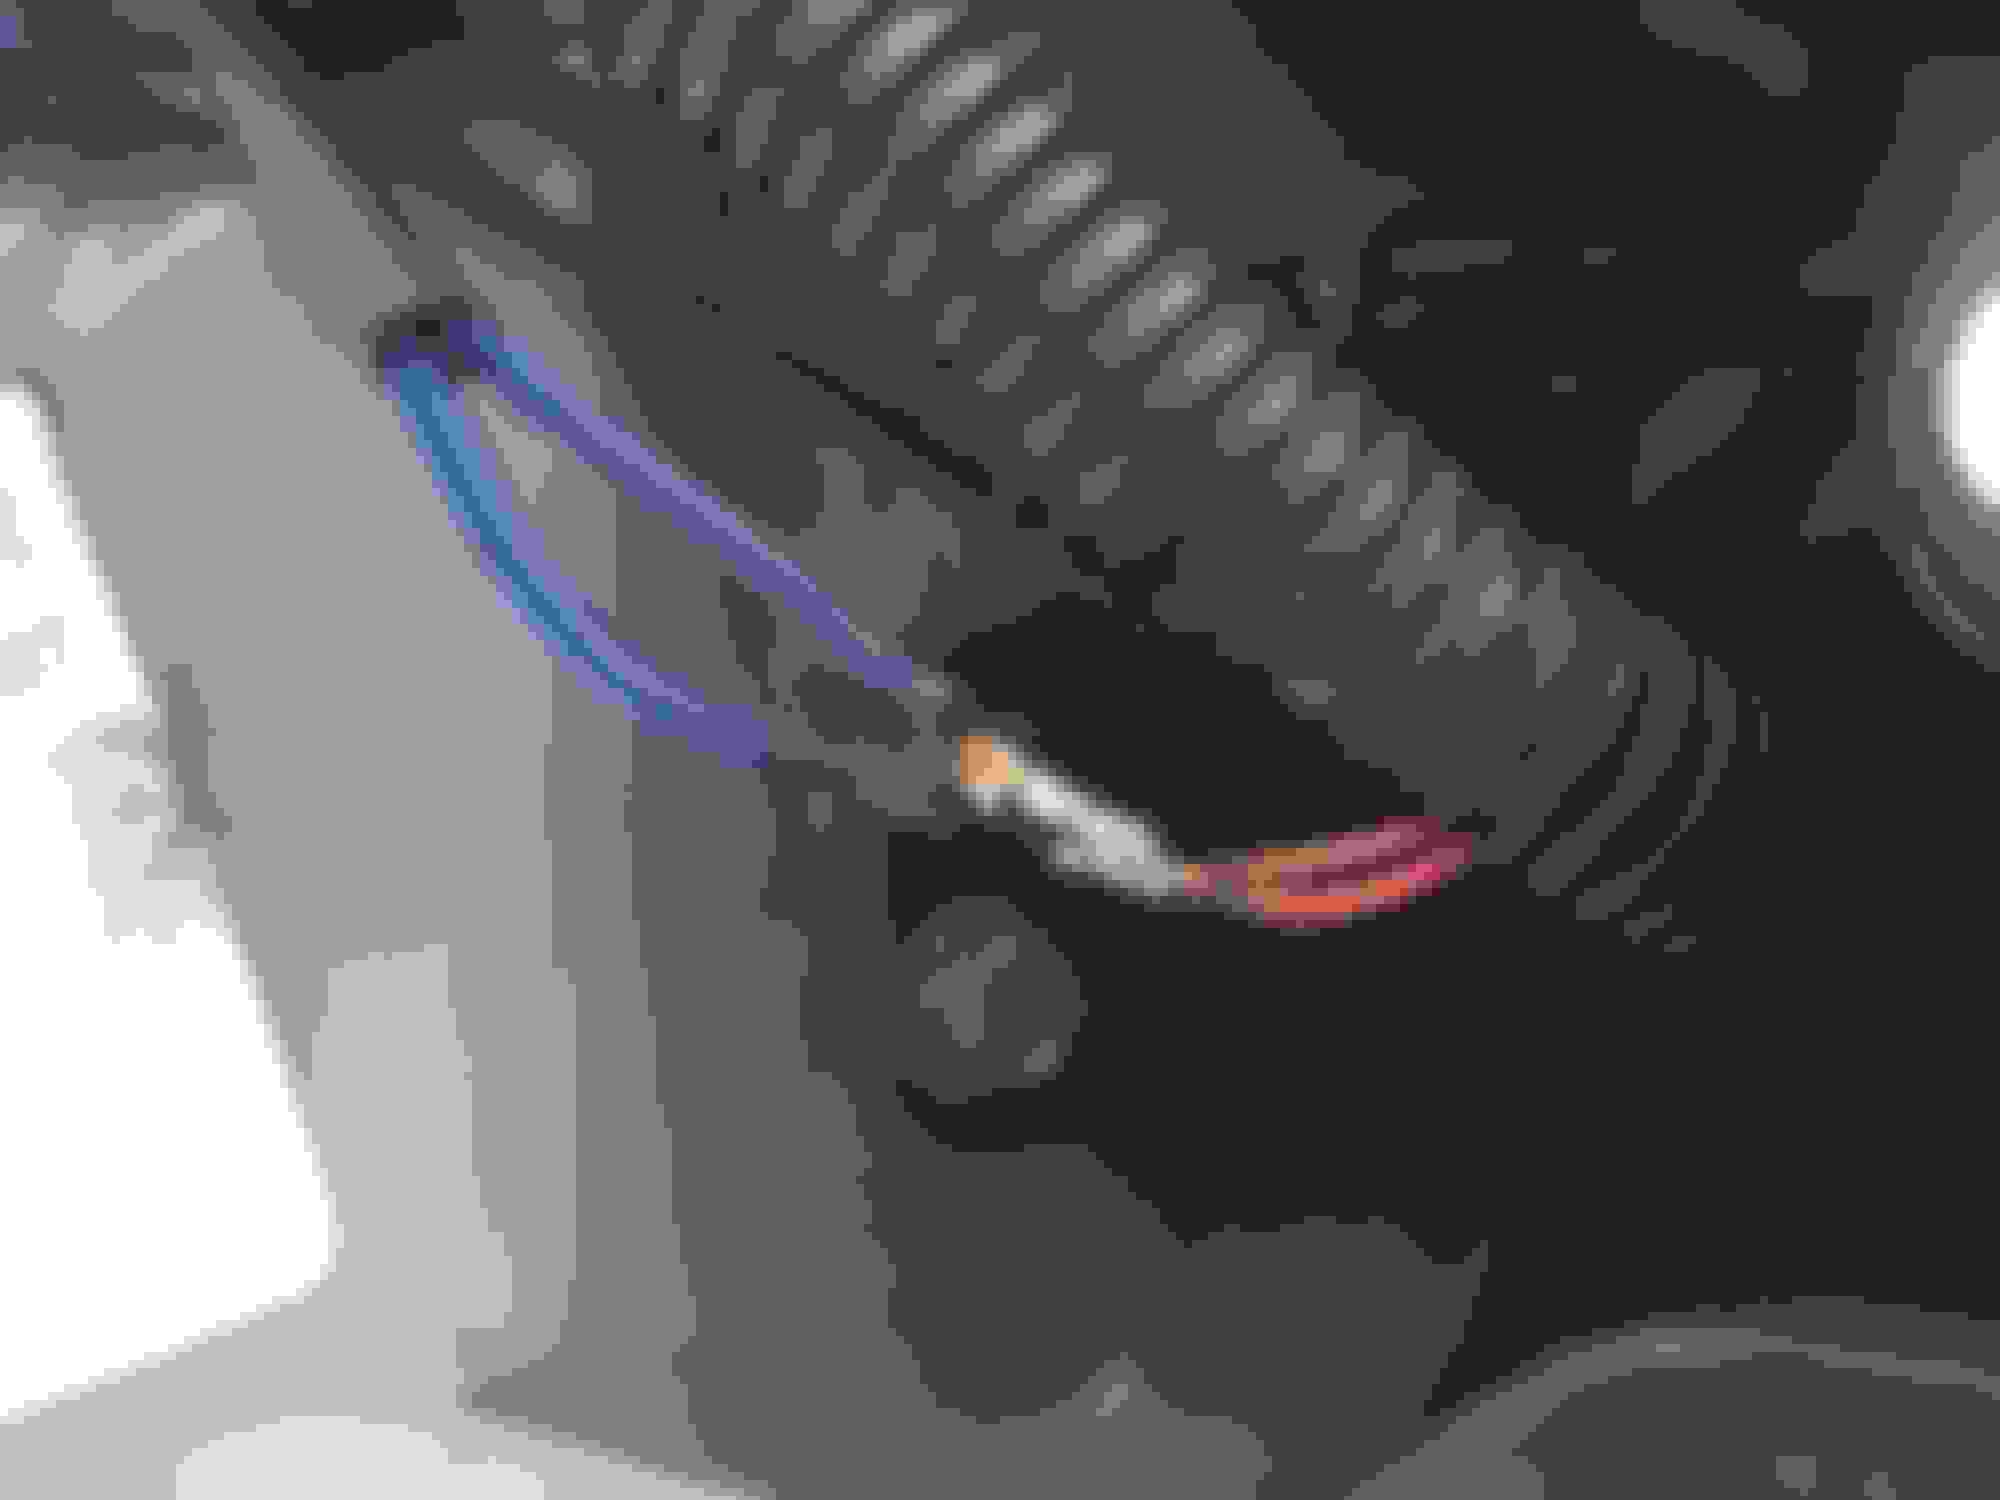


 . Grab a 10 amp fuse, and wrap/twist the wire you just pulled through to one of the legs of the fuse. When you insert the fuse into the box, make sure you insert the leg with the wire wrapped around it toward the bottom of the fusebox. This is very important and will ensure the power actually runs through the fuse. If you insert it the wrong way, the power will bypass the fuse and you will risk frying expensive electronics if you ever had a short in your wiring.