Non-Sport Journey Lip
#1
Non-Sport Journey Lip
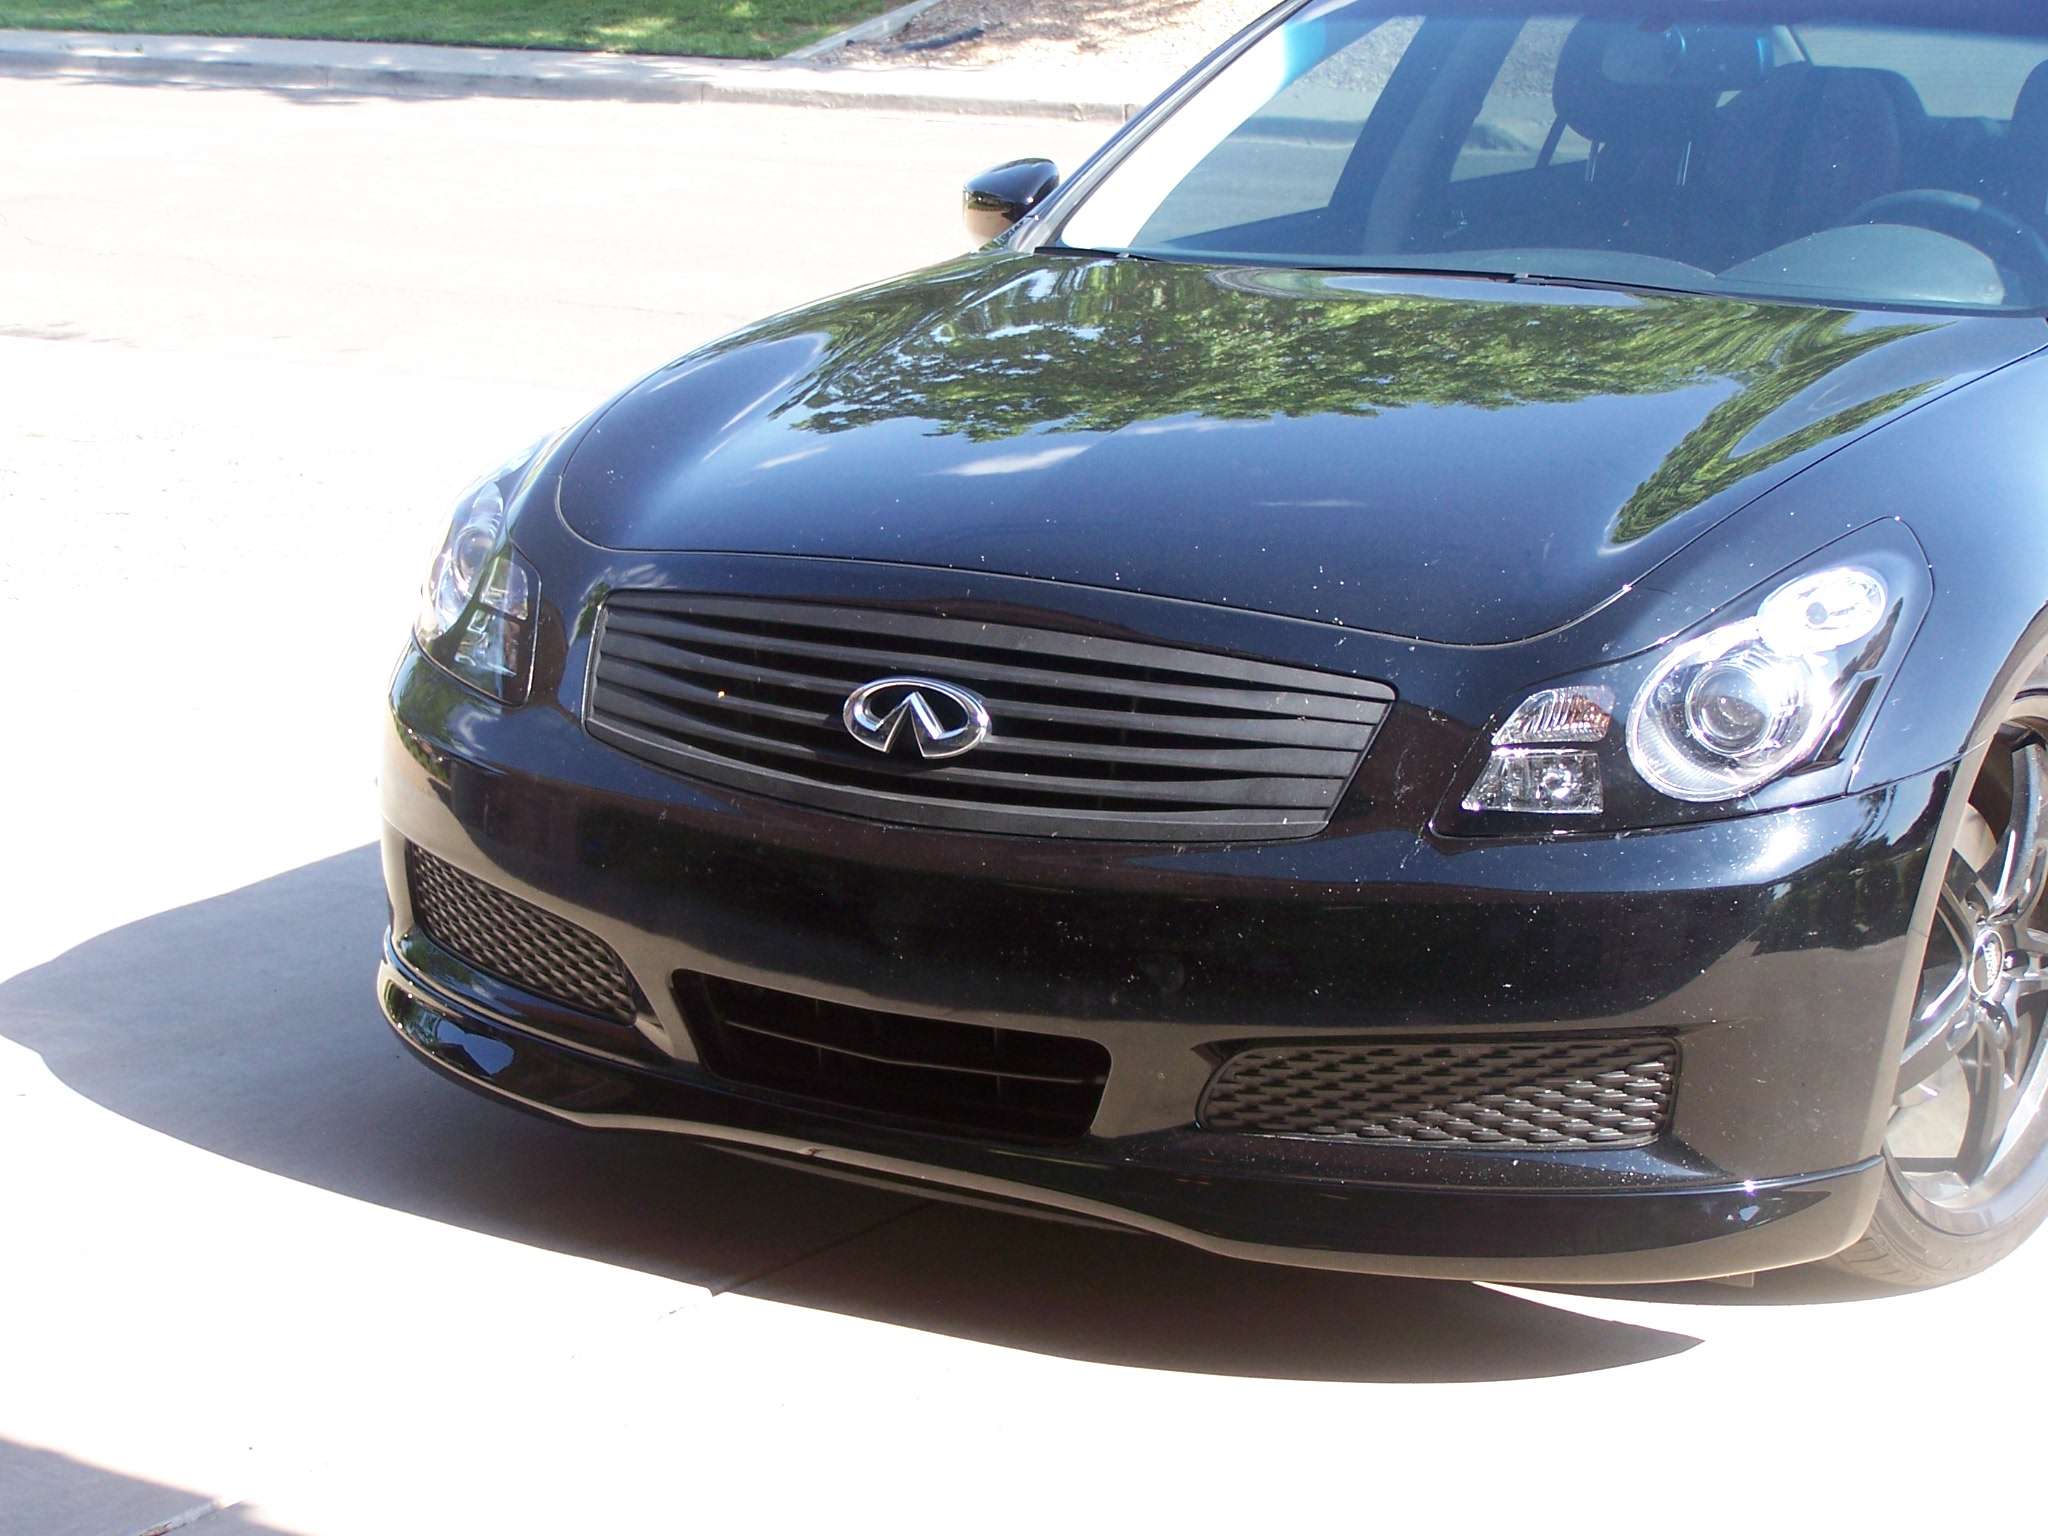
Thanks Rick at Perry Infiniti for the great deal on a painted lip.
Installed it tonight.
Took a floor jack, drill, 10mm hole saw, drill bits 1/4-20, painters tape.
Clips and screws camw with the part.


I did not use the template, rather I did what Gnmtl'91 did and set it up and marked the holes. The fitement was so good it held on at first with not screws or tape.
Close up of fastening method. small hole next to large hole to insert the clip.

Installed it tonight.
Took a floor jack, drill, 10mm hole saw, drill bits 1/4-20, painters tape.
Clips and screws camw with the part.


I did not use the template, rather I did what Gnmtl'91 did and set it up and marked the holes. The fitement was so good it held on at first with not screws or tape.
Close up of fastening method. small hole next to large hole to insert the clip.

#2
Registered User
iTrader: (3)
I'm going to install mine on Sunday and now seeing yours I've got a couple questions (looks great BTW  )
)
So you only used a 10mm holesaw and not that big 25mm (1") that the instructions list?
I've got a 3/4" holesaw so if you got by with that small one the 3/4" should be fine.
The template layout does seem to be a pain in the as$ so I think I'll try just laying it out & marking. Do you think driving it up on some ramps will get the front high enough to get the marks accurately?
Thanks for your help, the timing on your thread is perfect!
 )
)So you only used a 10mm holesaw and not that big 25mm (1") that the instructions list?
I've got a 3/4" holesaw so if you got by with that small one the 3/4" should be fine.
The template layout does seem to be a pain in the as$ so I think I'll try just laying it out & marking. Do you think driving it up on some ramps will get the front high enough to get the marks accurately?
Thanks for your help, the timing on your thread is perfect!
#3
^ 3/4 inch will be fine. A trick i used was to partly remove the adhesive backing and tape it to the outside surface. This also helps straighten out the rubber gasket that runs along the top edge.
One thing to do different. Mark and drill the wheel well holes last. The position moves after you tighten the chin screws.
One thing to do different. Mark and drill the wheel well holes last. The position moves after you tighten the chin screws.
The following users liked this post:
blnewt (05-18-2012)
#6
Registered User
iTrader: (3)
^ 3/4 inch will be fine. A trick i used was to partly remove the adhesive backing and tape it to the outside surface. This also helps straighten out the rubber gasket that runs along the top edge.
One thing to do different. Mark and drill the wheel well holes last. The position moves after you tighten the chin screws.
One thing to do different. Mark and drill the wheel well holes last. The position moves after you tighten the chin screws.

#7
Trending Topics
#9
Registered User
iTrader: (3)
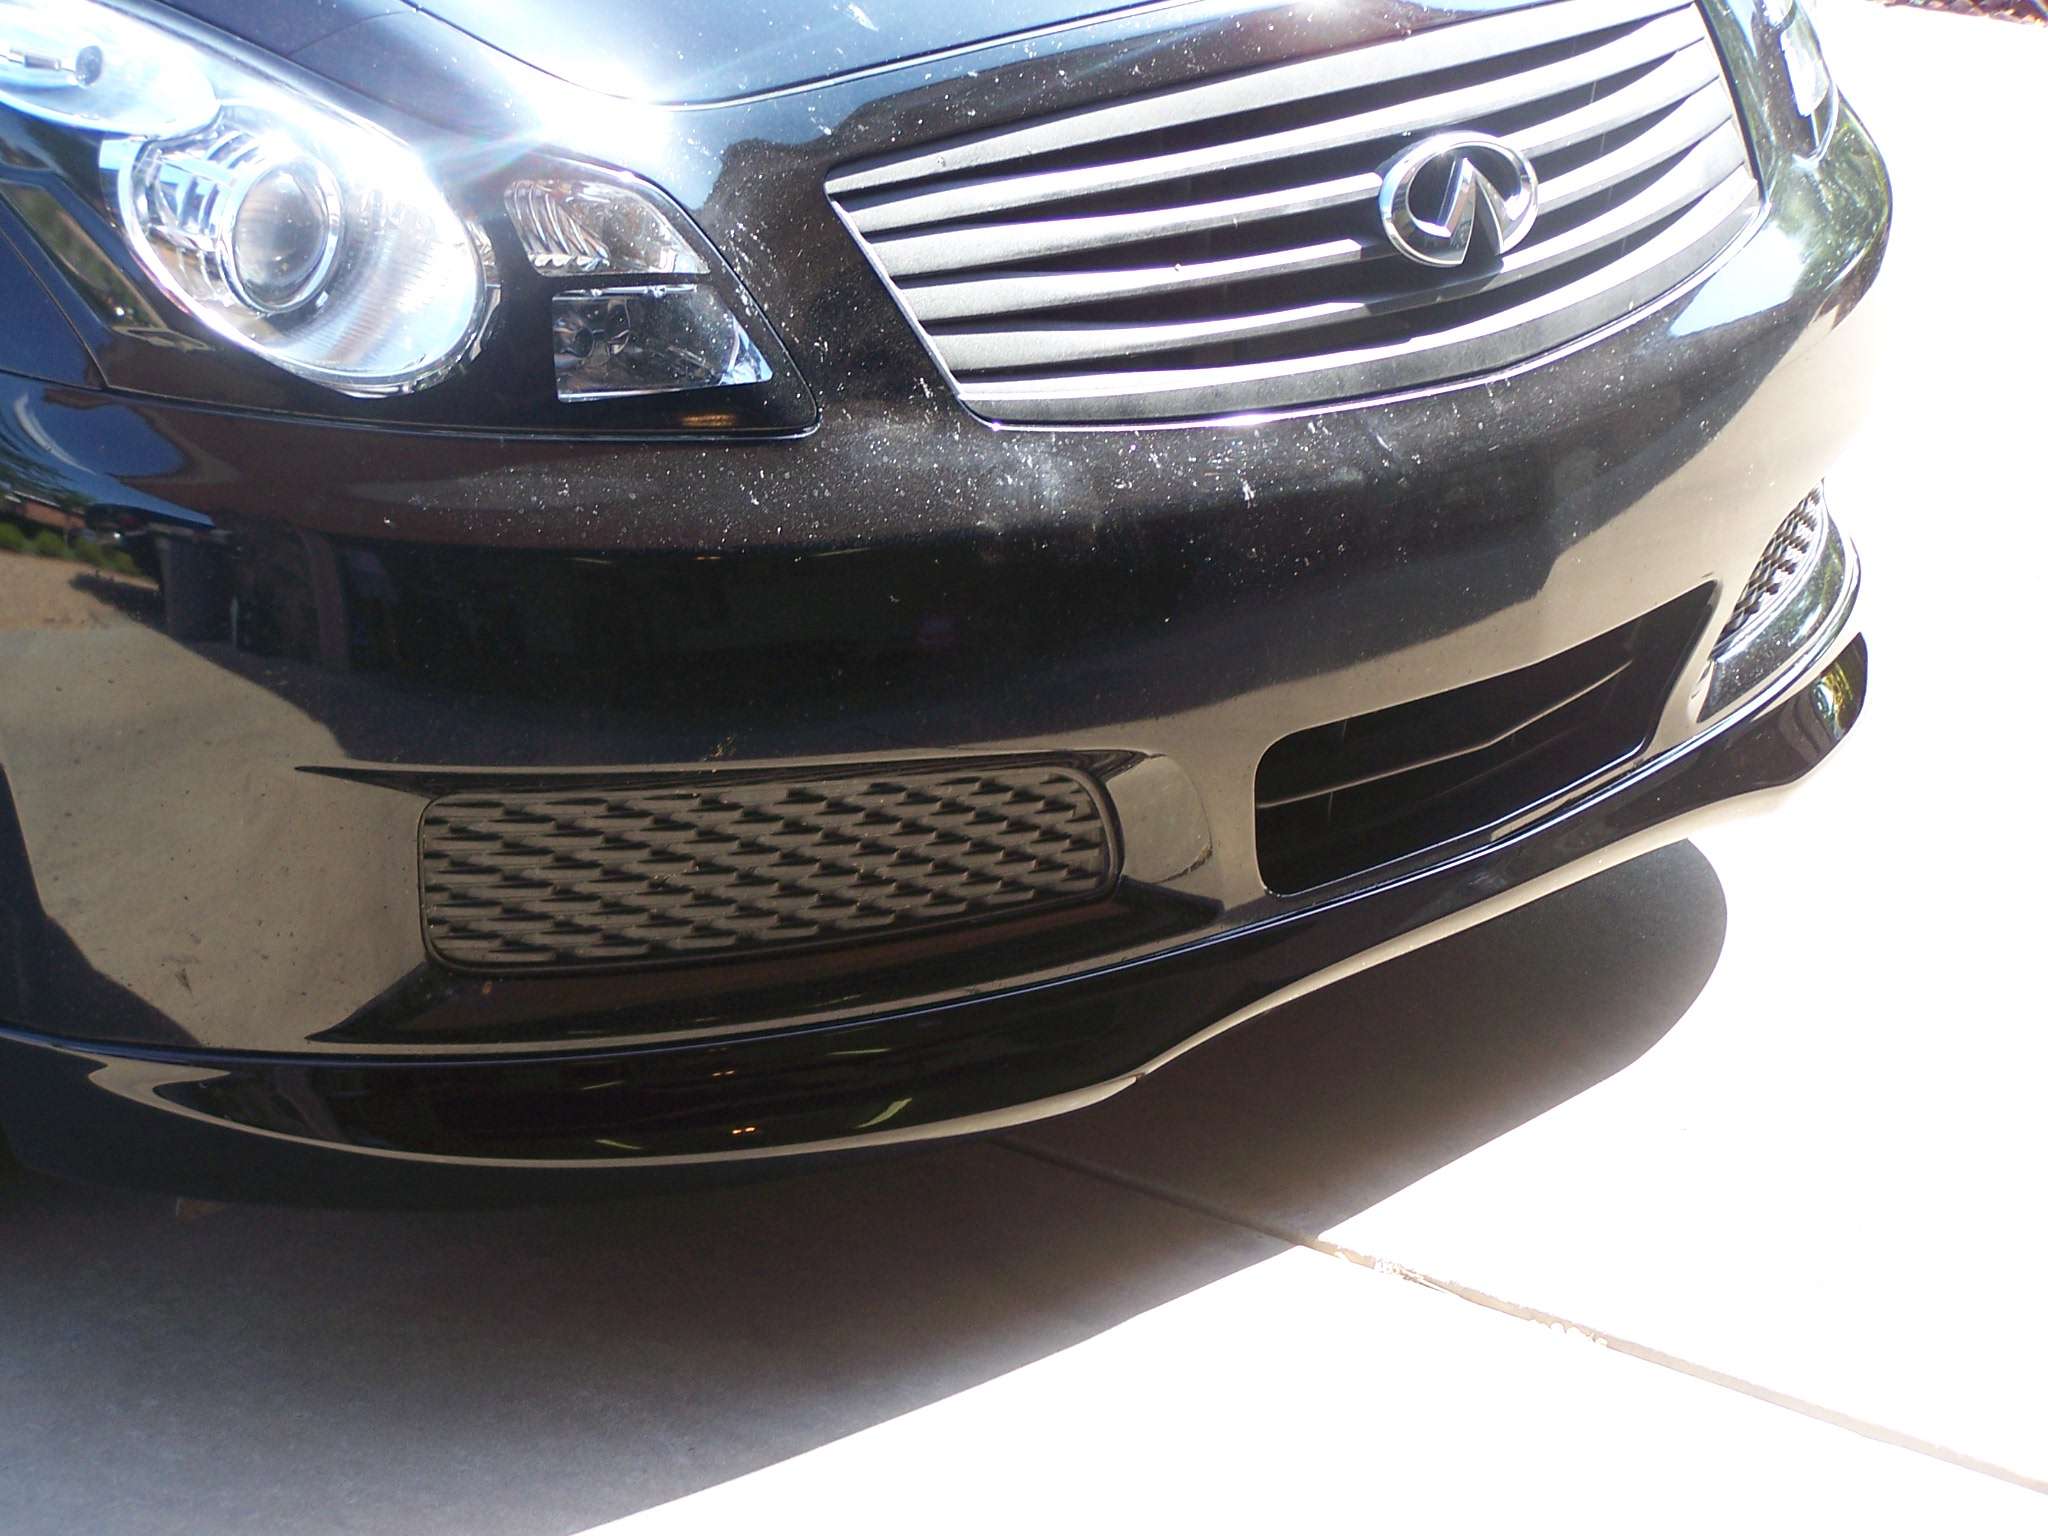
Well I chickened out and just used the templates, pretty simple although the rubber seal wasn't stuck in a few places and I just installed it without fighting the damn thing any longer, didn't seem to be much need for it anyhow 
Sorry for the filthy car, gotta get it shined up for the wife ASAP.
At least one part of my bumper is no longer pitted (or bug-splattered, lol)


Sorry for the filthy car, gotta get it shined up for the wife ASAP.
At least one part of my bumper is no longer pitted (or bug-splattered, lol)


#11
Registered User
iTrader: (3)
I did the tails first so I had it figured out for the headlights. Patience is the key, and if you don't get easily frustrated I think you'll be alright. Just don't use the heat until you really need it, the vinyl gets a bit stiffer to work with if it's already been heated.
#12
I did the tails first so I had it figured out for the headlights. Patience is the key, and if you don't get easily frustrated I think you'll be alright. Just don't use the heat until you really need it, the vinyl gets a bit stiffer to work with if it's already been heated.
B@t
Thread
Thread Starter
Forum
Replies
Last Post
alxmlr789
20 Inch
9
01-26-2016 10:04 AM


