When you click on links to various merchants on this site and make a purchase, this can result in this site earning a commission. Affiliate programs and affiliations include, but are not limited to, the eBay Partner Network.
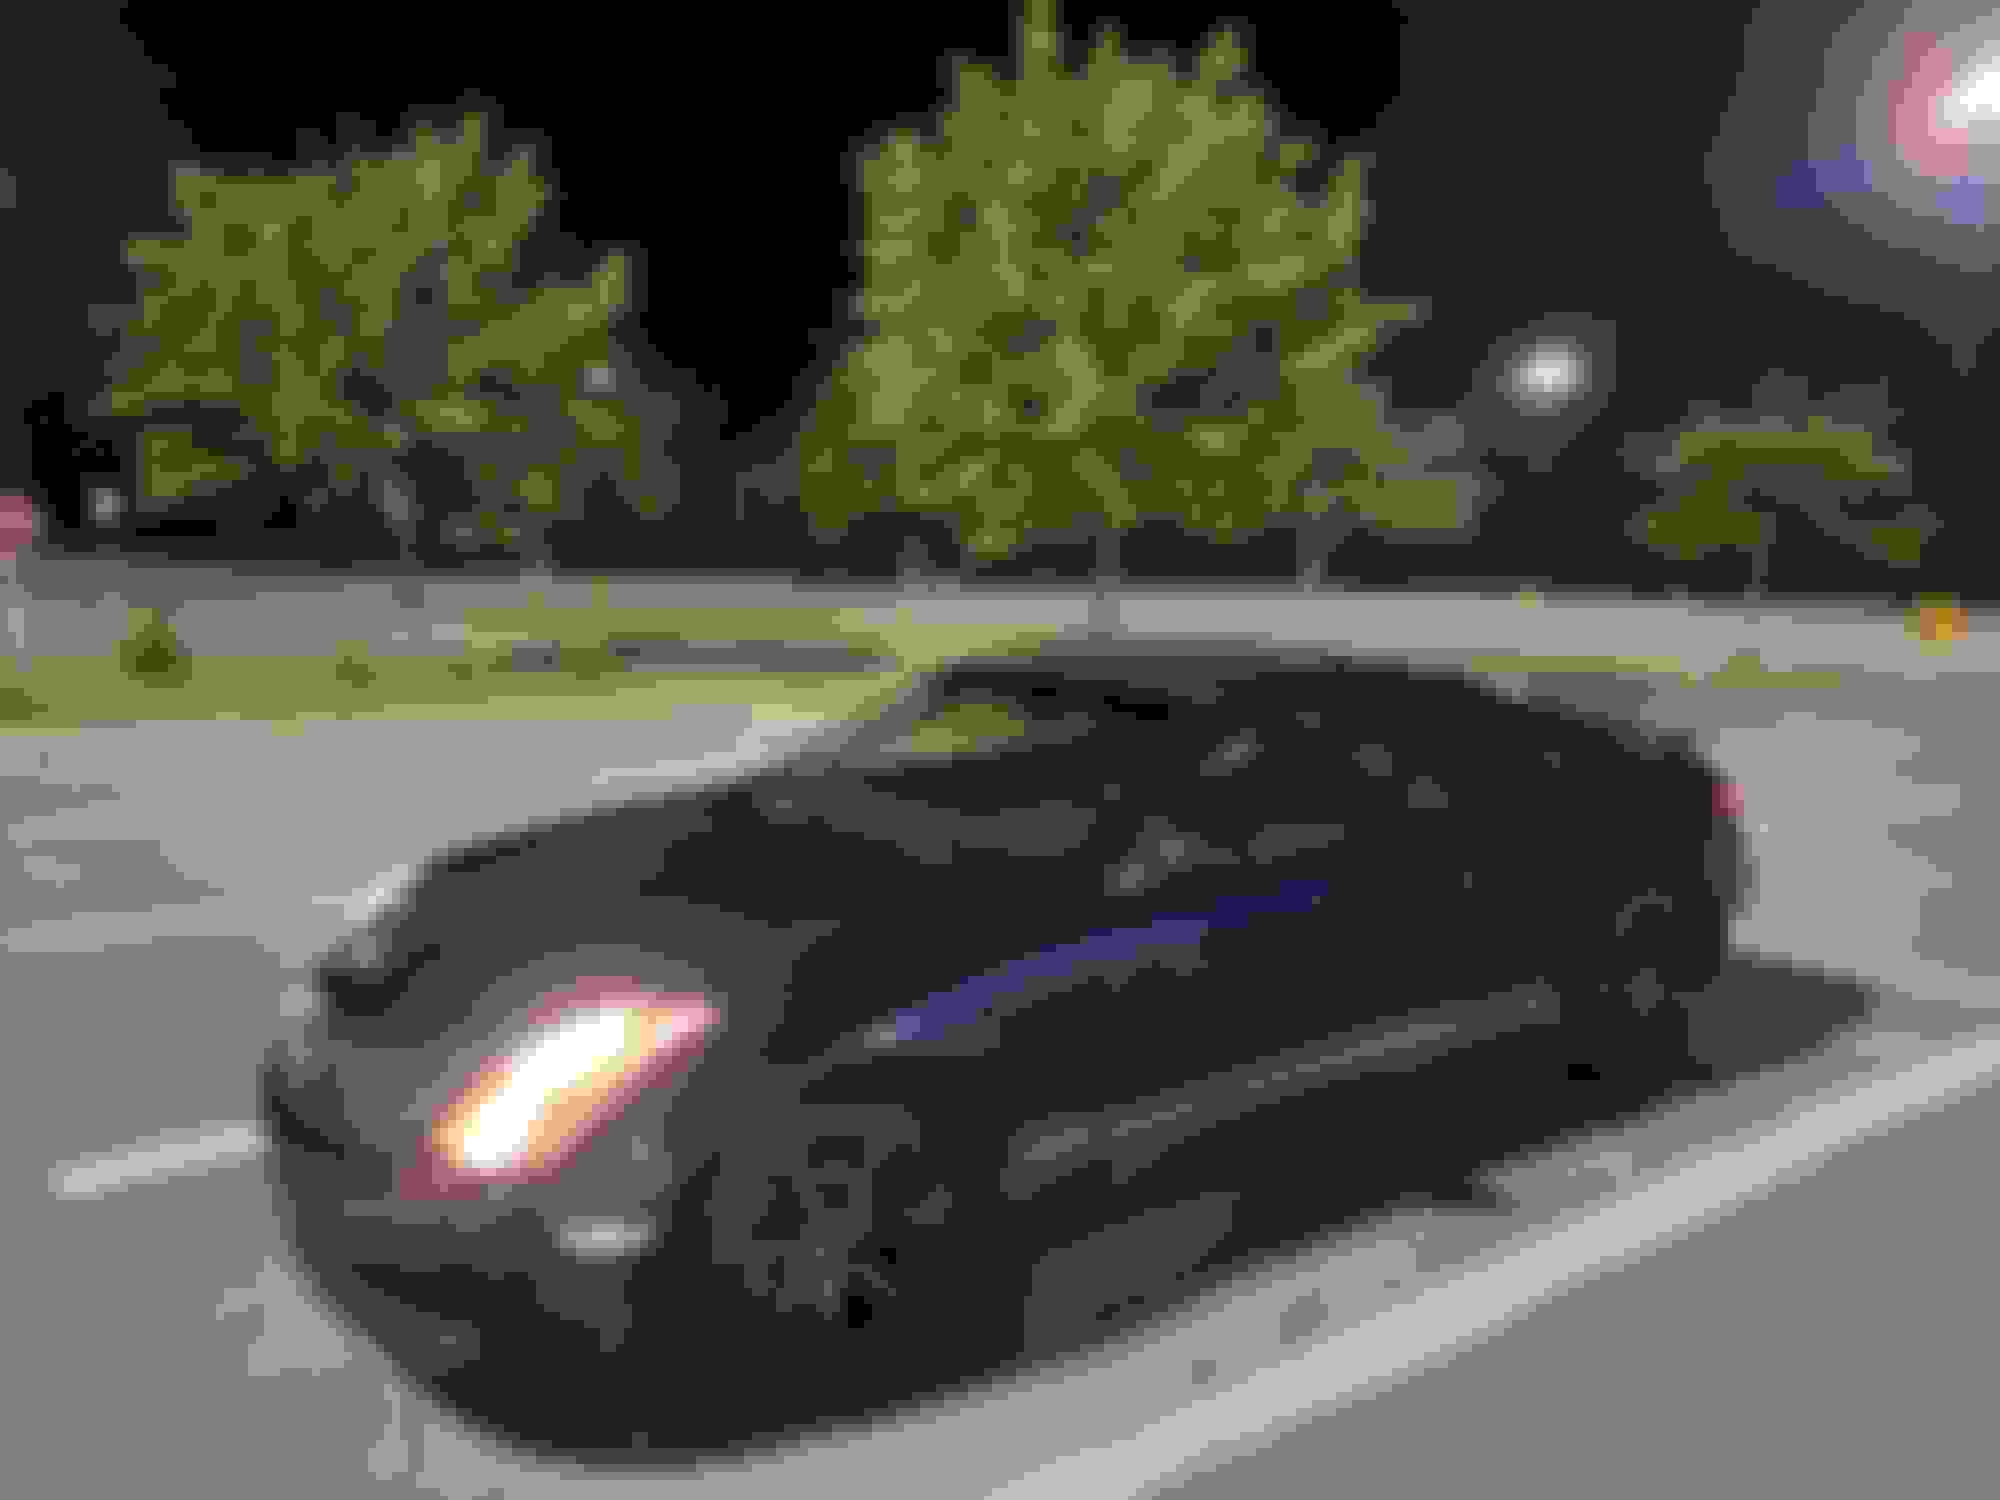
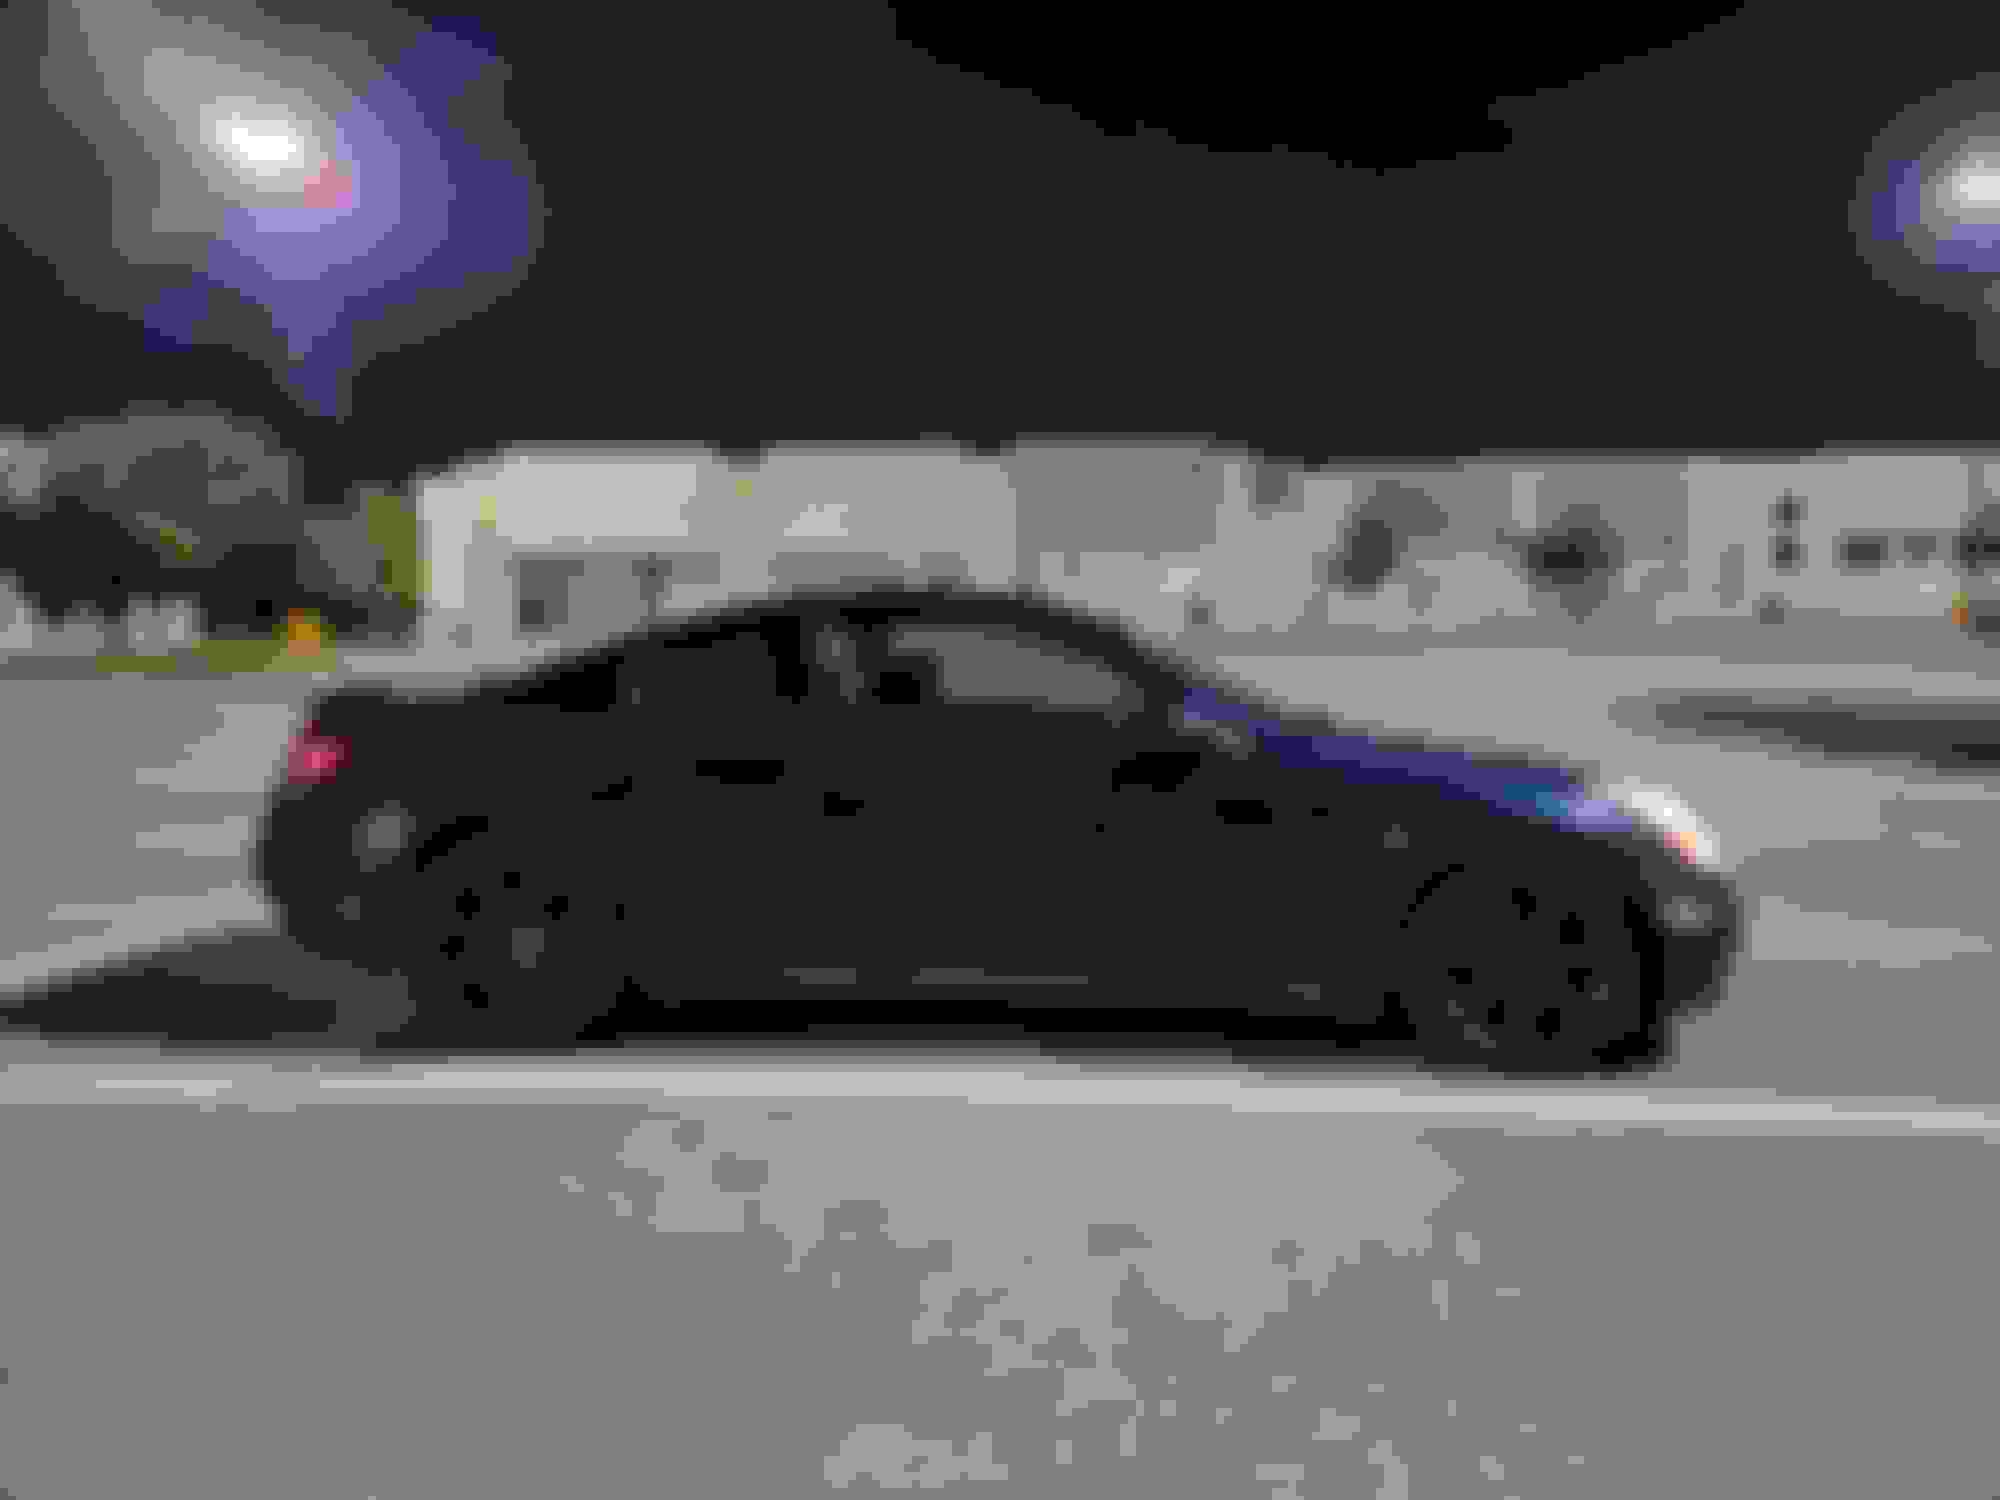
Wanted a change from driving my full size family SUV so, started looking for a small, quick, and nimble beater to get around town. I found this 2004 Twilight Blue G35 Coupe w/leather with 120k miles in my local classifieds for a small chunk of change.
It definitly has seen better days aesthetically but engine and transmission are both smooth. I did do some basic maintenance like oil and filter change; flushed out 1-2 quarts of black oil with small amounts of sludge. Changed the engine air and cabin air filter.
My immediate plans are to restore the headlights and replace the front bumper which is broken in three places lol.
Then i want to take care of the hood which has clear coat failure and a little body rust on the roof and front quarter panel that i think formed from a couple of neglected rock chips.
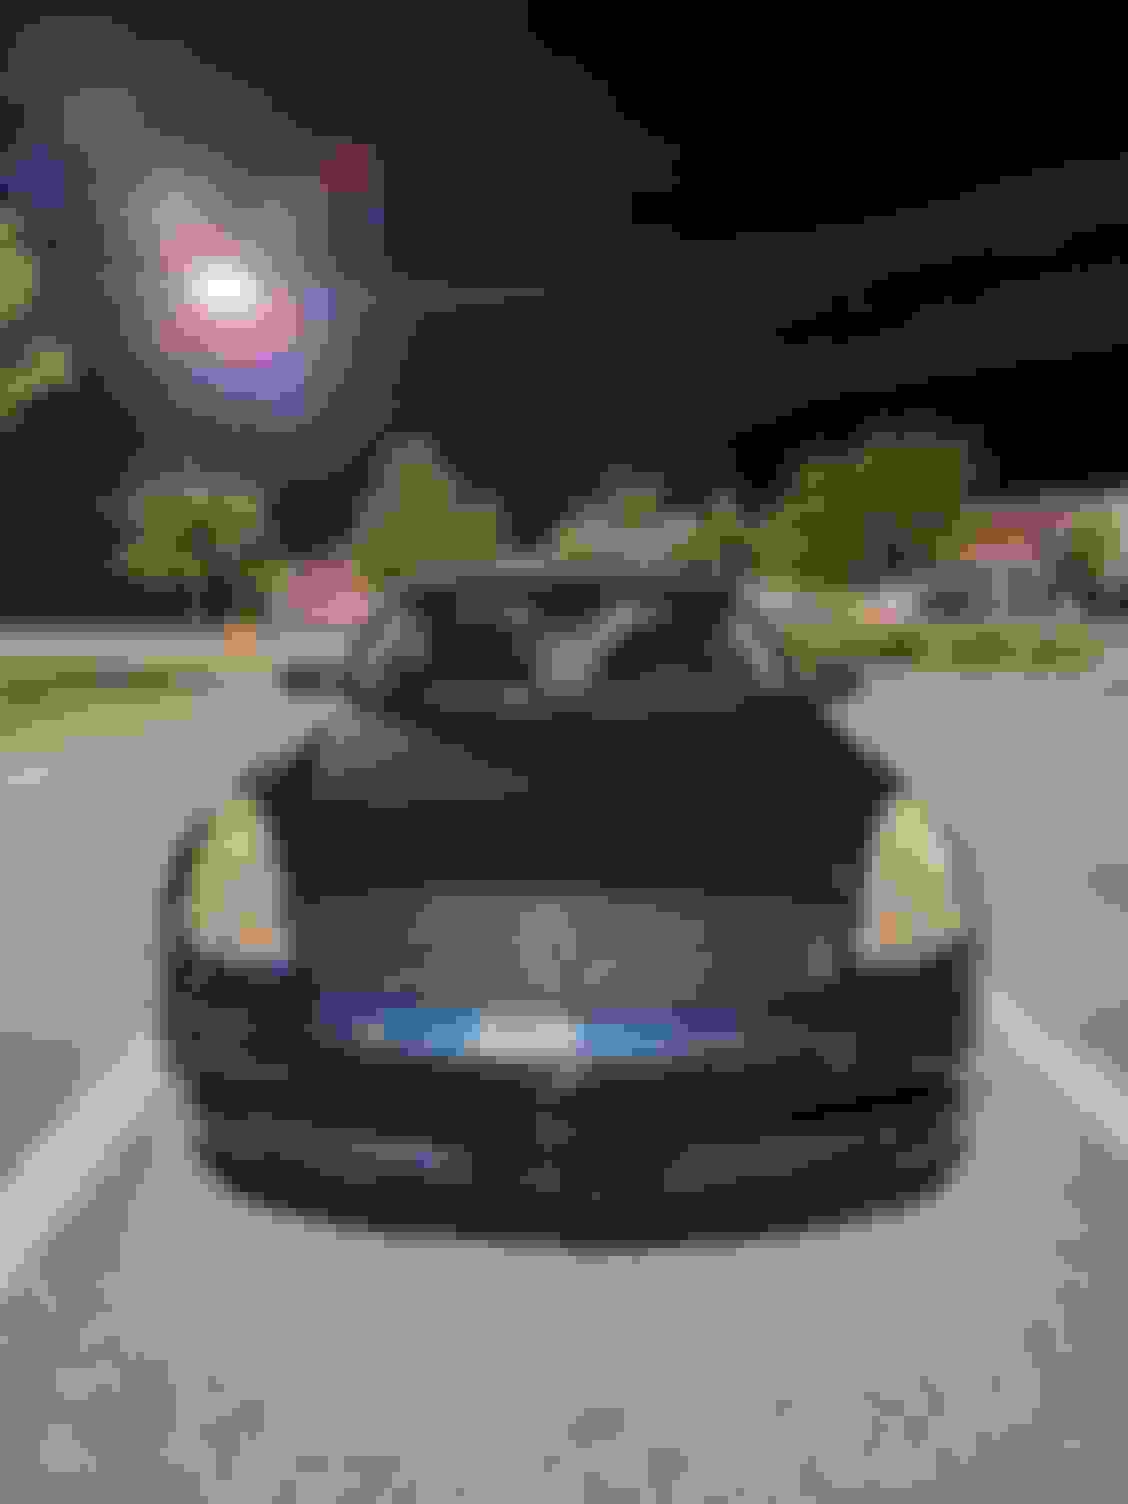
The biggest issue with the car is the rust on some under carriage stabilizing components on the front and rear. The previous owner drove it in the winter and being some of the lowest points of the car mixed with salt, snow, rain took its toll and looks like a piece of the titanic more than an infiniti. Also, the engine undercarraige cover is thrashed so, will need a new one of those.
Once i progressively take care of these items i think i will have a decent speeder to get around town.
Does anyone know how u can take care of clear coat failure without having to repaint the hood? Any comments, suggestions, and feedback would be greatly appreciated.
If you're not going to completely sand it down and do it over again just know that the biggest issue will be these lines you can see as the paint changes elevation across the hood. You're missing a 2mil section of paint so it's going to have an edge to it. Sand it 1500 grit either by hand or with a random orbital sander to smooth that out, try to remove ALL that clear coat that has visibly changed color (you'll be chipping it off with a plastic tool most likely), get your local auto paint mixer to make up two separate single stage match paint for you in an aerosol can (they usually come in small cans, you will need two for the hood), tape off everything else (or just take the hood off) and repaint the entire hood.
SAVE THOSE CANS! They can be reloaded with more paint and it will save you money because you're probably going to be doing this again on other parts of the car. They're usually like $10 apiece for the can itself, $45 for enough paint to fill two of them, and another $10-$15 for them to load up two cans. I normally walk out with a $75 bill doing two 7.5oz cans. One is enough for a fender, it takes about 1.5-2 cans for a hood.
Single stage paint has the clear coat mixed into the paint already, it's great for doing repair work like this where you just need it to look BETTER, not necessarily PERFECT (which costs a significant amount).
Start by washing the entire car, then clay bar. Now you're ready to paint, ideally this would be indoors however I've done some very decent paint jobs outdoors but you ABSOLUTELY MUST SET UP A POP UP TENT to keep sunlight off the car, and it helps prevent dust from falling on the paint. Outdoors you WILL be getting a lot of dust so keep that in mind when it comes to initial sanding. This also must be done on a calm day when outdoors, even a little breeze is going to really make the sanding a pain in the *** because there's going to be stuff stuck all over it.
It will need to be wet sanded to get a good finish, so wait at least 12 hours. Typically I'll paint in the morning, then let it cure until the next morning, then start the sanding.
Start with some 1500 grit by hand (1500 paper is fine, don't need a block at this point) and knock down the tall spots that you can easily see, when I say "easily" that basically means you can see when you're looking at the paint at an angle making a reflection. Use a good light. This is going to make some very ugly sanding marks on the paint, don't worry about it you'll be polishing these out.
Next move to 2000 grit, then to 2500 grit. You can either block sand by hand, or use a random orbital, your choice. The newer style of foam block sanders worth amazing when doing it by hand. Your auto paint store will have these in stock, you don't need the fancy angled ones for a hood, just the rectangular block will be fine. The G35 hood fortunately has no angles, just a flat sheet of metal. Personally I just use those foam block sanders unless it's an entire car.
At this point the paint will be a complete matte haze with no shine whatsoever, it should look very evenly and consistently hazy. Next is the polishing with a rotary buffer, I'm old school and prefer a wool pad, I've seen newer synthetics work fine but wool is a time-tested material for a great polish. 3M Perfect-It single stage RUBBING COMPOUND is my go-to. Works great and it's fast. The biggest tip is setting the right speed on your buffer, if it's slinging material around you're spinning too fast, I usually use just above the lowest setting on my polisher.
At this point you may consider just being done since the rest of the car is going to be looking worse than the hood does at this point. There's going to be swirls left in the paint, if you want to go for a mirror finish switch back to the orbital, use a foam pad (Chemical Guys orange pads work great for daily driver look, white pads can be used after to go for a mirror finish). I like Optimum Car Care Hyper Polish, if you wanted to stick with the 3M stuff the next finer polish in their line is the Perfect-It Machine Polish and you can either orbital or use the buffer, they then have a final showroom quality ultra fine polish called Perfect-It Ultrafine Machine Polish that would be orbital only. This is probably a little unnecessary for what you're doing though. I'd stop after a stage 2 polish personally. Personally I only use the buffer for the initial cut and then I orbital all the remaining stages.
You could just polish the entire vehicle at this point if you have time/desire just so the whole thing is shiny and not just the hood. You're already looking at quite a bit of work though so it would be a lot EASIER to just wait a week, then you can polish the rest of the car as well as use some type of modern ceramic paint sealant. I'm a huge fan of the Optimum Car Care Opti-Seal, you spray it on a microfiber towel and wipe it on the car, that's it, nothing fancy and it's CHEAP. A $25 bottle will easily last you all year if you're using it once per month.
If you don't already have a random orbital and buffer, personally I really like the Porter Cable 7424XP orbital. You COULD get by with just sanding by hand if you don't want to buy one. Ditch the initial foam pad thing they send it with though, get the hook/loop attachment and just use those velcro foam pads they're a LOT more durable and cheaper.
Or if you're happy with the initial cut on a buffer you can just leave it at that and not even use the orbital, or also use the buffer to do polishing with a different pad (each pad will be good for only one cutting/polishing product, don't try to use one pad for both you will never get the other product out of it).
Buffer I have a couple I use, DeWalt makes a great one but it's not cheap, even a cheapo Harbor Freight will be fine but whatever one you end up with it ABSOLUTELY must be variable speed.
Hope this helps give you an idea on where to go from here. Product only you're looking at like $75 in paint, $30-$50 in various sandpaper and pads, $50 in cutting and polish chemicals. Tools the Porter Cable is like $125 but you can get a cheaper random orbital that will work ok for like $75. Buffer will run $75-$225 depending on if it's Chinesium or a DeWalt.
Last edited by cleric670; Aug 4, 2023 at 01:55 PM.
If you're not going to completely sand it down and do it over again just know that the biggest issue will be these lines you can see as the paint changes elevation across the hood. You're missing a 2mil section of paint so it's going to have an edge to it. Sand it 1500 grit either by hand or with a random orbital sander to smooth that out, try to remove ALL that clear coat that has visibly changed color (you'll be chipping it off with a plastic tool most likely), get your local auto paint mixer to make up two separate single stage match paint for you in an aerosol can (they usually come in small cans, you will need two for the hood), tape off everything else (or just take the hood off) and repaint the entire hood.
SAVE THOSE CANS! They can be reloaded with more paint and it will save you money because you're probably going to be doing this again on other parts of the car. They're usually like $10 apiece for the can itself, $45 for enough paint to fill two of them, and another $10-$15 for them to load up two cans. I normally walk out with a $75 bill doing two 7.5oz cans. One is enough for a fender, it takes about 1.5-2 cans for a hood.
Single stage paint has the clear coat mixed into the paint already, it's great for doing repair work like this where you just need it to look BETTER, not necessarily PERFECT (which costs a significant amount).
Start by washing the entire car, then clay bar. Now you're ready to paint, ideally this would be indoors however I've done some very decent paint jobs outdoors but you ABSOLUTELY MUST SET UP A POP UP TENT to keep sunlight off the car, and it helps prevent dust from falling on the paint. Outdoors you WILL be getting a lot of dust so keep that in mind when it comes to initial sanding. This also must be done on a calm day when outdoors, even a little breeze is going to really make the sanding a pain in the *** because there's going to be stuff stuck all over it.
It will need to be wet sanded to get a good finish, so wait at least 12 hours. Typically I'll paint in the morning, then let it cure until the next morning, then start the sanding.
Start with some 1500 grit by hand (1500 paper is fine, don't need a block at this point) and knock down the tall spots that you can easily see, when I say "easily" that basically means you can see when you're looking at the paint at an angle making a reflection. Use a good light. This is going to make some very ugly sanding marks on the paint, don't worry about it you'll be polishing these out.
Next move to 2000 grit, then to 2500 grit. You can either block sand by hand, or use a random orbital, your choice. The newer style of foam block sanders worth amazing when doing it by hand. Your auto paint store will have these in stock, you don't need the fancy angled ones for a hood, just the rectangular block will be fine. The G35 hood fortunately has no angles, just a flat sheet of metal. Personally I just use those foam block sanders unless it's an entire car.
At this point the paint will be a complete matte haze with no shine whatsoever, it should look very evenly and consistently hazy. Next is the polishing with a rotary buffer, I'm old school and prefer a wool pad, I've seen newer synthetics work fine but wool is a time-tested material for a great polish. 3M Perfect-It single stage RUBBING COMPOUND is my go-to. Works great and it's fast. The biggest tip is setting the right speed on your buffer, if it's slinging material around you're spinning too fast, I usually use just above the lowest setting on my polisher.
At this point you may consider just being done since the rest of the car is going to be looking worse than the hood does at this point. There's going to be swirls left in the paint, if you want to go for a mirror finish switch back to the orbital, use a foam pad (Chemical Guys orange pads work great for daily driver look, white pads can be used after to go for a mirror finish). I like Optimum Car Care Hyper Polish, if you wanted to stick with the 3M stuff the next finer polish in their line is the Perfect-It Machine Polish and you can either orbital or use the buffer, they then have a final showroom quality ultra fine polish called Perfect-It Ultrafine Machine Polish that would be orbital only. This is probably a little unnecessary for what you're doing though. I'd stop after a stage 2 polish personally. Personally I only use the buffer for the initial cut and then I orbital all the remaining stages.
You could just polish the entire vehicle at this point if you have time/desire just so the whole thing is shiny and not just the hood. You're already looking at quite a bit of work though so it would be a lot EASIER to just wait a week, then you can polish the rest of the car as well as use some type of modern ceramic paint sealant. I'm a huge fan of the Optimum Car Care Opti-Seal, you spray it on a microfiber towel and wipe it on the car, that's it, nothing fancy and it's CHEAP. A $25 bottle will easily last you all year if you're using it once per month.
If you don't already have a random orbital and buffer, personally I really like the Porter Cable 7424XP orbital. You COULD get by with just sanding by hand if you don't want to buy one. Ditch the initial foam pad thing they send it with though, get the hook/loop attachment and just use those velcro foam pads they're a LOT more durable and cheaper.
Or if you're happy with the initial cut on a buffer you can just leave it at that and not even use the orbital, or also use the buffer to do polishing with a different pad (each pad will be good for only one cutting/polishing product, don't try to use one pad for both you will never get the other product out of it).
Buffer I have a couple I use, DeWalt makes a great one but it's not cheap, even a cheapo Harbor Freight will be fine but whatever one you end up with it ABSOLUTELY must be variable speed.
Hope this helps give you an idea on where to go from here. Product only you're looking at like $75 in paint, $30-$50 in various sandpaper and pads, $50 in cutting and polish chemicals. Tools the Porter Cable is like $125 but you can get a cheaper random orbital that will work ok for like $75. Buffer will run $75-$225 depending on if it's Chinesium or a DeWalt.
Cleric, thank you so much for this detailed step by step instruction. I read it once and already feel like i can take this on myslef and not going to a shop to get done. Its a project car so, even though ive never done paint and body work i feel like i can make this a weekend project.