Diode Dynamic HID Kit - 06 Projector - Fog Upgrade
#1
 04-06-2014, 10:57 PM


Diode Dynamic HID Kit - 06 Projector - Fog Upgrade
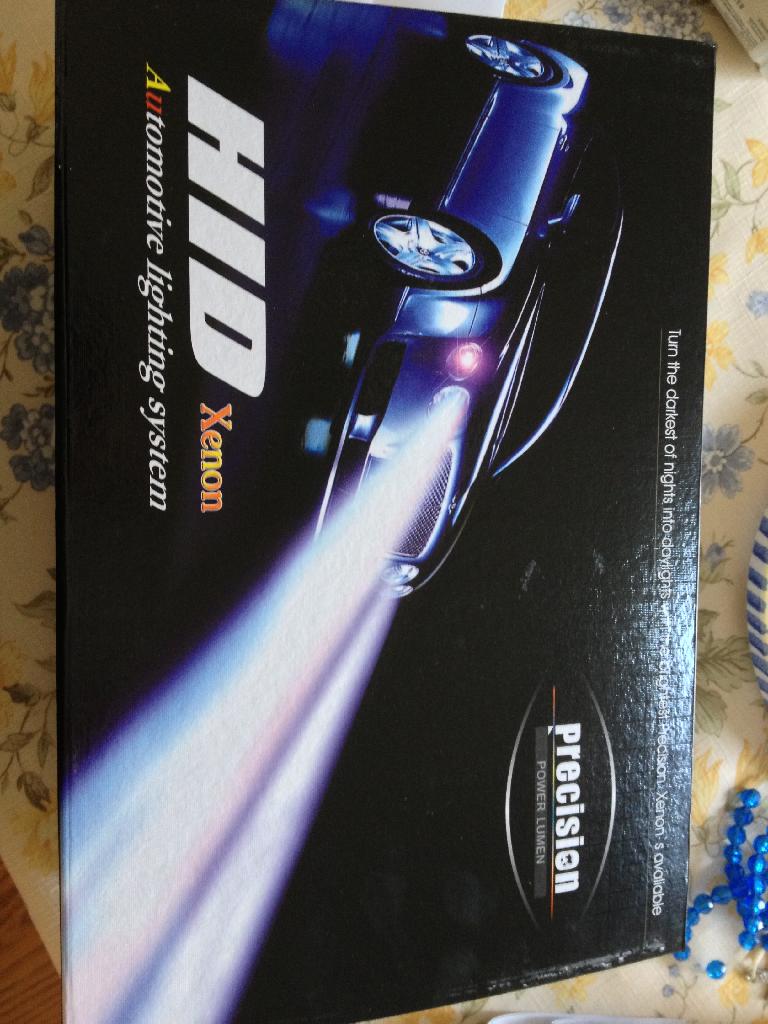
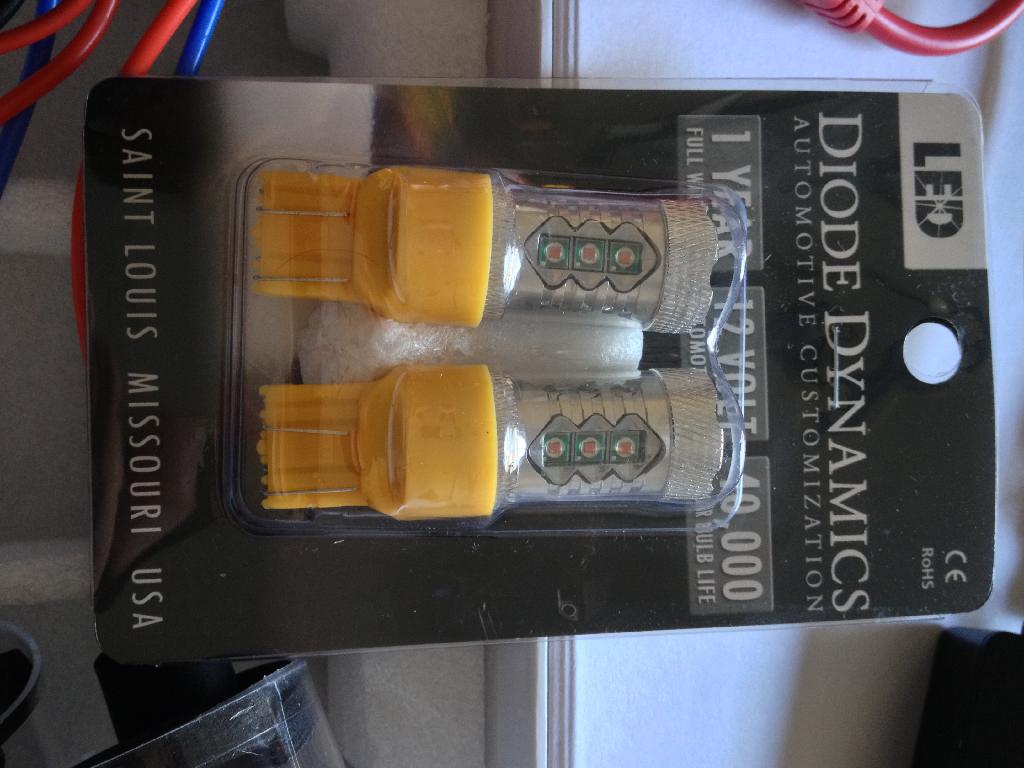
So I traded my headlights for the 06 projector headlights+cash and before installing went ahead & ordered the 6000k HID fog conversion kit from Diode Dynamics. They are local to me and also a site sponsor. I also went ahead and bought the stage3 blinker bulbs.
The install went fairly smooth however I literally spent around 5 hours today working on this. Keep in mind that includes my installing both headlights and dealing with a lot of misc issues ill mention below. If you already had these headlights and were just installing the kit it should be capable of 2-2.5 hours. Also depends if you run the relay or use factory wiring, obviously running the relay will take just a tad more time.
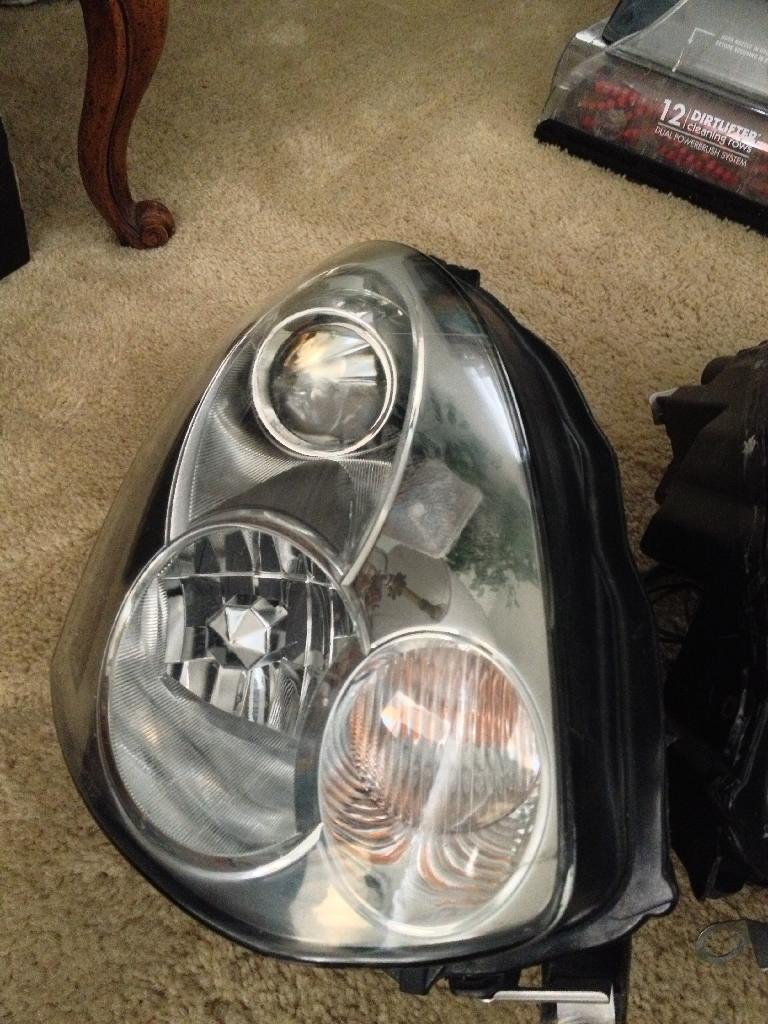
So for starters the headlights I received are not exactly mint condition but I am going to sand and buff the lens later in the week then UV seal them when im done. I also feel like it was a pretty decent deal so I cant complain! The biggest mistake/issue I made is the previous owner cut a hole in the top dust shield and put tape over it. When I removed the tape alot of debris and dirt fell into the headlight. I instantly died a little inside. With limited time I went on with the install and will have to bake the headlight and remove the lens to clean the inside. The inside of the dust cap literally had .5" of dirt and dust built up inside of it. I cleaned it & re-sealed the hole using a standard clear sealer.
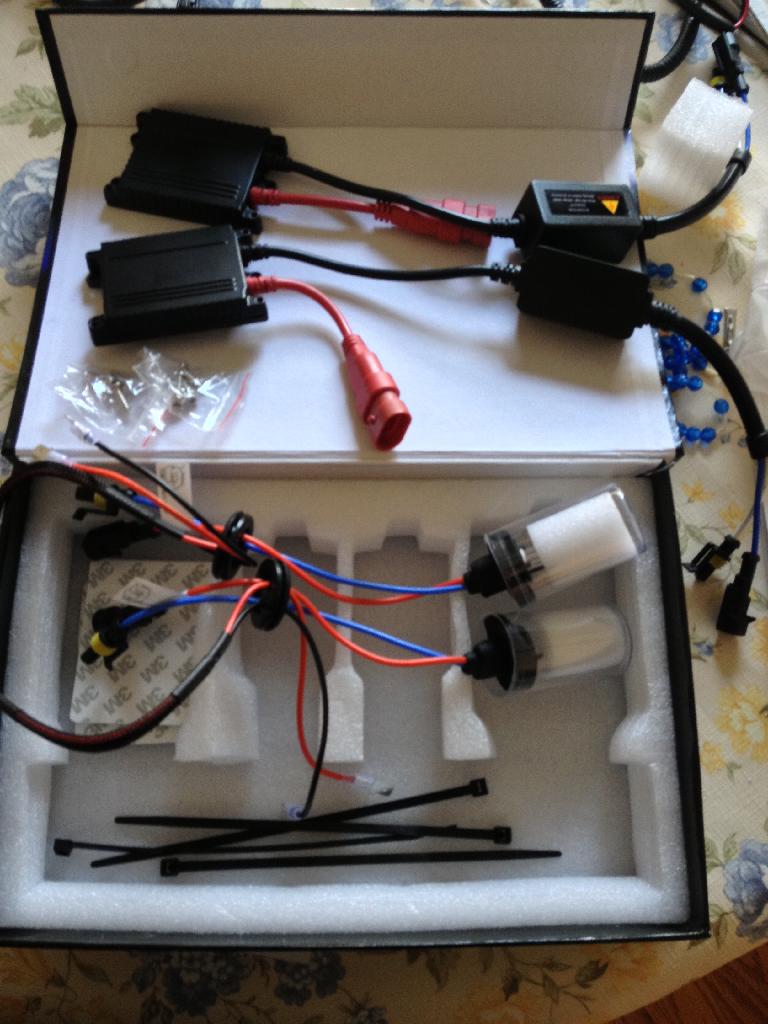
The Kit:
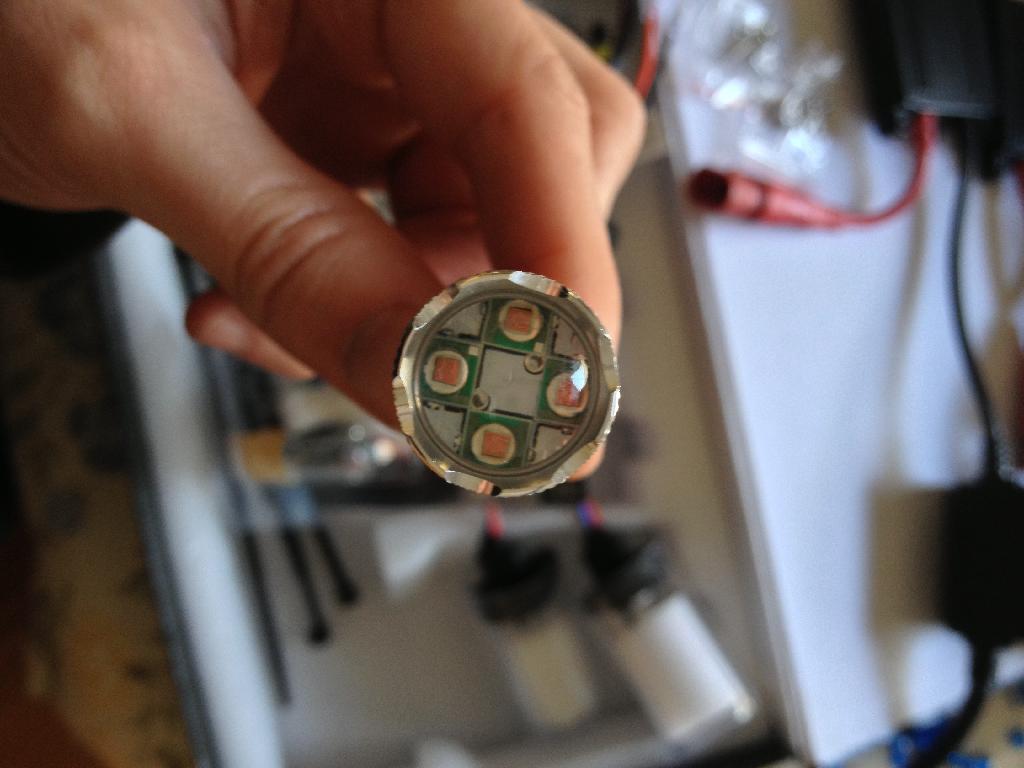
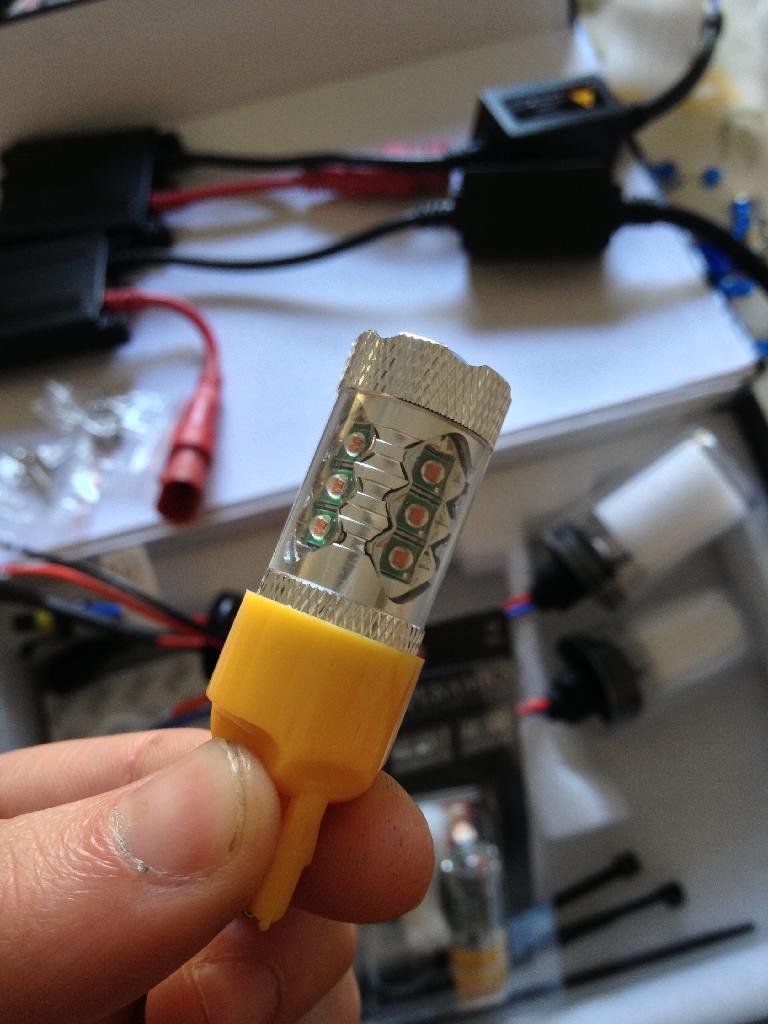
Blinker Bulbs:
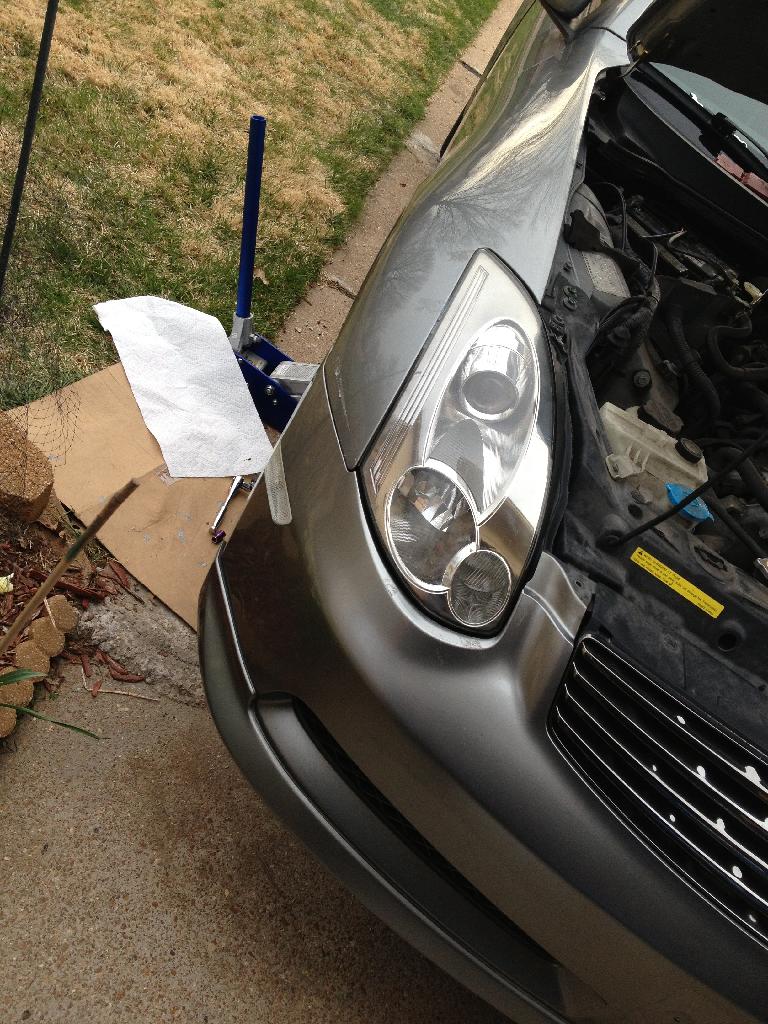
Headlight:

I wasnt sure if the factory wiring would support the kit and didnt want to risk it so I installed the optional relay & also installed the resistors for the new blinker bulbs. Without the resister installed you will get a fast blinker which is a bit annoying to me.
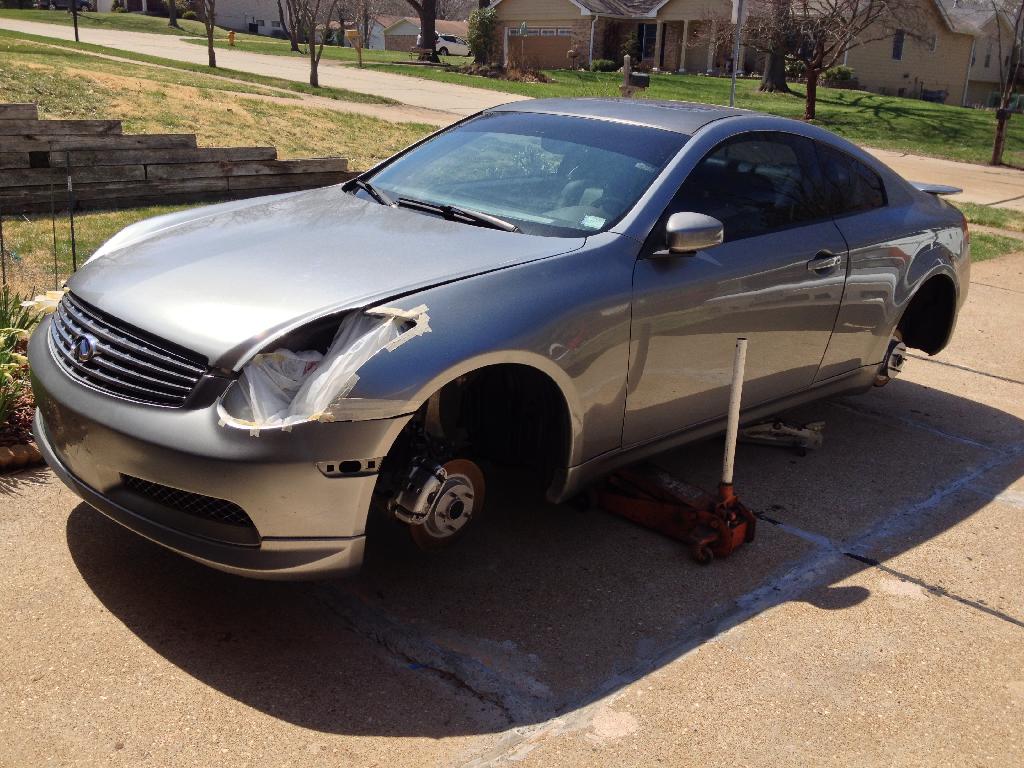
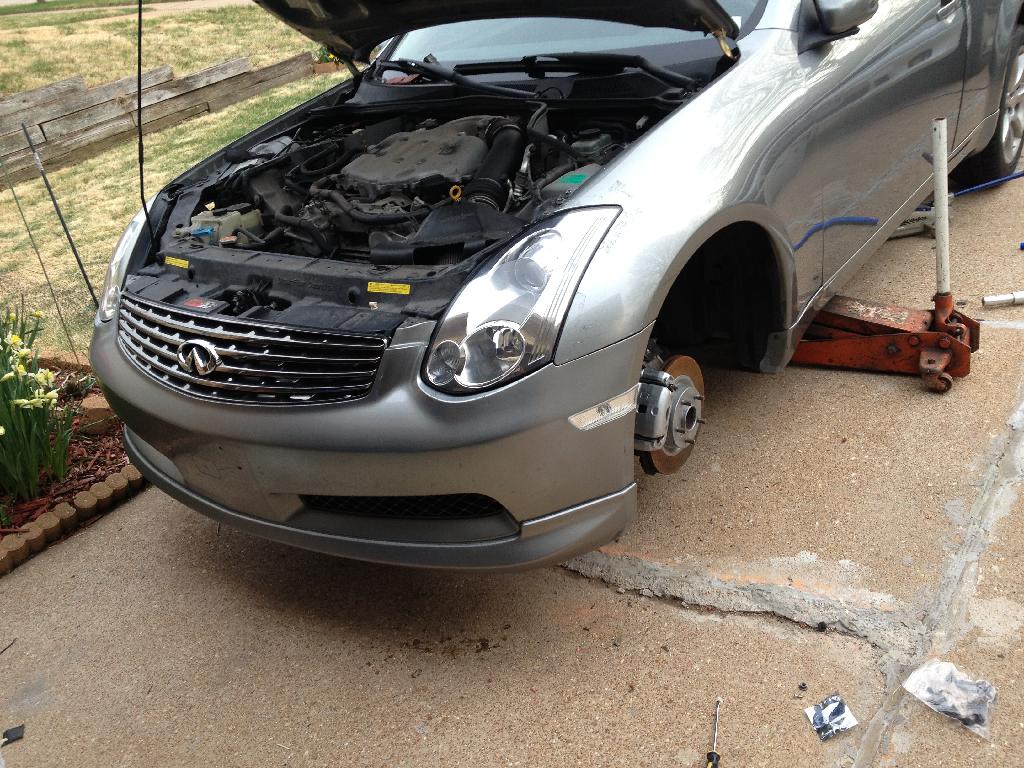
The car:
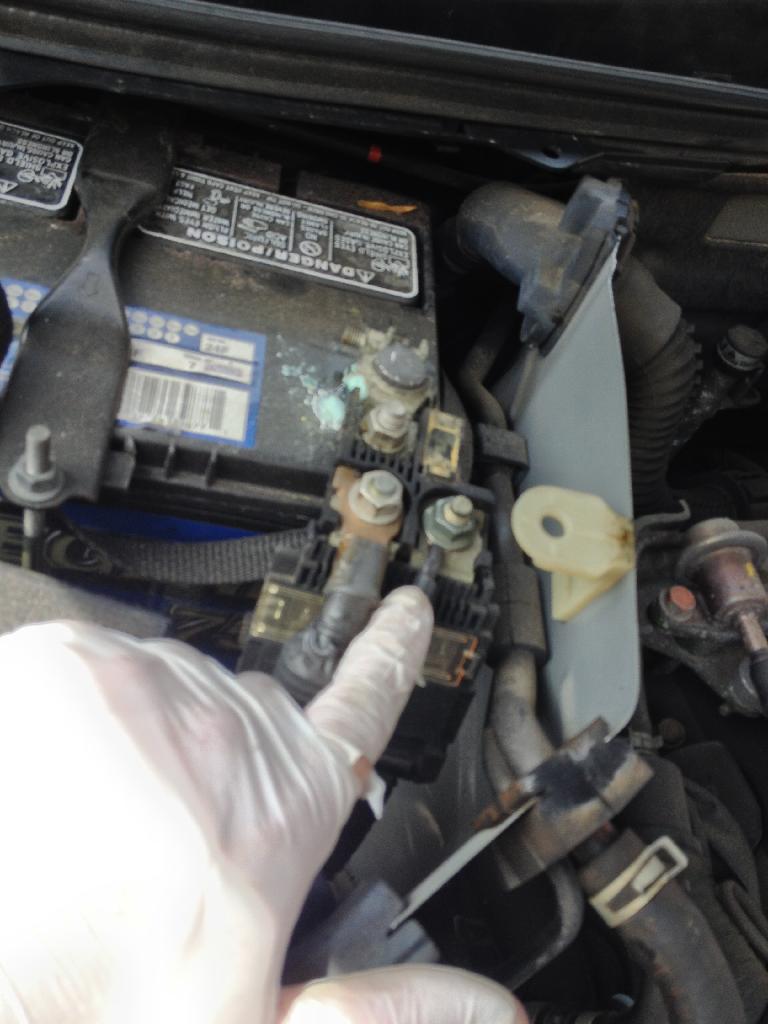
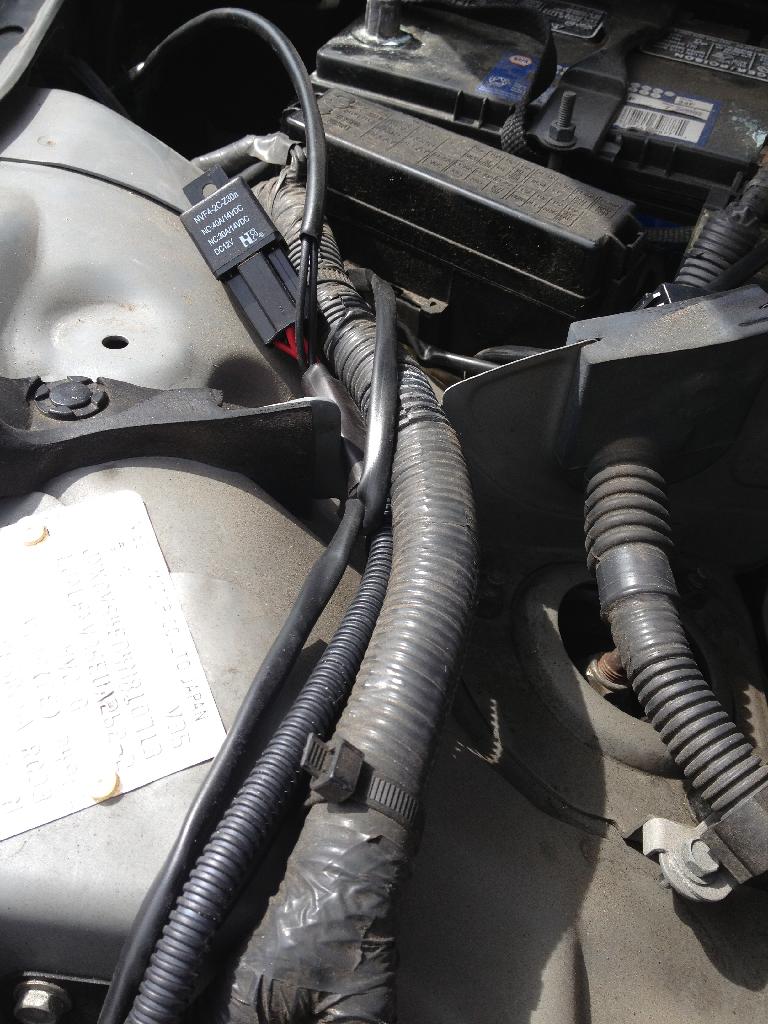
Ran Power to here:
Grounded here:
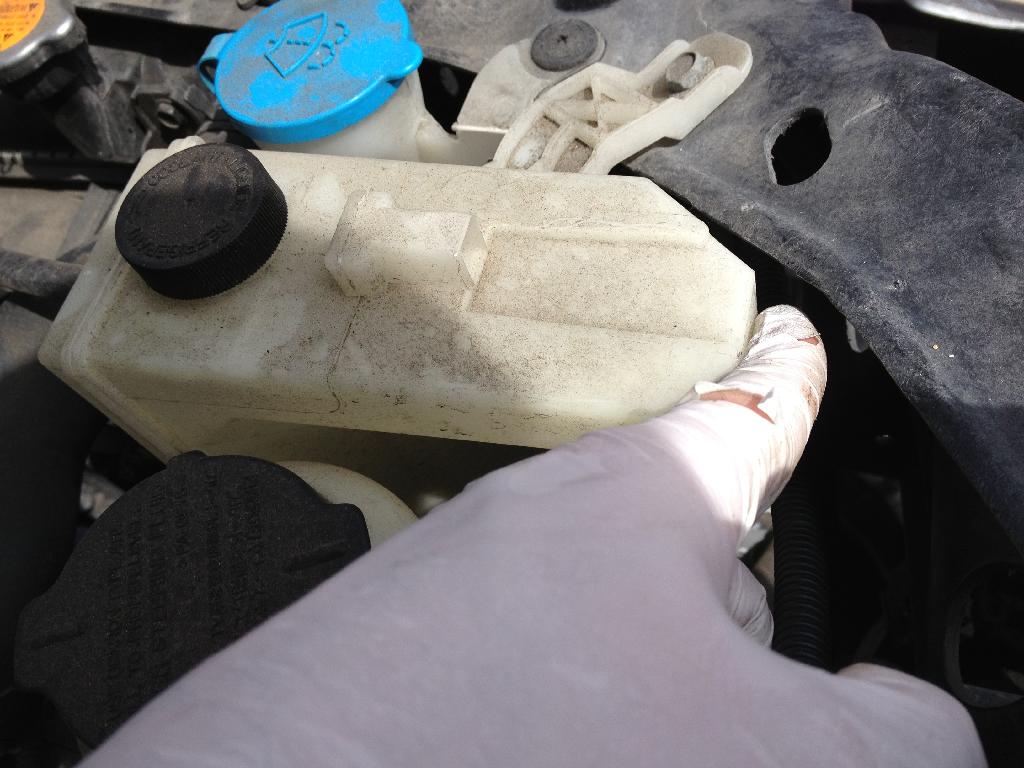
Ran the rest of the loom through here. I didnt wanna cut any holes in that area so just went with the obvious, this isnt a show car but I also didnt want a mess of wiring.
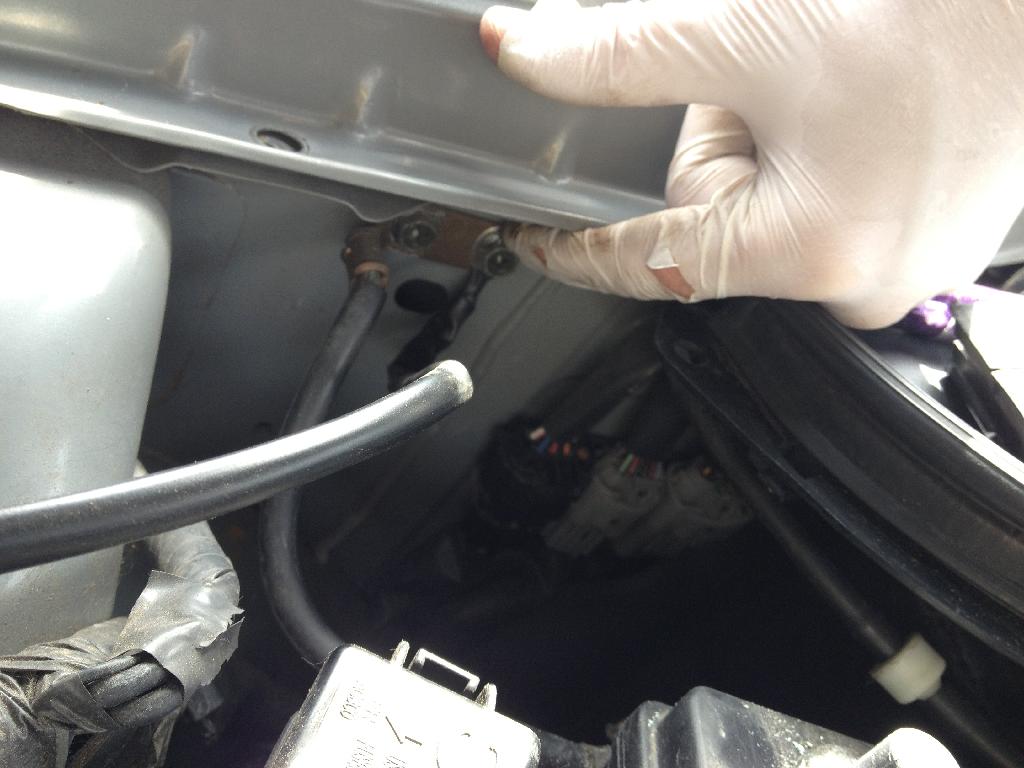
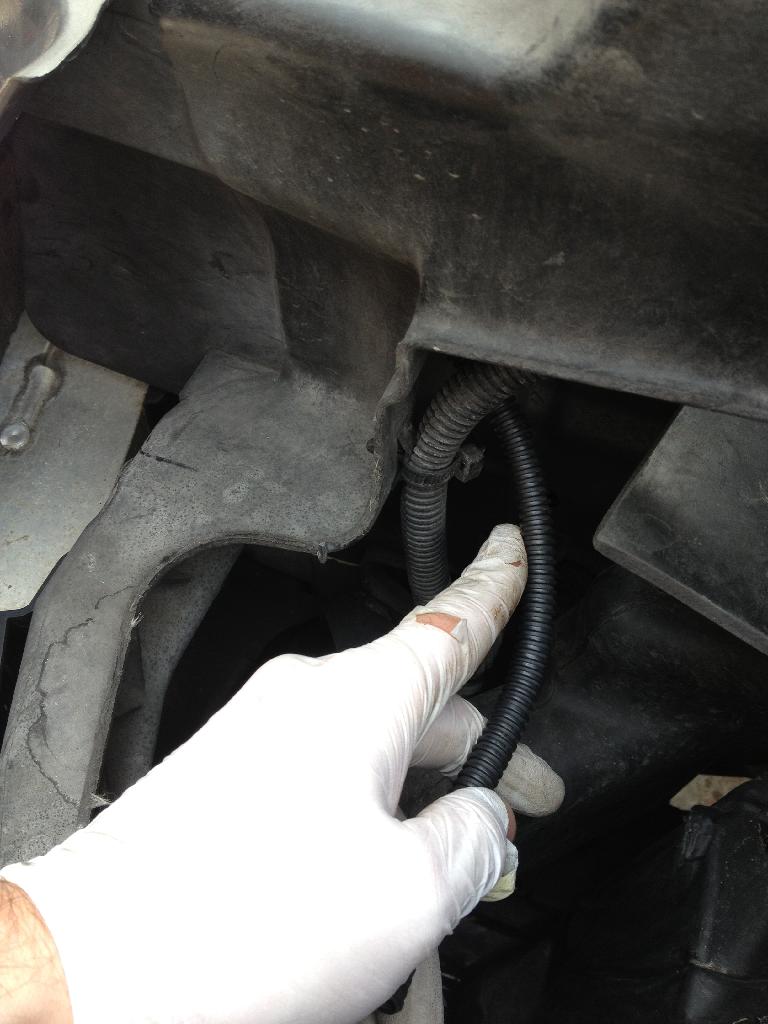
Now its hard to see but in order to run the wiring this way across the front of the car you will have to run the wiring for the driver side through a small hole under here. In order to do this you will need to cut the fitting off the harness and just re-solder it when your done passing it through on the other side.
Ran through here then later zip-tied to existing lines
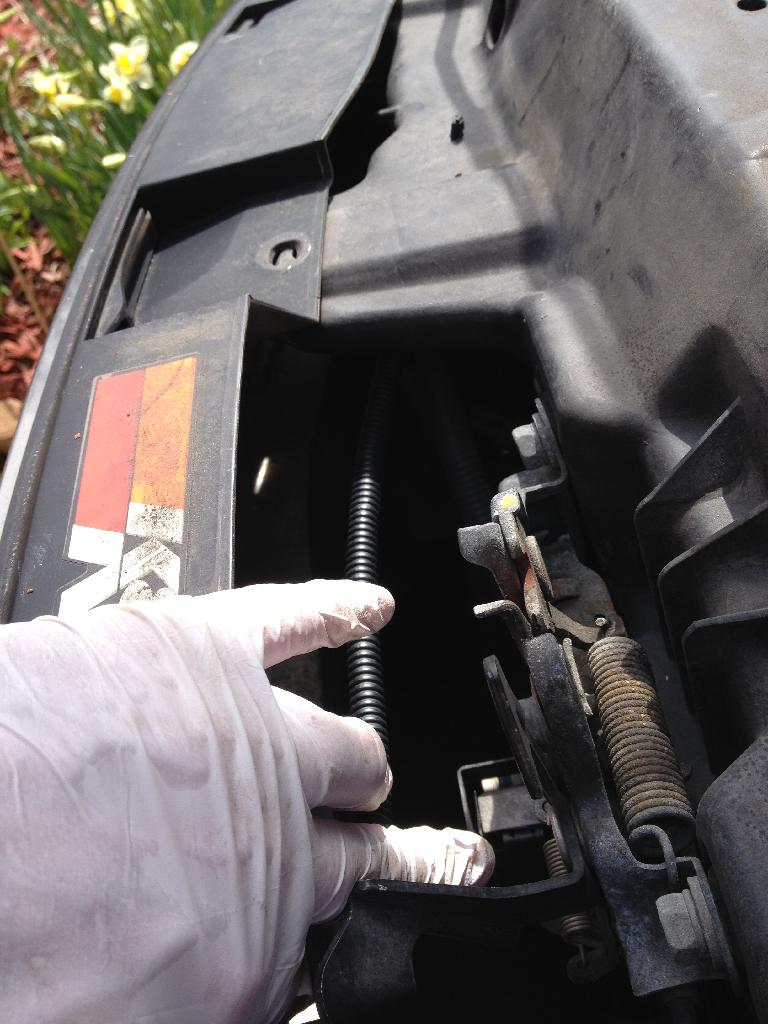
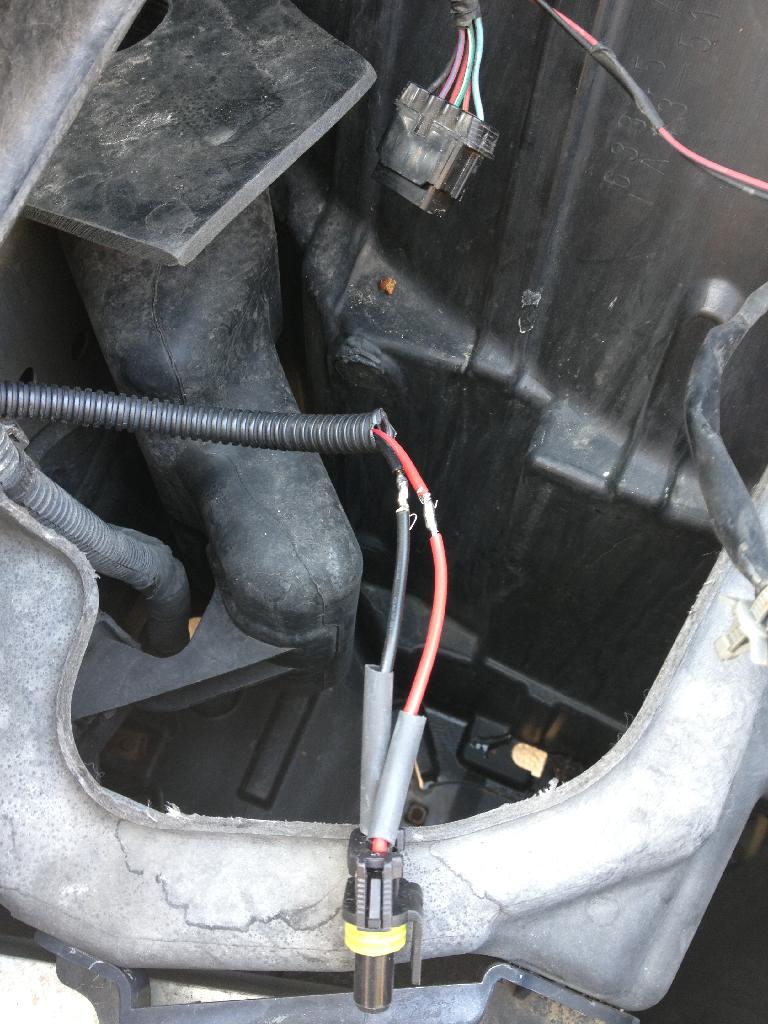
Comes out the driver side here:
Solder & heat shrink the fitting back on:
Making progress!:
I did not have a 1" drill bit so I ended up just using a smaller bit then cutting the ends off the wiring from the kit to slide the wiring through a smaller hole in the dust cap and then just soldered/heat shrink them again on the other side. If you have a 1" bit you can use a rubber grommet they provide but I didnt so i improvised. It only took a few minutes to cut/solder & heat shrink them. I used a clear sealant to seal them once I was done.
I mounted the ballast to the existing ballast under the headlight using the provided 3m tape. I also mounted the resistor to the bottom of that ballast also using 3m tape. Honestly this is probably the cleanest way to do it. There is plenty of room to mount them this way and its definitely the fastest.
Ultimately the kit was rather easy to install, I spent more time sealing dust covers & waiting for it to dry or sealing a crack in the bottom of the headlight then anything. You dont have to cut and solder anything but to me it was worth it in the way I wanted to run the wiring and without having a 1" drill bit off hand was the easiest.

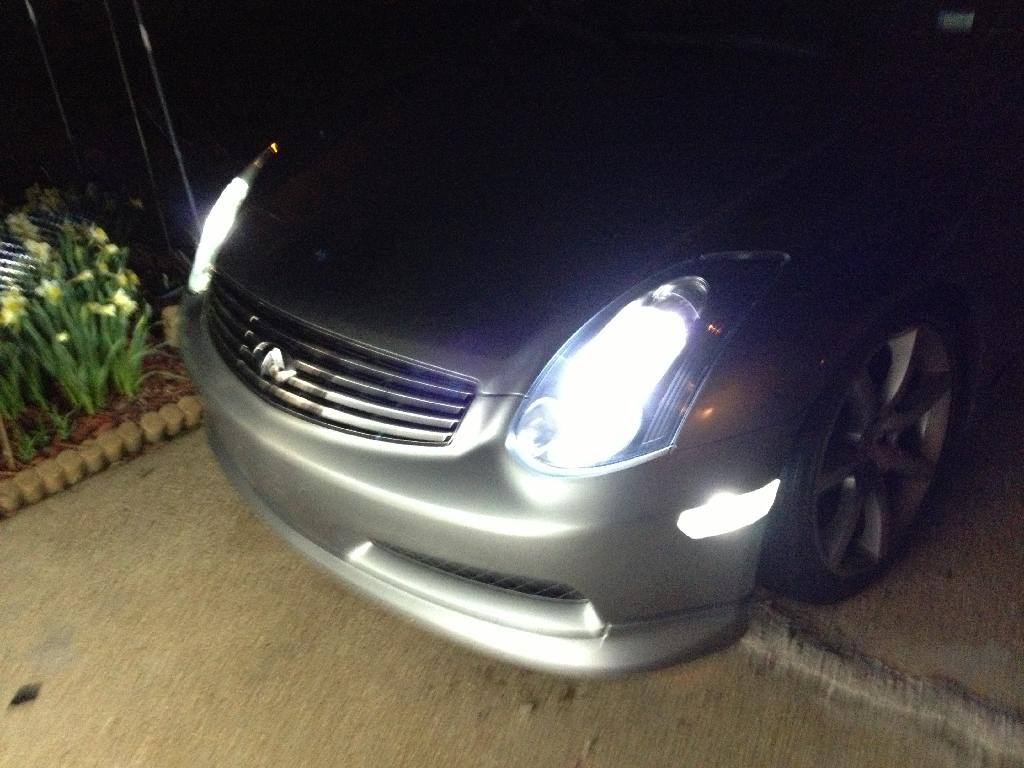
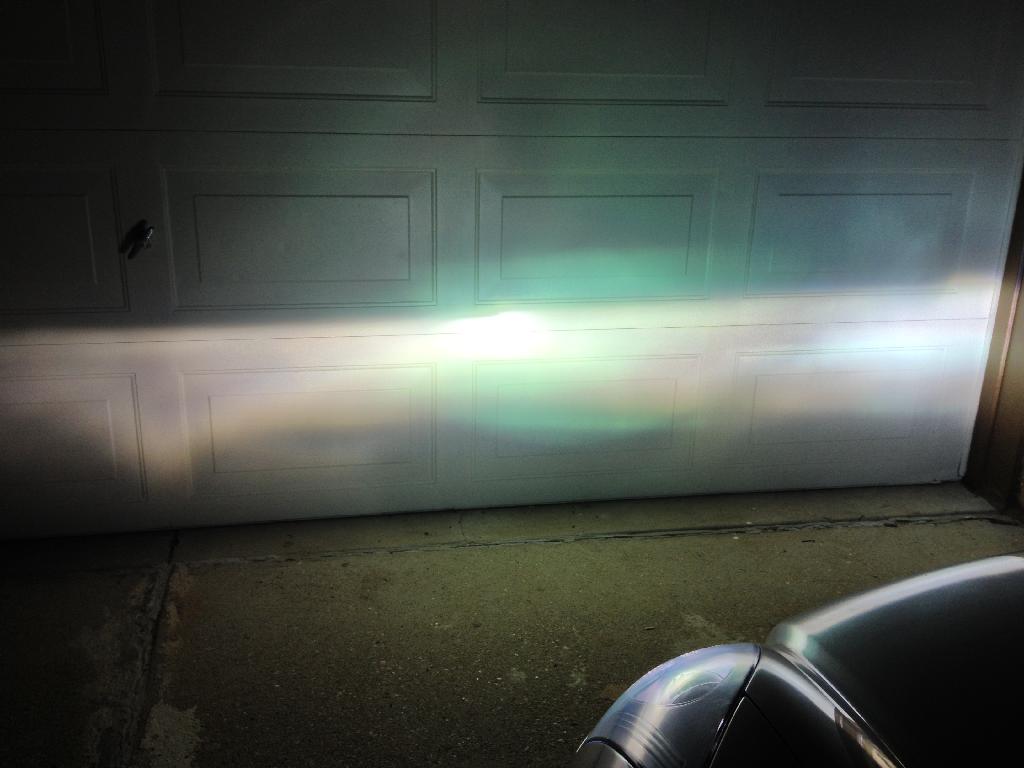
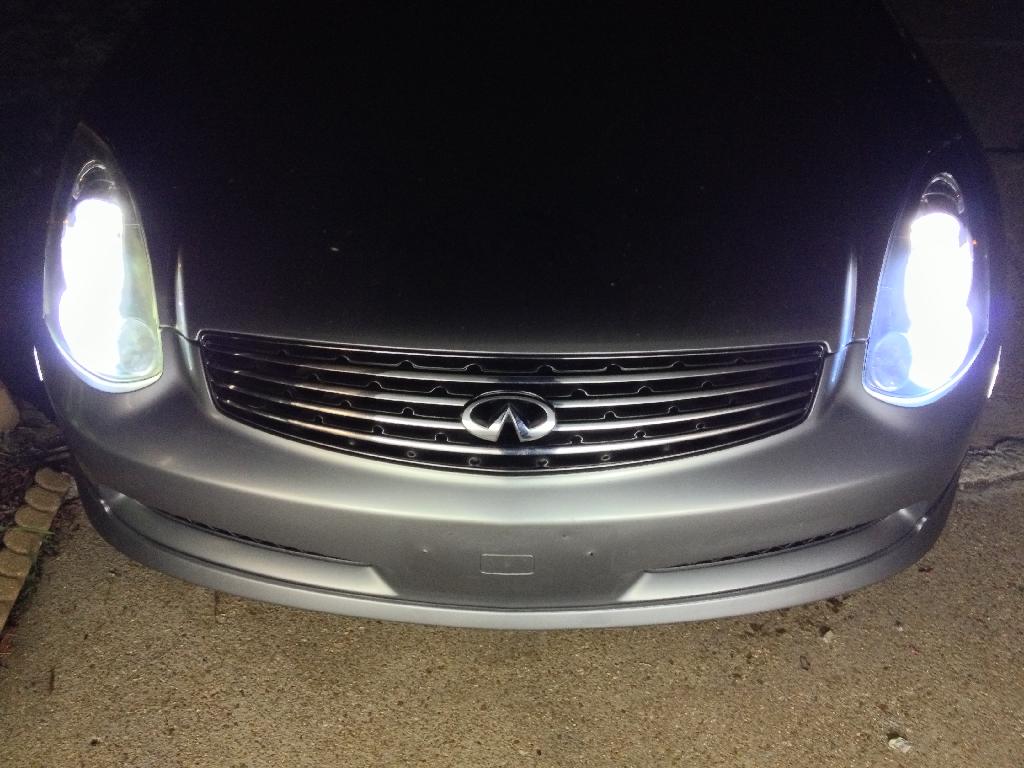
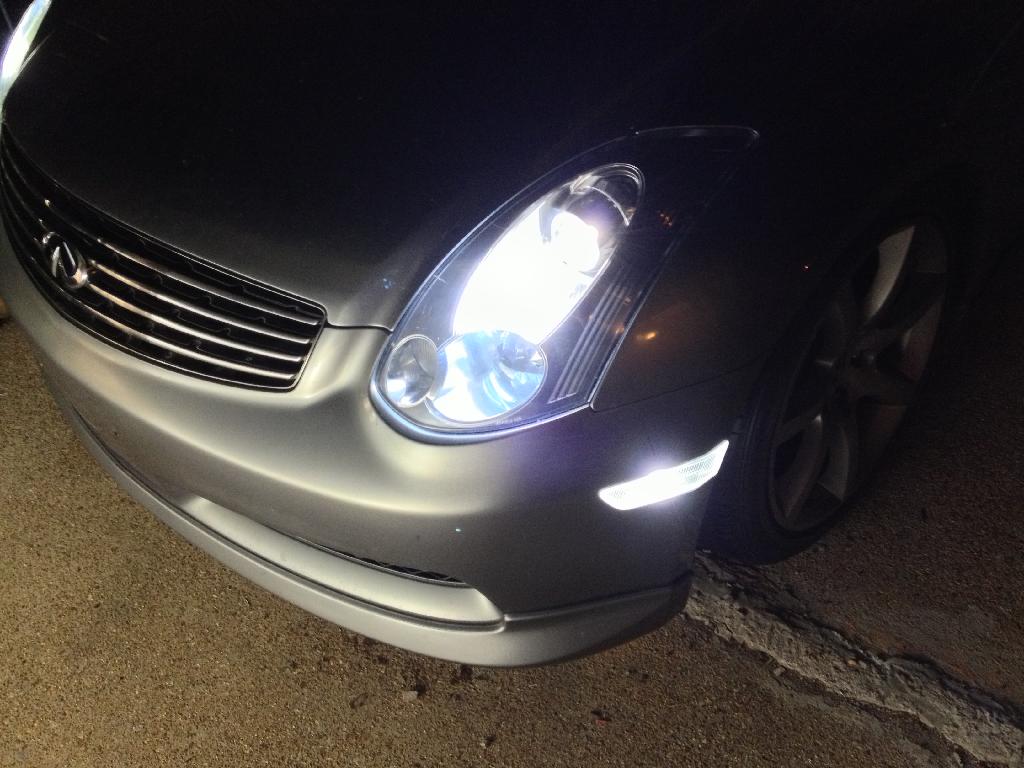
It was dark the the time I finished up & I wanted to install my summer wheels but ill have to do that later in the week. I should also spend a little time aiming them when I get a chance but so far I love them. Its 100x better than my previous headlights & the color from the fogs looks great. Its a slight blue at first then a nice bright white afterwards to match the top. The blinker bulb is also a very pure bright orange. The kit had everything I needed and looked very well put together. Overall I am very happy with this purchase & upgrade.
The install went fairly smooth however I literally spent around 5 hours today working on this. Keep in mind that includes my installing both headlights and dealing with a lot of misc issues ill mention below. If you already had these headlights and were just installing the kit it should be capable of 2-2.5 hours. Also depends if you run the relay or use factory wiring, obviously running the relay will take just a tad more time.
So for starters the headlights I received are not exactly mint condition but I am going to sand and buff the lens later in the week then UV seal them when im done. I also feel like it was a pretty decent deal so I cant complain! The biggest mistake/issue I made is the previous owner cut a hole in the top dust shield and put tape over it. When I removed the tape alot of debris and dirt fell into the headlight. I instantly died a little inside. With limited time I went on with the install and will have to bake the headlight and remove the lens to clean the inside. The inside of the dust cap literally had .5" of dirt and dust built up inside of it. I cleaned it & re-sealed the hole using a standard clear sealer.
The Kit:


Blinker Bulbs:


Headlight:


I wasnt sure if the factory wiring would support the kit and didnt want to risk it so I installed the optional relay & also installed the resistors for the new blinker bulbs. Without the resister installed you will get a fast blinker which is a bit annoying to me.
The car:

Ran Power to here:

Grounded here:

Ran the rest of the loom through here. I didnt wanna cut any holes in that area so just went with the obvious, this isnt a show car but I also didnt want a mess of wiring.

Now its hard to see but in order to run the wiring this way across the front of the car you will have to run the wiring for the driver side through a small hole under here. In order to do this you will need to cut the fitting off the harness and just re-solder it when your done passing it through on the other side.

Ran through here then later zip-tied to existing lines

Comes out the driver side here:

Solder & heat shrink the fitting back on:

Making progress!:

I did not have a 1" drill bit so I ended up just using a smaller bit then cutting the ends off the wiring from the kit to slide the wiring through a smaller hole in the dust cap and then just soldered/heat shrink them again on the other side. If you have a 1" bit you can use a rubber grommet they provide but I didnt so i improvised. It only took a few minutes to cut/solder & heat shrink them. I used a clear sealant to seal them once I was done.

I mounted the ballast to the existing ballast under the headlight using the provided 3m tape. I also mounted the resistor to the bottom of that ballast also using 3m tape. Honestly this is probably the cleanest way to do it. There is plenty of room to mount them this way and its definitely the fastest.
Ultimately the kit was rather easy to install, I spent more time sealing dust covers & waiting for it to dry or sealing a crack in the bottom of the headlight
then anything. You dont have to cut and solder anything but to me it was worth it in the way I wanted to run the wiring and without having a 1" drill bit off hand was the easiest.


It was dark the the time I finished up & I wanted to install my summer wheels but ill have to do that later in the week. I should also spend a little time aiming them when I get a chance but so far I love them. Its 100x better than my previous headlights & the color from the fogs looks great. Its a slight blue at first then a nice bright white afterwards to match the top. The blinker bulb is also a very pure bright orange. The kit had everything I needed and looked very well put together. Overall I am very happy with this purchase & upgrade.
The following users liked this post:
Diode Dynamics (04-07-2014)
#2
04-06-2014, 10:59 PM
#4
04-06-2014, 11:31 PM
I forgot I have a diff camera app that will take like 30 pics in 5 seconds. Ill grab a night shot of it tomorrow & post it up for ya.
#5
04-06-2014, 11:42 PM
They are super bright but its contained light so its not like the orange is over-powering the light & shining in the entire headlight. Its a pure bright orange contained to just the blinker portion of the headlight. I tried to get a pic but trying to take a pic when the light comes on with my iphone was not happening & I was worn out lol!
I forgot I have a diff camera app that will take like 30 pics in 5 seconds. Ill grab a night shot of it tomorrow & post it up for ya.
I forgot I have a diff camera app that will take like 30 pics in 5 seconds. Ill grab a night shot of it tomorrow & post it up for ya.
#6
04-07-2014, 12:00 AM
Those bulbs actually came with the side markers. Just some cheap ebay side markers but they fit like oem and came with bulbs that look clean. I believe they do offer bulbs for those as well at Diode though.
The following users liked this post:
Diode Dynamics (04-07-2014)
#7
04-07-2014, 02:35 AM

Trending Topics
#8
04-07-2014, 09:51 AM

The XP80 turn signals he purchased are the brightest self-contained LEDs on the market. We've measured the output and compared it with the VLED's Tritons, and found ours to be over 200 lumens brighter.
They are one of the crown jewels of our LED lineup
Thanks for posting the review, I love the 6000K HIDs on this color
Nick C.
They are one of the crown jewels of our LED lineup
Thanks for posting the review, I love the 6000K HIDs on this color
Nick C.
The following users liked this post:
JG_G35 (04-07-2014)
#9
04-07-2014, 06:26 PM


The following 2 users liked this post by digital sol:
Diode Dynamics (04-07-2014),
JG_G35 (04-07-2014)

Thread
Thread Starter
Forum
Replies
Last Post