
Headlight lenses faded? Clear Coat Anyone??


Thread Starter
|
Registered User
Joined: May 2011
Posts: 89
Likes: 6
Headlight lenses faded? Clear Coat Anyone??
I always want to do this but i was not willing to test on my headlight lenses. This guy did. here is is process. I thought guy guys might want to try this. The other method involved wax and buff is only a temporary fix. I had to sand and wax and buff my light every 4 months. not so fun. I hope this will fix the light for atlease a year or two.
here is the process. not done by me..
o with the whole wet sand, polish, and seal, I wanted to try something a little different that would last longer with less maintenance. I opted to apply a �clear� on the headlights. Results are pretty good so far, I just need to test how long it will last.
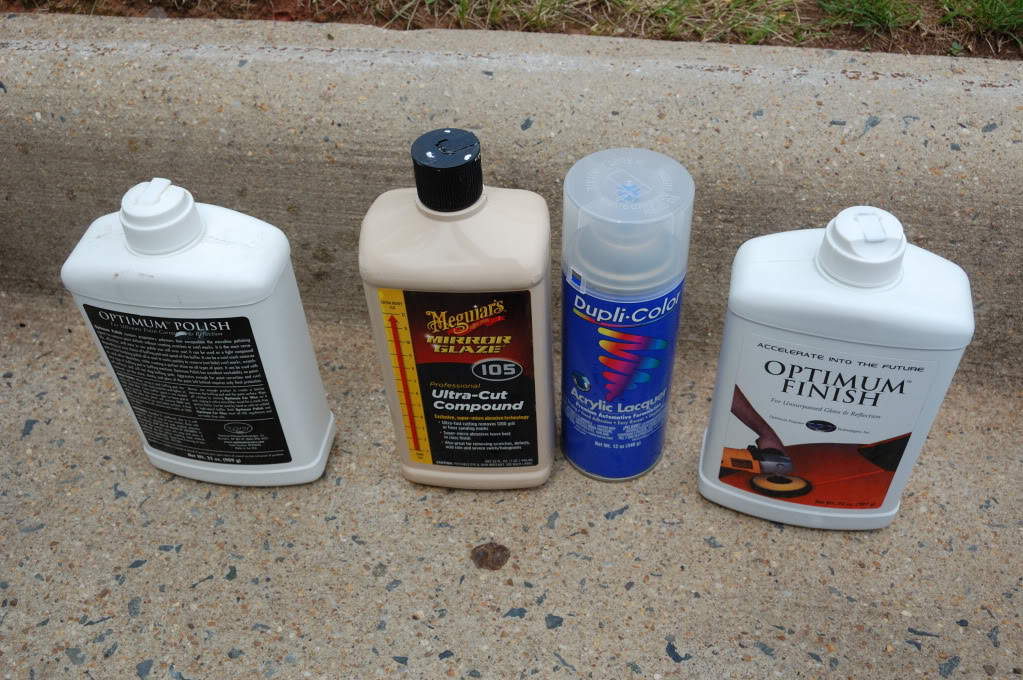
What you need:
-800, 1000, 1500, 2000 grit wet/dry sandpaper
-Painters tape
-Some newspaper or plastic bags
-Denatured alcohol
-Tack Cloth
-Acrylic Lacquer
-PC7424 buffer*
-Compound*
-Polish*
-Sealant*
*Optional, if you don�t have a buffer, you can use your elbow grease and buff by hand with plastic-x or something similar.
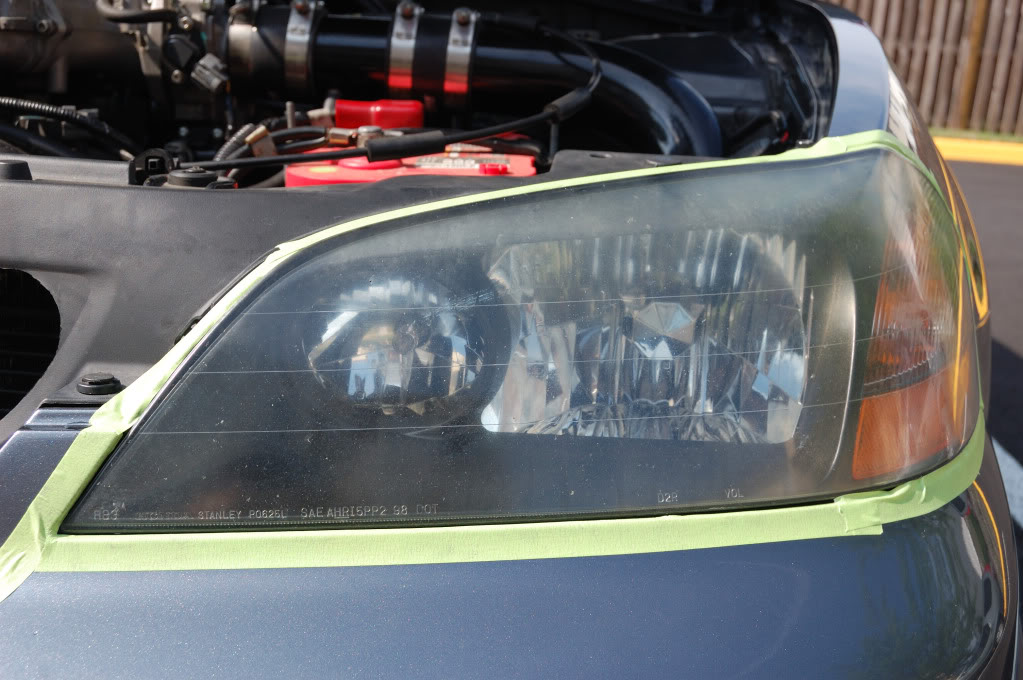
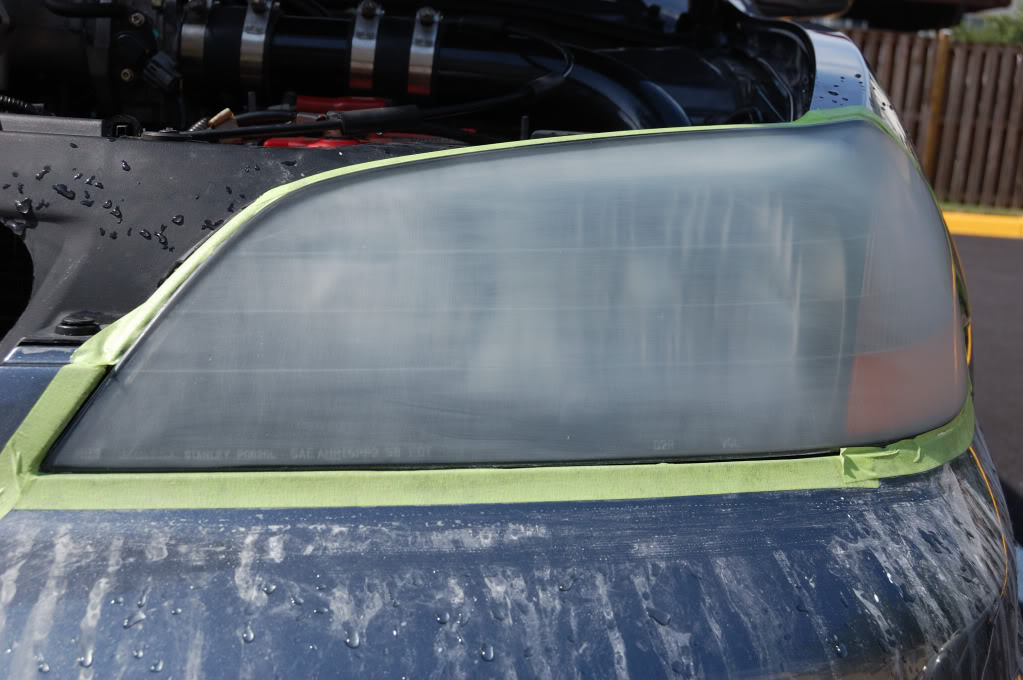
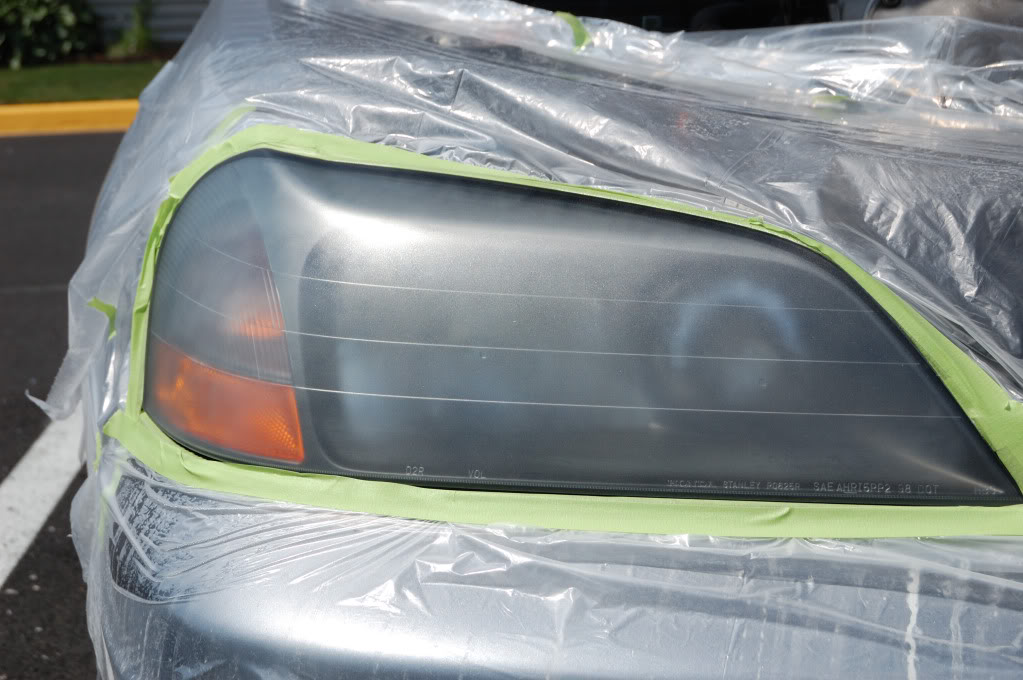
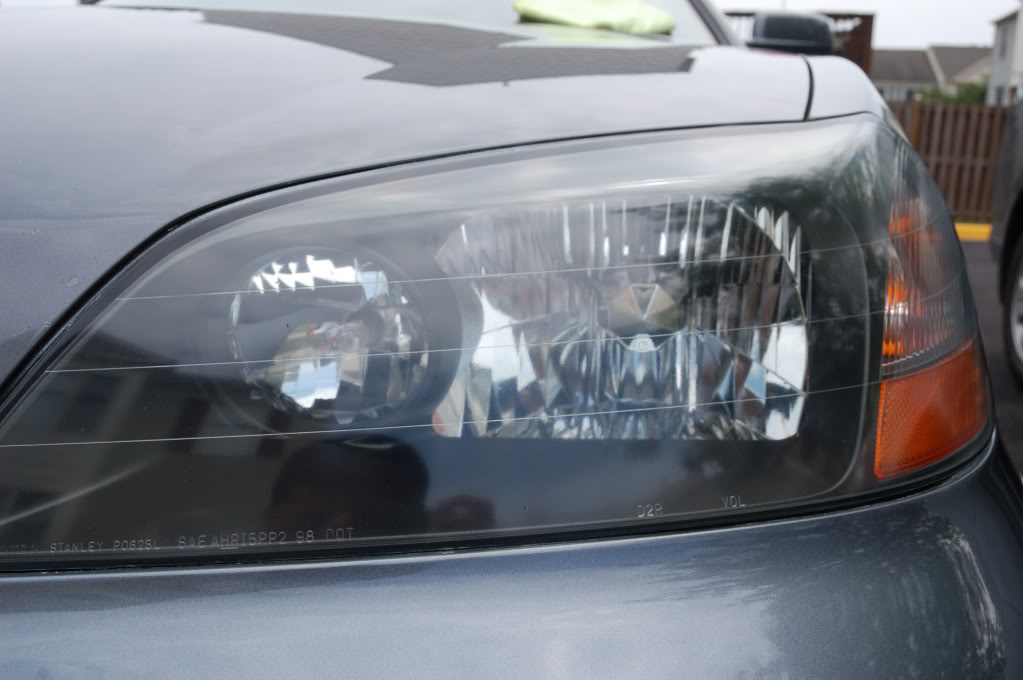
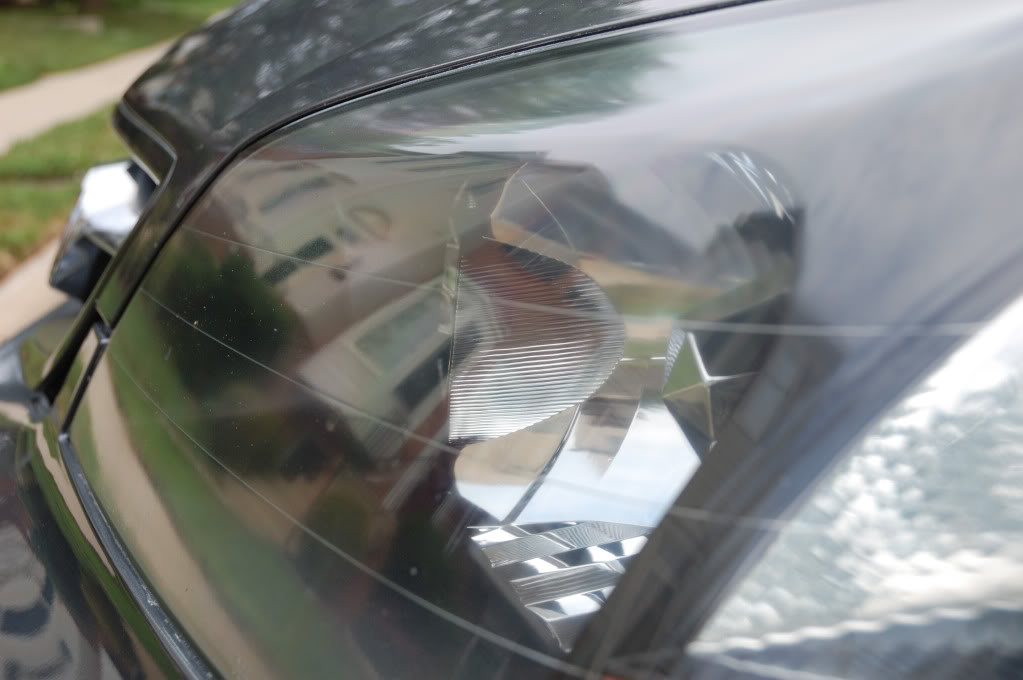
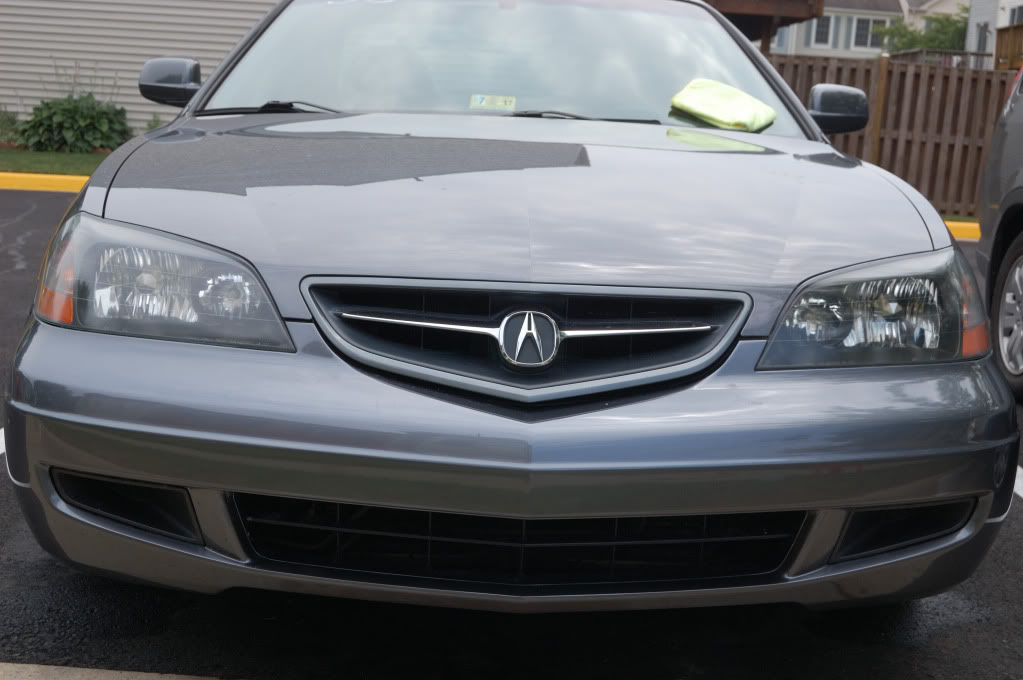
1. Mask headlight to prevent any accidental contact with body. Take your time and try to get as close to the headlight as you can. I opened the hood so I wouldn�t have to worry about the hood. You can see how bad my headlights have become after a year without touching them.
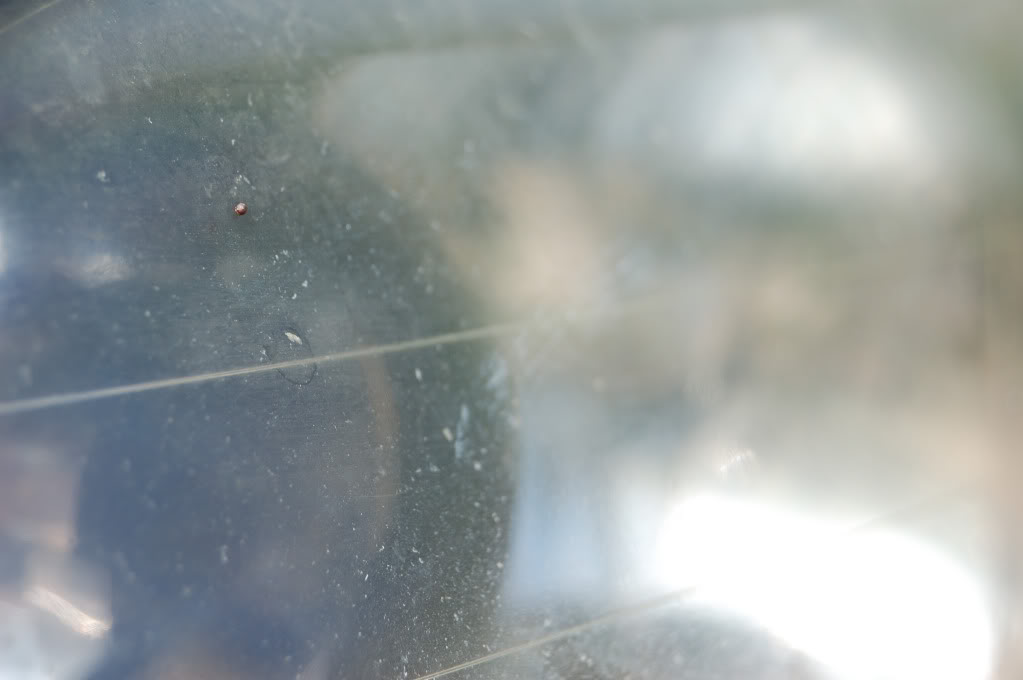
2. Soak the various grades of sand paper in water. Sand headlights with 800grit in a horizontal and vertical motion. Do not go in circles.
3. Once complete and headlights look hazed, rise with water. It should look like this when dry.
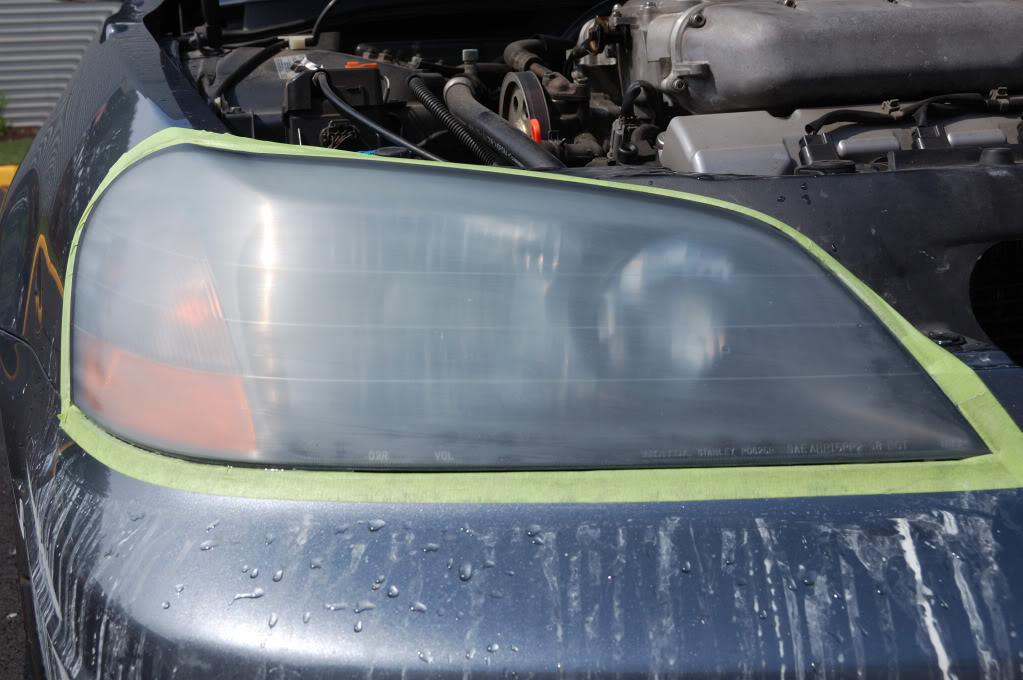
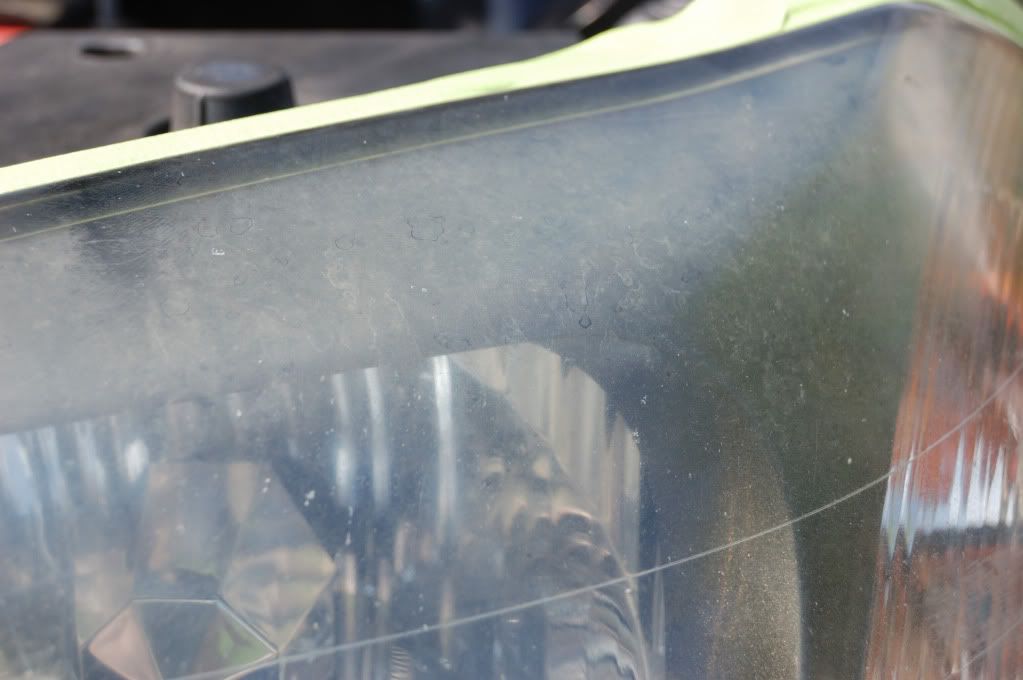
4. Mask off the area around the headlight with your newspaper or plastic bags. Make sure you tape secure the tape down so the wind doesn�t fluff it around. I noticed that it was easier to tape when the body was wet. The plastic bags stuck to the body and allowed me to control my tape line with the plastic bag. Don't mind the paper towel, there was a hole and I didn't want to use another bag.

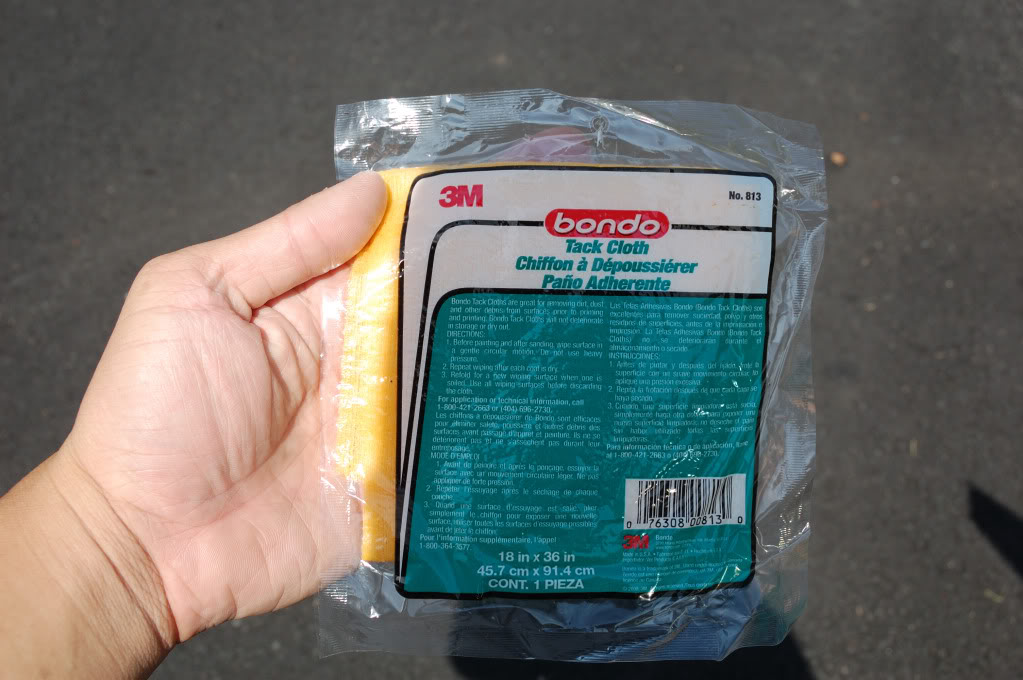
5. Prep the surface with a quick denatured alcohol wipe with a paper towel to make sure no other wax was left behind that you might have missed from sanding. Next take your tack cloth and gently wipe the surface to remove any dust that maybe stuck on the surface.
6. Now its time to spray your clear. I laid down the first two coats very lightly with 10 minutes in between coats. My third and fourth coat I was pretty heavy on. Make sure you cut into the corners and the bends on the lens and then spray horizontally across. What you want to do is make sure you have enough so you don�t sand it off in the next step.
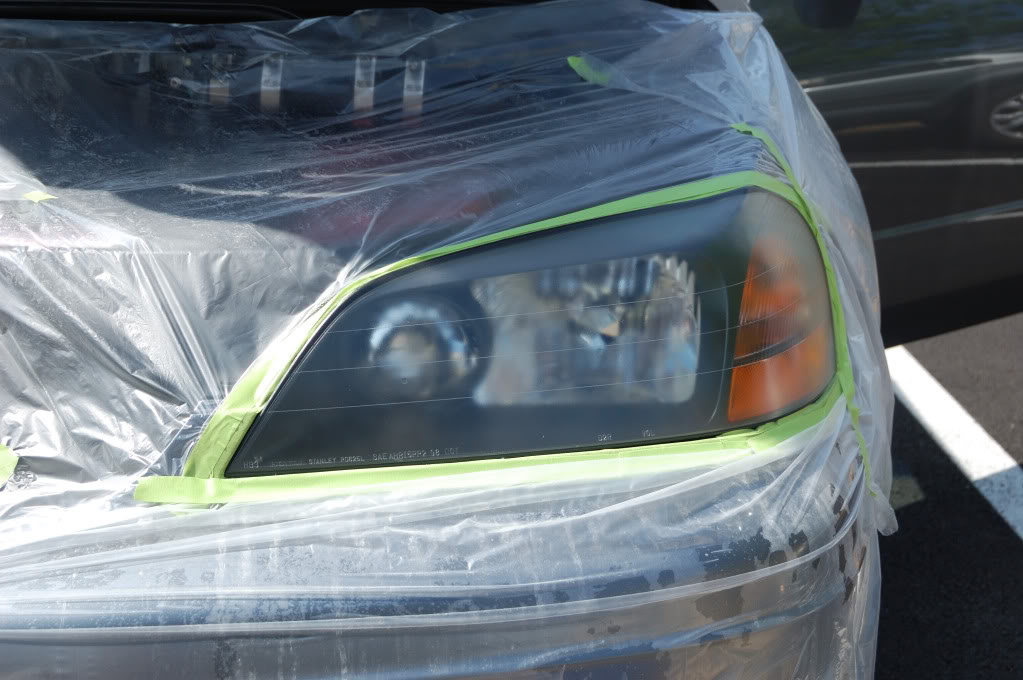
7. Follow the drying times from the can. You will notice that it might have a milky color to it. Once dry it was clear.
8. You might notice that the surface is a bit rough. What you want to do is go through the sanding process again from 800 to 2000 but very lightly. You just want to make sure that the surface is smooth again.
9. Take your compound and buff the headlight so the haze is gone. Next, take your polish and buff the headlights. I opted to use a final polish to give it some more clarity. Finally I topped it off with my sealant. The sun went away when I took these pictures but you can see that they pretty much look new again
I should probably have not sealed it just so I can test it with it being exposed. This was done with readily available materials at parts stores. If you don�t own a buffer, you can use plastic-X and buff with your hand like some of you guys do. There was a slight breeze so when I was clearing I had to wait for it to stop. If you have a garage it should make this a lot easier to control. I am going to update this in a few months to see how it does. Enjoy!
i am thinking of doing my very soon. hope it help...
here is the process. not done by me..
o with the whole wet sand, polish, and seal, I wanted to try something a little different that would last longer with less maintenance. I opted to apply a �clear� on the headlights. Results are pretty good so far, I just need to test how long it will last.
What you need:
-800, 1000, 1500, 2000 grit wet/dry sandpaper
-Painters tape
-Some newspaper or plastic bags
-Denatured alcohol
-Tack Cloth
-Acrylic Lacquer
-PC7424 buffer*
-Compound*
-Polish*
-Sealant*
*Optional, if you don�t have a buffer, you can use your elbow grease and buff by hand with plastic-x or something similar.
1. Mask headlight to prevent any accidental contact with body. Take your time and try to get as close to the headlight as you can. I opened the hood so I wouldn�t have to worry about the hood. You can see how bad my headlights have become after a year without touching them.
2. Soak the various grades of sand paper in water. Sand headlights with 800grit in a horizontal and vertical motion. Do not go in circles.
3. Once complete and headlights look hazed, rise with water. It should look like this when dry.
4. Mask off the area around the headlight with your newspaper or plastic bags. Make sure you tape secure the tape down so the wind doesn�t fluff it around. I noticed that it was easier to tape when the body was wet. The plastic bags stuck to the body and allowed me to control my tape line with the plastic bag. Don't mind the paper towel, there was a hole and I didn't want to use another bag.
5. Prep the surface with a quick denatured alcohol wipe with a paper towel to make sure no other wax was left behind that you might have missed from sanding. Next take your tack cloth and gently wipe the surface to remove any dust that maybe stuck on the surface.
6. Now its time to spray your clear. I laid down the first two coats very lightly with 10 minutes in between coats. My third and fourth coat I was pretty heavy on. Make sure you cut into the corners and the bends on the lens and then spray horizontally across. What you want to do is make sure you have enough so you don�t sand it off in the next step.
7. Follow the drying times from the can. You will notice that it might have a milky color to it. Once dry it was clear.
8. You might notice that the surface is a bit rough. What you want to do is go through the sanding process again from 800 to 2000 but very lightly. You just want to make sure that the surface is smooth again.
9. Take your compound and buff the headlight so the haze is gone. Next, take your polish and buff the headlights. I opted to use a final polish to give it some more clarity. Finally I topped it off with my sealant. The sun went away when I took these pictures but you can see that they pretty much look new again
I should probably have not sealed it just so I can test it with it being exposed. This was done with readily available materials at parts stores. If you don�t own a buffer, you can use plastic-X and buff with your hand like some of you guys do. There was a slight breeze so when I was clearing I had to wait for it to stop. If you have a garage it should make this a lot easier to control. I am going to update this in a few months to see how it does. Enjoy!
i am thinking of doing my very soon. hope it help...


Keep updating on how this goes. My headlights have yellowed so bad. Im planning on doing the procedure of the sandpapers and just Plastic - X. See how long that lasts me. My car is normally garaged and rarely sits in the sun. So im hoping it last longer than a few months.

Thread Starter
|
Registered User
Joined: May 2011
Posts: 89
Likes: 6
Trending Topics

Im going to try this tomorrow. My headlights were not hazy or yellow just very scratched up with light scratches in certain areas. I did 1500 wetsand followed by 3k wetsand. Then scratch-x buff, polish, repeat. It got rid of most of the scratches and left the lights clearer overall but they are not crystal clear yet, still some light scratches seen. Im going to get the duplicolor clear coat uv protection kit to finish it up. Do I wetsand then apply for grip or do I apply it on the most clear product I can get with sanding and buffing. Also do I sand/ buff again after spraying clear? Thank you!


I think you are good to go. Your compound should be a little more abbressive than Plast X, and your polish is a little finer. Plast-X comes with a little bit of polymer protection/sealant built in, which you won't need since you are spraying.
I've used just Meg's Plast-X and a random orbital buffer in the past with excellent results.
Pretty much just Plastic X and follow up with some sealant looks pretty good, and looked about 90% like new. Doesn't last without some paint, though. Had to redo every 4-6 months.
You are on the right track.

Thread
Thread Starter
Forum
Replies
Last Post